Raging Conchfly Boss Guide
★ Sea of Sorrow Free DLC Announced!
☆ Walkthrough
★ Best Crest Builds | Best Tools
☆ Full Interactive Map of Pharloom!
★ Mask Shards | Spool Fragments | Abilities
☆ Boss Guides: The Unravelled | First Sinner
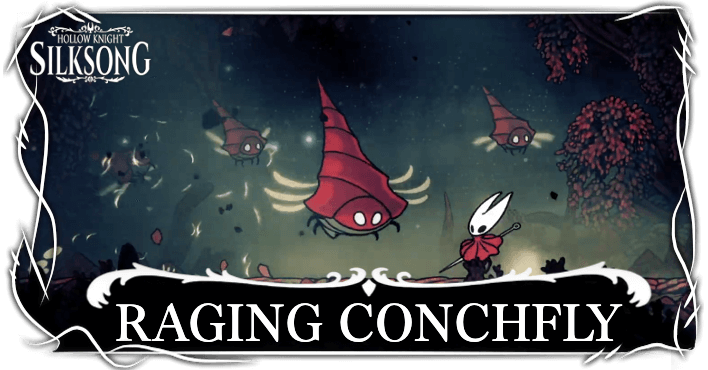
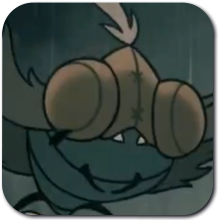
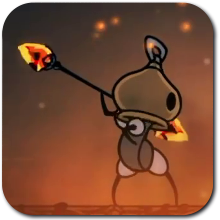
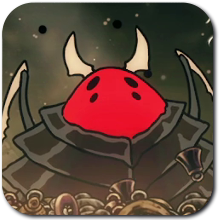
Raging Conchfly is a boss located in Sands of Karak in Hollow Knight: Silksong. See a loadout you can use to beat Raging Conchfly, its attack patterns, and rewards in this guide!
Raging Conchfly Recommended Loadout
| Tools | |
|---|---|
| Crests |
 Flintslate
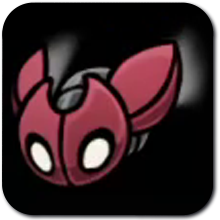 Cogfly
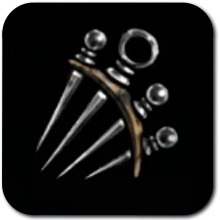 Injector Band
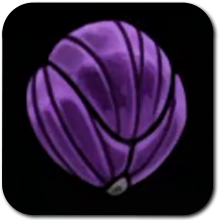 Pollip Pouch
 Magnetite Dice
 Reaper Crest
 Architect Crest
✎ Press on either Tools or Crests to see a full list of each!
The Flintslate will allow Hornet to deal more damage against Raging Conchfly. Since the Raging Conchfly moves a lot, we recommend equipping the Cogfly tool to deal damage against it even when you are dodging.
Injector Band is a great tool for this fight since you'll be able to heal much faster. Equipping Pollip Pouch will further improve the Cogfly's damage since it will apply venom to the Raging Conchfly.
Lastly, having the Magnetite Dice as a part of the loadout can increase your survivability.
You can use any crest you are comfortable using, but we recommend equipping the Reaper Crest since it is pogo-friendly and a well-balanced mid-game crest. Its crescent-shaped slash also makes deflecting conches a lot easier.
Alternately, you can opt to use the Architect Crest if you want to make the most out of your tools. The Architect Crest contains 3 Red Tool slots, but it gets rid of the Silk Skill in exchange. However, this is fine because we do not recommend using any Silk Spells in this fight since you are better off using your Silk to heal Hornet!
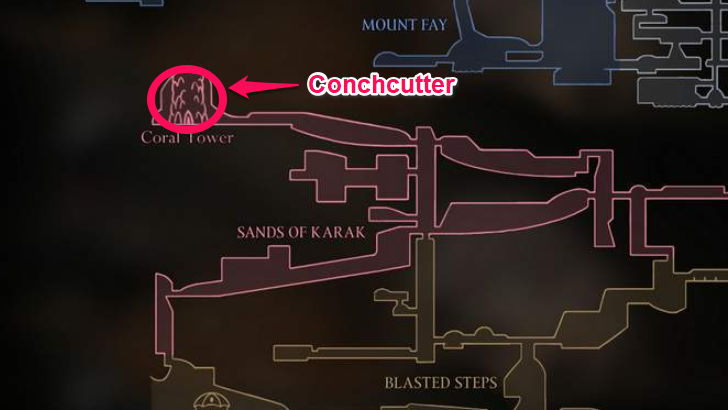
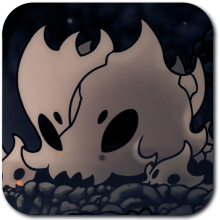
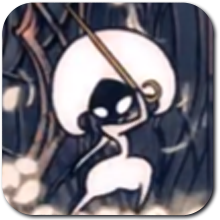
Raging Conchfly Location
Located East of Coral Tower
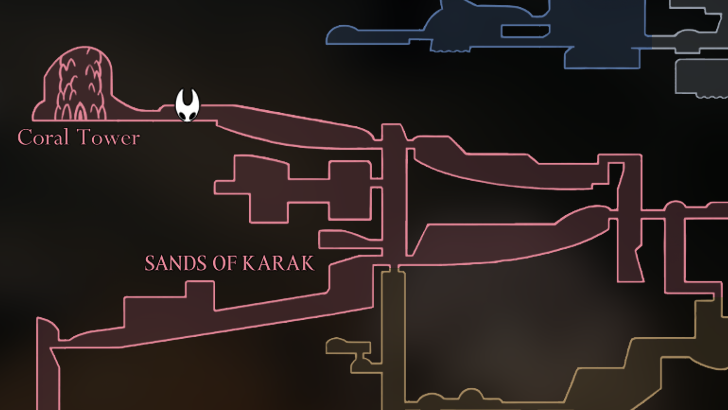
Located to the right of Coral Tower, specifically, at the top left corner of Sands of Karak. You need to beat the Conchfly to reach the Coral Tower.
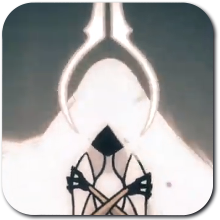
Shortcut to the Raging Conchfly
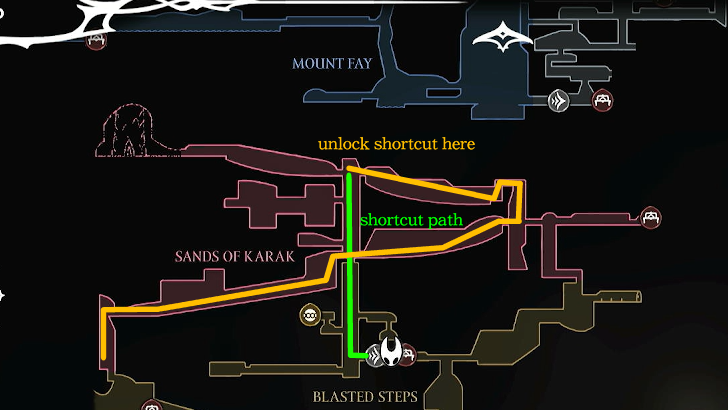
The best path to reach Raging Conchfly is the route from Blasted Steps as shown in the image above. Do note that you need to unlock the shortcut from within Sands of Karak first before you can use it!
How to Beat Raging Conchfly
| The Raging Conchfly Boss Fight Tips |
|---|
|
|
Prepare to Attack When There's Smoke
| Vertical Drill Attack | When the Raging Conchfly is about to emerge from the ceiling or floor (telegraphed by smoke), stand beside the smoke and get ready to land a few hits. |
|---|---|
| Horizontal Drill Attack | When the Raging Conchfly does a horizontal charge attack, do a pogo attack to deal damage. |
With the Raging Conchfly constantly burrowing, you'll want to attack the Raging Conchfly when it emerges from the walls. With this, whenever you see the smoke that indicates that it is about to emerge from the one of the boss stage's borders, get ready to swing and deal damage!
Heal During the Horizontal Drill Attack
If you need to heal, the best time to do it is during the Raging Conchfy's horizontal drill attack. Instead of doing a pogo attack, bind mid-air for Hornet to heal!
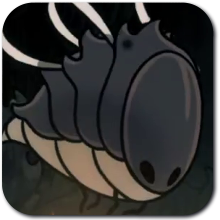
Do Not Kill the Summons
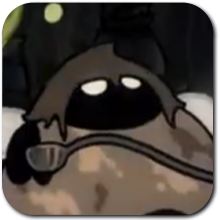
The Raging Conchfly will summon multiple small conchflies during the battle. Fortunately, they despawn for a while after doing their synchronized or delayed drill attack with the boss. With this, there's no need to kill them; instead, dodge their attacks. Start attacking the Raging Conchfly again once the summons despawn from the boss room!
Conches Can Be Deflected
If you are unable to dodge, remember that you can deflect the conches shot out by the Raging Conchfly. Keep in mind that this requires precise timing, and that the conches can still ricochet, so don't force yourself to hit every conch coming your way.
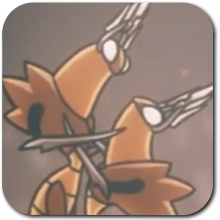
Raging Conchfly Attack Patterns
| Jump to a Section! | |
|---|---|
| Phase 1 | Phase 2 |
Phase 1 Attacks
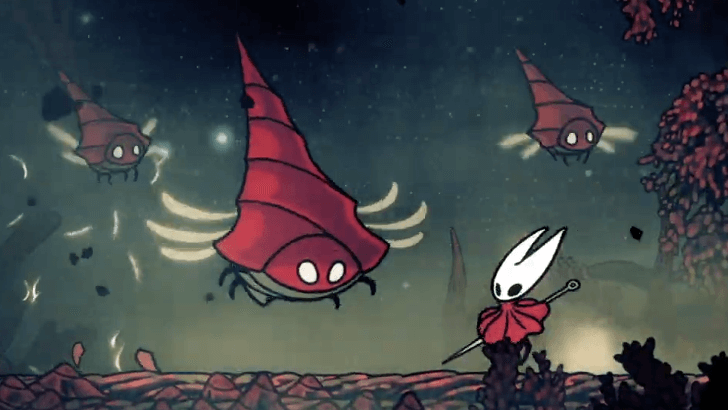
Drill Attack
The Raging Conchfly drills horizontally or vertically towards Hornet and burrows into the opposite end of the wall. The Raging Conchfly will also use this during Phase 2.
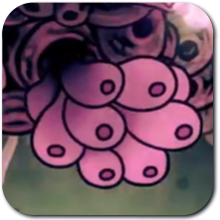
Conch Spit
The Raging Conchfly spits out a conch towards Hornet's location, ricocheting up to four times. The Raging Conchfly will also use this during Phase 2.
Phase 2 Attacks
Synchronized Drill Attack
The Raging Conchfly summons multiple conchflies and then do a synchronized horizontal or vertical drill attack.
Delayed Drill Attack
The Raging Conchfly and its summons will emerge and stay in one spot for a few seconds before charging towards Hornet one by one in a random order. The boss will always be the last one to do the drill attack.
Raging Conchfly Rewards
Gain Entry to the Coral Tower
| Tool | How to Get | Effect |
|---|---|---|
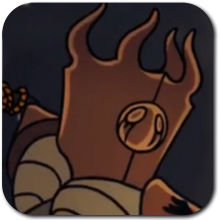
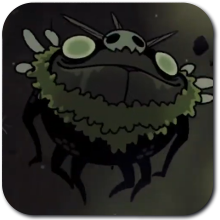
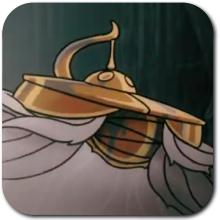
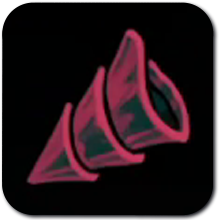 Conchcutter Conchcutter
|
 Found inside the Coral Tower building. |
Spiral weapon fashioned from a hardened conchspire. Thrown at an angle, it can ricochet and catch prey off-guard. |
Since the Raging Conchfly is blocking the pathway to the Conch Tower, defeating it will allow you to gain entry to the tower. Within the tower, you can obtain the tool, Conchcutter!
Hollow Knight: Silksong Related Guides

Act 1 Bosses
| Main Story Bosses | ||
|---|---|---|
 Moss Mother Moss Mother
|
 Bell Beast Bell Beast
|
 Lace Lace
|
 Fourth Chorus Fourth Chorus |
 Moorwing Moorwing |
 Sister Splinter Sister Splinter |
 Widow Widow |
 Last Judge Last Judge |
- |
| Optional Bosses | ||
 Savage Beastfly Savage Beastfly |
 Skull Tyrant Skull Tyrant |
 Great Conchflies Great Conchflies |
 Summoned Saviour Summoned Saviour |
- | - |
| Secret Bosses | ||
 Phantom Phantom |
- | - |
Act 2 Bosses
| Main Story Bosses | ||
|---|---|---|
 Cogwork Dancers Cogwork Dancers |
 Trobbio Trobbio |
 Lace (Act 2) Lace (Act 2) |
 Grand Mother Silk Grand Mother Silk |
- | - |
| Optional Bosses | ||
 Forebrothers Signis and Gron Forebrothers Signis and Gron |
 Raging Conchfly Raging Conchfly |
 Groal the Great Groal the Great |
 Disgraced Chef Lugoli Disgraced Chef Lugoli |
 Broodmother Broodmother |
 Father of the Flame Father of the Flame |
 Voltvyrm Voltvyrm |
- | - |
| Secret Bosses | ||
 First Sinner First Sinner |
 Unravelled Unravelled |
- |
Act 3 Bosses
 Bell Eater
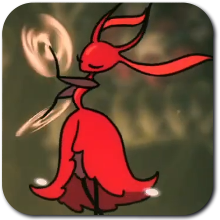 Skarrsinger Karmelita
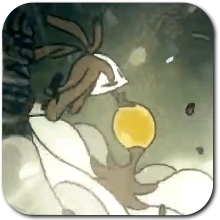 Nyleth
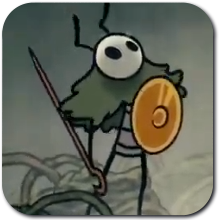 Seth
Seth Crust King Khann
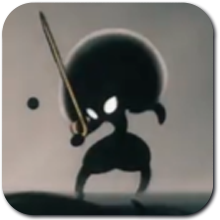 Lost Lace
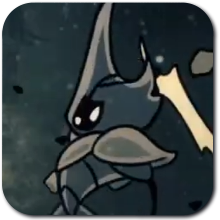 Watcher at the Edge
 Gurr the Outcast
 Second Sentinel
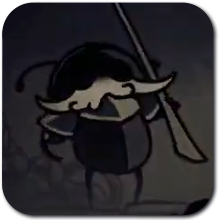 Lost Garmond
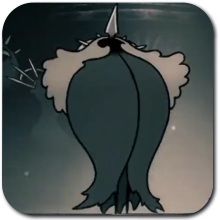 Crawfather
 Plasmified Zango
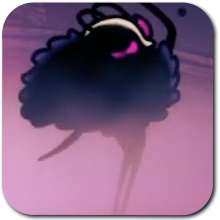 Tormented Trobbio
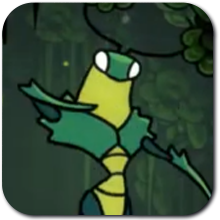 Clover Dancers
 Pinstress
 Palestag
Comment
I would rather amputate my own foreskin with a rusty kitchen fork than fight this thing ever again. Thank god you helped me through this, cause without this guide I’d have died of a rage induced aneurysm so soon that Satan wouldn’t have had the time to put up a line of salt to keep me away.
Author

Raging Conchfly Boss Guide
Rankings
- We could not find the message board you were looking for.
Gaming News

![The Liar Princess and the Blind Prince Review [PC] | Lovely to Look at but Tedious to Play](https://img.game8.co/4442586/8d95f5faf05780f1765ce7e0938bd825.jpeg/show)
![The Liar Princess and the Blind Prince Review [PC] | Lovely to Look at but Tedious to Play](https://img.game8.co/4442586/8d95f5faf05780f1765ce7e0938bd825.jpeg/thumb)
![Marathon Cryo Archive Map Teased as [REDACTED] on Selection Screen](https://img.game8.co/4442236/6357203e58172f6de57f1991e7c39b22.png/thumb)

Popular Games

Genshin Impact Walkthrough & Guides Wiki
Umamusume: Pretty Derby Walkthrough & Guides Wiki
Pokemon Pokopia Walkthrough & Guides Wiki
Honkai: Star Rail Walkthrough & Guides Wiki
Monster Hunter Stories 3: Twisted Reflection Walkthrough & Guides Wiki
Arknights: Endfield Walkthrough & Guides Wiki
Wuthering Waves Walkthrough & Guides Wiki
Zenless Zone Zero Walkthrough & Guides Wiki
Pokemon TCG Pocket (PTCGP) Strategies & Guides Wiki
Monster Hunter Wilds Walkthrough & Guides Wiki


Recommended Games
Diablo 4: Vessel of Hatred Walkthrough & Guides Wiki
Cyberpunk 2077: Ultimate Edition Walkthrough & Guides Wiki
Fire Emblem Heroes (FEH) Walkthrough & Guides Wiki
Yu-Gi-Oh! Master Duel Walkthrough & Guides Wiki
Super Smash Bros. Ultimate Walkthrough & Guides Wiki
Pokemon Brilliant Diamond and Shining Pearl (BDSP) Walkthrough & Guides Wiki
Elden Ring Shadow of the Erdtree Walkthrough & Guides Wiki
Monster Hunter World Walkthrough & Guides Wiki
The Legend of Zelda: Tears of the Kingdom Walkthrough & Guides Wiki
Persona 3 Reload Walkthrough & Guides Wiki


All rights reserved
© 2025 Team Cherry
The copyrights of videos of games used in our content and other intellectual property rights belong to the provider of the game.
The contents we provide on this site were created personally by members of the Game8 editorial department.
We refuse the right to reuse or repost content taken without our permission such as data or images to other sites.
This boss is not optional if you want to beat crust king khan.