Complete Walkthrough and Progression Guide
★ Sea of Sorrow Free DLC Announced!
☆ Walkthrough
★ Best Crest Builds | Best Tools
☆ Full Interactive Map of Pharloom!
★ Mask Shards | Spool Fragments | Abilities
☆ Boss Guides: The Unravelled | First Sinner

Here is a walkthrough for all the acts in Hollow Knight: Silksong. See progression guides for each main quest and how many acts are in Silksong!
List of Contents
Hollow Knight: Silksong Act 1 Walkthrough
| All Act 1 Main Quests | |
|---|---|
| Great Citadel | Threadspun Town |
Seek the Great Citadel Walkthrough
| Jump to a Section! | |||
|---|---|---|---|
| 1 | Moss Grotto | 2 | Bone Bottom |
| 3 | The Marrow | 4 | Mosshome |
| 5 | Deep Docks | 6 | Far Fields |
| 7 | Greymoor | 8 | Blasted Steps |
| 9 | Phantom Route | 10 | - |
Moss Grotto
| The Moss Grotto Guide | |
|---|---|
| 1 |  After the opening cutscene, enter the passageway to the left and break the vines at the top of the steps to enter The Moss Grotto. |
| 2 | 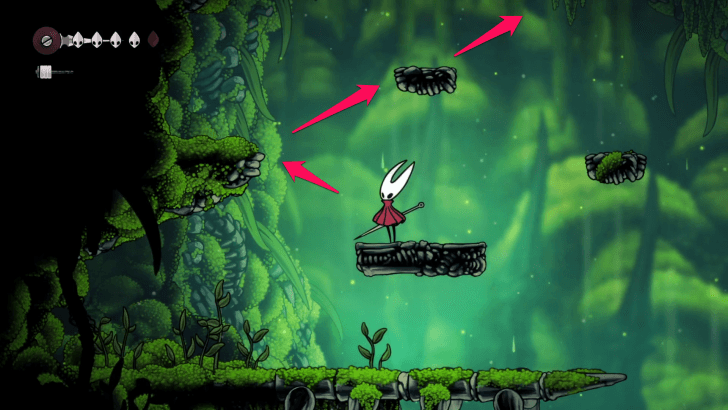 Continue making your way left until you reach a large open area with a pool of water. Climb up the rocks to reach the upper area. |
| 3 |  Head right once you reach the upper area, defeating enemies as you go, and enter the passageway that leads to the next area. |
| 4 |  Proceed to the right until you reach a small rift. Make your way down to the lower ledge and grab the Frayed Rosary String before you jump across to the other side. Once across, enter the passageway that leads to the next area. |
| 5 | 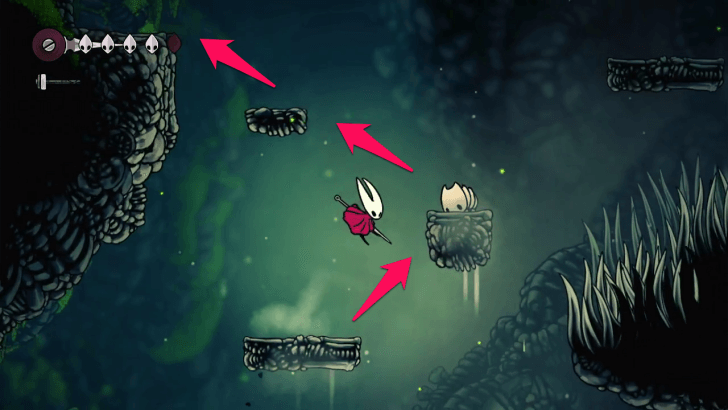 Head right until you reach another set of rocks that you can climb and make your way to the left side upper area. Make sure you defeat the rolling enemies as they can knock you out of a jump. |
| 6 | 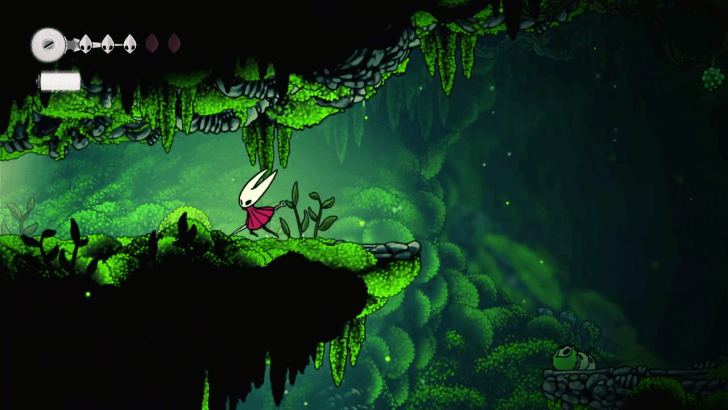 Continue heading up until you reach another passageway that leads to the next area. |
| 7 | 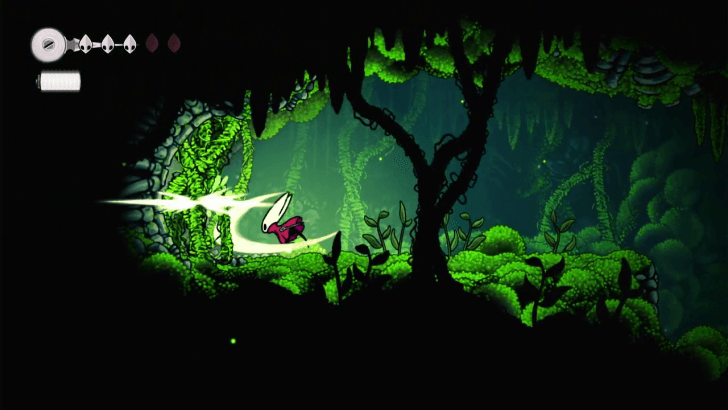 Hop across the small ravine and break the vines to open a passageway that leads to the Ruined Chapel. |
| 8 | 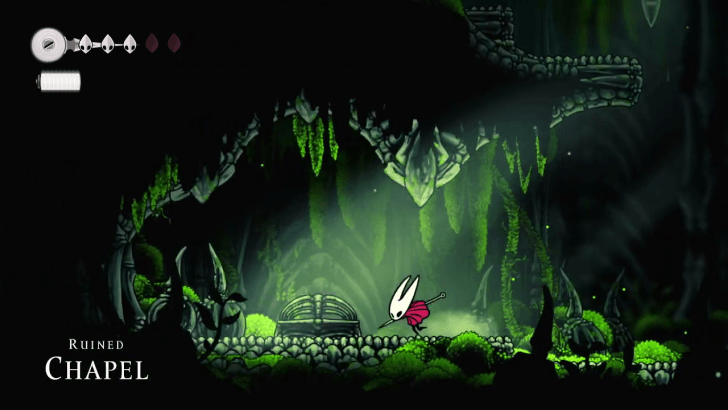 You can use the bench on the left side of the Ruined Chapel to rest and restore your health. When ready, hop up the ledges near the entrance to reach the upper area and break the vines at the top to enter the next area. |
| 9 | 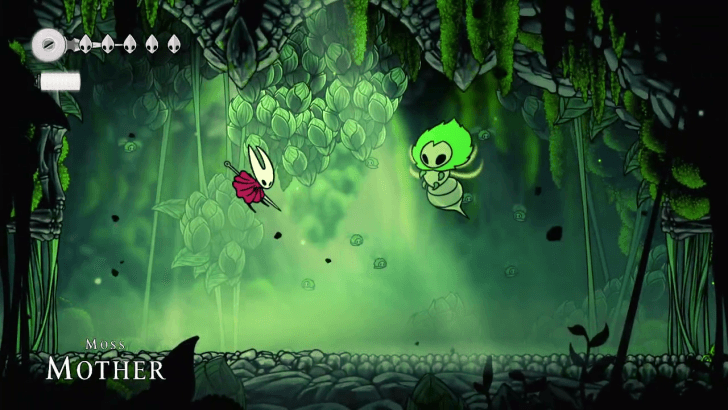 You'll reach the boss room of the Moss Mother, and you'll need to defeat her to progress to the next area. After defeating the boss, head left and ascend up the rope to reach the top area. ► Moss Mother Boss Guide |
| 10 | 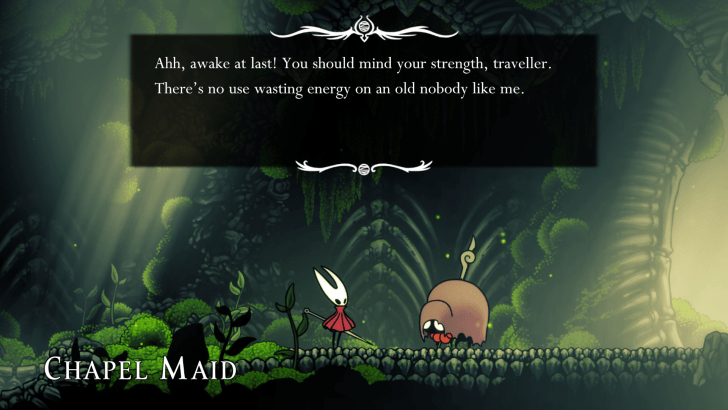 Once at the top, a short cutscene will play where Hornet will collapse, and the Chapel Maid will wake her. Complete her dialogue and you'll receive The Great Citadel objective. |
Bone Bottom
| Bone Bottom Guide | |
|---|---|
| 1 |  After talking to the Chapel Maid NPC, head east until you reach the next area, Bone Bottom. Make sure to use the bench near the Little Pilgrim NPC to heal and set a checkpoint. |
| 2 | 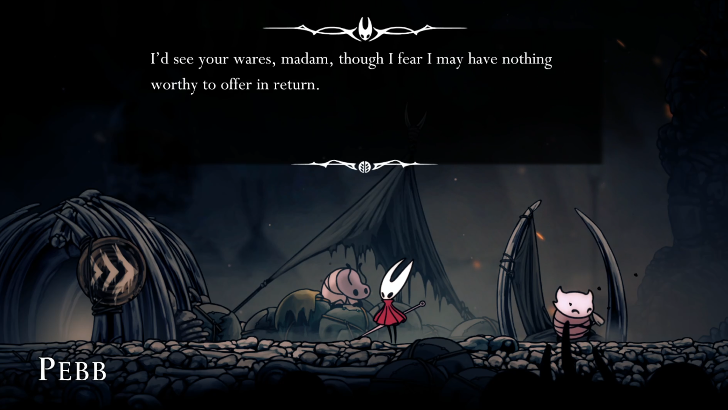 Before going to the next area, feel free to interact with Pebb, the shopkeeper NPC, and browse through their wares. Do note that you can buy a Mask Shard from Pebb and collecting 4 shards will increase Hornet's maximum health by one. After browsing the shop, continue heading east to progress the game. ► All Mask Shard Locations |
| 3 | 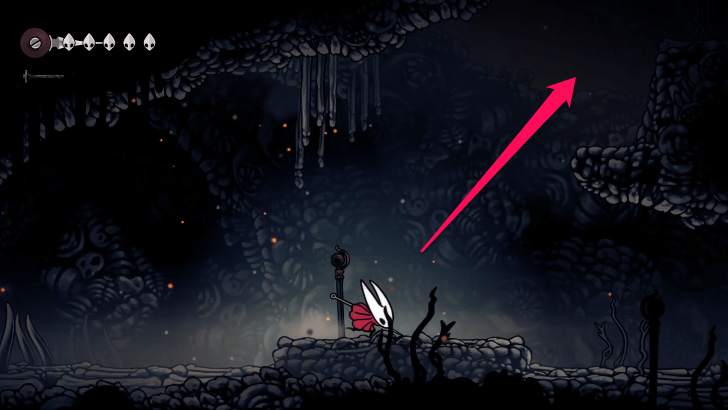 Head upwards, clearing enemies as you go. When you hit a dead end, head downwards. |
| 4 | 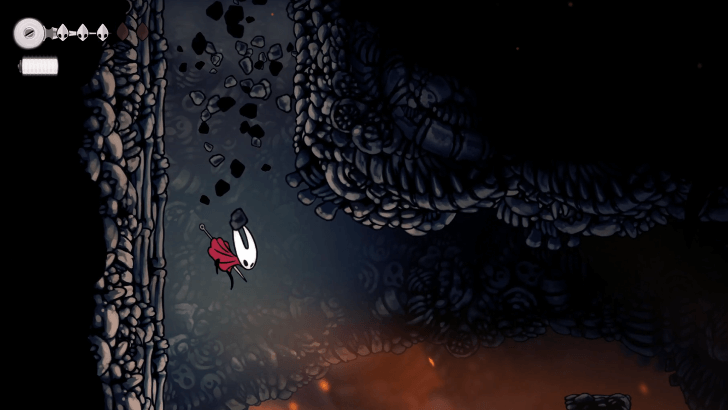 Head west and stand on top of the crumbling terrain. You will then be transported to a room where you need to beat a wave of enemies before the path to the next area opens up. After defeating the mobs, head down again. |
| 5 |  Head east and make sure to destroy the Rosary String and pick up the Rosary Beads it drops, since you will need to activate the bench within the next area. |
| 6 | 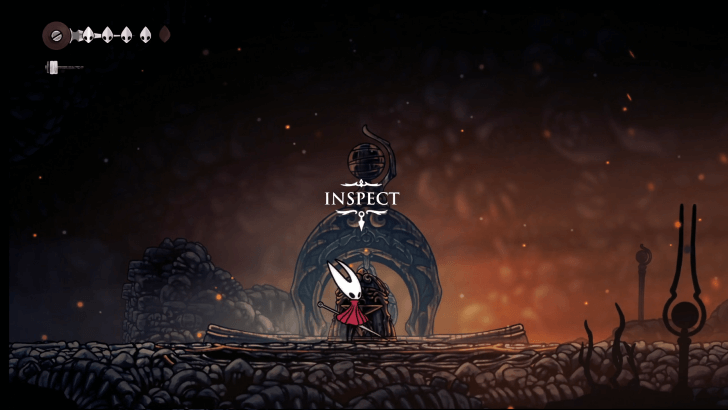 Once you have reached the next area, inspect the bench to activate it. Do note that you need to spend 30 Rosary Beads for the bench to activate. Finally, continue going east to reach The Marrow! |
The Marrow
| The Marrow Guide | |
|---|---|
| 1 |  Once you are in The Marrow already, you should head up north since your next main goal is to reach Mosshome. |
| 2 | 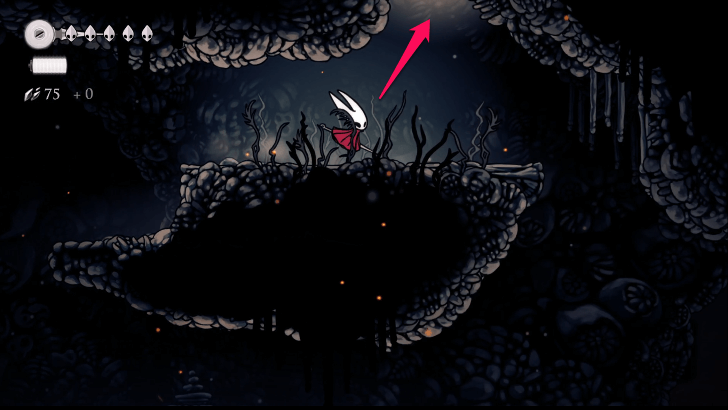 You are on the right path if you see the hole shown above. Jump into it to reach the top half of The Marrow. |
| 3 |  As you traverse upwards, you will encounter shaking platforms. These platforms will disappear after a few seconds. So, be ready to jump to the next platform! |
| 4 | 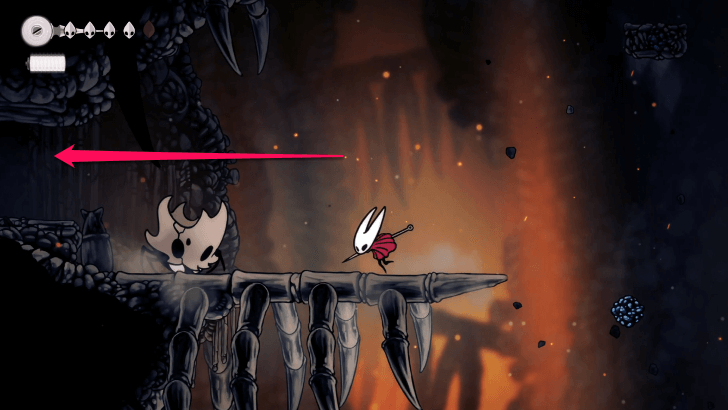 After avoiding or defeating this beetle-like enemy, head inside the room to its left. Inside it, you will find the Tool called the Shard Pendant. Equipping the Tool allows you to get more shell shards from beating creatures. |
| 5 | 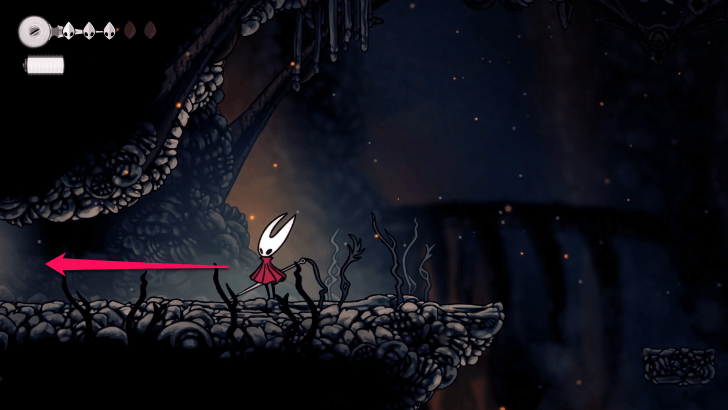 Continue climbing up after exiting the room where the Shard Pendant is located. You will eventually see the pathway shown in the image above. Head inside it to access the area on the way to Mosshome. |
| 6 | 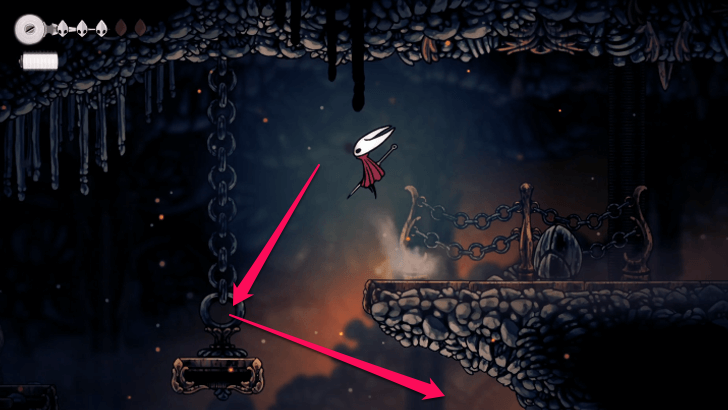 Once you are in the next area, head down first to see a bunch of skulls with Rosary Beads wrapped around them. Hit the skulls to get a bunch of Rosary Beads! |
| 7 |  After picking up the Rosary Beads, head west to reach Mosshome. You need to activate a bunch of levers in the area to activate the pullies you need to use in order to further traverse the area. Before leaving The Marrow, make sure to talk Shakra, the Map NPC. If you have enough Rosary Beads, you can buy some of her wares such as a map for The Marrow! |
Mosshome
| Mosshome Guide | |
|---|---|
| 1 | 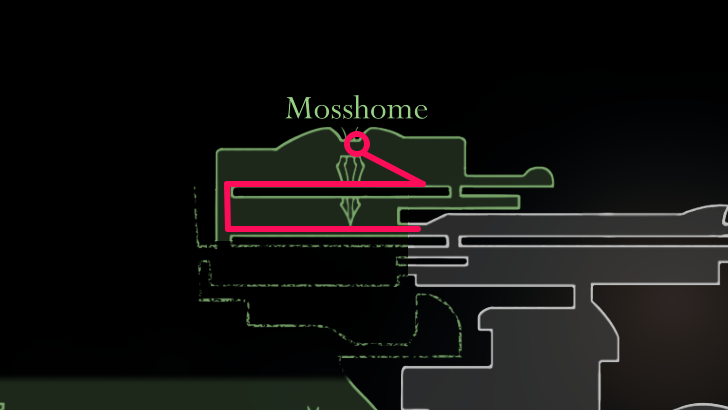 Your goal in Mosshome is to obtain the Silk Skill called Silkspear since you need it to free the Bell Beast. The skill is located at the spot highlighted in the image above. |
| 2 |  Once you are inside Mosshome, head west via climbing the platforms nearby. Be careful with the snail-like creature that shoot green orbs. You can go past it if you bait the creature to attack and then immediately jump to its platform as shown in the video above. |
| 3 | 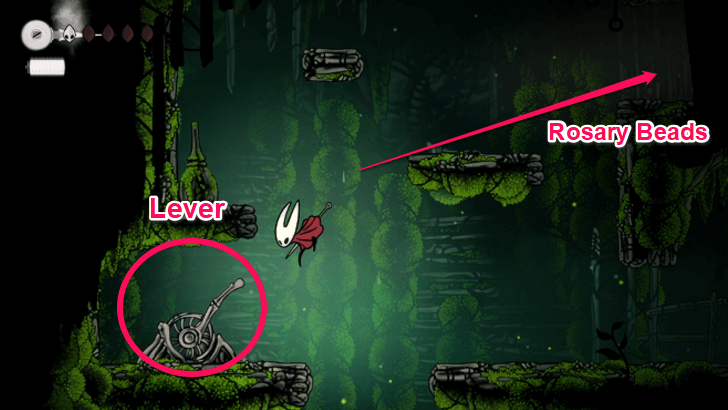 Before proceeding to the next area, hit the lever shown in the image above to activate a pathway below. Also, enter the room to the right in order to get a bunch of Rosary Beads! |
| 4 |  Once you are in the next area, head east until you reach a pathway blocked with silk. Since you need the Silkspear ability to remove the silk, head to the room above it. The room will lead to the spider effigy that will give you the Silkspear ability! |
| 5 | 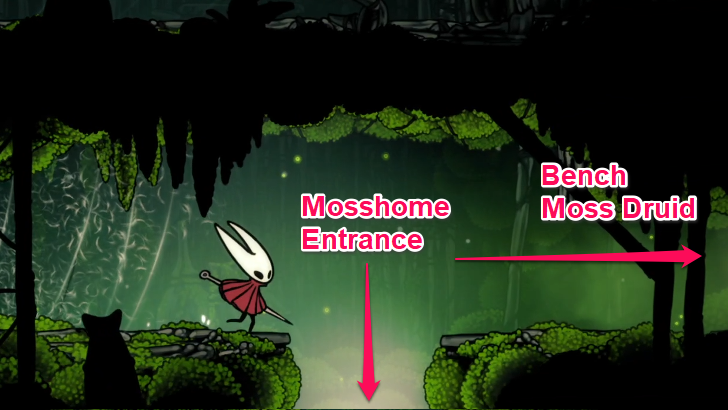 After getting the Silkspear ability, go back to the pathway blocked with silk. Use Silkspear to destroy it and then continue heading east to enter a new area and meet the Moss Druid NPC that acts as the quest giver for Berry Picking. Before leaving the room, interact with the bench to heal and set a checkpoint. Exit the room and then head down the hole shown above. Your next objective is to return to Mosshome's entrance. So, you can go to Bell Beast's location. |
| 6 | 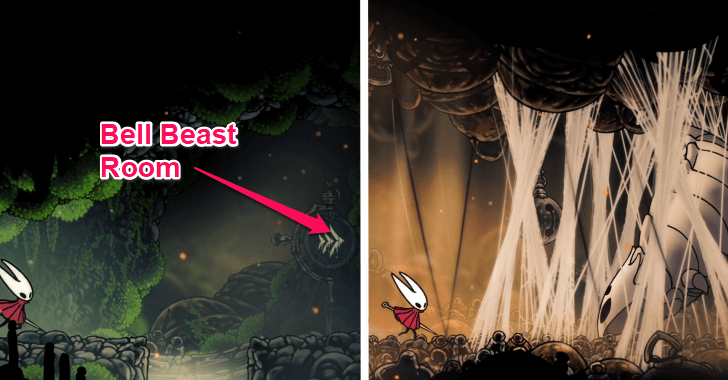 After going back to Mosshome's entrance, proceed to the location shown above. Once inside the room, destroy the silk trap to free Bell Beast. As soon as you destroy the trap, a boss fight will trigger. After defeating Bell Beast, a Silk Heart will be consumed and the Fast Travel system will be unlocked as well. Ride Bell Beast to go back to Bone Bottom! ► Bell Beast Boss Guide |
Deep Docks
| Deep Docks Guide | |
|---|---|
| 1 |  Once you have traveled back to Bone Bottom, feel free to do some Tasks first since you have unlocked the quest board already. If you haven't yet, you can also grind Rosaries to buy the Mask Shard from Pebb. ► All Task Locations and Rewards |
| 2 | 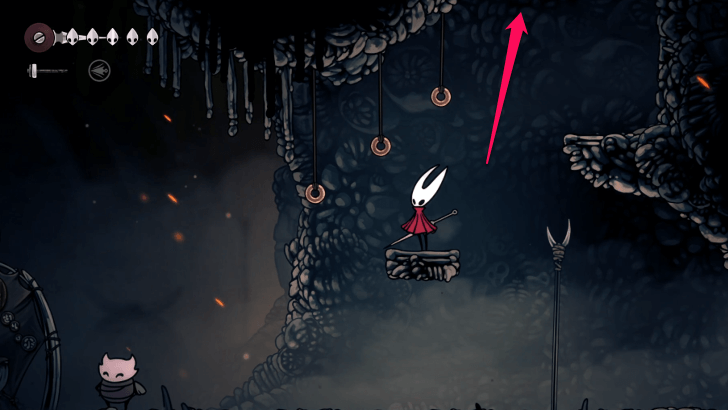 You can visit Shakra too and buy the rest of their wares if you haven't yet. The Map NPC is on the platform northeast of the quest board. ► Shakra Locations and Item List |
| 3 | 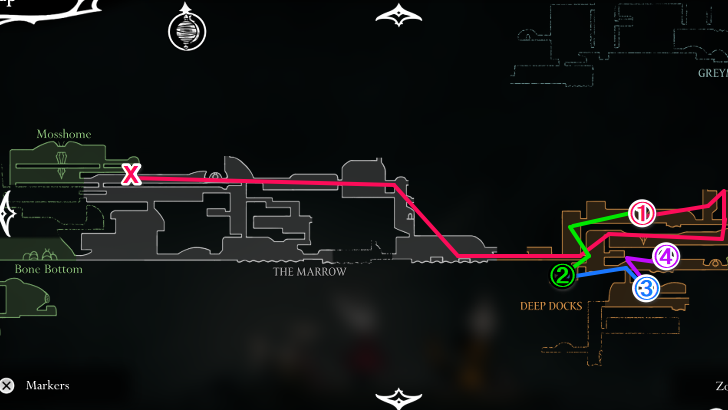 When heading to Deep Docks for the first time, you'll want to start at The Marrow's Bellway Station. You also need to do 4 things: ① = Unlock Swift Step (Dash) ② = Activate the Bellway Station ③ = Rest at the Bench ④ = Fight Lace in Deep Docks |
| 4 | 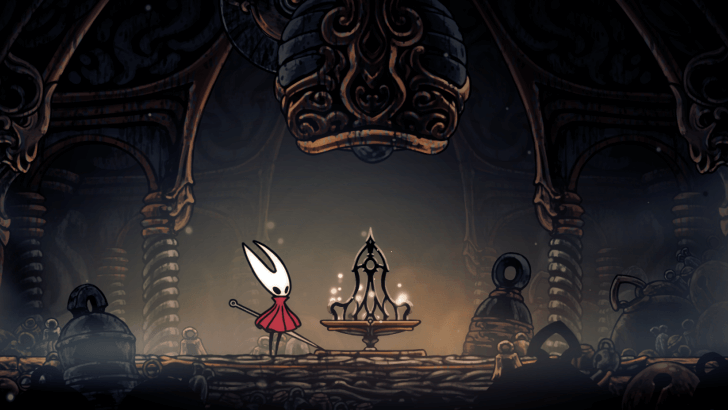 From The Marrow's Bellway Station, simply head east. You will encounter a bench on the way; make sure to interact with it since discovering all the bell benches is required to progress the game's story. |
| 5 |  From The Marrow's Bellway Station, Continue heading east, you will eventually see a lever on the way; make sure to hit it to open a pathway. So, an alternative path to the bottommost part of The Marrow will be available for you to use later. |
| 6 | 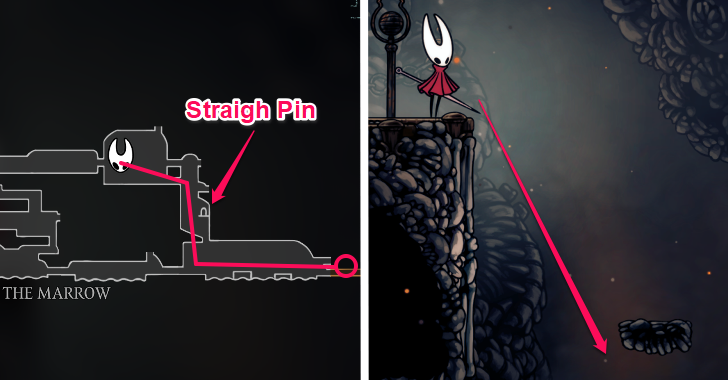 As you reach this point of The Marrow, head down and then continue heading east. Feel free to explore your surroundings. Just make sure you can safely return to the path on the way to Deep Docks. We recommend picking up the Straight Pin tool inside the room marked above. It is a tool that allows Hornet to launch ranged attacks, which will be useful against Lace. |
| 7 | 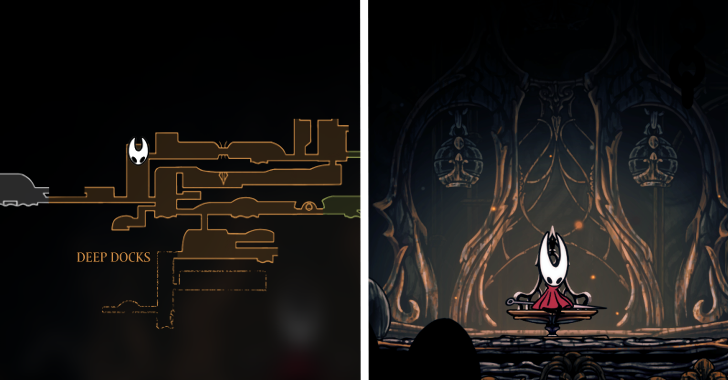 Once in Deep Docks, rest at the bench near the entrance, easily found via directional signs. After resting, head down using the lifts you used to reach the bench. Then, head east to enter Deep Dock's next area. |
| 8 | 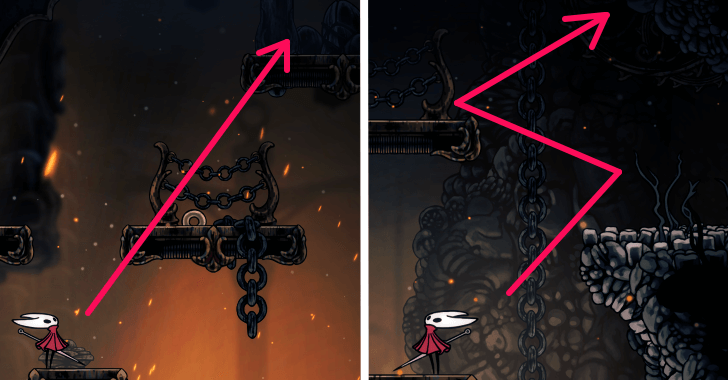 You then want to climb up the platforms and then head northeast of the area to reach the pathway towards the dash ability's location. |
| 9 |  As you head towards Swift Step's location, you eventually need to hop on magma to reach the rightmost part of the area. Do not worry since you won't take damage as long as you are constantly hopping around! Once you have reached a dead end, climb up and then enter the hole, which is the entrance to Deep Docks' topmost area. |
| 10 | 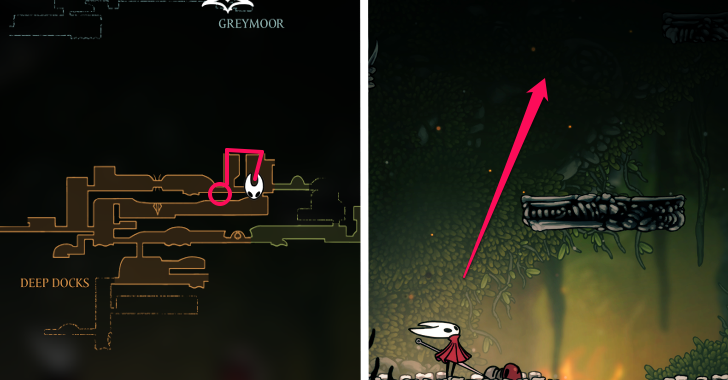 Climb up the platforms until you see a hole. Go through it to enter the next area. |
| 11 | 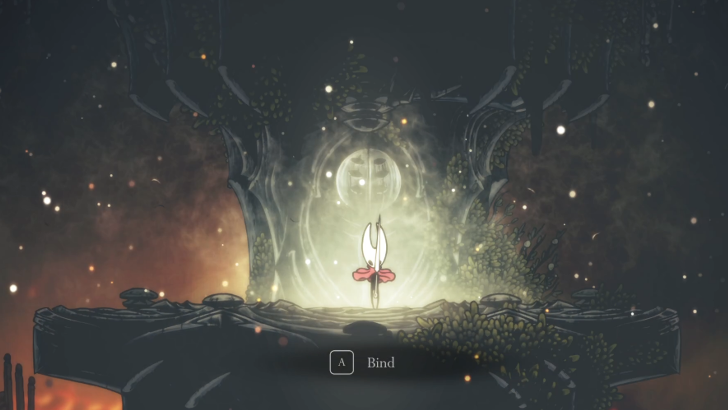 Head west until you see an effigy. Activate it to get Swift Step (Dash). After getting the ability, continue heading west until you see a lever. Hit it to open a door leading towards the room where Deep Dock's first bench is located. Interact with the bench to heal and set a checkpoint. |
| 12 |  Again, exit the room using the lifts nearby. This time, enter the area where Deep Dock's Bellway Station is located. Activate the station using Rosaries. If you don't have enough Rosaries, farm the humanoid enemies outside of the station. |
| 13 | 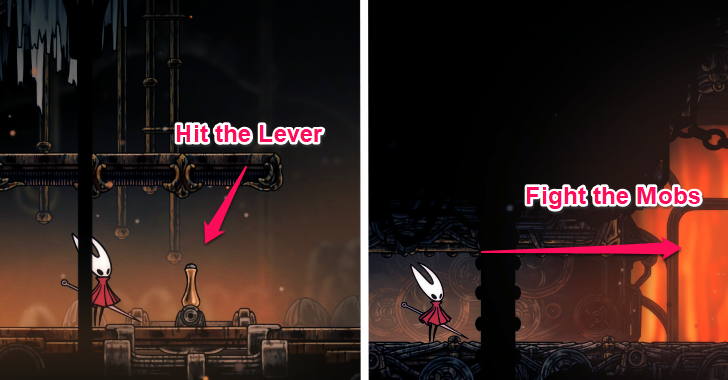 From the Bellway station, head east until you see a direction sign pointing to a bench. Hit the lever to open a door to the bench's location. Once inside, go to the left and then ride the lift. Head east until you reach a room where you need to find several waves of enemies. After beating the mobs, climb up to reach the bench. Resting at this bench is important because it is the nearest checkpoint to Lace's first boss fight. |
| 14 |  When you are ready, exit the area through the same door you used to access it. Finally, head east until a fight with Lace triggers. With Swift Step unlocked, beating Lace shouldn't be difficult as long as you properly time your jumps when she attacks. Then, attack Lace from behind! After beating Lace, head east to activate a bench. ► How to Beat Lace |
Far Fields
| Far Fields Guide | |
|---|---|
| 1 | 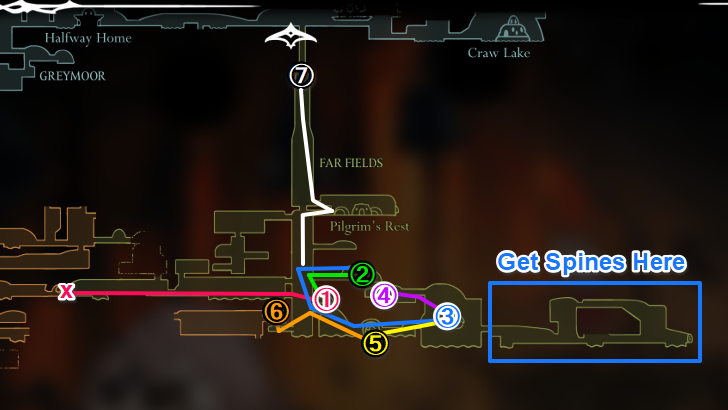 When exploring Far Fields for the first time, you mainly need to do 7 things: ① = Visit Shakra ② = Activate the Bellway Station and Bench ③ = Get the Drifter's Cloak (Seamstress NPC) ④ = Get the Mask Shard ⑤ = Fight Fourth Chorus ⑥ = Get Warding Bell (Tool) ⑦ = Go to Greymoor |
| 2 | 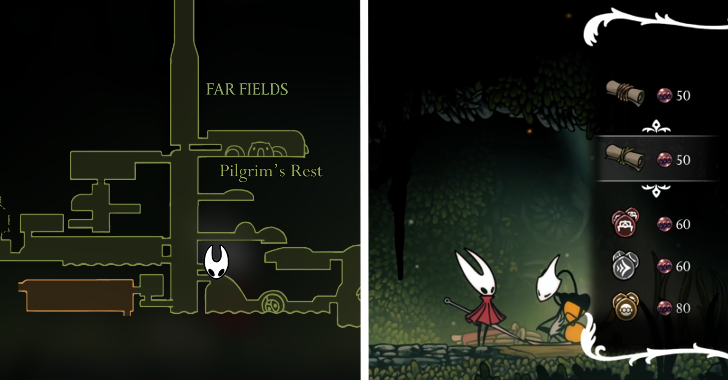 When you are ready, leave Deep Docks and then head east. Make sure to activate the bell bench near Far Field's entrance. Go straight to Shakra's location so you can buy the map for Far Fields. |
| 3 | 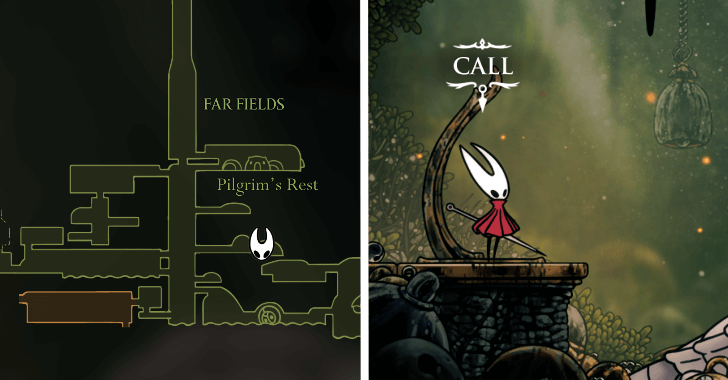 After buying a map, head north to rest at a bench and, more importantly, activate Far Field's Bellway Station. If you are short on Rosaries, farm humanoid enemies nearby. |
| 4 | 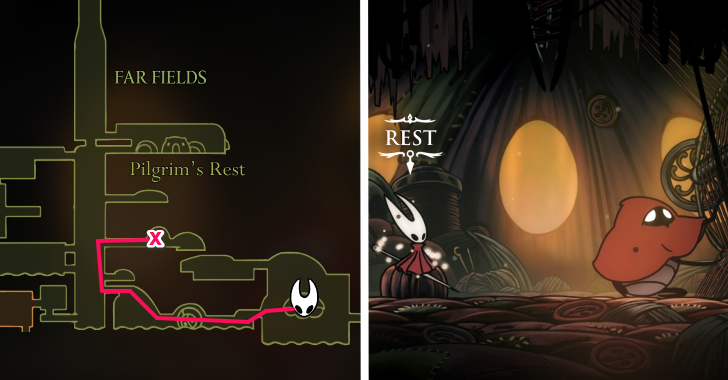 Fourth Chorus, the main story boss in Far Fields, will not appear until you get the Drifter's Cloak from the Seamstress NPC. The path towards the NPC's location is straightforward; just do not fall into the lava! Once you are inside the Seamstress' tent, rest first to set a checkpoint. Then, talk to the Seamstress to start the Wish called Flexile Spines. For the Wish, you need to collect 25 Spine Cores from Hokers. You can find Hokers within Far Field's rightmost area. ► Flexile Spines Walkthrough |
| 5 |  To gather Spine Cores, you need to make a Hoker attack on you. Doing this will have the Hoker shoot out a bunch of its spine. Once a spine hits a ground or a wall, hit it to get a Spine Core! After gathering 25 Spine Cores, return to the Seamstress to claim the Drifter's Cloak. It's an equipment that allows Hornet to ride strong winds or glide gracefully. |
| 6 | 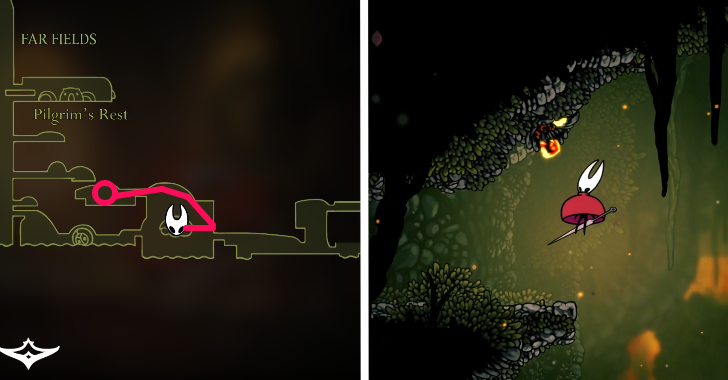 With the Drifter's Cloak obtained, use it to reach a hidden cave where a Mask Shard is located. |
| 7 | 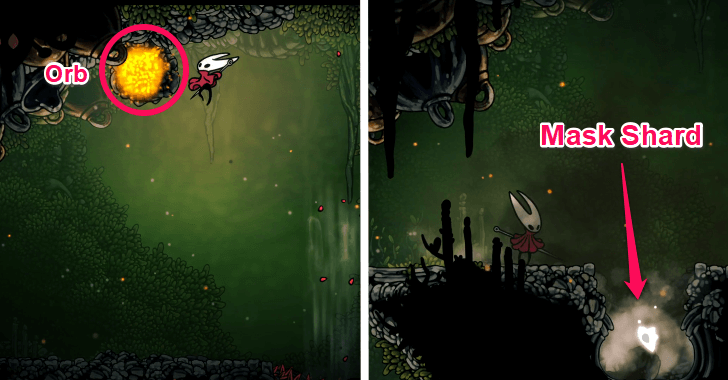 Once inside the cave, destroy all the molten orbs or rocks you see to activate the cave's air vents. Head west until you see a huge molten orb on the cave's ceiling. Ride the air vent to the right and attack the orb. With the orb exploding, it will reveal the hidden Mark Shard's location! |
| 8 | 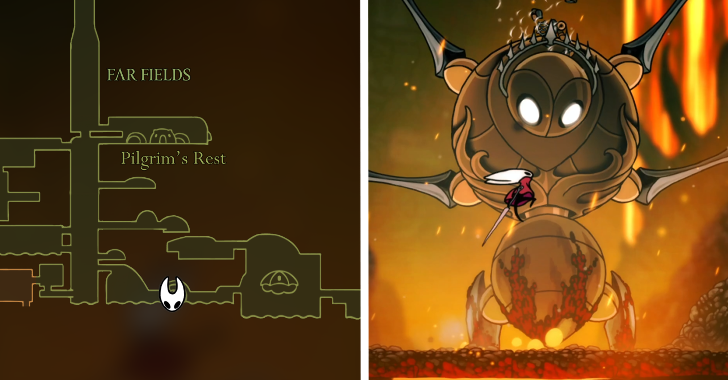 After picking up the shard, head out of the cave and then return to the Seamstress tent to rest. Then, head to the Fourth Chorus' location to trigger a boss fight. The fight revolves around actively hitting its head while avoiding its limb attacks and falling molten rocks. After beating Fourth Chorus, head west and then locate the cave where the Warding Bell is located. |
| 9 | 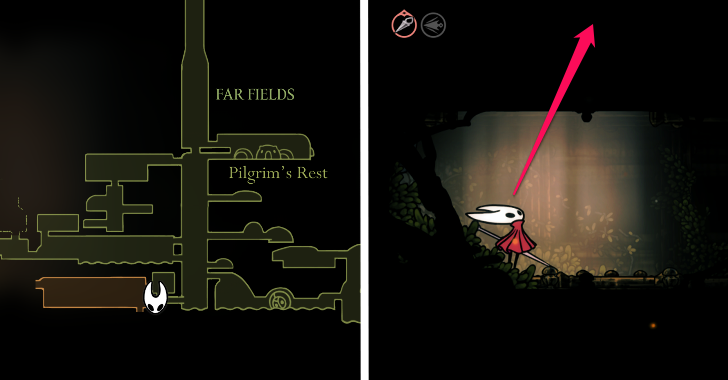 Once you are in the entrance of the cave, climb up to actually reach the Warding Bell's spot. Pick it up from the corpse. |
| 10 | 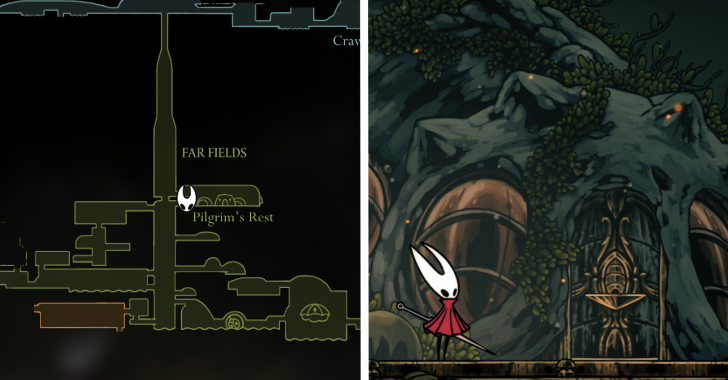 After obtaining the Warding Bell, you can now head to Greymoor. The path to Greymoor is simple: ride the air vents until you reach the topmost portion of Far Fields. Obviously, if a molten rock blocks an air vent, destroy it. Before entering Greymoor, go to Pilgrim's Rest first. Inside Pilgrim's Rest, you can find a bench and an NPC that sells Tools. Do note that you need to pay 30 Rosaries whenever you enter the NPC's house. |
| 11 | 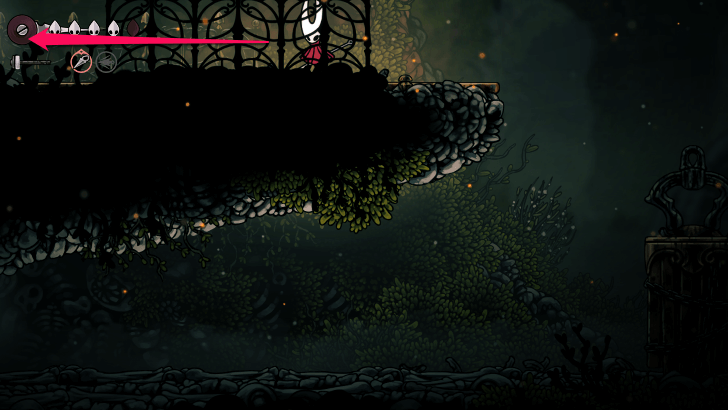 Within Pilgrim's Rest, you'll see a platform to the right of the NPC's house. Climb up the platform and then head west. Eventually, you will reach a pathway above the entrance of Pilgrim's Rest. Head out of Pilgrim's Rest through the pathway and then hit the lever. Use the air vents again until you actually reach Greymoor! |
| 12 |  Once you are in Greymoor, head east to rest and also to encounter Shakra again. Immediately buy the map for Greymoor. |
Greymoor
| Greymoor Guide | |
|---|---|
| 1 |  Once you are in Greymoor and have bought its map, feel free to explore it first. However, you need to do the following things before leaving the region: ① = Go to Halfway Home, talk to Nuu ② = Activate the Bellway Station ③ = Meet Garmond and Zaza ④ = Get Reaper Crest ⑤ = Fight Moorwing ⑥ = Obtain Thread Storm ⑦ = Rest at the Bell Bench There is, however, an alternate route to reach Greymoor and skip the Moorwing fight. Clearing the Wish called The Lost Fleas by collecting 5 Fleas will give you the option of riding the Caravan to Greymoor. The Caravan will spawn at the exact location of Moorwing's spawn point. If you decided to do the alternate route, Moorwing will spawn west of Halfway Home, just outside the entrance of Greymoor Bellway Station. |
| 2 |  From Shakra's temporary location in Greymoor, head west. The path is to Halfway Home is straightforward; you just need to fight a bunch of enemies. |
| 3 | 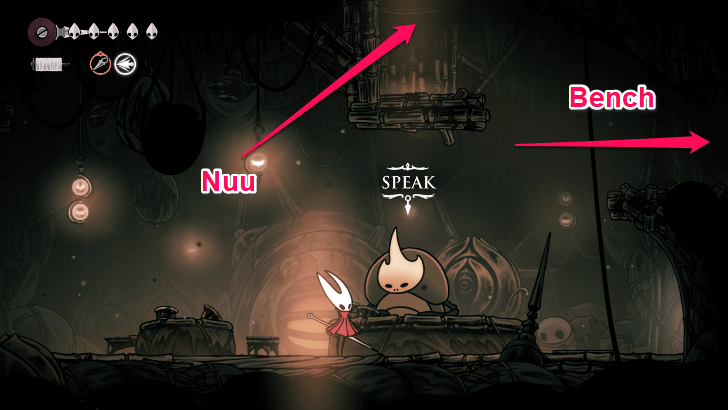 After entering Halfway Home (the entrance is on the left side of the house), rest at the bench and then talk to Nuu. The NPC will give you a Hunter's Journal, which tracks all the enemies and bosses you have slain so far. Do note that the area to the left of Halfway Home will force you to fight a wave of enemies before you can proceed to the next area. So, equip your best Tools in Halfway Home before leaving. Also, Halfway Home is the nearest checkpoint to Moorwing's spot. |
| 4 |  Exit Halfway Home and then immediately go to Greymoor's Bellway Station. Activate it so you can freely move out of the region if you want to backtrack and explore other regions whose Bellway Stations you've activated. |
| 5 |  Head out of the station, go to the spot shown in the image above first to pick up a Memory Locket, which will allow you to expand a Crest! ► Memory Locket Locations |
| 6 | 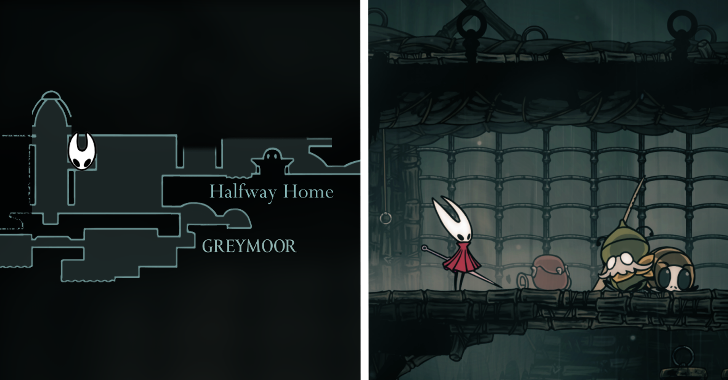 Head northwest to recruit two NPCs that will aid you in the Moorwing fight. |
| 7 | 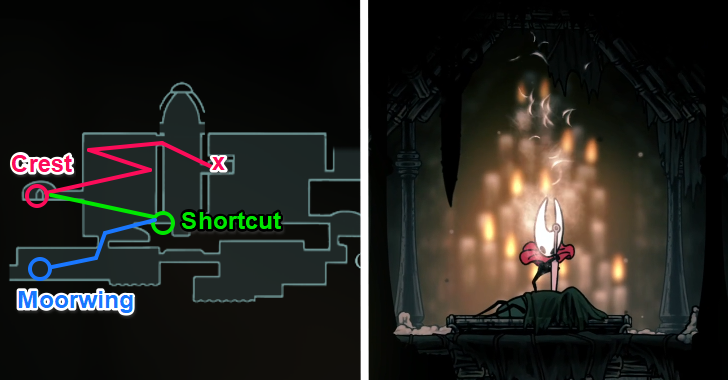 Before going to Moorwing's spot, head to the Reaper Crest's location first, which is located in a hidden area west of Garmon and Zaza's spot. Do note that before you get the Crest, an ambush will occur. You need to defeat a wave of enemies before you can bind the Crest to Hornet! After obtaining the Crest, exit the area and then open the shortcut so you can explore Greymoor more easily later. Then, head to Moorwing's spot! |
| 8 | 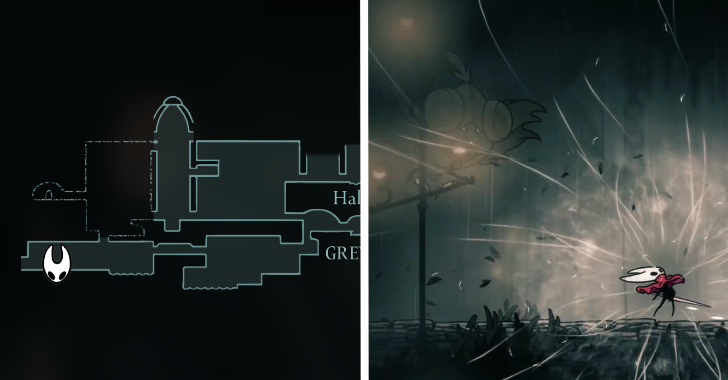 When you are on Moorwing's spot already and it spawns, Garmon and Zaza will not appear initially. You need to die or flee from Moorwing first and then return to Garmon and Zaza's location. Talk to Garmon and he will mention helping you. With this, return to Moorwing's spawn point. |
| 9 | 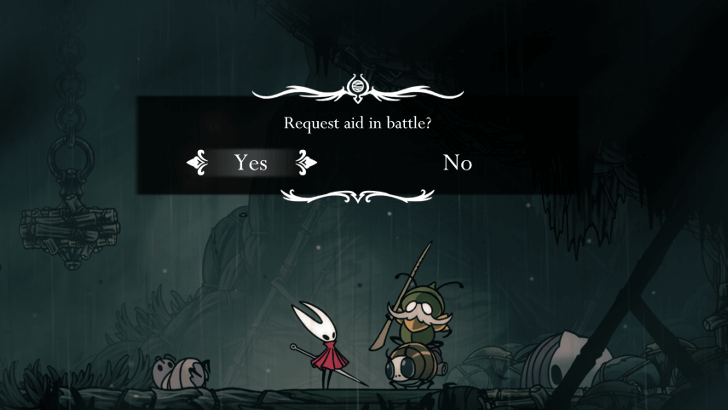 Before fighting Moorwing again, you can now ask for Garmond and Zaza's support, who are located nearby. They join the boss fight after a few seconds. After beating Moorwing, rest at the bench to restore your health |
| 10 |
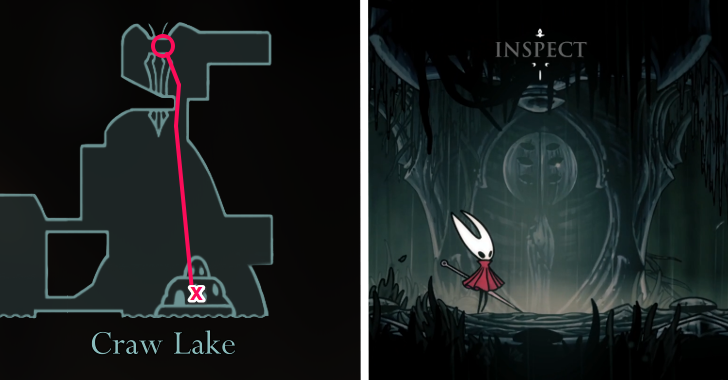 Before heading east to Haunted Bellhart, we recommend getting Thread Storm, a Silk Skill, since its AoE is better compared to the Silkspear. It will be useful against the bosses you will encounter after Moorwing. To access its location, you need to enter the house in Craw Lake first. Inside, go to the top-left corner and then beat the waves of enemies. We recommend using the Reaper Crest for the fight since it is easier to hit flying enemies with it. After beating the enemies, climb up and then hit the mechanism to spawn balloons outside the house. Head out and then use the balloon to pogo to the skill's location. Finally, bind Thread Storm to Hornet! |
| 11 | 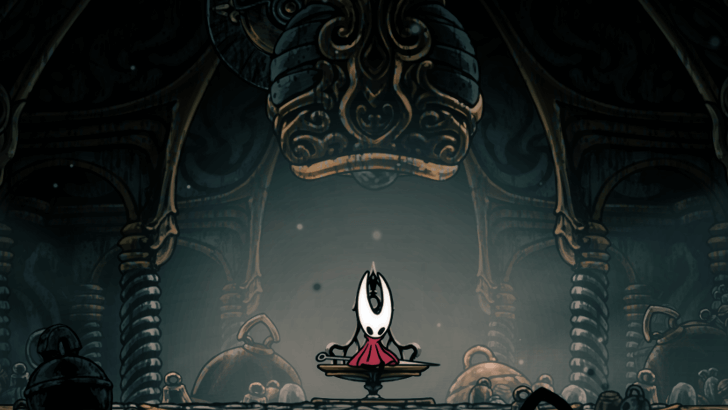 After getting Thread Storm, glide down using Drifter's Cloak and then hug the left side of the area until you land on the platform that eventually leads to Greymoor's bell bench. Continue heading east until you spot the bell bench, and interact with it to restore your health. Do note that to progress the story, you need to complete the main quest called “Save the Threadspun Town” first. The quest gets added to your log once you enter Haunted Bellhart for the first time. Its quest reward, Needolin, is needed to open the Citadel Gate! ▼ Save the Threadspun Town Walkthrough |
Blasted Steps
| Blasted Steps Guide | |
|---|---|
| 1 | 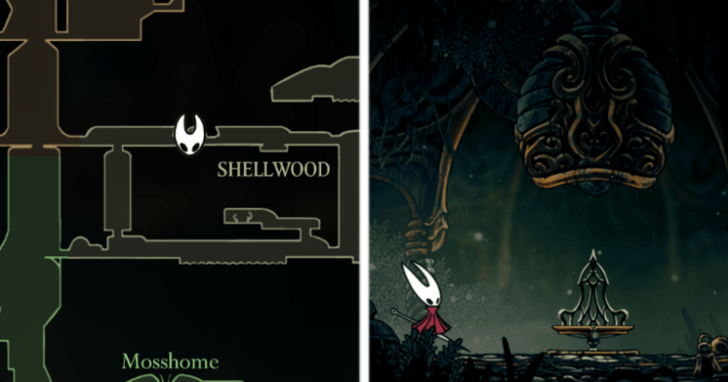 Before heading to Blasted Steps, make sure to activate the Bench that connects to the Shellwood fast travel spot so that you have a nearby bench to respawn to. Do note there is another way to beat Siksong's Act 1. Instead of fighting the Last Judge in Blasted Steps, you can fight Phantom in Exhausted Organs to reach the Citadel! ▼ Beat Phantom (Alternative Route) |
| 2 |  Hop across the ravine to reach Blasted Steps. If you fall down the ravine here, you'll end back at Bone Bottom! |
| 3 | 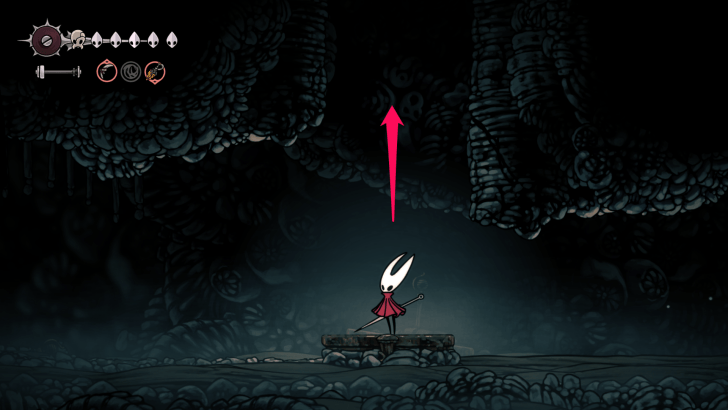 After crossing the ravine, run all the way to the left until you reach a small metal podium. Wall jump up and follow the path right to reach the next area. Note: If you continue running all the way left, you'll reach the area in the opening cinematic but Hornet will refuse to leave Pharloom. |
| 4 | 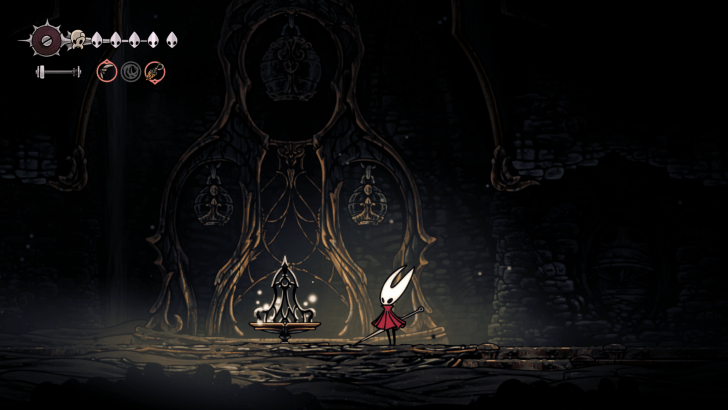 Once you reach the next area, spend 60 Rosaries on the Bench to create a checkpoint before proceeding to the left. |
| 5 | 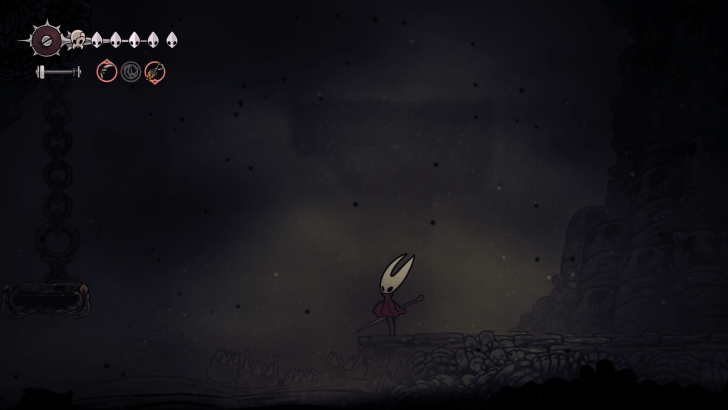 Blasted Steps has a weather system that you need to pay attention to. When the sky darkens, the wind will blow very strong and will slow down or speed up your glide depending on the direction you're facing. Wait for the sky to clear and jump across the nearby platforms while making your way to the left. |
| 6 | 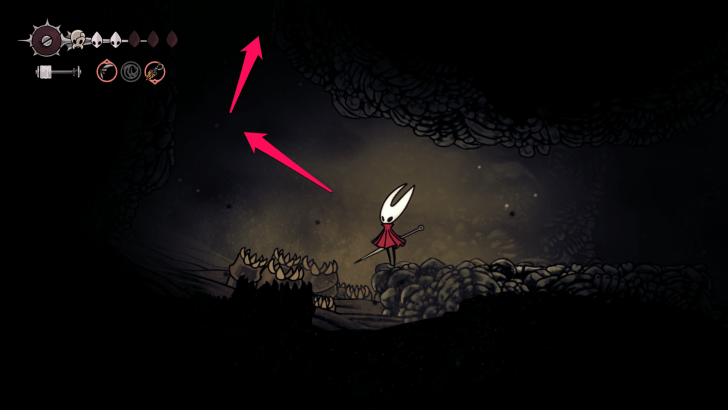 Make your way to the left of the area until you reach a small cave where you'll need to wall jump up to reach the top. |
| 7 | 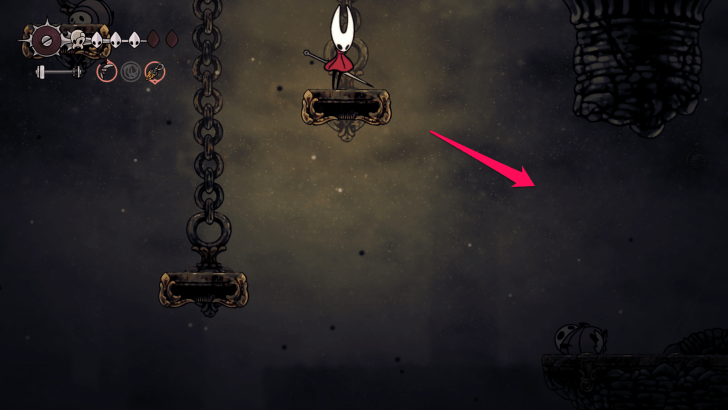 Hop across the metal platforms to the right and drop down the rocky area. Two enemies will spawn and you can defeat them or continue heading to the right. |
| 8 | Pogo across the bells then head all the way to the right across the rocky platforms to reach the next area. |
| 9 | Continue heading to the right and into the next area until you reach Shakra and purchase a map of Blasted Steps from her for 70 Rosaries. |
| 10 | Hop up from Shakra's spot and head northwest, using the bells to pogo to the platforms until you reach the exit to the next area. Note: You can lure the flying enemy back to Shakra's spot and she'll kill it for you. |
| 11 | 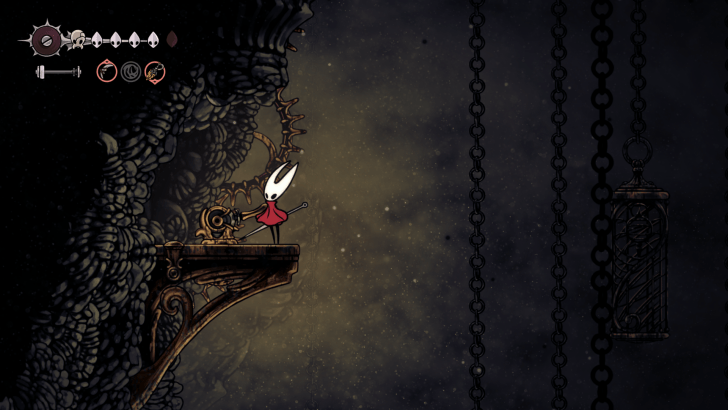 Hop up the platforms to the left and hit the lever to create a shortcut at the bottom. |
| 12 | Starting from the lever, make your way all the way up to the top of the area. Once there, head left and pay some rosaries to activate the bench. |
| 13 | 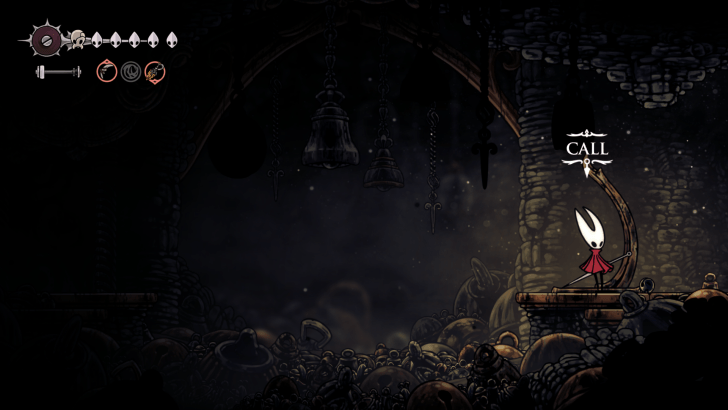 Head left from the bench and pay some rosaries to activate the fast travel. |
| 14 | Head right from the bench and into the next open area and hop across the gaps to reach the top platform. |
| 15 | Carefully pogo to the right and then up to reach a large open area. |
| 16 | Before making your way to the northeastern part of the map, drop down the hole and head left to reach a spot where you can dig up a Craftmetal. There are falling boulders in the cave so take care when dropping down the shafts. |
| 17 | 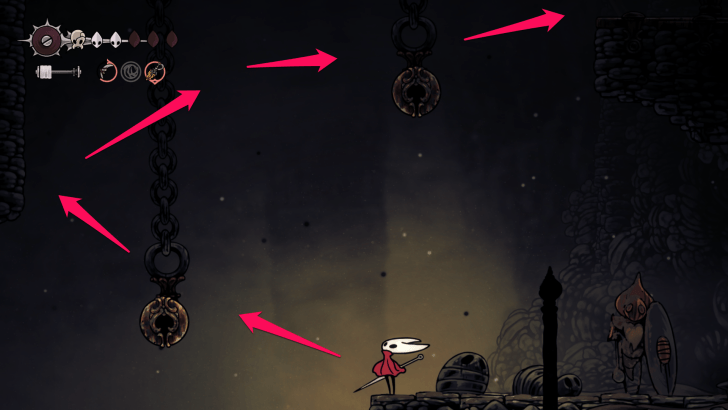 Head back up and make your way to the spot where there's a statue of a bug warrior. You'll need to pogo across the bells and wall hop to reach the top area to the right. |
| 18 | 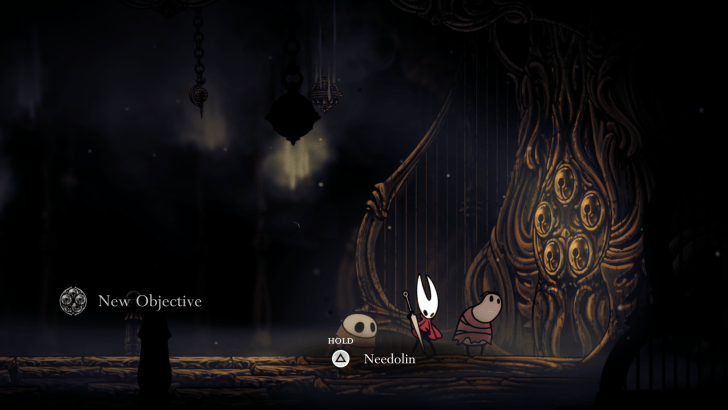 Head to the right and speak to the two Pilgrims standing in front of the Grand Gate. The gate requires you to activate benches with bells in other areas to play the Needolin. If you're missing any benches, you'll automatically receive the Grand Gate quest and the missing benches will be automatically marked on your map. Once you activate all the missing benches, head back to the gate and play the Needolin which will summon The Last Judge for a boss fight. ► Last Judge Boss Guide |
Beat Phantom (Alternative Route)
| The Sinner's Road Guide | |
|---|---|
| 1 | 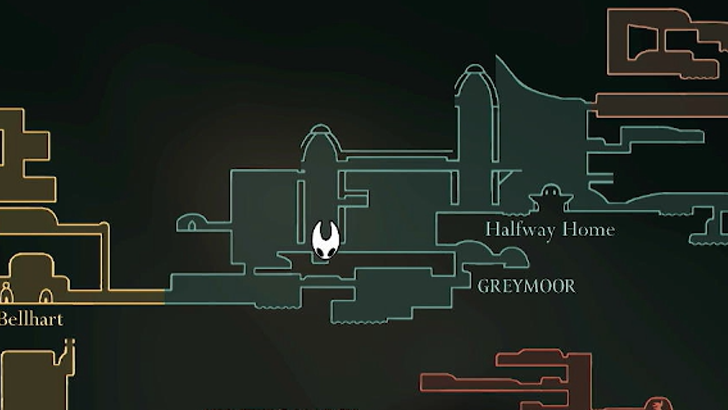 To get to the Sinner's Road, you will first need to go to the area to the left of the Greymoor Bellway Station. |
| 2 | 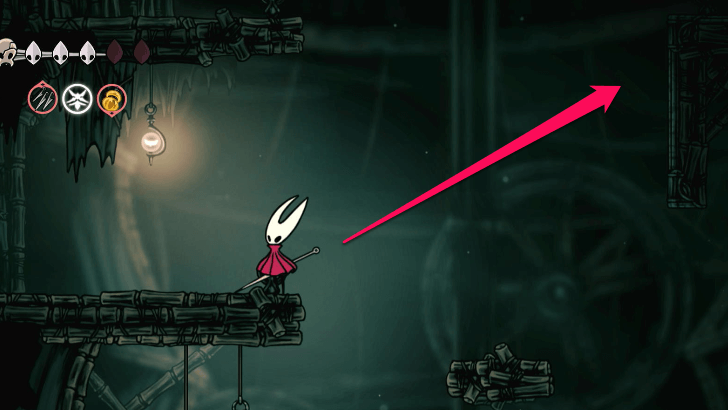 Go up the platforms inside the tower. Instead of going left in the direction of the Moorwing boss fight, get up on the platform to the right. |
| 3 | 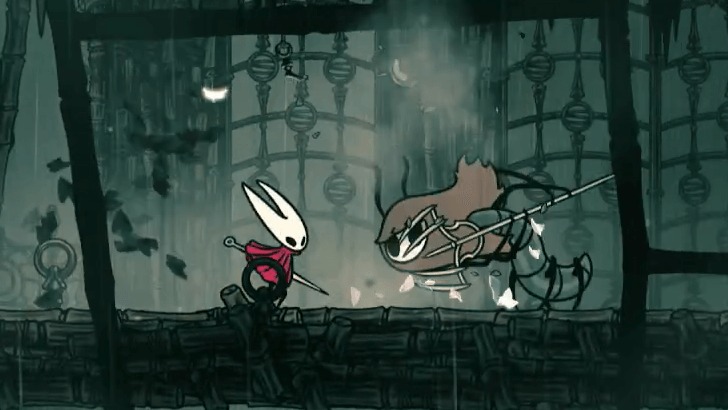 Go through the path on the right. Be careful of the Thread Raker patrolling through the next area. |
| 4 | 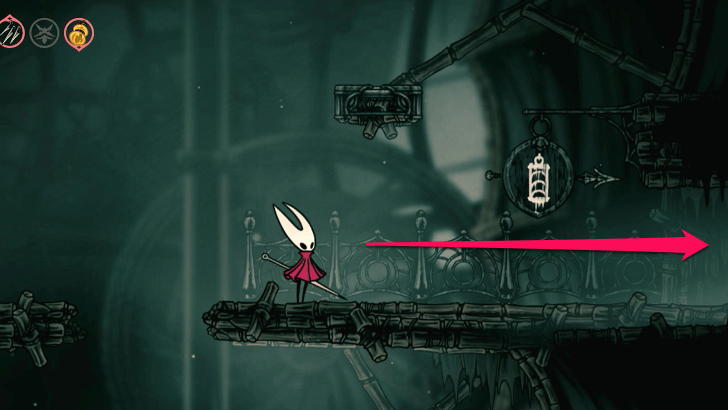 Jump over the gap and enter the path with the elevator sign. |
| 5 |  Standing on the button will activate an elevator that will drop down in front of the Half-Way Home. You can now use this as a mid-way checkpoint while going to Sinner's Road. |
| 6 | 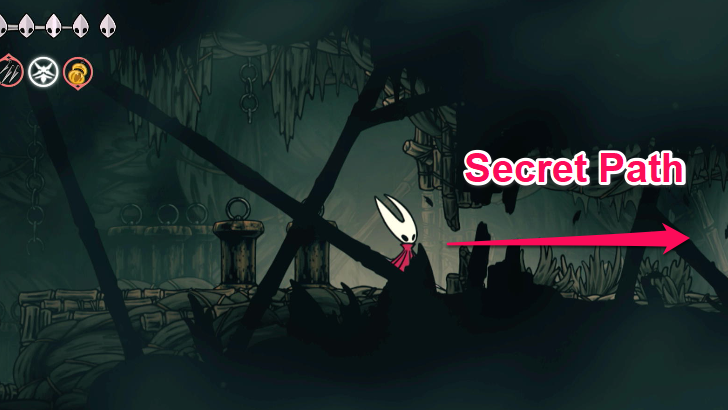 Continue past the elevator and jump on the platforms until you reach the ledge on the other side. If you keep going right, there is a breakable wall that you can hit to reveal a hidden room. Going down this room, you will find a broken carriage and a Flea NPC stuck in Silk. If you free him, he will return to the rest of the Flea Caravan and you will have access to a spa carriage at the Flea Caravan's location. ►The Lost Fleas Walkthrough |
| 7 | 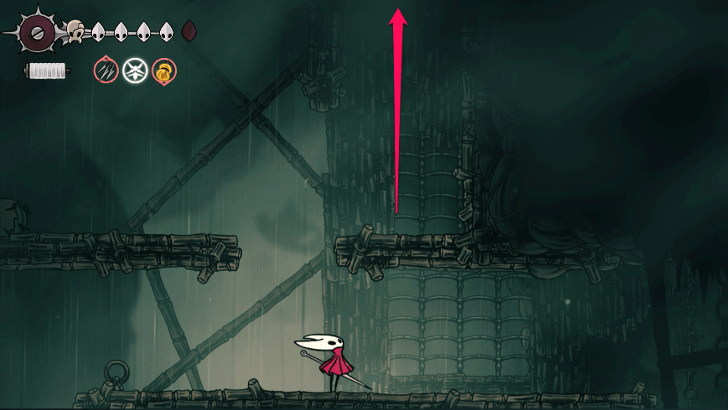 After you freed the Flea, go back to the ledge. Use the Wall Climb ability to get to the top and reach the path going right. |
| 8 | 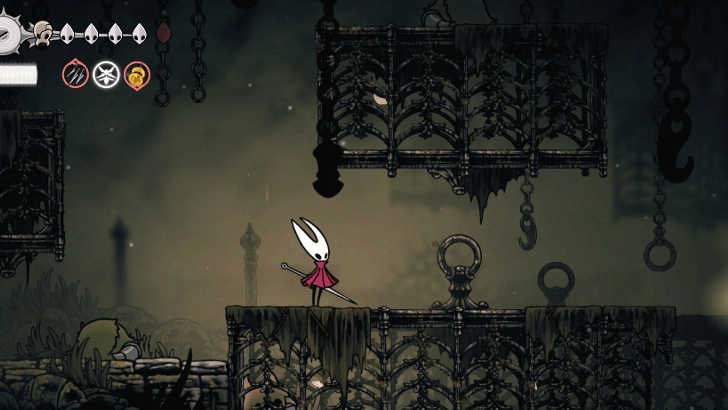 Proceeding to the right, you will find yourself at Sinner's Road. The road going to the right is lined with Muckroaches who can deal 2 mask damage if you get caught in their jaws. Use the cages to climb and jump to avoid fighting them. |
| 9 | 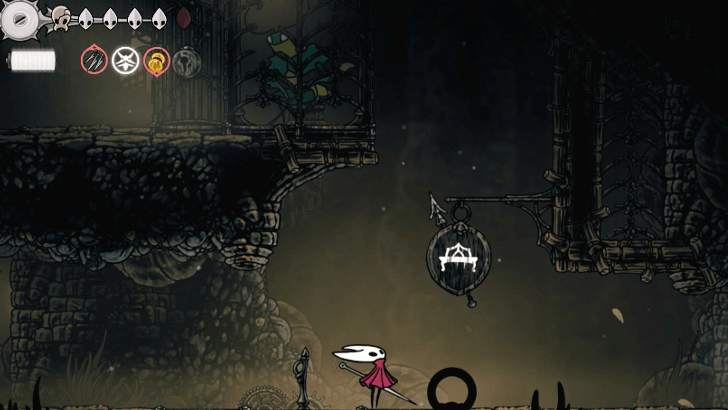 Upon reaching the next room you will immediately see two things: the Green Prince stuck in a cage, and a sign to the Bench pointing upwards. |
| 10 | 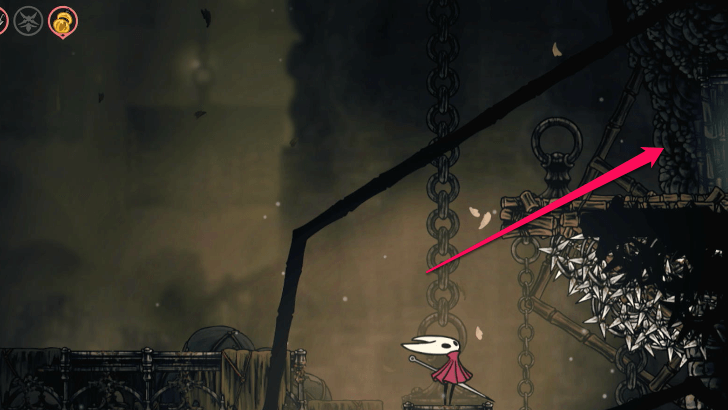 Wall Climb up to the top where the bench sign is pointing, then enter the path to the right. |
| 11 |  Go to the right and defeat the two flying enemies. Avoid falling into the infested water. If you fall into the water, your Silk Gauge will become infected and the maggots will slowly drain away your Silk. To remove the infection, you will need to fill your Silk Gauge and bind. This will shake away all the maggots, but it will not regenerate any masks. |
| 12 | After defeating the flying enemies, pogo off the three spikes then land on the wooden pier. Climb on top of the broken cage hanging above. |
| 13 | Pogo on the spike to the left of the hanging cage and land on the platform. Defeat the two flying enemies that will appear. It is better to defeat enemies than to dodge past them since they will keep following you while you're in the area, making your climb more challenging. |
| 14 | Once the enemies are defeated, use the spike to pogo to the next platform. After getting on the platform, hang onto the wall on the left then pogo off the two spikes to land on the metal platform. |
| 15 | 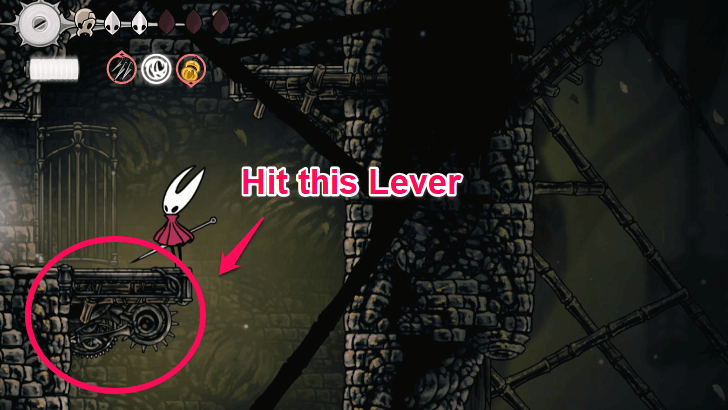 Jump onto the metal ledge and defeat the single flying enemy there. Afterwards, drop down to the platform below the locked door. Hit the lever to the left to open the door. |
| * | If you climb onto the wall on the left and pogo off the row of spikes hanging on the ceiling, you will reach the abode of an NPC duo named Crull and Benjin. Talk to them and they will give you a Hunt Wish to fulfill. ► Roach Guts Walkthrough |
| 16 | 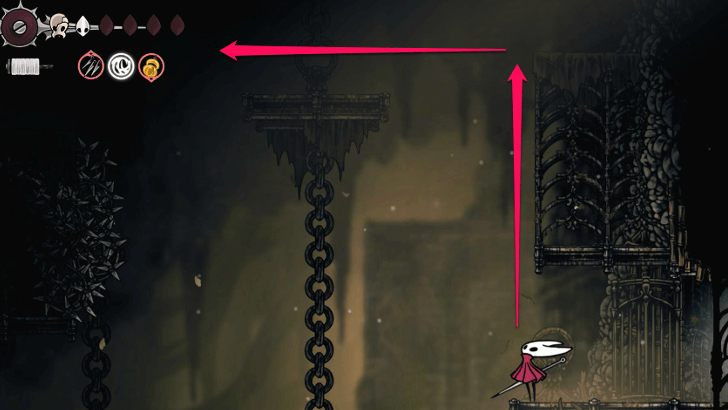 Go through the now opened door. Get on top of the cage above then platform to the left. |
| 17 |  Drop down then hit the lever. The cage below will be lowered down you can use it as a shortcut to get to the Bench from the area where the Green Prince is locked. |
| 18 |  Go down below then enter the area where the Bench Sign is pointing towards. |
| 19 | Use the spike to pogo above the infested pond. When you reach the platform, talk to Shakra to buy a map of Sinner's Road. |
| 20 | 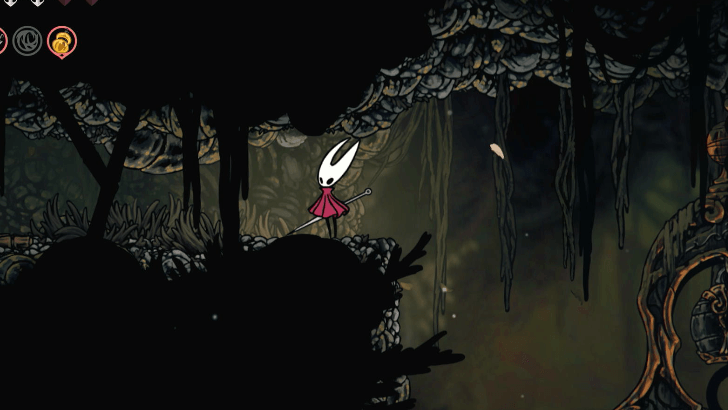 After paying the bench terminal, you will find that the bench is stuck and unable to go up. To fix the bench, climb up the wall beside Shakra and break the portion on the upper left. This will open a hidden path. |
| 21 | 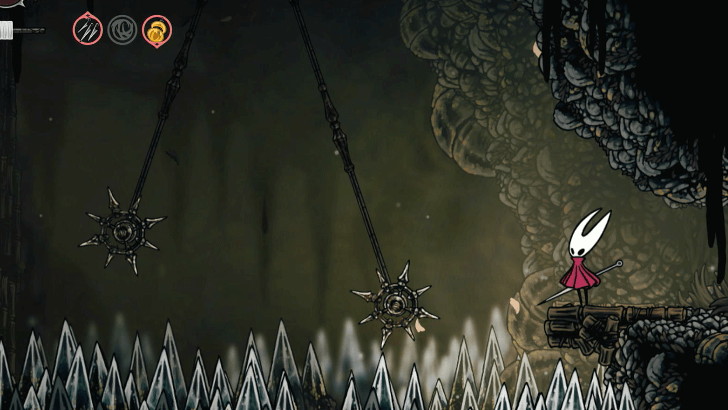 Go left then pogo off the swinging spikes to avoid falling into the spike pit. This area requires a lot of timing and patience so use the Drifter's Cloak to hang onto the air longer while you make your next move. |
| 22 |  Once you reach the leftmost side, hang from the wall then carefully slide yourself down. When you are positioned by the string of the spike, dash to the other wall. Do the same strategy for the next two sections. |
| 23 |  When you reach the platform with the two thread spools, go to the right and pogo off the swinging spikes to get all the way to the other side. |
| 24 | 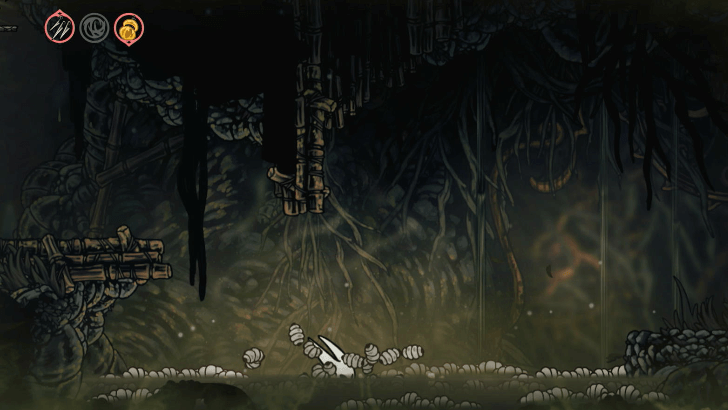 Drop into the infested waters then keep swimming until you see the cogs stuck in the roots. |
| 25 | 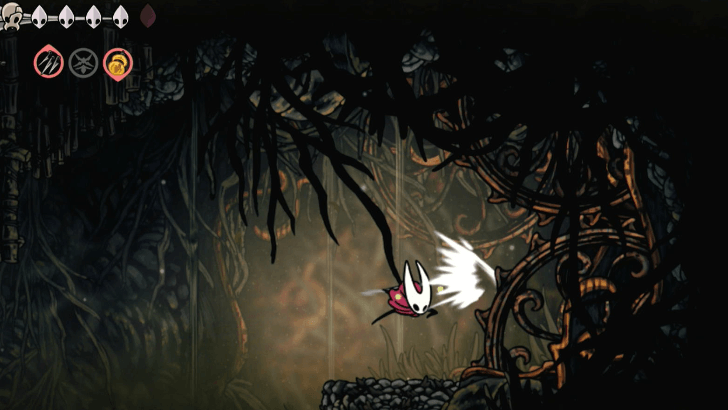 Slash the roots off the cogs to set the bench free. |
| 26 | 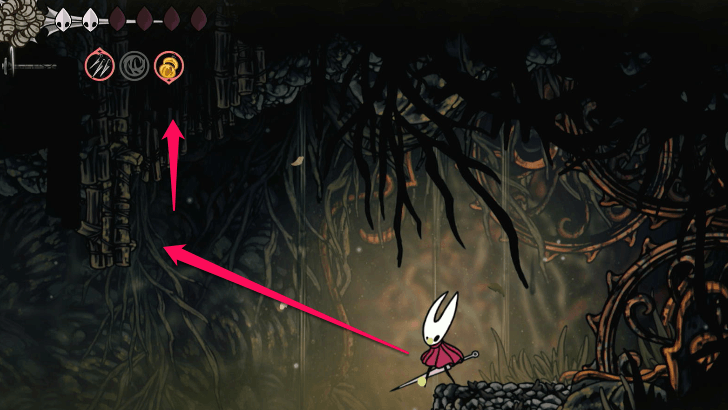 Climb up the opening above then jump on the platforms to the left. |
| 27 | 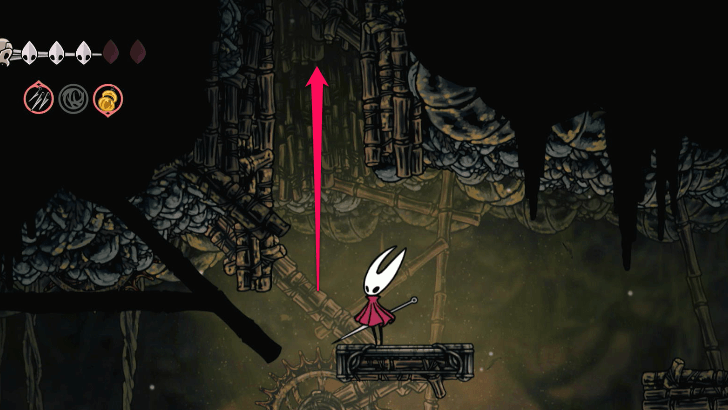 Wall climb up the opening and destroy the sticks supporting the platform. Pogo off the spikes to the right to get back to the bench area. |
| 28 | 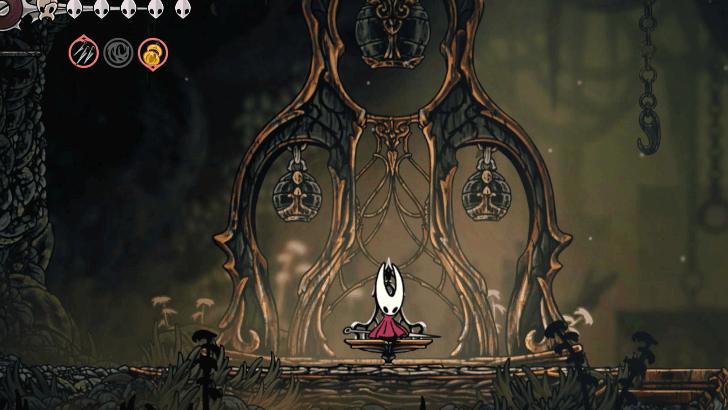 After resting on the bench, go back to the area on the right and continue your climb up to the top. |
| 29 | 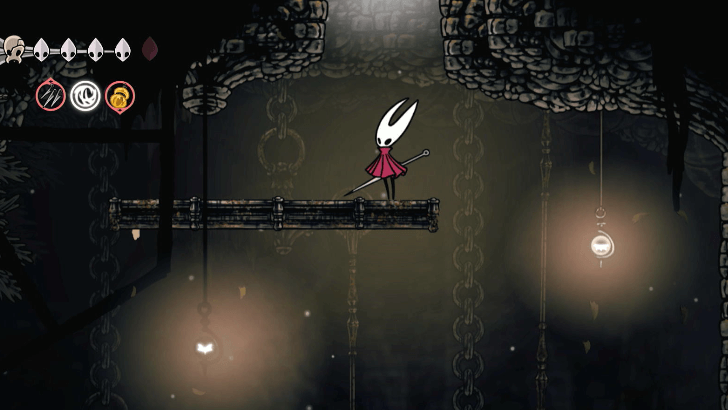 Once you reach the top, jump into the opening above. |
| 30 | 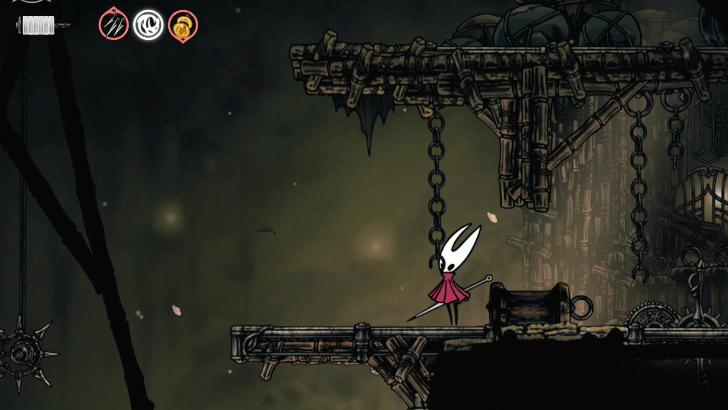 Open either of the metal latches. Once you have climbed out, head left. Avoid falling into the infested waters by pogo-ing off the hanging spikes. |
| 31 | 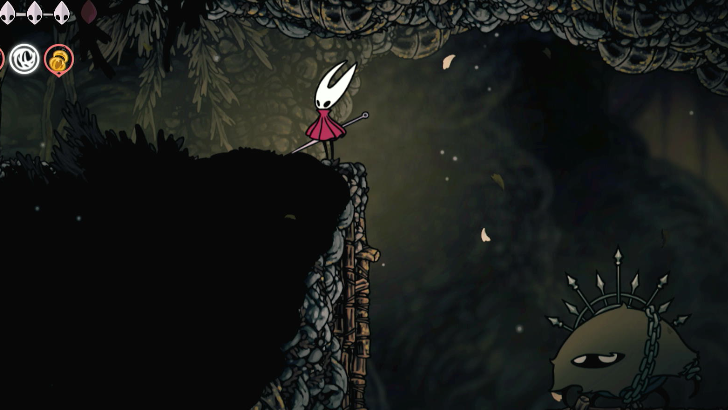 Climb up the wall beside the patrolling Roachkeeper. Hit the top left to reveal a path to the Mist. |
| Mist Guide | |
| 1 |  The Mist is an area covered in a confusing fog. If you keep going the wrong the way, you will find yourself looping around the area for a long time. To solve the Mist's puzzle, you will need to find the butterflies in each zone and play the Needolin near them. Satisfied by your song, the butterflies will fly towards the correct path. |
| 2 | 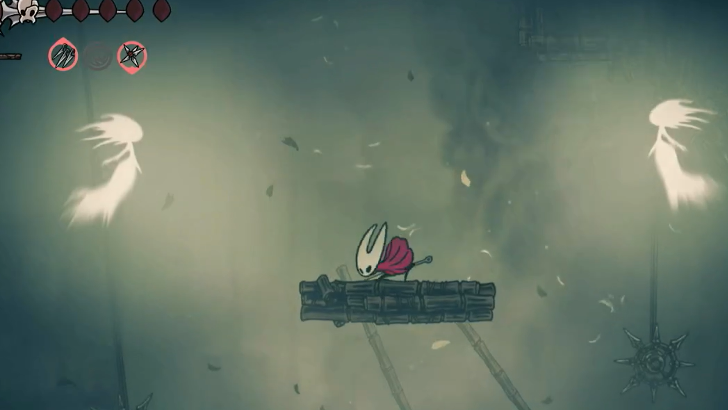 While navigating the Mist, you will come across ghost enemies who will chase you around until you leave the area. You can defeat them by luring them into traps, or pogo-ing off them when they dive towards you. |
| 3 | 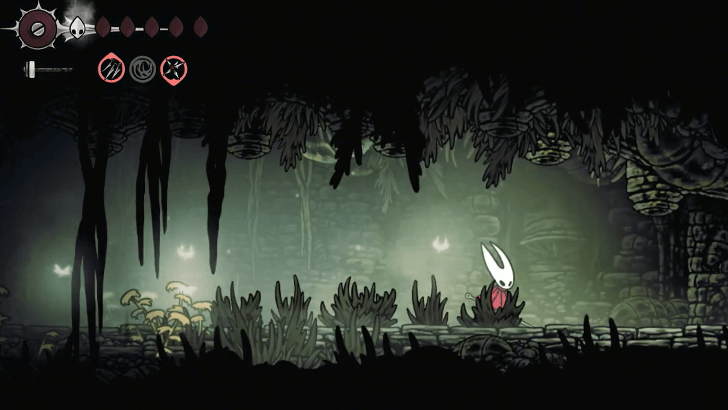 You will know that you have escaped the Mist when you find yourself running down a long corridor. At the end of this corridor is the entrance to the Exhaust Organ. |
| Exhaust Organ Guide | |
| 1 | 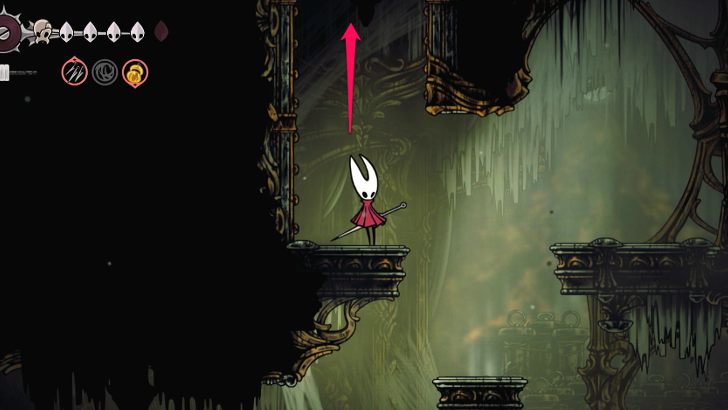 Enter the Exhaust Organ. After going down the hall, climb up the left wall and destroy the silk covering the bench. Use this bench as a spawn point. |
| 2 | 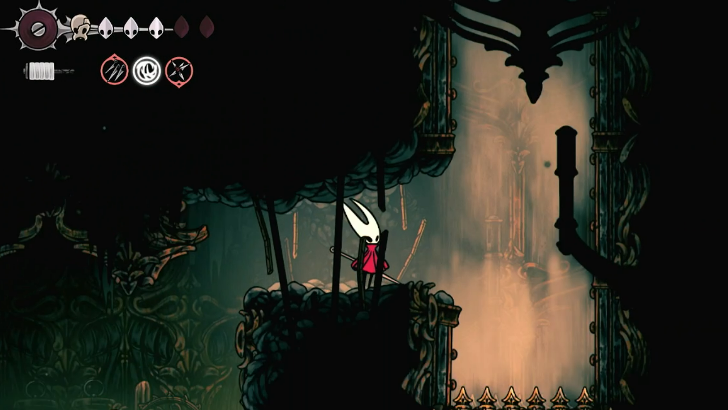 Head to the right then climb up the steaming pipe. Time yourself correctly to avoid getting hit by the steam while navigating through the section. |
| 3 | 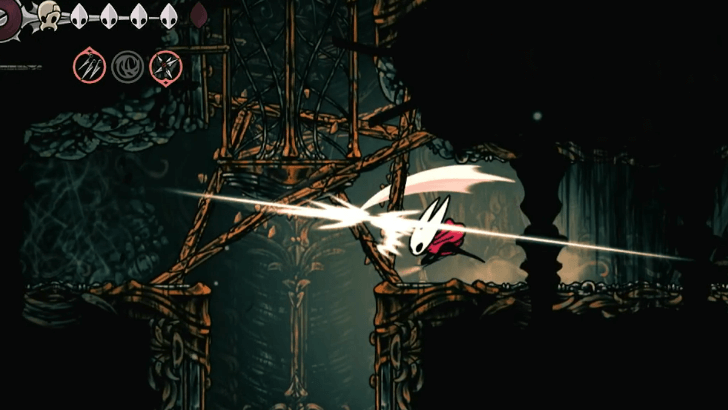 When you reach the end of the pipes, go down the lower path to the left then destroy the debris holding up the elevator. This elevator will fall down to the area with the bench and you will be able to use it as a shortcut to the boss if you respawn. |
| 4 | 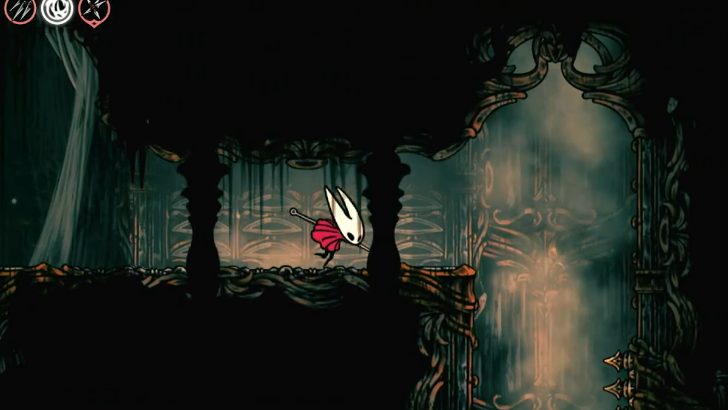 Climb up the path where the elevator was originally located. Go right then navigate through more steam pipes. |
| 5 |  When you reach the top, going left will take you to the Phantom's boss room. Defeating the Phantom will open a path to the left that will take you to the Citadel. This will get you to Act 2 without fighting the Last Judge. ► Phantom Boss Guide |
Save the Threadspun Town Walkthrough
| Jump to a Section! | |||
|---|---|---|---|
| 1 | Haunted Bellhart | 2 | Shellwood |
| 3 | Break the Silken Curse | 4 | - |
Haunted Bellhart
| Haunted Bellhart Guide | |
|---|---|
| 1 |  Entering Haunted Bellhart for the first time will trigger a cutscene. Then, you will automatically get the quest called “Save the Threadspun Town.” You need to finish this quest first to progress “Seek the Great Citadel.” |
| 2 |  As you can see, Bellhart's NPCs are bound by silk. So, you cannot interact with them until you beat Widow. But you can go inside the bell-shaped structure to the right of Bellhart's bench. Then, go down to activate its Bellway Station. As always, you need Rosaries for it to activate! |
| 3 |  In Bellhart's Bellway station, there is also a hidden pathway to the right. You can go inside and explore the area if you want to. It ultimately leads to a path to The Marrow! |
| 4 | 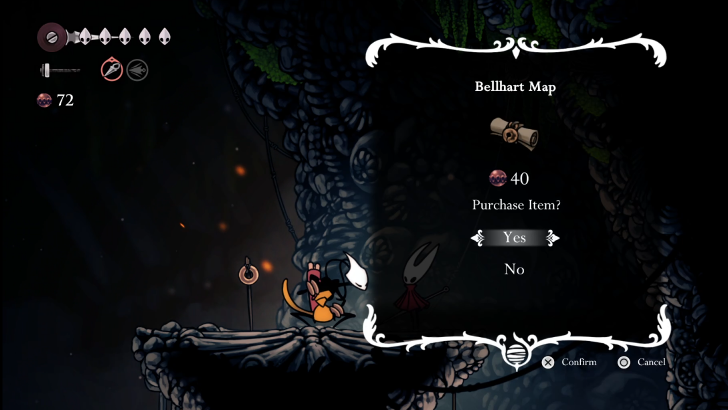 Return to the station and then call the Bell Beast to go back to Bone Bottom to buy Bellhart's map from Shakra. You can go back to Bellhart immediately via the Bellway Station or do some side content first, such as Wishes and fighting optional bosses like the Savage Beastfly! |
| 5 |  When you're are ready to progress the game's story again, from Bellhart, head west to enter Shellwood. |
Shellwood
| Shellwood Guide | |
|---|---|
| 1 | 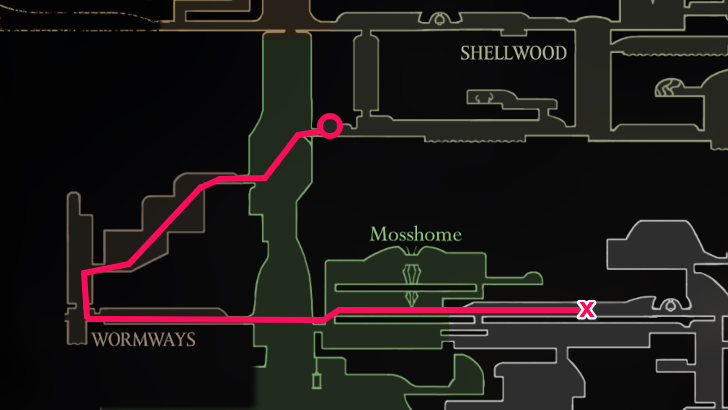 An alternate route to Shellwood is to buy the Simple Key in Bone Bottom for 500 Rosaries and then head west to Wormways. The entrance to Wormways is locked; you can use the Simple Key to open it. Do note that you need Dash and the Drifter's Cloak to cross the gap between Mosshome and Wormways! |
| 2 | 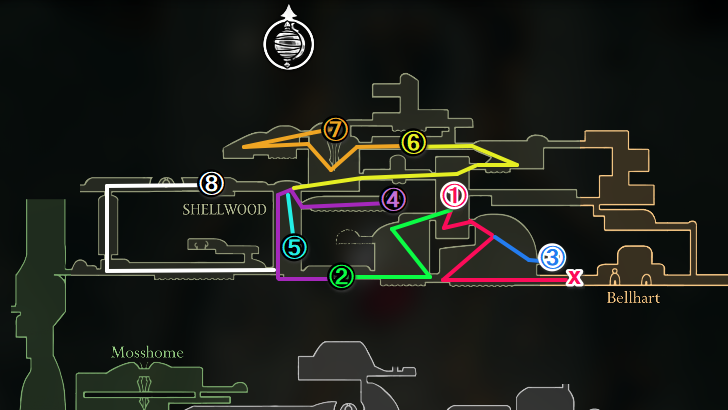 Once you have entered Shellwood from Bellhart, you mainly need to do the following things before leaving the region: ① = Rest at the Bench ② = Buy the Map from Shakra ③ = Get Longpin ④ = Get the Mask Shard ⑤ = Encounter the Lost Flea ⑥ = Fight Sister Splinter ⑦ = Get Cling Grip ⑧ = Go to the Bench and Bellway Station |
| 3 |  Head west until you reach a locked door. Then, climb up the platforms until you reach the top-left portion of the area. |
| 4 | 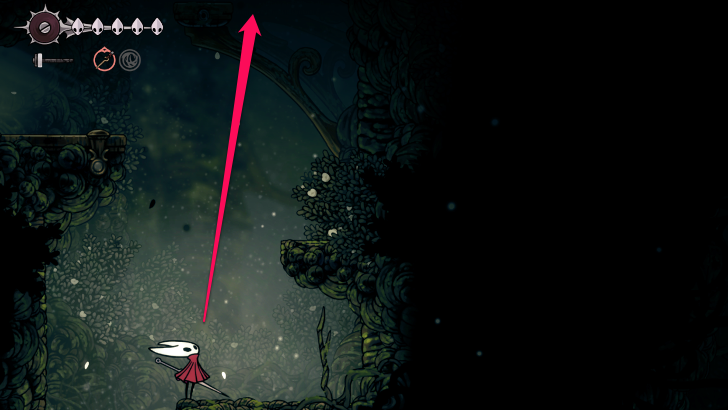 Enter the room and then go down for an ambush to trigger. After defeating all the enemies, head west and then climb up the platforms until you see the bench, use it to heal, and set a checkpoint. Do note that activating the bench costs 60 Rosaries. |
| 5 |  After using the bench, head out of the room and then go to Shakra's location via the elevator nearby. Then, buy the Shellwood map for 70 Rosaries. To the right of the Shakra, make sure to open the locked door so the shortcut will be available for you to use. |
| 6 | 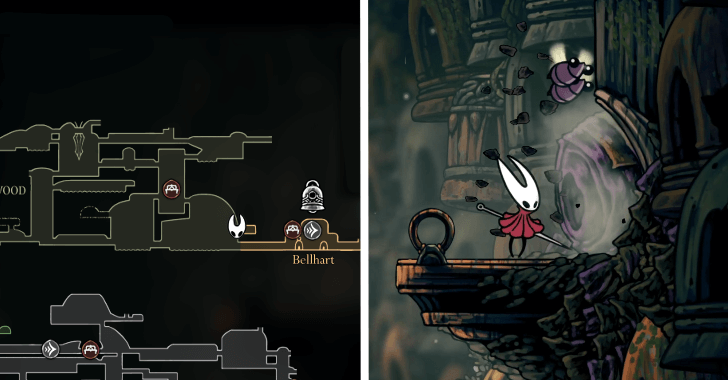 Since you have a map of Shellwood already, it will be easier to spot the cave where you can get Longpin. Return to the bench if you need to heal, and then head to the cave's location. The cave's entrance is blocked by a purple hive; destroy it. |
| 7 | 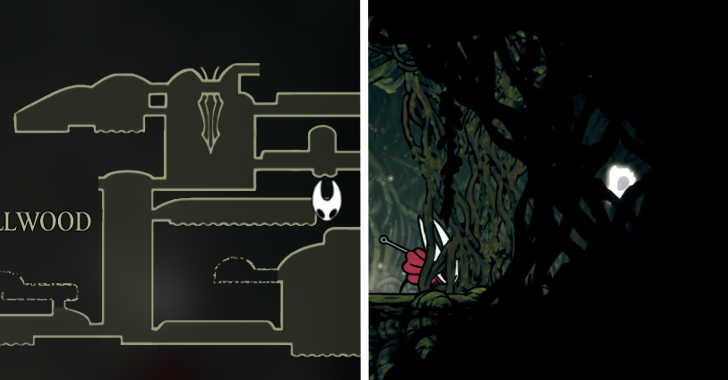 After picking up Longpin, head back to Shakra's location through the shortcut. Then, proceed to the Mask Shard's location. The path to the Mask Shard cave's entrance involves pogoing on white rose buds. We recommend equipping the Reaper Crest since it is easier to pogo with it. In addition, you can use your Drifter's Cloak mid-air to reposition before pogoing again. Once you are inside the cave, it will also contain a pogo obstacle course that is easy to clear. After obtaining the shard, head back to the entrance. |
| 8 | 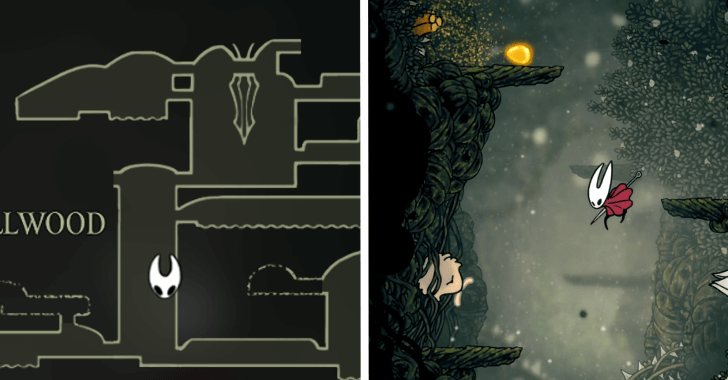 When you are now outside of the cave, glide down using the Drifter's Cloak while avoiding enemy attacks. The Lost Flea is located at the bottom. After obtaining the Crest, exit the area and then open the shortcut so you can explore Greymoor more easily later. Then, head to Moorwing's spot! |
| 9 | 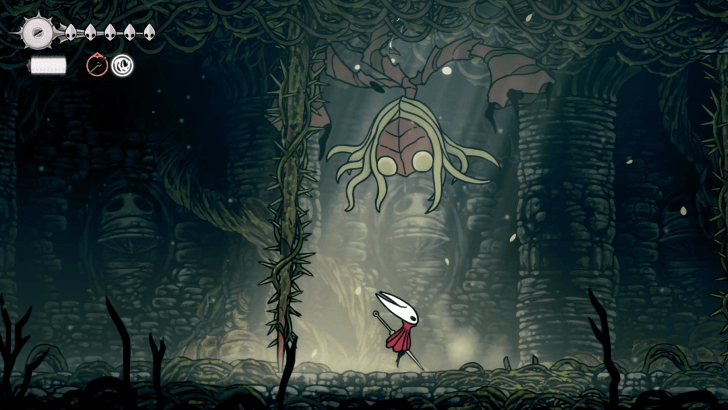 Once you have located the Flea, you are ready to fight Sister Splinter. Simply follow the route shown above and make sure to activate the elevator that goes down to the bench, so it will be easier for you to return to the boss room in case you die. ► Sister Splinter Boss Guide |
| 10 | 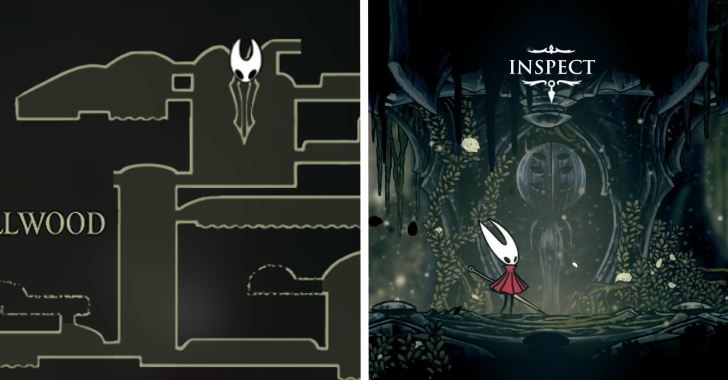 After beating the boss, head west to do another pogo obstacle course. Go to Cling Grip's location and then bind it to Hornet! |
| 11 | 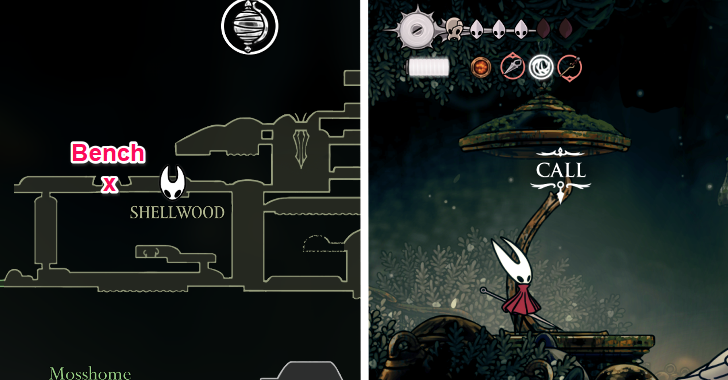 Before heading to Widow's location, backtrack and then go to Shellwood's Bellway station and activate it. Make sure to rest at the bench located west of the station as well. |
Break the Silken Curse
| Break the Silken Curse Guide | |
|---|---|
| 1 |  After beating Widow and going through the platforming dream sequence, Hornet will be teleported to the bell bench at the top of Bellhart. Head east and then activate the lift. Return to the town and then interact with the following NPCs: • Relic Seeker Scrounge (Relic NPC) • Pinmaster Plinney (Nail Upgrade) • Shakra (Map NPC) • Frey (Shop) |
| 2 | 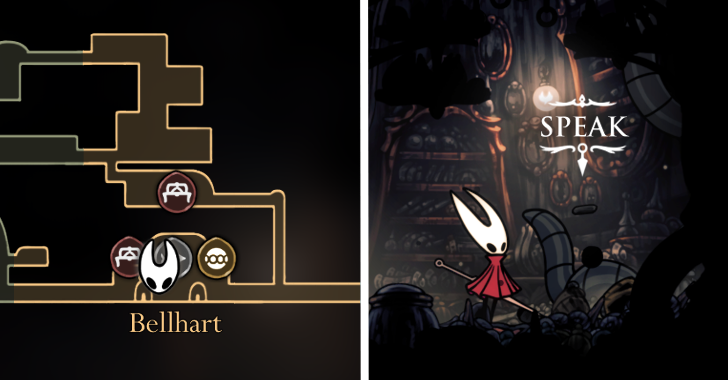 If you have collected Relics, you can hand them over to the Relic Seeker Scrounge. |
| 3 | 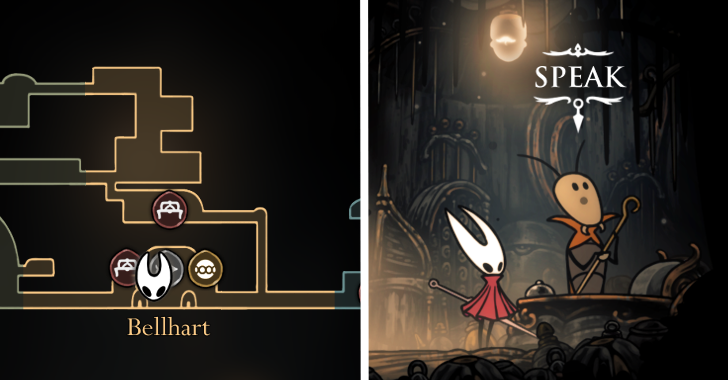 Pinmaster Plinney is definitely the most important NPC you should interact with in Bellhart since they will upgrade your Nail to Sharpened Needle. |
| 4 | 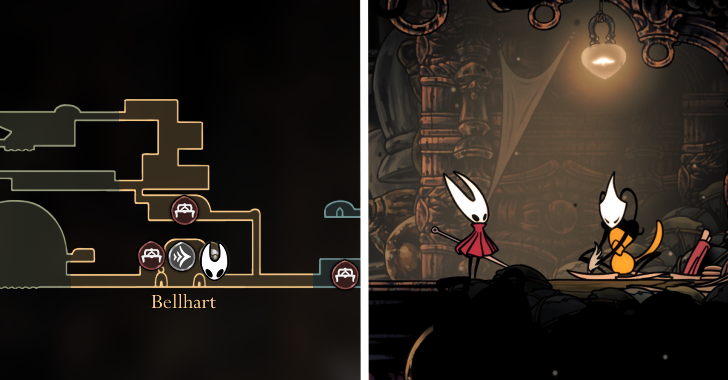 If you haven't bought out Shakra's wares, you can go to her spot as well in Bellhart. |
| 5 |  Finally, you can buy items such as a Memory Locket from Frey, who is located to the left of the bench. When you are done interacting with the NPCs in Bellhart, proceed to Blasted Steps to progress the “Seek the Great Citadel” main quest. ▲ Blasted Steps Walkthrough |
Hollow Knight: Silksong Act 2 Walkthrough
| All Act 2 Main Quests | |
|---|---|
| The Silent Halls | |
Silent Halls Walkthrough
| Jump to a Section! | |||
|---|---|---|---|
| 1 | The Grand Gate | 2 | Underworks |
| 3 | Choral Chambers | 4 | Whiteward |
| 5 | Mount Fay | 6 | High Halls (Conductor's Melody) |
| 7 | Whispering Vaults (Vaultkeeper's Melody) | 8 | Cogwork Core (Architect's Melody) |
| 9 | The Cradle | 10 | Twisted Child Ending |
The Grand Gate
| The Grand Gate Guide | |
|---|---|
| 1 |  After defeating the Last Judge, go through the door to enter the Grand Gate and walk all the way to the right and step on the button to open the gate. |
| 2 | 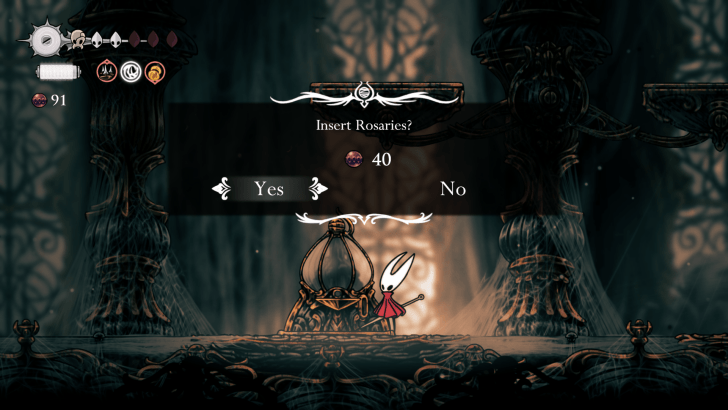 Interact with the device and pay 40 Rosaries to get the Grand Gate Map. |
| 3 | 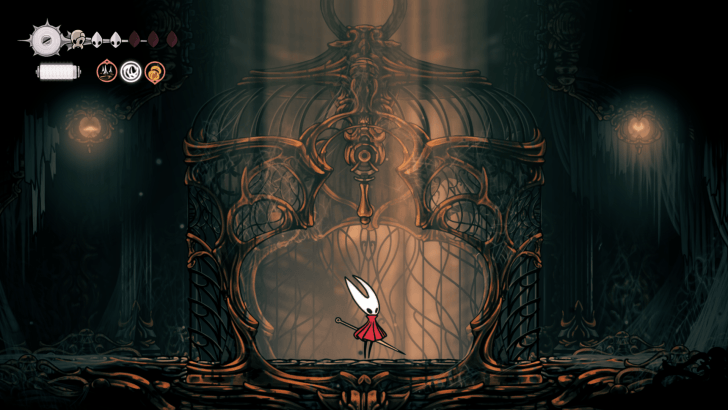 Head left and enter the large elevator and hit the lever at the top to descend. The elevator will malfunction and you'll need to hit the lever several times, which will cause it to fall and crash down into the next area and leave you with one health. |
| 4 | 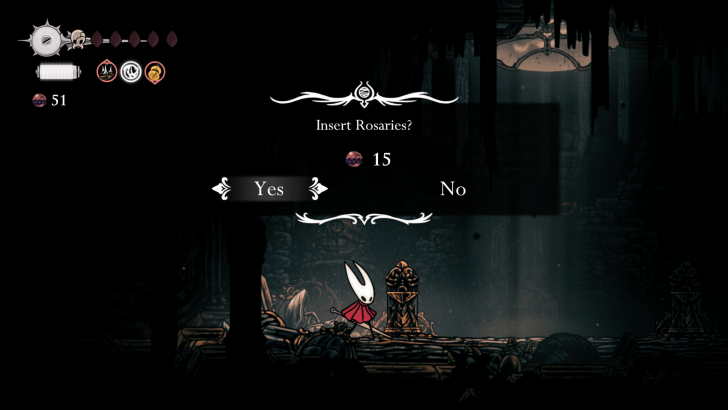 Head right and pay 15 Rosaries to activate a temporary bench. The bench will revert after a few seconds, so make sure to sit on it to restore your health! Once fully rested, head right and hit the lever to open the door to the Underworks. |
Underworks
| Underworks Guide | |
|---|---|
| 1 | Wall hop towards the top and hit the lever to bring down a platform on the right that you can jump on. |
| 2 | Continue wall hoping up and head to the passageway on the left then interact with the sign to receive the Underworks Map. |
| 3 | Exit the map room and head to the top right to enter a narrow passageway with spinning gears. Wait for the gears to drop a piece of junk so you have a platform to stand on when you hop down. The path on the left has a crate of Shell Shards, while the path on the right leads to the next area with an enemy and a path to the right. |
| 4 | Wait for the two gears to drop pieces of Junk. Hop on the first one and then glide and dash towards the exit to the right. |
| 5 | Make your way to the bottom of the area, making sure to avoid the large grinding gears then enter the room to the left. |
| 6 |  There's a large enemy here that you can deal two hearts of damage. Use Thread Storm and any offensive tools to take it down. Once the enemy is down, break the wall on the left to gain access to a secret area. |
| 7 | 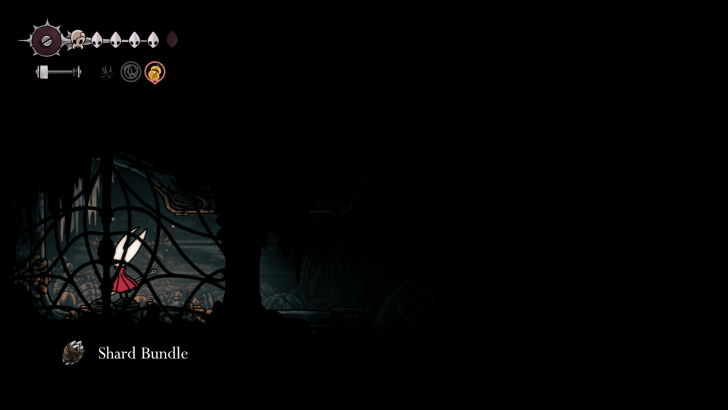 Jump across the spinning fan and make your way to the left to grab a Shard Bundle, then head back out to the previous area. |
| 8 | 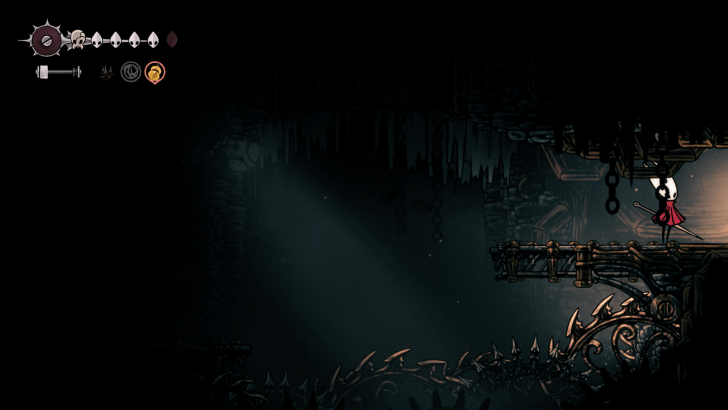 Jump towards the platform then exit to the next area. Note: The edge of the platform will break once you step on it so make sure to dash to avoid falling down the gears! |
| 9 | Keep heading to the right, avoiding the giant gears and defeating any enemies in your way. Hit the lever at the end of the room to open the door to the next area. |
| 10 |  The room to the right of this area has a locked gate so you'll need to head up to progress. Make sure to defeat the enemies as they can chase after you and make platforming up difficult.  Before heading up, enter the room near the top and defeat the two bugs inside to receieve a Frayed Rosary String. |
| 11 | 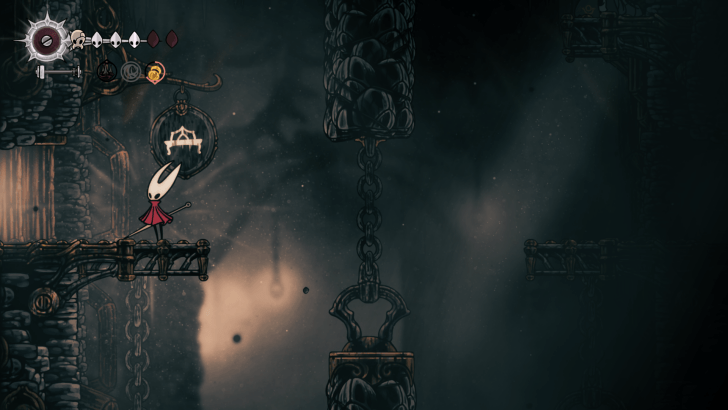 Head back out and continue heading up and enter the room with a bench sign. 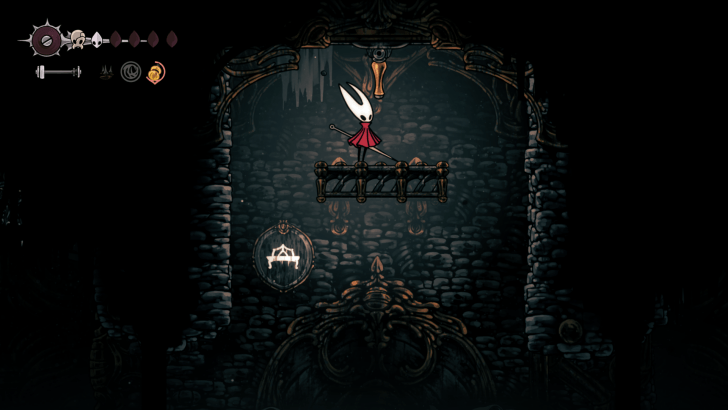 Head left once inside, taking care not to get hit by the falling debris, then hit the lever at the top of the central room. 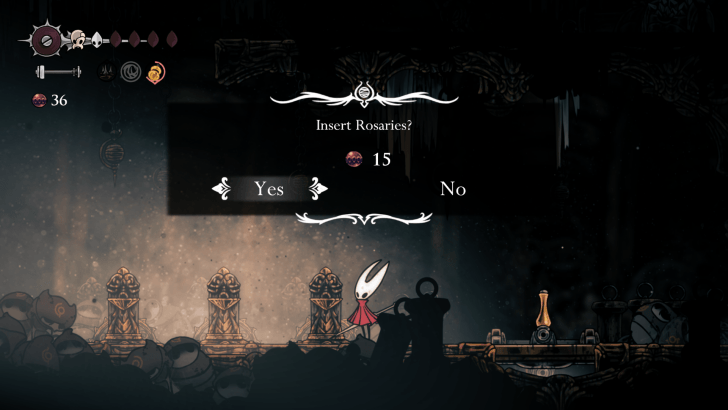 This room has three temporary benches that you need to pay 15 Rosaries to activate. Quickly sit on the bench to heal and save your checkpoint here. Note: There's a confession booth that costs 25 Rosaries on the room to the right, but it doesn't do anything and is a waste of Rosaries. |
| 12 |  Head back down and make your way left until you reach the exit to the next area. 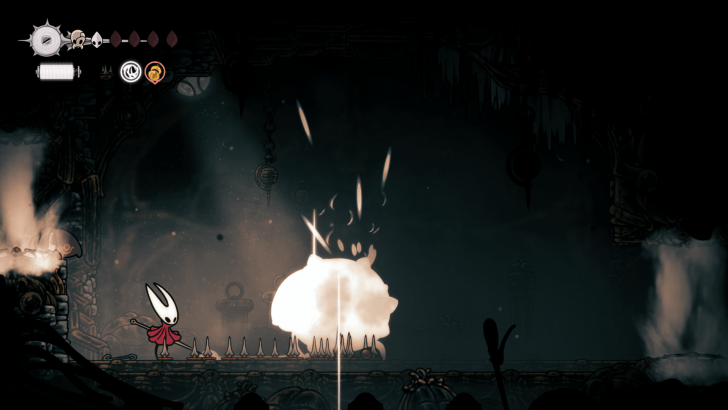 The area here is a bug swarm room where you'll need to fight two large bugs and some flying bugs. Once all bugs are defeated, proceed to the left path to reach the exit to the next area. Note: You can push the flying bugs to the steam vents blocking the exits to deal damage and kill them. |
| 13 |  Once outside, make your way up and head to the right to enter the next area.  Once inside, you'll need to make your way to the very top of the area where you can find a lever. 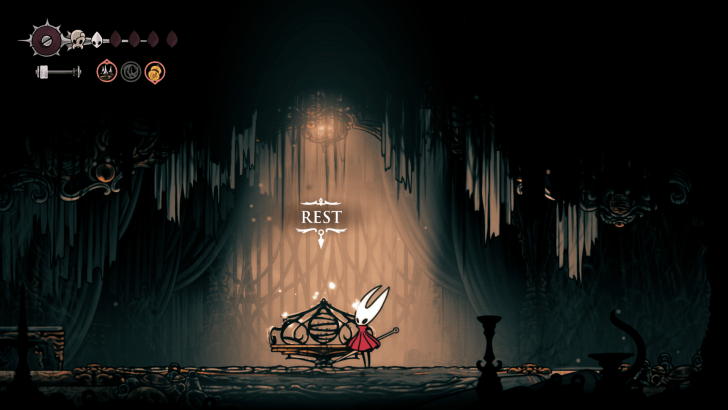 Hit the lever to open a path to the Choral Chambers with a bench to the left where you can restore your health and set your checkpoint. |
Choral Chambers
| Choral Chambers Guide | |
|---|---|
| 1 | Drop down and head all the way to the left side of the area, then make your way up and back to the right to activate a lever that opens a shortcut near the bench area. |
| 2 | Head back to the top room, then make your way up. Hit the lever on the left side to access a room with a chest full of Shell Shards. |
| 3 |  Head back outside and continue heading up to the next area, then head right and pay 70 Rosaries to obtain the Choral Chambers Map.  The area to the left of the map device is locked by a gate, so proceed to the right into the next area then hit the lever at the end to drop down a narrow passageway. 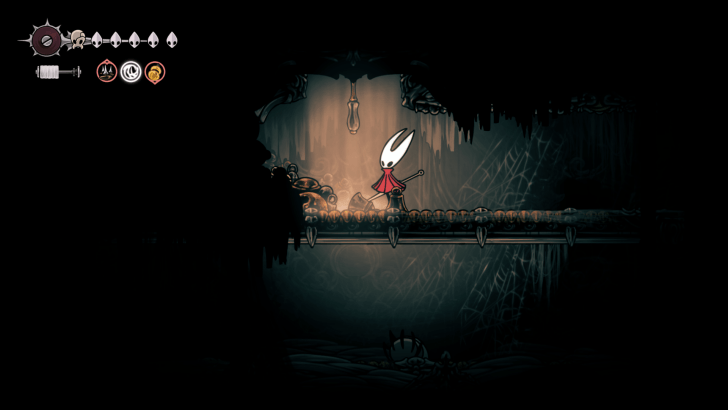 Run all the way to the right then head up and hit the lever to reach the next area. |
| 4 | 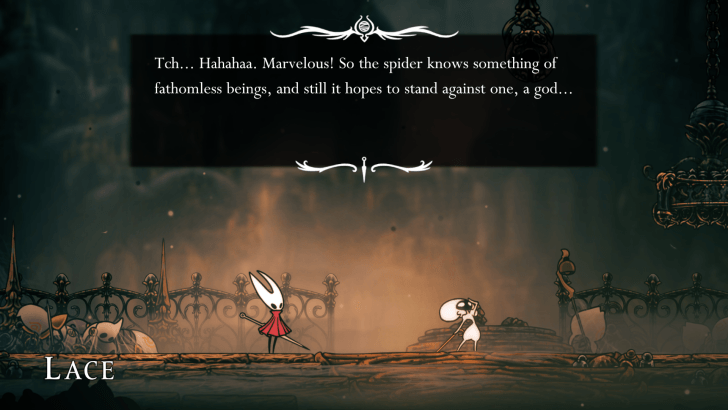 Make your way to the right until you reach an open area where Lace will drop down to confront Hornet. Complete her dialogue and she'll leave, summoning warrior bugs to attack you. You can defeat her summoned minions or simply head back the previous area to despawn them. Note: The previous areas will now be populated by bugs that will attack Hornet if you decide to walk back to the bench. |
| 5 |  The area to the right is requires a key to proceed so make your way up by pogoing on the bells.  Break the glass panel on the right then wall hop up to reach the next set of platforms. 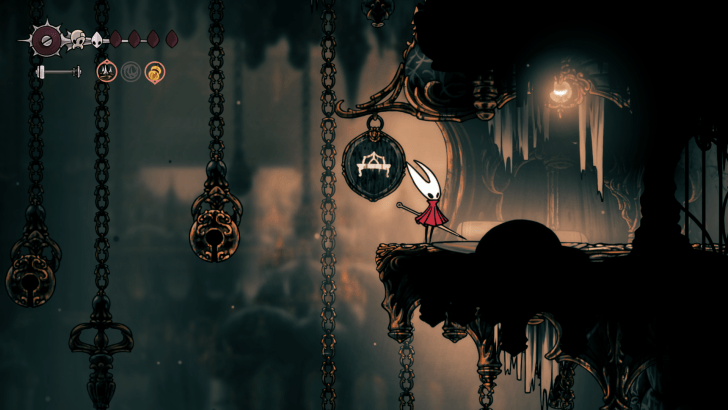 Before heading to the path left, continue pogoing up to reach a room on the right with a bench to restore your health and set a checkpoint. 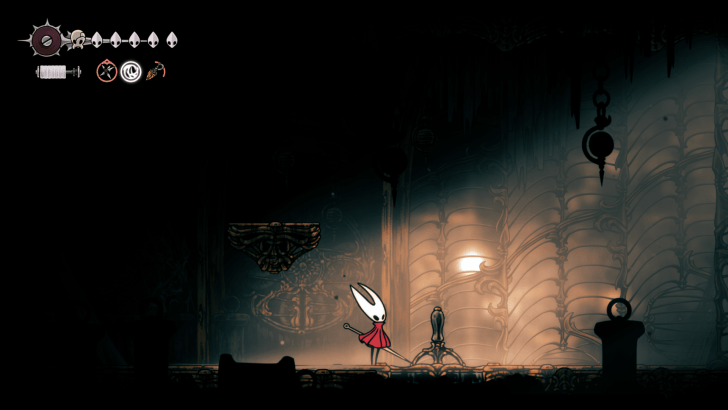 Head right and open the lever which leads to a room with a lever on the floor. 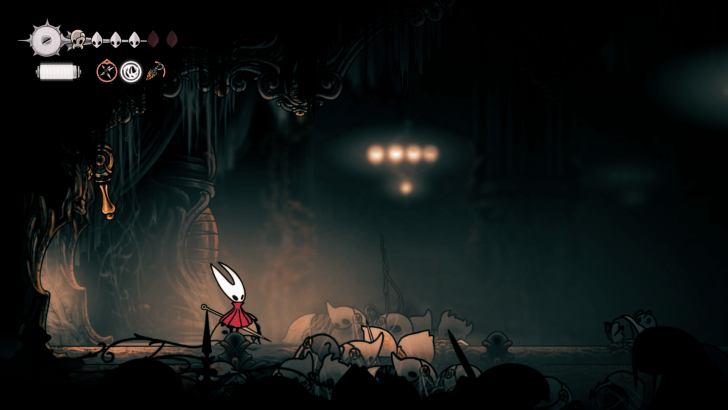 Follow the path down to reach a large area with a lever on the left side which opens the previously locked gate below the bench room. 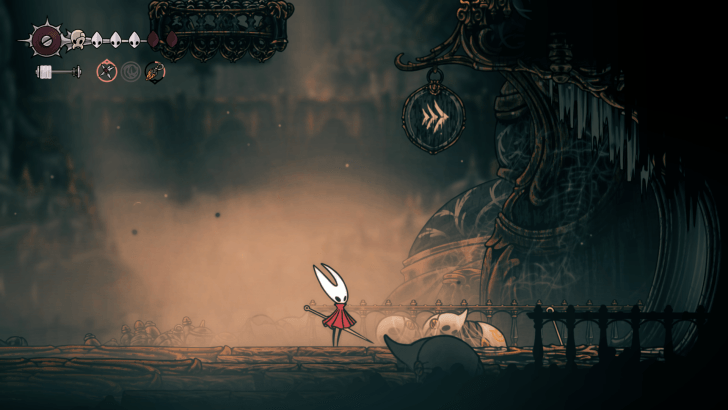 Make your way to the right exit and drop all the way down to reach the Bellway Station room. You'll need to pay 120 Rosaries to activate the fast travel to Choral Chambers. 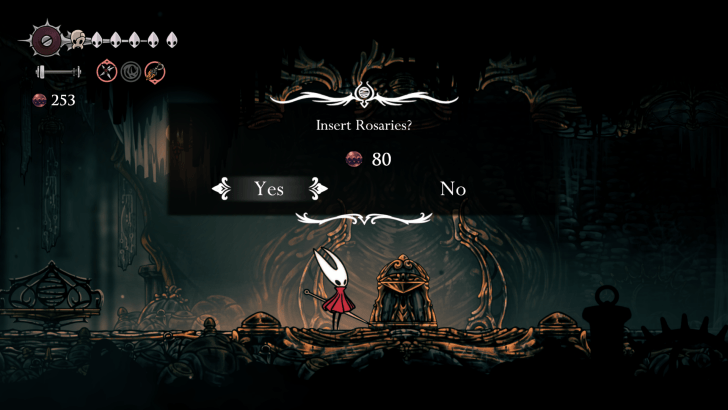 Head right from the Bell Beast and pay 80 Rosaries to unlocks the Ventrica fast travel. |
| 6 | 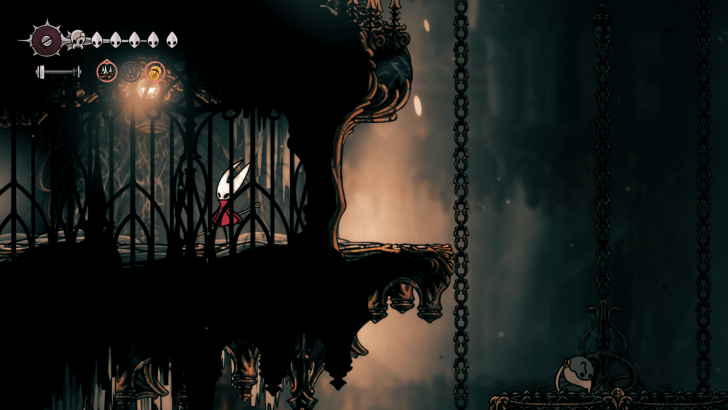 Return to the bench room and head outside to the room on the left to reach the next area. 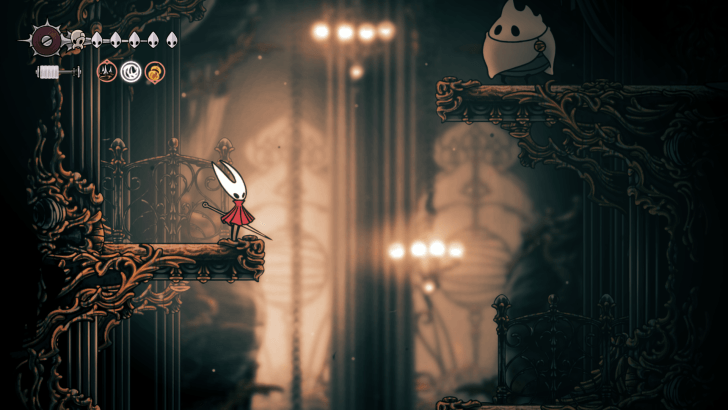 You'll need to head up this area to reach the exit on the left that leads to the next area. There are a few enemies here that can deal two masks of damage so try to defeat them quickly to avoid getting harassed as you platform up the area. 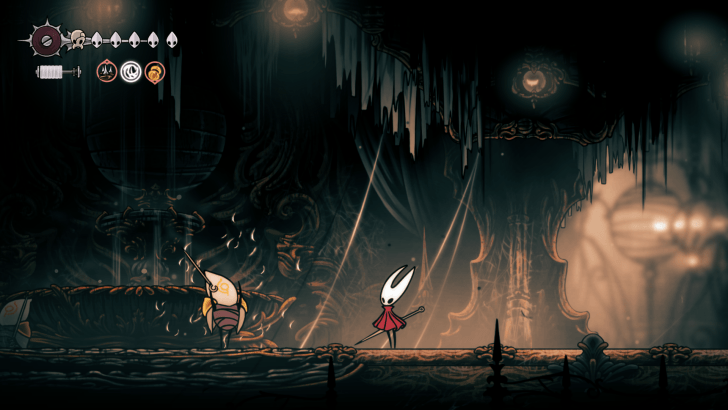 Continue heading left through the fountain room and to the exit at the end to reach the next area. There are two fast enemies that spawn here but you can simply run away from them to conserve your health. |
| 7 |  The path to the left leads to Mount Fay but before going there, wall hop to the upper area and enter the left room.  There's a device near the end of this room that you can pay 40 Rosaries that drops an item that you can break to restore some silk.  Head back and enter the room on the upper right which leads to a large area with vanishing platforms and spikes on the floor.  Carefully hop across the platforms and free the trapped Flea, then make your way back to the previous area. |
| 8 |  Head up to the upper left room to reach a room with a memory puzzle. Step on the switch on the floor to ring the bells, then hit the same bells in the correct order. 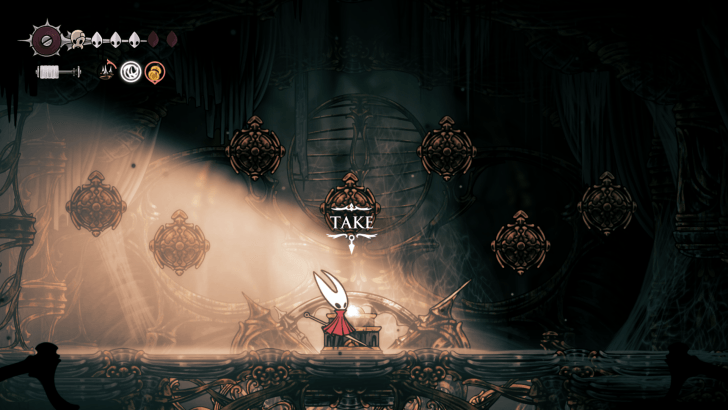 There's no penalty for making a mistake and once you complete the puzzle three times, you'll receive a Cogheart Piece as a reward. |
| 9 |  Enter the top left room and defeat the bugs inside and head all the way to the left to reach another platforming area. 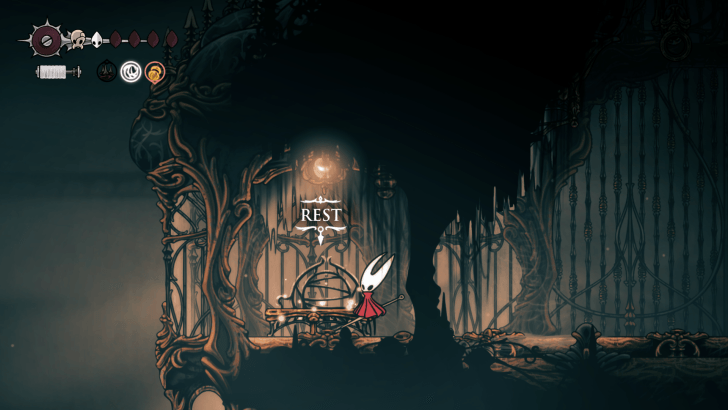 Before heading up, enter the room to the left and sit on the bench to restore your health and set a checkpoint. 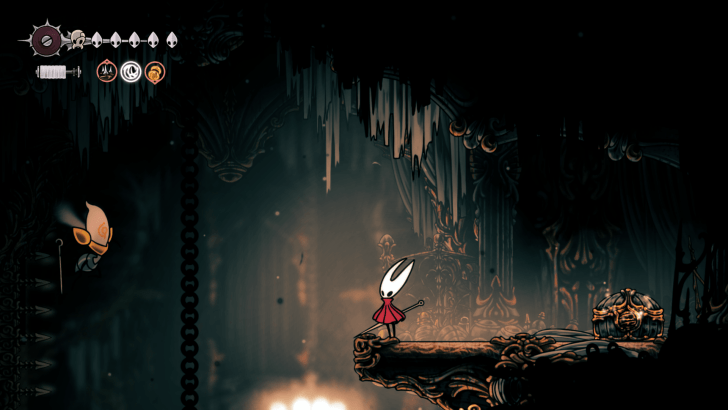 Head back to the previous room and platform up to reach a chest full of Rosaries. |
| 10 | 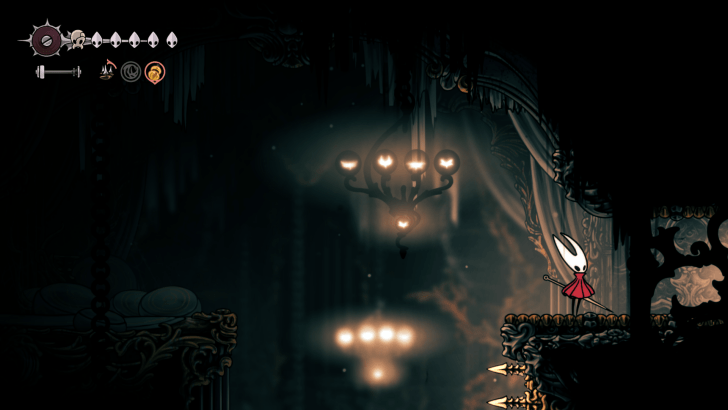 Head back outside then make your way to the room on the top right. 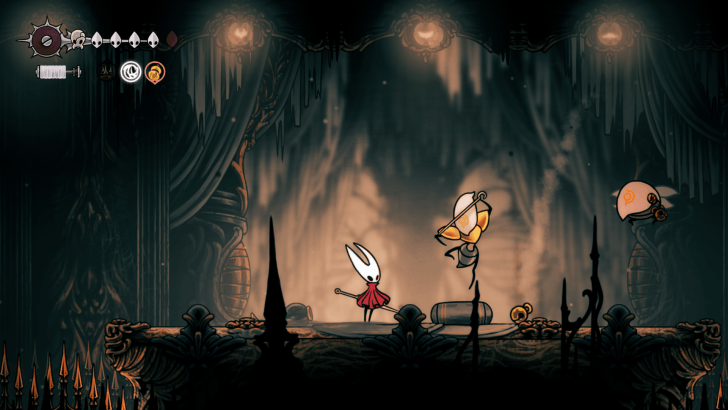 Follow the path and drop down an open room with two enemies that you need to defeat to safely cross the platforms in this area.  Once they're defeated, hop to the left alcove and grab the rosary strings.  Make your way to the right exit then wall hop all the way to the top to reach topmost room on the right. 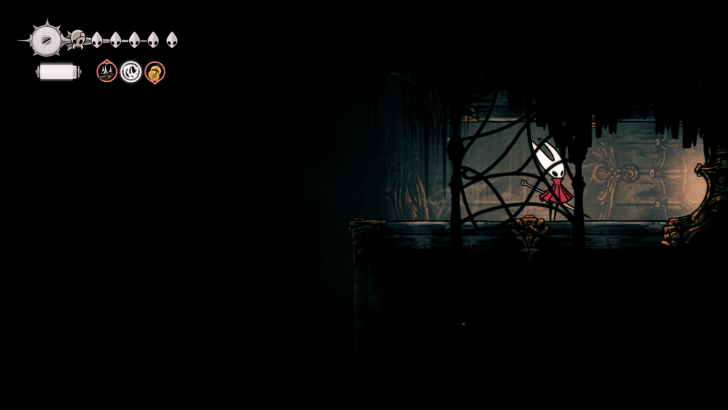 Enter the room then hit the lever to open a shortcut to a large room that leads to the previous area.  There's two large enemies in this room that you'll need to defeat to progress further. They can attack fast despite their size and can do a Thread Storm-like attack when you get too close. We recommend using the Tacks tool and bait the enemies into stepping into them to defeat them easily. Once both enemies are down, proceed to the right exit to reach the next area. |
| 11 | 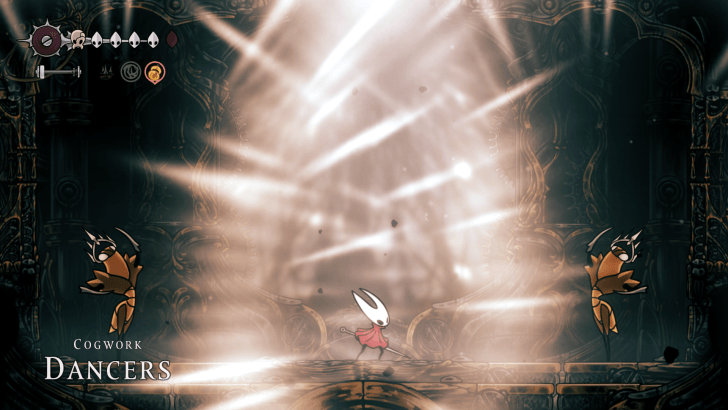 Head down the area and after a short cutscene, the two Cogwork Dancers will initiate a boss fight. ► Cogwork Dancers Boss Guide |
| 12 |  After defeating the boss, interact with the device in the middle and it will tell you to seek the Conductor's Melody, Architect's Melody, and Vaultkeeper's Melody to proceed. Two paths on the floor will also open up which leads to the Cogwork Core area. |
| 13 |  From the Cogwork Dancers room, head right through a large area and run all the way to the end to reach the exit. There are several large enemies here, but you can just evade and run away from them.  Drop down and run all the way to the right of the next area and grab the White Key.  Enter the large building in the area and break the silk and hit the lever to activate the bell and unlock a bench.  Step outside and the Caretaker will tell you that other bugs will come visit the area later. |
| 14 | 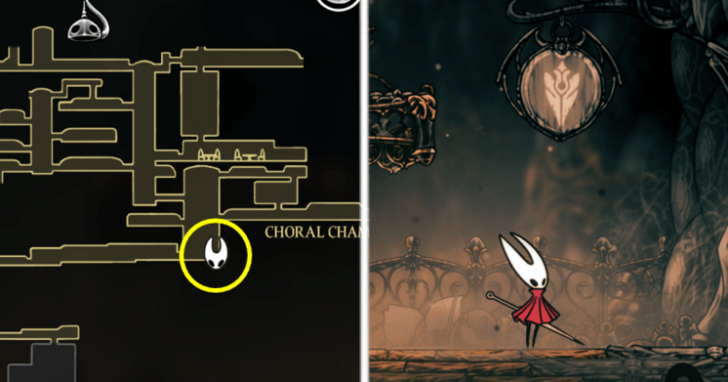 Make your way back to the room with a white sign near the starting area of Choral Chambers and use the White Key to unlock an elevator that leads to Whiteward.  Before heading down, head right and rest on the bench to restore your health and set a checkpoint. |
Whiteward
| Whiteward Guide | |
|---|---|
| 1 |  Head all the way to the left until you can hop up some platforms to reach the exit at the top that leads to the next area.  Navigate the narrow passageway and follow the path that leads up and then right until you reach a lever on the ground. Activate it to open an area that leads down. |
| 2 | 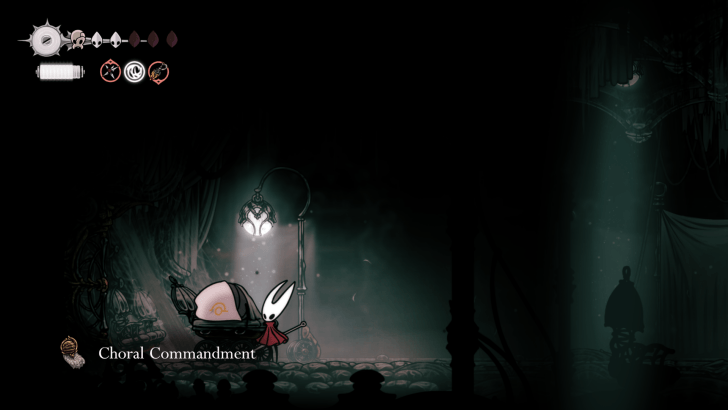 Head left and grab the Choral Commandment from the corpse. A Dreg Husk will attack you as soon as you attempt to leave so be ready for a fight.  Head back to the right side of the room and break through several walls. Hit the lever at the end of this passageway to leave the area.  Optional: You can wall hop in this area to reach the elevator and bench if you need to restore your health. |
| 3 | 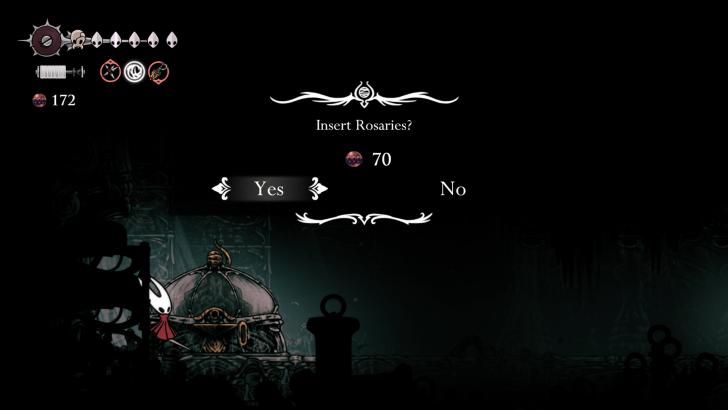 Hop across to the other side and follow the passageway down and interact with the device and pay 70 Rosaries to unlock the Whiteward Map. 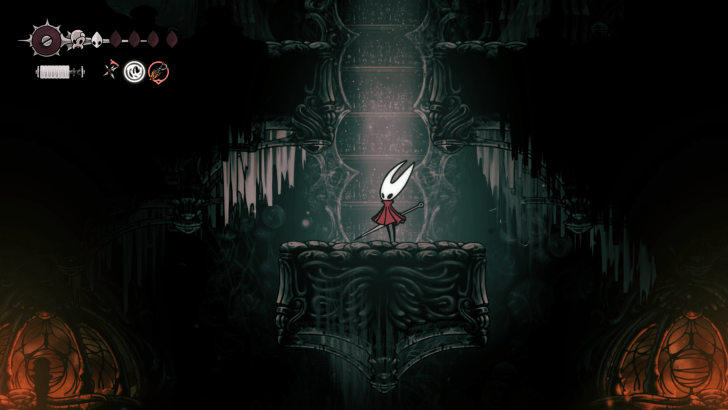 Head right and follow the path right until you reach an open area with a path leading upwards. There are several Morticians here, but you can jump over and run away from them. 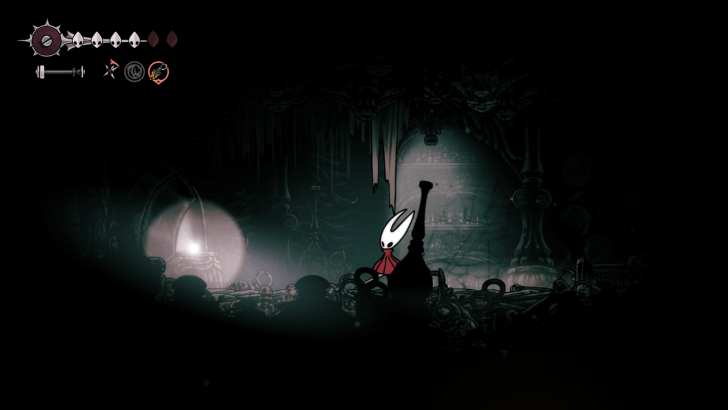 Once at the top, make your way to the left side of the room and grab the Injector Band tool from the shelf. |
| 4 | 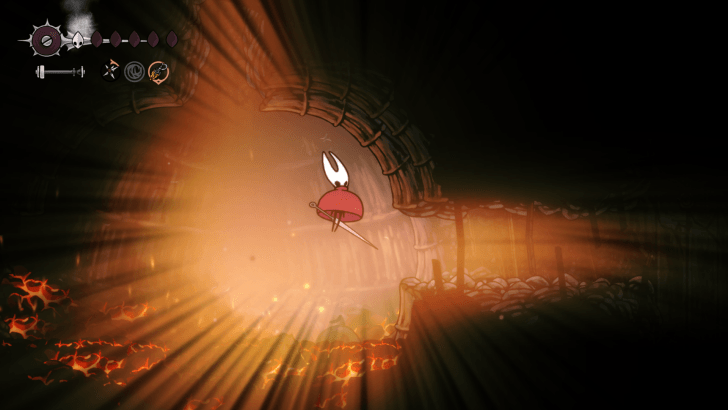 Head to the right side of the room and use your Drifter's Cloak to glide down safely and reach the path to the right, then continue through the passageway down to the next area.  Carefully glide down the passageway, taking care to avoid the spinning fans, to reach the exit at the bottom which leads to a previosuly inaccessible area in the Underworks. 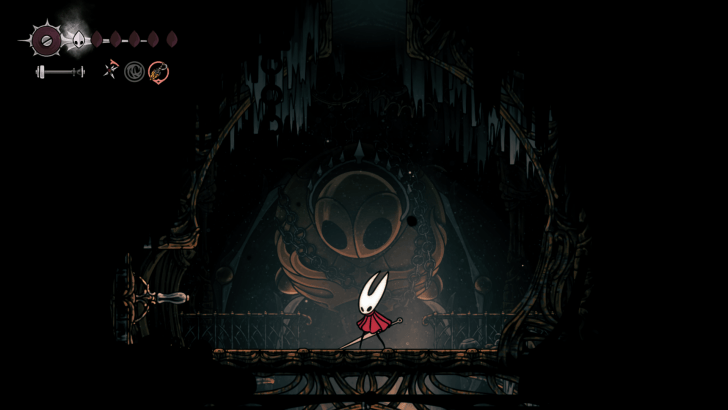 Once at the bottom, hit the lever at the left side of room and follow the path leading down. |
| 5 | 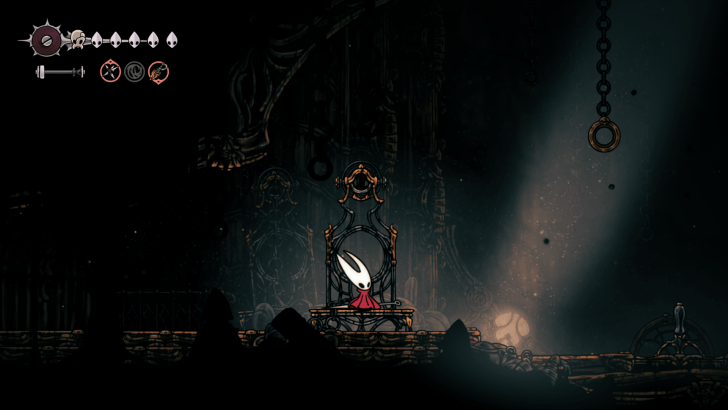 Run all the way to the left of the room and rest on the bench to restore your health and set a checkpoint. You can also hit the lever on the floor to access a small area with a crate of Shell Shards. Note: We recommend equipping the Magma Bell since you'll be traversing lava-filled areas later 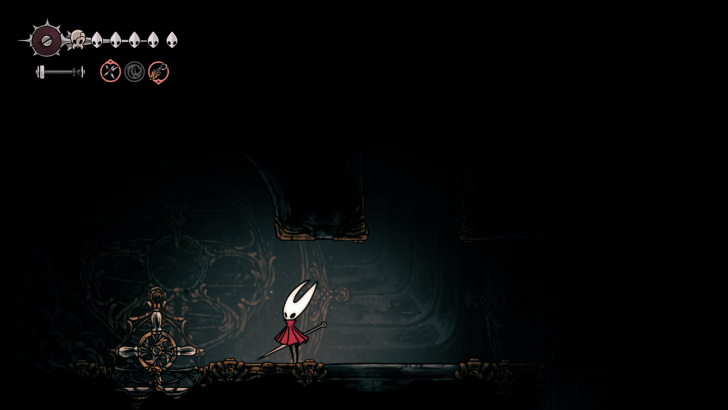 Follow the path left and down and hit the wheel several times to activate an air duct that you can use to glide up and exit to the next area.  Once outside, head all the way down and exit to the right passageway. 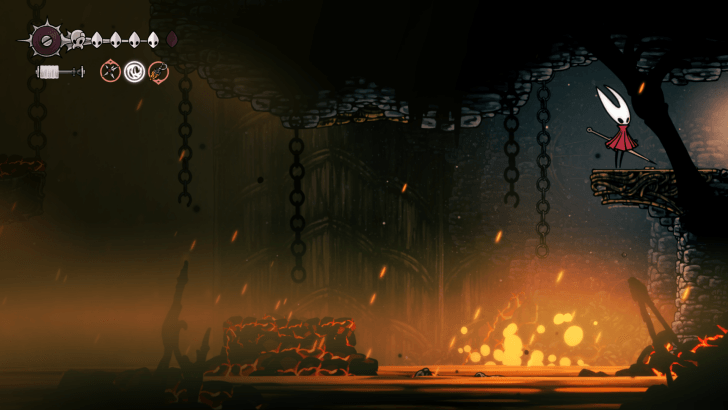 We recommend avoiding the enemies here as the molten platforms make it hard to fight them. |
| 6 | 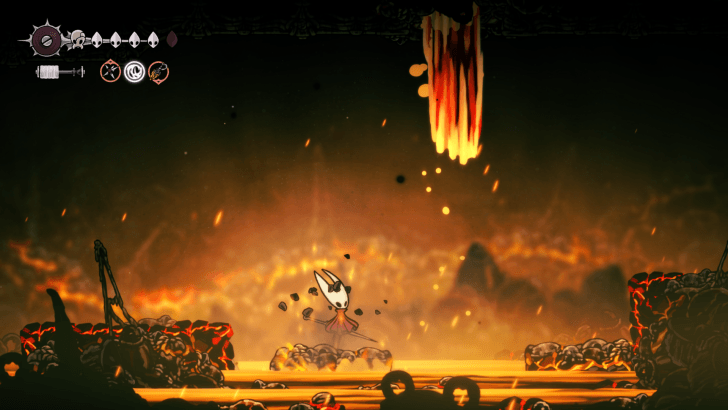 Make your way to the right side of the area, carefully hopping across the molten platforms and the falling lava, to reach the exit leading up. 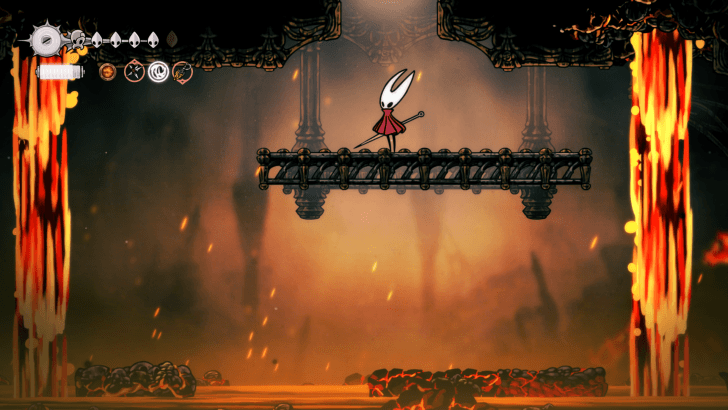 Note: You can stand on the molten platforms for a few seconds but you'll get damaged eventually if you idle too long. Equipping the Magma Bell can lessen the damage in this area.  Once at the next area, hop up and enter the open passageway to the left. |
| 7 |  You'll need to navigate through magma platforms and falling lava as you make your way to the left side of the room. 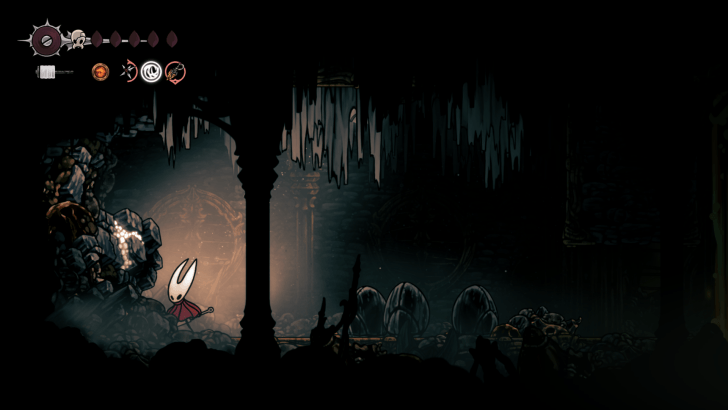 Hit the glowing rock at the end of this room and an Undercrank will appear. Quickly defeat it so you can loot the Craftmetal. 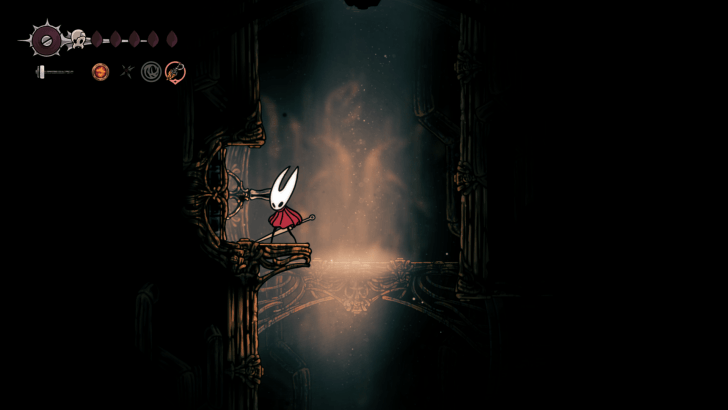 Make your way back to the previous room and hop up the wall and hit the lever to reach the next room. |
| 8 |  You'll need to quickly navigate through the room here, using a combination of dashes and gliding to reach the statue at the end.  Interact and bind the statue to receive the Clawline Ancestral Art, which will allow you to grappling hook on the rings.  Grapple across the rings back to the entrance, then head up to the top platform. 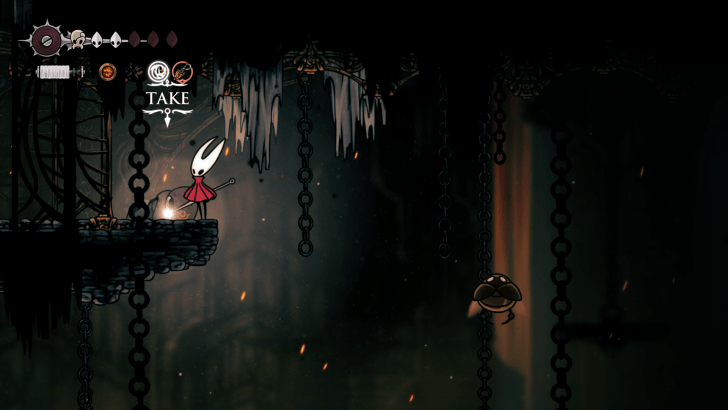 Pogo onto the Clockwork Underfly to reach a hidden alcove where you can loot a Shard Bundle from a corpse. 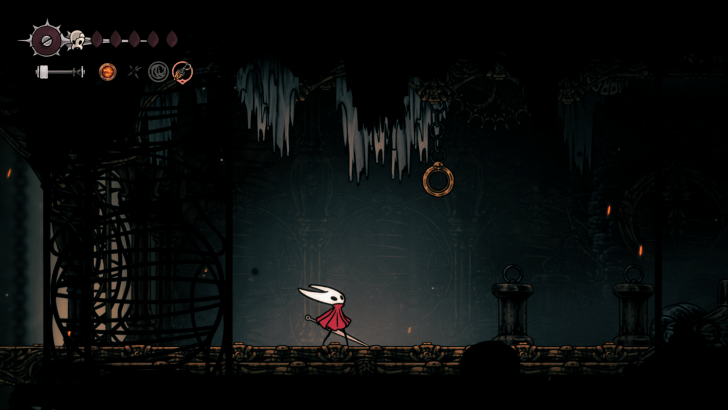 Head back to the previous platform and use a combination of the Clawline and pogoing on enemies to reach a room with a single ring hanging from the ceiling. Grapple onto the ring and a bug swarm will attack you. You'll need to defeat all of the bugs to unlock the exit at the top right of the ceiling which leads to the room with the bench. |
| 9 |  Grapple on the ring near the bench and hop to access the top area on the right with a lever on the wall.  Head inside the room and speak to the Twelfth Architect who can sell you several tools including the Cogwork Wheel, Sawtooth Circlet, and Scuttlebrace which requires rosaries and one Craftmetal each to purchase. Speak to the Architect again and they will mention that you can find the Architect's Melody in Cogwork Core. Head back down to where you opened the air vent and head down the hole and make your way all the way to the left to reach the Ventrica which you can use to fast travel back to the Grand Bellway in the Choral Chambers. |
Mount Fay
| Mount Fay Guide | |
|---|---|
| 1 | 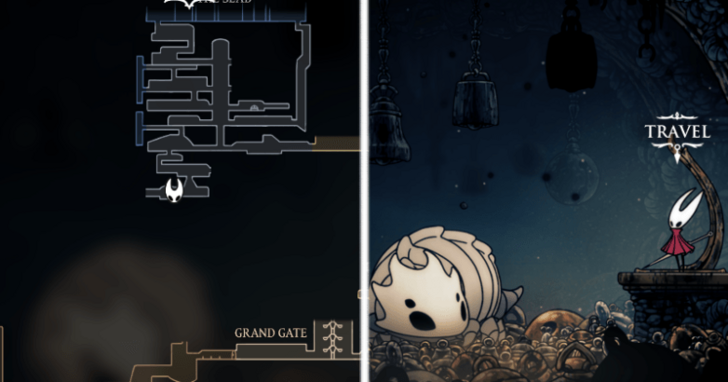 Fast travel to the The Slab Bell Station and head left to enter Mount Fay.  Note: Mount Fay has a weather system and you'll slowly lose health when you stay out of the cold too long. You'll need to stay close to heat and light sources to keep Hornet alive. The Clawline is also required to grapple onto the rings in the area and eventually reach the top. Note: We recomend getting the Ascendant's Grip before heading into Mount Fay as it makes some of the platforming sections easier! |
| 2 |  As soon as you enter Mount Fay, jump and grapple onto the first two gold rings to reach the cave to the left. 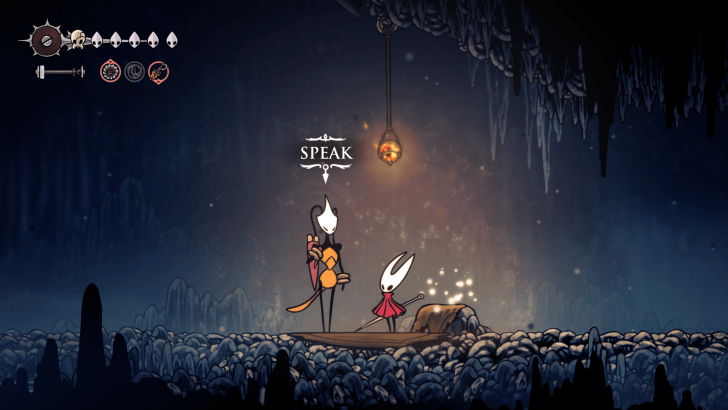 Once inside the cave, rest on the rock to set your checkpoint, then speak to Shakra and purchase the Mount Fay map for 40 Rosaries. Note: You can destroy some light and heat sources, so take care and avoid accidentally hitting them! 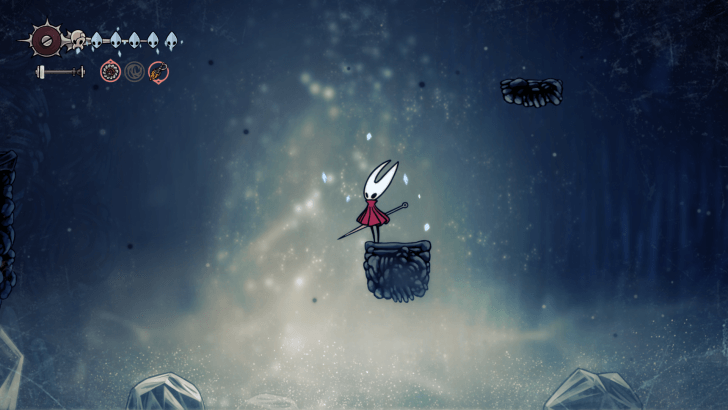 When you're ready, head left across the stone platforms and enter the cave to the left. 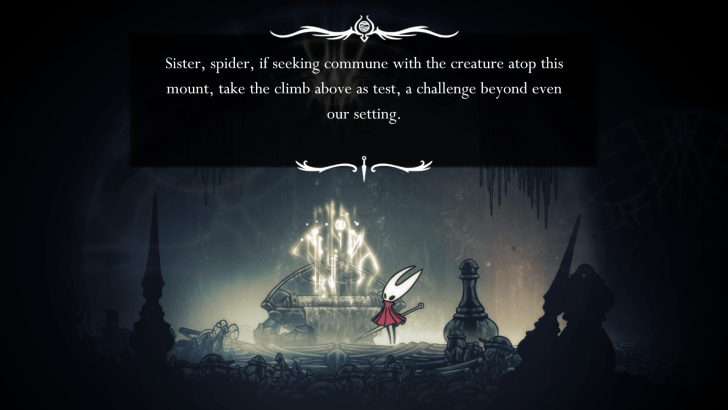 Inspect the scroll inside the cave and you'll learn that you need to commune with a creature at the very top of Mount Fay to get a reward. |
| 3 | 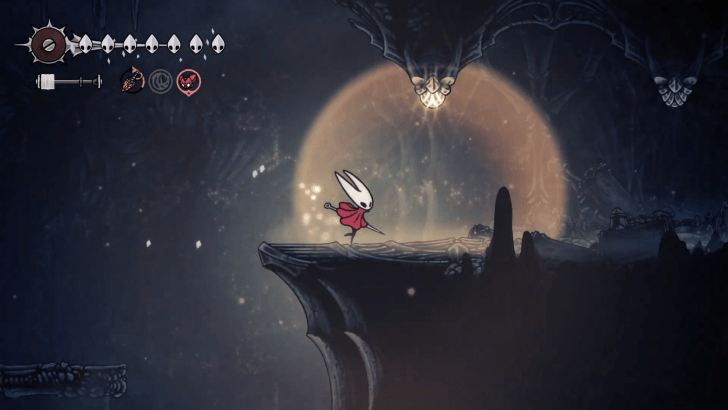 Head back to Shakra's location and make your way to the upper right area where the light bulbs area, then exit to the right. 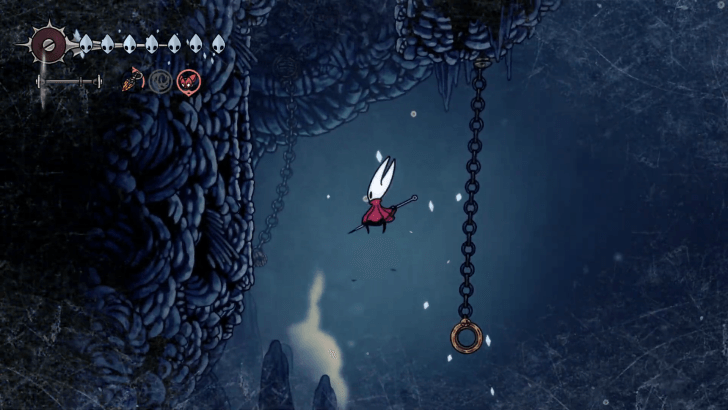 Make your way up to reach a ring, then use the Clawline to latch onto the wall. Head up and restore your silk using the flower. 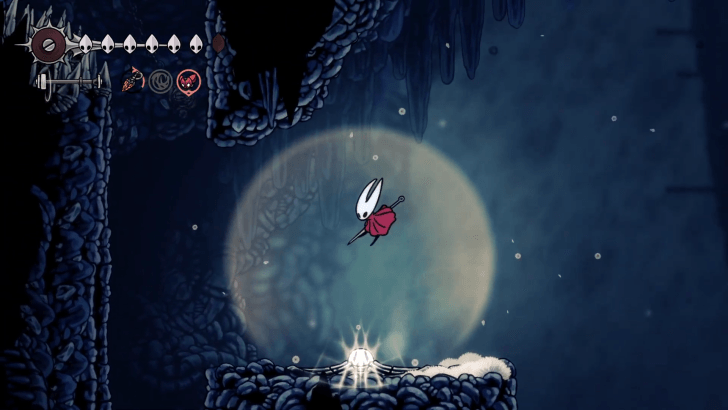 Continue heading up until you reach a light source where you can stand and stop the cold from reducing your health.  Wall hop through the spikes then use Clawline to zip to the right and float down using the Drifter's Cloak. 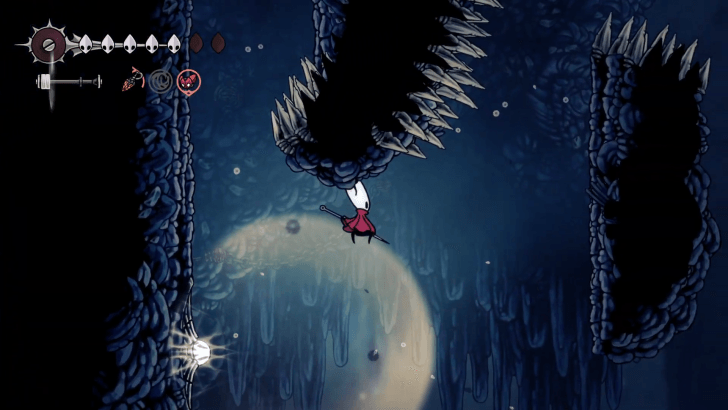 Wall cling near the light source, then hop to the right and up.  Use the bugs to pogo across to the next platform, then continue platforming all the way up until you reach the top where you can head inside a cave to the left to proceed to the next area. |
| 4 |  Head through the cave then jump down, avoiding the frozen bugs, then land on the ledge to the left with the light source and proceed to the next area.  There's a large bundle of silk in this cave, but we recommend saving this just in case you have to walk back. Otherwise, break it to restore your health.  Head left and break the wall to access the next area.  Use the frozen bugs to pogo across the frozen waters and use them to reach the ring, then wall hop up so you can rest at the light source.  Continue pogoing and using the clawline to head left across the water. You can also force rocks to fall into the water to create platforms between jumps.  Head left and down to access the bench area at the bottom of the room. Pay 90 Rosaries to activate a checkpoint to the area. Once done, hit the lever to gain access to the previous area. |
| 5 | 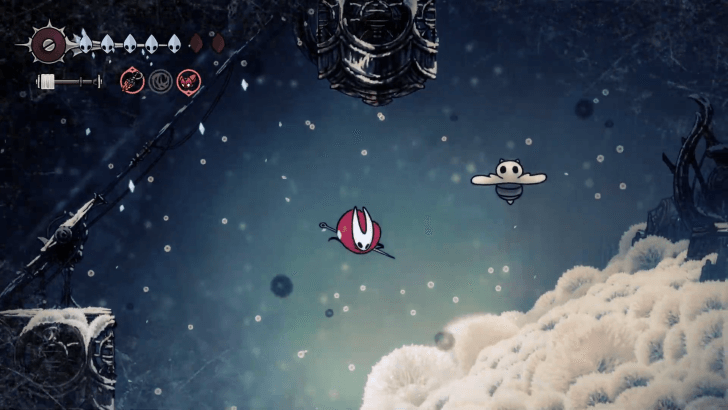 Head up to the top area then use a combination of the Clawline and pogoing up enemies to first platform. You need to make your way to the right to reach the next area. 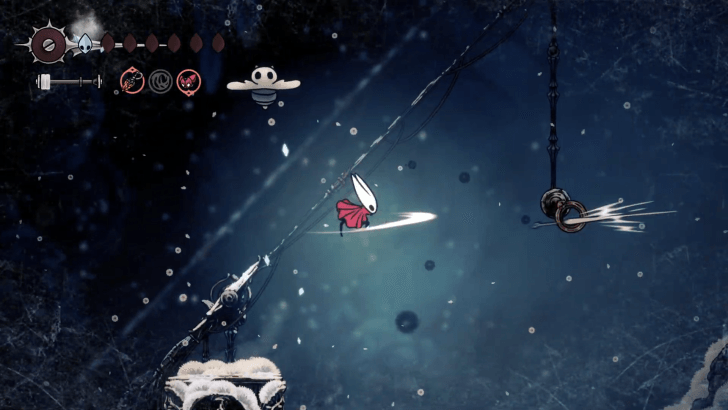 Clawline the ring and then the next two floating bugs to reach the next floating platform. 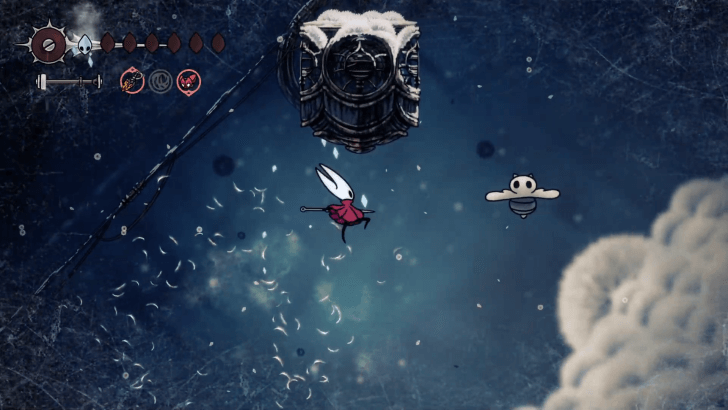 Continue using Clawline on the floating bugs to reach the next floating platform. 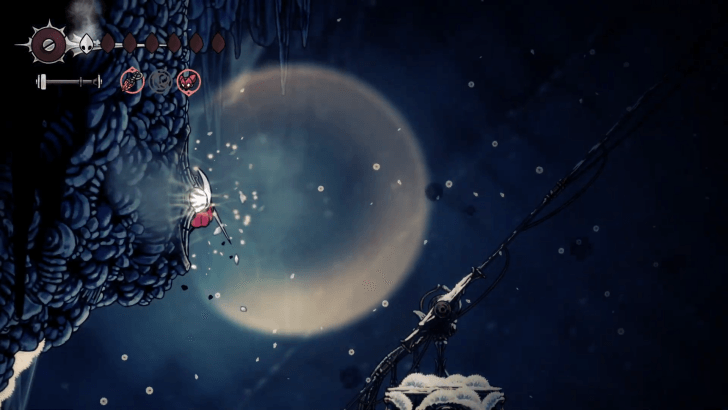 Clawline towards the wall with the light source then wall hop upwards.  Wall hop and avoid the spikes, then clawline to reach the right side of the cavern.  Carefully float down then clawline to the next bug you see to reach the right side.  You'll eventually land at a lefge with a light source and an exit to the right. When you're ready, exit to the next area. |
| 6 |  Jump across the spikes and then float down the narrow passage, making sure to avoid the spikes on the walls as you make your way down.  Once you reach the bottom, you need to quickly hop off the wall with a light source and clawline to the floating bug to avoid falling down the icy waters.  Quickly clawline across the other bugs, then wall hop off the floating wall to reach the next set of floating bug.  Once you're near the top, clawline towards the left wall so you can hop to the right ledge with a light source and an exit the leads to the next area. 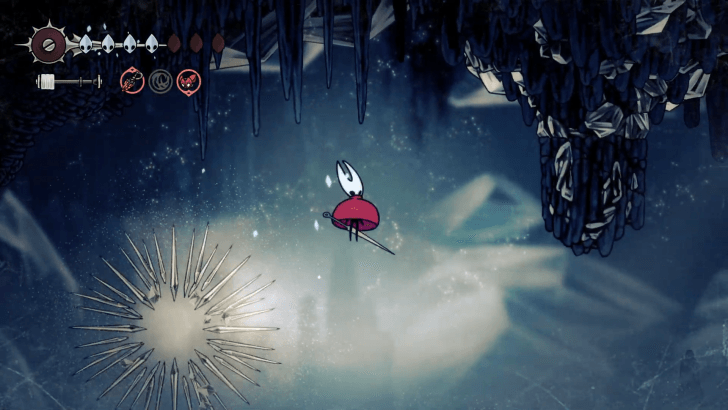 Clawline towards the bugs and then on the rock to make it fall on the water to create a platform. |
| 7 |  Continue heading right and hit the large spool to restore your silk. There's a nearby light source on the floor that you can stand on to avoid getting your health drained by the cold. When you're ready, head through the exit to the right to enter the next area.  Jump across the ravine. There's an enemy in the next area that you can restore some silk. Once defeated, proceed to the exit to reach the next area. 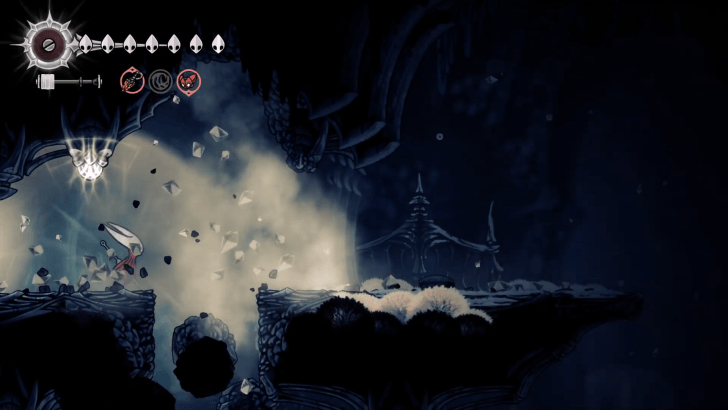 Break the wall to the right to open the path outside.  Clawline towards the floating bug to reach the rings heading up.  Clawline towards the wall then wall hop up to the top area.  Run all the way to the left and break the wall so you can rest on the bench and save your checkpoint. |
| 8 | 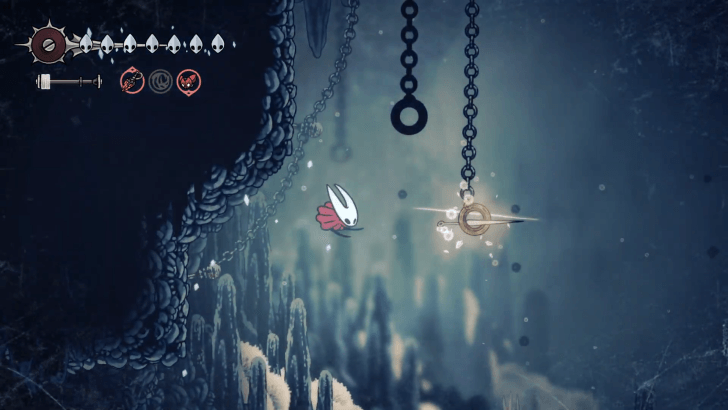 Wall hop just outside the bench room and use clawline to the ring. You'll need to wall hop towards the floating bug and up the wall to reach the next ring. 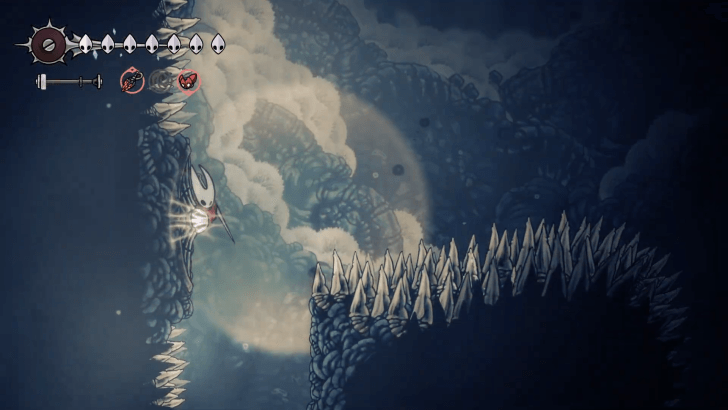 Wall hop up, making sure to avoid the spiky walls until you reach a spot with a light source where you can stop and plot your next jump. 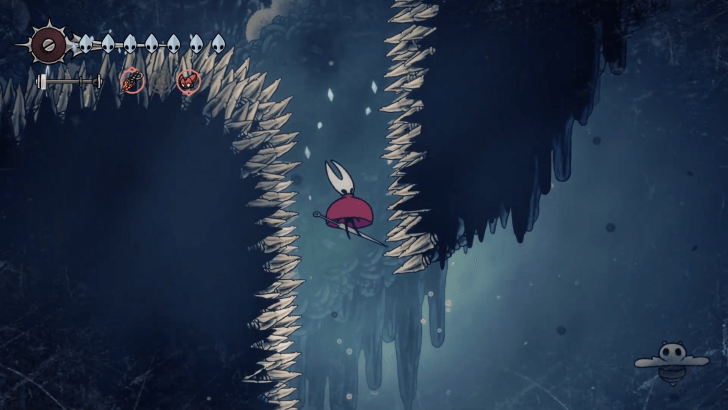 Wall hop and clawline to the right, then float down the passage. 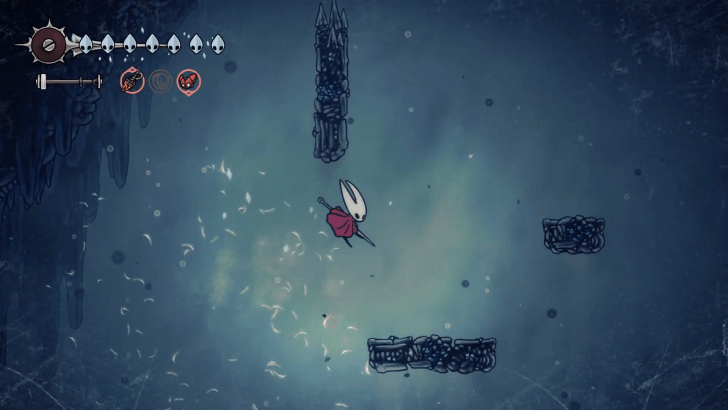 You'll then need to clawline to the floating bug to reach three breakable platforms that you need to quickly hop up. 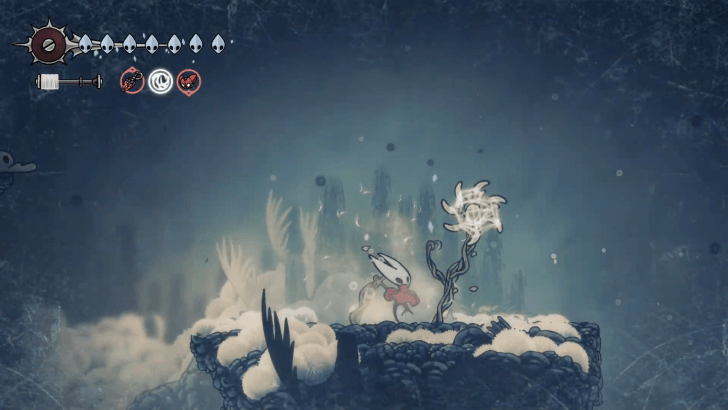 Wall hop to the top platform and restore your silk on the flowers. |
| 9 | 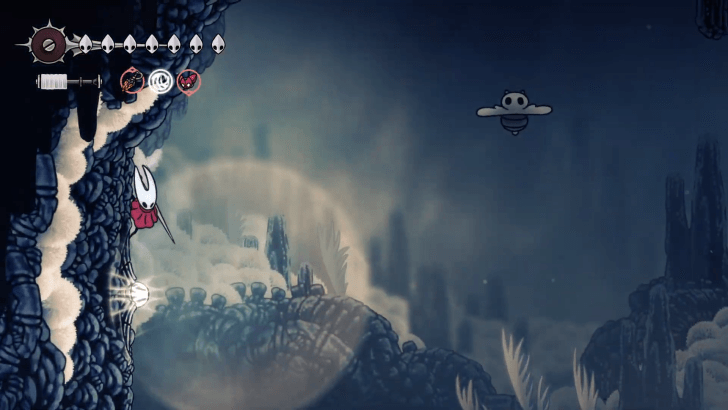 Make your way to the left and hop on the wall with the light source, then clawline on the floating bug. 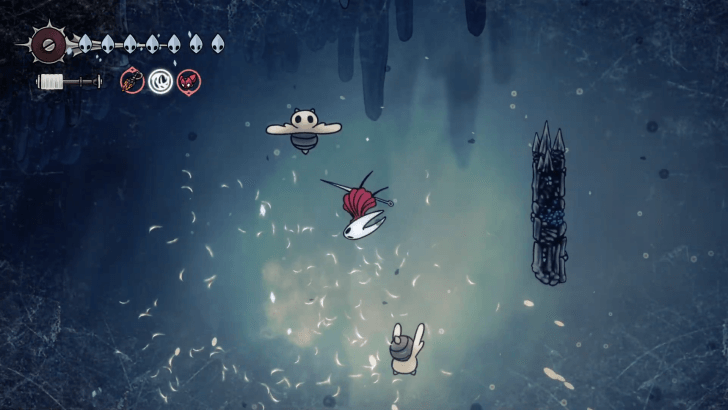 Carefully wall hop then clawline to the bugs so that you can head up the crumbling platforms and make your way to the top. 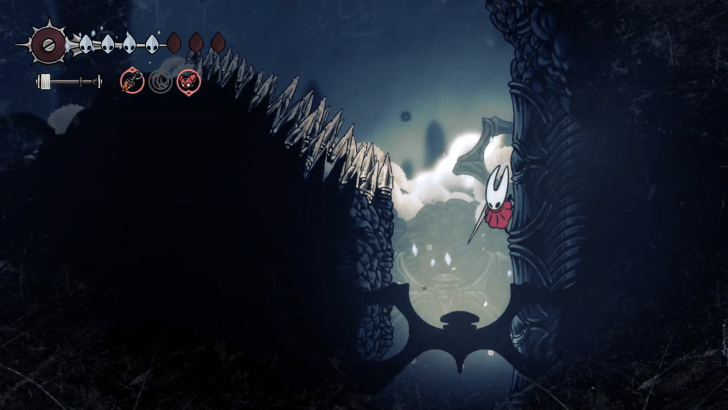 Once at the top area, wall hop up and use the clawline to zip over the spikes. 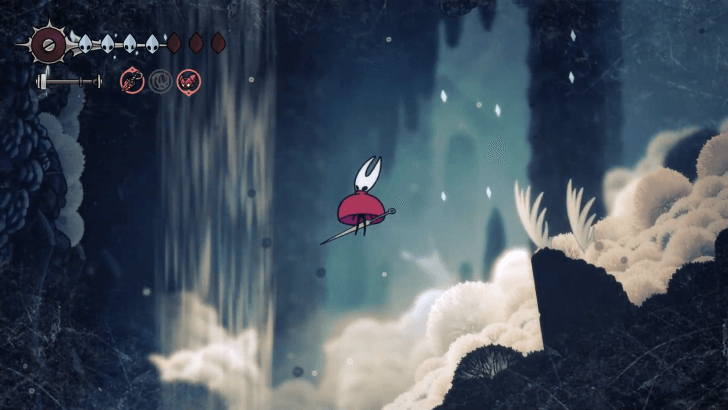 Float downt he ledge and head up the top of Mount Fay using the air vent. 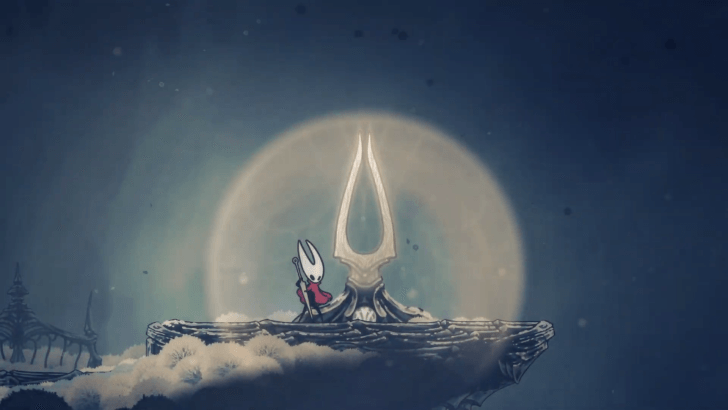 Head right and interact with the device to use the Needolin. A short cutscene will play where a giant winged creature will give you the Faydown Cloak, which gives you the ability to perform a double jump. |
| 10 | 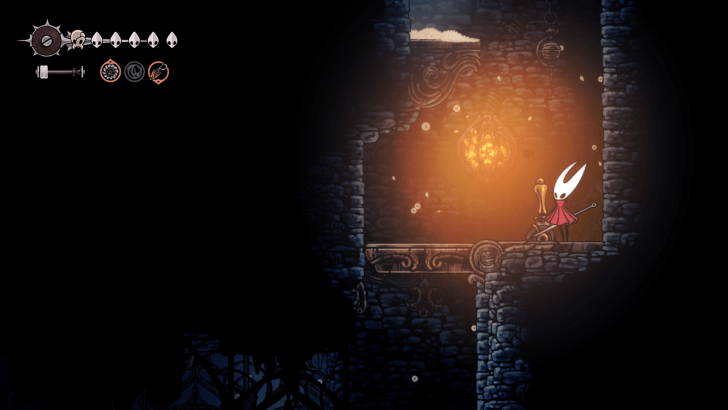 After obtaining the cloak, go down the air vent and into the left ledge to access a new area. Follow the cliff path down until you reach a passageway right before the exit. There's a lever here that you can hit to open a shortcut to the previous areas.  Head back up and follow the path to the left where you need to pogo across some bugs over some spikes.  Continue heading up then pogo across the floating bugs.  Enter the small house near the end of the path and speak with the Mask Maker.  Head back down the shortcut you opened and make your way to the area left of the second bench area and grab the Mask Fragment using your Double Jump. Once you obtain the mask fragment, make your way back to the starting area of Mount Fay and back to the Choral Chambers. |
High Halls (Conductor's Melody)
| High Halls Guide | |
|---|---|
| 1 | 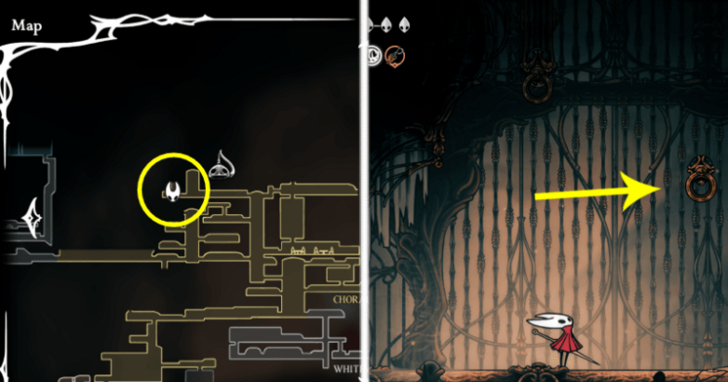 Make your way to the top left part of Choral Chambers with the bench overlooking the window. There are rings that you can double jump up and grapple with Clawline to reach a previously inaccessible area. Note: Before heading up, we recommend completing the Great Taste of Pharloom wish to get a second Pale Oil to upgrade your Needle. Equipping the Ascendant's Grip can also help when evading enemies for the fights ahead!  Ascend the area using the rings and exit to the right to reach the High Halls.  Make your way to the right by jumping on platforms and grappling on the rings. Note: There are flying enemies here and we recommend defeating them to avoid getting harassed as you platform to the next area. |
| 2 |  Grapple on the spinning gear so you can head up.  Continue heading up using the spinning gears to reach a room where you can get a Spool Fragment.  Head back down the previous area and proceed to the exit on the right to reach the next area.  Jump up the platform and defeat the Maestro to safely grapple on the ring.  Defeat the two Ministers so that they don't harass you as you make your way to the next area. 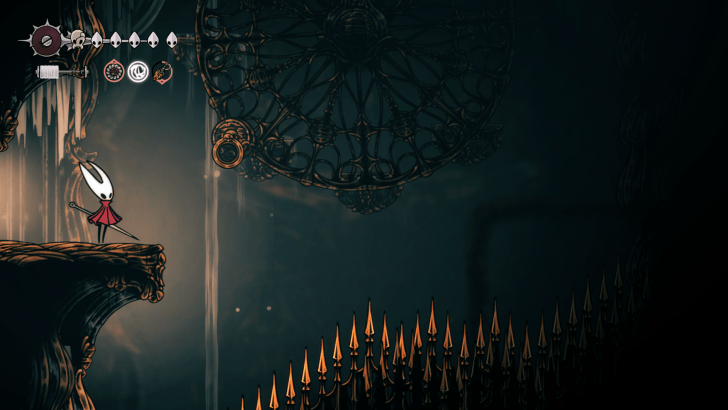 Grapple on the spinning gear and wait for it to head up so you can grapple to another ring to reach a top room.  Open the chest at the very top of the room to get a bunch of rosaries.  Head back down the narrow passageway and grapple onto the ring to open a path to the bottom. 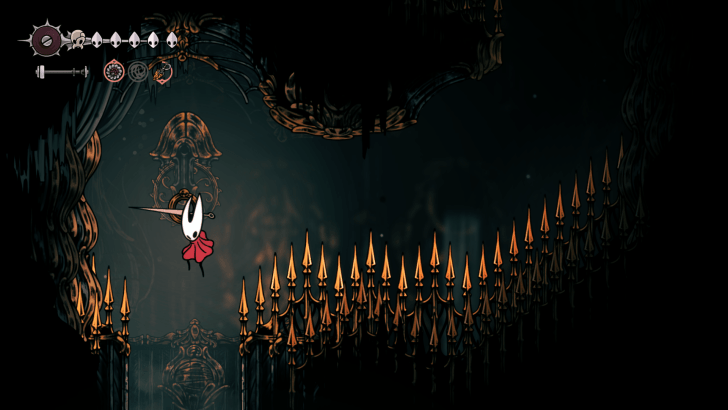 Carefully glide down then quickly clawline to the next ring to open another path downwards.  Drop down and defeat the Minister here, then exit to the left.  There's a table at the far left side of this room where you can construct the Cogfly Tool for one Craftmetal.  Before heading out, you can drop down the water and reach a Shell Shard chest behind the waterfall. As soon as you get close to the chest, a Giant Drapemite will attack you so be ready for a fight! |
| 3 | 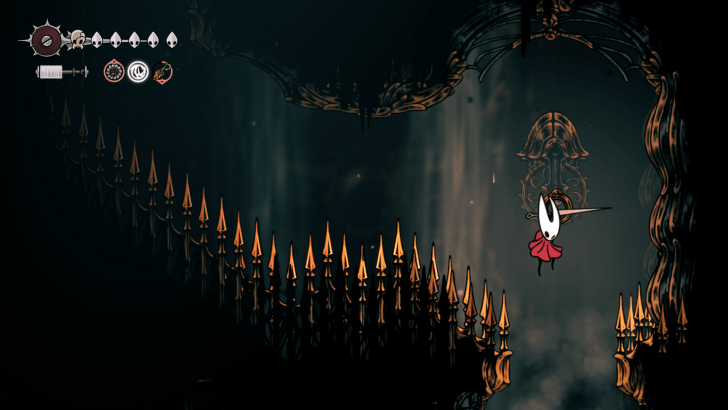 Head back out the previous area and carefully float down until you reach another ring that you can grapple on to open a path down.  Enter the room on the left to get a Frayed Rosary String. Otherwise, make your way down the path on the floor. 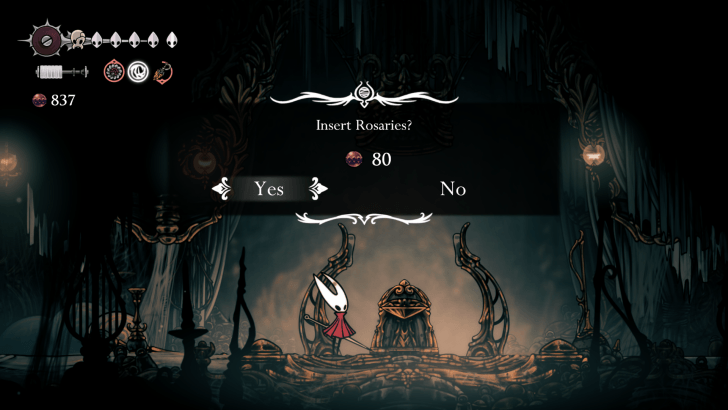 Once down, head into the room to the right and pay 80 Rosaries to activate the Ventrica. There's also a bench here that you can rest at and set your checkpoint.  Inspect the device to the right of the Ventrica and pay 70 Rosaries to get the High Halls Map.  Before heading to the left exit, hit the lever on the floor to open a shortcut to the Choral Chambers. Once you're ready, head left and prepare to fight a total of 11 waves of enemies. |
| 4 |  Wave 1: Chorister x 1, Reed x 1, Envoy x 1 Wave 2: Chorister x 2 Wave 3: Choir Bellbearer x 1, Clawmaiden x 1, Reed x1 Wave 4: Clawmaiden x 1, Minister x 2 Wave 5: Maestro x 2 Wave 6: Choir Clapper x 1 Wave 7: Choir Bellbearer x 1, Reed x 2 Wave 8: Chorister x 1, Clawmaiden x 1, Choir Bellbearer x 2 Wave 9: Choir Bellbearer x 1, Minister x 2 Wave 10: Reed x 1, Maestro x 1 Wave 11: Choir Clapper x 2 Note: Always prioritize killing the Clawmaidens whenever they appear since they can steal your silk. You can also stick to the wall using Ascendant's Grip to evade the non-flying enemies such as the Choir Clappers. 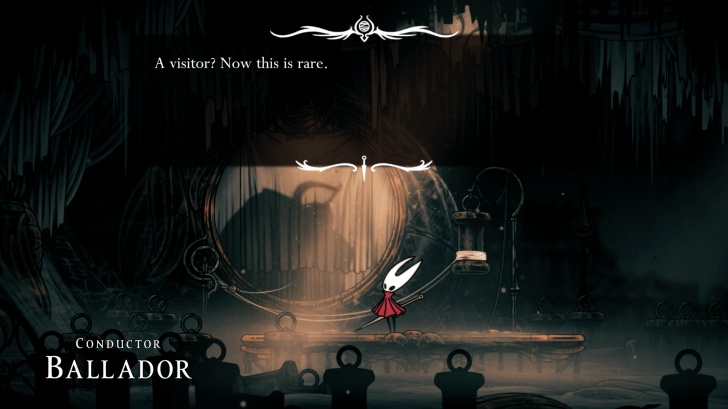 Once all enemies are defeated, head left and speak to Conductor Ballador and use the Needolin to get the Conductor's Melody. |
| 5 | 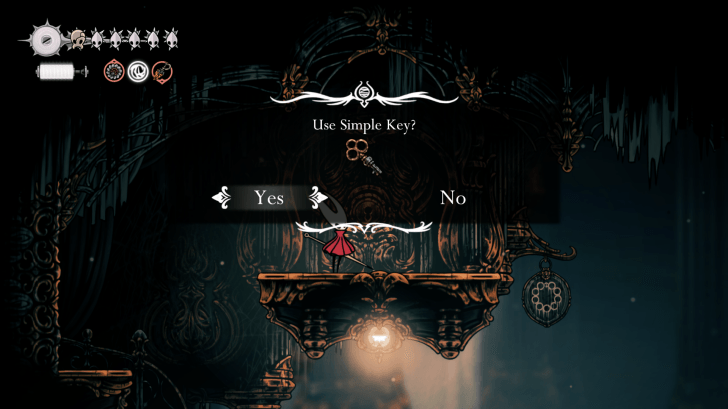 If you have a Simple Key, you can head back to area just before the Forum fight and open the locked door.  Once inside, head towards the spot where the ceiling is crumbling and break it to open a path up. 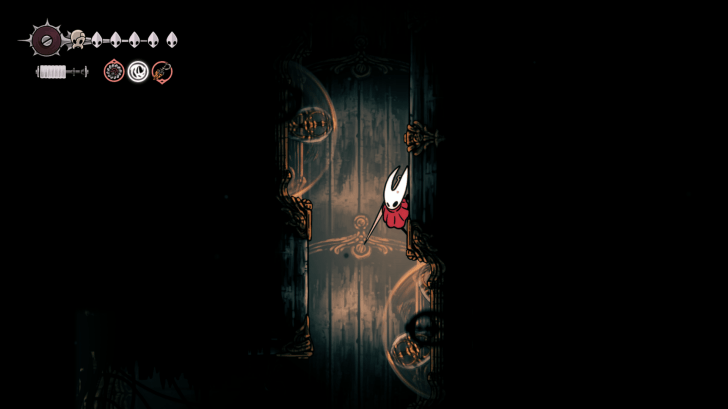 Follow the passageway and carefully drop down to reach the area at the bottom. The Ascendant's Grip can help you navigate this area easier.  Clawline towards the spot on the left and through the spinning gears. You can avoid the Giant Drapemite that spawns here but just heading to the left area. |
| 6 | 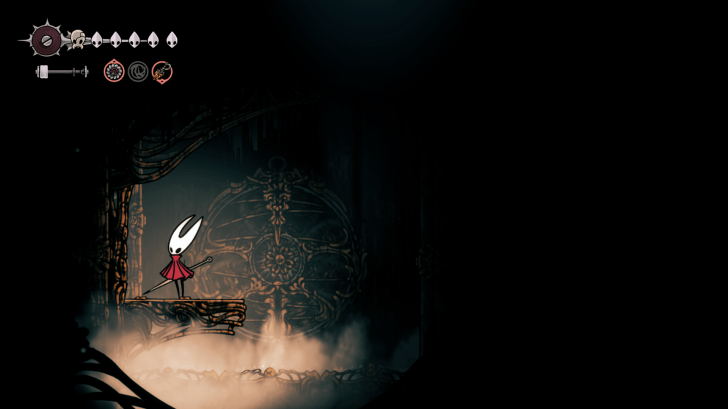 Head down and break the wall to reach the next area. Next, wait for the steam to disappear and hop up and hit the lever to reach the next room. 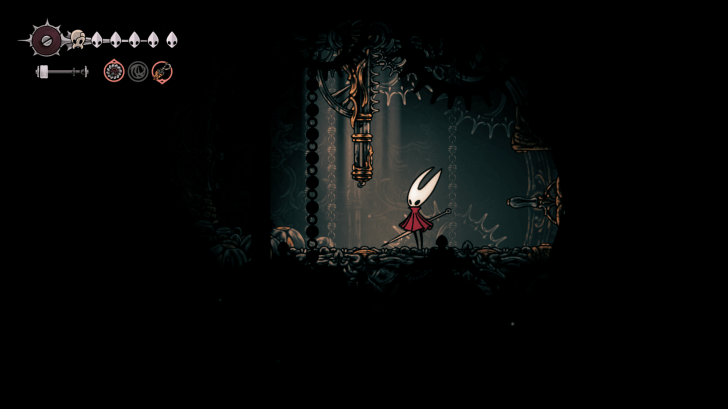 Once inside, break the large structure in the middle to obtain the Rosary Cannon. Make your way back to the previous area and head up to reach the Treasure Room.  There are three treasure chests here that contain rosaries and a Pale Rosary Necklace, as well as some rosary strings that you can break. Once you grab all of the rosaries, hit the lever on the left side of the room to open a shortcut to the first room and head back to the Choral Chambers. |
Whispering Vaults (Vaultkeeper's Melody)
| Whispering Vaults Guide | |
|---|---|
| 1 |  Make your way back to the central area where you fought the Cogwork Dancers and drop down to reach Cogwork Core. Note: We recommend equipping the Ascendant's Grip since there will be a lot of platforming in the next area.  Once down, enter the door on the left to the bench room. Hit the gear on the ceiling until the bench appears and set your checkpoint. 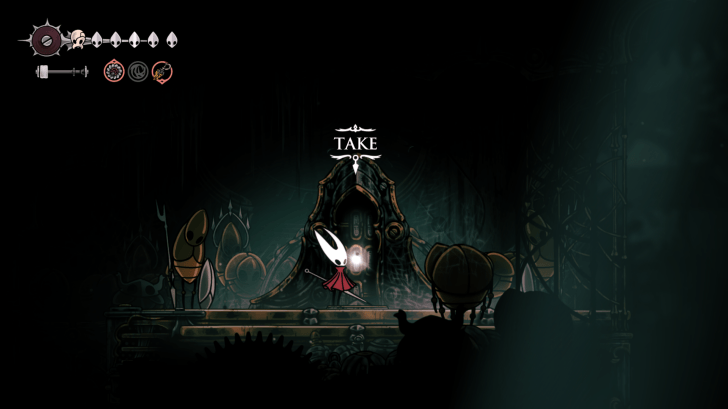 Head up and stand on the platform to obtain the Cogwork Core Map. 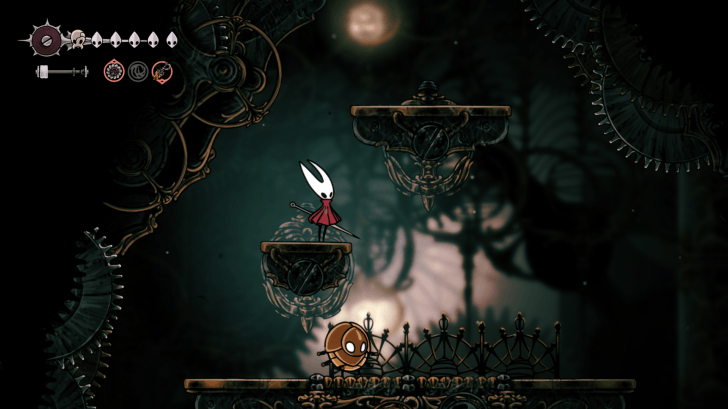 Head back out and down the platforms. The spinning gears on the walls will damage you, so take care dropping down. |
| 2 | 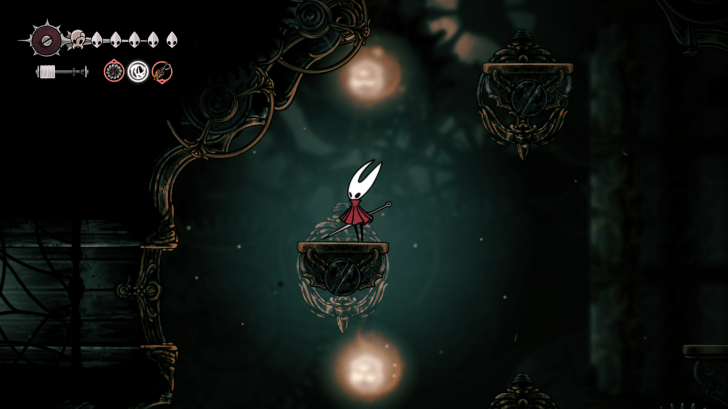 Continue heading down and make your way to the passageway on the left. 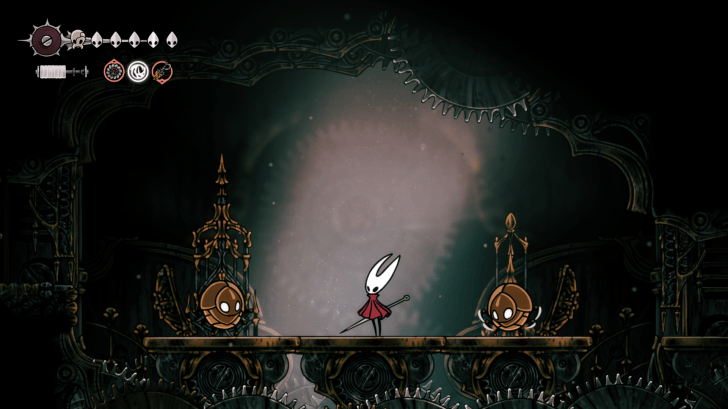 Make your way to the left to a bug swarm room. The floors where you can safely stand will constantly change each wave, so pay attention to the floor so you can jump accordingly.  Once you defeat the bug waves, hit the lever on the left and follow the passage through the upper left exit to the next area.  Grab the Mask Shard and stand on the button to open a shortcut to Choral Chambers.  Head back to the previous area and jump up to reach the top area.  Head left and grab the Shard Bundle on the table, then head back to the previous area. |
| 3 |  Continue heading down until you reach a large open area near the bottom where you can pogo on top of the spinning gears and make your way to the right side of the area.  Follow the path up, wall hopping across until you reach a platform with a spinnable gear. 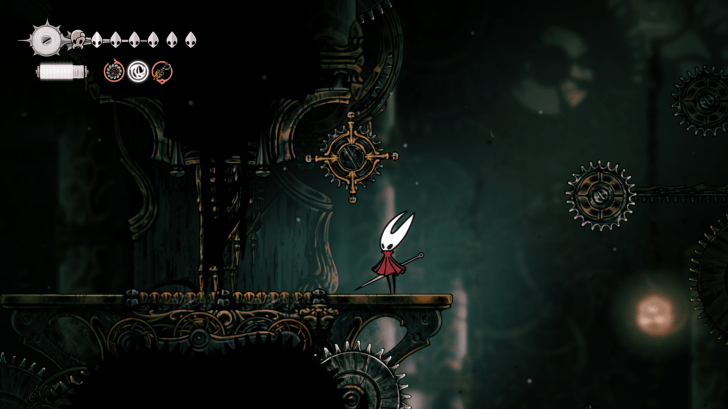 Hit the gear to open a shortcut from the previous area. |
| 4 | 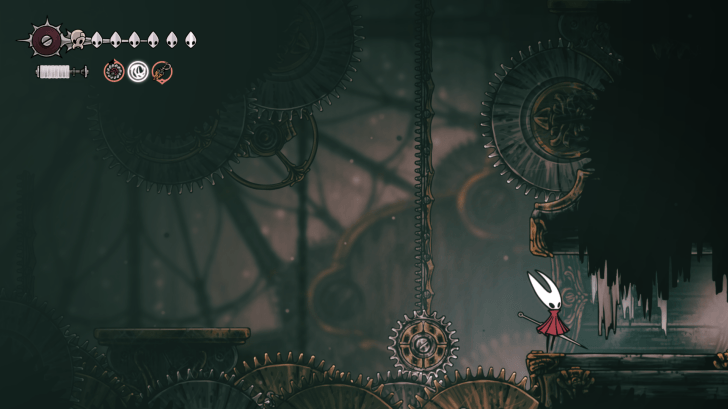 Head back down to the previous area and head to the lower right section through the door and into the next area. 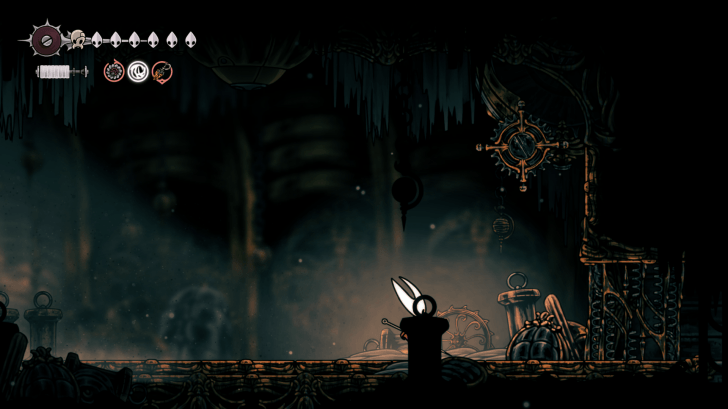 Hit the gear near the ceiling to open the door to the area on the right. A Cogwork Clapper will appear right before you open the gate. Defeat it so you can safely head to the next area.  Hit the lever to open a path down some narrow passageways, then make your way to the left. 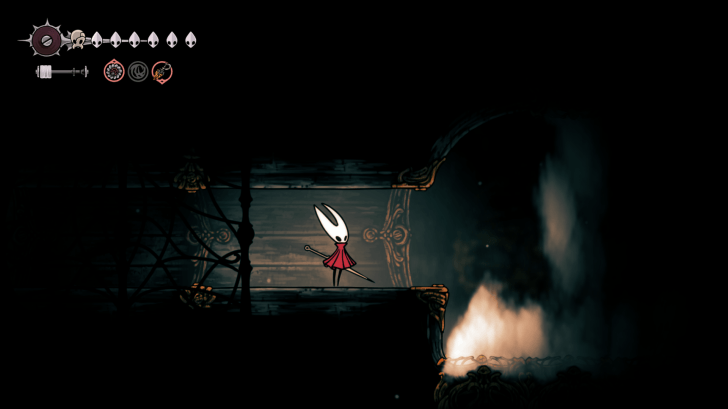 Carefully glide down and make your way through the steam area. You need to quickly clawline across the gap to avoid getting hit by the steam. 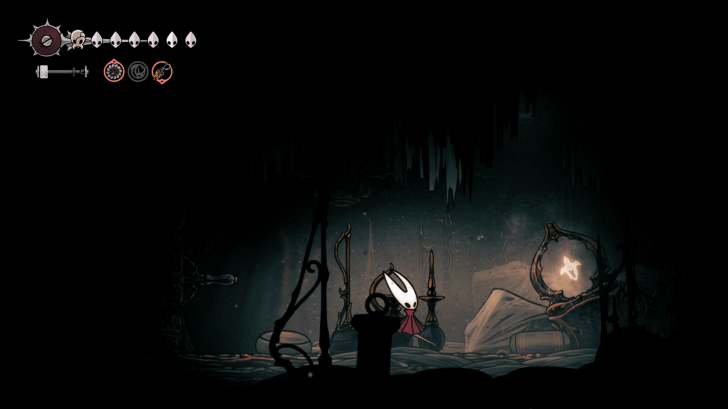 Hit the lever to enter a room where you can get a Spool Fragment. 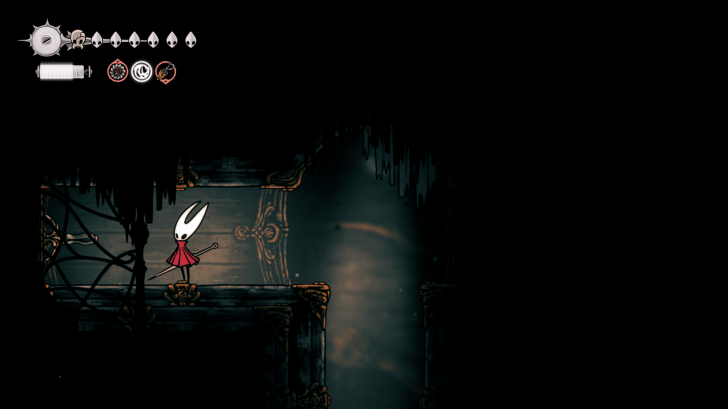 Head back out and up the passageway, then hit the lever to return to the previous area. |
| 5 | 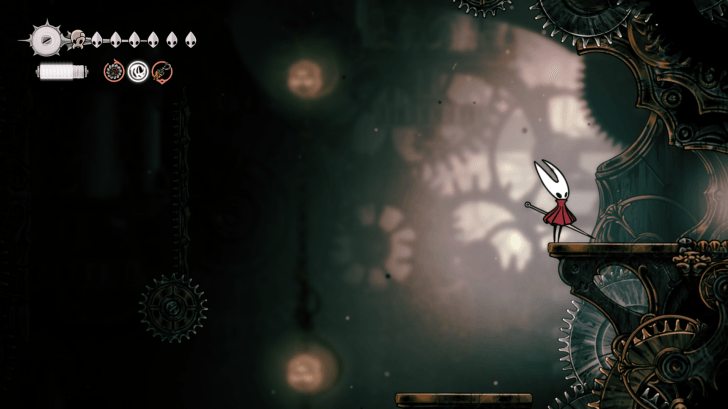 Make your way back to the previously opened shortcut near the top, then pogo across the gears to the right to reach a door.  Make your way to the right and spin the lever to open the locked door. 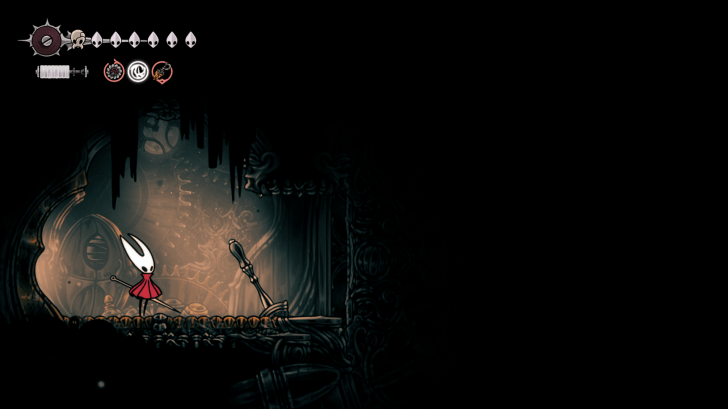 Hit the lever to open a path and make your way to the next area.  Follow the path and push the large mechanism to reveal an area with spikes on the floor. Clawline towards the wall on the right then wall hop up to to reach the top area.  Head to the open area where you'll get attacked by waves of bugs and finally a Vaultkeeper.  Once all bugs are defeated, head to the right then down and push the box to open a shortcut to the previous area, then make your way to the exit on the right to reach tthe Whispering Vaults. |
| 6 | 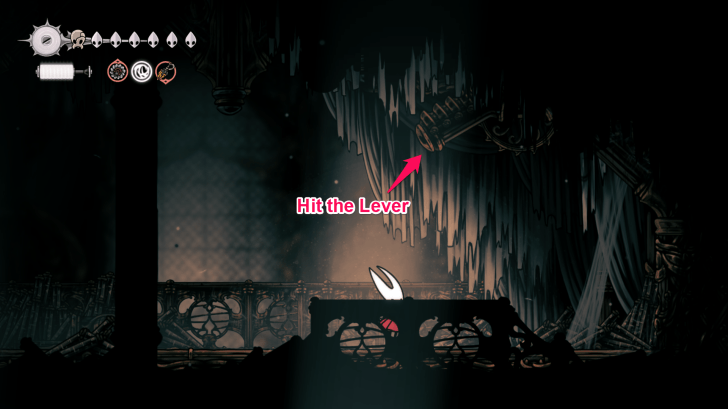 Defeat or avoid the Scrollreader on the right area, then hit the large lever near the ceiling to open an area above. 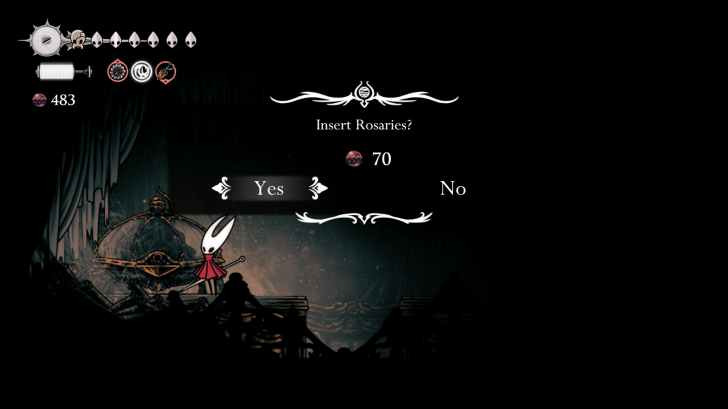 Head left and pay the device 70 Rosaries to get the Whispering Vaults Map.  Head back to the previous area and continue heading down and enter the room on the left with a sign. 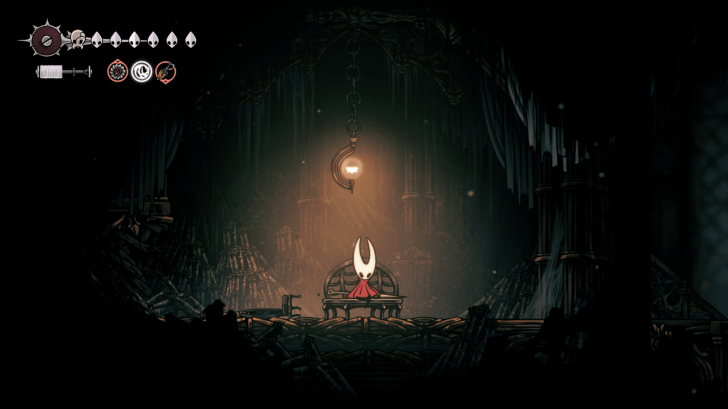 Head up to the upper left of the room to reach a bench where you can rest and set your checkpoint.  Head to the upper right part of the area and grab the Psalm Cylinder from the small ledge. 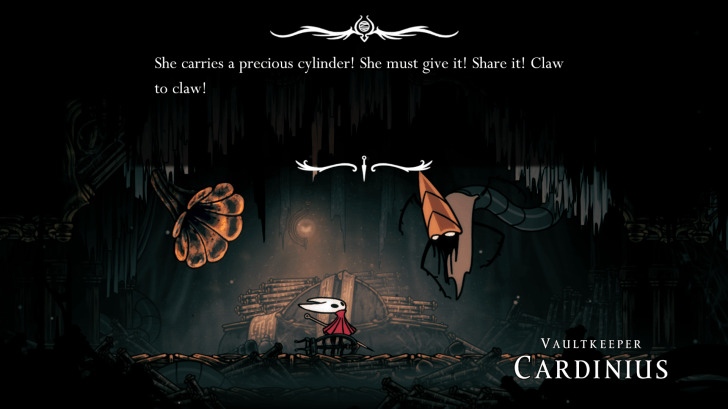 Attempt to leave the room and Vaultkeeper Cardinius will confront you. Give him the Psalm Cylinder to unlock a melody which you can play in this room. |
| 7 |  Exit the room and follow the path right and then down until you reach a door leading to an area to the right.  This room has a box puzzle that you can solve to reach a small area with a lot of rosaries. Otherwise, drop down and exit to the path on the left.  Make your way to the area on the left and head through the room with the sign. 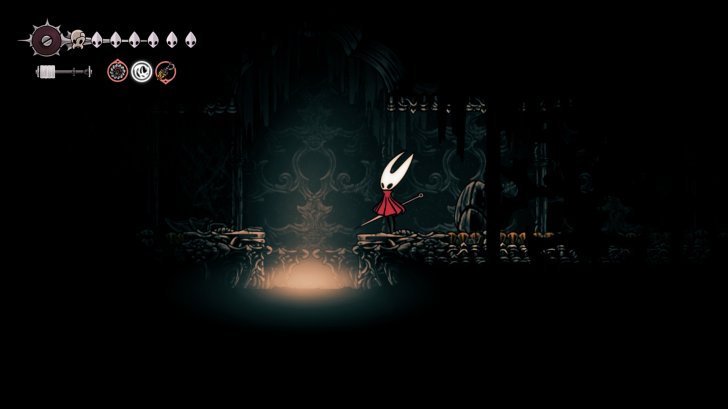 Keep heading left until you reach a path which leads to a hole you can drop down. 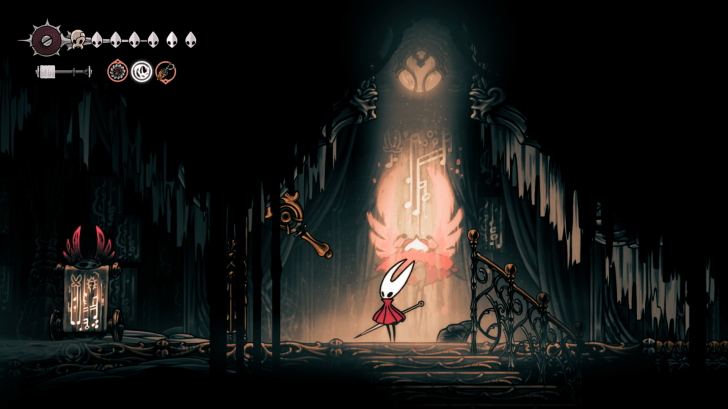 Hit the lever to open a shortcut to the Choral Chambers. When ready, head to the right for a boss fight. 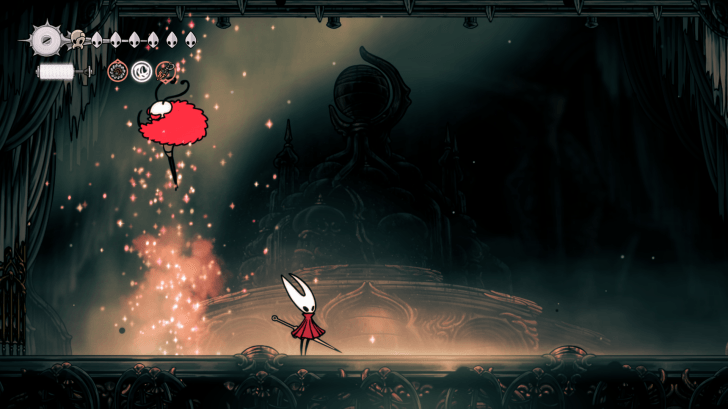 Trobbio is a tricky boss fight even with an upgraded Needle, so make sure to save your checkpoint at the Grand Bellway. Once defeated, grab the Claw Mirror and make your way to the area to the right of his boss room. ► Trobbio Boss Guide  Hit the lever to open a shortcut to the previous upper area, then exit to the path on the right. |
| 8 |  Ride the elevator down then open the door to the left once you reach the bottom to open a shortcut to the Underworks. 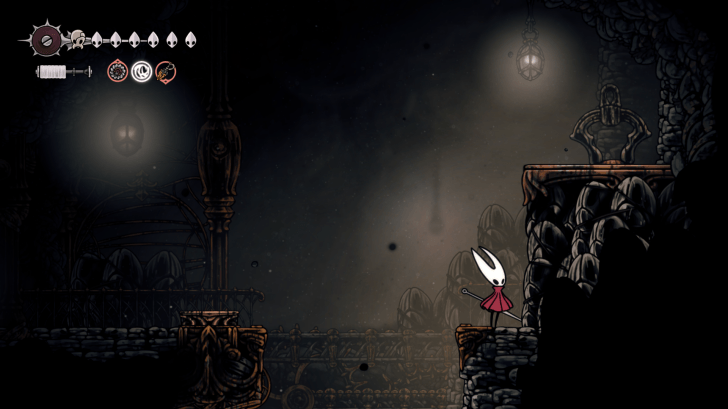 Activate the elevator to send it up, but hop off so you can head down the path beneath it to reach the area to the right. 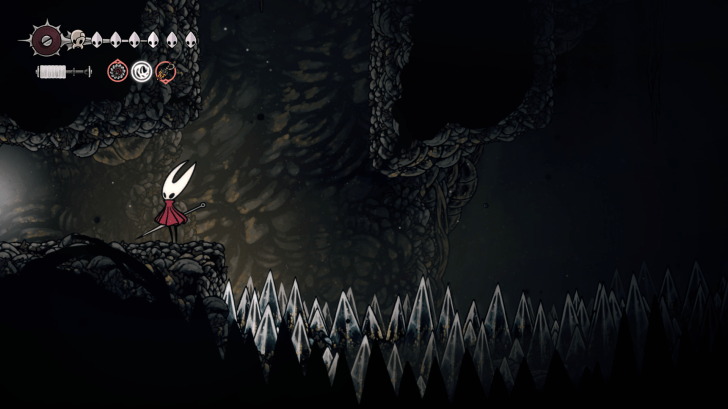 Jump and wall hop up here then follow the path heading to the top left area. 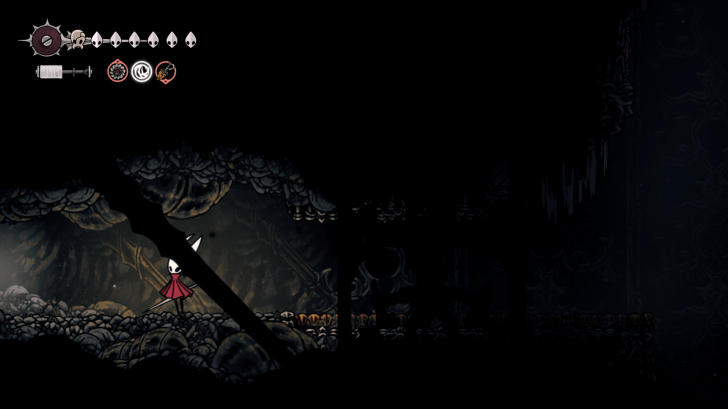 Hit the breakable wall here to reach the next area. 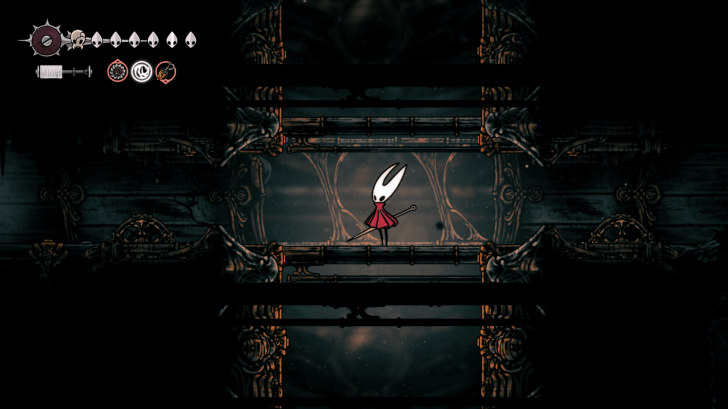 Keep heading up until you reach a lever which opens a path to the next area. 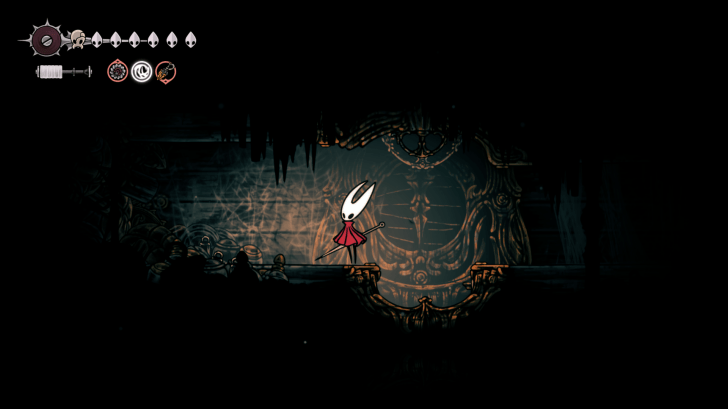 Open the shortcut here which leads to the Grand Bellway, then destroy the breakable wall to the left. 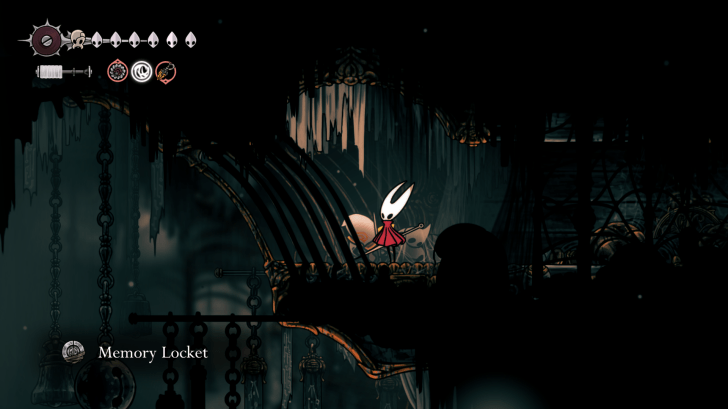 Grab the Memory Locket from the corpse, then head back down the Grand Bellway to rest on the bench and set your checkpoint. |
| 9 |  Head back to the previous area and travel all the way to the right side of the area until you reach an exit to the next area.  You'll need to make your way through narrow passages with steam erupting from the top and bottom.  Follow the path up and exit to the next area. 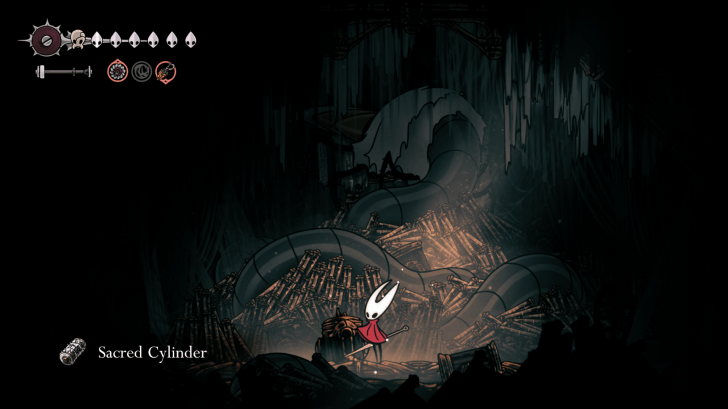 Step on the button on the floor then grab the Sacred Cylinder on the table. 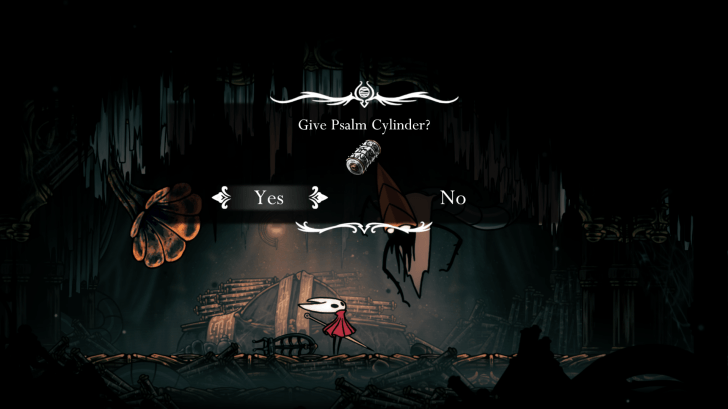 Bring the Sacred Cylinder to Vault Keeper Cardinius then play the music to learn then use the Needolin to learn the Vaultkeeper's Melody. |
| 10 | 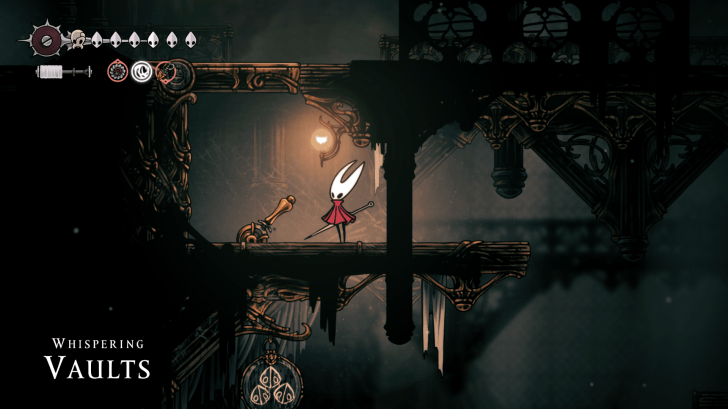 Make your way back to Whispering Vaults through Trobbio's area then hit the lever here to open a shortcut, then proceed to the area to the left.  This area has another box puzzle, which you can solve to reach a flea. Otherwise, head to the exit on the left to reach the next area.  Push the box here to open a path that leads up.  Push the box so that you can wall hop to the central boxes in the main room. Jump up and hit the top box to push it upwards.  Push the box on the left, then pogo the box you're standing on to push it down.  Push the large stacked boxes to the left to access the area to the left.  Push the left box so you can push up the stacked boxes, then hit the lever on the left.  Grab the Pale Oil from the desk then hit the lever to open the path down to a shortcut that leads back to Choral Chambers. Note: You can head back to Bellhart and upgrade your Needle with the Pale Oil by fast traveling using Grand Bellway, though you'll need to pay 450 Rosaries this time. |
Cogwork Core (Architect's Melody)
| Cogwork Core Guide | |
|---|---|
| 1 | 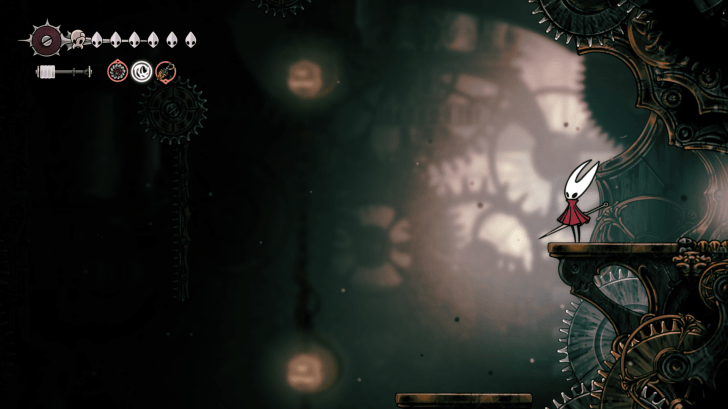 Head back to the central area in Cogwork Core. Instead of entering the passageway that leads to Whispering Vaults, you'll need to pogo up the gears to reach the top area. 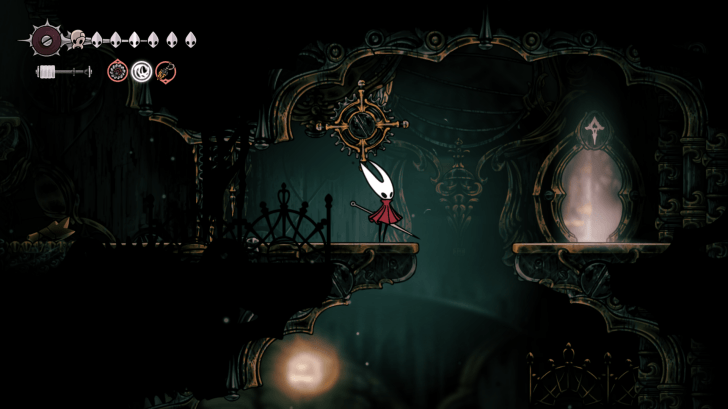 Spin the gear near the entrance to open a shortcut to Choral Chambers, then enter the door on the right. Note: Make sure to equip the Ascendant's Grip before proceeding as it will help a lot in the platforming. 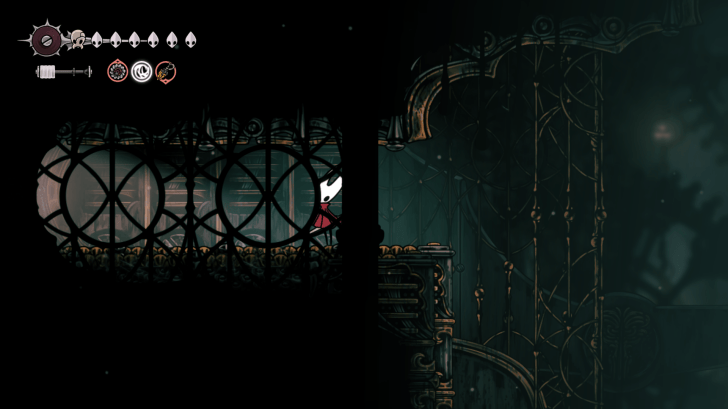 Head up the passageway and exit to the left side. 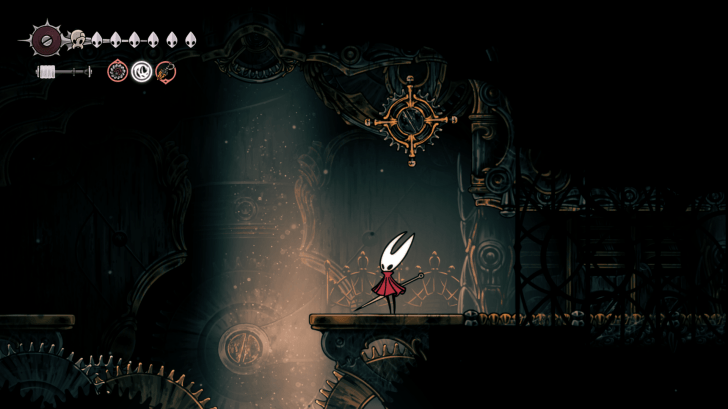 Spin the gear in this room to open a shortcut from the Cogwork Dancers boss area, then proceed to the left. 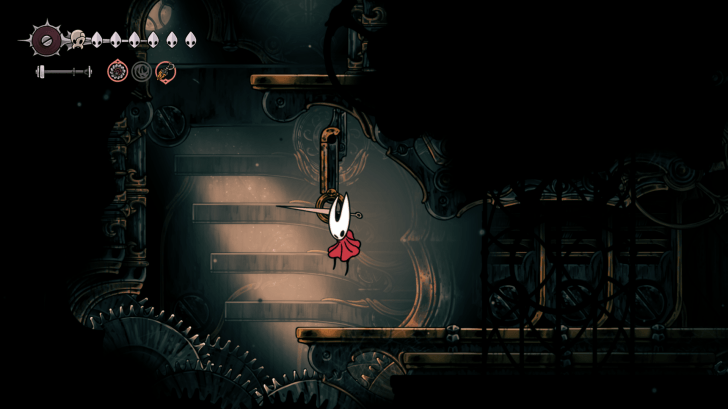 Clawline onto the ring to open a path upwards. |
| 2 | 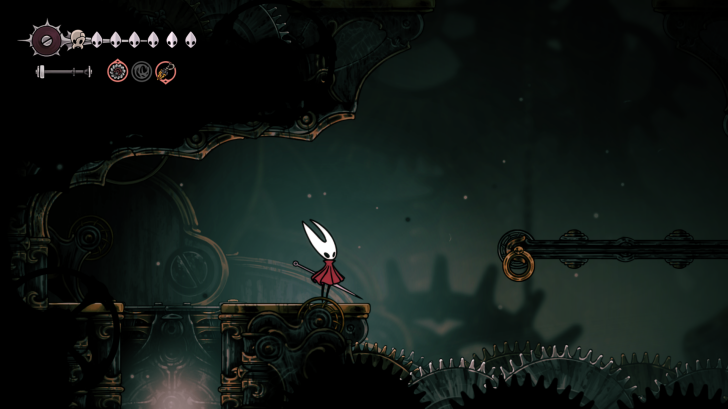 Grapple onto the ring then jump up the platform before it reaches the end to avoid getting hit by the gears. 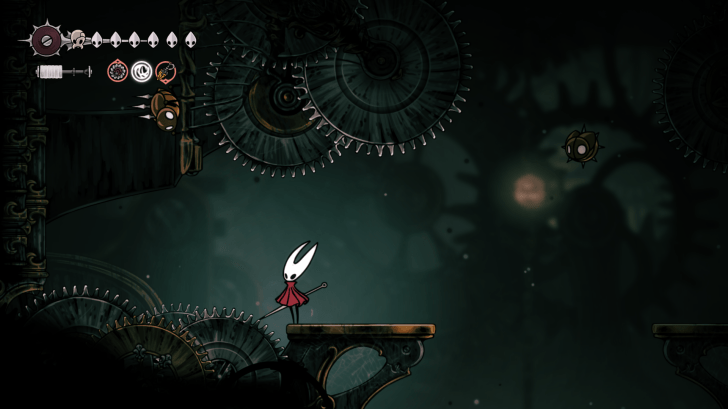 Make your way across the platforms to the left then wall hop up to reach the top area. 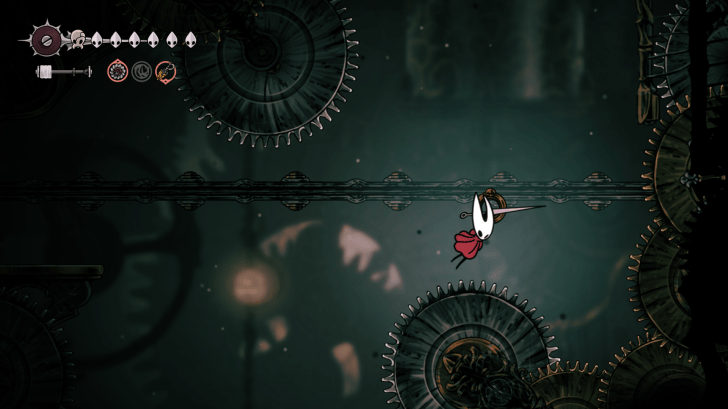 Grapple onto the ring and jump to the wall once it reaches the right side. 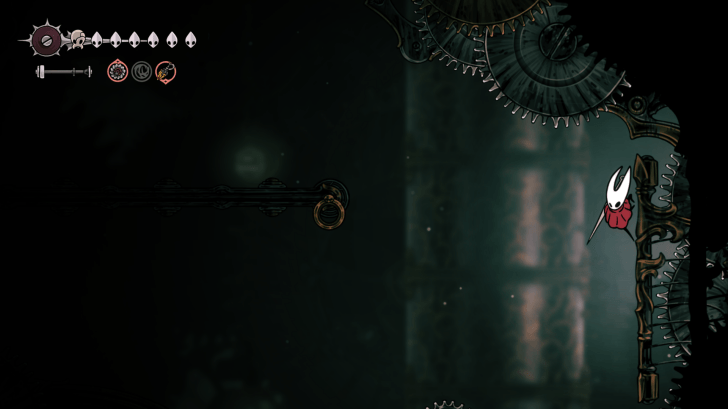 Wall hop up then grapple onto the next ring to travel to the left side, then hop up to reach the next platform. 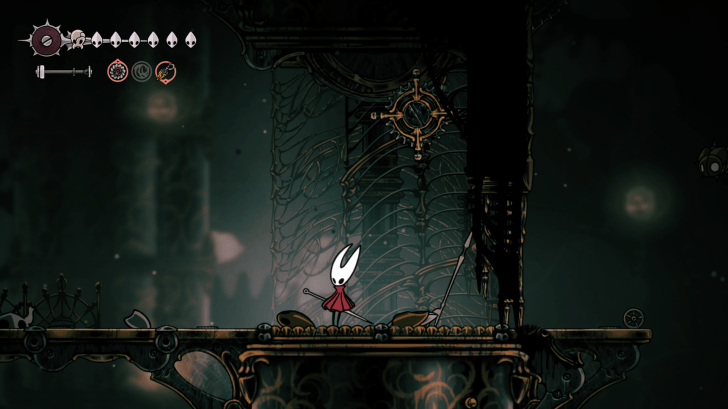 Spin the gear in this area to open the path to the right. |
| 3 | 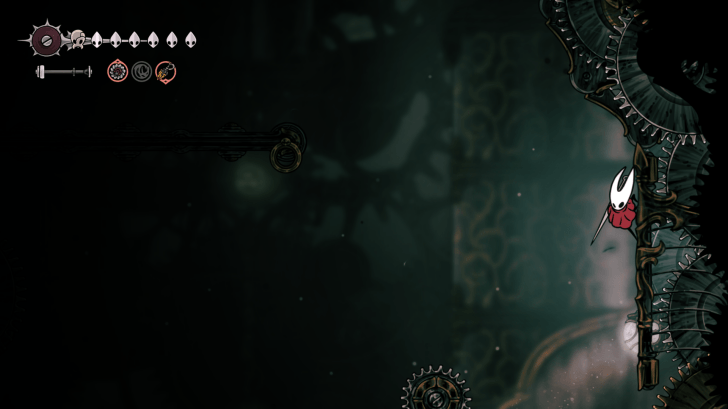 Hop up the wall then grapple onto the ring to travel to the left side, then wall hop up. 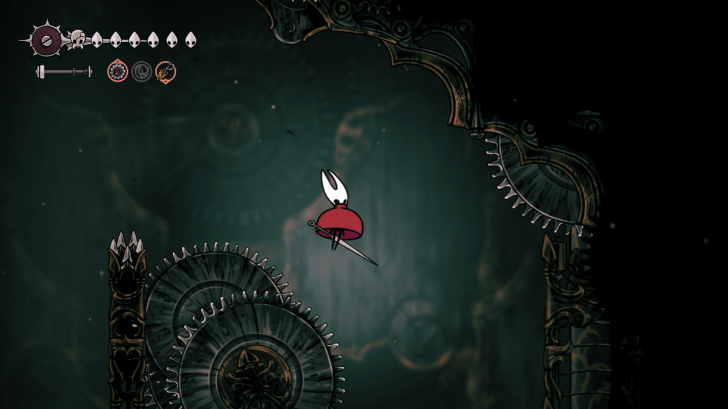 Jump up and glide down the other side, then quickly grapple on to the next ring to reach the right side. 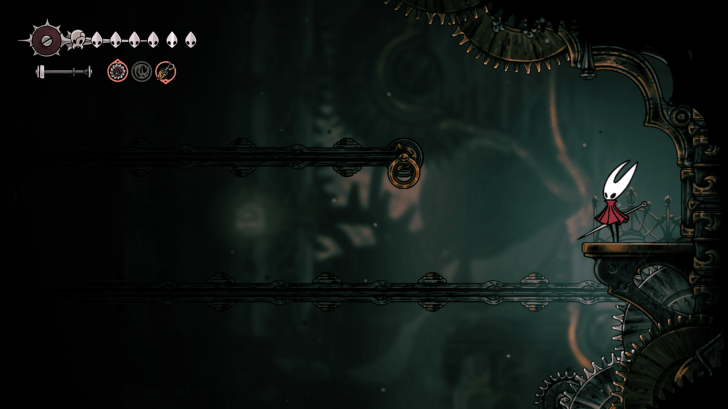 Hop up the platform then grapple onto the top ring to reach the left side. Keep heading up using wall hops and ring grapples, making sure to avoid getting hit by the spinning gears. The Ascendant's Grip can help you stay on the walls to plan your jumps. 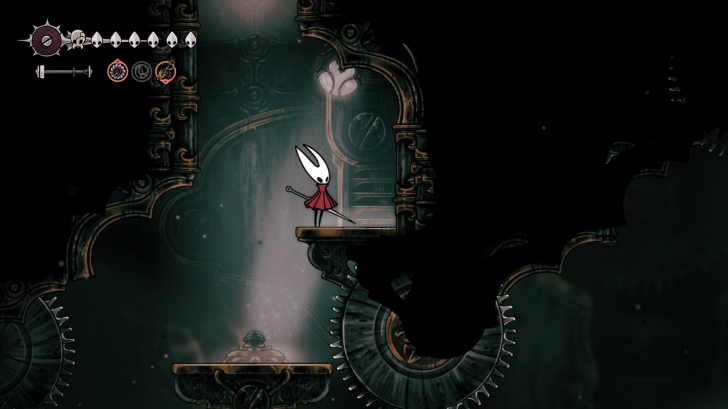 Travel using the last ring to reach the platfomr with a path leading upwards to the next area. |
| 4 | 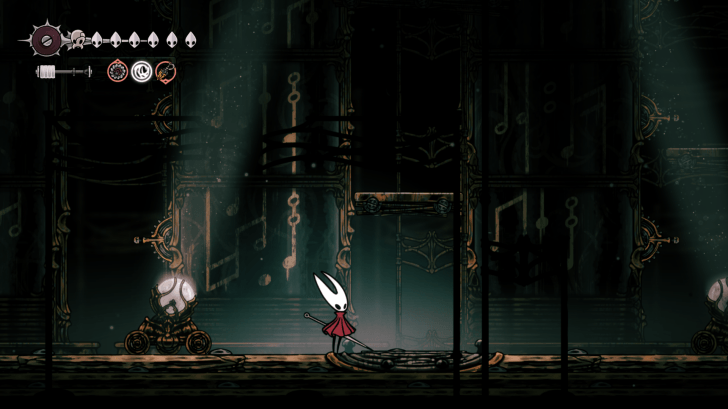 Make your way up to a large room with a Cogwork Puzzle. Your goal here is to arrange the music so you can learn the Architect's Melody. Note: You can move the spotlights around to get a better view of the notes you need to arrange. ► Cogwork Core Puzzle Solution |
| 5 | 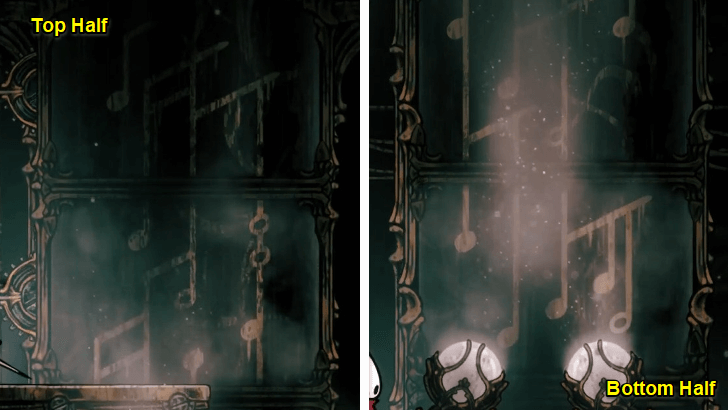 Rotate the top music piece until it shows an eighth note followed by a joint note. From there, connect the joint note with a matching piece as you scroll to the next music piece below. Repeat the process for the remaining bottom pieces until all pieces are connected. 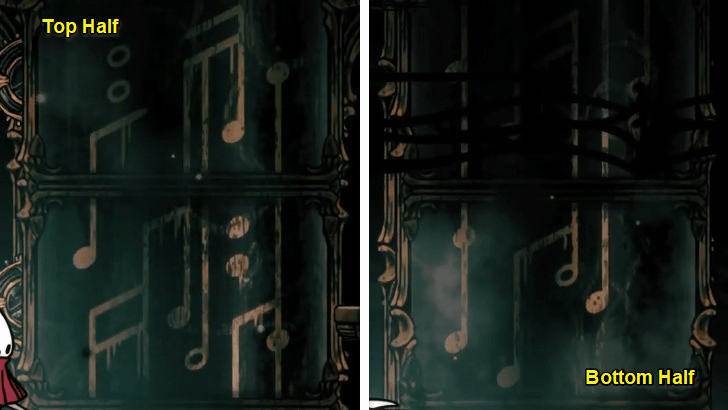 For the second music sheet, rotate until you see a piece with two whole notes. Connect it with the other music sheets below, and it should end with a whole-quarter note, a half note, and a quarter note.  The third music sheet should start with a piece that has a whole note. Do the same and connect the rest of the music sheets below, and it should end with a piece starting with a joint eighth note. 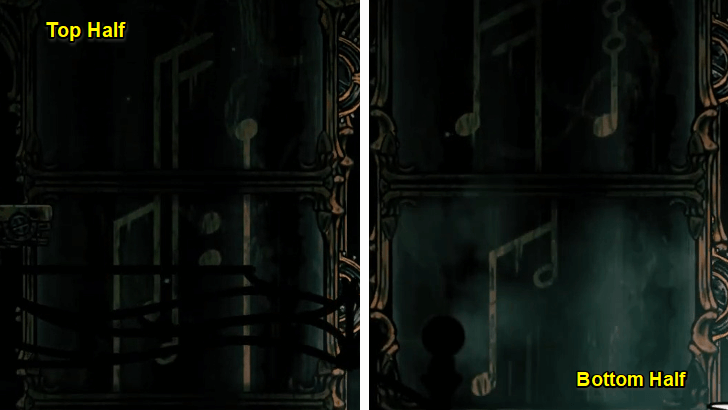 For the last pillar, rotate it to the piece that starts with flags followed by a quarter note. This should end with a piece containing a joint quarter note and half note. |
| 6 | 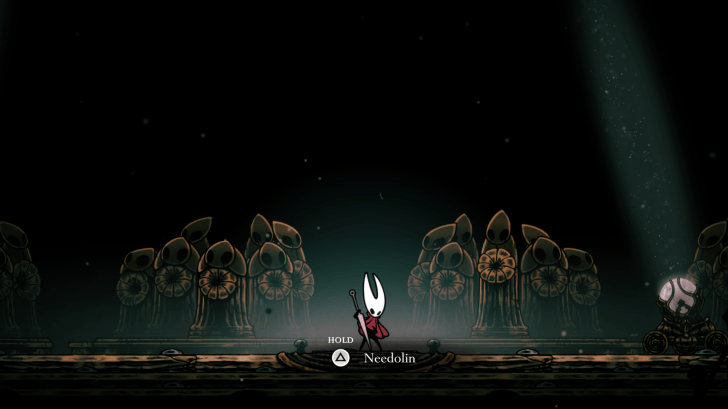 Once all pillars are down, stand on the platform at the center and use your Needolin to learn the Architect's Melody. You'll then need to make your way back to the Cogwork Dancers' boss room in the Choral Chambers. |
The Cradle
| The Cradle Guide | |
|---|---|
| 1 | 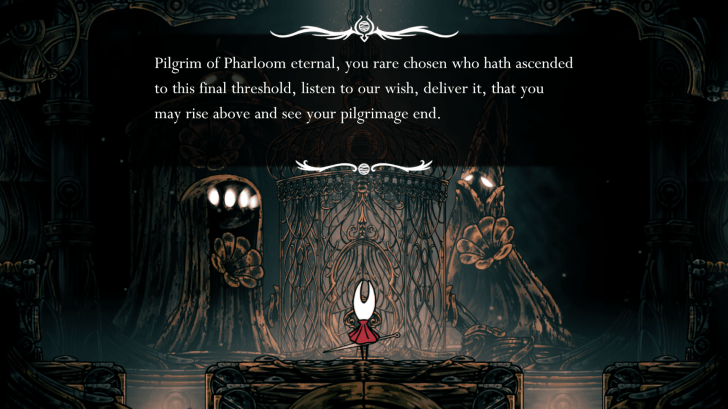 Once all three melodies are collected, make your way back to the Cogwork Dancers boss arena and interact with the device to play the Needolin.  Once the dialogue is over, enter the elevator to ascend to the top of the citadel. Note: Entering the elevator will immediately start a boss fight against Lace. Make sure you're well rested and prepared for the fight ahead! |
| 2 |  Lace will attack you as soon as the cutscene ends. She's faster this time around and can deal a lot of damage in short burts. We recommend upgrading your Needle and get the Cogfly tool for the fight. ► Lace Boss Guide 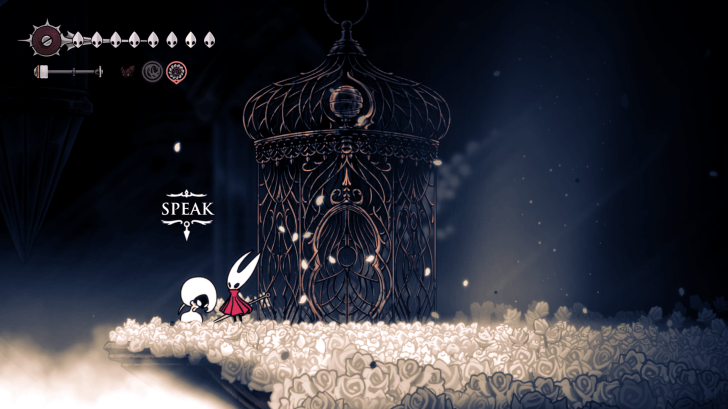 Speak to Lace after defeating her and she reveals that she's actually not a bug but a being made of silk.  After Lace collapses, an orb of silk will appear. Touch the orb to enter a memory. |
| 3 |  Once Hornet wakes up, make your way up using the platforms. The path up is straightforward, though you'll want to avoid the spikes along the way.  Once you reach the top, touch the orb to wake from the memory.  After waking up from the memory, a path on the left will open up to the next area. |
| 4 |  Hop up the passageway to the right and hit the lever to open the Terminus area with Ventrica you can use to get back to the previous areas. There's also a bench to the right of the Ventrica where you can rest and set your checkpoint. 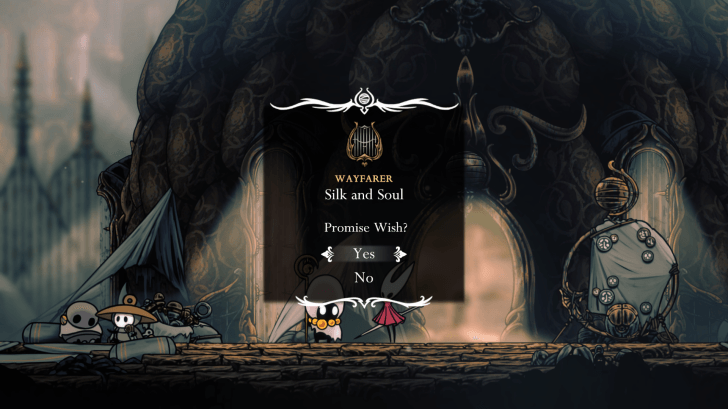 Before proceeding onwards, make your way back to Songclave and speak to the Caretaker where you can start the Silk and Soul Wish which is required to proceed to the Act 3. Note: Don't complete this wish right now if you want to get the Weaver Queen and Twisted Child endings. ► Silk and Soul Walkthrough 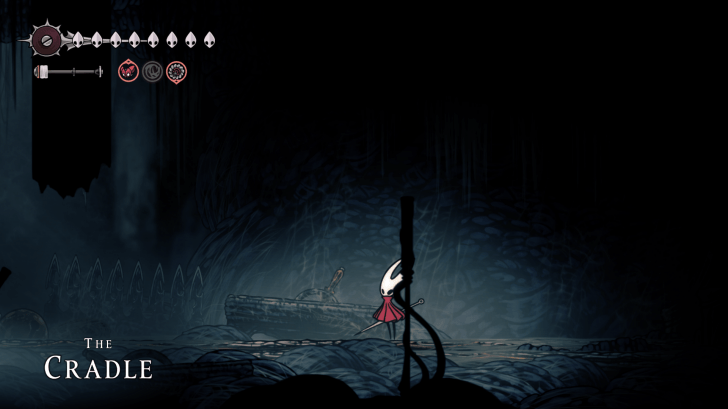 Fast travel back to the Terminus area using the Ventrica, and continue heading up the passageway to reach The Cradle. 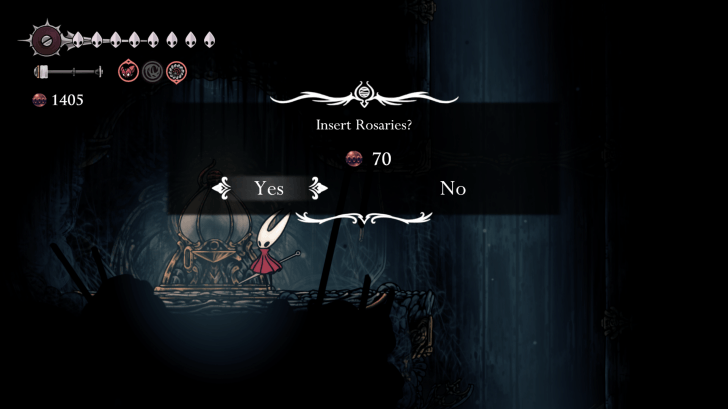 Wall hop up the passageway to the left and pay the device 70 Rosaries to get The Cradle Map. |
| 5 | 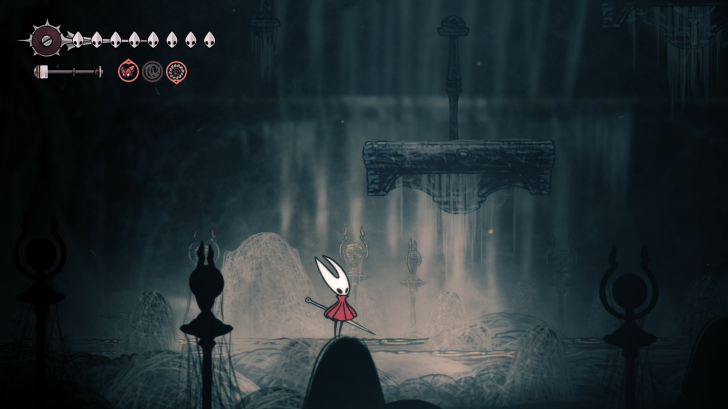 Continue heading up to reach a large central area just before the final boss. Before heading up, make your way to the right of the area. 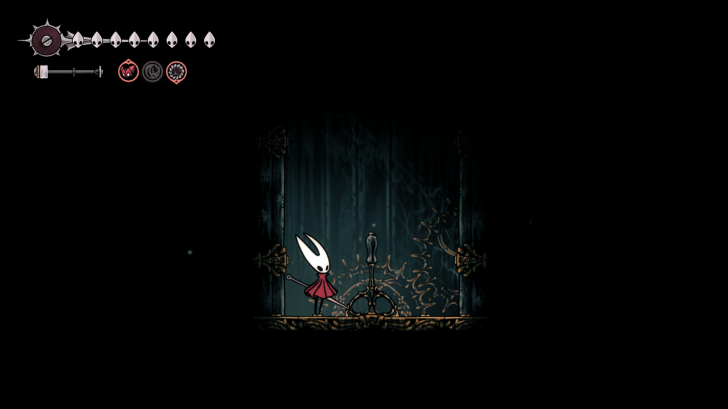 Drop down and hit the lever to create a shortcut close to the Terminus Ventrica. You can head back previous areas to restock or heal to prepare for the final boss. 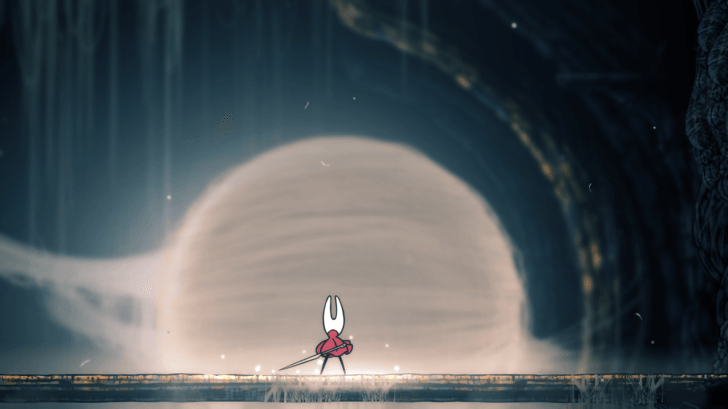 Head up the platforms and interact with the glowing spot to challenge Grand Mother Silk. |
| 6 | 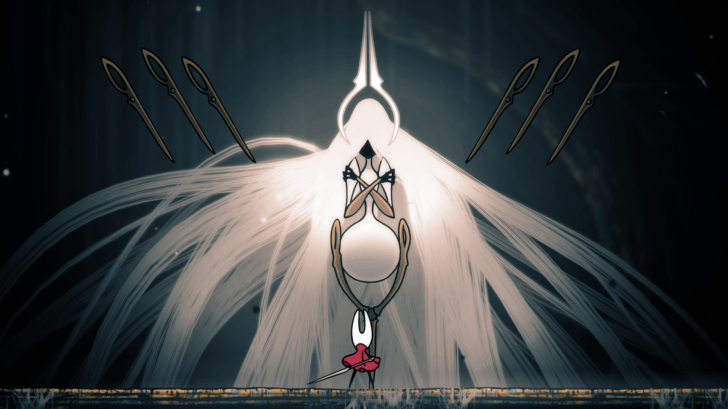 Grand Mother Silk will fight using floating needles and claw swipes. In her second phase, she'll also fill the screen with silk to perform a grab attack and also cause boulders to fall on the stage. ► Grand Mother Silk Guide |
| 7 | 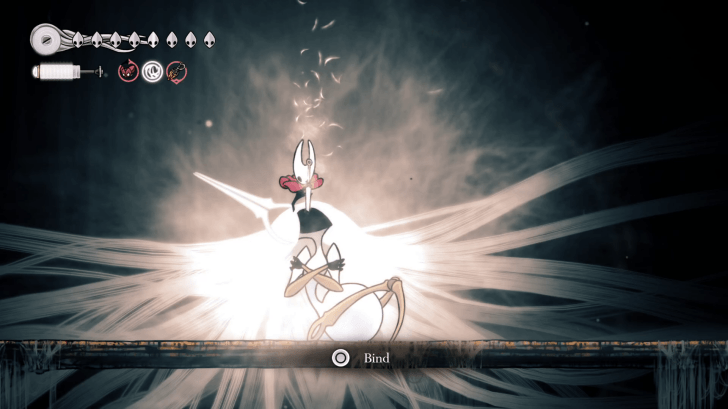 Defeating Grand Mother Silk without completing the Silk and Soul wish will cause Hornet to forcibly bind her, transforming into the new deity ruling over Pharloom and unlocks the Weaver Queen ending. Note: You can reload the game right before you defeat Grand Mother Silk after the credits. You'll also unlock Steel Soul Mode if this was your first ending. |
| 8 |  To unlock the Snarled Silk ending and proceed to Act 3, you need to complete the Silk and Soul wish and give the items to the Caretaker in Songclave which unlocks the Soul Snare objective. 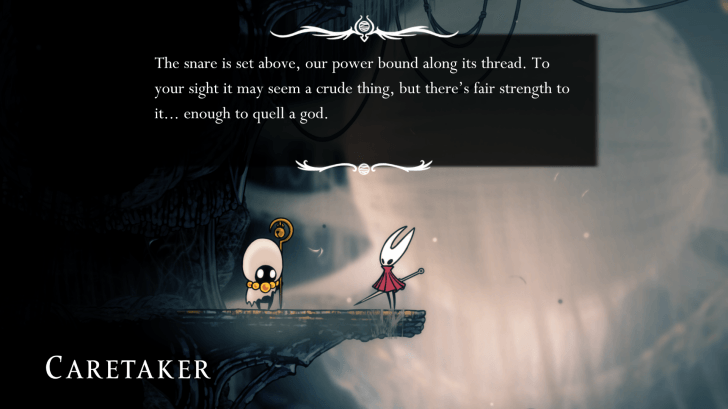 Make your way up the cradle and speak to the Caretaker where he'll further discuss the plan to capture Grandmother Silk. 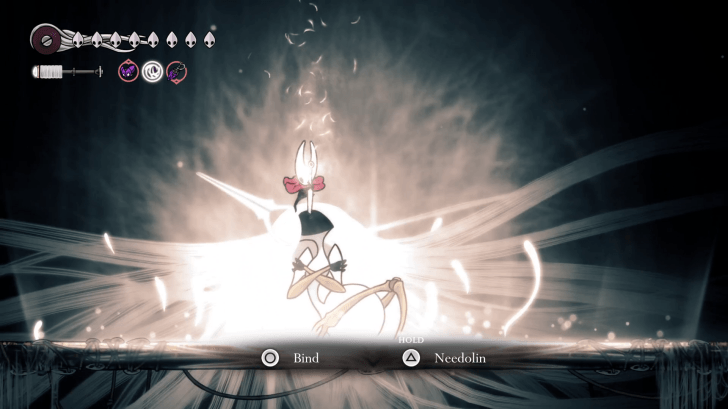 Challenge and defeat Grandmother Silk again and instead of binding her, use the Needolin instead.  The ritual to entrap Silk is a success but Hornet seemingly falls to her death when the soul snare collapses. Later, as Pharloom crumbles, silk infused with Abyss erupts from the ground and unlocks the Snarled Silk ending. If you completed all wishes and brought the Flea Caravan to Fleatopia, you can reload the game and remove the abyss on your save file to proceed to Act 3. Otherwise, you need to complete any leftover Wishes and find the remaining fleas to access Act 3. ► How to Unlock Act 3 |
Twisted Child Ending
| Twisted Child Ending Guide | |
|---|---|
| 1 | 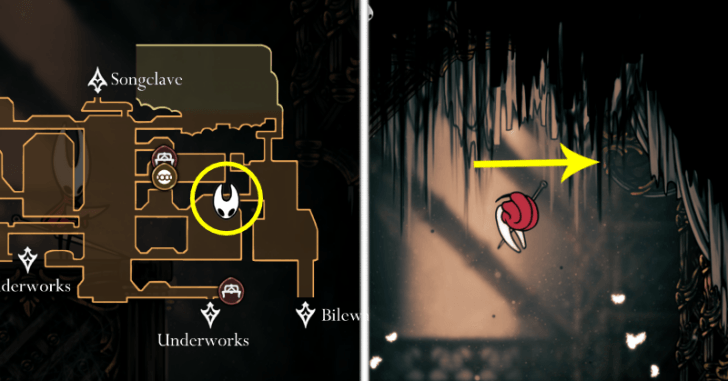 Make your way back to Whispering Vaults through Trobbio's shortcut above the Grand Bellway and head to the large room directly above the Underworks bench. There's a hidden passage that you can jump to to reach a previously inacessible part of the Whispering Vaults. 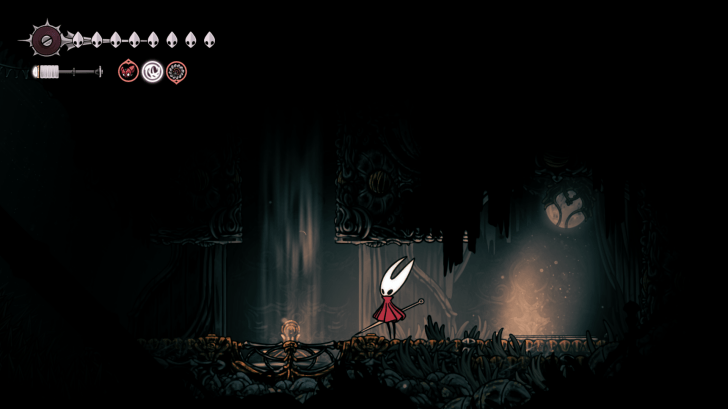 Drop down and activate the fan. 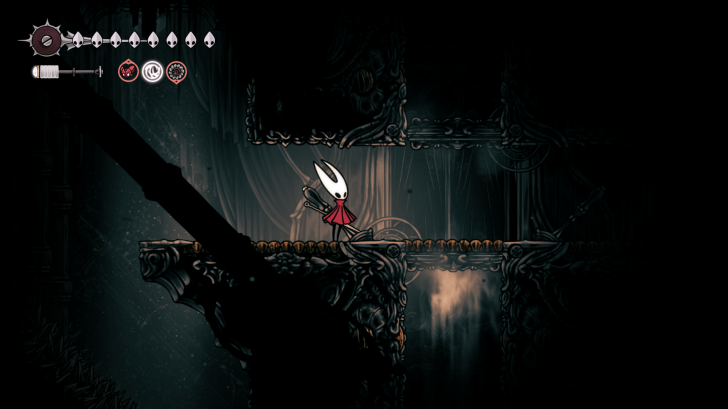 Scale up the wall to the left of the fan and head up, then hit the lever to reach the right side of the area. 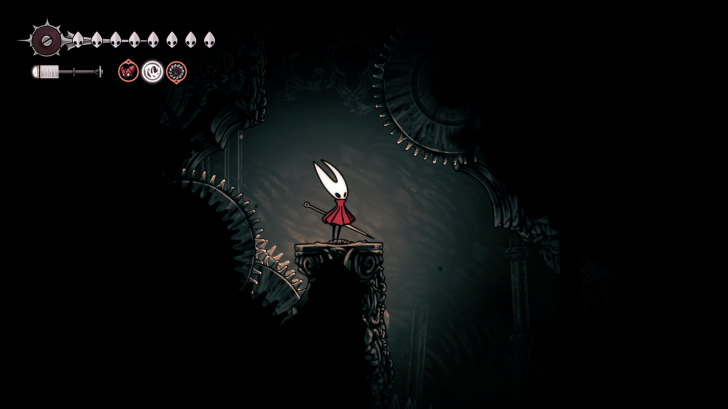 Carefully drop down to reach an area down that leads to Bilewater. |
| 2 | 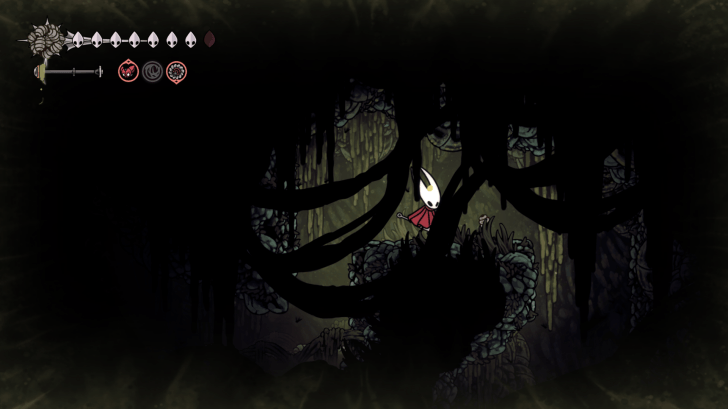 Once you drop down the maggoty water, swim to the right to reach an area where you can drop down.  Follow the path left and head down and break the wall to proceed to the next area. 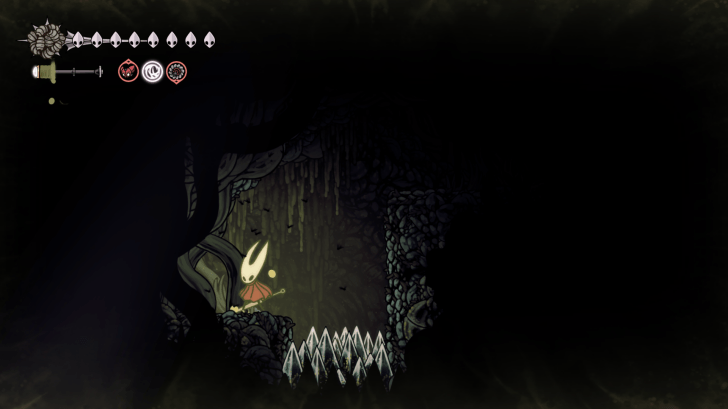 Continue heading left and break the large vines to proceed. 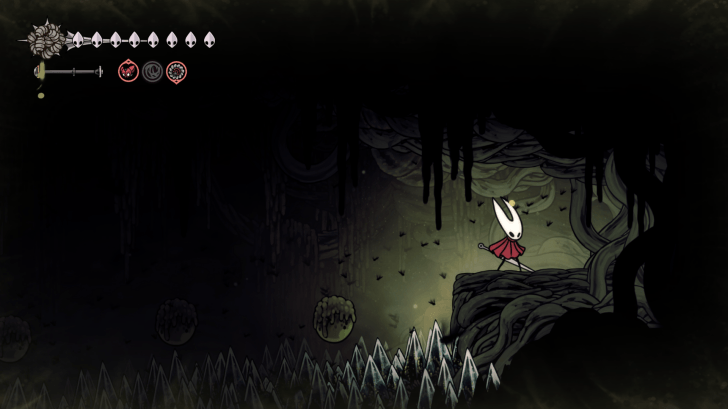 Once you reach a dead end, wall hop up and pogo across the green orbs to reach another large vine wall that you can break.  Go through a couple more wall vines and grab the Twisted Bud from the cradle. 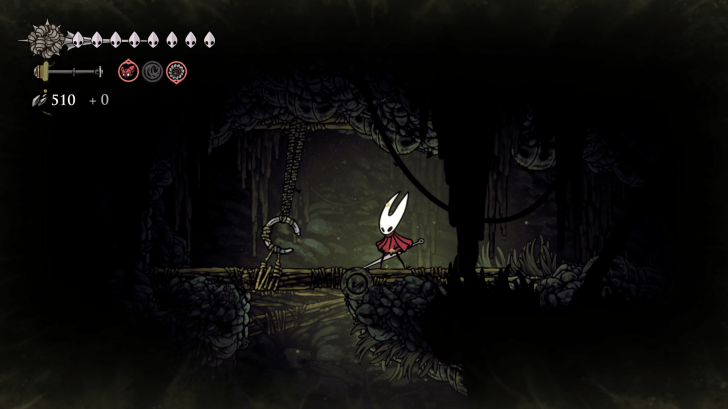 Follow the path right and down to reach a path with a shortcut you can open to the main Bilewater area. |
| 3 | 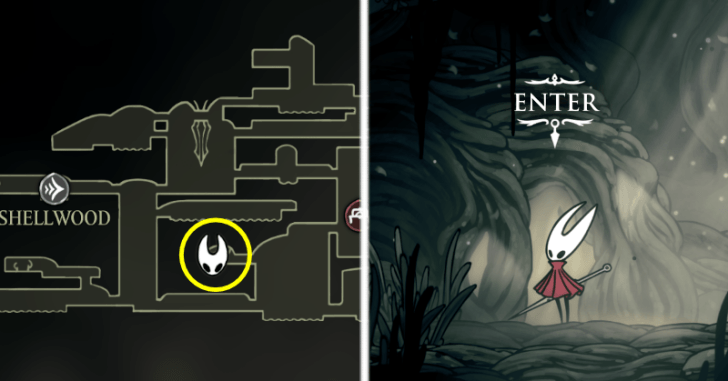 Make your way back to Shellwood and enter Greyroot's home. 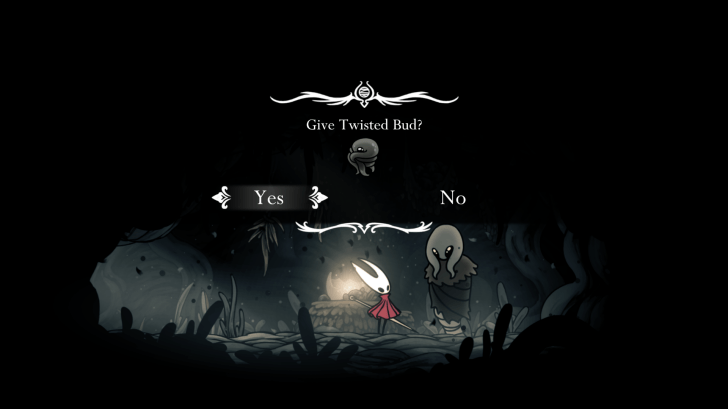 Once inside, speak to Greyroot and she'll ask for the Twisted Bud. Note: Going through with the rite will prevent Hornet from using tools and abilities and change her moveset, which will make the fight with Grand Mother Silk signficantly harder but is required for the Twisted Child ending.  Speak to Greyroot and accept the Rite of Rebirth wish.  Greyroot will attack you and after a short cutscene, Hornet will wake up trapped in some roots. Attack the roots to escape. |
| 4 |  Exit the Chapel of the Witch and follow the path right. Break through some wall vines and wall hop up and grab the Weaver Effigy.  Make your way back to the Chapel of the Witch and break the wall to the left to proceed further. 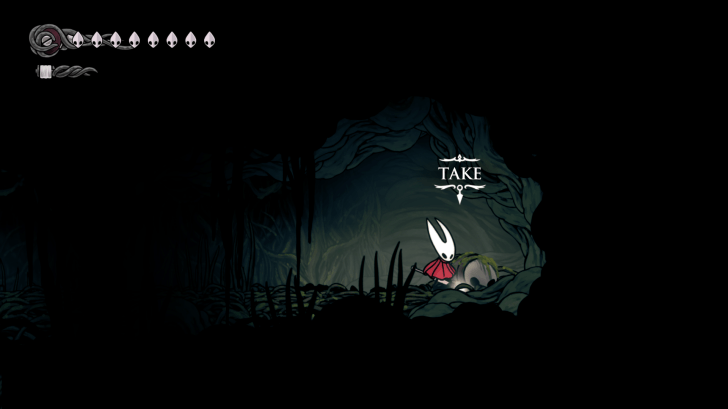 Follow the path left and head up to break some wall vines and grab a Rosary String from the corpse.  Head back down and break the wall to the left to exit area.  Drop down and hit the molten rock to create a shortcut back to The Marrow.  Pogo up and break the ceiling to reach the main Shellwood area where you can return to Bellhart. |
| 5 | 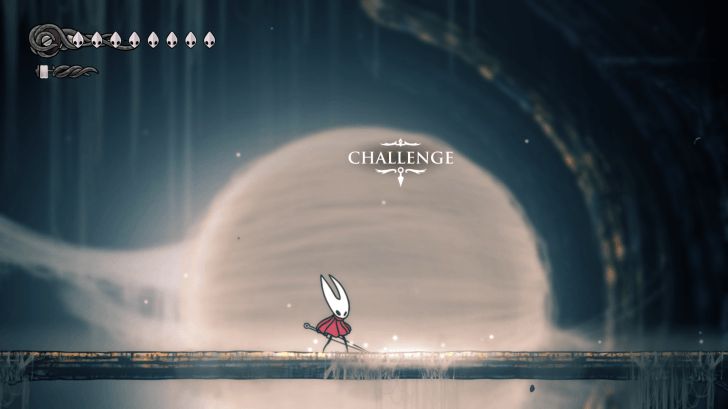 Fast travel to Choral Chambers and use the Ventrica to the Terminus to reach The Cradle. Ascend up the central area and interact with the glowing spot to challenge Grand Mother Silk. 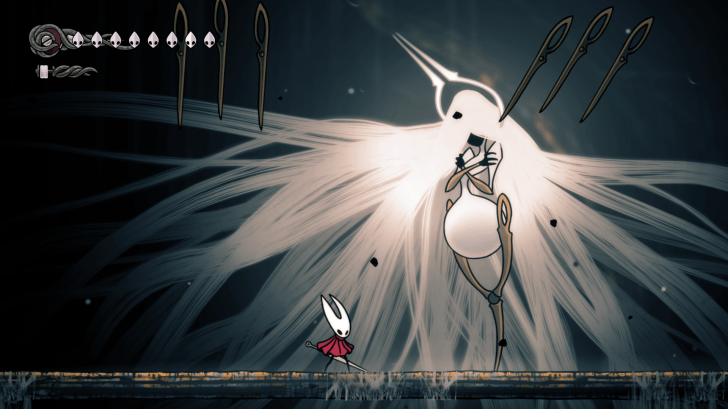 Grand Mother Silk will be a more challenging fight as the parasite also prevents you from healing due to your silk gauge receeding. Your health and Needle upgrade carries over the fight though, so we recommend upgrading your Needle and getting as many Mask Fragments you can before challenging her! ► Grand Mother Silk Guide |
| 6 |  Defeating Grand Mother Silk while cursed will cause the parasite to consume them both, causing branches to engulf Pharloom and an omnious being hatching from the seed at the center of the cursed Hornet and Grand Mother Silk. If this was your first ending, you'll also unlock Steel Soul Mode.  After the credits roll and loading the game, you'll respawn at the last bench you rested at and can cure the parasite by visiting Yarnaby to get the other endings or proceed to Act 3. ► All Endings Guide |
Hollow Knight: Silksong Act 3 Walkthrough
| All Act 3 Main Quests | |
|---|---|
| How to Unlock Act 3 | Awaiting the End |
| Heart of the Wild | Heart of the Woods |
| Heart of Might | Conjoined Heart |
Unlock Silk and Soul to Access Act 3
| How to Unlock Act 3 | |
|---|---|
| 1 | 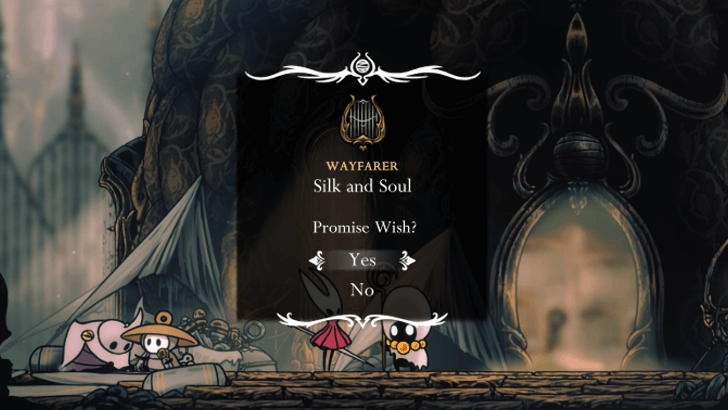 Silksong's Act 3 can only be unlocked after the Wish, Silk and Soul, becomes available. To unlock the Wish, you need to clear all Wishes, beat Lace in Act 2, and then move the Flea Caravan to Fleatopia! ►How to Unlock Act 3 |
| 2 | 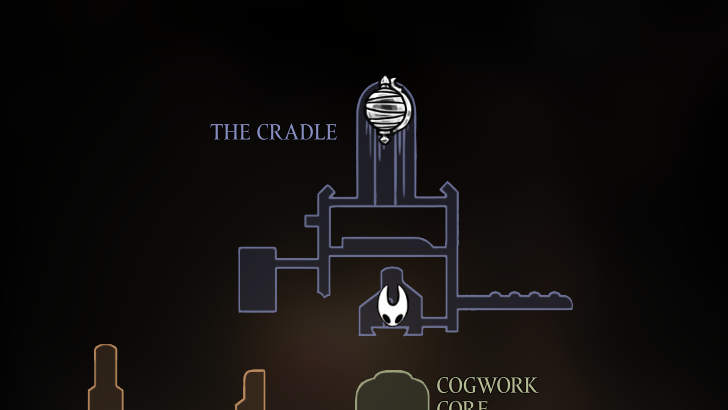 You first need to beat Lace in Act 2 when you confront her in The Crade. Do note that you do not need to beat Act 2's Final Boss to unlock Act 3! ► Lace Boss Guide |
| 3 | You also need to finish all wishes, including wishes that you may obtain outside of the wish boards. ► All Wishes and Side Quest Locations |
| 4 | 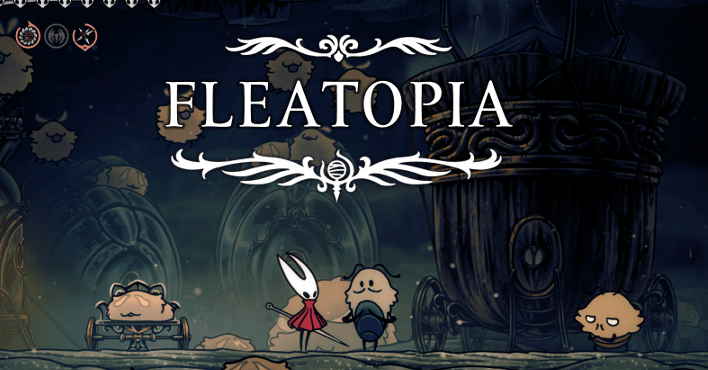 Finally, you need to move the caravan to Fleatopia by locating a certain number of Fleas. While we currently don't know the exact number of fleas needed to be located, the caravan will likely move to Fleatopia after locating 23 to 25 fleas! ► All Flea Locations |
| 5 | Complete the Silk and Soul wish and fight Grand Mother Silk. Instead of binding her, use the Needolin to trap her in the Abyss and unlock the Snarled Silk Ending. After the credits roll, attempt to load your save file and you'll be forced to clear the abyss which unlocks Act 3. ► Grand Mother Silk Boss Guide |
Awaiting the End Walkthrough
| Jump to a Section! | |||
|---|---|---|---|
| 1 | The Cradle | 2 | The Abyss |
| 3 | Red Memory | 4 | The Abyss |
The Cradle
| The Cradle Guide | |
|---|---|
| 1 | 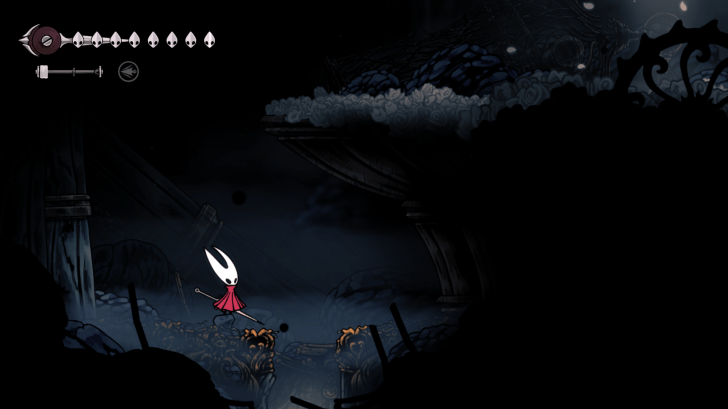 After loading the game, grab Hornet's needle and drop down to the left side of the stage. A passageway will open on the floor that allows you to head down from the area.  Follow the path right then drop down the passage. Hornet will start moving slowly at this point due to her injuries, which means you can only keep heading down the passages. 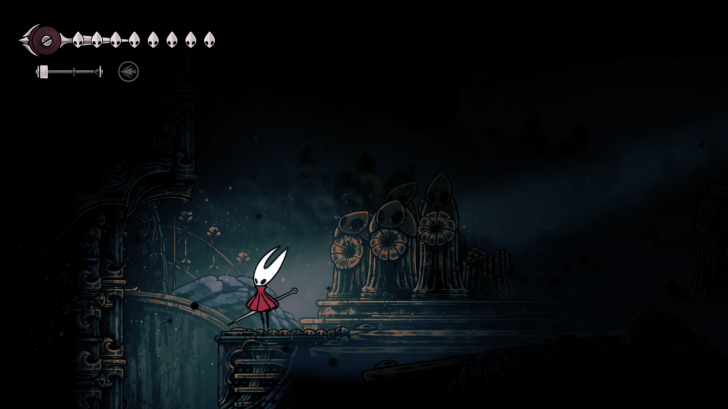 After dropping down the large room, Hornet will take a few seconds to compose herself and you'll be able to run around again. Head left and drop down the passage leading down.  Head right across the platforms and exit to the next area. |
| 2 | 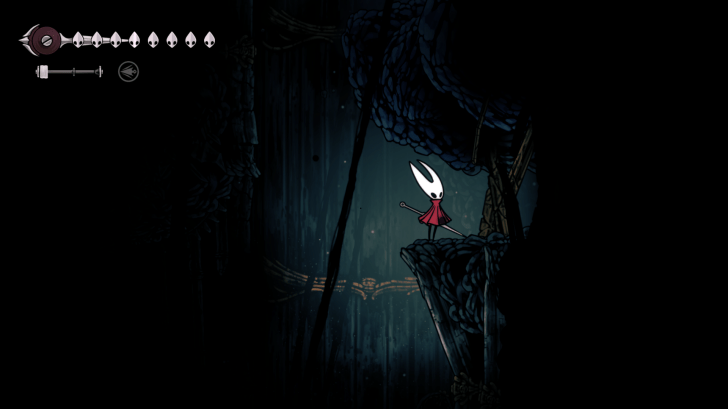 Carefully drop down the passage and hop on the ledge on the right. Break the wall to access another section of the area. 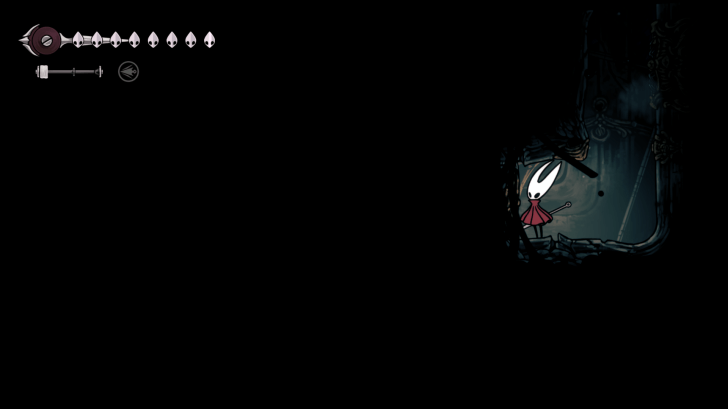 Carefully drop down to the very bottom and break the wall to the left. 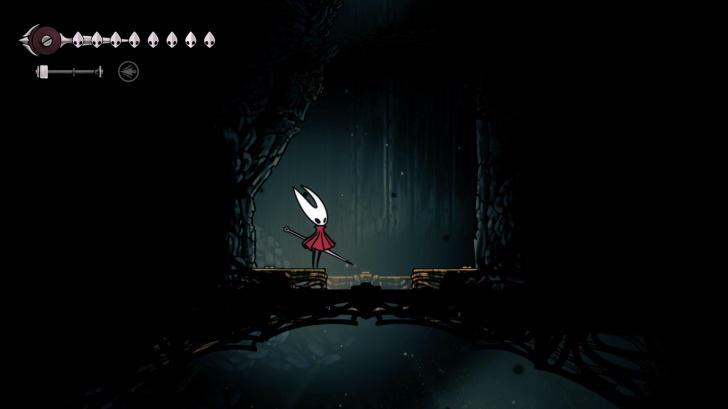 Drop down the floor to open a path to the room below and prepare for a fight.  After a few seconds, the dead bugs here will revive after being infused with the Abyss. 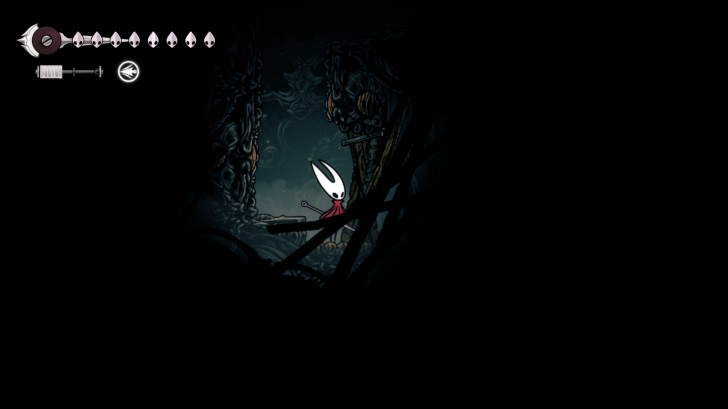 Defeat the bugs to open a path down, then break the wall at the very bottom to proceed to the next area. |
| 3 |  Follow the path down and Hornet will get injured again and cause her to move slowly.  Head right and the floor will collapse causing Hornet to black out form the fall. 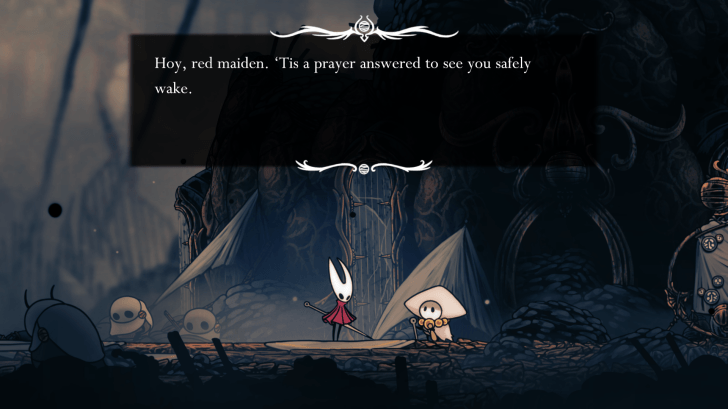 After a short cutscene, you'll wake up to Sherma who is now the caretaker of Songclave. Finish the dialogue and your objective will update. You need to make your way to the Ruined Chapel in Bone Bottom to confront the Caretaker. 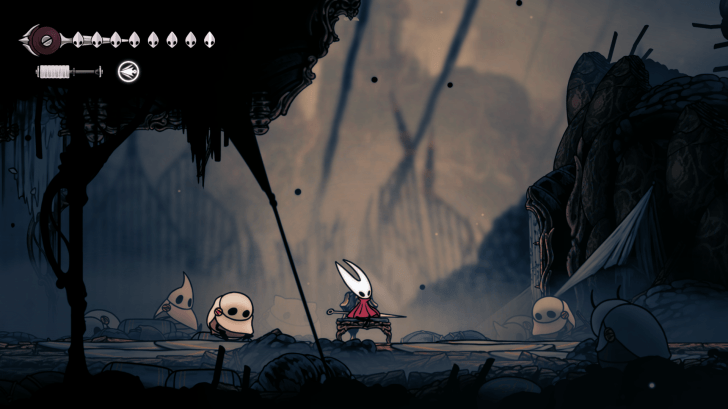 Before heading down, sit on the bench to restore your health and save your checkpoint. You can also re-equip your previous Crest and tools here. The Ventrica in this area is now broken which means you need to head back down to Choral Chambers the long way. |
| 4 | 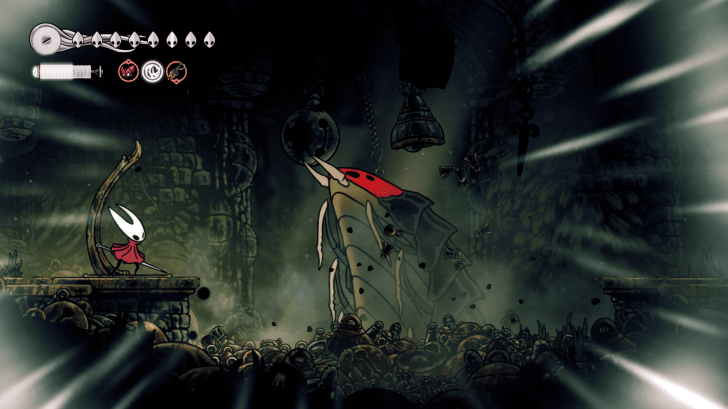 Find a Bell Station and attempt to summon the Bell Beast and you'll instead encounter a Bell Eater. Enter the hole to fight the boss. Note: You can fight the Bell Eater in any Bell Station, with the nearest one being the Putrified Ducts one east of Songclave accessed by going through Memorium. ► Bell Eater Boss Guide 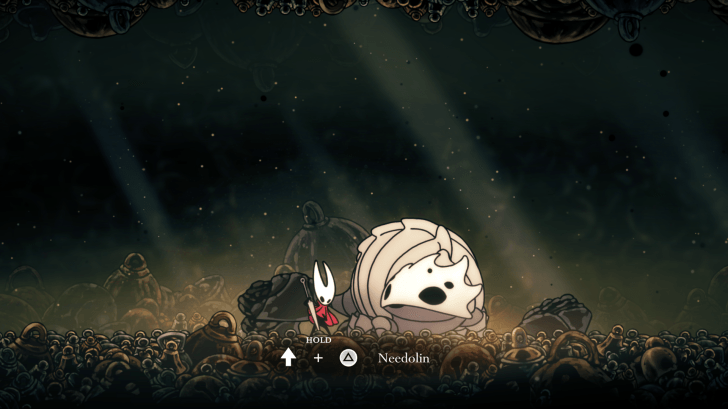 Once the boss is defeated, use the Needolin to learn the Beastling Call from the Bell Beast.  Make your way to Fleatopia in the eastern part of Putrified Ducts and accept the Ecstasy of the End wish from Mooshka. This starts a short side quest where you need to participate in some mini games to celebrate the Festival of the Flea with the caravan. Getting the high score for each of the three minigames will reward a Pale Oil that you can use to upgrade your Needle later. |
| 5 | 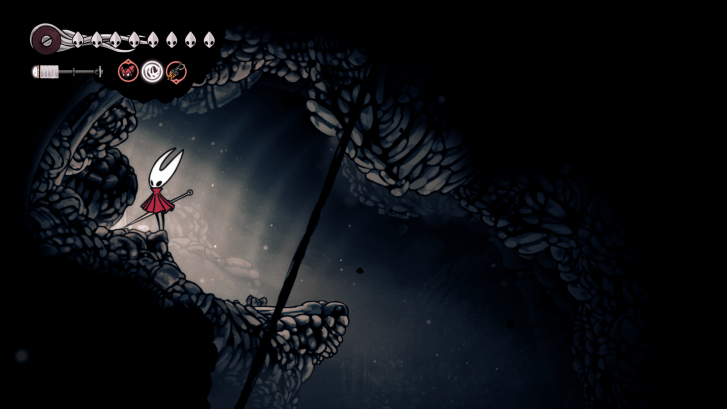 Fast travel to Bone Bottom and clear the rubble to exit to the town. 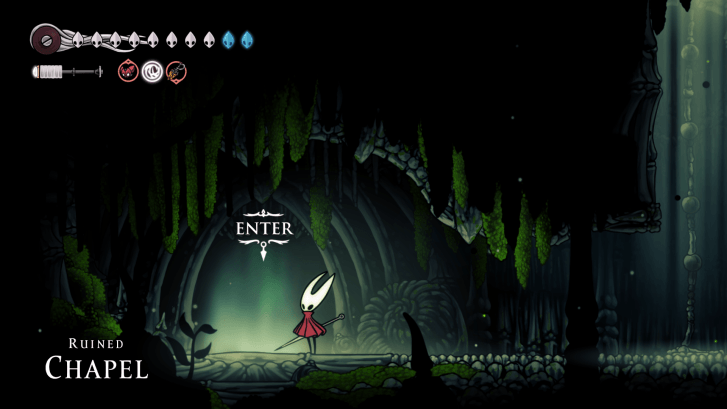 Head left from Bone Bottom and drop down the passage where you exited Moss Grotto and enter the Ruined Chapel.  Confront the siblings who reveal themselves as Snail Shamans. Progress their dialogue and if you'll be directed to find the Diving Bell in Deep Docks. If you already found the Diving Bell, your objective will update to finding aid to access the Diving Bell. 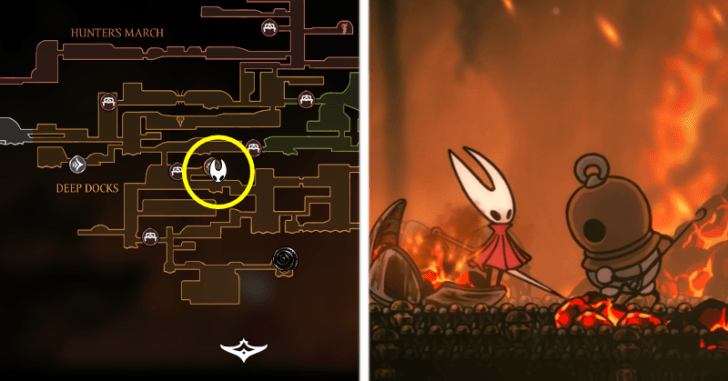 Make your way to the Deep Docks and speak to the Forge Daughter who will tell you to speak to Ballow right next to her. Speak to him and Hornet will convince him to operate the Diving Bell. 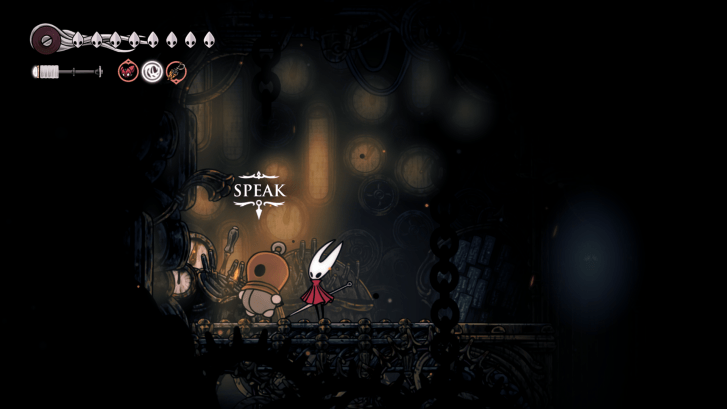 Make your way to the Diving Bell and head up the room directly above it and speak with Ballow. He'll give you the Diving Bell Key which is used to access and operate the Diving Bell. Note: Although not a point of no return, we recommend you explore the rest of Pharloom before heading down the Abyss using the Diving Bell. 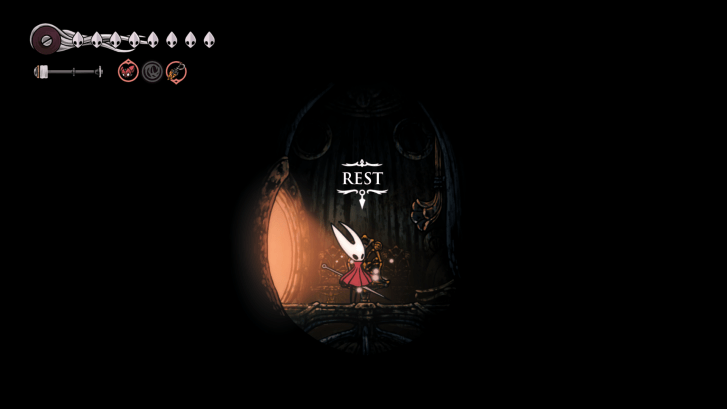 Enter and rest inside the Diving Bell to set a checkpoint. When ready, interact with the intercom on the right to dive into to the Abyss. |
The Abyss
| The Abyss Guide | |
|---|---|
| 1 | 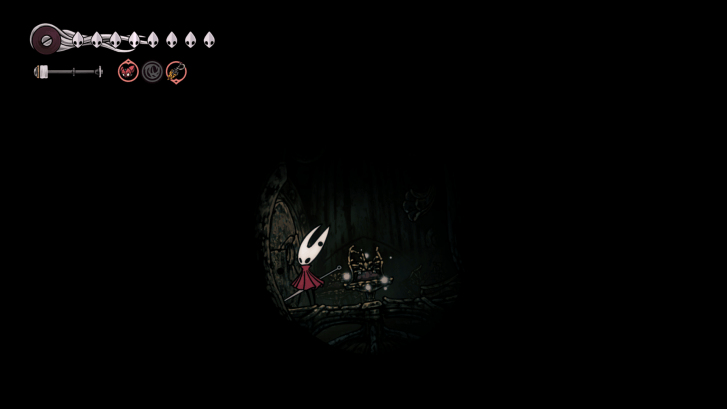 Interact with the intercom to the right, then break the door of the diving bell to exit. 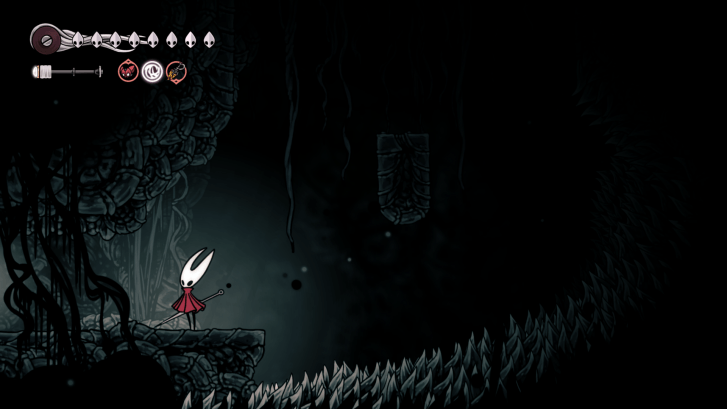 Drop down and head to the left exit to reach the next area. 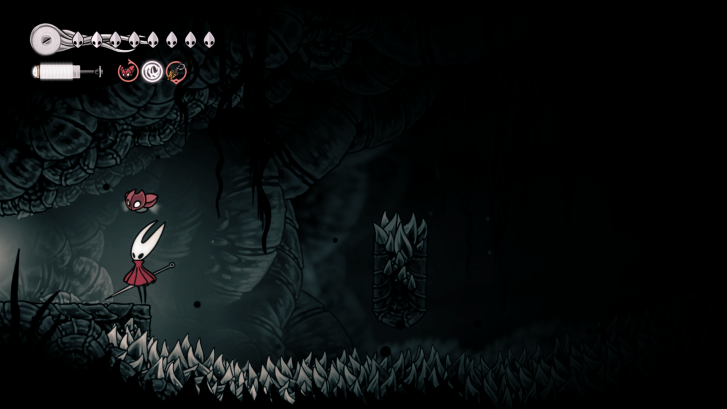 Platform across the spikes to reach the exit to the left. |
| 2 | 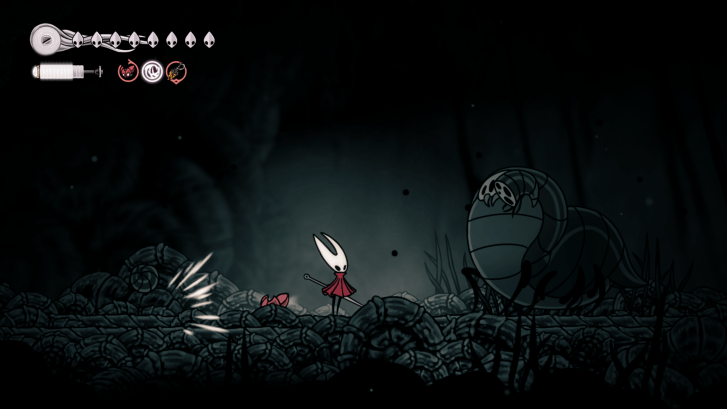 Pogo towards the raised area where you'll get attacked by a Gargant Gloom and some Gloomsacs. You can ignore these enemies, but we recommend killing the Gloomsacs as they can chase after you. 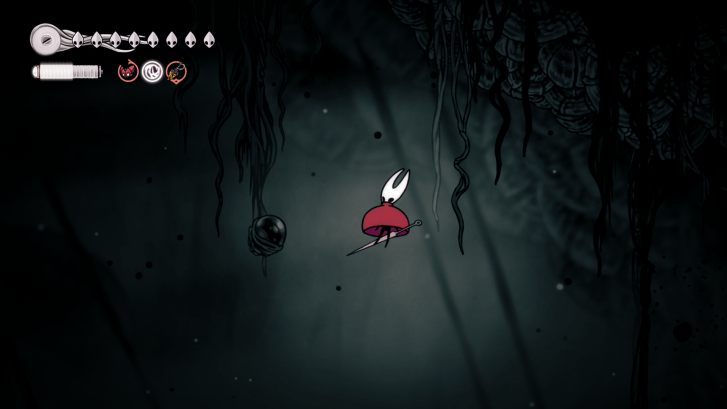 Continue heading left and you'll reach another area with a Gargant Gloom. You can pogo across the void blobs above to avoid it, though you may get chased by the Gloomsacs it spawns.  Jump across the spikes to reach the exit to the next area. |
| 3 |  Carefully float down, avoiding the spikes on the well, and head to the path right first to reach another area. 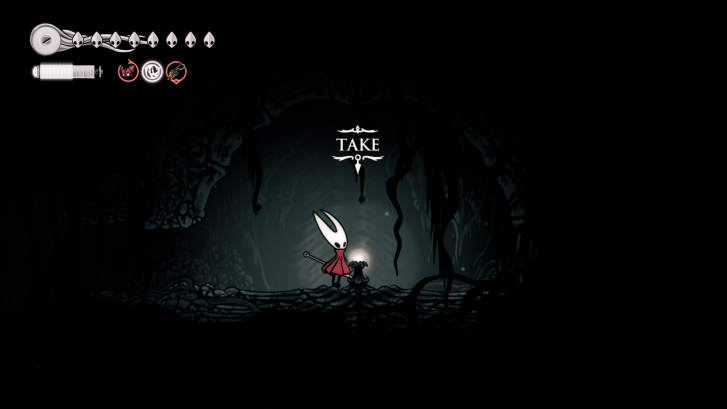 You'll need to carefully pogo and clawline across this area a small room where you can get an Arcane Egg. To exit this area, wall hop up into a narrow passageway with a Shadow Charger and drop down the ledge on the left to return to the previous area. 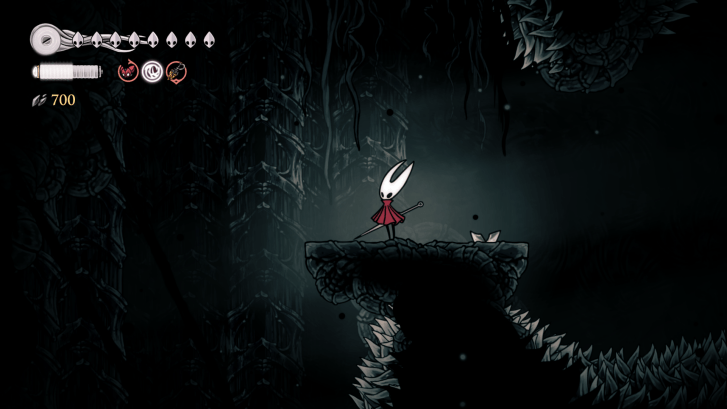 Float down the passage and onto a platform. 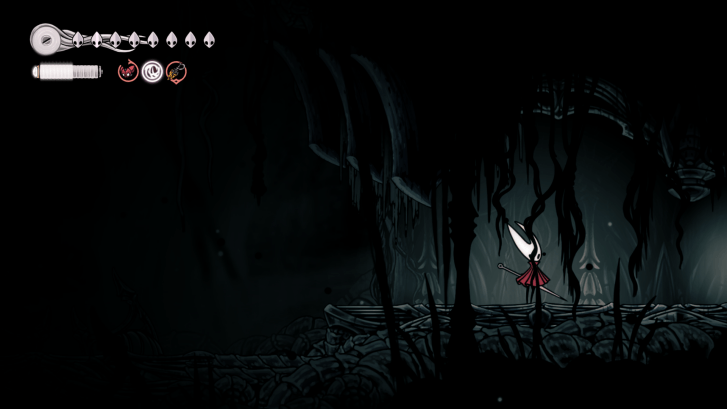 Drop down the bottom floor and exit to the right to reach the next area. |
| 4 | 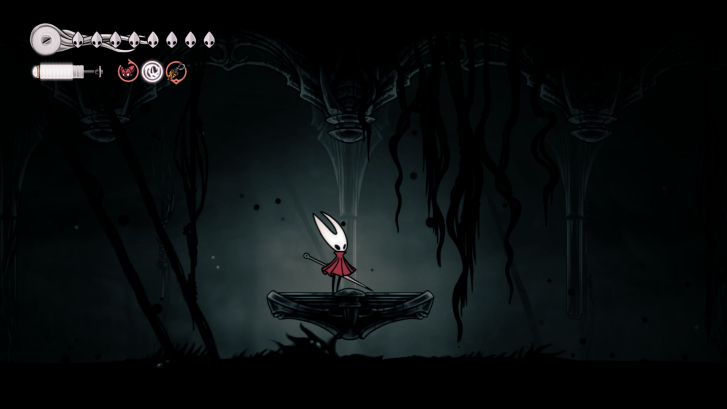 Hop across the platforms across to reach the exit on the right. The abyss will pull down some platforms so don't take too long standing on them. 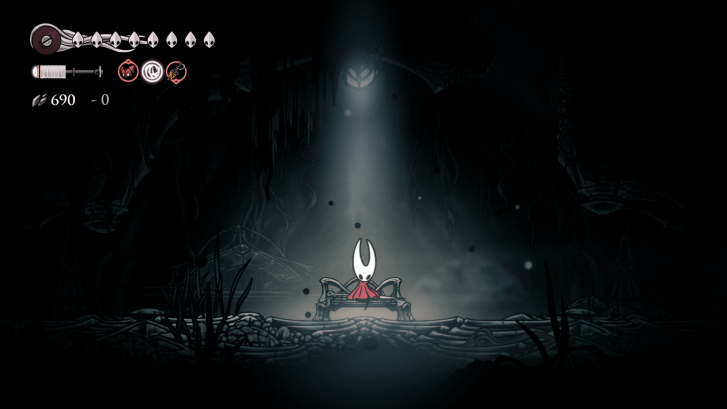 Sit on the bench to restore your health and set a checkpoint.  Wall hop to reach a small room just above the bench and inspect the loom to get an Abyss Map. 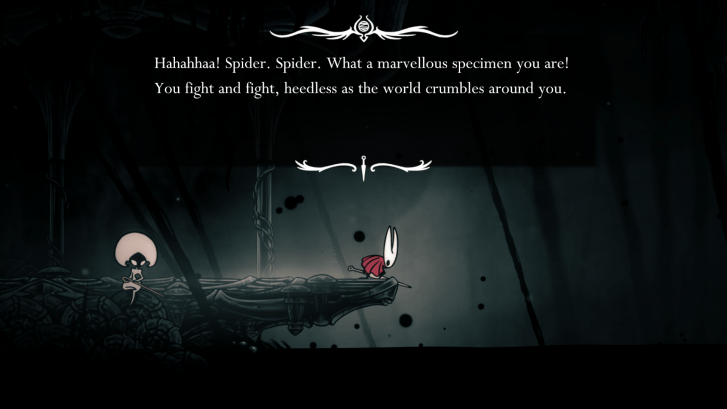 Exit to the right and approach the ledge for a short cutscene. Your objective will now update to escape the Abyss. 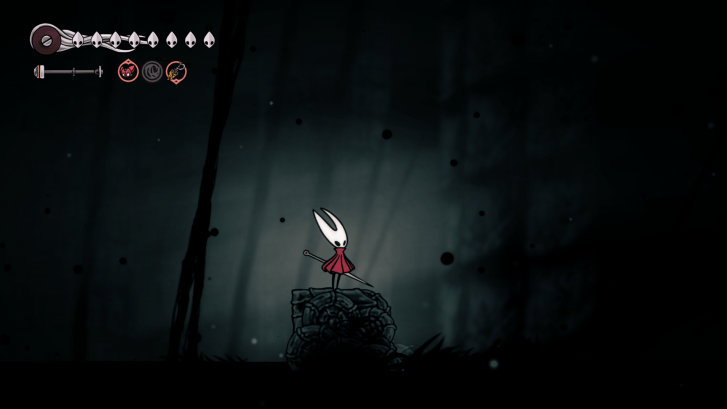 Pogo using the two void blobs just above the ledge to reach the platform in the middle of the abyss, then jump towards the right to reach an area with a spike wall at the end. |
| 5 | 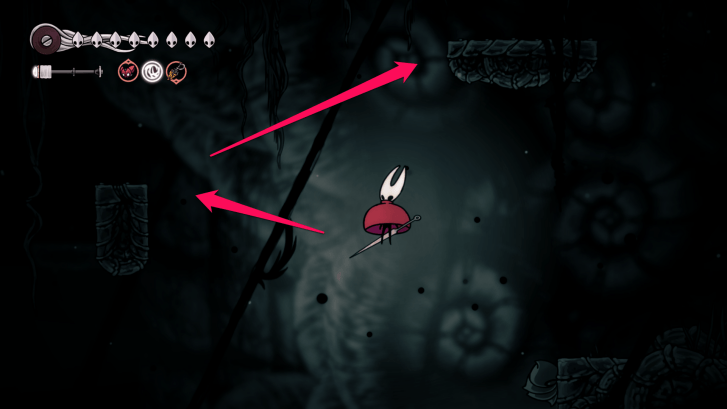 Jump towards the middle floating platform so you can reach the platform to the right leading up. 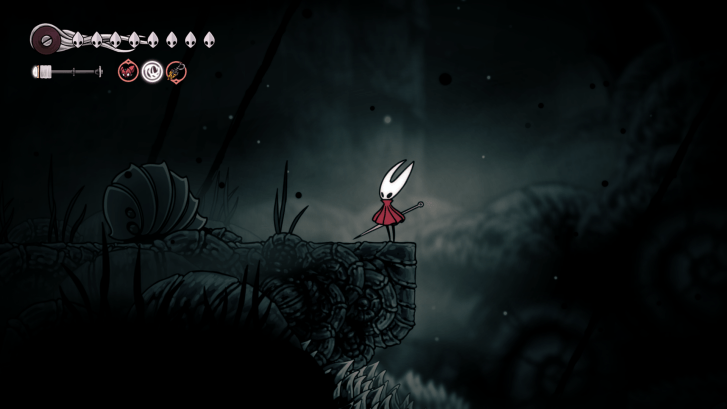 Hop up to reach a platform with a Shadow Charger. We recommend defeating this enemy so you can safely pogo across the void blobs to the left later.  Pogo across the void blob near the edge of the platform then glide towards the left where you can land on a vertical platform next to the wall. There's also hidden area to the left of the platform where you can get some Shell Shards. 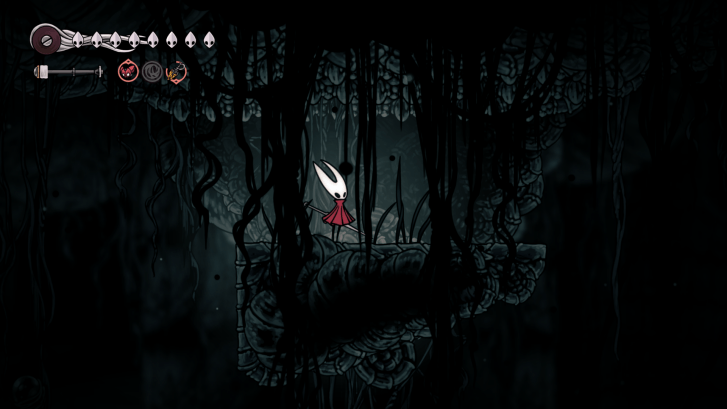 Wall hop then pogo towards the void blob, then quickly clawline to the next void blob to reach a platform near the ceiling. 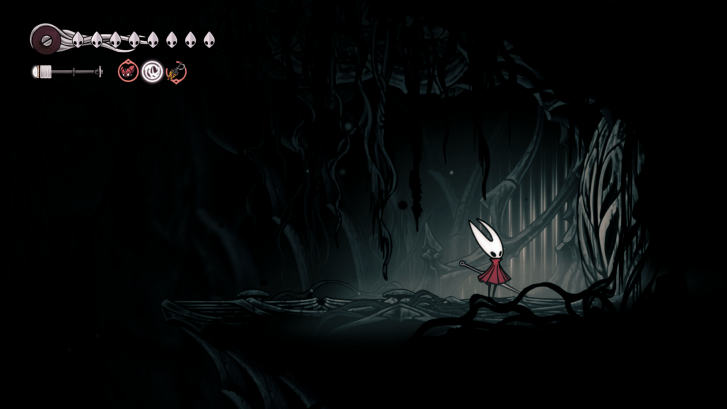 Jump across to the next platform and use the Needolin to enter the large door leading to Weavenest Absolom. 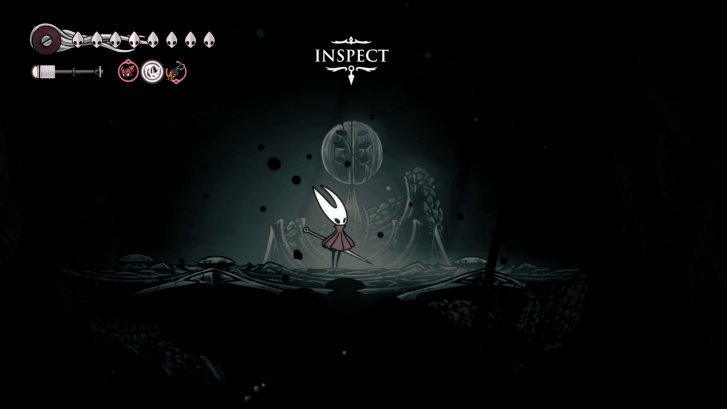 Make your way down until you reach a Weaver statue where you can bind and get the Silk Soar skill. |
| 6 |  Quickly use Silk Soar to avoid the collapsing platform to reach a passageway near the ceiling, then head left. 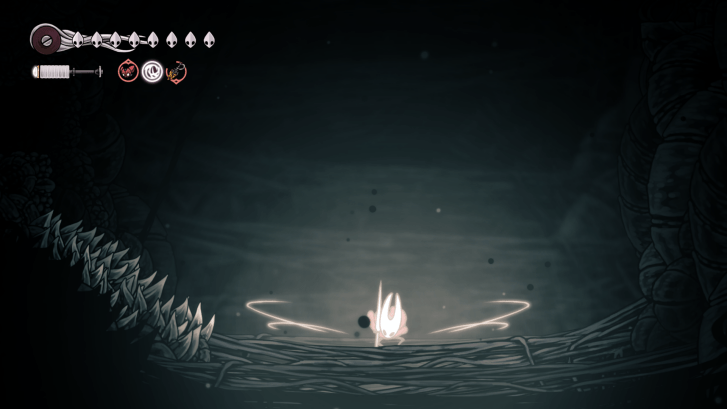 Use Silksoar to reach the upper area of Weavenest Absolom. You'll eventually reach a large area with shadow tendrils making up the floor. Use Silk Soar here to reach the top area. 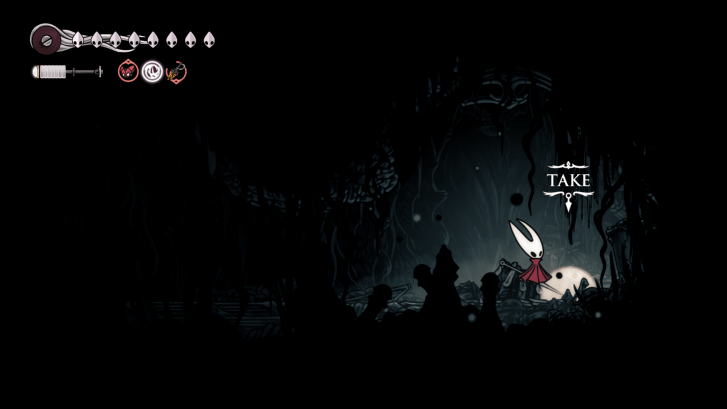 Head to the right passage to reach a small area where you can get the Farsight item for your Bell Home. 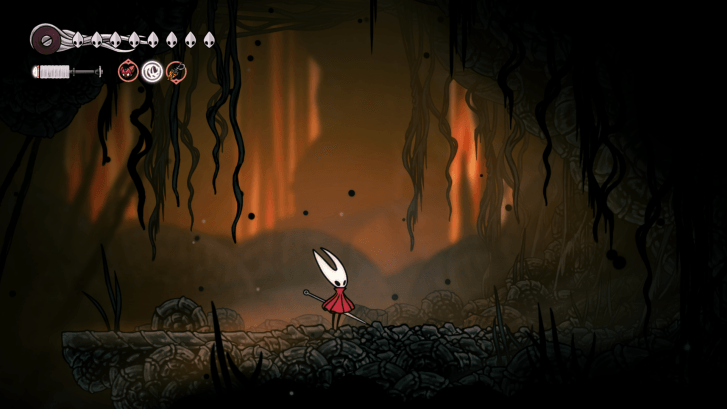 Make your way back to the starting area where the Diving Bell was. |
| 7 |  Use Silk Soar to reach the area above and head left, destroying the wall to exit to the next area. 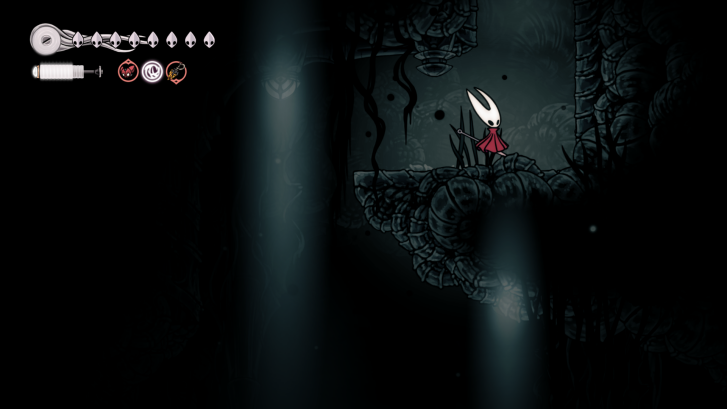 Continue heading left until you reach an area where you can wall hop up to the top area. 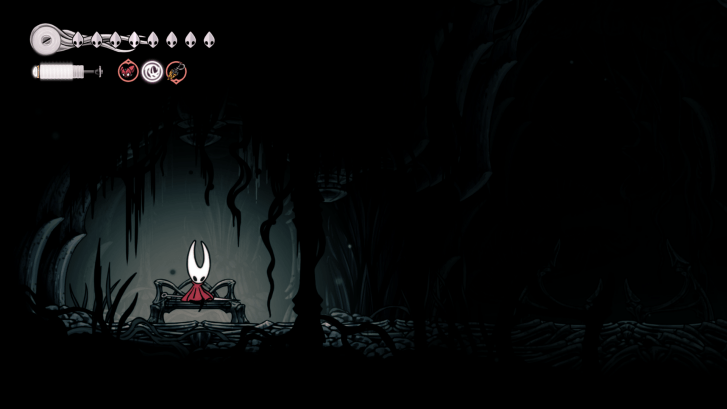 Before heading up, rest at the bench on the left to recover your health and set a checkpoint. We recommend equipping the Magma Bell and Ascendant's Grip as you'll need it later for some wall hopping sections. When ready, use Silk Soar in the middle of the room. 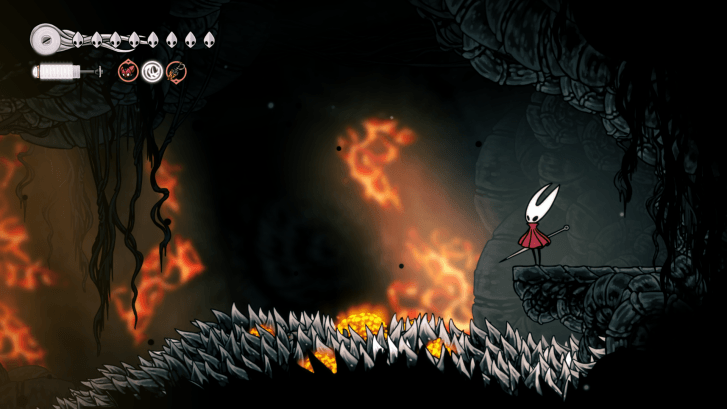 Make your way up until you reach a large open area with a molten rock embedded on the spike floor. Break the rock to create updrafts that you can use to reach the upper area. |
| 8 | 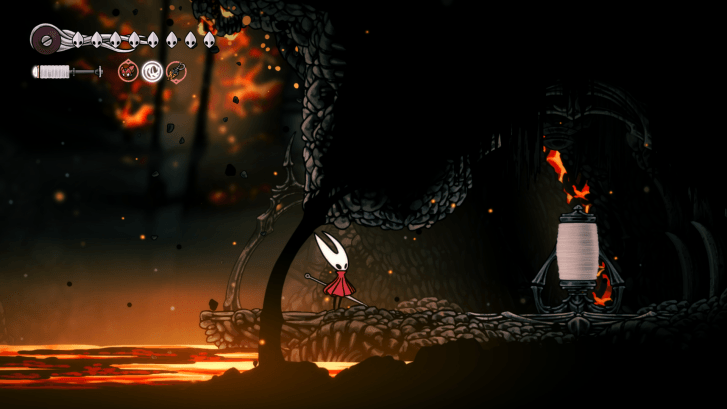 You'll eventually reach a large crumbling area with a magma pool and a small room where you can restore some silk. Note: Once you head up and break the boulder, lava will quickly fill up the room and it will be a race to reach the top. Fill up on your silk and get ready to wall hop, clawline, and jump to escape the Abyss!  Wall hop up and destroy the two glowing rocks holding the boulder at the ceiling. This will cause the boulder to fall into the magma pool below, which will cause lava to rise up and chase after you as you make your way up.  Once you reach a large open area, quickly use Silk Soar to reach the very top where the lava will finally stop.  Silk Soar up the next room and pogo across the bugs to reach the exit at the top. |
| 9 |  Rest on the bench to set your checkpoint, then hit the lever above to open the path to Deep Docks. After exiting the area, your objective will now have you return to the Snail Shamans in the Ruined Chapel near Bone Bottom. |
| 10 |  Speak to the Snail Shamans in the Ruined Chapel and they'll eventually teach you Elegy of the Deep. Your objective will then update and you'll need to seek the Encrusted Heart, Pollen Heart, and the Heart of the Wild.  Before setting off, use Silk Soar in the room to the right of the Snail Shamans to reach a hidden area.  Follow the path down to get the Shaman Crest. |
Red Memory
| Red Memory Guide | |
|---|---|
| 1 |  Return to the Ruined Chapel and speak to the Snail Shamans twice. When ready, rest on the bench in the middle of the Shamans to proceed with the ritual.  You'll end up in the Red Memory after the cutscene. Make your way to the right of the memory, pogoing across the silk orbs to cross the gaps.  Enter the structure to reach the next area. |
| 2 |  After a short cutscene, head left to reach a cliff overlooking a large area. You'll need to pogo across the silk balls to reach the other side.  Drop down the passage and keep headling left once you reach the ground.  You'll eventually arrive in an area with structures found in Hallownest. Make your way up the platforms and enter the structure at the top.  After the cutscene, head right and pogo across the silk orbs.  Drop down the passage and head left once you reach the ground. |
| 3 |  Continue heading down and then right to reach another gap that you need to pogo across.  Once across, enter the large structure to reach another part of the memory.  After the cutscene, head left and pogo across to reach the other side.  Head down the passage and walk right to reach another ledge where you'll need to pogo across some bugs.  Drop down and head left where you'll need to pogo across another set of bugs to reach the other side.  Once you reach the other side, drop down the passage to start a memory with the White Lady who gives you the Everbloom. |
The Abyss
| The Abyss Guide | |
|---|---|
| 1 |  After the cutscene and obtaining the Everbloom, you'll need to make your way back to Deep Docks.  You can speak with the Forge Daugther on your way there and she'll say that Ballow has finished repairing the Diving Bell.  In the Diving Bell Room, you can also speak to Ballow before heading down. 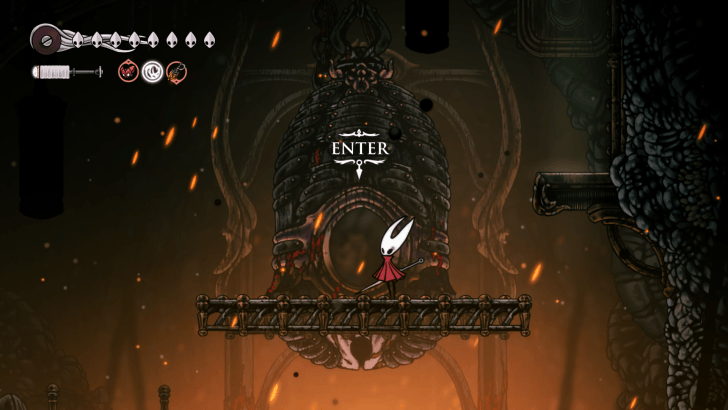 When ready, enter the Diving Bell and speak to Ballow through the intercom to head down the Abyss again. |
| 2 | 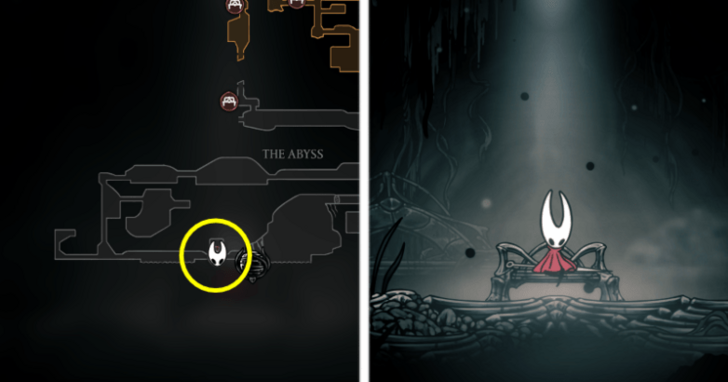 Make your way down to the rest area in the Abyss and restore your health and set a checkpoint before exiting to the large area.  Walk towards the edge of the platform and after a brief dialogue with Lace, dive down to reach the lowest parts of the Abyss. Note: A boss fight will immediately start as soon as you reach the bottom, so make sure you're ready for a fight!  Once at the bottom, walk to the right to trigger a cutscene where you'll see a bound Grand Mother Silk. Lace will appear shortly, starting the Lost Lace battle. ► Lost Lace Boss Guide |
| 3 | 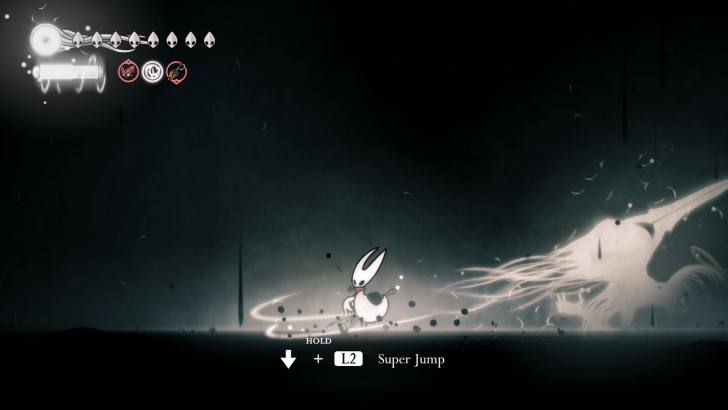 After the fight, take Lace and Grand Mother Silk will use the last of her powers to give Hornet silk to power up her Silk Soar to escape the Abyss. 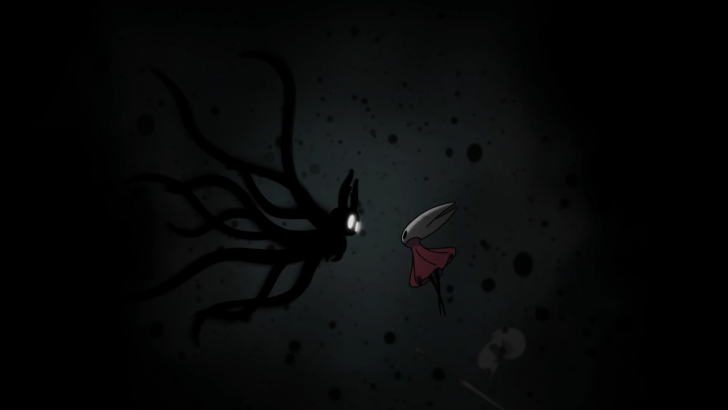 This unlocks the Sister of the Void ending where The Knight from the first game rescues Hornet and Lace from the Abyss. ► All Endings Guide |
| 4 |  After the credits roll, Lace's pin will appear on the title screen.  Reloading the game brings you back to just before your dive into the Abyss to fight Lost Lace, allowing you to head back to Pharloom to complete any remaining wishes and fight optional bosses you may have missed! |
Heart of the Wild Walkthrough
| Jump to A Section | |||
|---|---|---|---|
| 1 | Unlocking the Area | ||
| 2 | Getting the Hunter's Heart | ||
Unlocking the Area
| Far Fields Secret Area Guide | |
|---|---|
| 1 | 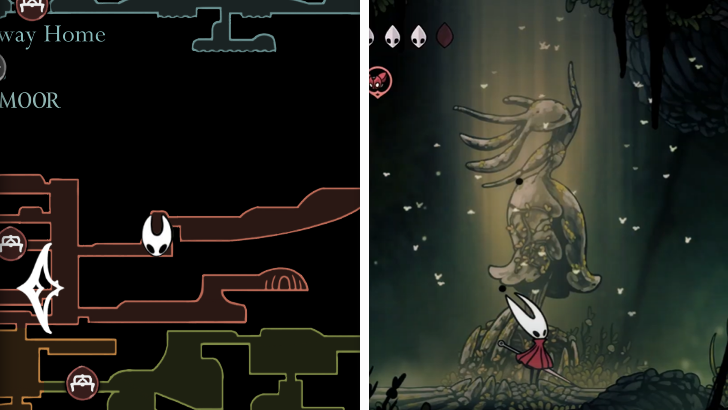 To unlock the area where the Hunter's Heart is marked on your map, find the statue of a dancing Skarr in Hunter's March. |
| 2 | 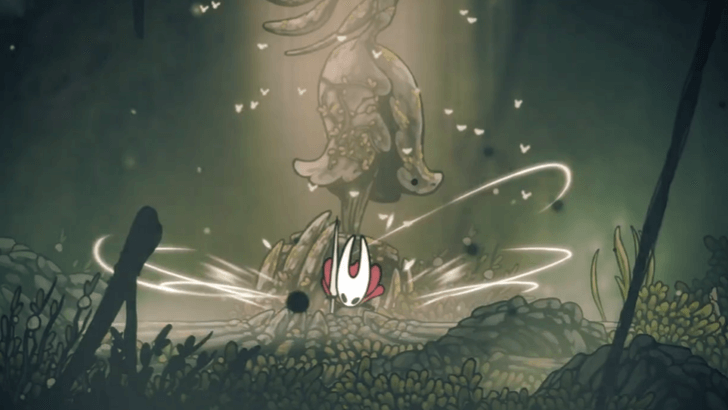 Silk Soar up from where the statue is located. |
| 3 | 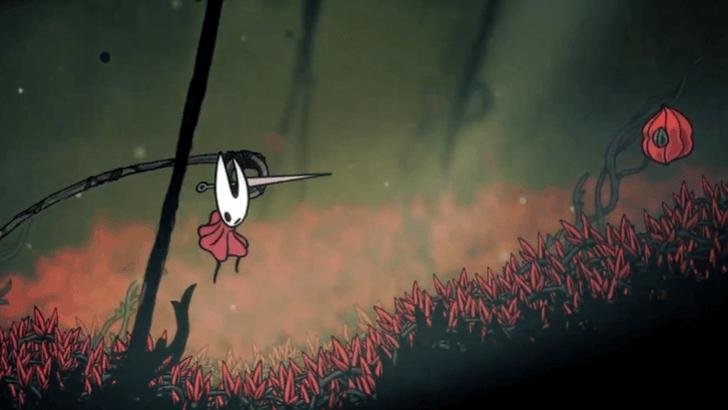 Keep heading right. You will need to clawline and pogo jump to get across the thorns. |
| 4 |  Cross over the gap on the bridge and go right. This will unlock the secret area in Far Fields. |
Getting the Hunter's Heart
| Hunter's Heart Guide | |
|---|---|
| 1 | 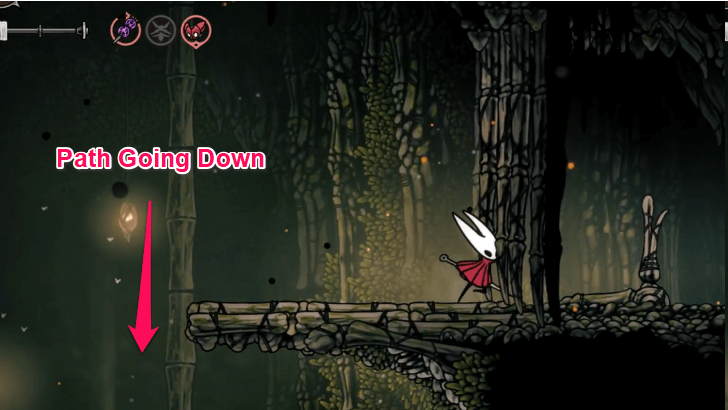 Keep going until you reach the end of the area. The right path is blocked by a gate, so instead of going right, drop down and take the path going downwards. |
| 2 | 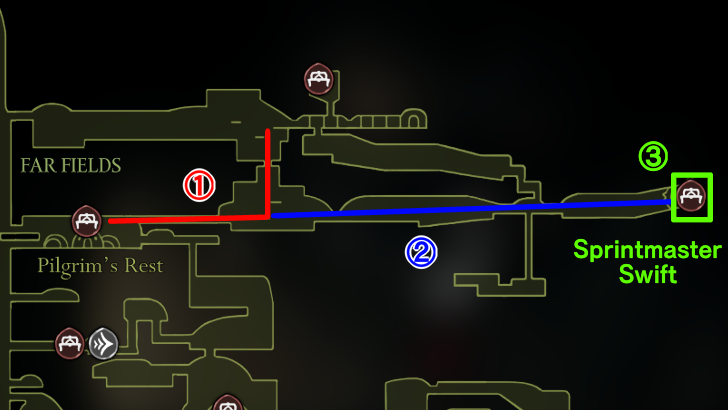 As you explore this area of Far Fields, there are are a few things you need to do: ① = Open up the shortcut to that leads back to the bench at Pilgrim's Rest. Use this as a mid-way checkpoint. ② = Activate the Bench on the very far right inside of a building. ③ = Talk to Sprintmaster Swift just beside the bench and complete the Fastest in Pharloom wish to get a Mask Shard. |
| 3 | 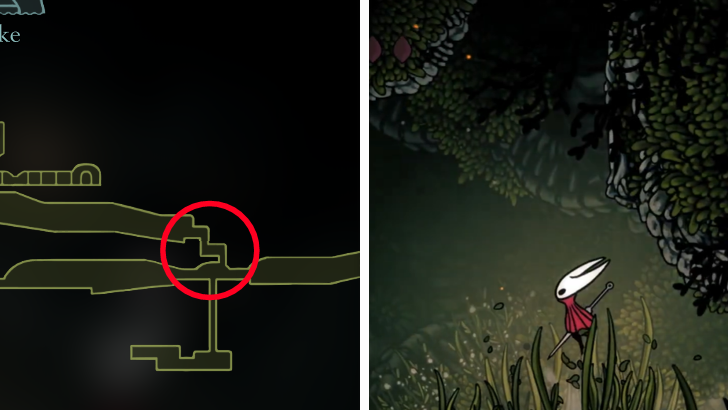 When you are ready, go up from the intersection before the bench. |
| 4 |  Keep going left. You will need to do a mix of Clawlines and Pogo Jumps to reach the other side of this area. Beware of void enemies along your way. Once you have reached the end, head up. |
| 5 | 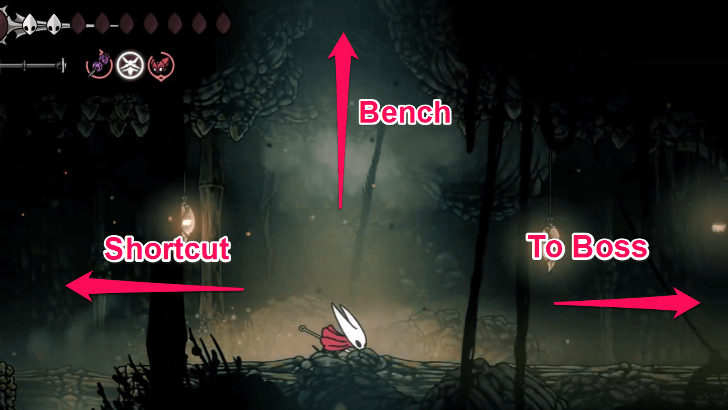 Before you fight the boss in this area, make sure to do the following first: ① = Open up the shortcut to the left. ② = Silksoar up and rest on the bench at the top. |
| 6 | 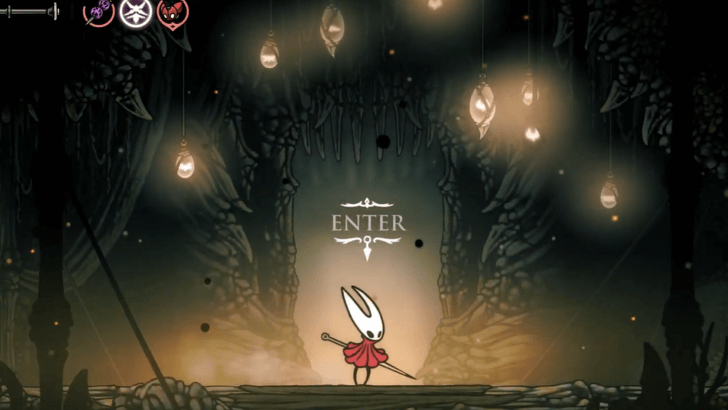 When you are ready, head right then enter the building. |
| 7 | 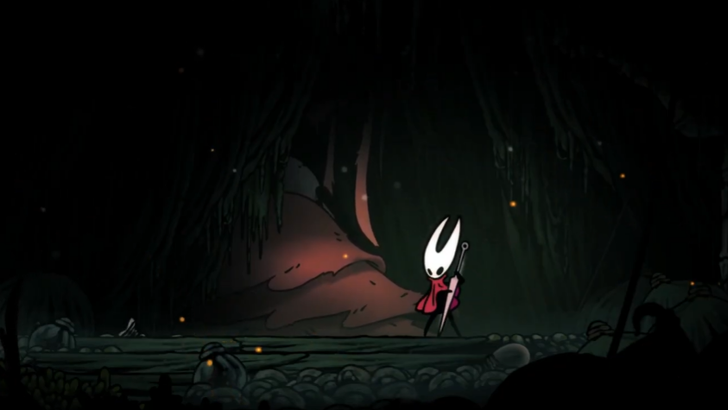 Talk to the NPC then play the Needolin for her. You will need the Elegy of the Deep to transport yourself into her memories. |
| 8 | 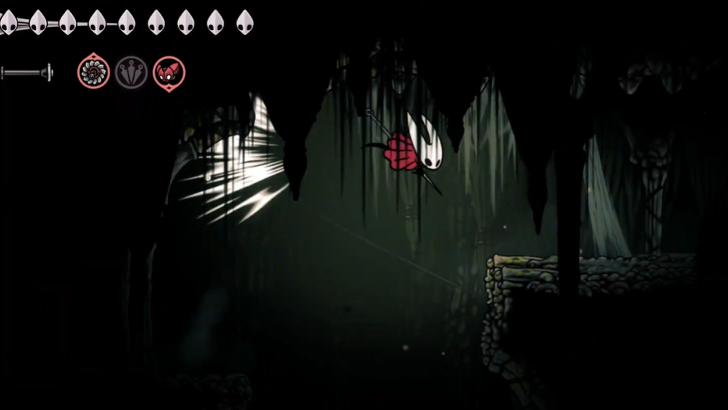 Go right then follow the path until the very end. At the end will be the arena where you will fight Skarrsinger Karmelita. |
| 9 |  Defeat Skarrsinger Karmelita to obtain the Hunter's Heart. ► Skarrsinger Karmelita Boss Guide |
Heart of the Woods Walkthrough
| Jump to A Section | |||
|---|---|---|---|
| 1 | How to Get to Shellwood Shrine | ||
| 2 | Getting the Pollen Heart | ||
How to Get to Shellwood Shrine
| Shellwood Shrine Location | |
|---|---|
| 1 |  Make your way to the Grand Gate and use Silk Soar on the spot where the elevator heading to the Underworks used to be. 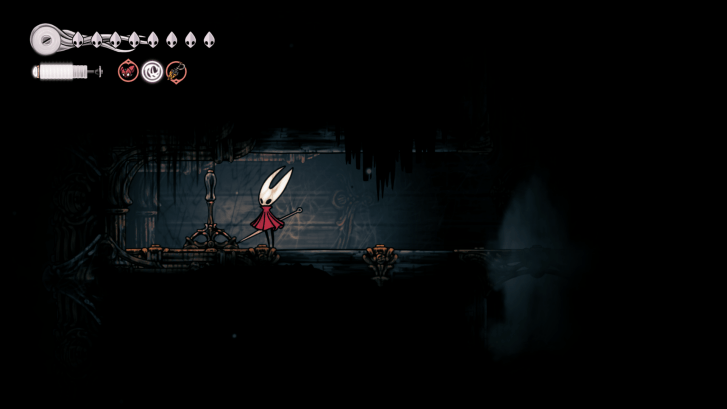 Hit the lever to access the next area. 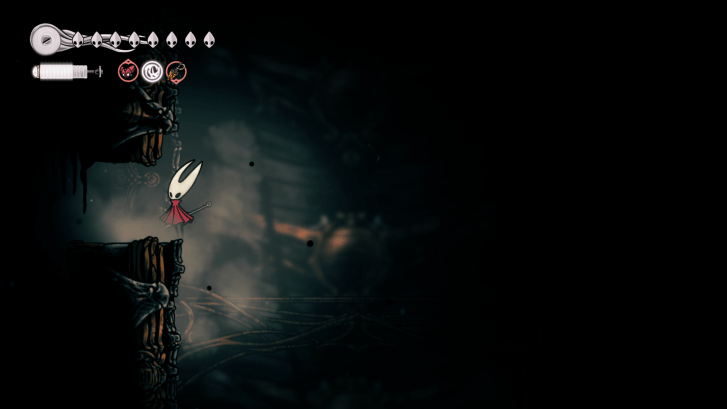 Glide to a spot on the left wall and break the rubble to enter a small passageway. 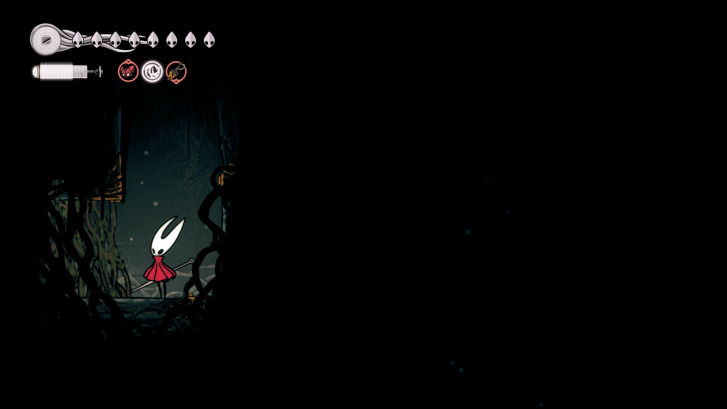 Drop down and cut the vines to reach a hidden area in Shellwood. |
| 2 | 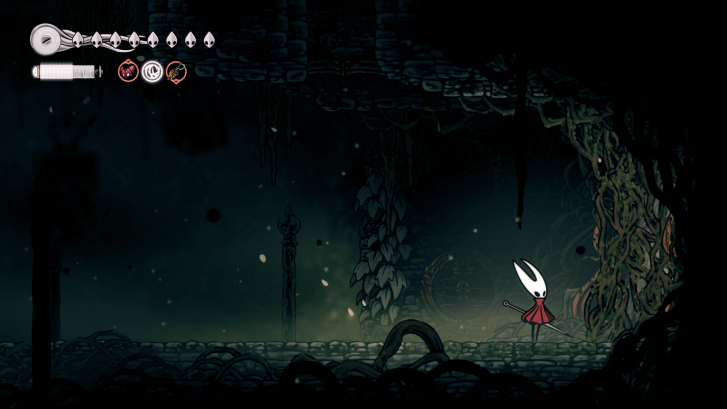 Drop down the new area and break the vines on the right to open a shortcut to the Underworks. 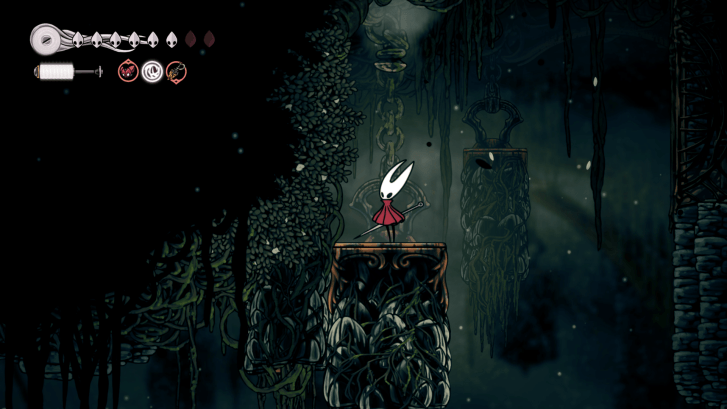 Hop up the large pillar and break the chain above to create a passage down on the floor. 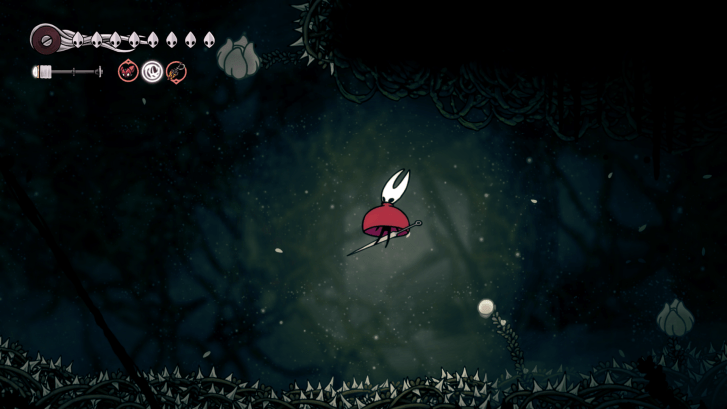 Make your way across the spike floor and pogo up to the upper area. 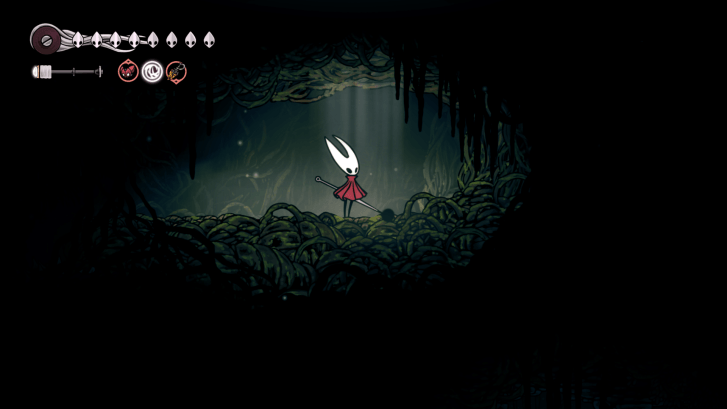 Jump up to reach the next area. 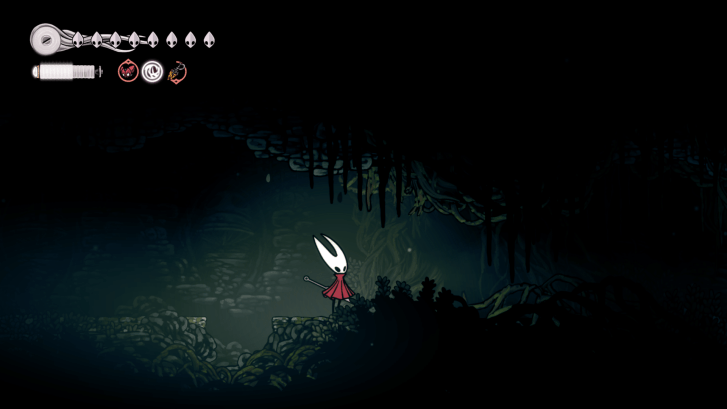 Before heading left, cut the vines to the right to create a shortcut to the previous area. |
Geting the Pollen Heart
| How to Get the Pollen Heart | |
|---|---|
| 1 |  Speak to Seth and challenge him to a fight. You need to defeat him to get access to the Shellwood Shrine. ► Seth Boss Guide  Head left and enter Shellwood Shrine.  Stand in front of the shrine and use the Needolin to play the Elegy of the Deep to enter the memory. |
| 2 |  Once inside the memory, head left and drop down to reach Nyleth's arena.  You'll need to defeat Nyleth to get the Pollen Heart. The boss is mostly stationary, but will move between the two walls. Eventually, Nyleth will destroy the floor on the stage which means you'll need to pogo and wall hop during the fight to avoid getting hit. ► Nyleth Boss Guide  Once you leave the memory, grab the Pollen Heart from the shrine. |
Heart of Might Walkthrough
| Jump to A Section | |||
|---|---|---|---|
| 1 | Sands of Karak | 2 | Coral Tower |
Sands of Karak
| Sands of Karak Guide | |
|---|---|
| 1 | 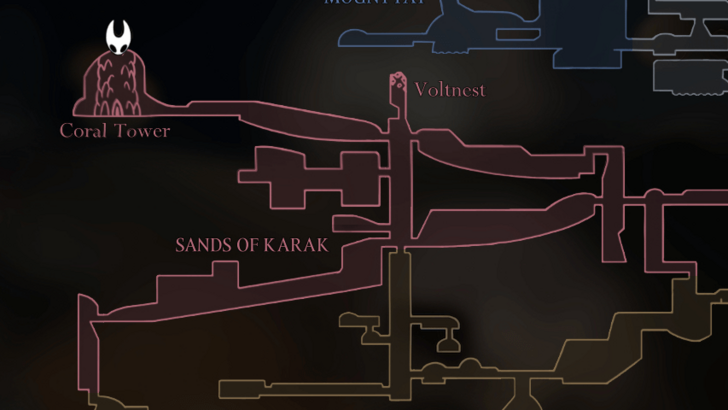 To find the Heart of Might, you will need to enter the tower structure located in the Sands of Karak. |
| 2 | 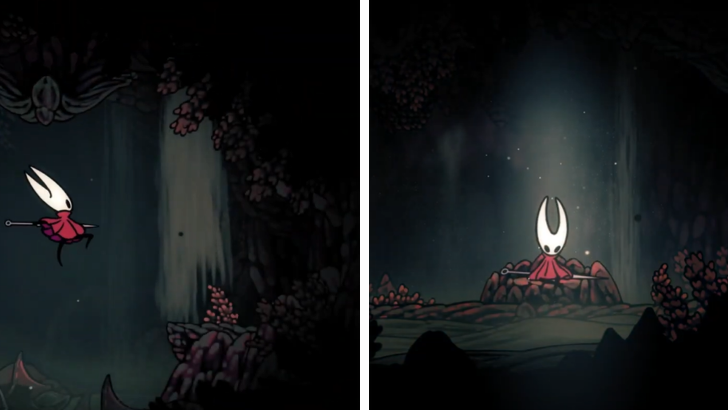 Once you are inside the structure, keep going right past the encrusted statue. There is a hidden path that will lead to a bench, where you can rest and adjust your tools. |
| 3 | 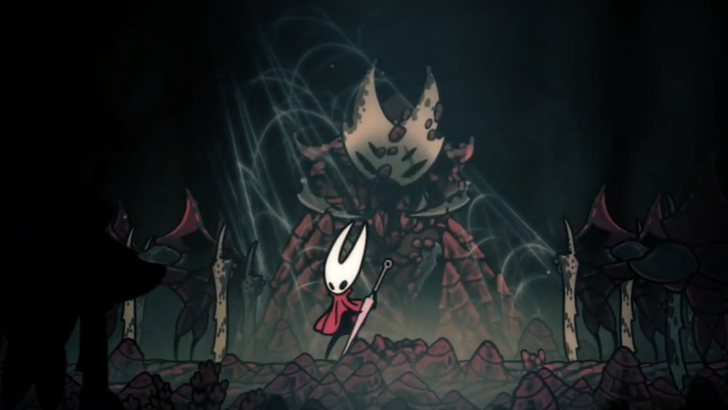 Play the Needolin in front of the encrusted statue. Make sure that you have already attained the Elegy of the Deep so that you can access the statue's memories. |
Coral Tower
| Coral Tower Guide | |
|---|---|
| 1 | 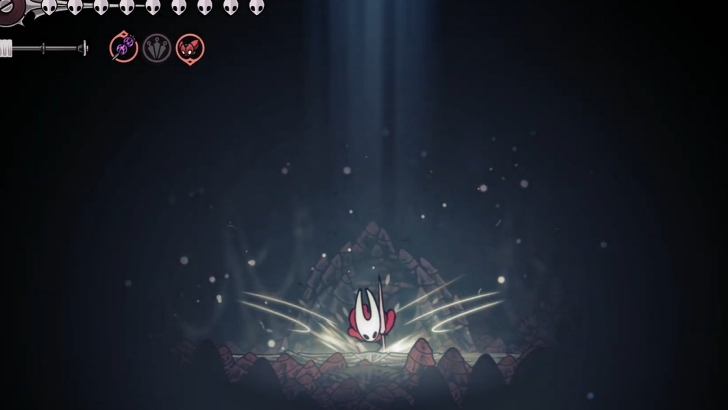 Upon waking, Silk Soar up where light is shining through. |
| 2 | 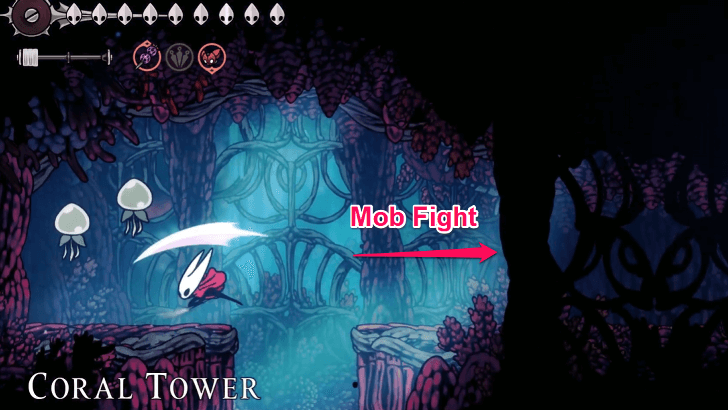 Go left then up. Hit the floating jellyfish to restore your silk. When you proceed to the right, you will be trapped in a mob fight. |
| 3 |  After defeating the first mob room, go right then up. Hit floating jellyfish along the way to restore silk. When you proceed to the left, you will have to face another mob fight. If you get defeated, you will need to challenge the first mob room again. |
| 4 |  After defeating the second room, go left then up. Hit floating jellyfish along the way to restore silk. |
| 5 |  Follow the path to the end of floor then jump up. When you go left, you will face the next mob fight. If you get defeated, you will need to rechallenge all the mob rooms you have fought until this point. |
| * |  At some point during the fight, the floor will get covered in spikes, so you may want to consider bringing the Ascendant's Grip. Do not worry about how this will affect your build for the boss fight since you will have a chance to change your tools again after this room. |
| 6 | 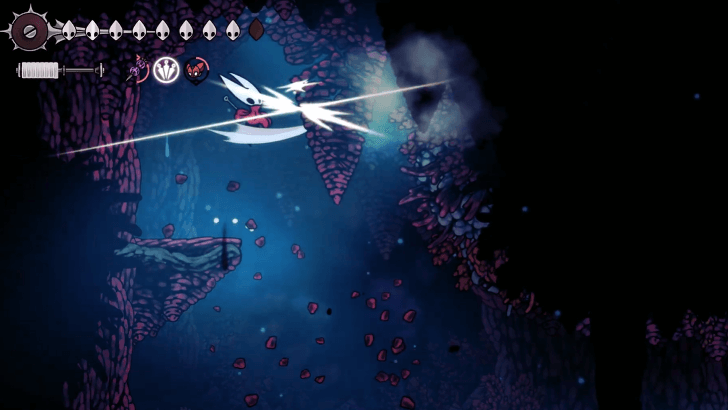 After defeating the third room, go left then up. Before going right, climb up and destroy the stalactite hanging above. This will create a shortcut to the start, so you do not have to face the three enemy rooms whenever you re-enter. You can use this as an opportunity to exit the memory and change your build at the bench. |
| 7 |  Go to the right and fight the final mob room. |
| 8 | 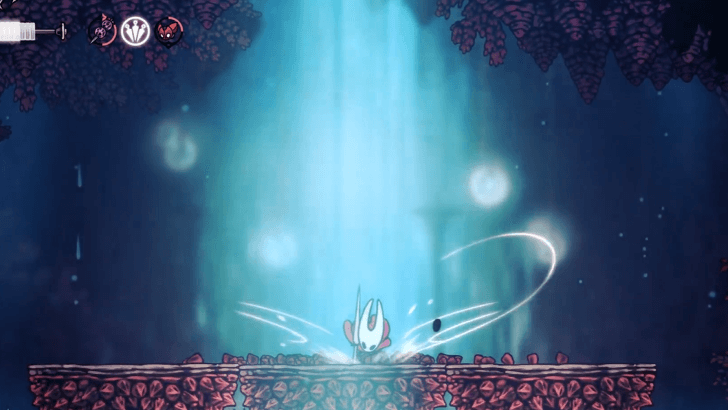 When all the enemies have been defeated, use Silk Soar to ascend to the top of the tower. Ascending will immediately throw you into the boss arena of Crust King Khann. |
| 9 | 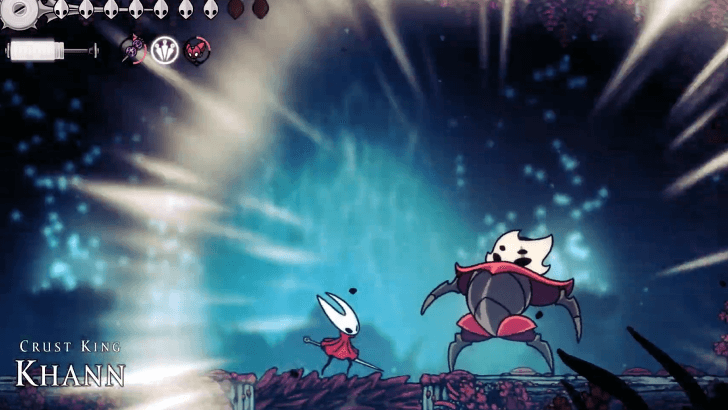 Defeat Crust King Khann. After defeating him, you will awaken back in the real world and you will obtain the Encrusted Heart. ▶ Crust King Khann Boss Guide |
Conjoined Heart Walkthrough
| Jump to A Section | |||
|---|---|---|---|
| 1 | How to Unlock Verdania | 2 | Verdania |
How to Unlock Verdania
| Green Prince Guide | |
|---|---|
| 1 | 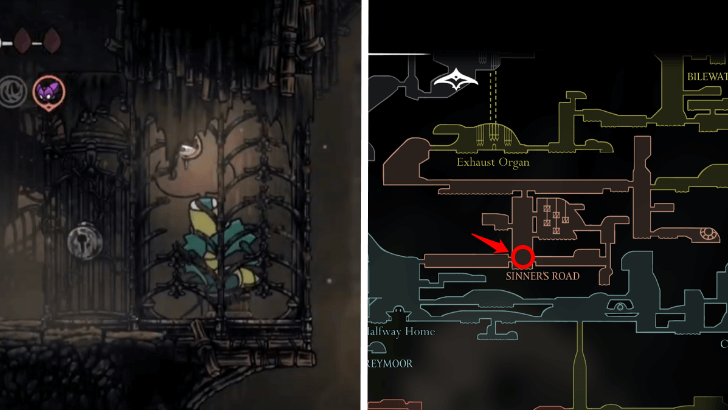 To unlock Verdana, you must free the Green Prince from his cage located in Sinner's Road. You can unlock the cage using a Simple Key. ▶ All 4 Simple Key Locations |
| * | 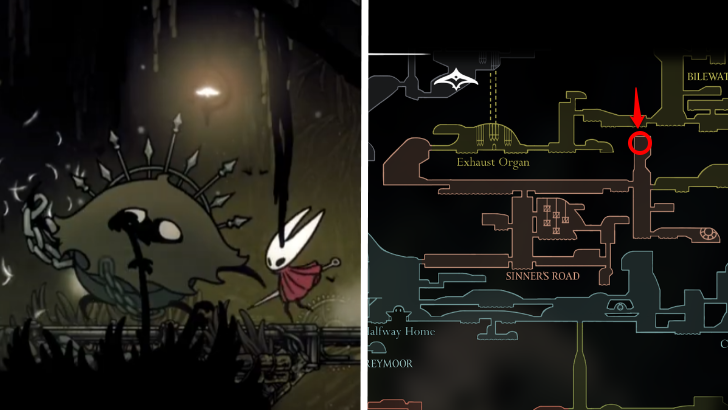 The easiest way to obtain a Simple Key is by buying it from the shopkeepers in Bonebottom and Songclave. Alternatively, there is a Simple Key deeper into Sinner's Road that can be reached through platforming. |
| 2 |  Once the Green Prince is freed, you will be able to encounter him around Pharloom. You will need to find him in all his locations to be placed on his questline. ▶ Green Prince NPC Questline |
| 3 | 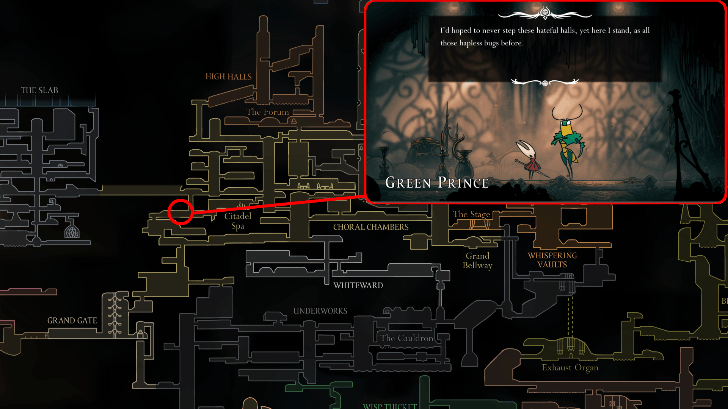 The first time you will encounter him is in Choral Chambers, in the area to the left of the Citadel Spa. |
| 4 |
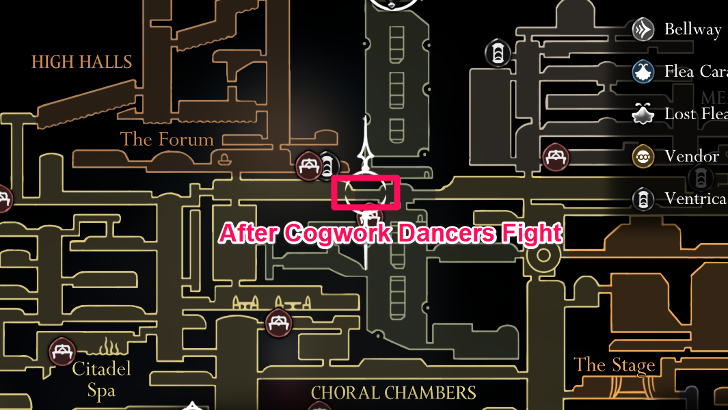 His second encounter will be after the Cogwork Dancers fight. You will find him near the entrance of where you fought the Dancers. |
| 5 |
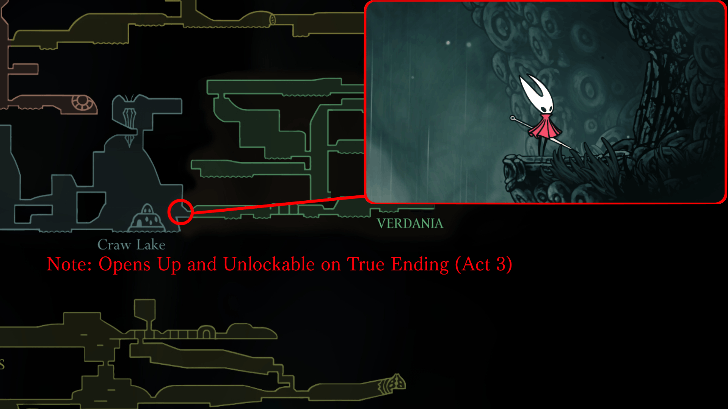 Upon doing these steps, the Green Prince will show up at the edge of Greymoor by Craw Lake in Act 3. If you already have the Elegy of the Deep, use the Needolin on him to access Verdania in his memories. |
Verdania
| First Challenge Guide | |
|---|---|
| 1 |  Upon waking, head right and talk to the Prince. In order to fight the Green Prince, you will need to complete his challenges. |
| * |  To find the location of the Green Prince's challenges, play your Needolin. Glowing lights will appear on your screen, and all you have to do is follow the direction where they're coming from. |
| 2 |  Head to the next room. Hit the glowing seed on the platform then use the berries to pogo to the right. |
| 3 | 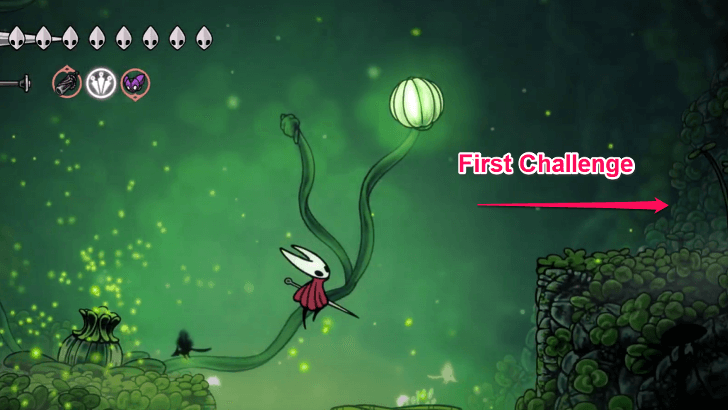 Instead of destroying the next glowing seed, keep going right. |
| 4 | 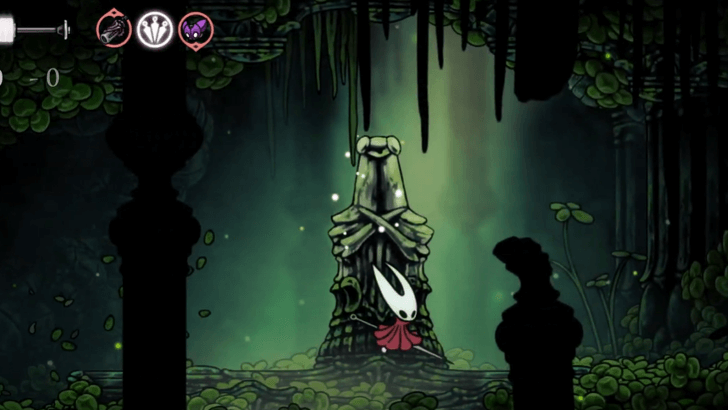 Destroy the statue of the Prince. Collect all the lights in the rightside area before they disappear to complete the challenge. |
| Second Challenge Guide | |
| 1 |  Hit the glowing seed in the middle of the pond, then use the berries to reach the platform to the left. |
| 2 |  Keep going until you drop down and enter the next area. |
| 3 |  Climb up then enter the path to the left. |
| 4 | Get to the end of the area. Use the platforms to reach the Prince Statue. |
| 5 | Destroy the statue then collect all the lights to complete the challenge. |
| Third Challenge Guide | |
| 1 |  Go back the way you came and exit the area. |
| 2 |  This time, go up by using the Clawline on the flying enemy, then enter the path to the left. |
| 3 | After you enter, climb the wall above, then land on the platform to the left. You can also hit the berry in the upper right to refill your Silk. |
| 4 | 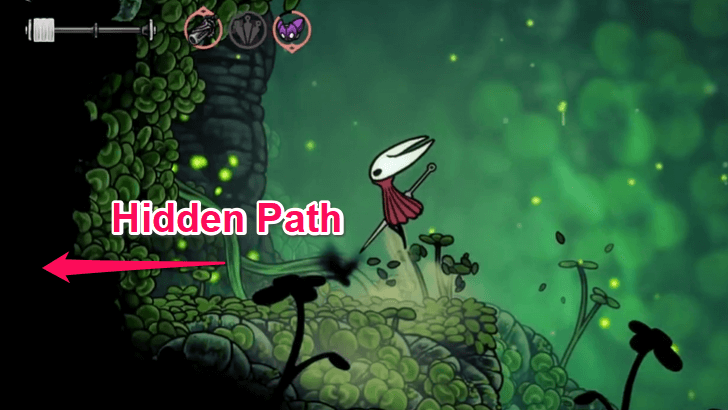 Make it all the way across to the left end of the area. Go through the hidden path behind the clover wall. |
| 5 | In the hidden area, hit the glowing seed then pogo off the berries to reach the statue. Break it, then collect all the lights to complete the challenge. |
| Fourth Challenge Guide | |
| 4 | 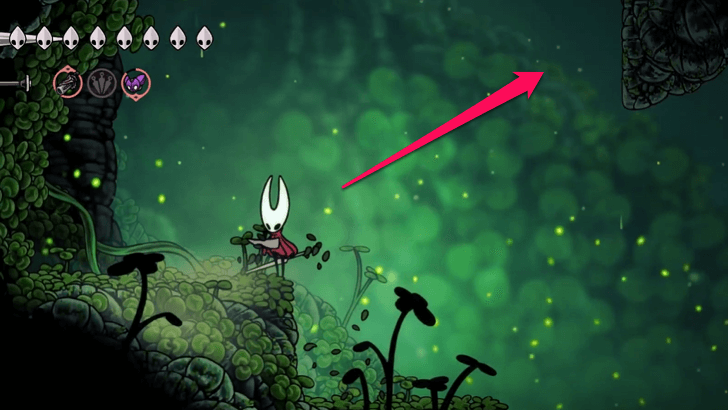 Return to the entrance of the clover wall. This time, platform up to the right. |
| 5 | 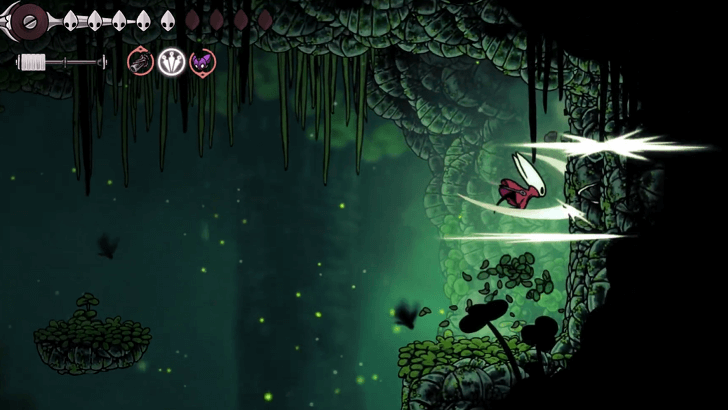 When you reach the ledge, break the wall to the right to reveal a hidden area. |
| 6 | 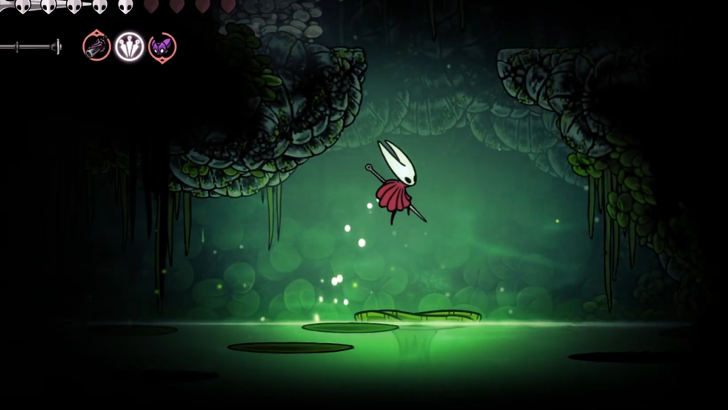 Push the lily pad underneath the gap, then jump on top of it. |
| 7 | Destroy the white flower then collect all the lights to complete the challenge. |
| Fifth Challenge Guide | |
| 1 |  From the ledge, platform to the left until you reach the other side. |
| 2 | Use the platforms to reach the path at the top. |
| 3 |  Jump on the wall to the left and use it to get to the platform above. |
| 4 | Destroy the flowers then collect the lights to complete the challenge. |
| Sixth Challenge Guide | |
| 1 |  Continue towards the right. |
| 2 |  Follow the trail of pale leaves. Following them to the end will lead to a boss area where you will fight the Pale Stag. |
| 3 |  Defeat the Pale Stag, then absorb the light that comes out of it to complete the challenge. ▶ Palestag Boss Guide |
| Seventh Challenge Guide | |
| 1 |  Return to the area where you did the first challenge. Going through the left after defeating the Pale Stag and floating all the way down will lead you back there. |
| 2 | Hit the glowing seed in the middle of the pond, then use the berries to platform to the right. |
| 3 |  Keep going right until you reach the corner of the area. Hit the glowing seed located there to activate the next set of berries. |
| 4 |  Use the two glowing berries to reach the platform on the left. |
| 5 |  Go right and proceed to the next room. |
| 6 | Get all the way to the top. You will need to do a mix of climbing and pogo-ing off berries to reach the statue. |
| 7 | Destroy the statue then collect all the lights while going down to complete the challenge. |
| Eighth Challenge Guide | |
| 1 |  Drop down and head into the room to the bottom right next to the lamp post. |
| 2 | Swim across the water then use the platforms to clawline over the thorns. |
| 3 |  According to the sign in the middle, you need to unlock 3 fountains in the area to activate it. |
| 4 | 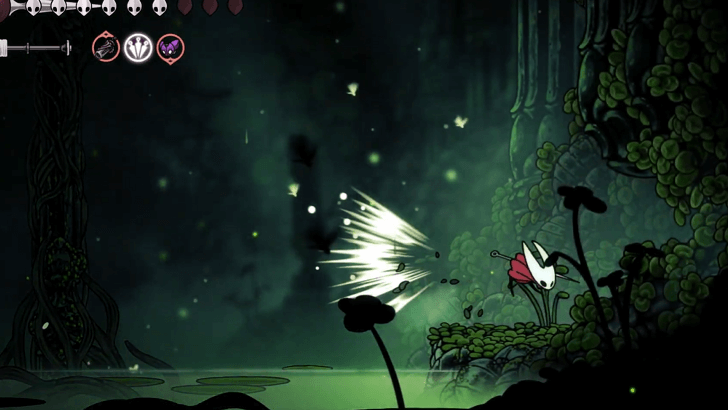 The first fountain can be found further to the right across the water. Go through the hidden entrance then step on the button to activate the fountain. |
| 5 | Return to the front of the hidden entrance then climb up the wall and double jump to reach the platform with the glowing seed. |
| 6 | Hit the seed then clawline off the berries to the left. Pogo off the last berry then pogo on the seed by the ledge. |
| 7 | 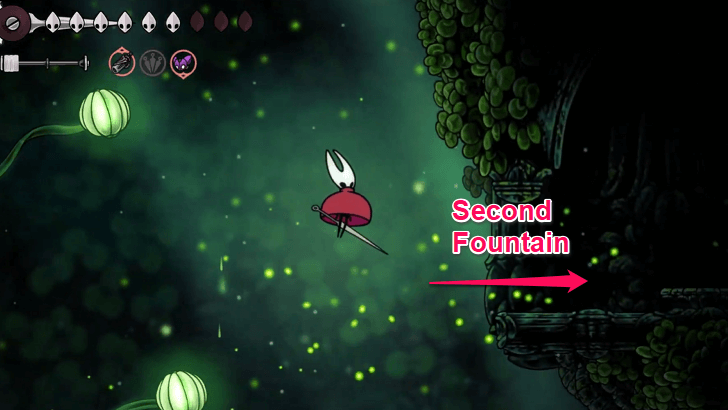 Pogo and clawline on the berries all the way to the right then float into the mouth of the second fountain location. Step on the button to activate it. |
| 8 | 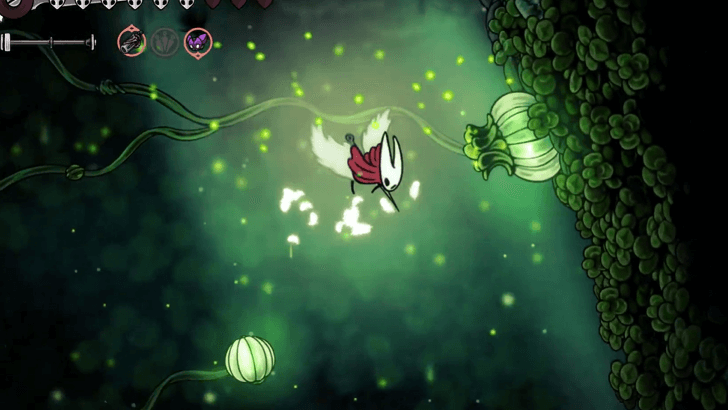 To get the third fountain, you will need to start again from the first seed since the buds restart after a short amount of time. Do the same steps to get to the second platforming set, but this time pogo off the topmost berry at the end, and clawline into the seed on the wall. |
| 9 | 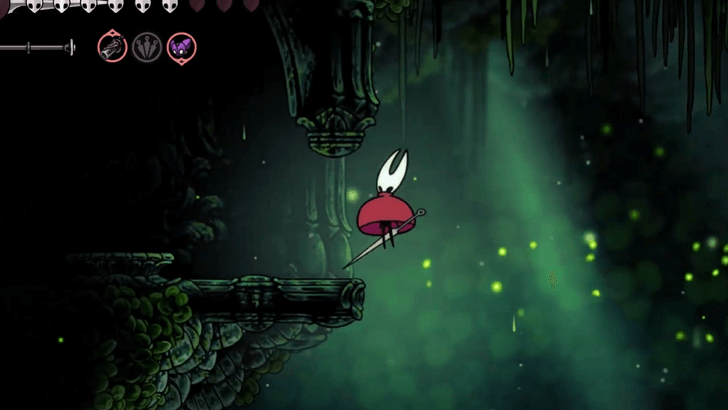 Pogo and clawline off the berries and get to the leftmost side where the final fountain is located. Just like before, activate it by stepping on the button. |
| 10 | 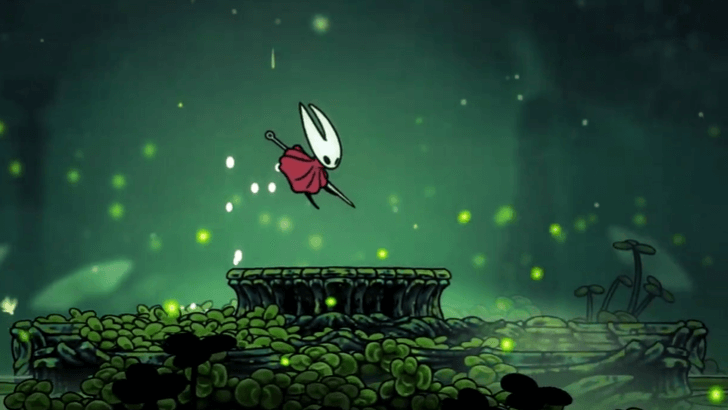 Drop down back down to the bottom. You will find that the sign from before has now transformed into a button. Step on it to raise a chapel-like structure. |
| 11 | 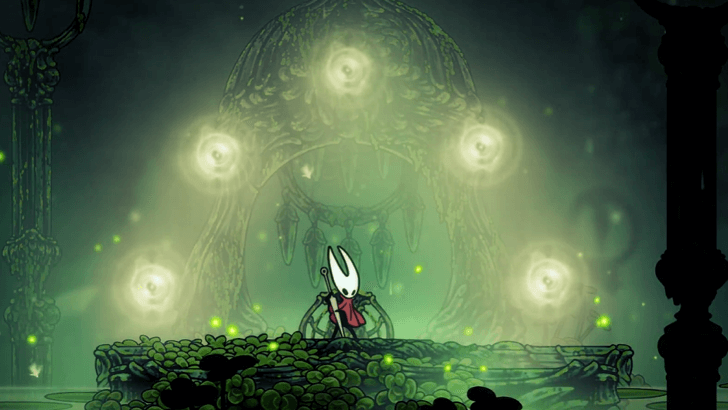 Play the Needolin in front of the altar then collect the lights to complete the challenge. |
| Ninth Challenge Guide | |
| 5 | 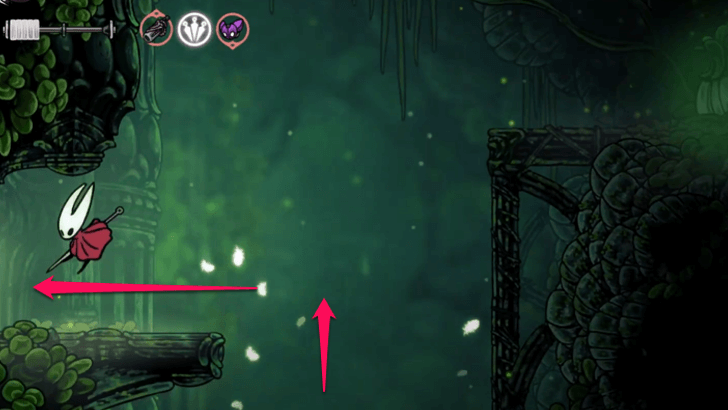 Go back the way you came and exit the room. Afterwards, climb up then enter the area to the left. |
| 6 | 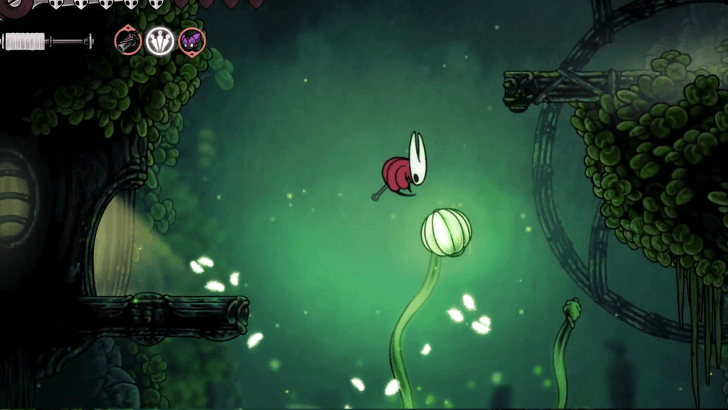 Swim to the left then use the glowing berries to go into the lit up house. |
| 7 | Defeat the enemies inside the house, then destroy the white bud at the end of the room. Collect all the sparks before they disappear to complete the challenge. |
| Tenth Challenge Guide | |
| 1 |  Go below the house then swim across the water to the left. This will lead you to a mob gauntlet. |
| 2 |  Defeat the waves of enemies, then collect the lights at the end to complete the challenge. |
| 4 | 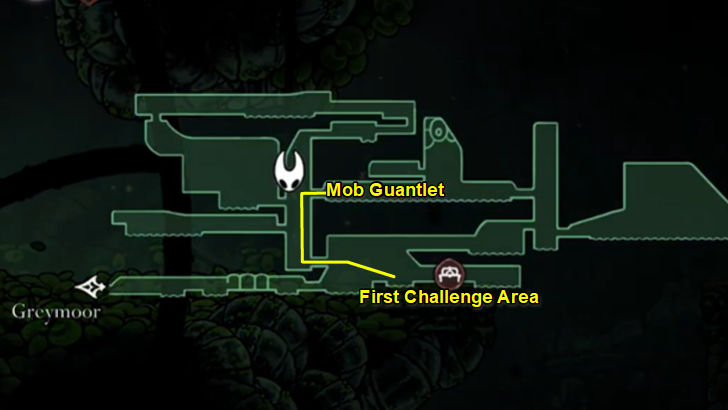 Opening the path to the left of the gauntlet will unlock a shortcut that leads back to the area where the first challenge was located. |
| Clover Dancers Guide | |
| 1 |  Regardless of what order you complete them in, when you see your screen explode in light, that signals that you have fulfilled enough challenges to unlock the boss area. |
| 2 |  Go back to the area where the house is located. You will notice that the area above is now filled in. Get on the platform with the lamp post then Silk Soar to the top. |
| 3 |  Enter the house then go to the room in the top left. You will find the Green Prince standing in front of two empty thrones. Talking to him will trigger the boss fight. |
| 4 | 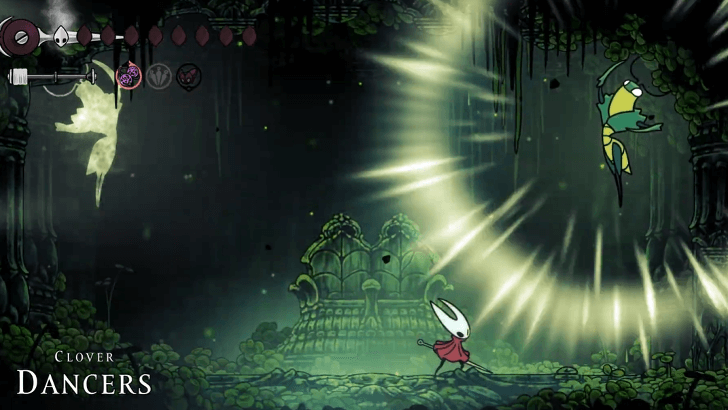 Defeat the Clover Dancers to get the Conjoined Heart. You can use the Conjoined Heart to either fulfill the The Old Hearts quest, or keep it as a memento in your Bellhome. ▶ Clover Dancers Boss Guide |
How Many Acts are in Silksong?
Hollow Knight: Silksong Has 3 Acts
Silksong has three acts. The first act ends when you defeat the Last Judge or Phantom. Act 2 ends when defeating the game's final boss. Lastly, Act 3 can be started after accepting the Wish called Silk and Soul!
Hollow Knight: Silksong Related Guides

Hollow Knight: Silksong Wiki Top
Guides by Category
| List of Categories | |
|---|---|
 Walkthrough Walkthrough |
 Tips and Tricks Tips and Tricks |
 Bosses Bosses |
 Maps Maps |
 Wishes Wishes |
 Abilities Abilities |
 Crests Crests |
 Skills Skills |
 Tools Tools |
 NPCs NPCs |
 Items Items |
 Enemies Enemies |
 News and Updates News and Updates |
|
Comment
In Act 3, the Songclave Ventrica isn’t broken. You can access it by using the Memorium Ventrica. Then, you can destroy the wall restoring access to the Songclave Ventrica again.
Author

Complete Walkthrough and Progression Guide
Rankings
- We could not find the message board you were looking for.
Gaming News

![Monster Hunter Stories 3 Review [First Impressions] | Simply Rejuvenating](https://img.game8.co/4438641/2a31b7702bd70e78ec8efd24661dacda.jpeg/show)
![Monster Hunter Stories 3 Review [First Impressions] | Simply Rejuvenating](https://img.game8.co/4438641/2a31b7702bd70e78ec8efd24661dacda.jpeg/thumb)
![The Seven Deadly Sins: Origin [First Impressions] | A Promising Start](https://img.game8.co/4440581/584e0bfb87908f12c4eab6e846eb1afd.png/thumb)
![The Liar Princess and the Blind Prince Review [PC] | Lovely to Look at but Tedious to Play](https://img.game8.co/4442586/8d95f5faf05780f1765ce7e0938bd825.jpeg/thumb)
Popular Games

Genshin Impact Walkthrough & Guides Wiki
Umamusume: Pretty Derby Walkthrough & Guides Wiki
Pokemon Pokopia Walkthrough & Guides Wiki
Honkai: Star Rail Walkthrough & Guides Wiki
Monster Hunter Stories 3: Twisted Reflection Walkthrough & Guides Wiki
Arknights: Endfield Walkthrough & Guides Wiki
Wuthering Waves Walkthrough & Guides Wiki
Zenless Zone Zero Walkthrough & Guides Wiki
Pokemon TCG Pocket (PTCGP) Strategies & Guides Wiki
Monster Hunter Wilds Walkthrough & Guides Wiki


Recommended Games
Diablo 4: Vessel of Hatred Walkthrough & Guides Wiki
Cyberpunk 2077: Ultimate Edition Walkthrough & Guides Wiki
Fire Emblem Heroes (FEH) Walkthrough & Guides Wiki
Yu-Gi-Oh! Master Duel Walkthrough & Guides Wiki
Super Smash Bros. Ultimate Walkthrough & Guides Wiki
Pokemon Brilliant Diamond and Shining Pearl (BDSP) Walkthrough & Guides Wiki
Elden Ring Shadow of the Erdtree Walkthrough & Guides Wiki
Monster Hunter World Walkthrough & Guides Wiki
The Legend of Zelda: Tears of the Kingdom Walkthrough & Guides Wiki
Persona 3 Reload Walkthrough & Guides Wiki


All rights reserved
© 2025 Team Cherry
The copyrights of videos of games used in our content and other intellectual property rights belong to the provider of the game.
The contents we provide on this site were created personally by members of the Game8 editorial department.
We refuse the right to reuse or repost content taken without our permission such as data or images to other sites.
The guide says wall jump way before you acquire it in game..wut?