Intergrade: Hard Mode Guide
This is a complete guide to beating the INTERmission DLC on Hard Mode in the game Final Fantasy 7 Remake Intergrade. Read on for our best Hard Mode Builds, including what Materia are best to use in Hard Mode, what Equipment and Materia are recommended, and how to handle running out of MP.
| Hard Mode Guides | ||
|---|---|---|
| FF7 Remake | Intergrade | MP Recovery |
List of Contents
Hard Mode Differences
Hard Mode for INTERmission is essentially the same as Hard Mode from the main game as it is unlocked by clearing the DLC, enemies deal more damage and may have more abilities, and so on:
- You cannot change the difficulty setting from the System Menu. To change the difficulty, you will need to use Chapter Select and go to the start of a Chapter with a different difficulty setting.
- In Hard Mode, you can't use items at all. If you open the Commands Menu and hover over "Items", you'll see a notification that items cannot be used.
- When using a bench at a rest area, your HP will be restored, but not your MP.
- You'll receive Manuscripts for defeating each Fort Condor player as well as from Bosses and sub-bosses.
- A Hard Mode exclusive match in the Shinra Combat Simulator is also unlocked, similar to the main game.
Hard Mode Guide (Story Walkthrough)
| ★Strategy Checklist★ (Click to jump) |
||
|---|---|---|
|
|
Hit the Level Cap

If you enter Hard Mode right after completing a lower difficulty, you will likely struggle if you jump head first into Hard Mode. Return to Chapter 2 where the Shinra Combat Simulator will open up for Yuffie and Sonon to farm Exp and AP so you can level them and your materia up.
Intergrade: How to Level Up Fast and AP Farm
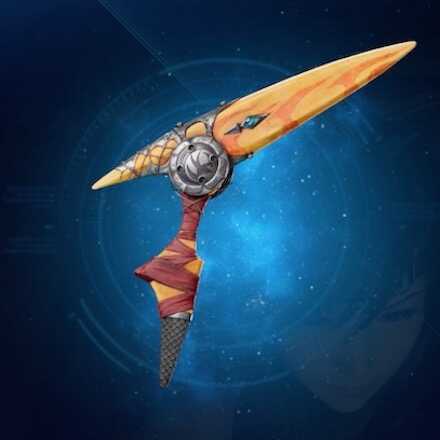
Use Yuffie's Boomerang for MP Skills

One way of combatting the MP restrictions is by Yuffie's Boomerang. There are 3 skills that can assist you in conserving and regenerating MP.
| Sub-Core | Skill and Effect |
|---|---|
| Sub-Core I | Trade-Off Recover MP when taking significant damage |
| Sub-Core I | Attack Spells MP Cost Reduction 20% |
| Sub-Core IV | MP Regeneration 50% Boost Significantly increases MP regeneration speed during battle |
As MP Regeneration 50% Boost comes from Sub-Core IV you'll need to collect some Manuscripts by beating Fort Condor players in the Sector 7 Slums to reach Weapon Level 6.
How to Recover MP in Hard Mode
Make Use of Revival Earrings

Another way to conserve MP is by equipping Revival Earrings to Yuffie and Sonon. Rather than using healing magic, letting a character die with these equipped will automatically heal them to 50% HP. They can only be used once before breaking, but they only cost 500 Gil at any shop that sells accessories so you can stock up on these ahead of time.
Match Your Elemental Materia and Ninjutsu with the Foe's Weakness

Use the linked Materia slot on Sonon's Weapon to hold an Elemental Materia together with the Magic Materia matching the Boss's weakness while Yuffie can change the damage type of her Shuriken with her Elemental Ninjutsu abilities. Almost all of the Bosses in the main story will have a weakness, so simply by changing out which Magic Materia you equip or switching Ninjutsu, you can deal extra damage to almost every Boss.
List of All Bosses and their Weaknesses
Make Use of Perfect Guards

Instead of forcing your way through with attacks, you'll want to conserve your HP as much as possible on Hard mode. Hold R1 frequently to block your opponents' attacks and wait for the right timing to strike; timing your block at the right time will execute a Perfect Guard that negates all damage. You'll know you've done it right as time will slow for a split second and Immune
will pop up in blue text in place of numbers for damage.
Precision Defense Weapon Skills
When pulling off a Perfect Guard you can also activate certain weapon skills that provide Yuffie with various buffs.
| Weapon | Skill and Effect |
|---|---|
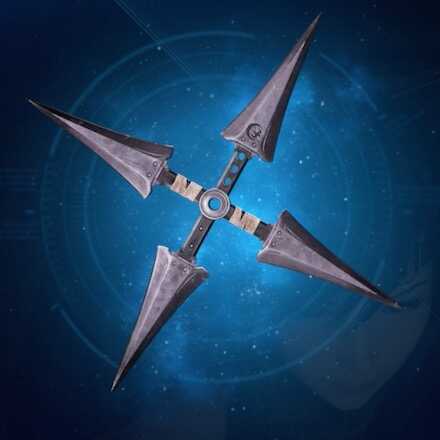
 4-Point Shuriken 4-Point Shuriken |
Precision Defense: ATB Boost Guard against an attack at the right time to fill the ATB gauge. |
 Boomerang Boomerang |
Precision Defense: Barrier Guard against an attack at the right time to cast Barrier. |
| Precision Defense: Manaward Guard against an attack at the right time to cast Manaward. |
|
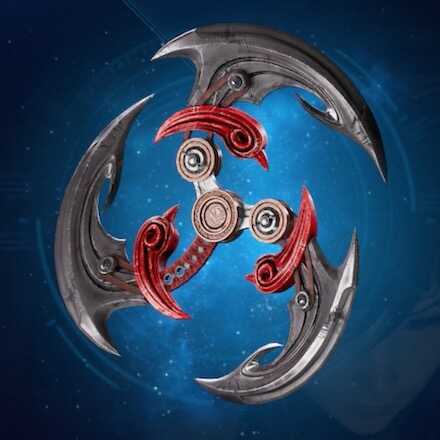
 Steel Reaper Steel Reaper |
Precision Defense: Regen Guard against an attack at the right time to cast Regen. |
Keep Distance and Use Incite
With Yuffie's signature ability, she can throw her Shuriken at an enemy and switch to Ninjutsu, ranged attacks that deal magic damage. Doing so will keep you away from enemies and let you target their weaknesses with the various elemental damage you can deal. You can then finish off a combo with Windstorm as it will target whatever you threw the Shuriken at. Pair this with Sonon's Incite ability, which can be learned from the Indurate Staff, so Sonon can distract enemies and allow Yuffie to take less damage and deal more uninterrupted.
Synergize With Sonon

There are two reasons why you'll want to make use of Synergy. The first is to deal extra damage against enemies with Synergized Art of War and increase stagger with Synergized Windstorm. The second is that depending on your distance from Sonon, turning on Synergy will cause Sonon to teleport him to you, effectively allowing him to dodge away from attacks that could deal heavy damage to him. Mix and match these to keep your boy safe and healthy!
Synergy Guide: How to Synergize Yuffie and Sonon
Use Yuffie's Brumal Form

Some attacks may be more difficult to dodge normally, so try to keep 1 ATB charge on you if possible to use Brumal Form against attacks like the Crimson Mare's Fusillade that can deal 1000-3000 damage depending on if you block or not.
Hard Mode Recommended Materia
| Materia | Reason |
|---|---|
Required ・Try and give 2 to each character ・Attach 4 to the Ninja Armlet to level them up ・Try to start leveling them up as early as possible |
|
Required ・Link to Magnify for best effects ・Still useful without Magnify |
|
Required ・Only give to Yuffie ・Sonon will revive Yuffie by sacrificing himself if she dies |
|
Helpful ・A way to heal without using MP ・Heals more based on how much HP you've lost |
|
Helpful ・Heal all party members without using MP ・Requires 2 ATB so it can prevent you from using other attacks |
|
Helpful ・Gives you a boost to your MP ・Great for Hard Mode where you can't recover MP easily ・Equip 2 to each character if possible |
|
Helpful ・Fills the ATB Gauge when blocking attacks ・Sonon can also make use of it |
|
Helpful ・Equip on Sonon ・Every time Yuffie uses a command Sonon will follow up with the weakest linked magic ・Does not require ATB or MP |
Why Play Hard Mode?
Get Manuscripts Exclusive to Hard Mode

All 14 of Yuffie and Sonon's Manuscripts for additional SP are only available on Hard Mode. These are unlocked through playing Fort Condor or defeating Bosses. You'll want to get all of these to unlock every Weapon Upgrade available to take on the super boss in the Shinra Combat Simulator.
Obtain a Trophy
When you complete both Chapters on Hard Mode, you'll unlock the The Road to Revenge Trophy.
Final Fantasy 7 Remake Intergrade Related Links
Intergrade and INTERmission Guide
Intergrade Story Walkthrough
| Chapter 1 | Chapter 2 |
|---|---|
 Chapter 1: Wutai's Finest Chapter 1: Wutai's Finest
|
 Chapter 2: Covert Ops Chapter 2: Covert Ops
|
Intergrade Boss Fights
| Chapter 1 | Levrikon Gigantipede Ramuh |
|---|---|
| Chapter 2 | Scarlet & The Crimson Mare Projector Nero the Sable |
| Shinra Combat Simulator | vs. Shinra's Dark Secrets vs. Midgarian Monsters Weiss the Immaculate Pride and Joy Mk 0.5 (Top Secrets) |
Intergrade Side Content
 Happy Turtle Flyers Happy Turtle Flyers
|
 Shinra Box Buster Shinra Box Buster
|
Fort Condor Minigame
 Fort Condor Guide Fort Condor Guide
|
Condor Coin Farming |
| Fort Condor Units | |
| Fort Condor Boards |
Intergrade Guides
Author
Intergrade: Hard Mode Guide
improvement survey
03/2026
improving Game8's site?

Your answers will help us to improve our website.
Note: Please be sure not to enter any kind of personal information into your response.

We hope you continue to make use of Game8.
Rankings
- We could not find the message board you were looking for.
Gaming News
Popular Games

Genshin Impact Walkthrough & Guides Wiki

Honkai: Star Rail Walkthrough & Guides Wiki

Umamusume: Pretty Derby Walkthrough & Guides Wiki

Pokemon Pokopia Walkthrough & Guides Wiki

Resident Evil Requiem (RE9) Walkthrough & Guides Wiki

Monster Hunter Wilds Walkthrough & Guides Wiki

Wuthering Waves Walkthrough & Guides Wiki

Arknights: Endfield Walkthrough & Guides Wiki

Pokemon FireRed and LeafGreen (FRLG) Walkthrough & Guides Wiki

Pokemon TCG Pocket (PTCGP) Strategies & Guides Wiki
Recommended Games

Diablo 4: Vessel of Hatred Walkthrough & Guides Wiki

Fire Emblem Heroes (FEH) Walkthrough & Guides Wiki

Yu-Gi-Oh! Master Duel Walkthrough & Guides Wiki

Super Smash Bros. Ultimate Walkthrough & Guides Wiki

Pokemon Brilliant Diamond and Shining Pearl (BDSP) Walkthrough & Guides Wiki

Elden Ring Shadow of the Erdtree Walkthrough & Guides Wiki

Monster Hunter World Walkthrough & Guides Wiki

The Legend of Zelda: Tears of the Kingdom Walkthrough & Guides Wiki

Persona 3 Reload Walkthrough & Guides Wiki

Cyberpunk 2077: Ultimate Edition Walkthrough & Guides Wiki
All rights reserved
© SQUARE ENIX CO., LTD. All Rights Reserved.
CHARACTER DESIGN:TETSUYA NOMURA/ROBERTO FERRARI
The copyrights of videos of games used in our content and other intellectual property rights belong to the provider of the game.
The contents we provide on this site were created personally by members of the Game8 editorial department.
We refuse the right to reuse or repost content taken without our permission such as data or images to other sites.


![Everwind Review [Early Access] | The Shaky First Step to A Very Long Journey](https://img.game8.co/4440226/ab079b1153298a042633dd1ef51e878e.png/thumb)

![Monster Hunter Stories 3 Review [First Impressions] | Simply Rejuvenating](https://img.game8.co/4438641/2a31b7702bd70e78ec8efd24661dacda.jpeg/thumb)


