Chapter 16: The Belly of the Beast Story Guide & Walkthrough
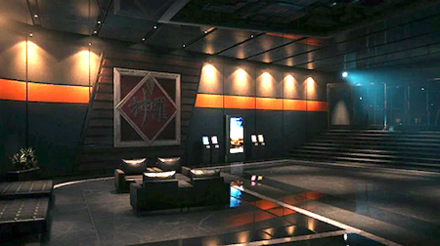
This is a guide and walkthrough to Chapter 16: The Belly of the Beast, a story chapter in the game Final Fantasy 7 Remake (FF7R). Read on to learn locations of items, rewards for completing this chapter, as well as useful tips and strategies for getting through this part of the story.
| Previous Chapter | The Day Midgar Stood Still |
|---|---|
| Current Chapter | The Belly of the Beast |
| Next Chapter | Deliverance from Chaos |
List of Contents
- List of Main Scenario Objectives
- Chapter 16: The Belly of the Beast Walkthrough
- Sector 0 - Shinra Electric Power Company
- Inside the Shinra Building
- The Elevator
- Shinra Building - 59th Floor
- Shinra Building - 60th Floor
- Shinra Building - 61st Floor
- Shinra Building - 62nd Floor
- Shinra Building - 63rd Floor
- Shinra Building - 64th Floor
- Shinra Building - 65th Floor
- Shinra Building - 66th Floor
- Maps and Obtainable Items
- Maps
- Obtainable Items
- Shops & Vending Machines
- Tips and Strategies
- Boss Strategy Guide
- Specimen H0512
- Story Walkthrough Related Links
List of Main Scenario Objectives

| No. | Title | Description |
|---|---|---|
| 1 | Infiltration | The team is able to sneak into the Shinra Building on a service truck, but is caught by the security guards stationed in the garage. They're forced to fight their way through. |
| 2 | Bust Out of the Garage | After dispensing with the security detail and leaving the parking garage behind, the three arrive at the building's empty entrance. |
| 3 | Shinra Building Intel | They need a keycard to advance through the building. Tifa offers to break into the reception desk by jumping across the light fixtures. |
| 4 | Acquiring the Keycard | Tifa acquires the keycard. To free Aerith on the 65th floor, they head first to the 59th floor. |
| 5 | Reach for the Skyview Hall | With the keycard updated, they now have access to the 63rd floor. |
| 5-1 | Use the Elevator | They arrive on the 59th floor, where they search for a way up to the 65th floor. |
| 5-2 | Use the Emergency Stairwell | They use the elevator to reach the 59th floor. |
| 6 | Playing the Tourist | After watching an unsettling movie, they're stopped by a mysterious man who claims to be working with the mayor. |
| 7 | A Helping Hand | The mayor's collaborator has supplied them with another keycard. To find out where Aerith is being held, they head for the 64th floor to spy on the executives' board meeting. |
| 8 | Reconnaissance | They discover that Professor Hojo is holding Aerith captive. Follow Hojo and free Aerith. |
| 9 | Operation: Save Aerith | The three reunite with Aerith, but a vision calling from within the facility assails Cloud, who falls unconscious. |
Chapter 16: The Belly of the Beast Walkthrough
Sector 0 - Shinra Electric Power Company
| Objectives | |
|---|---|
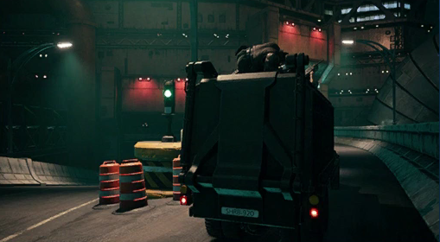
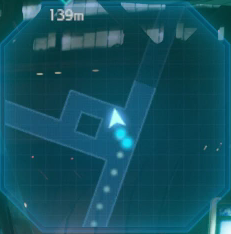
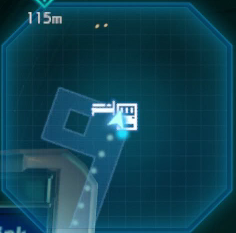
| 1 | Follow Tifa and Barret down the staircase, two ladders, and another staircase. At the bottom, you'll find a rest area on the far end. Go down the staircase on the left side halfway to the rest area. |
  |
|
| 2 | Climb up the next staircase and a cutscene will begin. After the cutscene, you'll fight three Elite Security Officers. |
| 3 | Ahead, you'll fight three more Elite Security Officers and two Elite Grenadiers. Head around the path and open the door. You'll encounter two more Elite Security Officers, then two 3-C SOLDIER Operators. |
| 4 | Head around and open the next door. You'll fight two Elite Grenadiers and three Guard Dogs. |
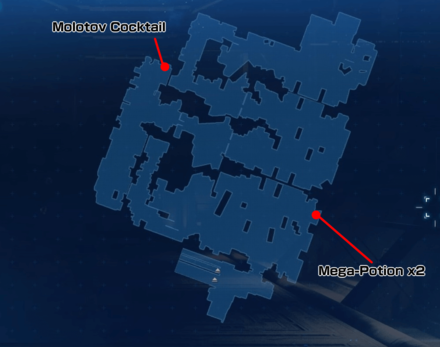
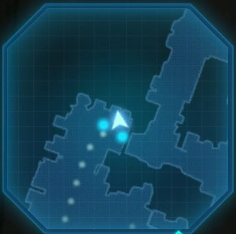 Turn right and find a chest with a Molotov Cocktail in the back right corner. Turn right and find a chest with a Molotov Cocktail in the back right corner. |
|
| 5 | Turn left and duck under the gate. You'll fight three Elite Riot Troopers, two Guard Dogs, and two 3-C SOLDIER Operators. Go through the glass door to the right. |
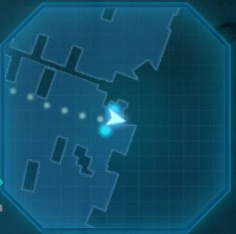 In the back-left corner, you'll find a chest with 2 Mega Potions. In the back-left corner, you'll find a chest with 2 Mega Potions. |
Inside the Shinra Building
| Objectives | |
|---|---|
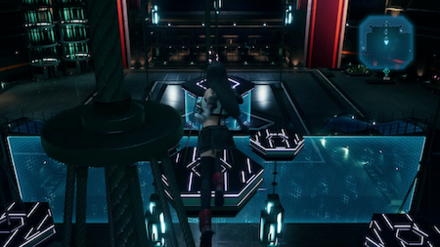
| 1 | Inside, go up the stairs, then through the next glass door at the top. |
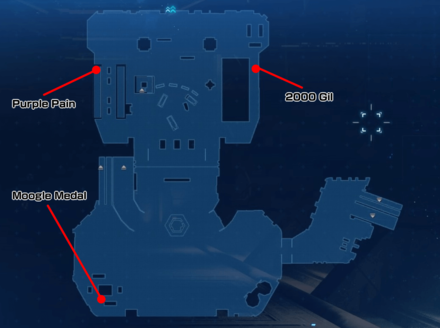
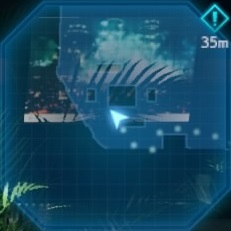 Walk towards the other side of the room and you can find a chest containing a Moogle Medal beside the plants. Walk towards the other side of the room and you can find a chest containing a Moogle Medal beside the plants. |
|
| 2 | After the cutscene, interact with the neon-blue pillar in the middle, then head up the stairs. |
| 3 | Try both the doors on the left and due north, and a cutscene will begin. You'll take control of Tifa to jump over the lights. After jumping from the third light, Tifa will fall down and land on the other side of the neon-blue wall. |
 After landing, go back and to the right to find a chest with 2,000 gil. After landing, go back and to the right to find a chest with 2,000 gil. |
|
| 4 | Jump onto the car farthest to the right, and you'll be able to jump across the tops of the purple structures until reaching a platform with a ladder. |
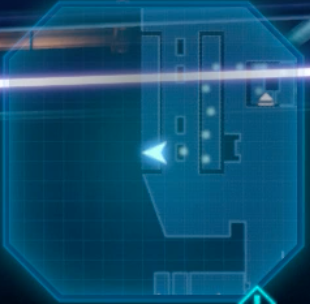 From the platform, climb the scaffolding across to get to a platform with a chest containing Purple Pain. From the platform, climb the scaffolding across to get to a platform with a chest containing Purple Pain. |
|
| 5 | Climb up the ladder and climb across the scaffolding. Tilt the camera up to see where the path is blocked. Continue across the scaffolding until you reach the platform with a ladder up. |
| 6 | Jump onto each successive light fixture until you get to the hanging ropes up ahead. Jump onto one of the ropes, then time presses of the Triangle button to gain momentum. After two ropes, Tifa will make it into the reception desk and key the Keycard. |
| 7 | Jump onto each successive light fixture until you get to the hanging ropes up ahead. Jump onto one of the ropes, then time presses of the Triangle button to gain momentum. After two ropes, Tifa will make it into the reception desk and grab the Keycard. |
| 8 | Go up the stairs and go through the north door. Press any button and ride the elevator. You can choose between using the elevator or stairs to reach the 59th floor.Elevator or Stairs: Which Should You Take? |
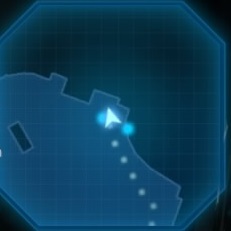 Before going through the door, use the keycard to open the room to the right. Open the chest at the upper left corner to obtain an Iron Maiden. Before going through the door, use the keycard to open the room to the right. Open the chest at the upper left corner to obtain an Iron Maiden. |
The Elevator
| Objectives | |
|---|---|
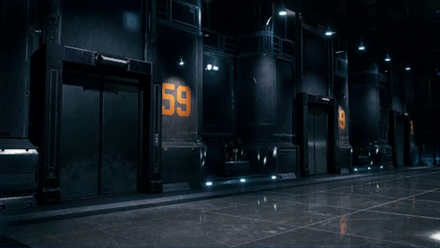
| 1 | 10th Floor - Admissions: The door will open and you'll fight two Elite Security Officers. Press the button and ride the elevator again. |
| 2 | 20th Floor - Research and Development: The door will open and you'll fight three Elite Security Officers. Press the button and ride the elevator again. |
Shinra Building - 59th Floor
| Objectives | |
|---|---|
| 1 | Interact with the reception desk. Go through the door to the far right and ahead and use your keycard to enter, then go up the escalator. You'll see a cutscene. |
Shinra Building - 60th Floor
| Objectives | |
|---|---|
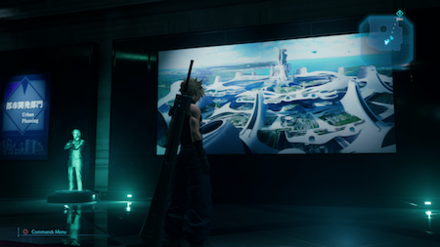
| 1 | Go through the door to the right to see the President Shinra Exhibit. Go through the door in the back left behind President Shinra's statue. |
| 2 | Watch the exhibit explanation and wait for the door on the right to open. |
| 3 | In the Business Division Exhibit, go through the door on the left. Watch the exhibit explanation and wait for the door ahead to open. |
| 4 | Watch the cutscene and pass through to the door at the end, then head up to the 61st floor. |
Shinra Building - 61st Floor
| Objectives | |
|---|---|
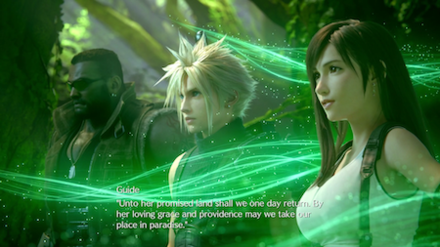
| 1 | The party will watch a VR movie about the Ancients and the Promised Land. After the cutscene, head to the door. |
Shinra Building - 62nd Floor
| Objectives | |
|---|---|
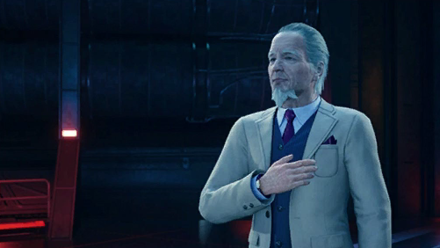
| 1 | In the cutscene, you'll follow Hart to meet Mayor Domino. Go through the door. |
| 2 | Mayor Domino will upgrade your Keycard. |
 If you talk to Hart outside the office, he'll offer to give you information about the Avalanche collaborator in exchange for 10,000 gil. The information isn't much, but he'll also give Barret's weapon EKG Cannon as a bonus.What Does Giving 10,000 Gil to Hart Do? If you talk to Hart outside the office, he'll offer to give you information about the Avalanche collaborator in exchange for 10,000 gil. The information isn't much, but he'll also give Barret's weapon EKG Cannon as a bonus.What Does Giving 10,000 Gil to Hart Do? |
|
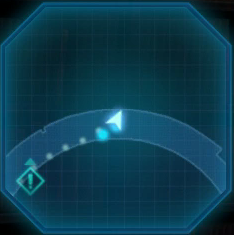 Run around the ring to find a chest with 3,000 gil. Run around the ring to find a chest with 3,000 gil. |
|
| 3 | Go back out the entrance to the library and go up the escalator to the 63rd floor. |
Shinra Building - 63rd Floor

| Objectives | |
|---|---|
| 1 | Go through the door directly ahead and use the keycard to enter. |
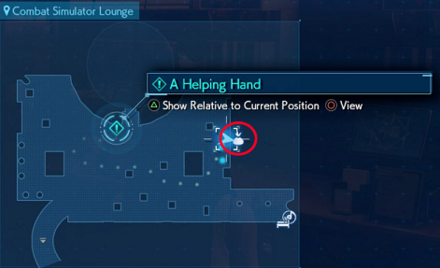
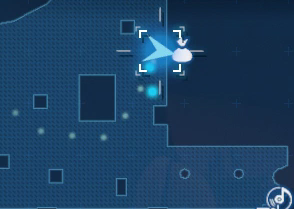
| 2 | Go to the upper level of the recreation area and talk to the man standing in front of the Combat Simulator Lounge. He'll be your contact. First, he'll want you to prove yourself by participating in a combat simulation. Be sure to take advantage of the bench and item shop here. Although it's a simple coffee shop, this is the best Item Shop in the game up to the point, loaded with several new weapons and armor that weren't previously obtainable. |
 Go to the Jukebox in the back-right corner next to the bench to get Scarlet's Theme. Go to the Jukebox in the back-right corner next to the bench to get Scarlet's Theme. |
|
| 3 | Go into the Shinra Combat Simulator and take on the only available challenge. After winning, go outside and you'll receive the security keycard. You'll unlock additional optional challenges to complete in the Shinra Combat Simulator. Shinra Combat Simulator Guide and Rewards |
Shinra Building - 64th Floor
| Objectives | |
|---|---|
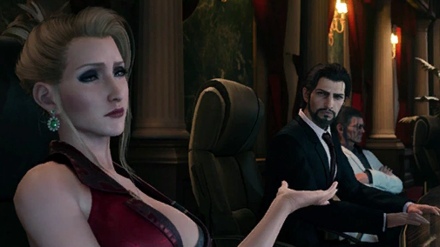
| 1 | Use the keycard to get into the hall. Turn left and after the cutscene, follow the Quest marker on the Map to get to the bathroom. |
| 2 | In the bathroom, go in the stall on the left and look up. Interact with the duct and a cutscene will begin. |
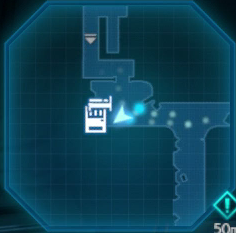
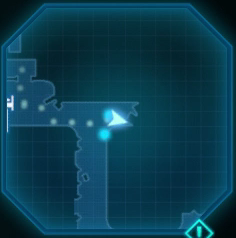
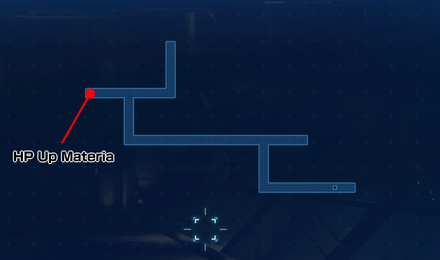
| 3 | In the duct, follow the path on the Mini-map to advance forward until you reach the other exit. |
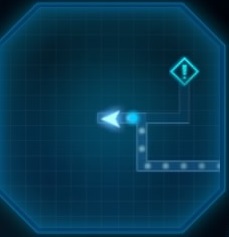 At the second fork inside the duct, go left and pick up the HP Up Materia. At the second fork inside the duct, go left and pick up the HP Up Materia. |
|
| 4 | After the cutscene, return to the entrance to the 64th Floor hall. Another cutscene will begin. |
| 5 | Follow Hojo into his laboratory and go up the stairs. |
Shinra Building - 65th Floor
| Objectives | |
|---|---|
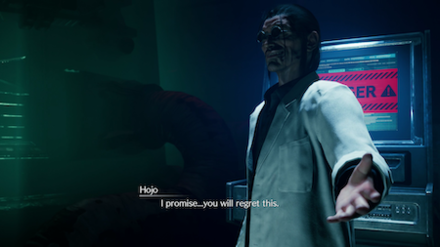
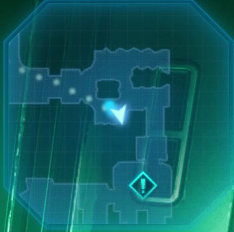
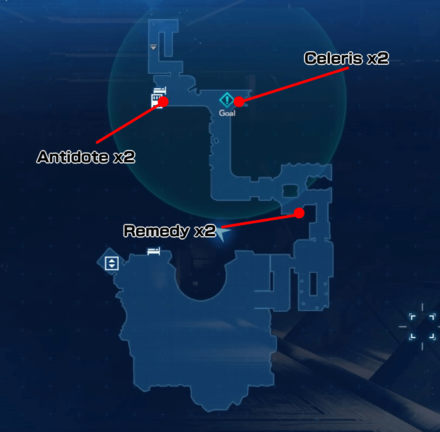
| 1 | You will find a rest area. Go to the end of the hall and a cutscene will begin. |
   |
|
| Boss 2 |
After the cutscene, defeat Specimen H0512. You'll receive a Talisman for defeating it. How to Beat Specimen H0512 |
| 3 | Go straight ahead and to the left to find a level. Pull it to open the elevator and go up. |
Shinra Building - 66th Floor
| Objectives | |
|---|---|
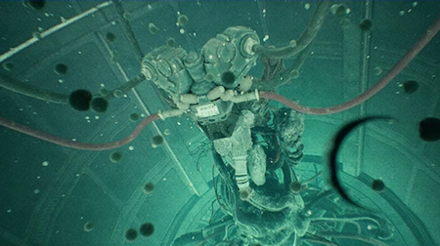
| 1 | After the cutscene, you'll fight two Elite Security Officers, two Elite Grenadiers, and an Elite Riot Trooper. |
| 2 | After the cutscene, you'll fight two Armored Shock Troopers. |
| 3 | Follow Aerith after the cutscene. |
| 4 | Walk down the hallway, pushing forward against the static, until a cutscene begins ending the chapter. |
Maps and Obtainable Items
Maps
| List of Maps | |
|---|---|
 |
 |
 |
 |
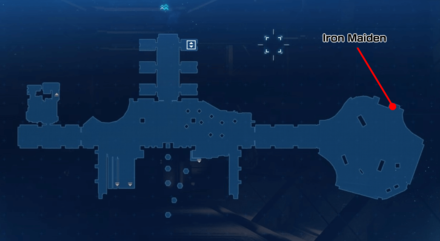 |
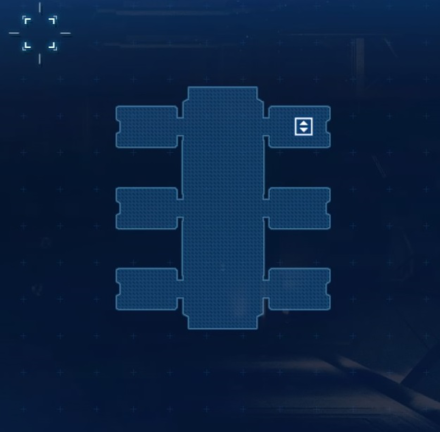 |
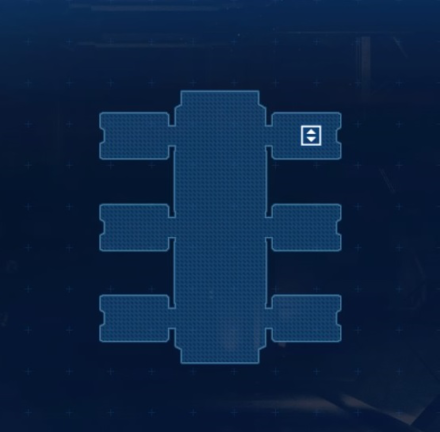 |
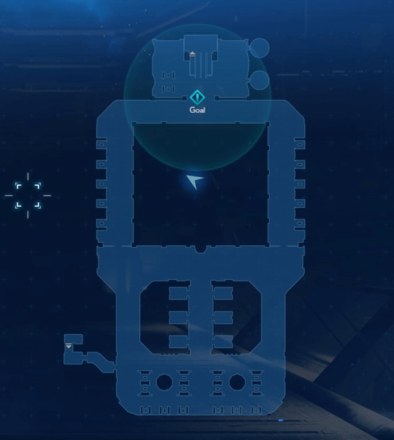 |
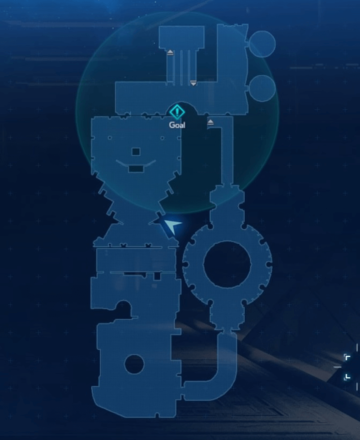 |
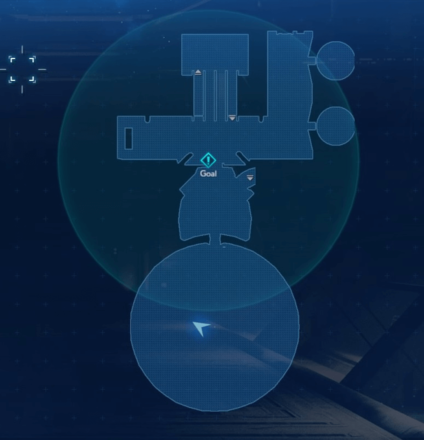 |
 |
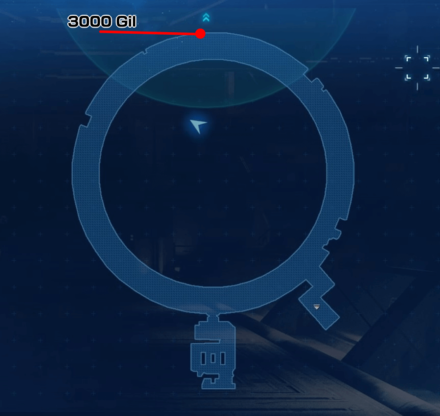 |
 |
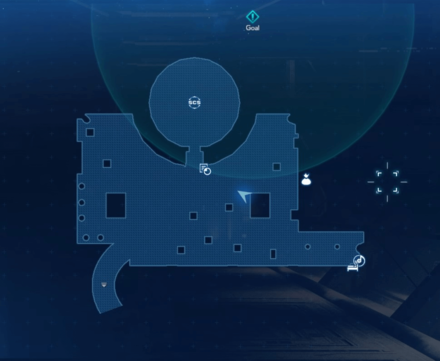 |
 |
 |
 |
 |
 |
- |
Obtainable Items
| Shinra Building - Perimeter | ||
|---|---|---|
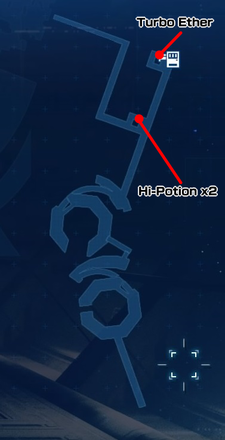
| Turbo Ether | Hi-Potion x2 | - |
| Underground Parking - B1 | ||
| Molotov Cocktail | Mega-Potion x2 | - |
| 1F - Entrance | ||
| Purple Pain | Moogle Medal | 2000 Gil |
| 3F - Elevator Hall | ||
| Iron Maiden | - | - |
| 62F Upper Level - Corporate Archives | ||
| 3000 Gil | EKG Cannon | - |
| 64F Ceiling - Air-Conditioning Duct | ||
| HP Up Materia | - | - |
| 65F - Hojo's Laboratory Sublevel | ||
| Antidote x2 | Celeris x2 | Remedy x2 |
Shops & Vending Machines
Vending Machine - Exterior Walkway
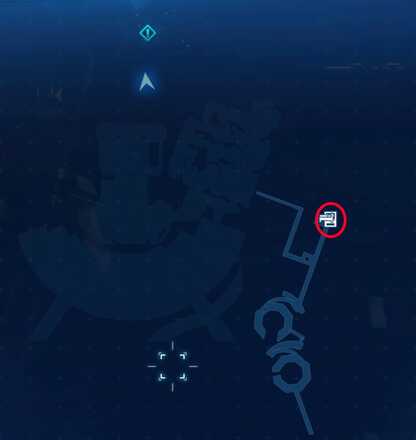 On the full map On the full map |
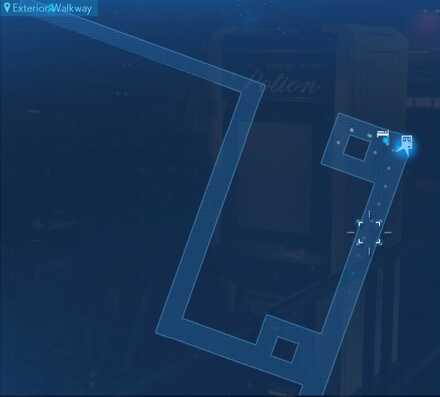 On the area map On the area map |
| Items | Price |
|---|---|
| Potion | 50 Gil |
| Hi-Potion | 300 Gil |
| Mega-Potion | 700 Gil |
| Ether | 500 Gil |
| Phoenix Down | 300 Gil |
| Antidote | 80 Gil |
| Echo Mist | 100 Gil |
| Smelling Salts | 80 Gil |
| Remedy | 600 Gil |
| Accessories | Price |
|---|---|
| Power Wristguards | 800 Gil |
| Bulletproof Vest | 800 Gil |
| Earrings | 800 Gil |
| Talisman | 800 Gil |
| Supernatural Wristguards | 5000 Gil |
| Survival Vest | 5000 Gil |
| Platinum Earrings | 5000 Gil |
| Timeworn Talisman | 5000 Gil |
| Star Pendant | 1500 Gil |
| Headband | 1500 Gil |
| Revival Earrings | 500 Gil |
| Materia | Price |
|---|---|
| Healing Materia | 600 Gil |
| Cleansing Materia | 1500 Gil |
| Revival Materia | 3000 Gil |
| Fire Materia | 500 Gil |
| Ice Materia | 500 Gil |
| Lightning Materia | 500 Gil |
| Poison Materia | 1500 Gil |
| Barrier Materia | 1500 Gil |
| Binding Materia | 3000 Gil |
| Subversion Materia | 3000 Gil |
| Time Materia | 5000 Gil |
| HP Up Materia | 2000 Gil |
| MP Up Materia | 2000 Gil |
| Deadly Dodge Materia | 600 Gil |
Item Shop - Combat Simulator Lounge
 |
 |
| Items | Price |
|---|---|
| Potion | 50 Gil |
| Hi-Potion | 300 Gil |
| Mega-Potion | 700 Gil |
| Ether | 500 Gil |
| Phoenix Down | 300 Gil |
| Antidote | 80 Gil |
| Maiden's Kiss | 150 Gil |
| Echo Mist | 100 Gil |
| Smelling Salts | 80 Gil |
| Remedy | 600 Gil |
| Weapons / Armor | Price |
|---|---|
| Nail Bat (Stock: 1) | 2000 Gil |
| Hardedge | - |
| Mythril Saber (Stock: 1) | 3000 Gil |
| Big Bertha | - |
| Wrecking Ball (Stock: 1) | 2000 Gil |
| Sonic Strikers | - |
| Feathered Gloves | - |
| Arcane Scepter (Stock: 1) | 2000 Gil |
| Mythril Rod | - |
| Cog Bangle | 4000 Gil |
| Geometric Bracelet | 6400 Gil |
| Supreme Bracer | 6400 Gil |
| Rune Armlet | 6400 Gil |
| Accessories | Price |
|---|---|
| Power Wristguards | 800 Gil |
| Bulletproof Vest | 800 Gil |
| Earrings | 800 Gil |
| Talisman | 800 Gil |
| Supernatural Wristguards | 5000 Gil |
| Survival Vest | 5000 Gil |
| Platinum Earrings | 5000 Gil |
| Timeworn Talisman | 5000 Gil |
| Star Pendant | 1500 Gil |
| Headband | 1500 Gil |
| Revival Earrings | 500 Gil |
| Materia | Price |
|---|---|
| Healing Materia | 600 Gil |
| Cleansing Materia | 1500 Gil |
| Revival Materia | 3000 Gil |
| Fire Materia | 500 Gil |
| Ice Materia | 500 Gil |
| Lightning Materia | 500 Gil |
| Poison Materia | 1500 Gil |
| Barrier Materia | 1500 Gil |
| Binding Materia | 3000 Gil |
| Subversion Materia | 3000 Gil |
| Time Materia | 5000 Gil |
| HP Up Materia | 2000 Gil |
| MP Up Materia | 2000 Gil |
| Deadly Dodge Materia | 600 Gil |
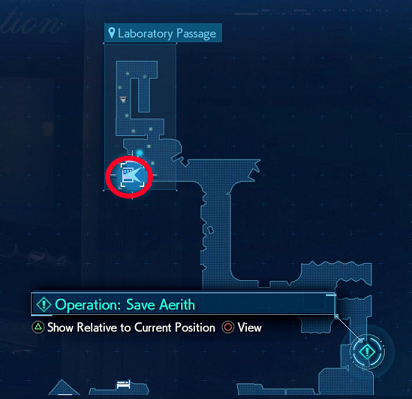
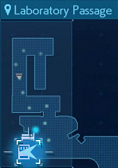
Vending Machine - Laboratory Passage
 |
 |
| Items | Price |
|---|---|
| Potion | 50 Gil |
| Hi-Potion | 300 Gil |
| Mega-Potion | 700 Gil |
| Mega-Potion (Stock: 3) | 300 Gil |
| Ether | 500 Gil |
| Ether (Stock: 2) | 100 Gil |
| Phoenix Down | 300 Gil |
| Phoenix Down (Stock: 2) | 100 Gil |
| Antidote | 80 Gil |
| Echo Mist | 100 Gil |
| Smelling Salts | 80 Gil |
| Remedy | 600 Gil |
| Weapons / Armor | Price |
|---|---|
| Cog Bangle | 4000 Gil |
| Geometric Bracelet | 6400 Gil |
| Supreme Bracer | 6400 Gil |
| Rune Armlet | 6400 Gil |
| Accessories | Price |
|---|---|
| Power Wristguards | 800 Gil |
| Bulletproof Vest | 800 Gil |
| Earrings | 800 Gil |
| Talisman | 800 Gil |
| Supernatural Wristguards | 5000 Gil |
| Survival Vest | 5000 Gil |
| Platinum Earrings | 5000 Gil |
| Timeworn Talisman | 5000 Gil |
| Star Pendant | 1500 Gil |
| Headband | 1500 Gil |
| Revival Earrings | 500 Gil |
| Materia | Price |
|---|---|
| Healing Materia | 600 Gil |
| Cleansing Materia | 1500 Gil |
| Revival Materia | 3000 Gil |
| Fire Materia | 500 Gil |
| Ice Materia | 500 Gil |
| Lightning Materia | 500 Gil |
| Poison Materia | 1500 Gil |
| Barrier Materia | 1500 Gil |
| Binding Materia | 3000 Gil |
| Subversion Materia | 3000 Gil |
| Time Materia | 5000 Gil |
| HP Up Materia | 2000 Gil |
| MP Up Materia | 2000 Gil |
| Deadly Dodge Materia | 600 Gil |
Tips and Strategies
Pay Hart 10,000 Gil

After you speak with the mayor, Hart will offer you additional information about the collaborator for 10,000 Gil. It may seem too much, but this is the only way to obtain Barret's final weapon.
What Does Giving 10,000 Gil to Hart Do?
Visit the Coffee Shop
The Coffee Shop on the Upper Area of the Recreation Center of the 63rd floor of Shinra HQ is far and away, the best Item Shop in the game. This is one of the best places you can purchase some of the powerful weapons and armor you may have missed, such as the Nail Bat, Wrecking Ball, Arcane Scepter, Geometric Bracelet, Supreme Bracer, and the Rune Armlet.
Boss Strategy Guide
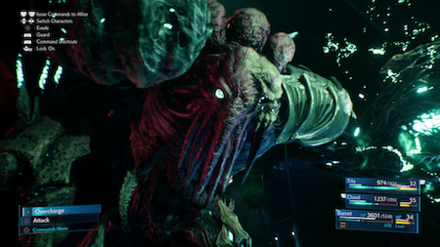
Specimen H0512
| Specimen H0512 | |
|---|---|
|
|
| Where it Appears | Weaknesses |
| Hojo's Laboratory | None |
How to Defeat Specimen H0512 - Key Points
- Use Punisher Mode to counter its melee attacks
- Cripple its claws to render it unable to attack
- Silence the H0512-OPTs that fight alongside it
Story Walkthrough Related Links
| Chapter 1 | The Destruction of Mako Reactor 1 |
|---|---|
| Chapter 2 | Fateful Encounters |
| Chapter 3 | Home Sweet Slum |
| Chapter 4 | Mad Dash |
| Chapter 5 | Dogged Pursuit |
| Chapter 6 | Light the Way |
| Chapter 7 | A Trap is Sprung |
| Chapter 8 | Budding Bodyguard |
| Chapter 9 | The Town That Never Sleeps |
| Chapter 10 | Rough Waters |
| Chapter 11 | Haunted |
| Chapter 12 | Fight for Survival |
| Chapter 13 | A Broken World |
| Chapter 14 | In Search of Hope |
| Chapter 15 | The Day Midgar Stood Still |
| Chapter 16 | The Belly of the Beast |
| Chapter 17 | Deliverance from Chaos |
| Chapter 18 | Destiny's Crossroads |
| INTERmission Chapters | |
|---|---|
| Chapter 1 | Wutai's Finest |
| Chapter 2 | Covert Ops |
Comment
You can also buy the nail bat in Ch. 14.
Author
Chapter 16: The Belly of the Beast Story Guide & Walkthrough
improvement survey
04/2026
improving Game8's site?

Your answers will help us to improve our website.
Note: Please be sure not to enter any kind of personal information into your response.

We hope you continue to make use of Game8.
Rankings
- We could not find the message board you were looking for.
Gaming News
Popular Games

Genshin Impact Walkthrough & Guides Wiki

Crimson Desert Walkthrough & Guides Wiki

Umamusume: Pretty Derby Walkthrough & Guides Wiki

Honkai: Star Rail Walkthrough & Guides Wiki

Monster Hunter Stories 3: Twisted Reflection Walkthrough & Guides Wiki

Wuthering Waves Walkthrough & Guides Wiki

The Seven Deadly Sins: Origin Walkthrough & Guides Wiki

Pokemon TCG Pocket (PTCGP) Strategies & Guides Wiki

Pokemon Pokopia Walkthrough & Guides Wiki

Zenless Zone Zero Walkthrough & Guides Wiki
Recommended Games

Monster Hunter World Walkthrough & Guides Wiki

Fire Emblem Heroes (FEH) Walkthrough & Guides Wiki

Pokemon Brilliant Diamond and Shining Pearl (BDSP) Walkthrough & Guides Wiki

Super Smash Bros. Ultimate Walkthrough & Guides Wiki

Diablo 4: Vessel of Hatred Walkthrough & Guides Wiki

Cyberpunk 2077: Ultimate Edition Walkthrough & Guides Wiki

Yu-Gi-Oh! Master Duel Walkthrough & Guides Wiki

Elden Ring Shadow of the Erdtree Walkthrough & Guides Wiki

The Legend of Zelda: Tears of the Kingdom Walkthrough & Guides Wiki

Persona 3 Reload Walkthrough & Guides Wiki
All rights reserved
© SQUARE ENIX CO., LTD. All Rights Reserved.
CHARACTER DESIGN:TETSUYA NOMURA/ROBERTO FERRARI
The copyrights of videos of games used in our content and other intellectual property rights belong to the provider of the game.
The contents we provide on this site were created personally by members of the Game8 editorial department.
We refuse the right to reuse or repost content taken without our permission such as data or images to other sites.


![Forza Horizon 6 Review [Preview] | Beautiful Roads With a Whole Lot of Oversteer](https://img.game8.co/4460981/a7254c24945c43fbdf6ad9bea52b5ce9.png/show)


![Forza Horizon 6 Review [Preview] | Beautiful Roads With a Whole Lot of Oversteer](https://img.game8.co/4460981/a7254c24945c43fbdf6ad9bea52b5ce9.png/thumb)


Thank you all for your feedback! These points have been corrected :)