Ancient Cistern Walkthrough: All Maps, Treasure Chests, Goddess Cubes, and Heart Pieces
★All Pieces of Heart & Goddess Cubes Locations
☆How to Get All Gratitude Crystals
★Empty Bottle Guide
A complete guide to Ancient Cistern in The Legend of Zelda: Skyward Sword. Learn how to beat the Ancient Cistern, see treasure chest, Goddess Cube, and Heart Piece locations, as well as Ancient Cistern enemies and more!
List of Contents
Ancient Cistern Maps and Treasure Chest Locations
Ancient Cistern 1F Map
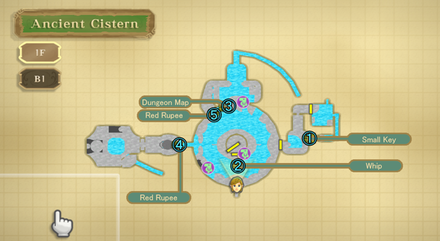
Treasure Chests - 5 Locations Total
| Contents | |
|---|---|
| ① | Small Key |
| ② | Whip |
| ③ | Dungeon Map |
| ④ | Red Rupee |
| ⑤ | Red Rupee |
Ancient Cistern B1 Map
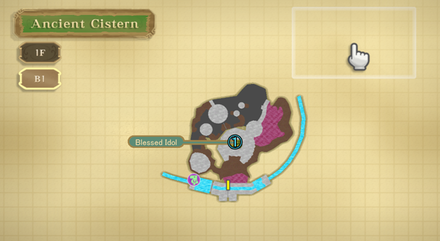
Treasure Chests - 1 Locations Total
| Contents | |
|---|---|
| ① | Blessed Idol |
Ancient Cistern Goddess Cubes Locations
No Goddess Cubes
| There are no Goddess Cubes in the Ancient Cistern. |
Ancient Cistern Piece of Heart Locations
No Pieces of Heart
| There are no Pieces of Heart in the Ancient Cistern. |
How to Get All Pieces of Heart
Ancient Cistern Story Walkthrough
| Objectives |
|---|
| 1. Examine the markings of the statue's back, hips, right hand, and left hand. |
| 2. Pull down the lever on the east side of the room and enter the door. |
| 3. Unlock the door on the north side of the room using the information you learned from the statue. |
| 4. Flip the lily pads by jumping onto them from a great height |
| 5. Swim through the small passageway underwater. Retrieve the Small Key |
| 6. Return to the central room and use the small key to enter the statue. |
| 7. Go to the lowest part inside the statue and battle the Stalmaster. |
| 8. Obtain the Whip. |
| 9. Use the Whip to twist open a valve for a water spout to activate. |
| 10. Exit the statue and use the whip to swing over to the north part of the room to get the Dungeon Map. |
| 11. Head to the west side of the map. Flip over the thorned flower to use the lily pad as a platform. |
| 12. Standing on the lily pad, use the whip to pull down the lever. |
| 13. With the waterfall out of the way, swim through the underwater passageway to get to the west room. |
| 14. Use the whip to pull down the lever on the other side of the fence. |
| 15. Navigate to the top of this room to twist a valve that will cause the middle pool of water to form a whirlpool. |
| 16. Dive into the whirlpool to get to B1. |
| 17. Use the Beetle to cut the Skulltulas from their webs. This will flip the lily pads below. |
| 18. Use the whip to steal the keys from the Bokoblin in the next room. |
| 19. Go through the pipe to return to 1F. |
| 20. Flip over the lily pads to your left, to access the vines along the wall. |
| 21. Jump off from this height to flip over the lily pad below. |
| 22. Swim through the underwater passageway beneath the lily pad you just flipped. Resurface on a room to the west. |
| 23. Twist the valve here to create a water spout lifting the thorny flower up into the air |
| 24. Climb up to the raised walkway again and flip the thorny flower over. Make your way across with the lily pad. |
| 25. Pull down the lever with your whip to open the gate. |
| 26. Traverse the vines on the wall until you reach the lever. Pull it with your whip to cause the central statue to sink. |
| 27. Enter the stone statue and descend to its lowest point to get to B1. |
| 28. Use the Beetle to enter the eyes of the skull waterfall. Hit the Red Crystal to deactivate the waterfall. |
| 29. Use the Hook Beetle to grab a bomb from where the waterfall was and use it to clear the rocks blocking the path. |
| 30. Hang onto the vines of the spinning cylinders and make your way through. |
| 31. Flip the lever to the left to reverse the rotation of the cylinders. |
| 32. Make your way across the spinning cylinders, and once on the other side, flip the lever back to the right to bring the cylinder rotations back to normal. |
| 33. Climb up back to 1F using the lone hanging web. |
| 34. Pull the lever down to access the statue's lever. |
| 35. Pull the statue's lever up to raise the central statue again. |
| 36. Jump back down into the pit to return to B1. |
| 37. Obtain the Blessed Idol from the Silver Chest. |
| 38. Avoid getting crushed by the statue as it descends back down. |
| 39. Twist the valves to create water spouts to climb to the top of the statue. |
| 40. Fit the Blessed Idol into the Boss Keyhole. |
| 41. Twist the four valves at the top of the statue to fully raise the statue. |
| 42. Fight the boss, Koloktos, the Ancient Automation. |
| 43. Perform a Skyward Strike on the crest here to power up the Goddess Sword. |
| 44. Return to the Isle of Songs to learn the location of the next flame. |
| 45. Head to Lanayru Desert. |
Examine the markings of the statue's back, hips, right hand, and left hand.
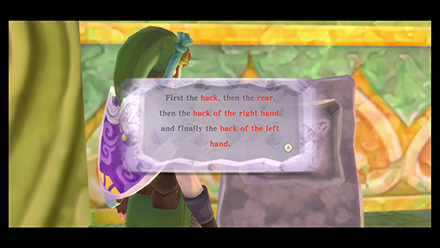
A stone tablet near the statue ahead will provide a useful clue. The different markings of the statue will correspond to a lock on a door you'll need to unlock later.
Pull down the lever on the east side of the room and enter the door.
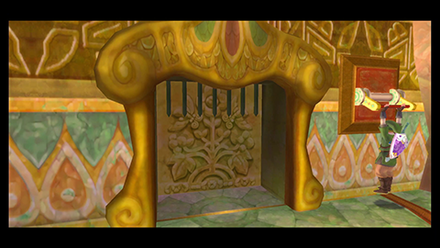
Turn right and walk along the path until you reach the eastern door. Pull the lever down to open the gate and go through the door.
Unlock the door on the north side of the room using the information you learned from the statue.
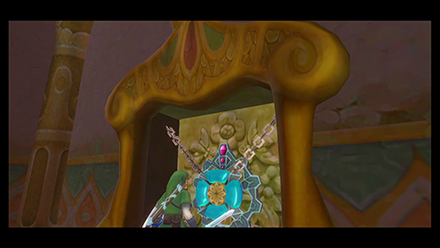
You'll come across a locked door with a mechanism on it. With the info you learned from examining the statue, strike the mechanism from the top, then from the bottom, then from the left, then the right, to unlock the door.
Flip the lily pads by jumping onto them from a great height
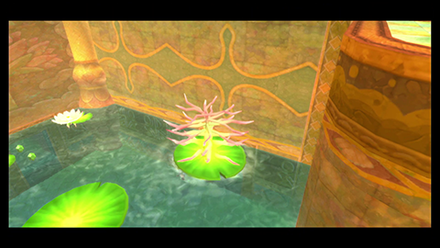
Swim across the water and climb up the vines of the raised platform. You'll want to jump from the tall height to flip over the lily pad with the spiked plant blocking the way.
Swim through the small passageway underwater. Retrieve the Small Key
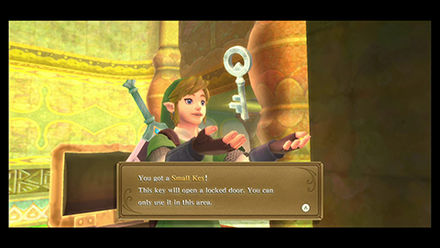
Swim through the newly-opened path and dash through the wooden barriers in the way. Once you've resurfaced on the other side, climb up the vines.
Go through the door and you'll find yourself in the room you were in earlier. Open the Blue Chest to get a Small Key.
Return to the central room and use the small key to enter the statue.
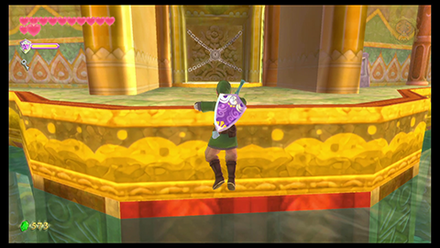
You can use the water spout to your left to get up to a higher ledge allowing you to go back to the large circular room.
Once back at the large circular room, use the small key to open the door in the middle platform. Enter it to find yourself in a large column shaped room.
Go to the lowest part inside the statue and battle the Stalmaster.
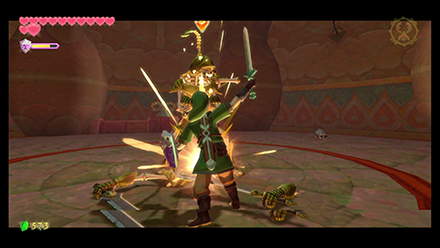
With no way to go up, drop down the pit. A battle with a Stalmaster will commence.
For its first sequence, it will engage in combat like a regular Stalfos. Using its two swords it will block attacks coming from certain directions. Be sure to strike it where it isn't guarded.
For its second sequence, the Stalmaster will use four arms in combat. This severely limits the angles you can strike on so be careful. Stalmaster also counterattacks quickly after each blow so be quick to dodge after 1 or 2 hits.
Continue trading blows with the Stalmaster. You'll know if victory is near once his hat flies off. After defeating him, a gate to another room will open. Enter the new room. Open the Blue Chest inside to obtain the Whip.
Use the Whip to twist open a valve for a water spout to activate.

Back in the room where you fought the Stalmaster, target the valve and latch onto it with your whip. Pull your whip to twist it open and an upwards spout of water should appear. Ride this spout up to the higher level.
Exit the statue and use the whip to swing over to the north part of the room to get the Dungeon Map.
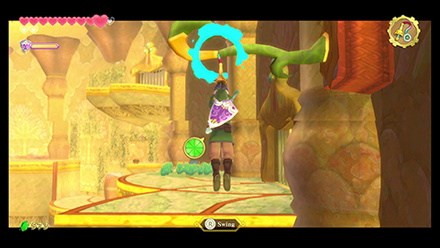
Exit this middle pillar back into the large circular room. Head up the steps on the east side and make your way to the north part of this room. Use your whip to swing across vines.
At the top of the steps, open the Blue Chest to get a Dungeon Map.
Head to the west side of the map. Flip over the thorned flower to use the lily pad as a platform.
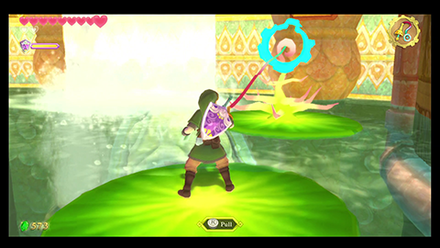
Head to the west side of the map. Near the bottom of a waterfall are some lily pads you can stand on. From here, use your whip on the nearby spiked plant to flip it over. This will let you safely stand on the lily pad closest to the waterfall.
Standing on the lily pad, use the whip to pull down the lever.
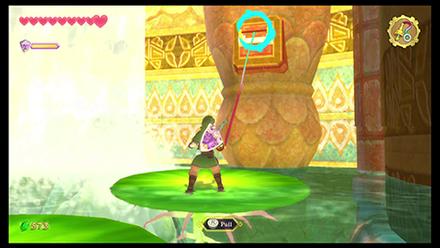
Using your whip, pull down the nearby lever. This will close the water flowing into the room. This will also let you swim through the hole beneath.
Use the whip to pull down the lever on the other side of the fence.
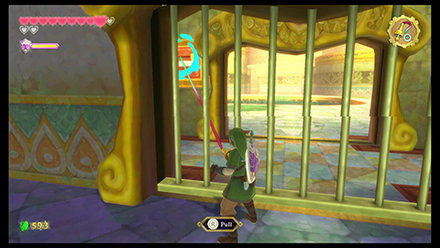
Look through the gap of the steel bars and you'll be able to target a lever. Pull it down with your whip to open the path. Proceed forward into the next room.
Navigate to the top of this room to twist a valve that will cause the middle pool of water to form a whirlpool.
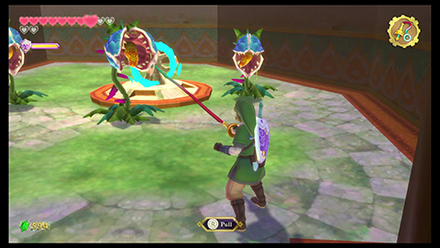
Climb up the steps to your right and swing across. Defeat the Deku Babas here. A spinning cylinder can be found to your left. Jump up on it and latch onto the vines. The cylinder will continue to spin.
You can climb up to the higher platform to restore your stamina before riding the cylinder again. Drop down on the platform where the Archer Bokoblin is.
From here, take out the Walltula climbing on the vines before attempting to swing across. Don't worry about falling in the gap as you'll have a way to try again. You'll also need to pull the lever down to open the gate at the top of the vines.
Once at the top, you'll have to take out three Deku Babas. From here, use your whip to twist the valve causing the water in the middle of the room to drain out.
Use the Beetle to cut the Skulltulas from their webs. This will flip the lily pads below.
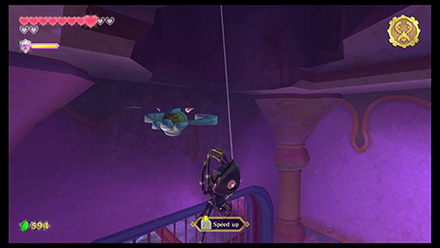
Cutting down the middle Skulltula will flip over the lily pad beneath it. This will allow you to swim under it and into the next room.
Use the whip to steal the keys from the Bokoblin in the next room.
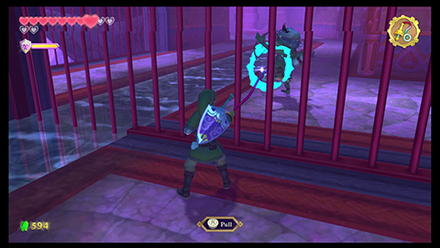
The door in this room is locked. Beyond the bars, you should spot a Bokoblin patrolling the area. Use your whip to snag the Small Key from his possession and unlock the door.
Flip over the lily pads to your left, to access the vines along the wall.
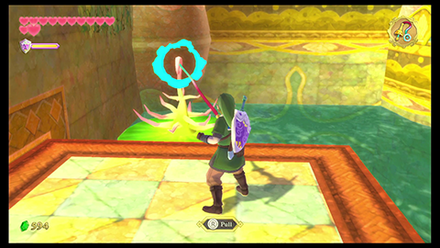
Flip over one of the lily pads so that you'll be able to jump up to the vines on the nearby wall. At the top you'll have to defeat a Quadro Baba.
Jump off from this height to flip over the lily pad below.
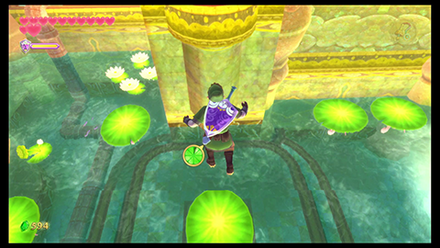
With the Quadro Baba out of the way, jump on the middle lily pad from this height to flip it over, opening up a path you can swim through beneath it.
Swim through the underwater passageway beneath the lily pad you just flipped. Resurface on a room to the west.
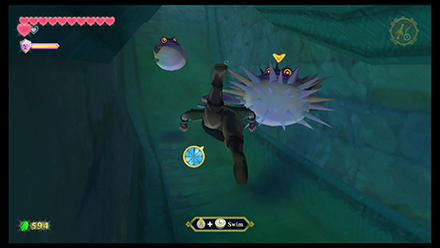
Swim through avoiding the Froaks. Once you surface on the other side, climb up the steps and take care of the Deku Baba in your way.
Twist the valve here to create a water spout lifting the thorny flower up into the air
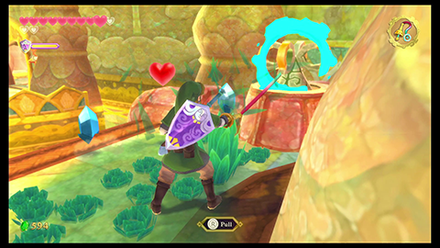
At the top of the steps, there should be a valve on your right. Use your whip to twist this valve causing a spout of water to rise from the middle of the room.
Climb up to the raised walkway again and flip the thorny flower over. Make your way across with the lily pad.

Climb up to the upper platform again, but this time flip the lily pad over so that you can jump across.
Traverse the vines on the wall until you reach the lever. Pull it with your whip to cause the central statue to sink.
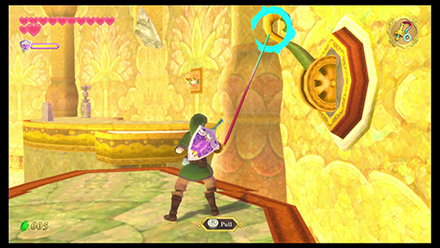
Climb onto the vines on your right and make your way across the platforms. There should be a valve on your right that you can twist to make a water spout rise for easier backtracking.
There will also be a lever to your right you can pull down with your whip. Doing so will cause the statue in the middle of the room to descend down to where the Silver Chest is.
Use the Beetle to enter the eyes of the skull waterfall. Hit the Red Crystal to deactivate the waterfall.
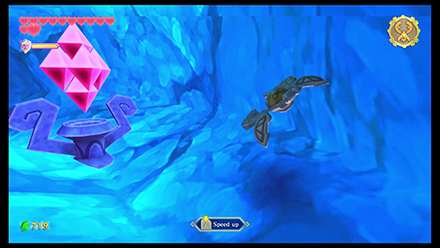
As you approach the poisoned waterfall, use your beetle and fly it into the eyes of the monument. A Red Crystal will be found inside which, when hit, will stop the poisoned waterfall from flowing.
Use the Hook Beetle to grab a bomb from where the waterfall was and use it to clear the rocks blocking the path.
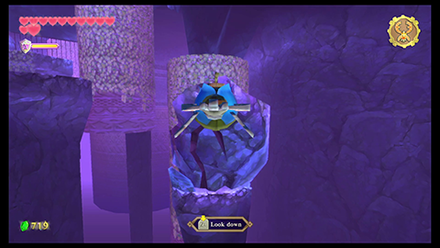
Follow the path to find yourself behind where the poisoned waterfall was. Use your Beetle to grab a bomb and fly it over to the right where a cracked boulder blocks the way to a pillar with vines.
Flip the lever to the left to reverse the rotation of the cylinders.
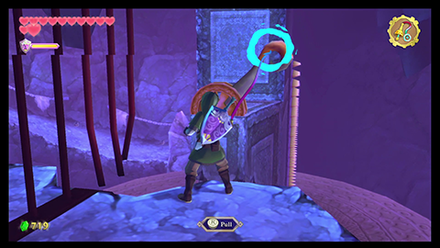
With the cracked boulder out of the way, swing across the gap. Then use the vines to climb to the top of the spinning cylinder.
Make your way across the other cylinders and stone platforms so that you can get close enough to the lever with your whip. The fast-spinning cylinder below will switch directions, allowing you to jump safely on it.
Make your way across the spinning cylinders, and once on the other side, flip the lever back to the right to bring the cylinder rotations back to normal.

Jump down to the fast-spinning cylinder and climb up the ramp till you can latch onto the next spinning cylinder with vines
Ride this around till you get to the point where you can flip the lever back. Doing so will let you make your way to the southwest part of the map.
Climb up back to 1F using the lone hanging web.
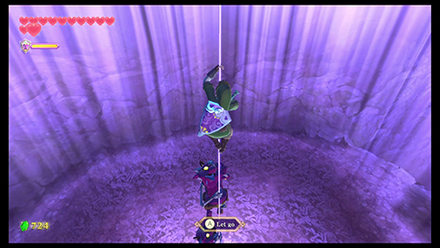
Once here, you'll find a pit with a thin rope hanging above it. You'll have to climb this rope quickly since as soon as you latch on, Cursed Bokoblins will try to chase after you. If they latch on, shake them off before climbing back up to 1F.
Pull the lever down to access the statue's lever and pull the statue's lever up to raise the central statue again.
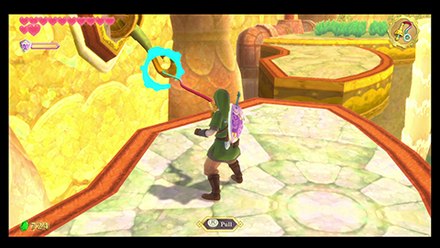
Upon climbing back up on 1F, pull down the lever to your left. This will extend a bridge for easier backtracking in the level. Get on this bridge and flip the lever with your whip to raise the statue again.
Obtain the Blessed Idol from the Silver Chest.
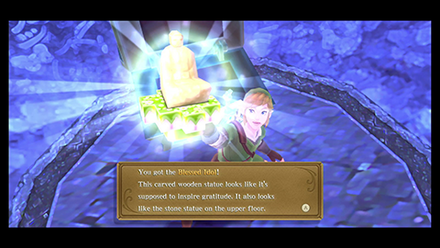
Drop back down the hole and to the path where the pipe is. You can twist the valve here to activate a spout for easier backtracking.
Go to the center of the pit to open the Silver Chest and obtain a Blessed Idol.
Avoid getting crushed by the statue as it descends back down.
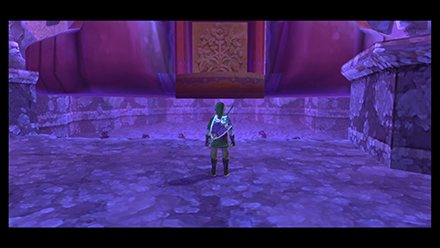
Shortly after obtaining it, the statue will descend. Get out of the pit quickly and the Cursed Bokoblins will be crushed underneath. Enter the statue from the door here.
Twist the valves to create water spouts to climb to the top of the statue.
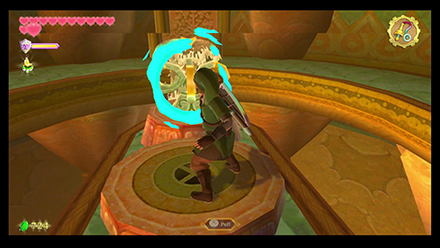
Ride the water spouts up to the highest point.
Fit the Blessed Idol into the Boss Keyhole.
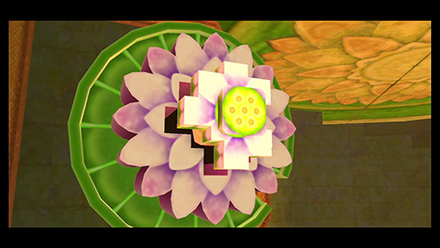
Once here, use the Blessed Idol as a key to open the roof of the center structure.
Twist the four valves at the top of the statue to fully raise the statue.
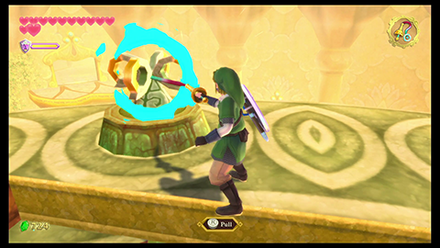
Use your whip to twist all four valves. This will cause the statue to once again rise, bringing you just outside the boss chamber. When you are ready you may enter the Boss Chamber. Here, you'll be pit against the Ancient Automation Koloktos.
Fight the boss, Koloktos, the Ancient Automation.
When he slams the ground, pull his arms out.
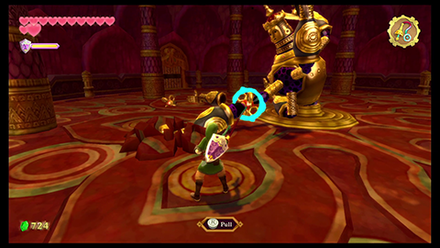
For its first sequence of attacks. Avoid getting slammed by its arms. With its hand stuck in the ground, use your whip to pull the limb off. Do this until four of its arms are removed.
Attack the exposed core.
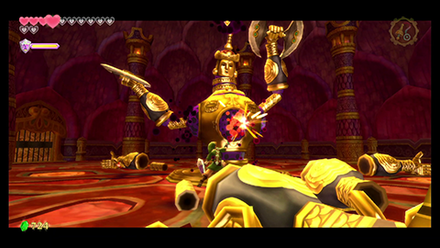
With Koloktos disarmed, his core will now be exposed. Thrust forward with your sword to damage Koloktos, taking care to avoid getting slashed with the axes.
Pull out the arms, grab the dropped swords, and use it against Koloktos.
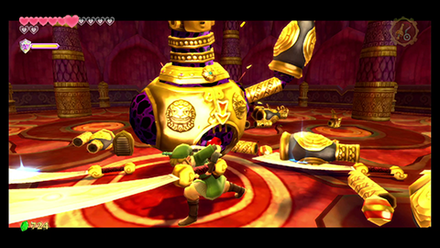
After enough damage has been dealt, Koloktos will enter its second sequence of attacks. Koloktos will get up from the ground and lock up his core. Now equipped with 6 swords, avoid getting slashed by Koloktos.
As before pull out Koloktos' limbs when he strikes. When the limb detaches Koloktos' swords also drop. Grab one and use his own sword to cut his legs off. Strike and expose his core for you to stab once again. Repeat this until he is defeated.
Return to the Isle of Songs to learn the location of the next flame.
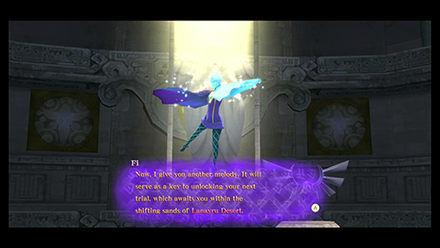
Pick up the Heart Container then head into the glowing door. A cutscene will play and your sword will power up. Exit the Ancient Cistern and make your way to the sky, and head for the Isle of Songs.
Once back at the Isle of Songs, hit the crest with a Skyward Sword. After a short sequence of dialogues, you'll learn Nayru's Wisdom.
Head to the Lanayru Desert. Descend into the North Desert.
Continue to the Lanayru Sand Sea Walkthrough
Ancient Cistern Boss
Koloktos
Koloktos is the boss you will face at the end of the Ancient Cistern dungeon. Use your newly acquired Whip to take apart its arms and reveal its heart.
Ancient Cistern Enemies
| List of Enemies | Strategy |
|---|---|
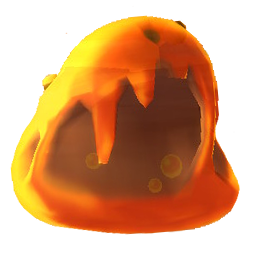 Chuchu Chuchu
|
A simple sword slash defeats it. When it merges, proceed to continue slashing until every Chuchu is defeated. |
 Cursed Bokoblin Cursed Bokoblin
|
Knock Cursed Bokoblins down then use Fatal Blow. They will also run away if they see the Hylian Shield. |
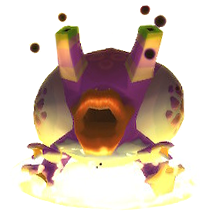 Cursed Spume Cursed Spume
|
You can safely defeat it by shooting with a bow, or using Skyward Sword from afar. Take care not to be in contact with it as it disables your equipment. |
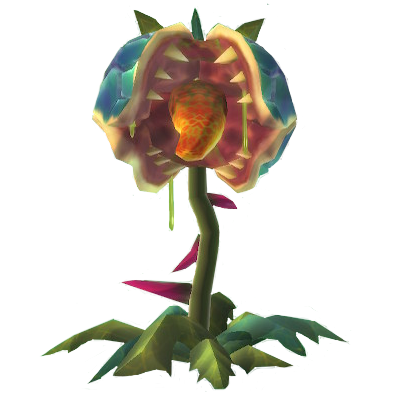 Deku Baba Deku Baba
|
Slash horizontally or vertically according to the orientation of its mouth. You can also cut off its stem with a Beetle to instantly defeat it. |
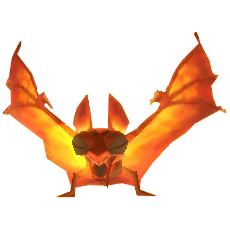 Fire Keese Fire Keese
|
Defeat it like normal Keese. Do not use Wooden Shields when fighting it. |
 Froak Froak
|
Froaks will explode if you blow it off with Gust Bellows or with a sword against terrain or enemies. Note that sword attacks do not work. |
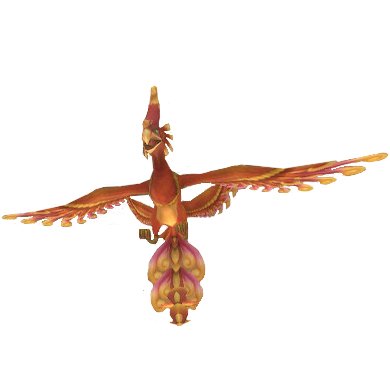 Furnix Furnix
|
Hit the ring on the tail with a whip and pull it. This will knock it down to the ground, allowing you to use Fatal Blow. |
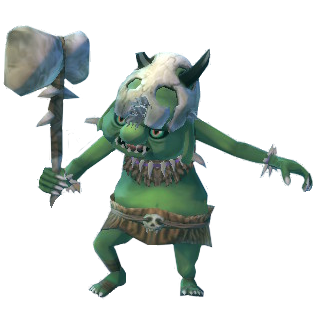 Green Bokoblin Green Bokoblin
|
Green Bokoblins attack exactly the same as Red Bokoblins. Invite an attack and repel it with a Shield Bash, then strike. |
 Skulltula Skulltula
|
While it is hanging from the ceiling, cut down the thread to make it fall. Use vertical spin attack to make it fall on its back, then use Fatal Blow. You can also turn it around while it is hanging then strike the purple orb behind it. |
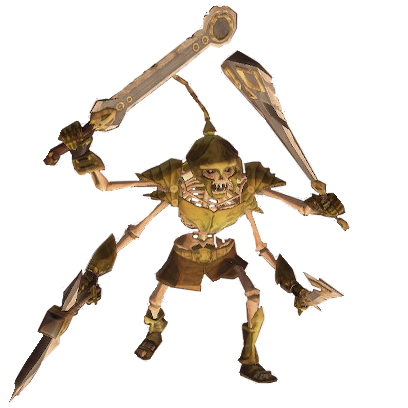 Stalmaster Stalmaster
|
Attack the side it is not protecting, or repel its attack with a Shield Bash to open a gap to its defenses. Stalmasters can protect all sides except its center, so use a thrust attack when it does this. |
 Walltula Walltula
|
All weapons are effective, but it is best to shoot them down by using a Slingshot or Beetle. |
Skyward Sword Related Guides

| Skyward Sword Walkthough | |
|---|---|
| Complete Story Walkthrough | |
| Dungeons and Temples List | Silent Realm Guide |
Main Locations
Silent Realm Trials
| Silent Realm Trials | |
|---|---|
 Farore's Trial Farore's Trial |
 Nayru's Trial Nayru's Trial |
 Din's Trial Din's Trial |
 The Goddess's Trial The Goddess's Trial |
Author
The Legend of Zelda: Skyward Sword Walkthrough & Guides Wiki
Ancient Cistern Walkthrough: All Maps, Treasure Chests, Goddess Cubes, and Heart Pieces
improvement survey
03/2026
improving Game8's site?

Your answers will help us to improve our website.
Note: Please be sure not to enter any kind of personal information into your response.

We hope you continue to make use of Game8.
Rankings
- We could not find the message board you were looking for.
Gaming News
Popular Games

Genshin Impact Walkthrough & Guides Wiki

Honkai: Star Rail Walkthrough & Guides Wiki

Umamusume: Pretty Derby Walkthrough & Guides Wiki

Pokemon Pokopia Walkthrough & Guides Wiki

Resident Evil Requiem (RE9) Walkthrough & Guides Wiki

Monster Hunter Wilds Walkthrough & Guides Wiki

Wuthering Waves Walkthrough & Guides Wiki

Arknights: Endfield Walkthrough & Guides Wiki

Pokemon FireRed and LeafGreen (FRLG) Walkthrough & Guides Wiki

Pokemon TCG Pocket (PTCGP) Strategies & Guides Wiki
Recommended Games

Diablo 4: Vessel of Hatred Walkthrough & Guides Wiki

Cyberpunk 2077: Ultimate Edition Walkthrough & Guides Wiki

Fire Emblem Heroes (FEH) Walkthrough & Guides Wiki

Yu-Gi-Oh! Master Duel Walkthrough & Guides Wiki

Super Smash Bros. Ultimate Walkthrough & Guides Wiki

Pokemon Brilliant Diamond and Shining Pearl (BDSP) Walkthrough & Guides Wiki

Elden Ring Shadow of the Erdtree Walkthrough & Guides Wiki

Monster Hunter World Walkthrough & Guides Wiki

The Legend of Zelda: Tears of the Kingdom Walkthrough & Guides Wiki

Persona 3 Reload Walkthrough & Guides Wiki
All rights reserved
© Nintendo. The Legend of Zelda, Nintendo Switch and amiibo are trademarks of Nintendo © 2021 Nintendo.
The copyrights of videos of games used in our content and other intellectual property rights belong to the provider of the game.
The contents we provide on this site were created personally by members of the Game8 editorial department.
We refuse the right to reuse or repost content taken without our permission such as data or images to other sites.
 Skyloft
 Sealed Grounds
 Faron Woods
 Skyview Temple
 Eldin Volcano
 Earth Temple
 Lanayru Mine
 Lanayru Desert
 Lanayru Mining Facility
 Inside Thunderhead (Isle of Songs)
 Lake Floria
 Lanayru Sand Sea
 Sandship
 Volcano Summit
 Fire Sanctuary
 Lanayru Gorge
 Sky Keep
 Final Battle


![Monster Hunter Stories 3 Review [First Impressions] | Simply Rejuvenating](https://img.game8.co/4438641/2a31b7702bd70e78ec8efd24661dacda.jpeg/thumb)


