The Imprisoned Boss Guide: How to Beat The Imprisoned
★All Pieces of Heart & Goddess Cubes Locations
☆How to Get All Gratitude Crystals
★Empty Bottle Guide
This is a guide for The Imprisoned, the boss at Sealed Grounds
in The Legend of Zelda: Skyward Sword HD for the Nintendo Switch. Read on to learn strategies for how to beat The Imprisoned, see The Imprisoned's moves, and learn rewards for beating them!
List of Contents
How to Beat The Imprisoned
|
|
Crush The Imprisoned's Toes
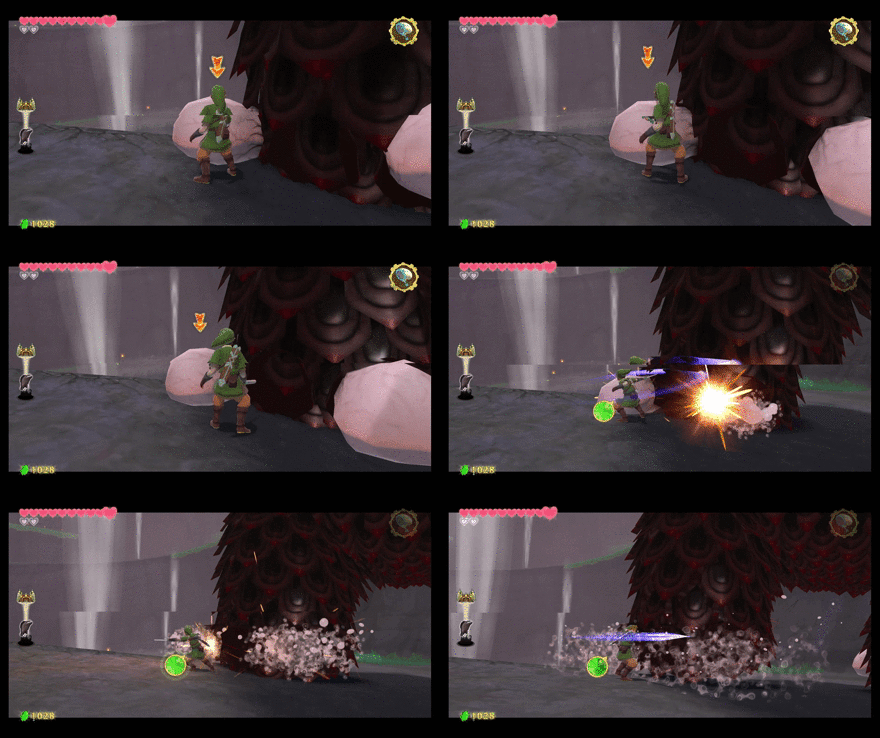
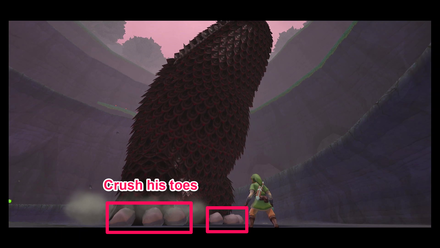
To defeat The Imprisoned, you must first crush all his toes to knock him down. There are 4 toes, 3 in the front and 1 in the back. Use basic attacks and a Spin Attack on his toes.
Swing the sword upwards to push the stone pillar in his head
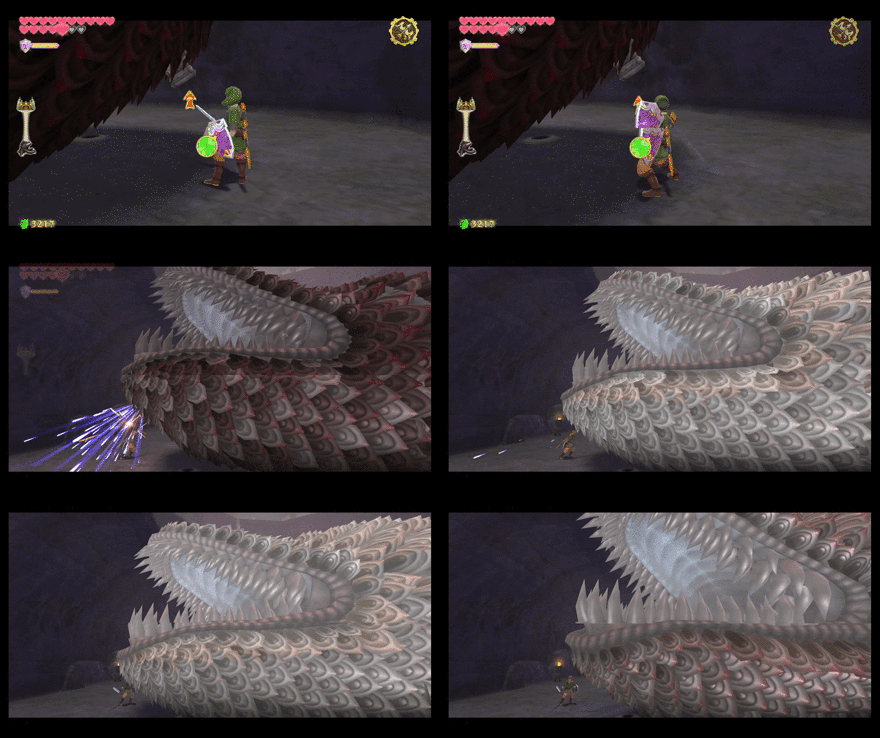
If you crush all his toes, he will get knocked down and you will be able to attack the stone pillars on his head. You can drive the stone pillar inside his head by doing an upwards motion using your sword to damage him.
The Imprisoned's Attack Patterns
|
|
Stomp + Shock Wave
Hit his foot when it touches the ground
The Imprisoned doesn't attack you directly, he just stomps around to damage you. You should aim and prepare to attack once one of his the feet that touches the ground. Using a Spin Attack is recommended so you can hit multiple toes at the same time.
Use the geysers to avoid his attack
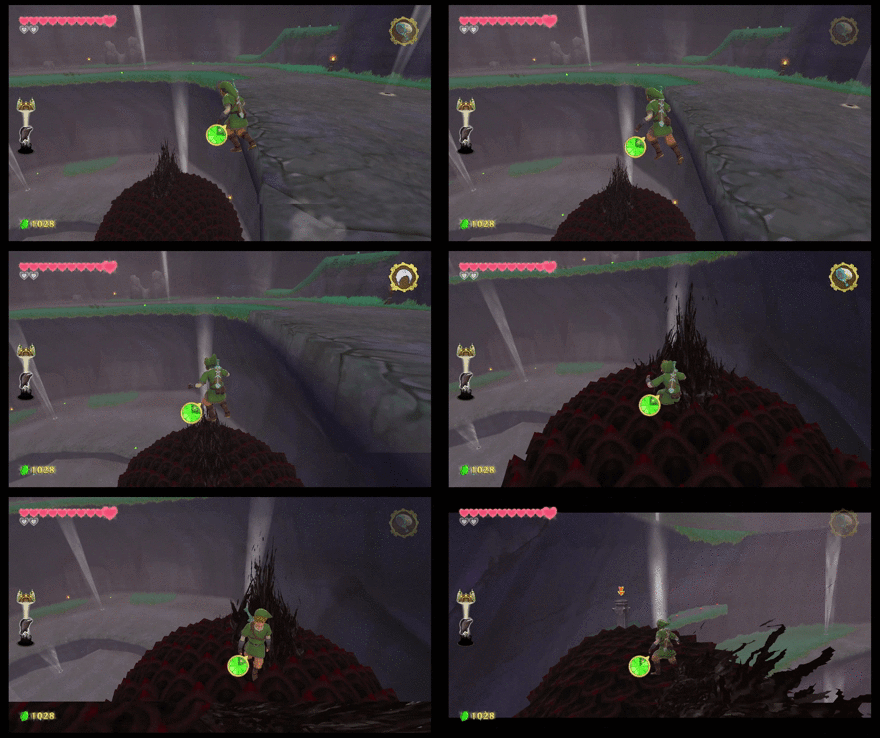
Instead of attacking his foot, you can simply use the geysers to avoid his attacks. Find a spot on the upper ledges where you can land directly on his head and drive the stone pillar downwards.
Invincible
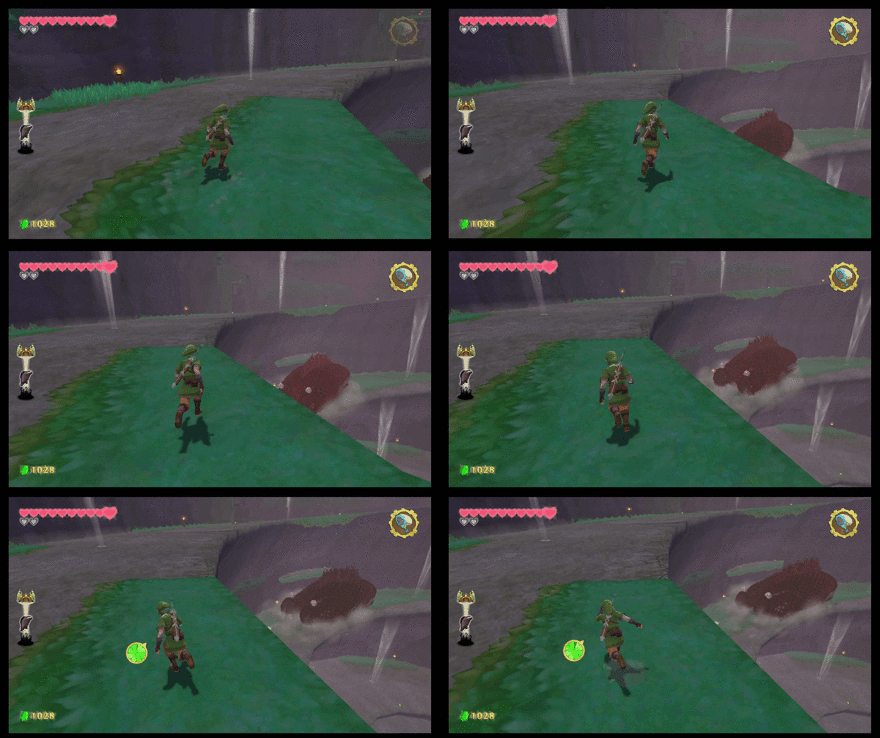
Use the geysers
After driving the stone pillar upwards, the Imprisoned will go around the area, while being invincible for a few moments. You will notice holes on the ground, use this to retreat and to go to the upper part of the pit via the geysers.
How to Defeat The Imprisoned (Round 2)
|
|
Same procedure as Round 1
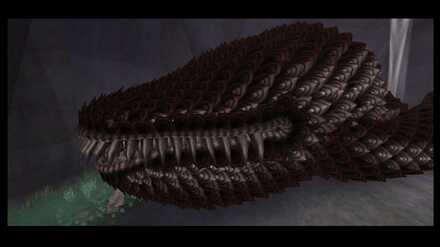
The technique to defeat The Imprisonded (Round 2) is the same as the first time, crush all his toes to knock him down → drive a stone pillar. You can also use the method of driving a stone pillar directly on your head without bringing it down.
Once he is knocked down, go to his head
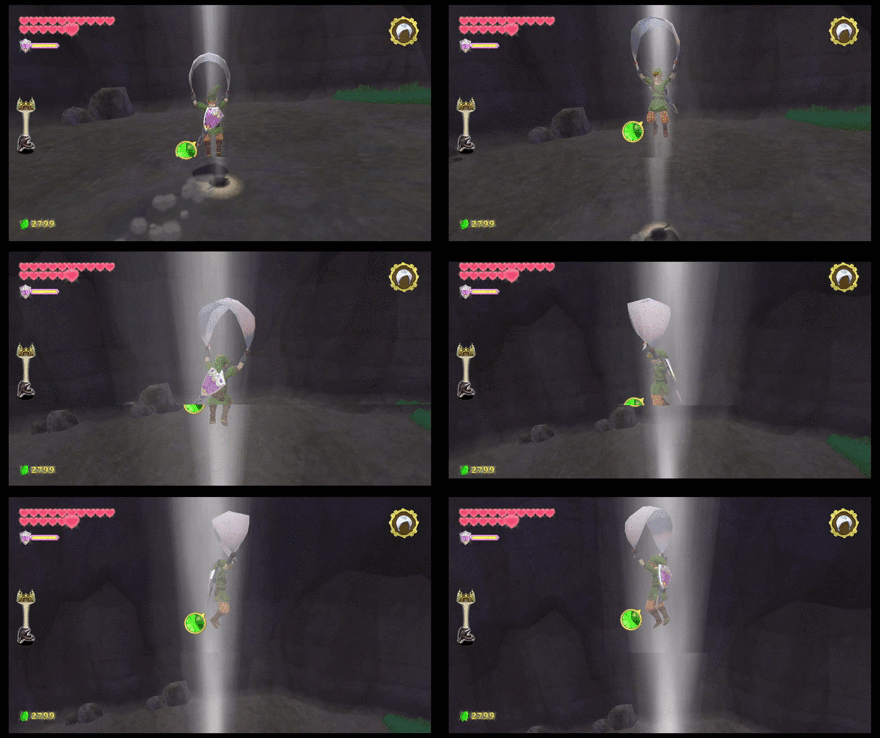
The arm is long and blocks the way to the head when The Imprisoned is knocked down. Go down the ledge and use the updraft to reach the head faster.
Get help from Groose
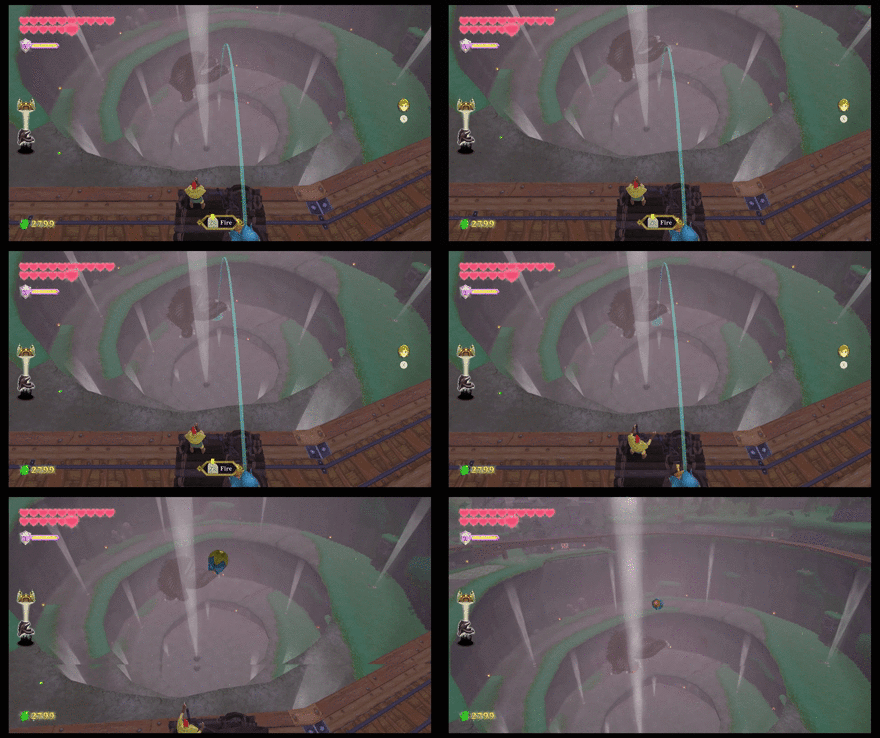
In your second visit to Sealed Grounds, Groose will support you with a machine. By aiming and hitting the bomb, you can use this to your advantage to stop The Imprisoned's attacks.
The Imprisoned's Attack Patterns (Round 2)
|
|
Stomp + Shock Wave
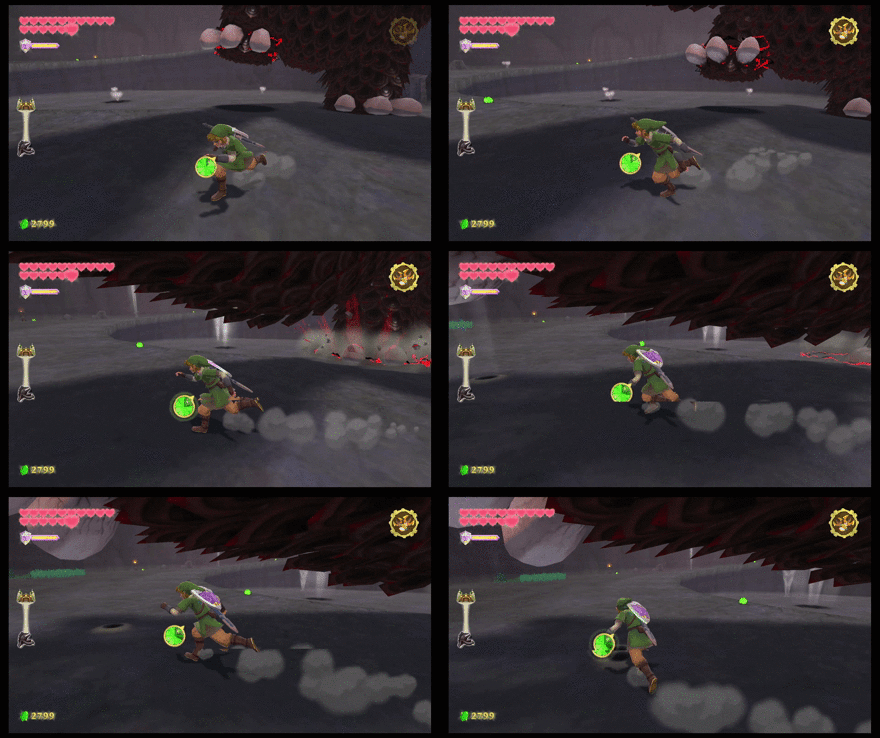
Use your items
Since the attack of The Imprisoned is the same as the first visit, it is okay to deal with it the same way you did during your first battle. In the second visit, you can attack The Imprisoned's toes with bombs and a bow from a safe distance. This works especially well if you're not good at attacking his toes directly.
Crawling Attack
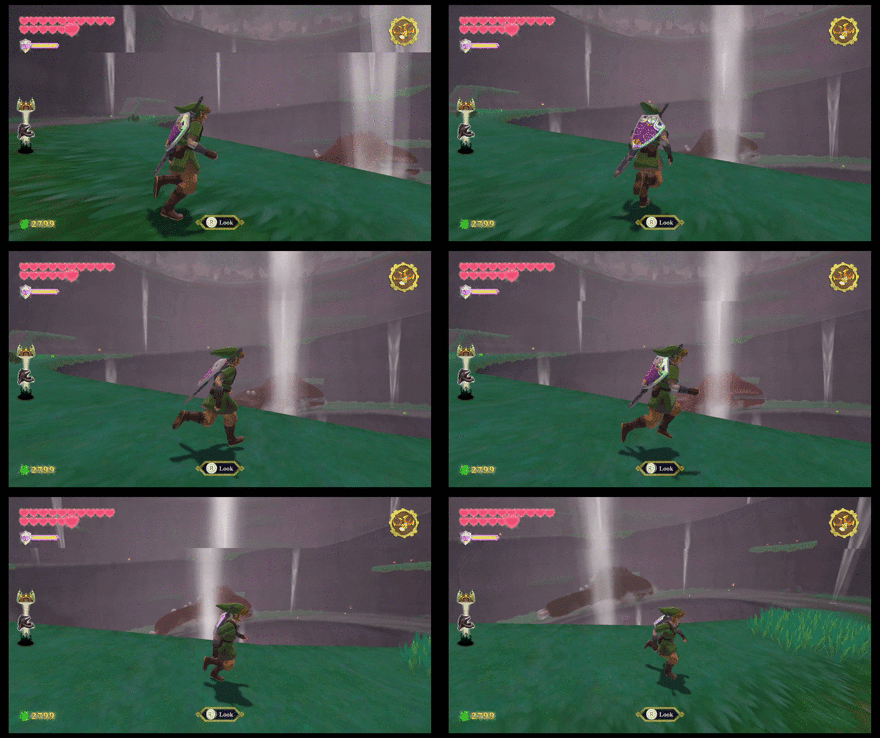
Get Groose's Help
The Imprisoned does crawling attack after you hit the pillar on his head twice. You can avoid it as you did when you first encountered him, but you can stop the attack by asking help from Groose.
How to Defeat The Imprisoned (Round 3)
|
|
Drive the pillar into his head
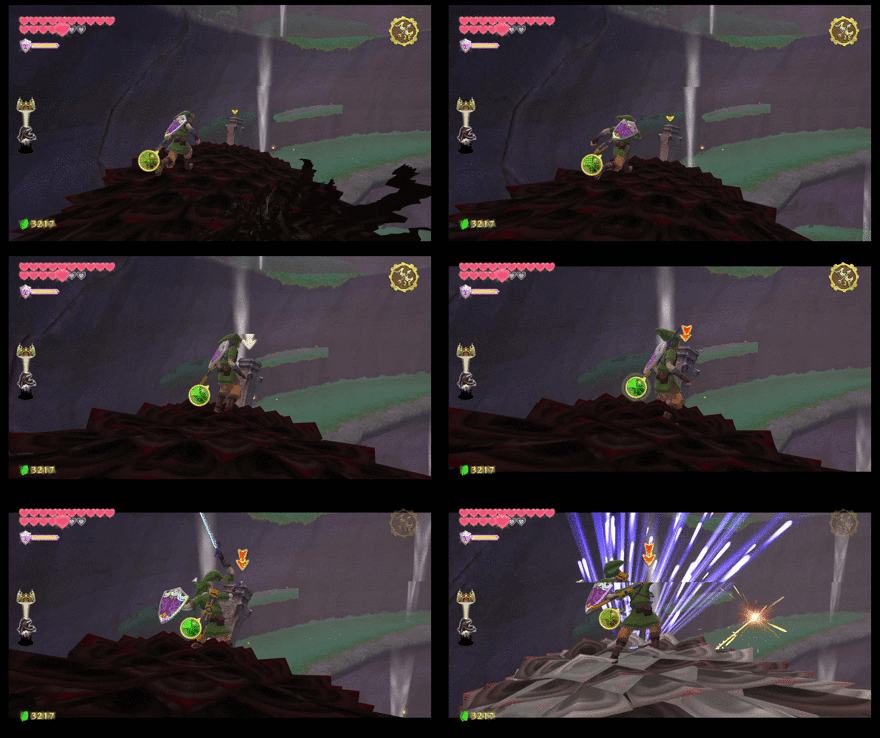
On your third visit to defeat The Imprisoned, first crush all his toes, then take down and hit the stone pillar. Walking is faster compared to the first and second times you encounter him, but you can also use Groose's machine from the beginning.
He will start to fly, so use Groose's machine to hit him
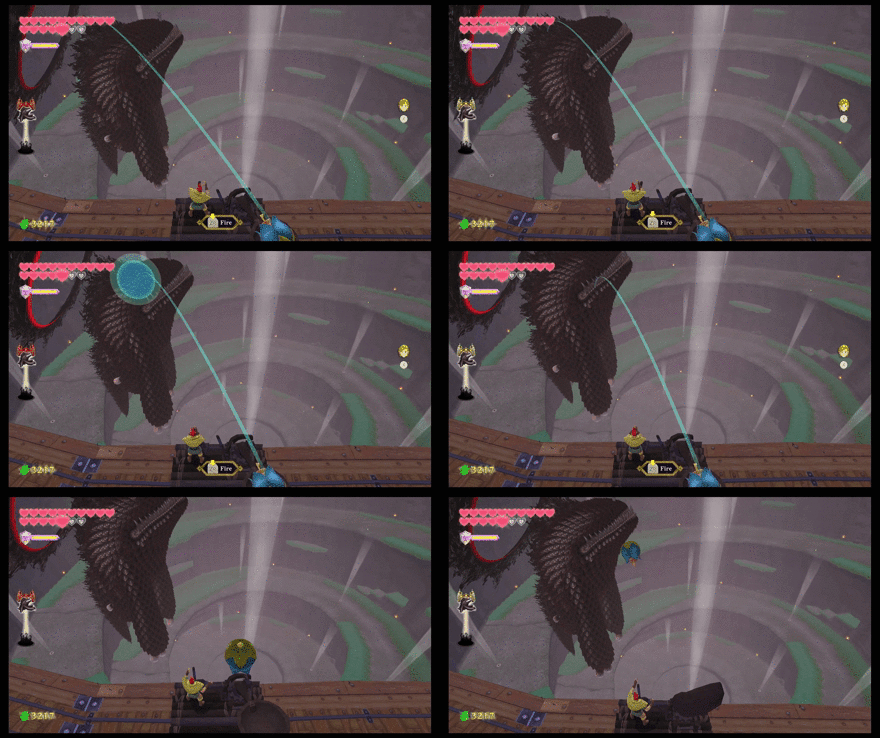
If you take him down and drive the stone pillar into his head, he will fly and try to go directly to the temple. Use Groose's machine to hit him and prevent him from going to the temple.
Near the end, use the machine to shoot yourself directly near the pillar
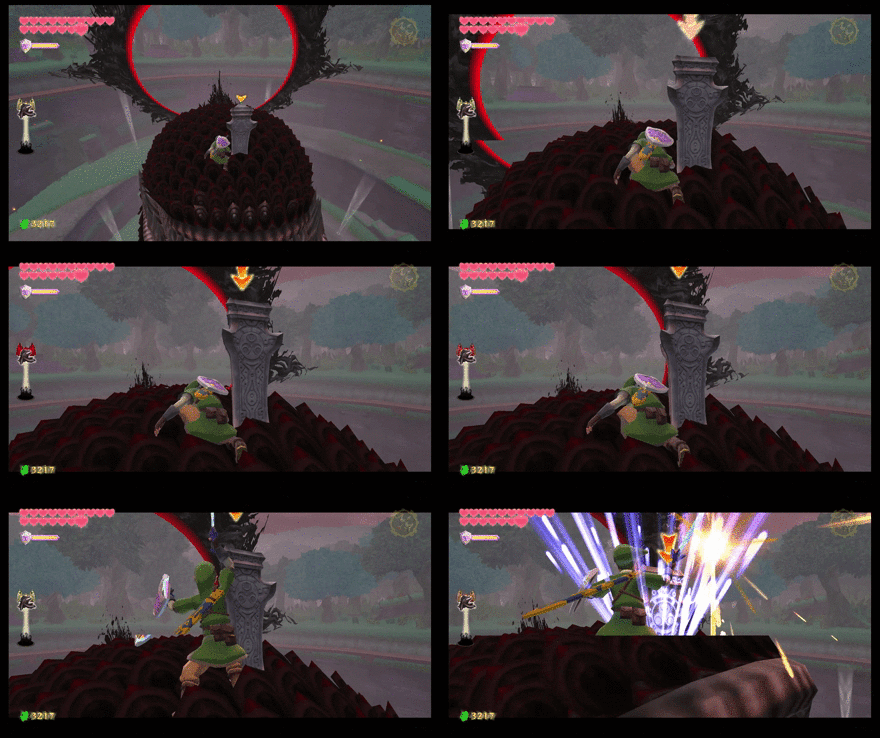
Get Groose's help and shoot yourself directly to the stone pillar on The Imprisoned's head when he gets dangerously close to the temple.
The Imprisoned's Attack Patterns (Round 3)
|
|
Stomp + Shock Wave
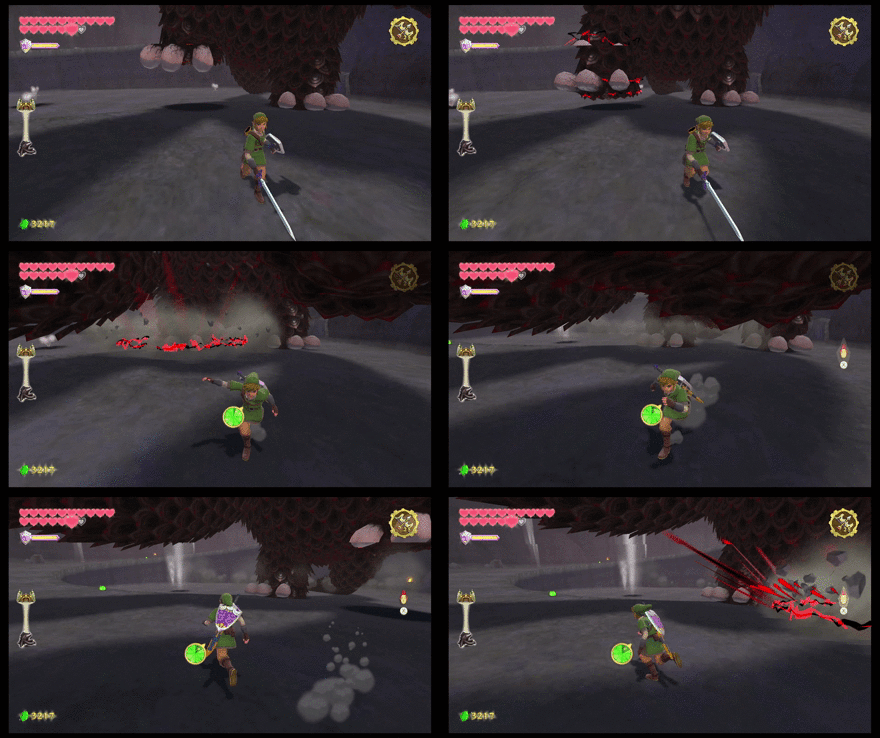
Have Groose stop The Imprisoned
During Round 3 on your battle with The Imprisoned, he walks fast. It is difficult to attack him with a sword while avoiding his attacks. You can use Groose's machine from the beginning to deal with him without having to deal with him.
Tail Attack (Contact damage)
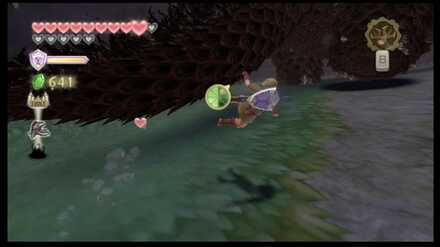
Stay away until he stops moving
The Imprisoned has a tail that can cause damage while he is walking. You do not have to approach him since you can use Groose's machine to avoid getting hit.
Skyward Sword HD Related Guides

List of All Bosses and How to Beat
Boss Walkthroughs
| All Bosses | |
|---|---|
 Ghirahim Ghirahim |
 Scaldera Scaldera |
 Moldarach Moldarach |
 The Imprisoned (Round 1) The Imprisoned (Round 1) |
 Koloktos Koloktos |
 Tentalus Tentalus |
 Ghirahim (Second Battle) Ghirahim (Second Battle) |
 The Imprisoned (Round 2) The Imprisoned (Round 2) |
 Bilocyte Bilocyte |
 The Imprisoned (Round 3) The Imprisoned (Round 3) |
 Ghirahim (Final Battle) Ghirahim (Final Battle) |
 Demise Demise |
Author
The Legend of Zelda: Skyward Sword Walkthrough & Guides Wiki
The Imprisoned Boss Guide: How to Beat The Imprisoned
improvement survey
03/2026
improving Game8's site?

Your answers will help us to improve our website.
Note: Please be sure not to enter any kind of personal information into your response.

We hope you continue to make use of Game8.
Rankings
- We could not find the message board you were looking for.
Gaming News
Popular Games

Genshin Impact Walkthrough & Guides Wiki

Honkai: Star Rail Walkthrough & Guides Wiki

Umamusume: Pretty Derby Walkthrough & Guides Wiki

Pokemon Pokopia Walkthrough & Guides Wiki

Resident Evil Requiem (RE9) Walkthrough & Guides Wiki

Monster Hunter Wilds Walkthrough & Guides Wiki

Wuthering Waves Walkthrough & Guides Wiki

Arknights: Endfield Walkthrough & Guides Wiki

Pokemon FireRed and LeafGreen (FRLG) Walkthrough & Guides Wiki

Pokemon TCG Pocket (PTCGP) Strategies & Guides Wiki
Recommended Games

Diablo 4: Vessel of Hatred Walkthrough & Guides Wiki

Fire Emblem Heroes (FEH) Walkthrough & Guides Wiki

Yu-Gi-Oh! Master Duel Walkthrough & Guides Wiki

Super Smash Bros. Ultimate Walkthrough & Guides Wiki

Pokemon Brilliant Diamond and Shining Pearl (BDSP) Walkthrough & Guides Wiki

Elden Ring Shadow of the Erdtree Walkthrough & Guides Wiki

Monster Hunter World Walkthrough & Guides Wiki

The Legend of Zelda: Tears of the Kingdom Walkthrough & Guides Wiki

Persona 3 Reload Walkthrough & Guides Wiki

Cyberpunk 2077: Ultimate Edition Walkthrough & Guides Wiki
All rights reserved
© Nintendo. The Legend of Zelda, Nintendo Switch and amiibo are trademarks of Nintendo © 2021 Nintendo.
The copyrights of videos of games used in our content and other intellectual property rights belong to the provider of the game.
The contents we provide on this site were created personally by members of the Game8 editorial department.
We refuse the right to reuse or repost content taken without our permission such as data or images to other sites.





![Everwind Review [Early Access] | The Shaky First Step to A Very Long Journey](https://img.game8.co/4440226/ab079b1153298a042633dd1ef51e878e.png/thumb)

![Monster Hunter Stories 3 Review [First Impressions] | Simply Rejuvenating](https://img.game8.co/4438641/2a31b7702bd70e78ec8efd24661dacda.jpeg/thumb)


