Hardlypool Walkthrough Guide
☆ 100% Walkthrough Guide
★ Best Vocations | Best Party | Best Characters
☆ Find all Mini Medals and Tablet Fragments!
★ Farm Guides: EXP | Gold | Vocation Prof.
☆ List of Missables and Cut Content
★ Post-Game Guide
This is a walkthrough guide for the Hardlypool of Dragon Quest 7 Reimagined (DQ7). See a step-by-step guide to complete the Hardlypool and the quest, An Island Underwater, as well as how to unlock the next area here.
| ◀ Previous Guide | Next Guide ▶ |
|---|---|
| Roamer Encampment (Present) | The Tallest Tower |
List of Contents
 Warning! Warning! |
This page contains spoilers for Dragon Quest 7 Reimagined! If you wish to continue reading on, you have been warned. |
|---|
Hardlypool Walkthrough Guide
| Jump to a Section | ||
|---|---|---|
| Hardlypool | Spliton-on-Sea | Wetlock |
| Highendreigh Tower | Graco's Throne Room | Wetlock (Present) |
| Highendreigh Tower (Present) | Gracos's Throne Room (Present) | - |
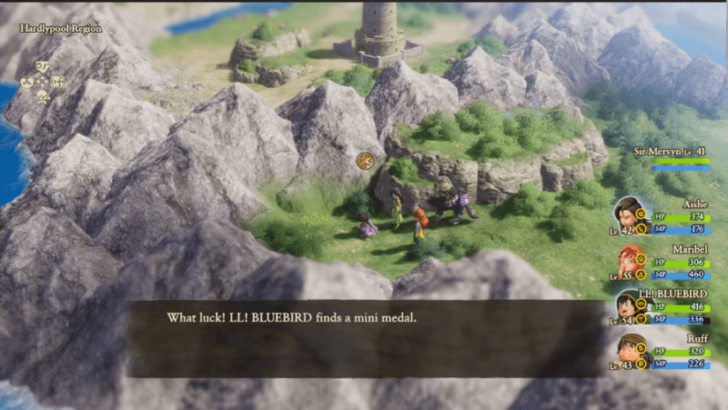
Hardlypool
| 1 | Head south from the teleporter to reach the town of Hardlypool. |
|---|---|
| 2 | Talk to the mayor at the northeastern house in the town. Choose "Yes" to spend the night at the house. |
| 3 |
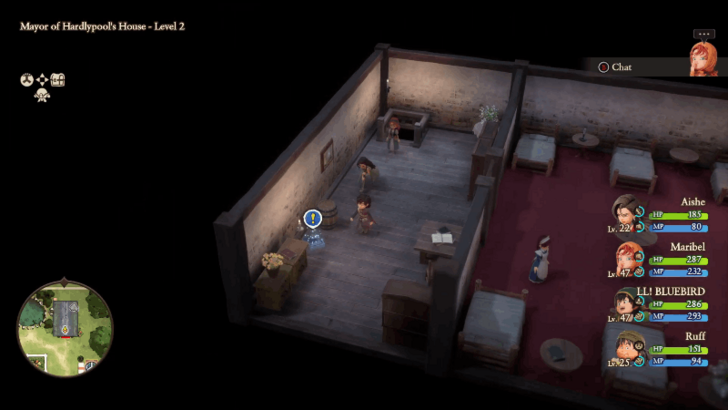 Head up to the second floor of the mayor's house to pick up the Gray Fragment. |
| 4 | Exit the house to find all the villagers gone. Enter the stairs at the southeastern part of the town to enter the Hardlypool Tunnel. |
| 5 | Go through the tunnel until you reach the exit. Head south to reach the town of Spilton-on-Sea. |
Spliton-on-Sea
| 1 | Talk to the villagers in Spilton-on-Sea. After that, choose to stay at the inn to progress the story. |
|---|---|
| 2 | Once all the villagers are gone, exit the town and head northeast to reach the town of Wetlock. |
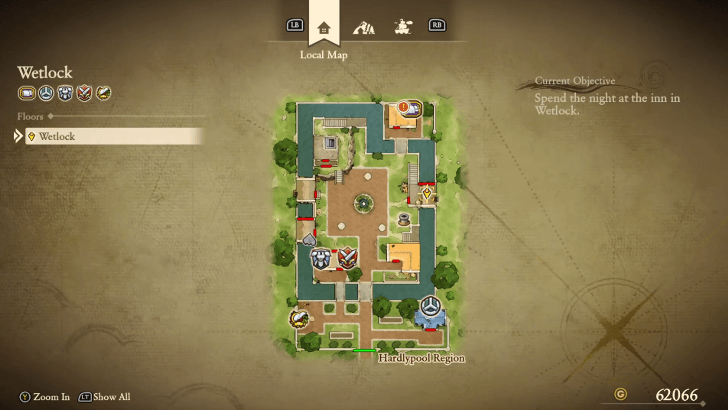
Wetlock
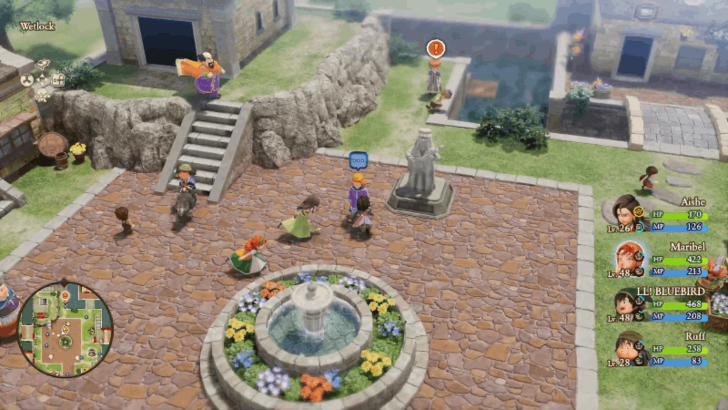
| 1 | Enter the town of Wetlock and head to the center to activate a cutscene. |
|---|---|
| 2 | Head northwest to reach the inn and choose to stay in the inn. A cutscene will activate causing a teleporter to appear in front of the fountain at the center of the town. |
| 3 | Enter the teleporter to reach the Highendreigh Tower. |
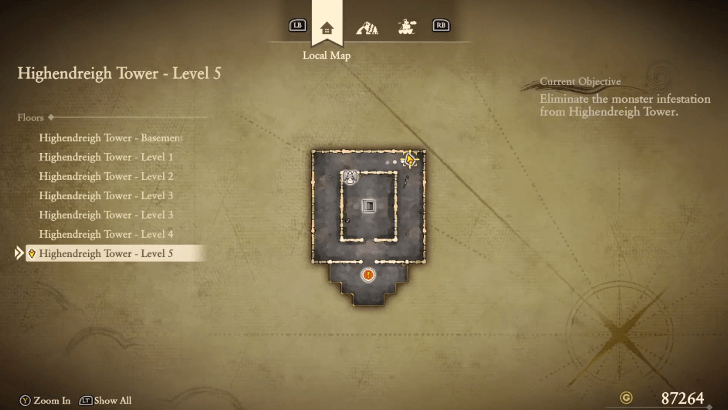
Highendreigh Tower
| 1 | Explore the tower and head to Level 3. |
|---|---|
| 2 | Talk to the boy at the northeastern part of Level 3 to activate a cutscene. Proceed through the door behind the cell to go up to Level 4. |
| 3 | Proceed to Level 5 and talk to the old man at the south part of the area to activate a cutscene. |
| 4 | Proceed to Level 5 and talk to the old man at the south part of the area to activate a cutscene. If you answered "Yes" in the conversation with the old musician, you will receive a Prayer Ring and a Small Boat. |
| 5 | Go to Level 2 and head to the east side. Use the boat to go to the southwestern part of the map to reach Graco's Throne Room. |
Graco's Throne Room
| 1 | Heal and save your progress at the angel statue as the next area contains a boss fight. |
|---|---|
| 2 | Talk to Graco to start a fight with three Sunken Spirits. |
| 3 | After defeating the three Sunken Spirits, you will face Graco in a boss fight. Use fire elemental skills early on and once you have reduced his HP, switch to casting ice elemental skills. |
| 4 | Talk to the old musician after the boss fight to activate a cutscene. Once that cutscene is over, you will automatically return to Highendreigh Tower. Head to Level 1 and use the teleporter to return to Wetlock. |
| 5 | Once you return to Wetlock, talk to the mayor beside the fountain and he will tell you the location of the town's treasure room under the pub. |
| 6 |
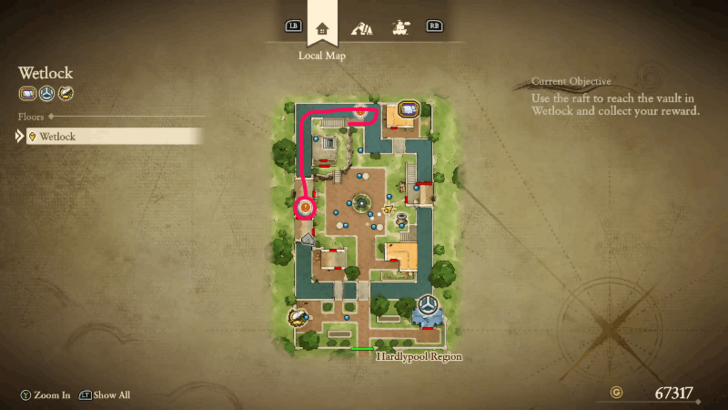 Use the raft in the northwest area to reach the basement of the bar located southwest of the town. |
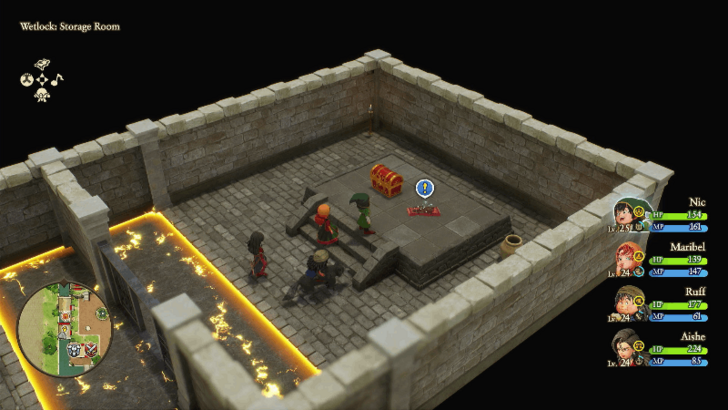
| 7 |
 Talk to the soldier behind the electric floor tiles to open the door. Enter the room to obtain the Mermaid Moon from the treasure chest and the Gray Fragment. |
| 8 | Leave the town and head back to the teleporter to return to the present era. |
Wetlock (Present)
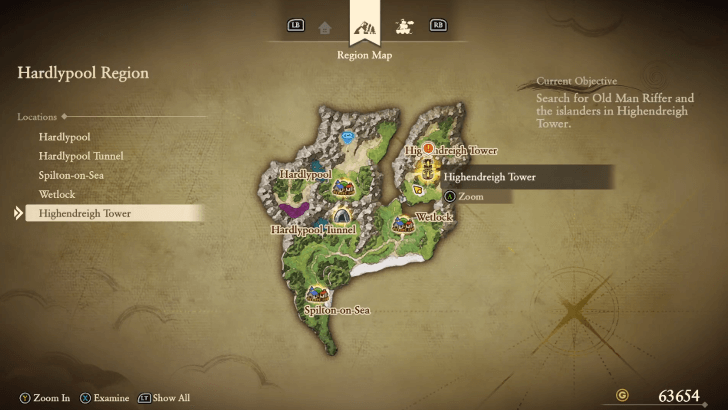
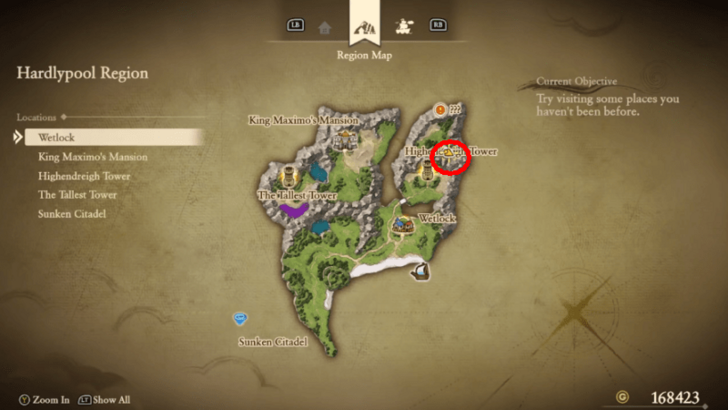
| 1 | Head to the present era Wetlock located at the east side of the region. |
|---|---|
| 2 |
 Approach to the man with the exclamation mark on his head at the north part of the town to activate a cutscene. Talk to him after and select "Yes". |
| 3 | Go to Professor Wade's house at the southeastern part of the town. Select "Yes" when you asks you to defeat the monsters in Highendreigh Tower. |
Highendreigh Tower (Present)
| 1 | Once you arrive at the tower, use the stairs located left of the entrance to head down to Basement Level 1. Inside the basement is a boss fight with King Slime. |
|---|---|
| 2 |
 Use skills that lower King Slime's physical damage as the boss only uses physical damage and use the skill that prevents the boss from using its Heal skill. |
| 3 | After defeating King Slime, Goobris will join the team. He will open up the door on Level 3. |
| 4 | Head to Level 5 of the tower and attempt to leave to start the boss fight with Ethereal Serpent. Use skills that lower the boss's physical damage as it can use area-of-effect attacks that significantly reduce your HP. |
| 5 | After defeating Ethereal Serpent, you will receive the Blue Fragment as a reward. |
| 6 | Return to Professor Wade at his house at the southeastern part of Wetlock. |
| 7 | Use the raft north of the town to reach the underground warehouse at the west part of the town. |
| 8 |
 Talk to the soldier in front of the electric floor tiles to have him open the door. Go through the electric floor tiles to obtain the Red Fragment and the Rippled Rapier from the treasure chest. |
Gracos's Throne Room (Present)
| 1 | Head to the glowing teleporter southwest of Wetlock to enter Gracos's Throne Room. |
|---|---|
| 2 |
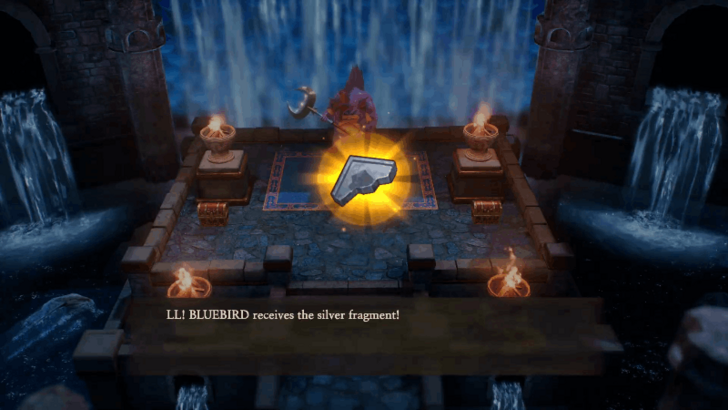 Talk to Gracos V to start the boss fight. Use fire elemental skills to deal more damage and keep your HP high at all times. Once you defeat Gracos V, choose "Yes" for the dialogue option to receive a Silver Fragment. |
| 3 |
Once you are done and ready to progress the story, use the Magic Carpet to reach the Tombe des Heros Inconnus northeast of La Bravoure.
▶ The Tallest Tower Walkthrough |
Hardlypool Bosses
All Hardlypool Bosses
| Boss | Information |
|---|---|
|
|
Location:
Highendreigh Tower
(Past) Walkthrough:
Hardlypool
How to Beat: ・Lower King Slime's Attack ・Seal King Slime's Heal Skill |
|
|
Location:
Sunken Citadel
(Past) Walkthrough:
Hardlypool
How to Beat: ・Inflict Group Debuffs ・Use Multi-Target Skills ・Conserve HP and MP |
|
|
Location:
Sunken Citadel
(Past) Walkthrough:
Hardlypool
How to Beat: ・Lower Gracos' Accuracy ・Use Fire Skills ・Use Ice Skills After Let Loose |
|
|
Location:
Highendreigh Tower
(Past) Walkthrough:
Hardlypool
How to Beat: ・Use Anti-Airborne Skills ・Apply Debuffs on Ethereal Serpent |
|
|
Location:
Sunken Citadel
(Present) Walkthrough:
Hardlypool
How to Beat: ・Apply Buff to Party ・Use Fire Skills |
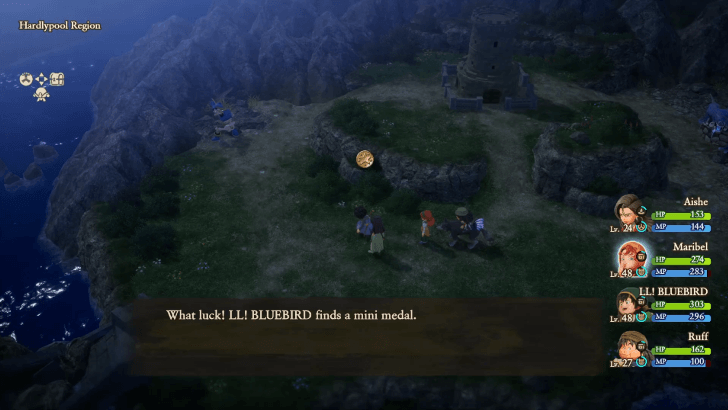
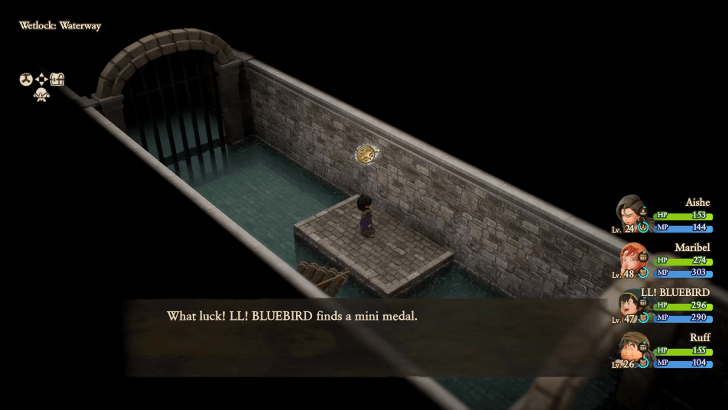
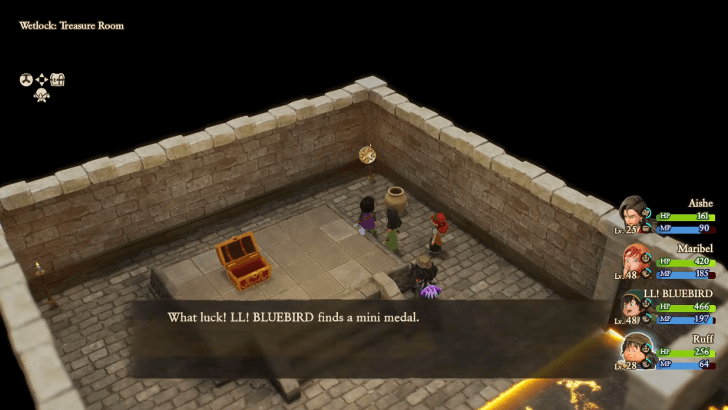
Hardlypool Mini Medals
List of Mini Medal Locations
| Map Image | World Image | |
|---|---|---|
55 |
 (Past) |
 |
56 |
 (Past) |
 |
57 |
 (Past) |
 |
58 |
 (Present) |
 |
59 |
 (Present) |
 |
Hardlypool Trophies
All Trophies Unlocked in Hardlypool

|
Local Legends |
|---|---|
|
Awarded for completing "An Island Underwater". ► Al-Balad Walkthrough Guide |
Trophy Guide and Achievements List: How to Get Platinum
Dragon Quest 7 Reimagined (DQ7) Related Guides

List of All Story Walkthroughs
| All Main Story Walkthroughs | ||||
|---|---|---|---|---|
| 1 | Prologue | 2 | Ballymolloy | |
| 3 | Emberdale | 4 | L'Arca | |
| 5 | Regenstein | 6 | Frobisher | |
| 7 | Roamer Encampment | 8 | Alltrades Abbey | |
| 9 | Al-Balad | 10 | Roamer Encampment (Present) | |
| 11 | Hardlypool | 12 | The Tallest Tower | |
| 13 | Hubble | 14 | Aeolus Vale | |
| 15 | Buccanham | 16 | Pool of Piety | |
| 17 | Malign Shrine | 18 | Cathedral of Light | |
| 19 | Awakening the Fire Spirit | 20 | Awakening the Earth Spirit | |
| 21 | Awakening the Wind Spirit | 22 | Curious Tablet | |
| 23 | Cathedral of Blight | |||
| All Optional Side Stories | ||||
| 1 | Greenthumb Gardens | 2 | Vogograd | |
| 3 | Nottagen | |||
| All Post-Game Content | ||||
| 1 | Another World | 2 | Yet Another World | |
Comment
Author

Hardlypool Walkthrough Guide
Rankings
- We could not find the message board you were looking for.
Gaming News


Popular Games

Genshin Impact Walkthrough & Guides Wiki
Umamusume: Pretty Derby Walkthrough & Guides Wiki
Crimson Desert Walkthrough & Guides Wiki
Monster Hunter Stories 3: Twisted Reflection Walkthrough & Guides Wiki
Honkai: Star Rail Walkthrough & Guides Wiki
Pokemon Pokopia Walkthrough & Guides Wiki
The Seven Deadly Sins: Origin Walkthrough & Guides Wiki
Wuthering Waves Walkthrough & Guides Wiki
Zenless Zone Zero Walkthrough & Guides Wiki
Arknights: Endfield Walkthrough & Guides Wiki


Recommended Games
Fire Emblem Heroes (FEH) Walkthrough & Guides Wiki
Diablo 4: Vessel of Hatred Walkthrough & Guides Wiki
Cyberpunk 2077: Ultimate Edition Walkthrough & Guides Wiki
Yu-Gi-Oh! Master Duel Walkthrough & Guides Wiki
Super Smash Bros. Ultimate Walkthrough & Guides Wiki
Pokemon Brilliant Diamond and Shining Pearl (BDSP) Walkthrough & Guides Wiki
Elden Ring Shadow of the Erdtree Walkthrough & Guides Wiki
Monster Hunter World Walkthrough & Guides Wiki
The Legend of Zelda: Tears of the Kingdom Walkthrough & Guides Wiki
Persona 3 Reload Walkthrough & Guides Wiki


All rights reserved
© ARMOR PROJECT/BIRD STUDIO/SQUARE ENIX
© SUGIYAMA KOBO ℗ SUGIYAMA KOBO
The copyrights of videos of games used in our content and other intellectual property rights belong to the provider of the game.
The contents we provide on this site were created personally by members of the Game8 editorial department.
We refuse the right to reuse or repost content taken without our permission such as data or images to other sites.