Prologue Walkthrough Guide
☆ 100% Walkthrough Guide
★ Best Vocations | Best Party | Best Characters
☆ Find all Mini Medals and Tablet Fragments!
★ Farm Guides: EXP | Gold | Vocation Prof.
☆ List of Missables and Cut Content
★ Post-Game Guide
This is a walkthrough guide for the prologue section of Dragon Quest 7 Reimagined (DQ7). See a step-by-step guide to complete the prologue, how to unlock the next area's tablet, and all the unlockable trophies and achievements here.
| Next Guide ▶ |
|---|
| Ballymolloy |
List of Contents
Prologue Walkthrough Guide
| Jump to an Area Walkthrough! | ||
|---|---|---|
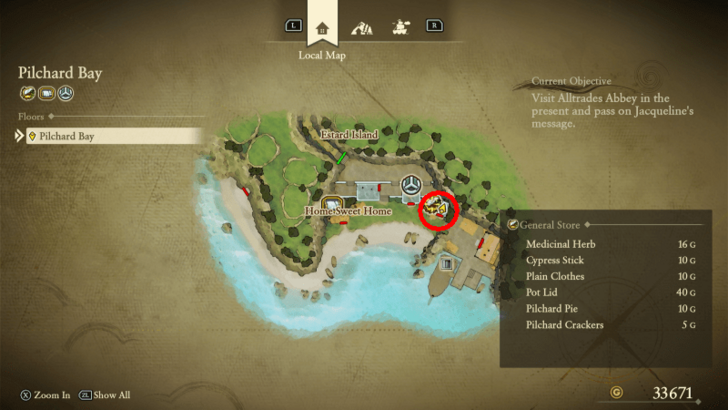
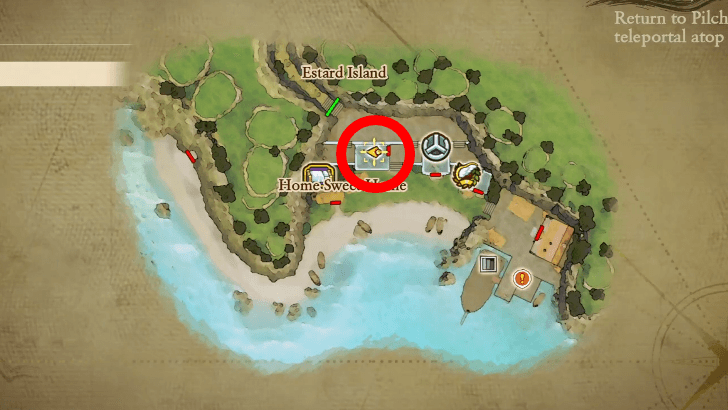
| Pilchard Bay | Estard | Yellow Fragments |
Pilchard Bay
| 1 | Start by creating a new save and inputting your name and preferred settings. Just remember that once you've selected the Hero's name, it cannot be changed. |
|---|---|
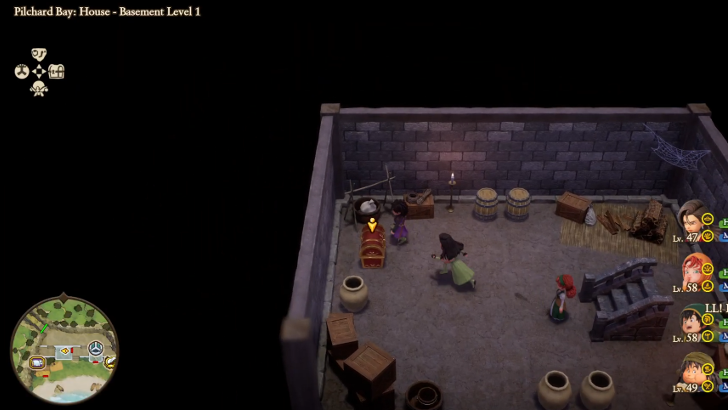
| 2 | 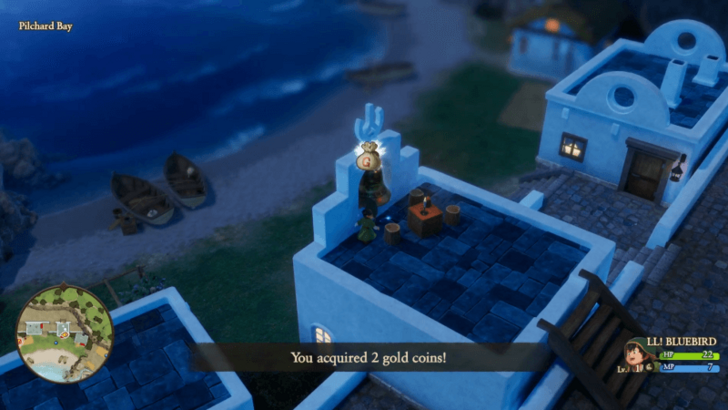 Once you have control of your character, you can explore Pilchard Bay for items you can use or sell later on. As a note, whenever you enter a new area, it's recommended to fully explore the surroundings first for anything useful, like treasure chests and Mini Medals. |
| 3 | 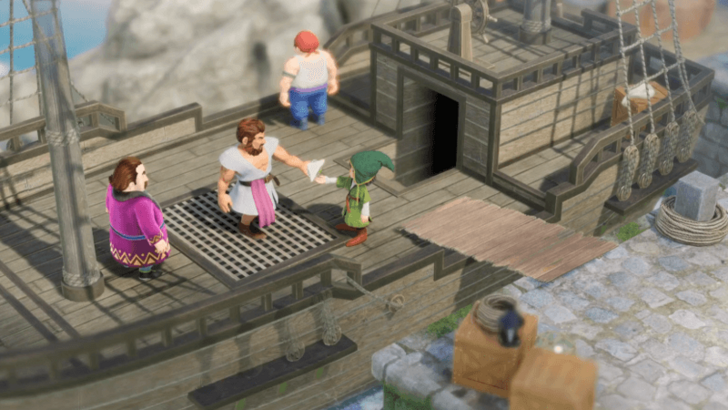 When you're ready, head back to your home and sleep. Once you wake up, head to the east side of the village and board the ship to give the sandwich to your dad. |
| 4 | 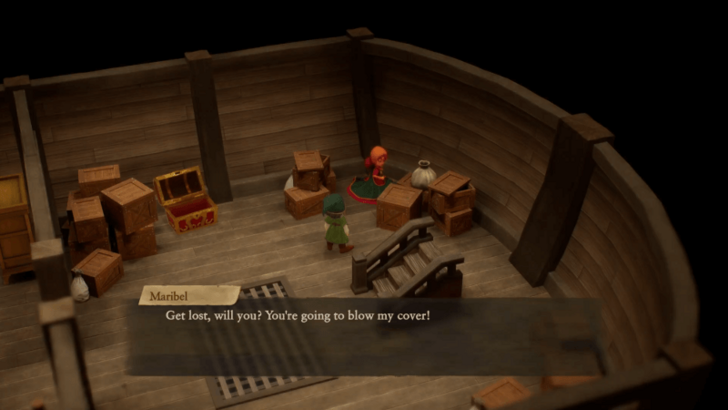 Head inside the ship and talk to Maribel, then go back outside to continue the story. |
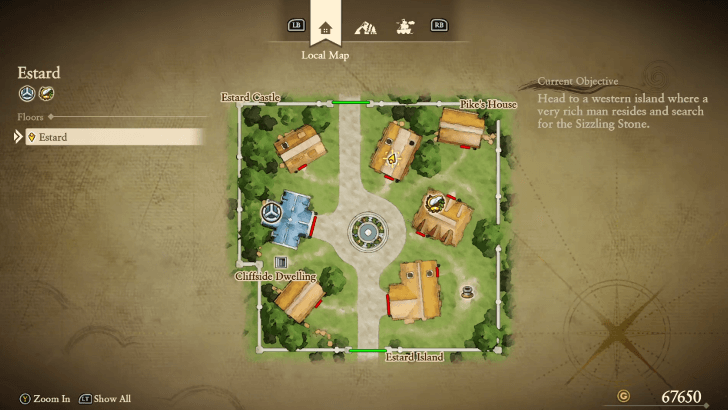
Estard
| 1 | 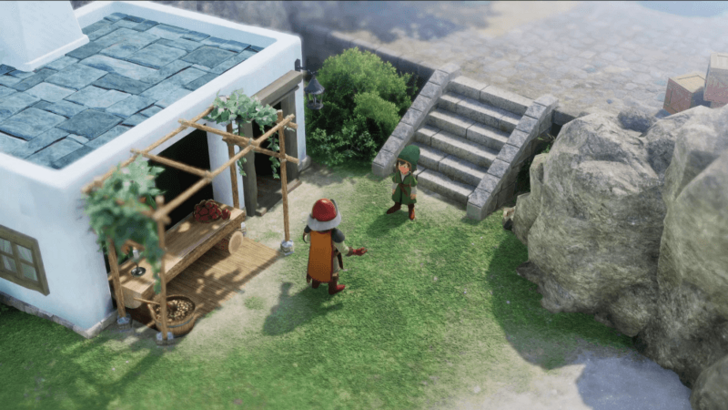 Go back towards the west, and a short cutscene will play where you'll be summoned to Estard Castle. |
|---|---|
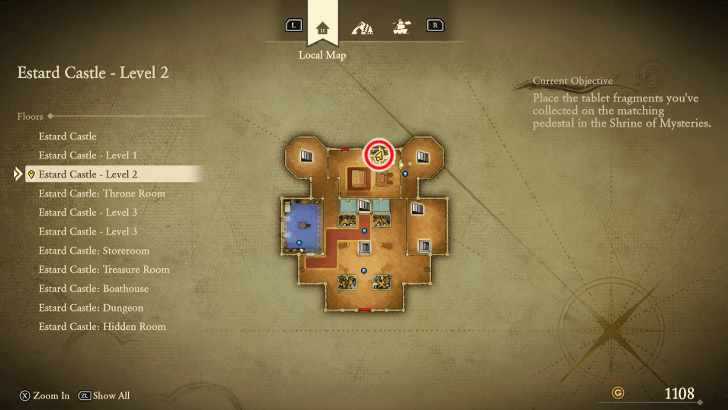
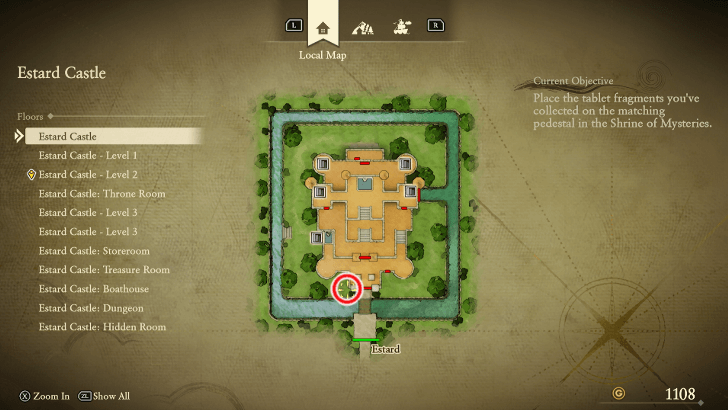
| 2 | 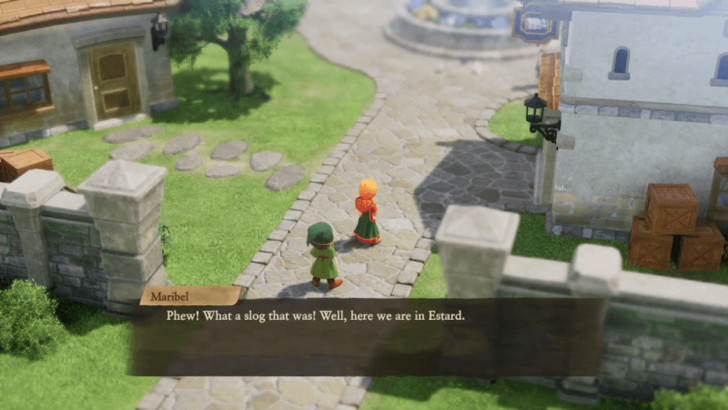 When you're ready, head to Estard and explore the town before continuing to the castle. Once inside, head up to the throne room before you start exploring the castle itself. |
| 3 | 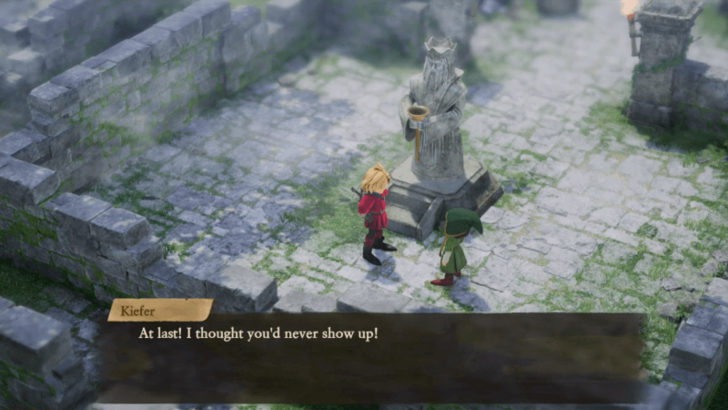 After you're done, head out towards the east side of the island to get to the Shrine of Mysteries. There's not much you can do here yet, so talk to Kiefer and progress the story to recruit your first party member. |
Collecting Yellow Tablet Fragments
| 1 |  To open up the way to the Shrine of Mysteries, you will need to collect three more Yellow Tablet Fragments. Start by heading back to Estard and going down the stairs near the church to get to Dermot. |
|---|---|
| 2 | 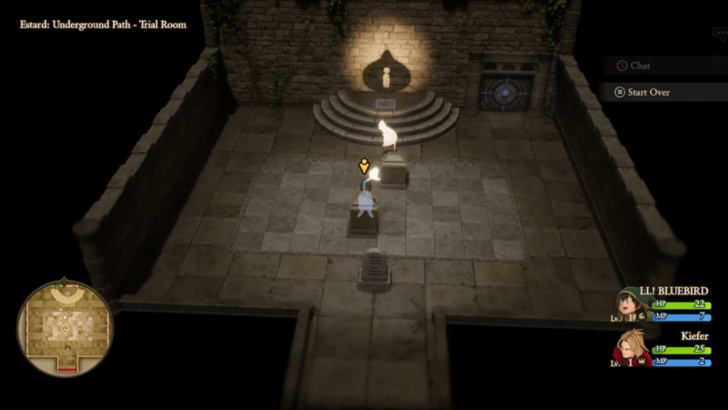 After talking to him, you will get a key that opens up the way to the trial room that houses the fragment. To solve the puzzle, you will need to align the two pieces to match the symbol on the wall and stand on the square at the top of the steps. |
| 3 | 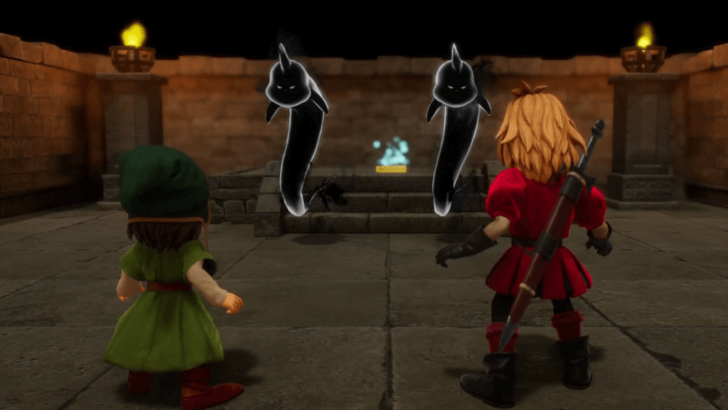 With that done, the way to the Yellow Tablet Fragment will open up. Just be ready since approaching the fragment will start a fight against two Tribulators. This acts as the tutorial boss for the game, and it's almost impossible to lose. However, if you do get low on HP, make sure to use some Medicinal Herbs to heal up. |
| 4 | 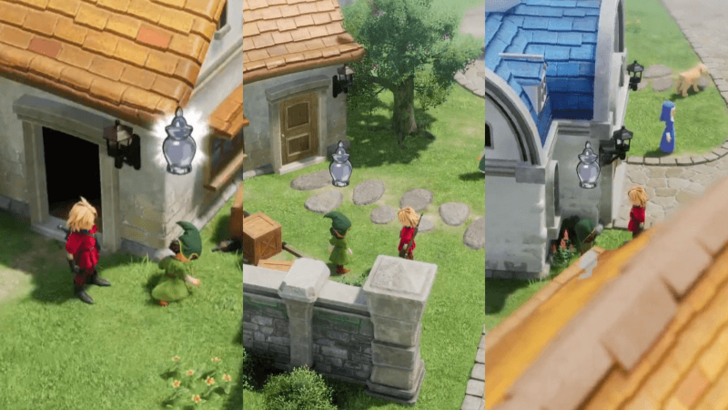 Now that you have one fragment, head back out to Estard and go inside the house behind the Item Shop. Talk to Pike, and you will need to grab three empty bottles around town, which are marked by a yellow sparkly spot. You can find the bottles outside of Pike's house, near the town's entrance, and beside the church's doors. |
| 5 | 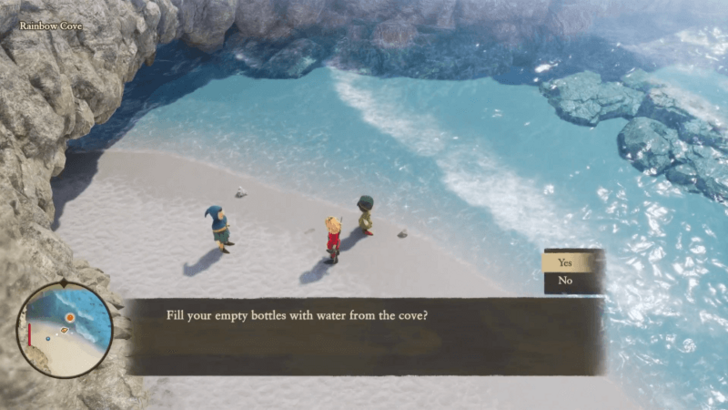 Once you're done collecting the bottles, head out of the town and go north to Rainbow Cove. Here, you will need to talk to Pike again and fill up the bottles with water to unlock the next trial room. |
| 6 | 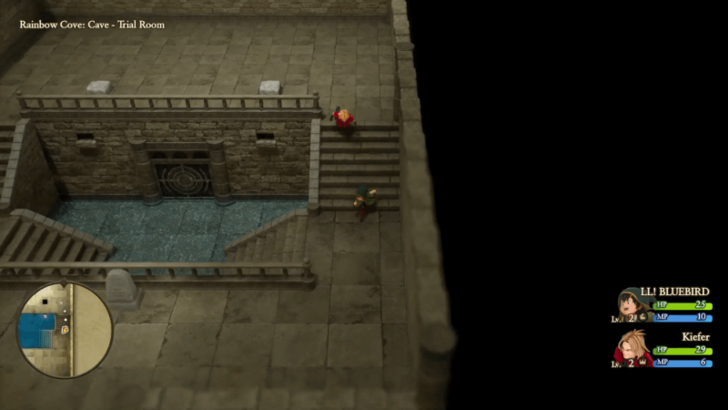 The way to the fragment is blocked off by water, and you'll need to push the pillars into the hole to block off the waterfalls. From there, the water will subside, and you can enter the room to get the fragment. |
| 7 | 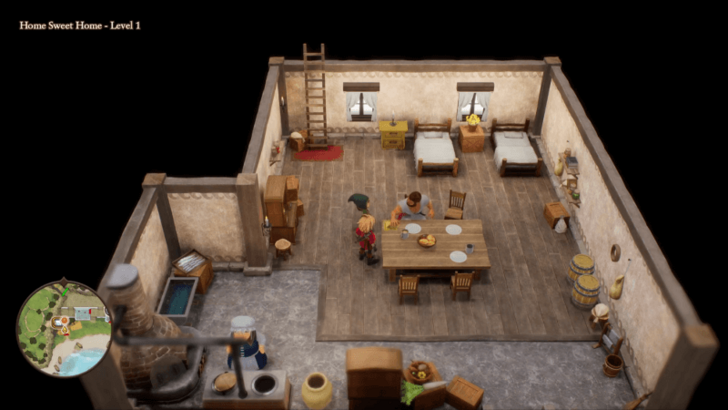 To get the last fragment, head back to Pilchard Bay and talk to your dad. Afterwards, return to the Shrine of Mysteries. |
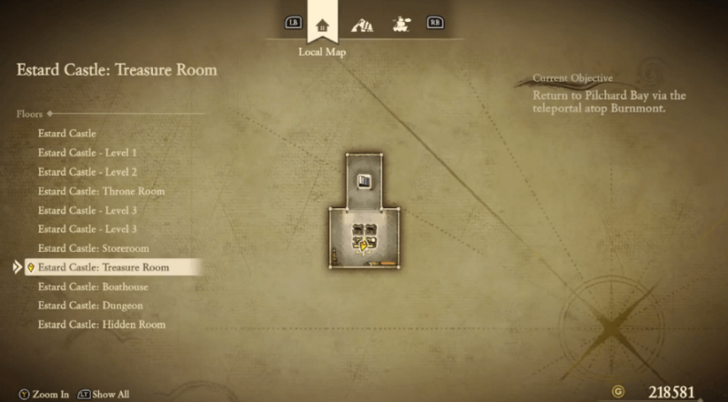
| 8 | 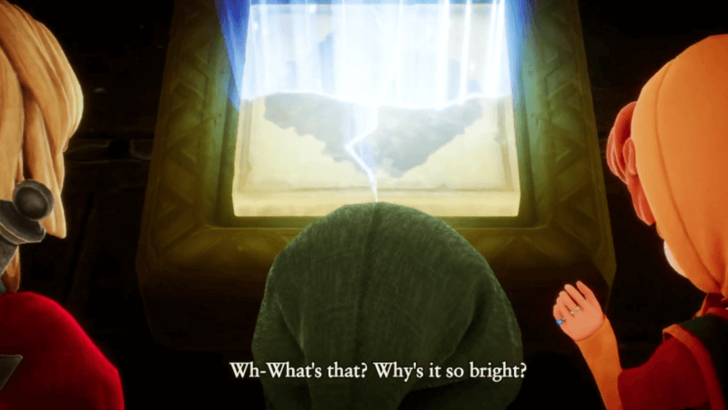 Interact with the statue to start a cutscene, and Maribel will join your party afterwards. Head inside, and after talking with The Caretaker, you can access your first island, Ballymolloy, via the top Yellow Tablet Pedestal. ▶︎ Jump to Ballymolloy Walkthrough |
Prologue Bosses
All Prologue Bosses
| Boss | Information |
|---|---|
|
|
Location:
Estard
(Present) Walkthrough:
Prologue
How to Beat: ・Use Auto-Battle to speedrun fight ・Heal using Medicinal Herbs when needed |
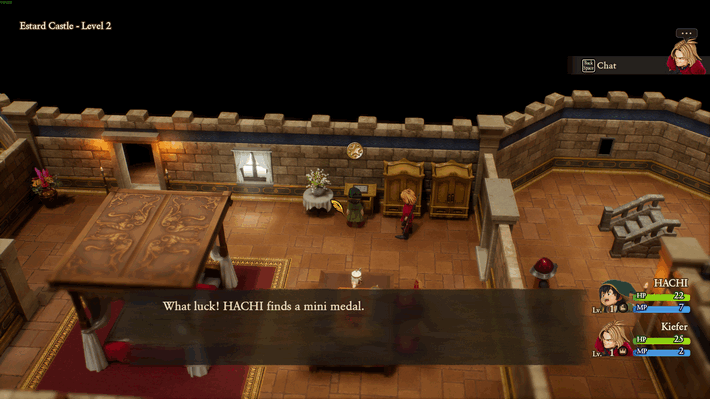
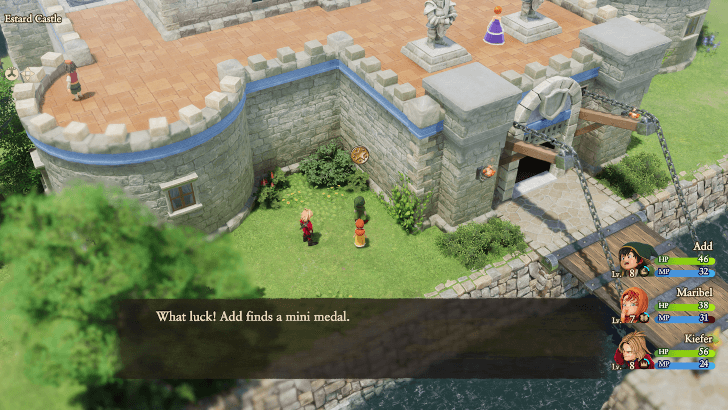
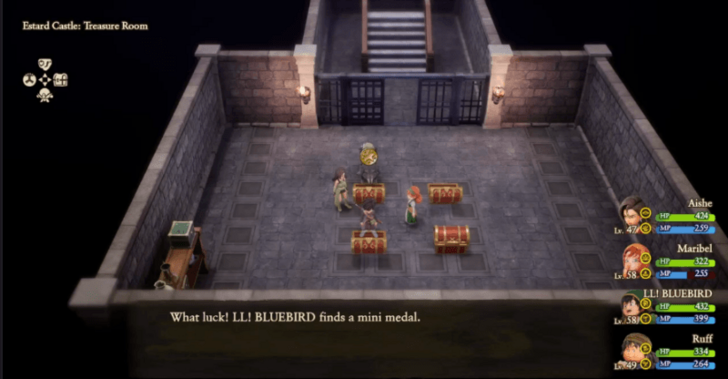
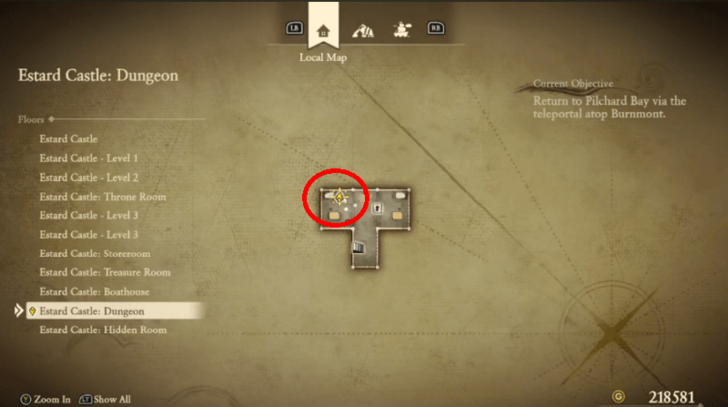
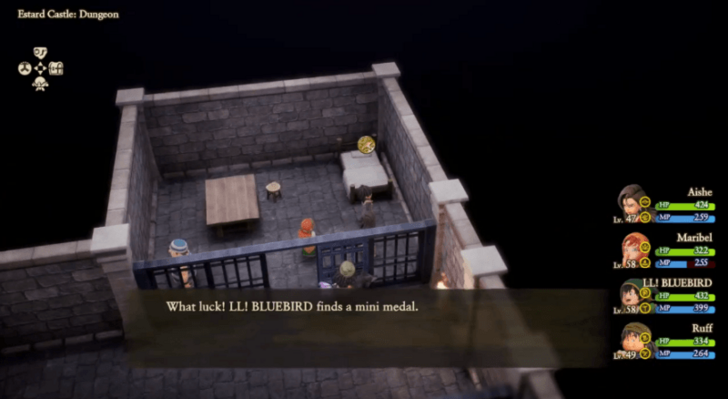
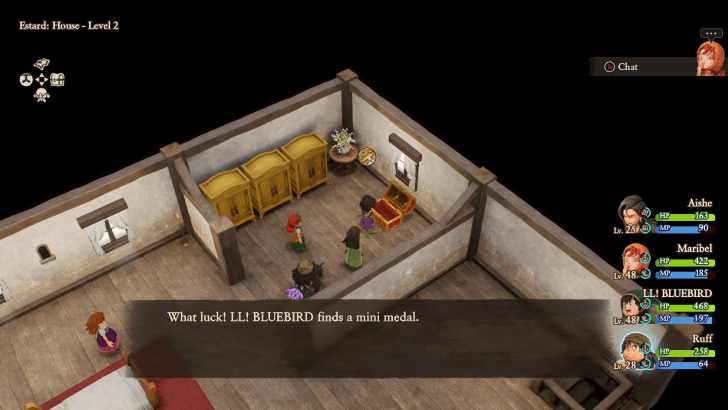
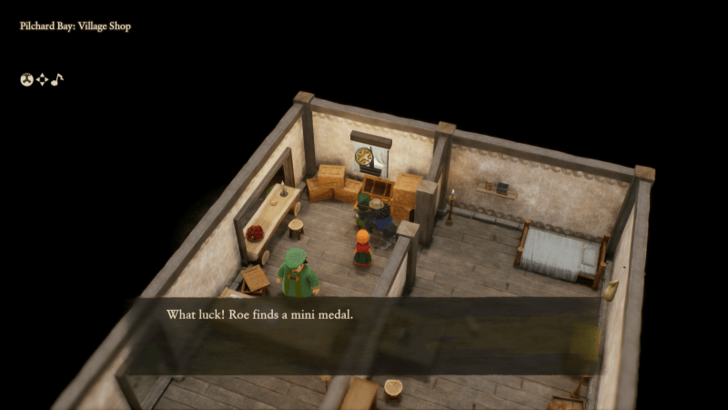
Prologue Mini Medals
List of Mini Medal Locations
| Map Image | World Image | |
|---|---|---|
1 |
 (Present) |
 |
2 |
 (Present) |
 |
3 |
 (Present) |
 |
4 |
 (Present) |
 |
5 |
 (Present) |
 |
6 |
 (Present) |
 |
7 |
 (Present) |
 |
Prologue Trophies
All Trophies Unlocked in Prologue

|
Into the Unknown |
|---|---|
|
Awarded for completing "The Adventure Begins". ► Prologue Walkthrough |
Trophy Guide and Achievements List: How to Get Platinum
Dragon Quest 7 Reimagined (DQ7) Related Guides

List of All Story Walkthroughs
| All Main Story Walkthroughs | ||||
|---|---|---|---|---|
| 1 | Prologue | 2 | Ballymolloy | |
| 3 | Emberdale | 4 | L'Arca | |
| 5 | Regenstein | 6 | Frobisher | |
| 7 | Roamer Encampment | 8 | Alltrades Abbey | |
| 9 | Al-Balad | 10 | Roamer Encampment (Present) | |
| 11 | Hardlypool | 12 | The Tallest Tower | |
| 13 | Hubble | 14 | Aeolus Vale | |
| 15 | Buccanham | 16 | Pool of Piety | |
| 17 | Malign Shrine | 18 | Cathedral of Light | |
| 19 | Awakening the Fire Spirit | 20 | Awakening the Earth Spirit | |
| 21 | Awakening the Wind Spirit | 22 | Curious Tablet | |
| 23 | Cathedral of Blight | |||
| All Optional Side Stories | ||||
| 1 | Greenthumb Gardens | 2 | Vogograd | |
| 3 | Nottagen | |||
| All Post-Game Content | ||||
| 1 | Another World | 2 | Yet Another World | |
Comment
Author
Prologue Walkthrough Guide
Rankings
- We could not find the message board you were looking for.
Gaming News


Popular Games

Genshin Impact Walkthrough & Guides Wiki
Umamusume: Pretty Derby Walkthrough & Guides Wiki
Crimson Desert Walkthrough & Guides Wiki
Monster Hunter Stories 3: Twisted Reflection Walkthrough & Guides Wiki
Honkai: Star Rail Walkthrough & Guides Wiki
Pokemon Pokopia Walkthrough & Guides Wiki
The Seven Deadly Sins: Origin Walkthrough & Guides Wiki
Wuthering Waves Walkthrough & Guides Wiki
Zenless Zone Zero Walkthrough & Guides Wiki
Arknights: Endfield Walkthrough & Guides Wiki


Recommended Games
Fire Emblem Heroes (FEH) Walkthrough & Guides Wiki
Diablo 4: Vessel of Hatred Walkthrough & Guides Wiki
Cyberpunk 2077: Ultimate Edition Walkthrough & Guides Wiki
Yu-Gi-Oh! Master Duel Walkthrough & Guides Wiki
Super Smash Bros. Ultimate Walkthrough & Guides Wiki
Pokemon Brilliant Diamond and Shining Pearl (BDSP) Walkthrough & Guides Wiki
Elden Ring Shadow of the Erdtree Walkthrough & Guides Wiki
Monster Hunter World Walkthrough & Guides Wiki
The Legend of Zelda: Tears of the Kingdom Walkthrough & Guides Wiki
Persona 3 Reload Walkthrough & Guides Wiki


All rights reserved
© ARMOR PROJECT/BIRD STUDIO/SQUARE ENIX
© SUGIYAMA KOBO ℗ SUGIYAMA KOBO
The copyrights of videos of games used in our content and other intellectual property rights belong to the provider of the game.
The contents we provide on this site were created personally by members of the Game8 editorial department.
We refuse the right to reuse or repost content taken without our permission such as data or images to other sites.