Ballymolloy Walkthrough Guide
☆ 100% Walkthrough Guide
★ Best Vocations | Best Party | Best Characters
☆ Find all Mini Medals and Tablet Fragments!
★ Farm Guides: EXP | Gold | Vocation Prof.
☆ List of Missables and Cut Content
★ Post-Game Guide
This is a walkthrough guide for the Ballymolloy Region of Dragon Quest 7 Reimagined (DQ7). See a step-by-step guide to complete Ballymolloy Region, how to unlock the next area's tablet, and all the unlockable trophies and achievements here.
| ◀ Previous Guide | Next Guide ▶ |
|---|---|
| Prologue | Emberdale |
List of Contents
 Warning! Warning! |
This page contains spoilers for Dragon Quest 7 Reimagined! If you wish to continue reading on, you have been warned. |
|---|
Ballymolloy Walkthrough Guide
| Jump to an Area Walkthrough! | |||
|---|---|---|---|
| Ballymolloy | Rainbow Mines | The Tower | |
| Unlocking the Next Island | |||
Ballymolloy
| 1 | 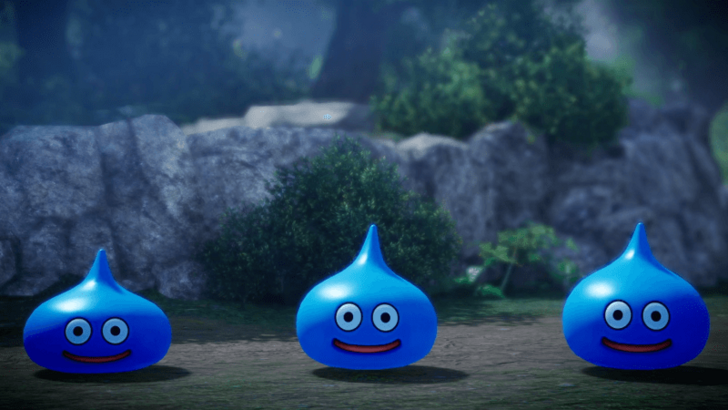 After the cutscene ends, you will appear in a mysterious forest called The Oddwoods. Head north to find Maribel and start a fight against some Slimes. |
|---|---|
| 2 | 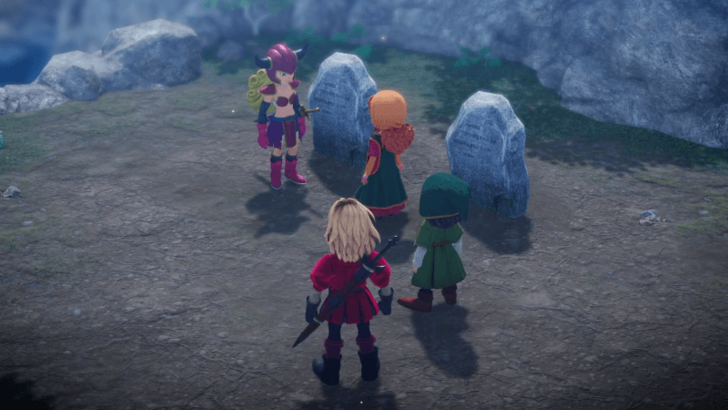 Once the enemies have been defeated, follow the path forward until you come across Maeve and some graves. She will join you as a temporary party member, and you will now be free to leave the forest. |
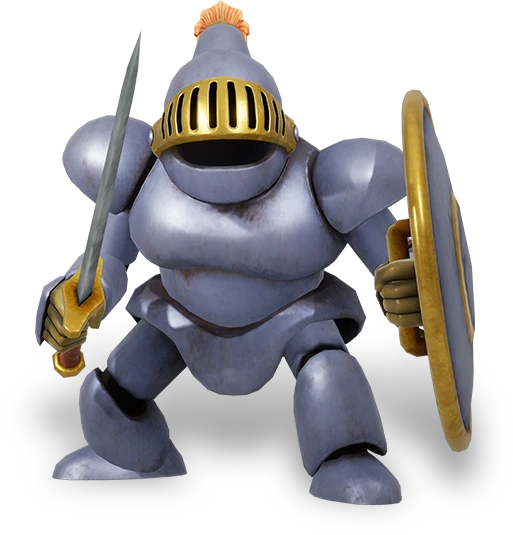
| 3 | 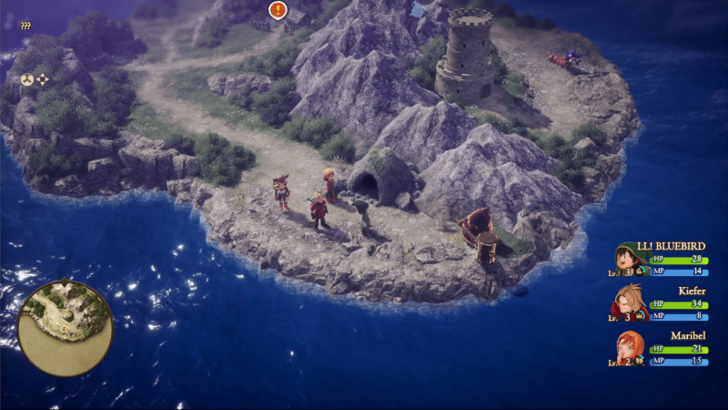 Before going in to the village, it's recommended to head east towards the cave first to fight the Vicious Hammerhood. This is a Menacing Monster, which is a more powerful version of a normal monster, and they will drop a Monster Heart once defeated. Alternatively, you can enter the village first so you can save, rest at an inn, and grind EXP before the fight. However, entering Ballymolloy will make Maeve leave the party, and she won't be able to help you in the fight. |
| 4 |  After the Vicious Hammerhood has been defeated, you can head into the village of Ballymolloy. Explore the town first for any new items and equipment you may need, and head to the north most house to meet Patrick. |
| 5 | When you're ready, head south back towards the cave, where the Vicious Hammerhood was, to get to the Rainbow Mines. |
Rainbow Mines
| 1 | 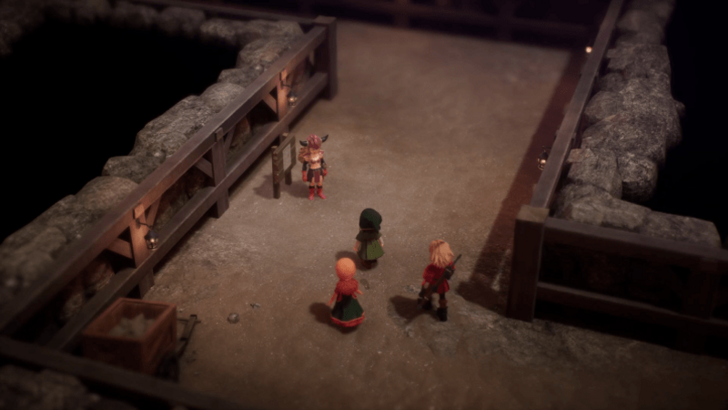 Go inside the cave and take the stairs to the right first to get a treasure chest. Afterwards, head back up and follow the path north to meet up with Maeve again, where she'll rejoin your party. |
|---|---|
| 2 | 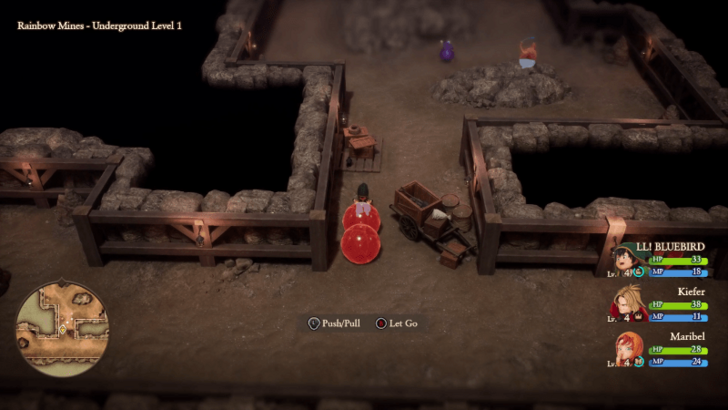 Before going down the stairs to the right, head left first for a chest. From there, head down and follow the path down until you run into two red rocks. The gimmick for this dungeon is that you will need to bump two same coloured rocks together to destroy them and open up the way forwards. |
| 3 | 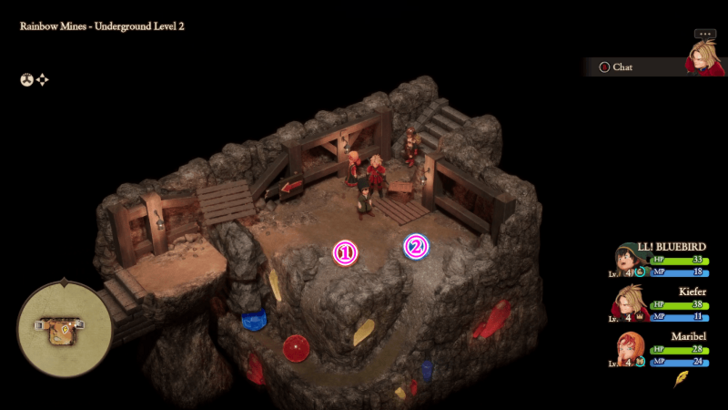 Continue following the path down until you come across a puzzle room. To move on, you will need to push the red rock first, followed by the blue one. |
| 4 | 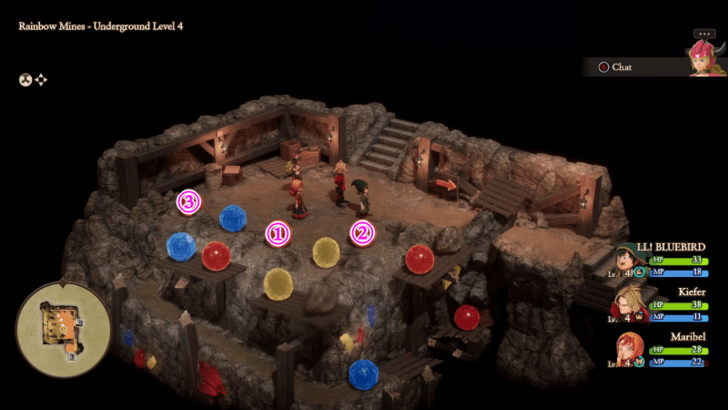 Head down to the 4th floor for another puzzle room. For this one, you will need to push all the red rocks in the order of middle, right, then left. |
| 5 | 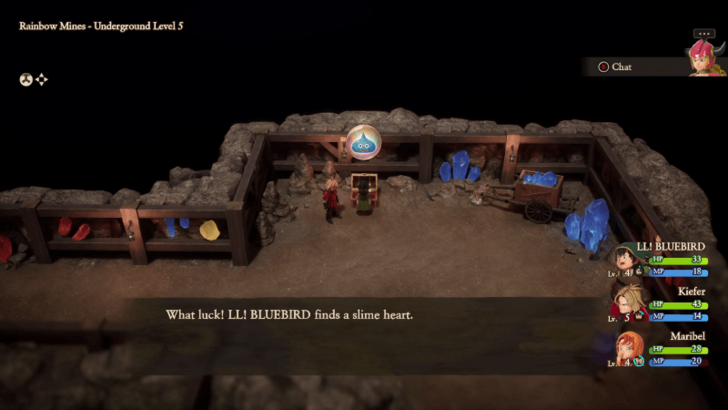 Go down the stairs and you will arrive at the room with the green gem. Before approaching the rock, head to the top right part of the room first to get a treasure chest. |
| 6 | 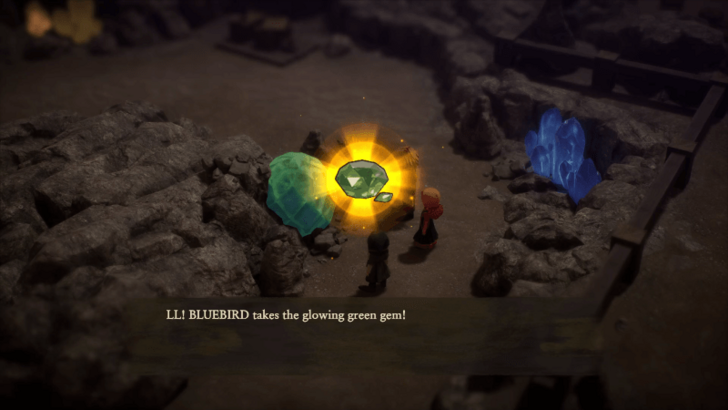 When you're ready, approach the green rock for a cutscene. You will then be teleported out of the dungeon, and Maeve will gift you a doll to give Patrick before you leave the area. |
| 7 |  Head back to Ballymolloy and give the gem to Patrick. After a series of cutscenes, you will wake up the next day and be asked to give the doll to Patrick. Make sure that you give it to him for a bonus reward and help with a boss later on. |
| 8 | The next part of the story will have you head around the path north to The Tower, so make sure to level up if you need to before heading over there. |
The Tower
| 1 | Once you arrive at The Tower, head through the doors at the bottom first. The stairs to the left will lead to a chest with gold, while the one on the right leads to some pots with a MP Phial. |
|---|---|
| 2 | 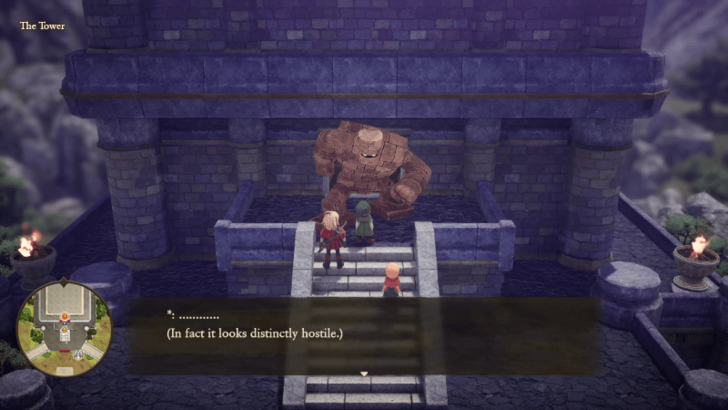 When you're ready, heal and save at the statue outside before approaching the Golem blocking the doorway. This boss only uses physical attacks, so make sure to use the Hero's Buff spell to increase everyone's defenses. |
| 3 | After the boss has been defeated, heal at the statue before proceeding to the upper floors of the tower. There aren't any puzzles here, so feel free to explore before facing the boss of this area. |
| 4 | 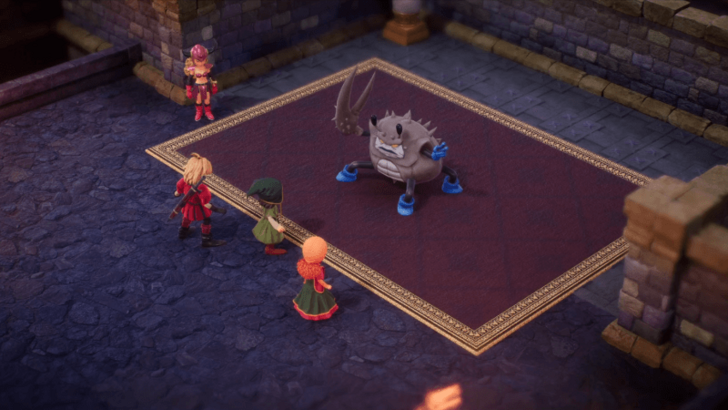 When you get to the statue room with the chest and tablet fragment piece, you'll want to prepare yourself to face two bosses. The first fight will be against the mini-boss Crabble-Rouser, who's reliant on physical attacks and is weak to Fire. Make sure to Dazzle them and exploit their weakness to quickly take them down. |
| 5 | 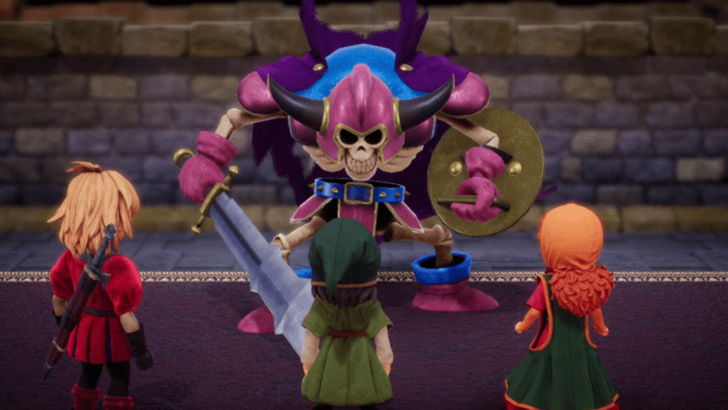 After they go down, you will face the big boss of this region, Maeve. Similar to the previous fight, she's reliant on physical attacks and weak to Fire, but she can't be Dazzled. Make sure to increase the party's defenses with Buff before you let the Hero go on the offensive. |
| 6 | 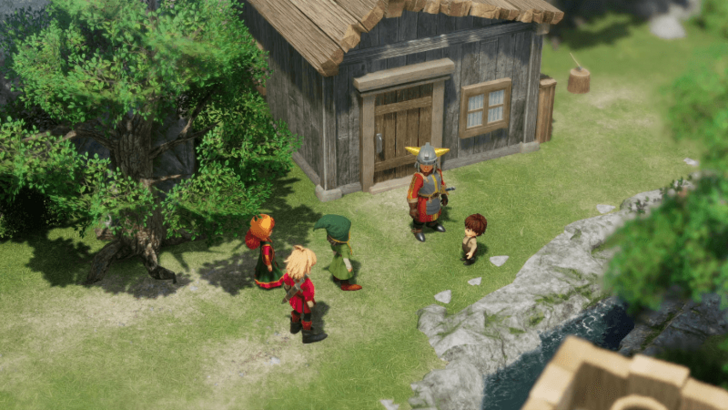 Once Maeve's been defeated, you will return to Ballymolloy with the island being saved. Talk to Patrick and head to The Oddwoods after the cutscene ends. |
| 7 | 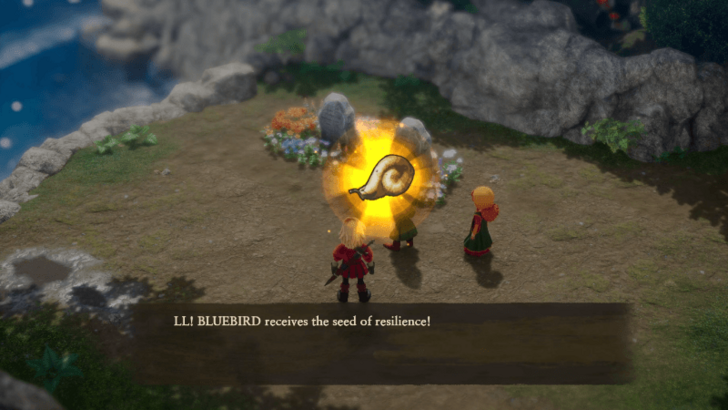 Talk to Patrick again in the forest and make sure to not take the doll from him. This will reward with you with a Seed of Resilience, which you wouldn't be able to get otherwise. |
| 8 | 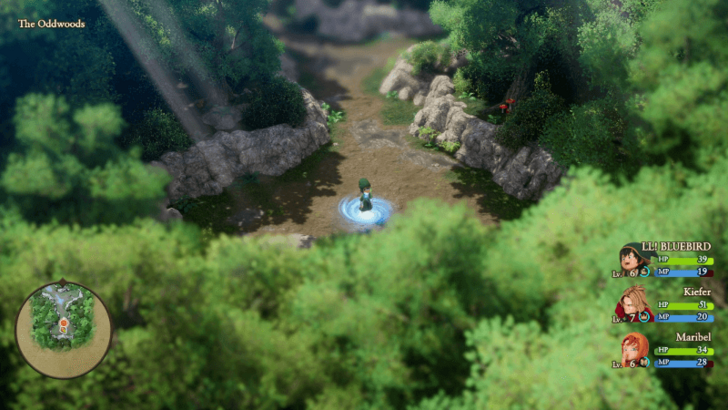 Now that the events at Ballymolloy are over, you'll be free to return to the present via the portal at the south end of The Oddwoods. |
Unlocking the Next Island
| 1 |  Exit the shrine and head back to Pilchard Bay. After talking to your mom, head west to the cave from the start of the game to talk to Kiefer and Maribel. |
|---|---|
| 2 | 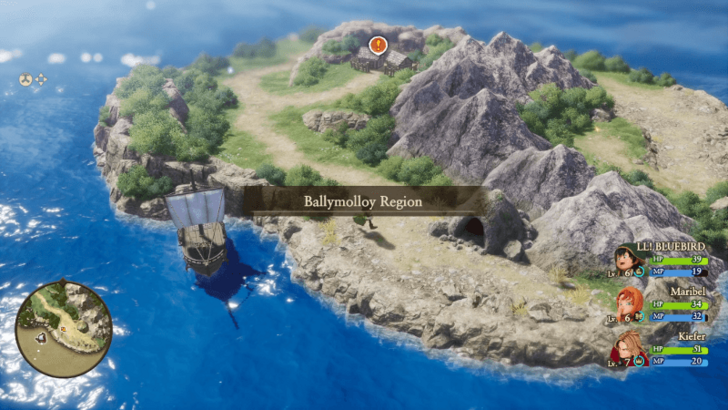 Once the cutscene's over, you will now have access to the boat. Since there's only two islands to visit at the moment, sail over to Ballymolloy to see what's different in the present. |
| 3 | As a note, you can take some time to farm the new enemies encountered while sailing so you can level up some more. |
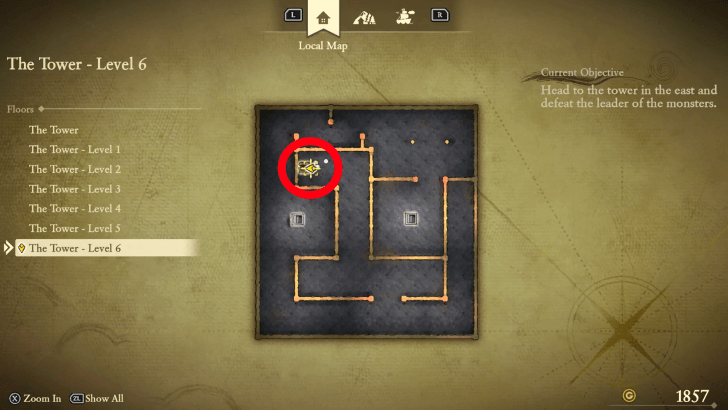
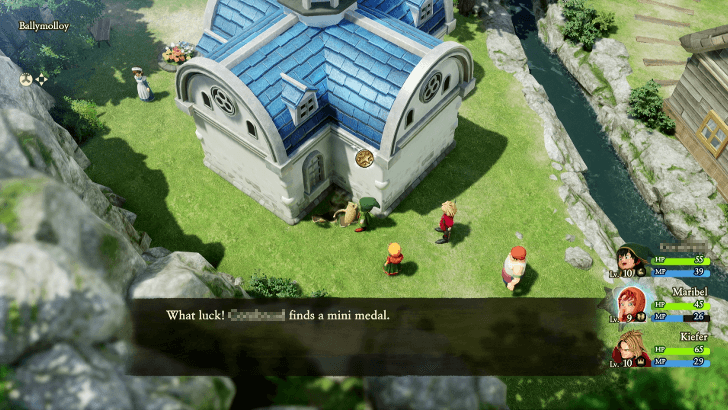
| 4 | 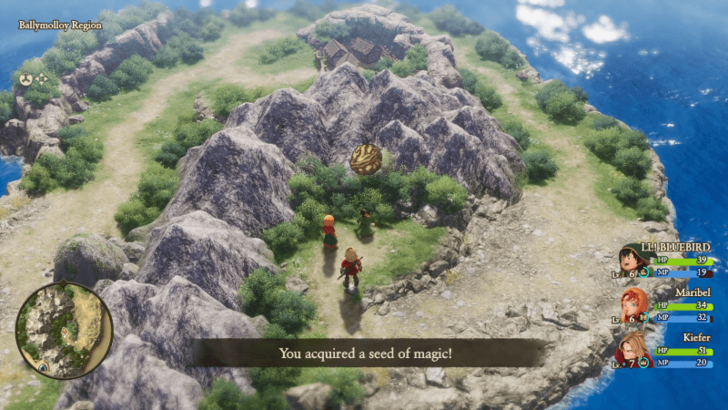 When you arrive at the Ballymolloy Region, make sure to head to the Sparkly Spot where The Tower was to get a Seed of Magic. Afterwards, you can head to Ballymolloy Village itself. |
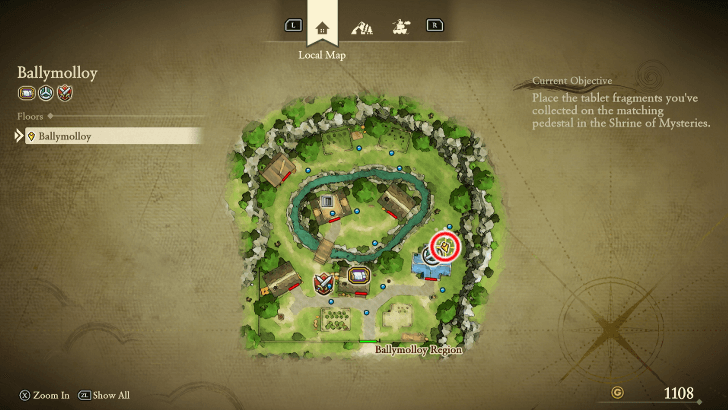
| 5 | 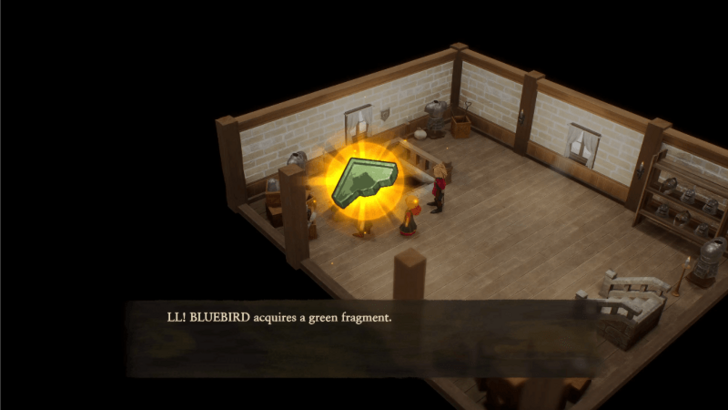 Explore the town first, and when you're done, head to the big Watchtower in the middle to talk to the man on the 2nd floor and select "No" for the dialogue option. He will give you a Green Tablet Fragment and the password to get into the Rainbow Mines. |
| 6 | 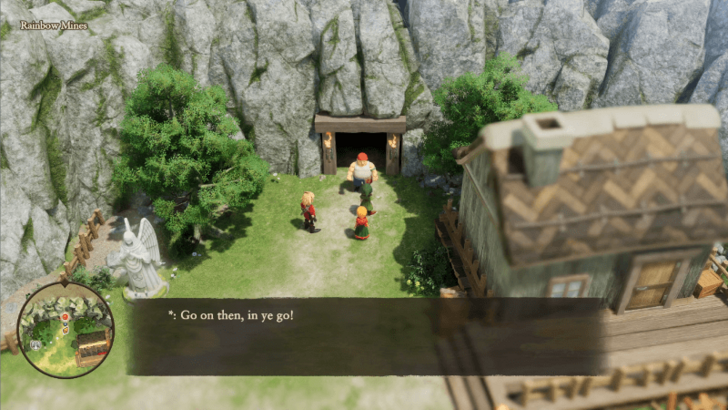 Once you're done in the town, head to the Rainbow Mines and talk to the man guarding the entrance to get in. The layout of the dungeon is slightly different, but there are no more puzzles you need to worry about. |
| 7 | 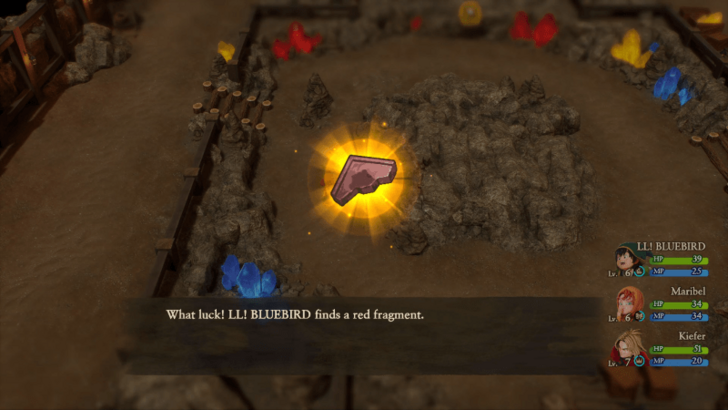 Follow the path down until you get to the room where the Green Gem was. Make sure to also grab the chest at the top right before getting the Red Tablet Fragment in the middle of the room. |
| 8 | 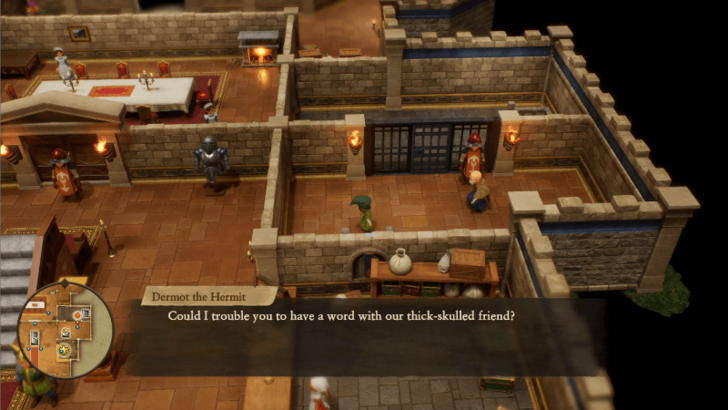 Now that you're done exploring the Ballymolloy Region, head back to Estard Castle to unlock the gate north of the Mini Medal desk. To get there, you will need to go to out from the second floor and head down the stairs in the rightmost tower. |
| 9 | 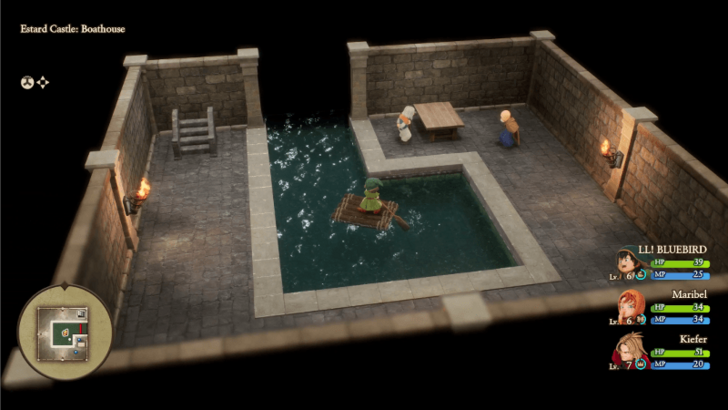 After talking to the guard and heading down with Dermot, you will gain access to a raft that lets you traverse the castle's moat. |
| 10 | 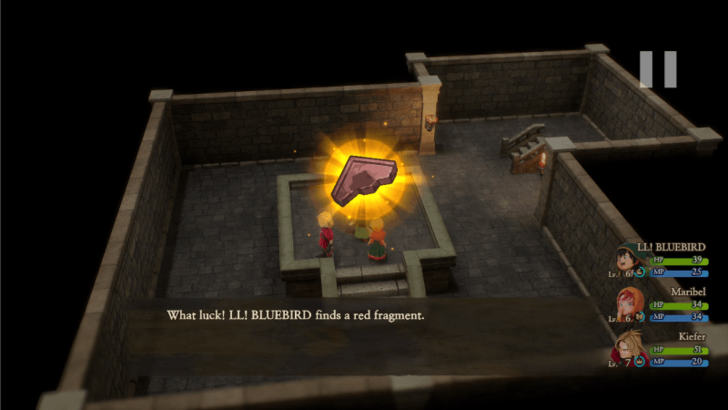 Navigate your way to the staircase on the west side of the castle and head through the back entrance. From there, head down the stairs to get a Red Tablet Fragment. |
| 11 | 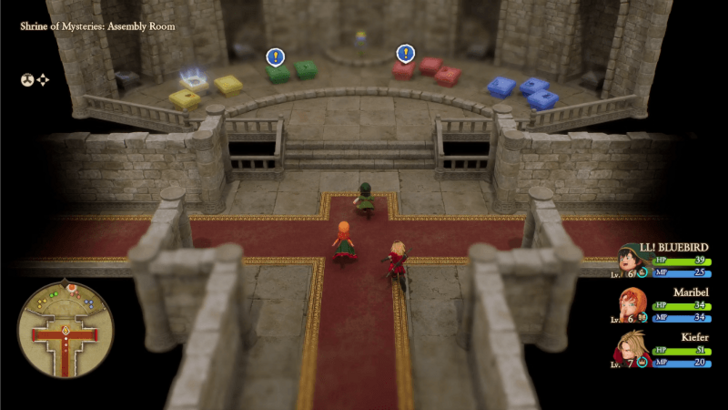 Now that you have enough pieces to assemble a new tablet, head back to the Shrine of Mysteries to assemble them. Interact with the red table to assemble the Red Tablet to travel to the second island, Emberdale. ▶︎ Jump to Emberdale Walkthrough |
Ballymolloy Bosses
All Ballymolloy Bosses
| Boss | Information |
|---|---|
|
|
Location:
The Tower
(Past) Walkthrough:
Ballymolloy
How to Beat: ・Cast Buff to increase physical defenses ・Attack with Kiefer and Maribel |
|
|
Location:
The Tower
(Past) Walkthrough:
Ballymolloy
How to Beat: ・Spam Dazzle on the boss ・Exploit their Fire weakness ・Cast Buff to increase physical defenses |
|
|
Location:
The Tower
(Past) Walkthrough:
Ballymolloy
How to Beat: ・Exploit their Fire weakness ・Cast Buff to increase physical defenses ・Have the Hero focus on supporting |
Ballymolloy Mini Medals
List of Mini Medal Locations
| Map Image | World Image | |
|---|---|---|
8 |
 (Past) |
 |
9 |
 (Present) |
 |
Ballymolloy Trophies
All Trophies Unlocked in Ballymolloy

|
Anchors Aweigh! |
|---|---|
|
Awarded for completing "The Heroes of Ballymolloy". ► Ballymolloy Walkthrough Guide |
Trophy Guide and Achievements List: How to Get Platinum
Dragon Quest 7 Reimagined (DQ7) Related Guides

List of All Story Walkthroughs
| All Main Story Walkthroughs | ||||
|---|---|---|---|---|
| 1 | Prologue | 2 | Ballymolloy | |
| 3 | Emberdale | 4 | L'Arca | |
| 5 | Regenstein | 6 | Frobisher | |
| 7 | Roamer Encampment | 8 | Alltrades Abbey | |
| 9 | Al-Balad | 10 | Roamer Encampment (Present) | |
| 11 | Hardlypool | 12 | The Tallest Tower | |
| 13 | Hubble | 14 | Aeolus Vale | |
| 15 | Buccanham | 16 | Pool of Piety | |
| 17 | Malign Shrine | 18 | Cathedral of Light | |
| 19 | Awakening the Fire Spirit | 20 | Awakening the Earth Spirit | |
| 21 | Awakening the Wind Spirit | 22 | Curious Tablet | |
| 23 | Cathedral of Blight | |||
| All Optional Side Stories | ||||
| 1 | Greenthumb Gardens | 2 | Vogograd | |
| 3 | Nottagen | |||
| All Post-Game Content | ||||
| 1 | Another World | 2 | Yet Another World | |
Comment
Author
Ballymolloy Walkthrough Guide
Rankings
- We could not find the message board you were looking for.
Gaming News

![Star Savior Review [First Impressions] | Engaging, Entertaining, and Expensive](https://img.game8.co/4447603/8f500e9bf666bdb8adb1af478e9dfdbd.png/show)


Popular Games

Genshin Impact Walkthrough & Guides Wiki
Umamusume: Pretty Derby Walkthrough & Guides Wiki
Crimson Desert Walkthrough & Guides Wiki
Monster Hunter Stories 3: Twisted Reflection Walkthrough & Guides Wiki
Honkai: Star Rail Walkthrough & Guides Wiki
Pokemon Pokopia Walkthrough & Guides Wiki
The Seven Deadly Sins: Origin Walkthrough & Guides Wiki
Wuthering Waves Walkthrough & Guides Wiki
Zenless Zone Zero Walkthrough & Guides Wiki
Arknights: Endfield Walkthrough & Guides Wiki


Recommended Games
Fire Emblem Heroes (FEH) Walkthrough & Guides Wiki
Diablo 4: Vessel of Hatred Walkthrough & Guides Wiki
Cyberpunk 2077: Ultimate Edition Walkthrough & Guides Wiki
Yu-Gi-Oh! Master Duel Walkthrough & Guides Wiki
Super Smash Bros. Ultimate Walkthrough & Guides Wiki
Pokemon Brilliant Diamond and Shining Pearl (BDSP) Walkthrough & Guides Wiki
Elden Ring Shadow of the Erdtree Walkthrough & Guides Wiki
Monster Hunter World Walkthrough & Guides Wiki
The Legend of Zelda: Tears of the Kingdom Walkthrough & Guides Wiki
Persona 3 Reload Walkthrough & Guides Wiki


All rights reserved
© ARMOR PROJECT/BIRD STUDIO/SQUARE ENIX
© SUGIYAMA KOBO ℗ SUGIYAMA KOBO
The copyrights of videos of games used in our content and other intellectual property rights belong to the provider of the game.
The contents we provide on this site were created personally by members of the Game8 editorial department.
We refuse the right to reuse or repost content taken without our permission such as data or images to other sites.