Post-Game Guide: Things to Do After Beating DQ7 Reimagined
☆ 100% Walkthrough Guide
★ Best Vocations | Best Party | Best Characters
☆ Find all Mini Medals and Tablet Fragments!
★ Farm Guides: EXP | Gold | Vocation Prof.
☆ List of Missables and Cut Content
★ Post-Game Guide
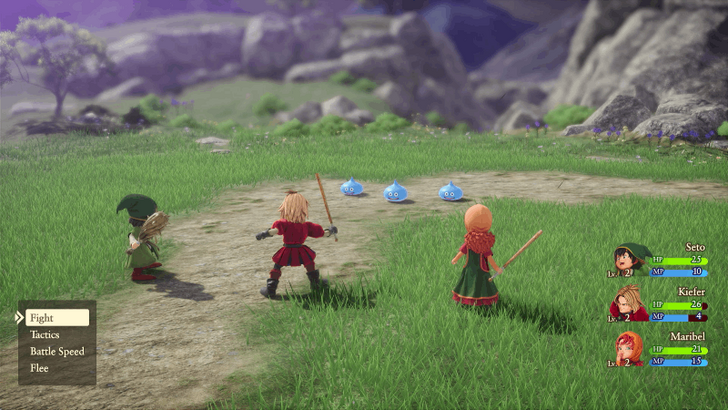
This is a guide to the post-game content of Dragon Quest 7 Reimagined (DQ7). Learn what players can do after defeating the final boss and a guide for what to do in the post-game here!
| ◀ Previous Guide |
|---|
| Cathedral of Blight |
List of Contents
 Warning! Warning! |
This page contains spoilers for Dragon Quest 7 Reimagined! If you wish to continue reading on, you have been warned. |
|---|
List of Post-Game Unlockables
New Arena Fights: Rampage Roads

After you defeat the final boss and reload your completed save, a pop-up will appear stating that an all-new challenge has appeared in the Battle Arena. This is the Rampage Roads, which has you pitted against empowered versions of the bosses you faced during the main story.
This is significantly more difficult than the normal arena fights, and any changes you make to the difficulty setting do not apply to the Rampage Roads.
Optional Dungeon: Another World
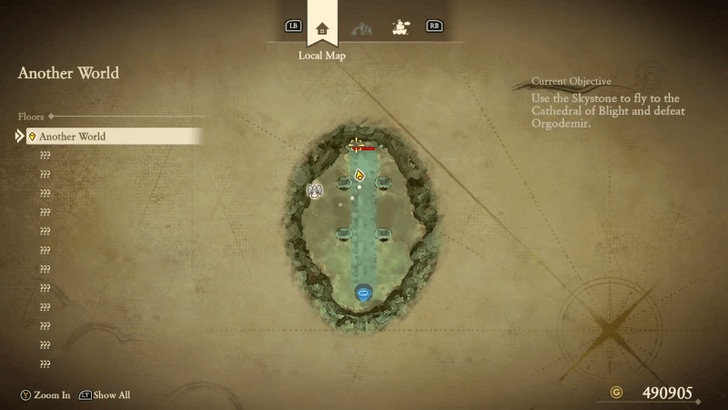
Aside from the new battle arena fights, you can now access a post-game exclusive optional dungeon.
As long as you've been collecting Silver Tablet Fragments, you can head to Basement 1 of the Shrine of Mysteries to assemble and access Another World.
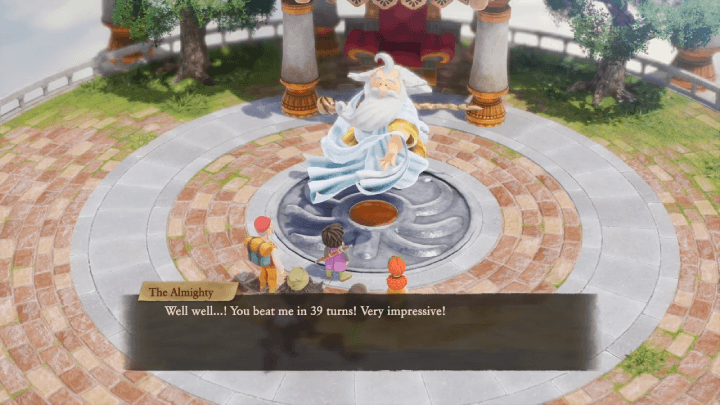
Secret Boss: The Almighty
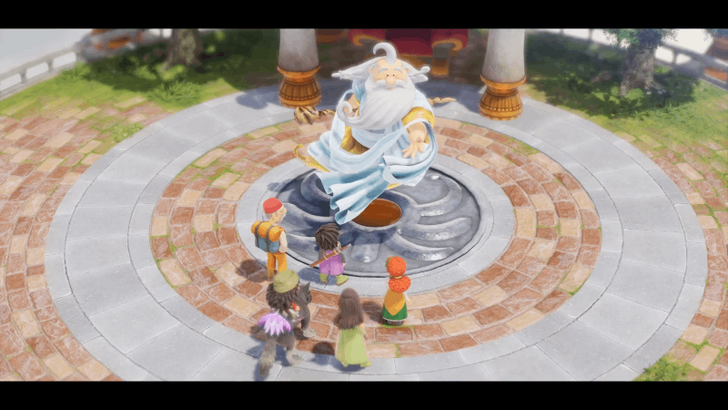
At the end of Another World is The Almighty, a boss that requires top-tier equipment and a high-level party. Prepare for a tough fight, as this boss tests your strategies and team composition.
Optional Dungeon: Yet Another World
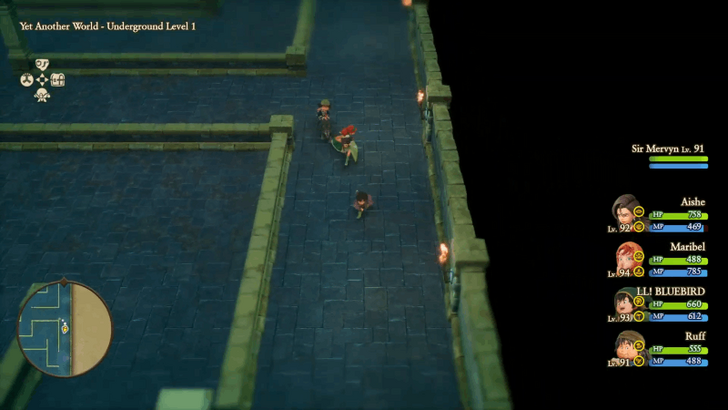
There's also a second optional dungeon called Yet Another World, which is accessible after collecting all Gold Tablet Fragments.
This dungeon contains some of the hardest enemies and bosses you can encounter, and should only be taken on by the strongest of parties.
Fight The Almighty Along With the 4 Elemental Spirits

At the conclusion of Yet Another World, you’ll face The Almighty again, now accompanied by all 4 Elemental Spirits. This is the toughest battle in the game, demanding a fully prepared party, the best equipment, and a solid strategy to win.
Post-Game Walkthrough
Another World
| Jump to a Section | ||
|---|---|---|
| Collect Silver Tablets | Another World | - |
Collect the Four Silver Tablets
| 1 | After completing the main story, load your save data and you will start at Pilchard Bay. |
|---|---|
| 2 | To enter the Another World post-game dungeon, you need to collect 4 Silver Fragments. |
| 3 |
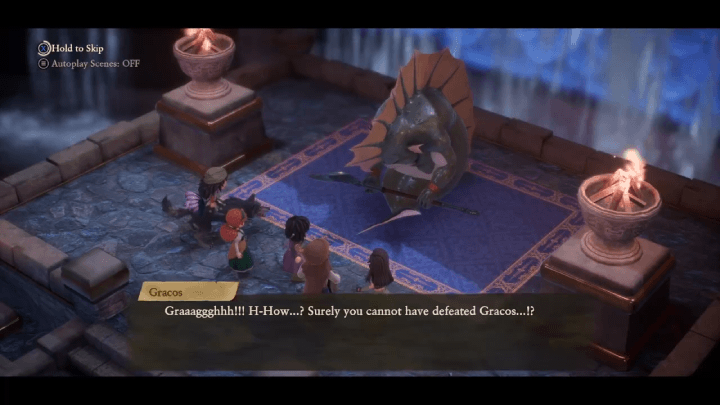 Get the first Silver Fragment by defeating Gracos V in the Sunken Citadel at Hardlypool region. |
| 4 |
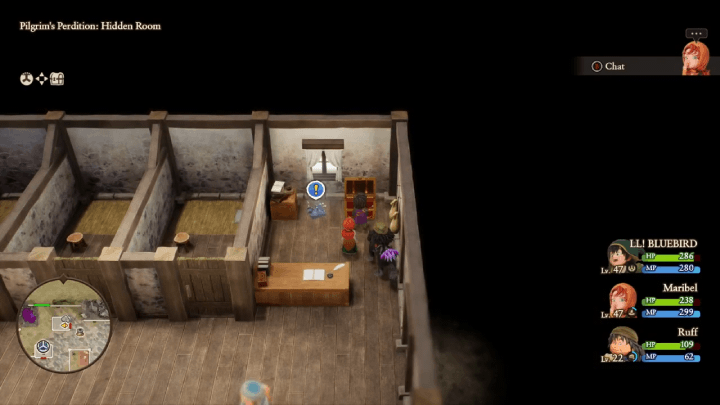 Travel to the past in Pilgrim's Perdition, Alltrades Abbey and enter the rental house north. Find the fragment on the ground behind the counter. |
| 5 |
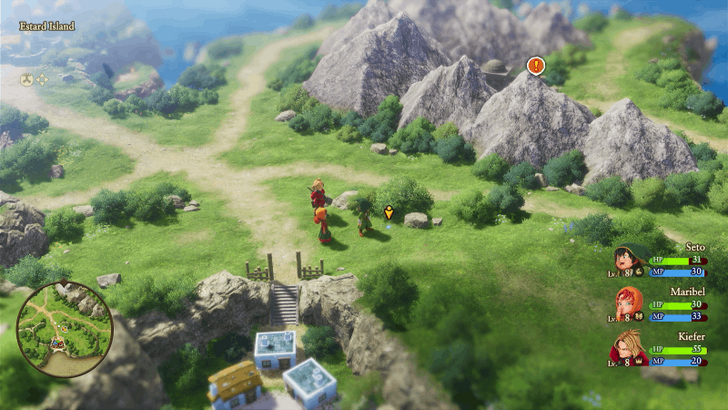
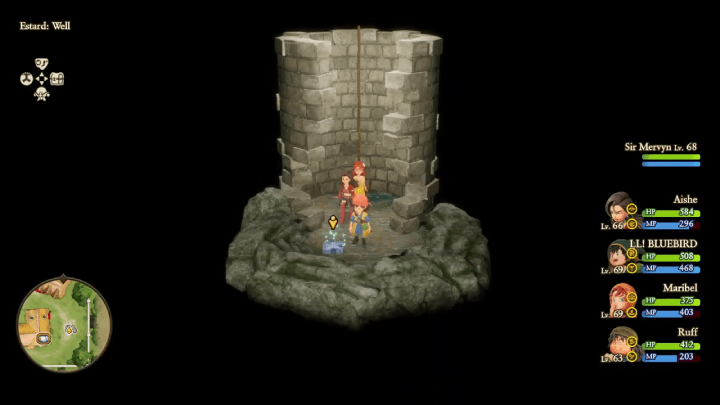 Go to Estard in the present day and enter the well southeast and pick up the Silver Fragment inside. |
| 6 |
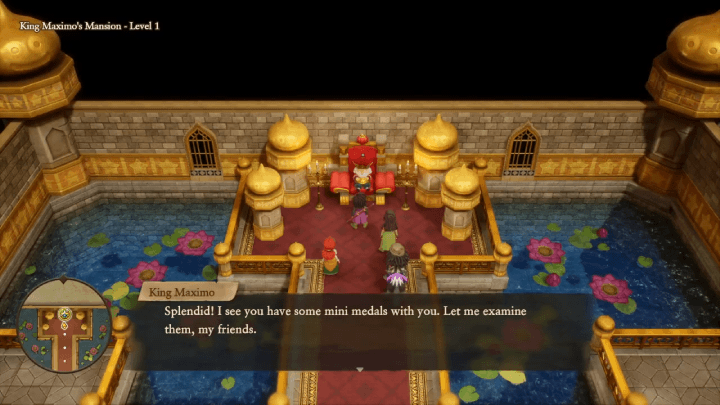 For the last fragment, you need to earn 50 Mini Medals and exchange it with King Maximo in his Mansion at the Hardlypool region. |
| 7 |
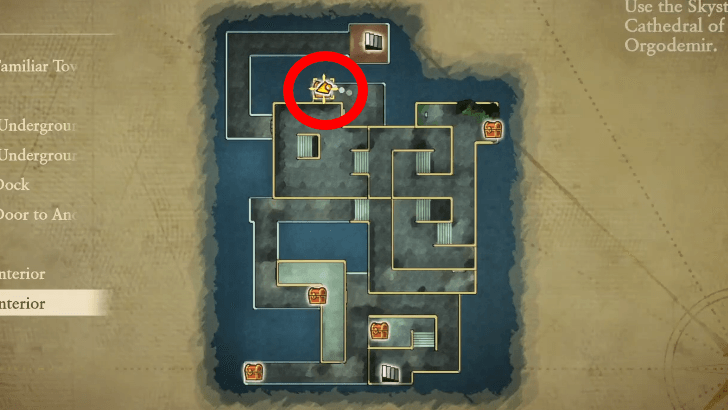
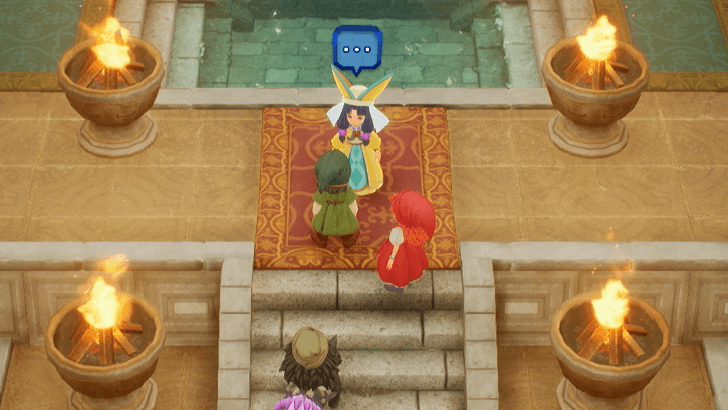
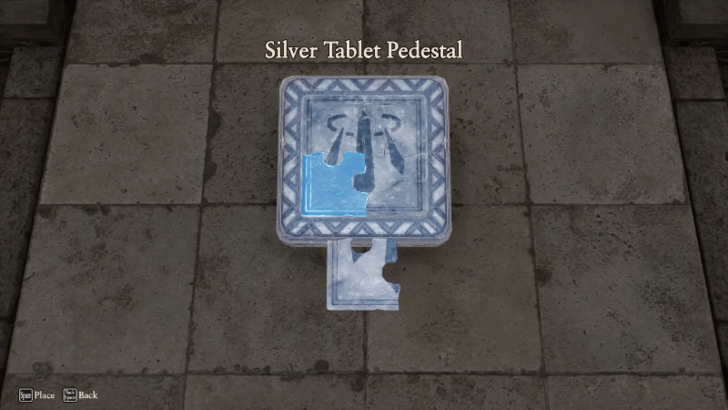 After collecting all 4 Silver Fragments, head to the first basement floor of the Shrine of Mysteries. Examine the pedestal and assemble the four Silver Fragments to teleport you to Another World. |
Travel to Another World
| 1 | Proceed from the first floor to the second floor of the area. You can get a Slime Armor from the treasure chest north. |
|---|---|
| 2 | Head west to reach the stairs leading to the third floor. Pick up the Yggdrasil Leaf from the northern treasure chest and defeat the Mimic located south. |
| 3 | On the third floor, take the stairs on the left side of the map to go to the fourth floor. Open the treasure chest north to get a Great Helm from it. |
| 4 | On the fourth floor, pick up the Gold Fragment in front of the tomb. Defeating the group of enemies in this area gives you the Grody Gumdrops Heart as a reward. |
| 5 | After obtaining the Gold Fragment on the fourth floor, go down the stairs on the east side of the map on the third floor to enter an area from the second floor. Open the treasure chest on the left for an Elfin Elixir. The other treasure chest is a Mimic. |
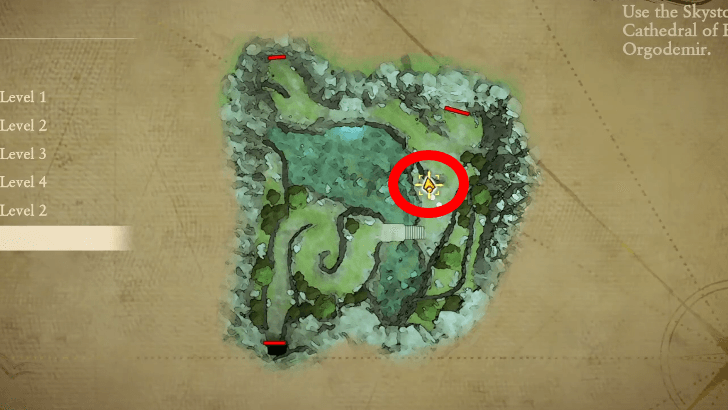
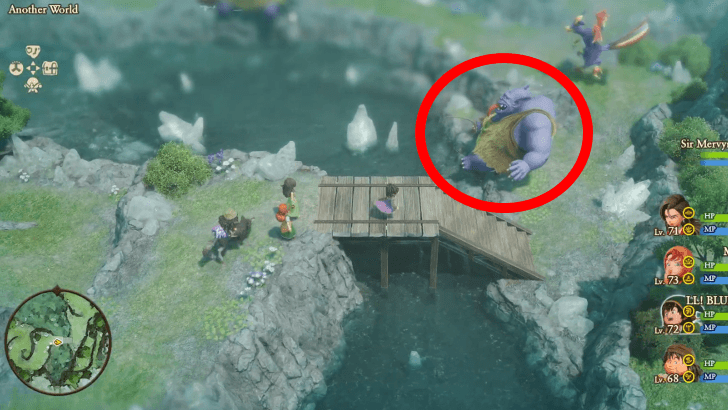
| 5 | Exit via the stairs on the east side to reach an outdoor-like area. Examine the sparkly spot near the fishing pole blocked by the giant troll monster to get a Mini Medal. Head to the northeastern part of the map. |
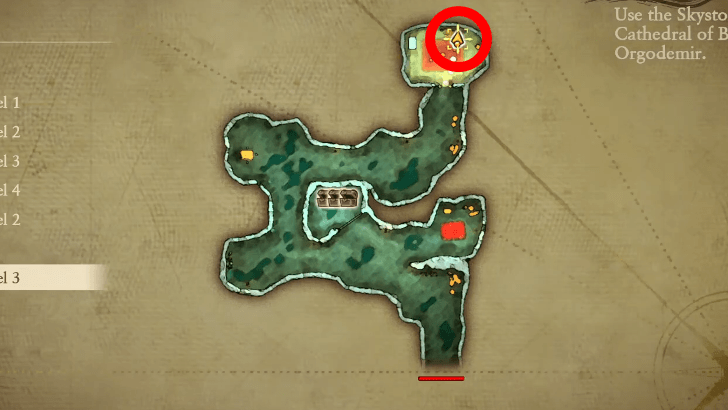
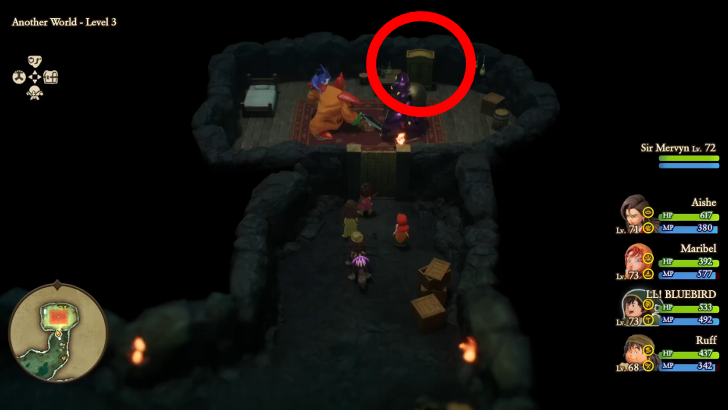
| 6 | The third floor (northeastern map) contains plenty of items and equipment to loot. Get the Seed of Life from the yellow drawer, the Drakulard Heart, Day Off Dress, and Supernova Sword from the three treasure chests behind the jail cell. Go to the bedroom area north and open the yellow drawer to get a Mini Medal. |
| 7 | Exit the area and head northwest. Pick up the Rose-Tinted Spectaculars weapon and Kerplunk Bracer from the two treasure chests. Proceed southeast to reach the next area. |
| 8 | When you reach the third floor, you can rest at an inn to heal up and save your progress at the church. Don't forget to pick up all the items in the houses in this area. |
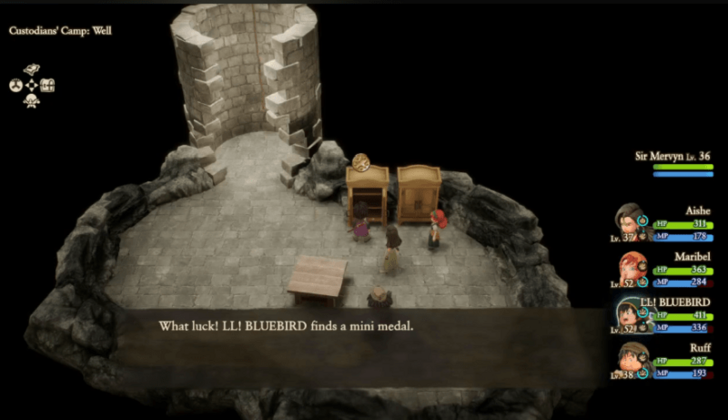
| 9 | Enter the well between the rest area and the church. Pick up the Gold Fragment inside. |
| 10 | Once you are done picking up all the items on the third floor, proceed to the northeastern part of the map to reach the fourth floor. Go straight ahead and open the door. |
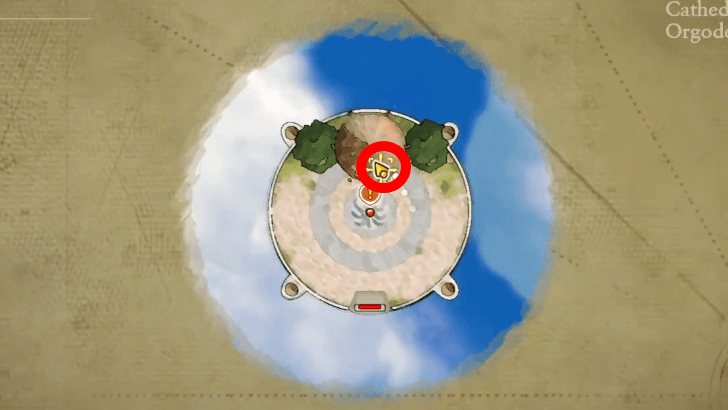
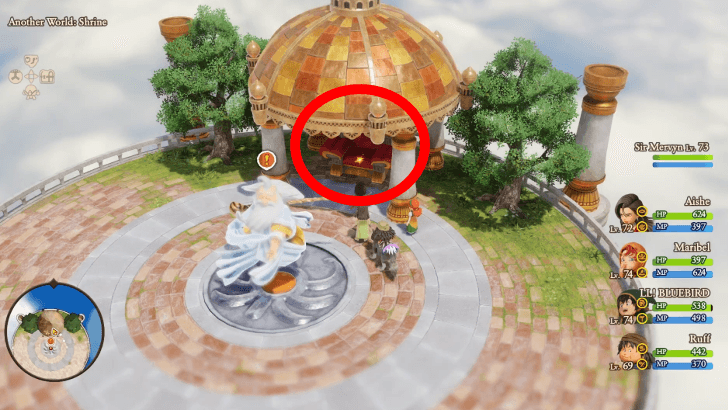
| 11 | When you reach the shrine, do not approach The Almighty yet as it will activate a cutscene. Instead, go around hin to reach the orange sparkly spot behind him to get a Mini Medal. |
| 12 | Approach The Almighty and choose "Yes" to start the boss fight. You can choose "No" if you are not ready yet. |
| 13 | Defeat The Almighty to get a Gold Fragment as a reward. |
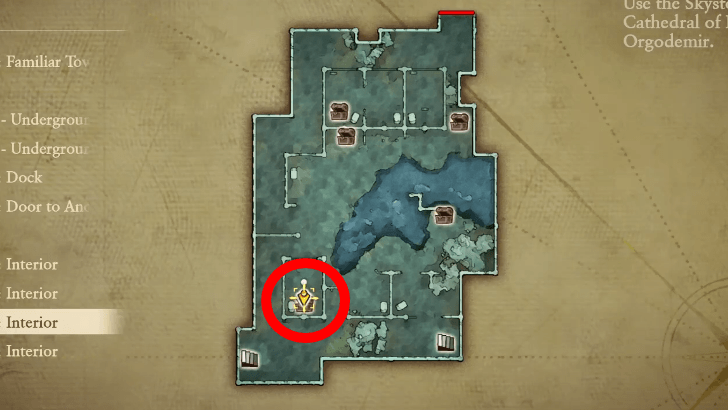
| 14 | To enter the next post-game dungeon, you need to collect eight Gold Fragments. Once you have them, go to the second basement floor of the Shrine of Mysteries to assemble the pieces to teleport you to Yet Another World. |
Yet Another World
| Jump to a Section | ||
|---|---|---|
| Collect Gold Tablets | Yet Another World | - |
Collect Eight Gold Fragments
| 1 | To enter the Yet Another World post-game dungeon, you need to collect 8 Gold Fragments. |
|---|---|
| 2 |
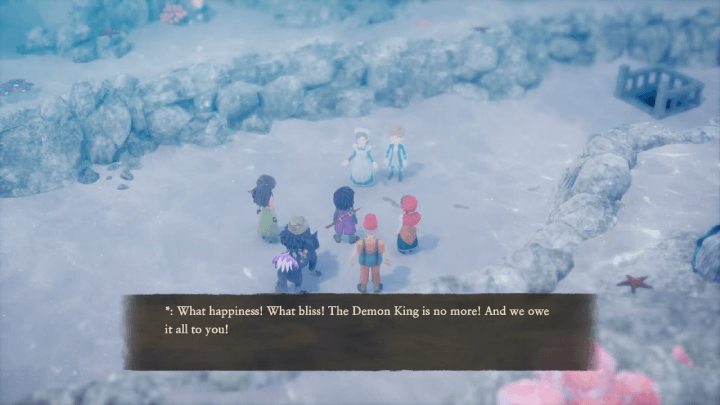 Travel to Coral Cave in the past and head to Basement Level 1 to receive the first Gold Fragment. |
| 3 |
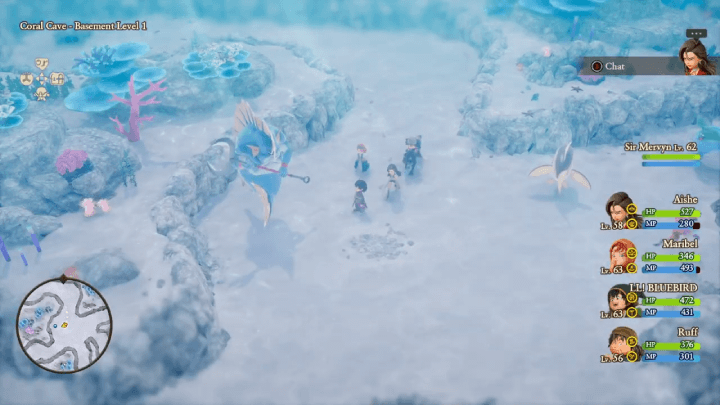 Travel to Coral Cave in the present and talk to the NPC at Basement Level 1 for the second Gold Fragment. |
| 4 |
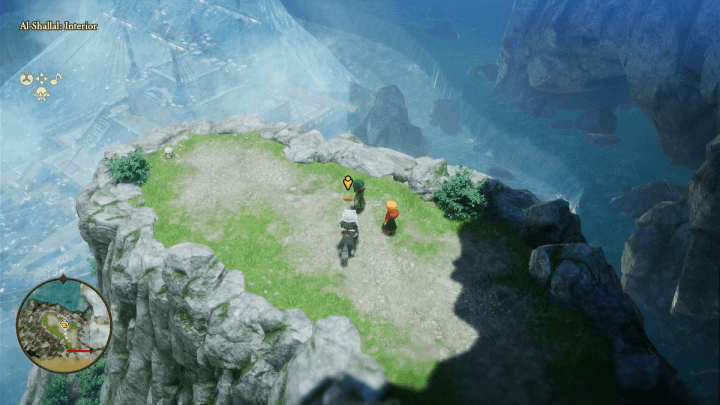 Go to Al-Balad in the present and enter the cave at the south corner. Head to the end of the path to find the third Gold Fragment at the cliffside. |
| 5 |
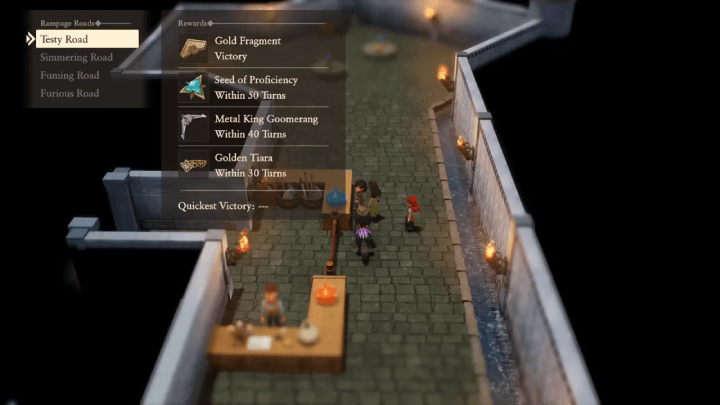 Travel to the Battle Arena at Buccanham Palace and earn a victory from the Testy Road Challenge to get the fourth Gold Fragment. |
| 6 |
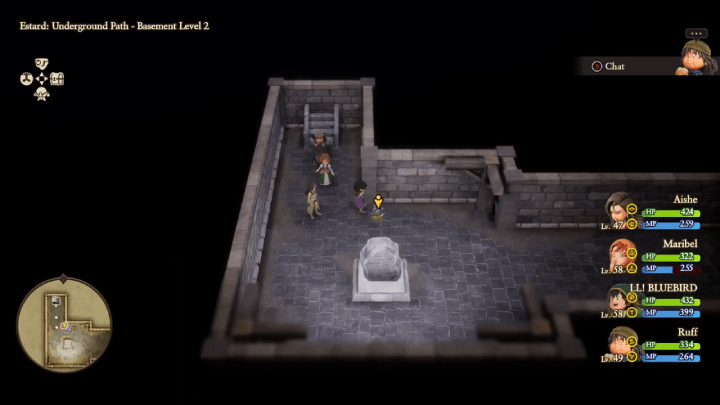 Head to Basement Level 2 of Estard Underground Tunnel and pick up the fifth Gold Fragment behind the stone slab. |
| 7 |
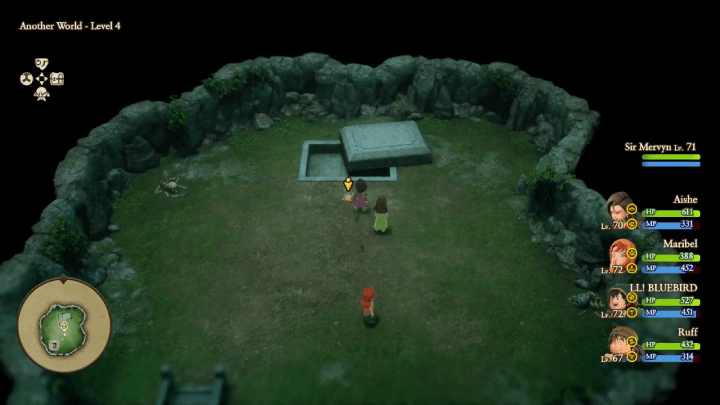 At the Another World post-game dungeon, go to Level 4 of the area and pick up the sixth Gold Fragment beside the tomb. |
| 8 |
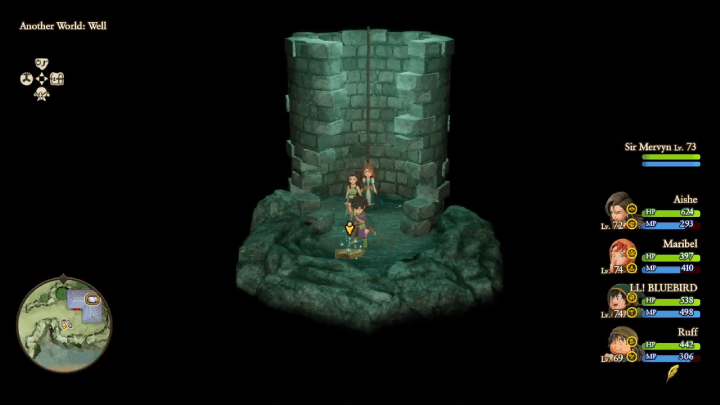 At the area where you can find a resting area and church in Another World, enter the well and pick up the seventh Gold Fragment inside. |
| 9 |
 Defeat The Almighty at the end of Another World to get the eighth Gold Fragment as a reward. |
| 10 | Once you have all 8 Gold Fragments, go to Basement Level 2 and interact with the pedestal. Assemble the eight fragments to teleport you to Yet Another World. |
Yet Another World
| 1 | You will begin in a town that resembles Estard. Head to the stairs west to descend to the basement floor. |
|---|---|
| 2 | Head to the north side of the map and defeat the Dread Dragon. Step on the switch located near it and head back to the town. |
| 3 | Head to the south side of the town map to enter the forest area. Defeat the Atlas enemy at the south part of the map and activate the switch. |
| 4 | Return to the town and enter the well east. |
| 5 | Defeat the Franticore at the east side of the map and step on the switch. Head to the northwest side and pull the lever. |
| 6 | Enter the house southwest to enter the volcano area. Find and activate the lever located northwest. |
| 7 | Head back to the town and enter the house northeast. |
| 8 | Activate the lever located northeast of the area. Don't forget to open the treasure chest near the stairs to get a Mini Medal. |
| 9 | Enter the equipment shop on the east side opposite of the church. |
| 10 | The lever at the northeast cell can only be reached by jumping off the second floor. Proceed to the second floor by heading to the stairs southwest of the area. |
| 11 |
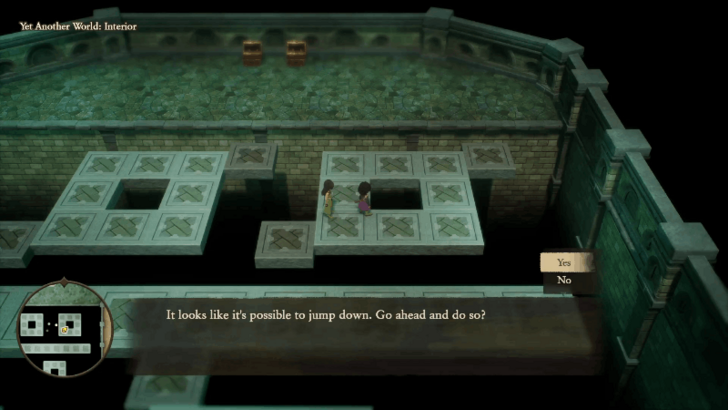 Collect all the treasure chests on the north side first. To reach the lever on the first floor, jump off from the upper right platform. |
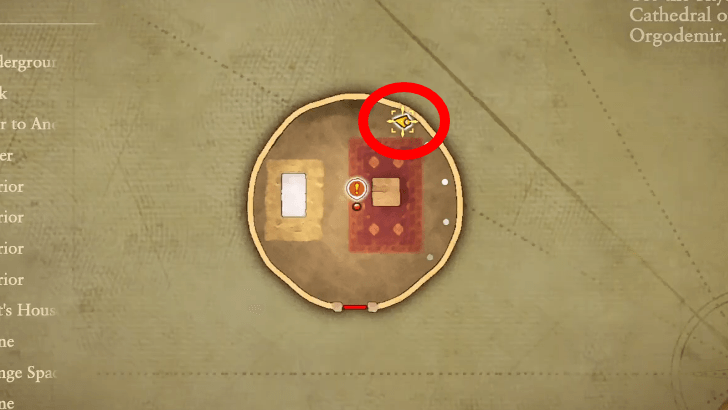
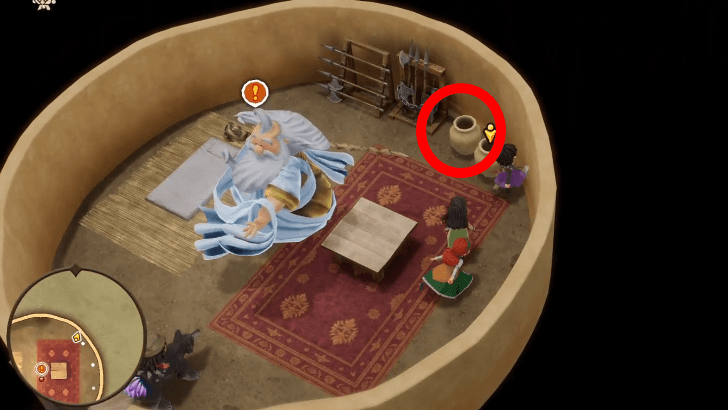
| 12 | Return to the town and head to the house at the upper right corner to enter the Idiot's House. |
| 13 | Interact with the treasure chest near the bed and defeat the Mimic. After defeating the monster, activate the switch inside the treasure chest. The other treasure chests are empty and you can get 1 Gold from the drawer. |
| 14 | Return to the town and head to the northern exit to reach the Dock. Defeat the Seavern guarding the switch and activate it. After that, board the small boat on the west side of the map to proceed to the Tower area. |
| 15 | Activate the lever located southwest of the Tower. Open the two treasure chests to get an Elfin Elixir and Goddess Ring. After that, board the small boat again and return to the dock. |
| 16 | Once you return to the dock, enter the old house and warp through the teleporter. Go further to reach the secret boss, the Four Spirits. |
| 17 | Defeat the secret boss, The Four Spirits in order for the Sea Serpent Sabre to turn into the Supreme Sea Serpent Sabre. After defeating them, do not enter the teleporter yet. Instead, return to the familiar town. |
| 18 | Go to the church on the west side of the map. |
| 19 | When you enter the church, you will find a boss named Xenlon. Defeat it to obtain a Xenlon Heart. Inspect the orange sparkly spot where the monster was to obtain the weapon, Heaven's Talon. |
| 20 | After defeating Xenlon, return to where the Four Spirits were and enter the teleporter to reach the Shrine. Break the two pots behind the shrine to get a Seed of Life and Seed of Magic. |
| 21 |
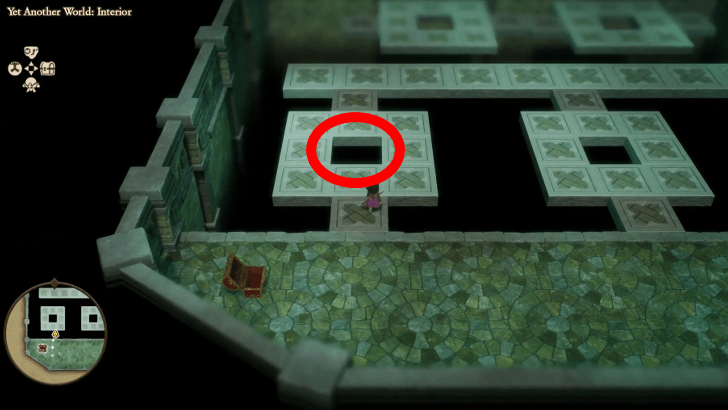
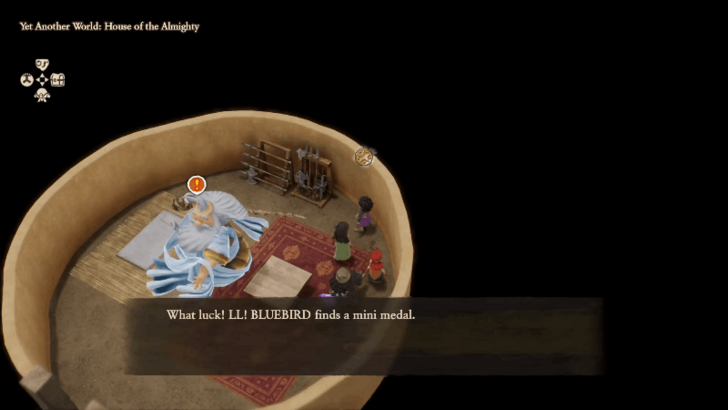 Before you interact with The Almighty, break the two pots behind him to get the Seed of Therapeusis and a Mini Medal. |
| 22 | Talk to The Almighty to start the boss fight with him alongside The Four Spirits. Defeating them earns you the Numen Heart. |
| 23 | You have the option to rematch The Almighty and The Four Spirits to get a Super Seed of Therapeusis as a reward. To rematch, teleport to another map and then visit the House of the Almighty again. |
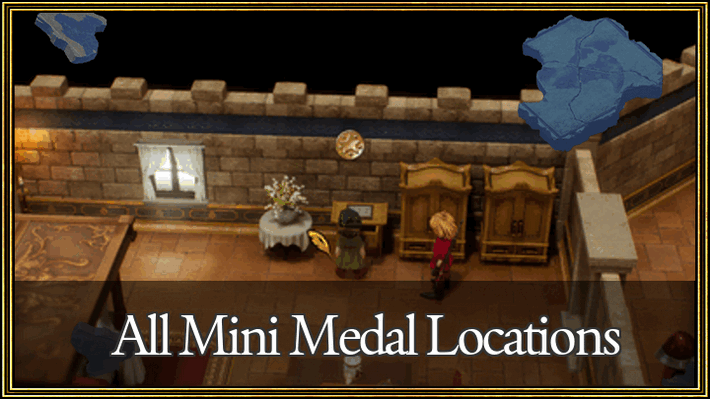
Post-Game Mini Medals
List of Mini Medal Locations
| Map Image | World Image | |
|---|---|---|
95 |
 (Present) |
 |
96 |
 (Present) |
 |
97 |
 (Present) |
 |
98 |
 (Present) |
 |
99 |
 (Present) |
 |
100 |
 (Present) |
 |
What to Do in the Post-Game
- Complete Optional Islands
- Master All Vocations
- Level Up to Level 99
- Find All 100 Mini Medals
- Get Lucky Panel Exclusive Items
- Defeat All Monsters
- Collect All Items and Equipment
- Obtain the Platinum Trophy
Complete Optional Islands
The optional islands, El Ciclo, Gröndal, and Providence, were cut from the main story in the Reimagined version but remained optional. Post-game, you can visit these scenarios using the Grey Stone Tablet .
Master All Vocations
If you haven't yet, it's recommended that all party members master every vocation available. This will allow you to adjust your party setup and team compositions to counter any foe you may face.
How to Level Up Vocational Proficiency Fast
Level Up to Level 99
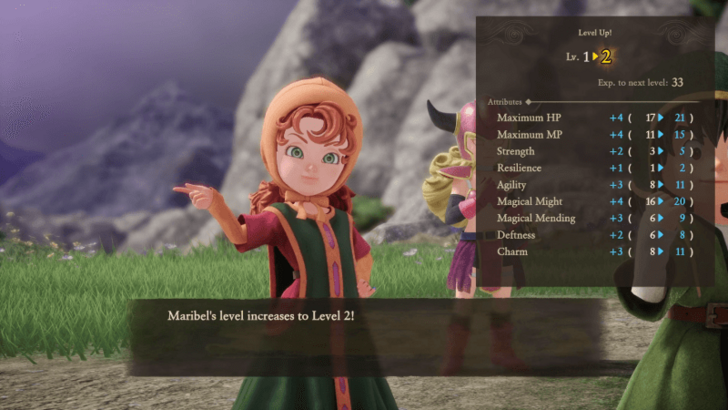
Aside from mastering all vocations, it's also recommended to max out your party's levels to 99. This will greatly increase each character's stats, making any challenge you face a lot easier to take on.
EXP Farming Guide: How to Level Up Fast
Find All 100 Mini Medals
Aside from getting the trophy, gathering all 100 Mini Medals will give you a bunch of items and rewards that will help you take on harder post-game challenges. Aim to get at least 50 Mini Medals since this will reward you with a Silver Fragment needed to access Another World.
All Mini Medal Locations and Rewards
Get Lucky Panel Exclusive Items
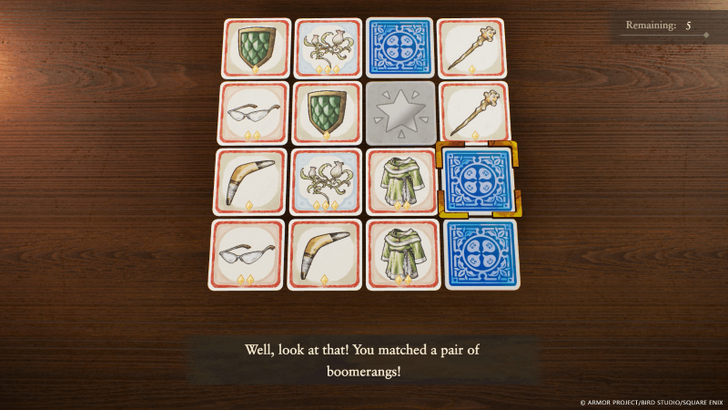
If you're aiming to fully complete the game, you will need to play the Lucky Panel to grind items. This is because some items are exclusive to this mini-game, and you won't be able to get all items without it.
Lucky Panel Guide: How to Farm Prizes
Defeat All Monsters
Another trophy to get requires you defeat all the different monsters found in both the past and present. Unlike Mini Medals, this isn't required for everyone, and only needs to be done by those looking to get the Platinum Trophy.
This also requires you to hunt down rare monsters such as the Metal Slimes, Jewels, and other members of the Slime monster family.
List of All Enemies and Monsters
Collect All Equipment
Similar to Mini Medals, collecting all weapons and equipment will grant you an achievement. Doing this will also give you a ton of options to use for battle, making it a recommended step even for those who aren't aiming to 100% the game.
Obtain the Platinum Trophy

For completionists, the Platinum Trophy awaits those who achieve 100% game completion. This includes collecting all Tablet Fragments, completing the enemy entries, finishing optional quests, gathering collectibles, and maxing out various post-game challenges.
Trophy Guide and Achievements List
Dragon Quest 7 Reimagined (DQ7) Related Guides

Dragon Quest 7 Reimagined Wiki Front
Recommended Guides
 All Mini Medal Locations
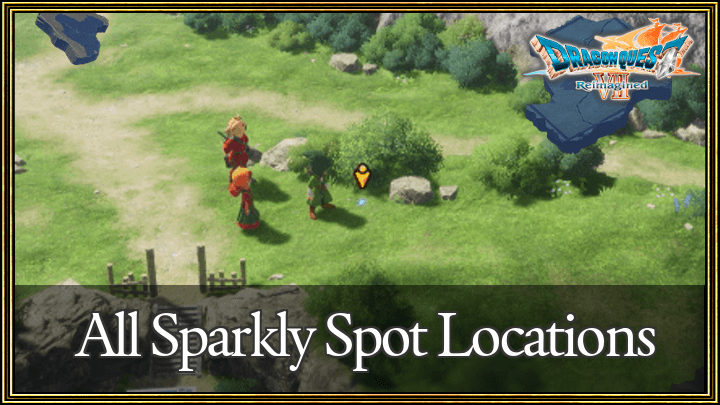 All Sparkly Spot Locations
 Best Vocations Tier List
 Best Characters Tier List
 Best Vocations For Each Character
 Best Party Builds
 Best Starting Vocations
 Best Monster Hearts
 Best Weapons and Equipment
 Best Skills Tier List
 EXP Farming Guide
 Money Farming Guide
 Vocational Proficiency Farming Guide
 Seed Farming Guide
 Trophy Guide and Achievements List
 List of Missables
 All Cut Content
 Lucky Panel Guide
 List of All DLCs
 List of All Keys
 Allblades Arena Guide
 Is There New Game Plus?
Comment
Author
Post-Game Guide: Things to Do After Beating DQ7 Reimagined
Rankings
- We could not find the message board you were looking for.
Gaming News

![Death Stranding 2: On The Beach Review [PC] | A Port That Delivers](https://img.game8.co/4447392/15310a0c9aa1b6843bb713b2ea216930.jpeg/show)
![Death Stranding 2: On The Beach Review [PC] | A Port That Delivers](https://img.game8.co/4447392/15310a0c9aa1b6843bb713b2ea216930.jpeg/thumb)


Popular Games

Genshin Impact Walkthrough & Guides Wiki
Umamusume: Pretty Derby Walkthrough & Guides Wiki
Crimson Desert Walkthrough & Guides Wiki
Monster Hunter Stories 3: Twisted Reflection Walkthrough & Guides Wiki
Honkai: Star Rail Walkthrough & Guides Wiki
Pokemon Pokopia Walkthrough & Guides Wiki
The Seven Deadly Sins: Origin Walkthrough & Guides Wiki
Wuthering Waves Walkthrough & Guides Wiki
Zenless Zone Zero Walkthrough & Guides Wiki
Arknights: Endfield Walkthrough & Guides Wiki


Recommended Games
Fire Emblem Heroes (FEH) Walkthrough & Guides Wiki
Diablo 4: Vessel of Hatred Walkthrough & Guides Wiki
Cyberpunk 2077: Ultimate Edition Walkthrough & Guides Wiki
Yu-Gi-Oh! Master Duel Walkthrough & Guides Wiki
Super Smash Bros. Ultimate Walkthrough & Guides Wiki
Pokemon Brilliant Diamond and Shining Pearl (BDSP) Walkthrough & Guides Wiki
Elden Ring Shadow of the Erdtree Walkthrough & Guides Wiki
Monster Hunter World Walkthrough & Guides Wiki
The Legend of Zelda: Tears of the Kingdom Walkthrough & Guides Wiki
Persona 3 Reload Walkthrough & Guides Wiki


All rights reserved
© ARMOR PROJECT/BIRD STUDIO/SQUARE ENIX
© SUGIYAMA KOBO ℗ SUGIYAMA KOBO
The copyrights of videos of games used in our content and other intellectual property rights belong to the provider of the game.
The contents we provide on this site were created personally by members of the Game8 editorial department.
We refuse the right to reuse or repost content taken without our permission such as data or images to other sites.