Roamer Encampment Walkthrough Guide
☆ 100% Walkthrough Guide
★ Best Vocations | Best Party | Best Characters
☆ Find all Mini Medals and Tablet Fragments!
★ Farm Guides: EXP | Gold | Vocation Prof.
☆ List of Missables and Cut Content
★ Post-Game Guide
This is a walkthrough guide for the Roamer Encampment of Dragon Quest 7 Reimagined (DQ7). See a step-by-step guide to complete the Roamer Encampment and the quest, Farewell to Kiefer, as well as how to unlock the next area here.
| ◀ Previous Guide | Next Guide ▶ |
|---|---|
| Frobisher | Alltrades Abbey |
List of Contents
 Warning! Warning! |
This page contains spoilers for Dragon Quest 7 Reimagined! If you wish to continue reading on, you have been warned. |
|---|
Roamer Encampment Walkthrough Guide
| Jump to a Section | ||
|---|---|---|
| Roamer Encampment | Nameless Forest | Pool of the Cave |
| Poolside Cave | Roamer Encampment (Part 2) | Unlocking the Next Island |
Roamer Encampment
| 1 |
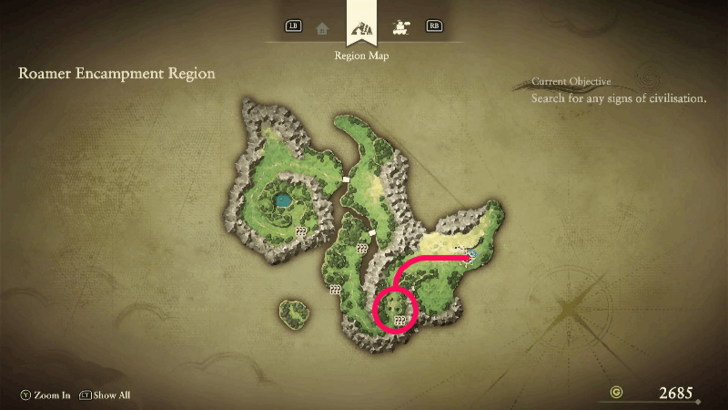 Head west and then south to reach the Roamer Encampment tent. |
|---|---|
| 2 |
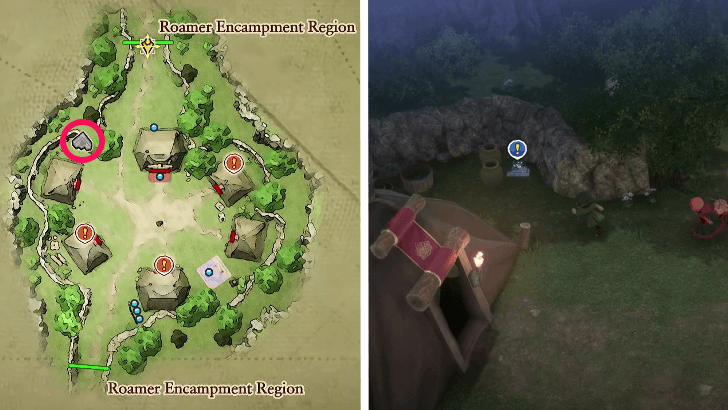 Pick up the Gray Fragment at the west side of the encampment. |
| 3 |
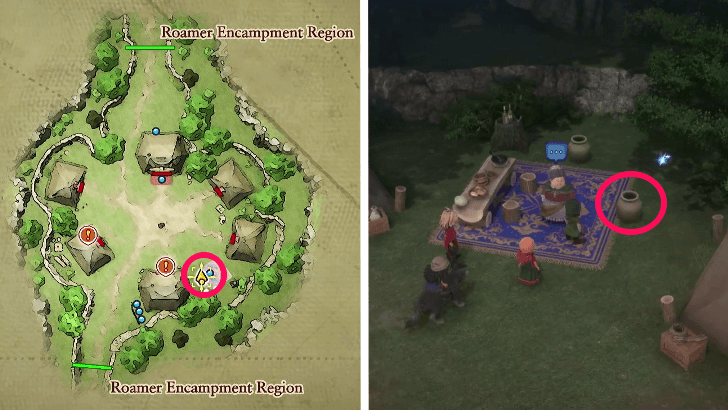 Break the vase next to the woman on the blue carpet at southeast side of the area to get a Mini Medal. |
| 4 |
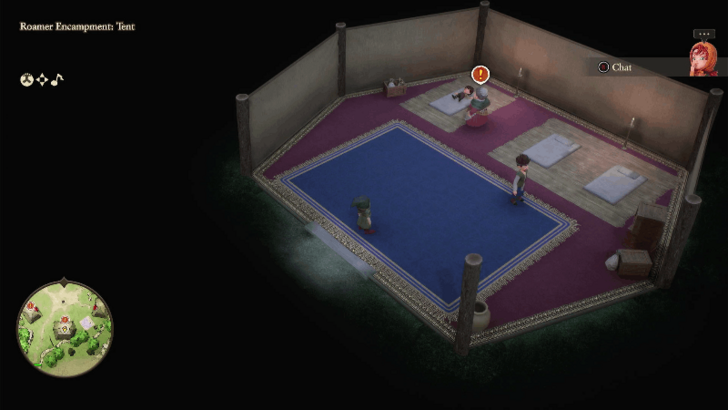 Speak with the three people that have exclamation points on their heads. Then, talk to the man in front of the north tent to progress the objective. |
| 5 |
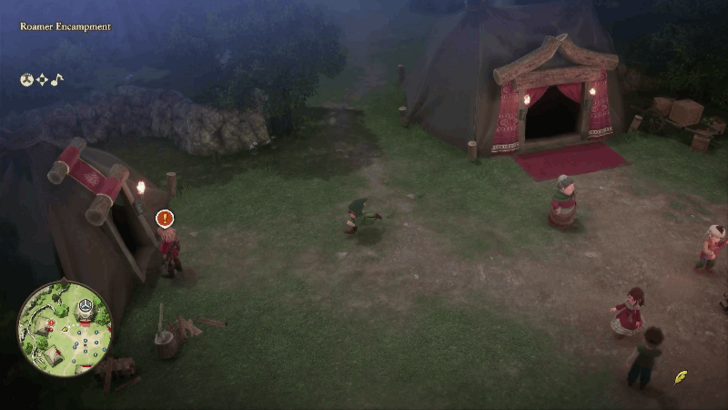 Once the cutscene ends, speak with Kiefer in front of the tent at the west side. Talk to the woman on the blue carpet at the southeast side to get the Spirit of the Dance and return to Kiefer. |
| 6 |
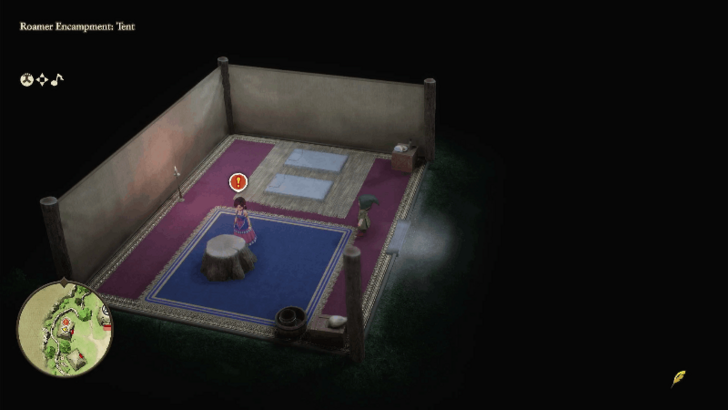 Enter the tent and talk to Lala inside. After the cutscene ends, attempt to exit the tent for another cutscene. |
| 7 |
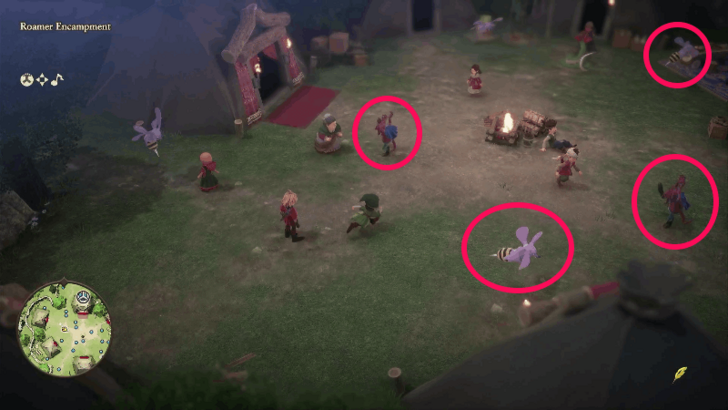 Interact with the 2 Mousenaps and 2 Dancing Devils at the area and defeat them in battle. |
| 8 |
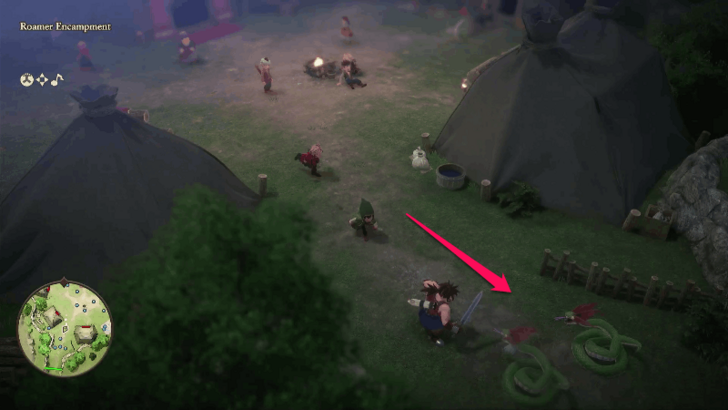 Head to the south part of the area and help Boldo defeat the Crested Vipers in battle. |
Nameless Forest
| 1 |
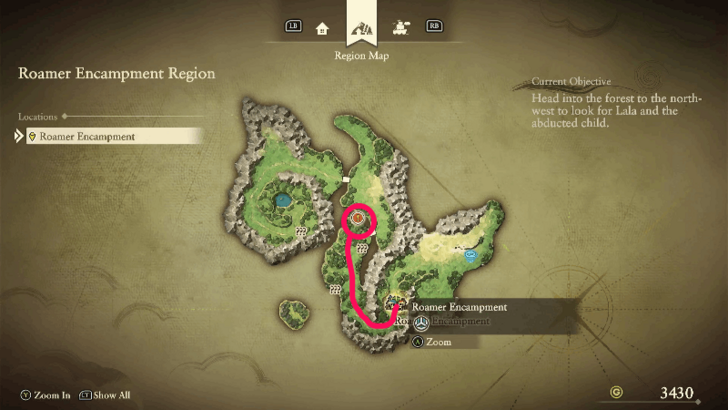 Travel northwest to reach the Nameless Forest. |
|---|---|
| 2 |
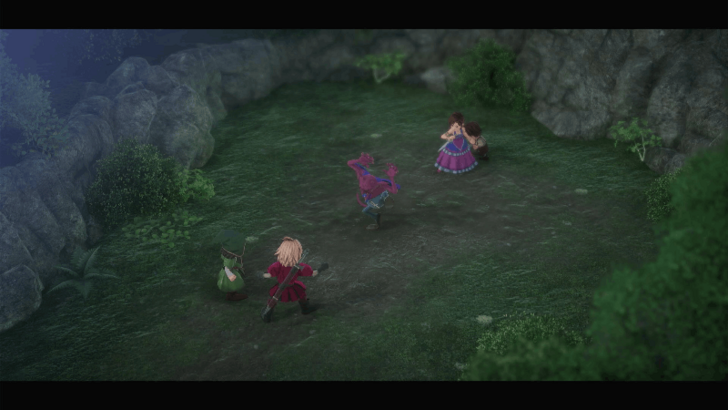 Ignore the path at the east side and head north to find Lala. Defeat the Dancing Devil in battle. You will teleport back to the Roamer Encampment after the cutscenes end. |
Pool of the Cave
| 1 |
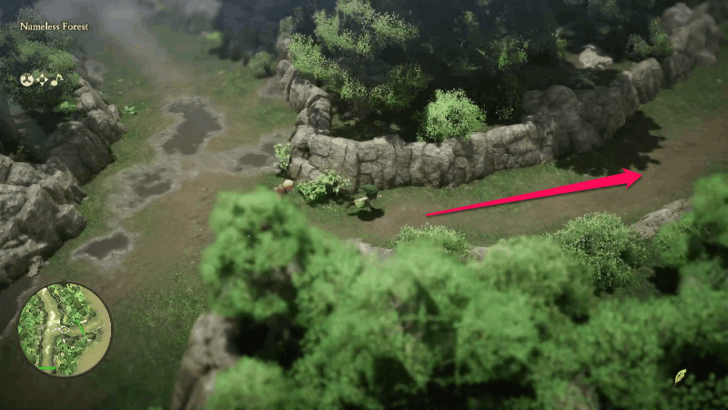 Cast Zoom to fast travel to the Nameless Forest. Head to the path east to enter the overworld from the bridge side. |
|---|---|
| 2 |
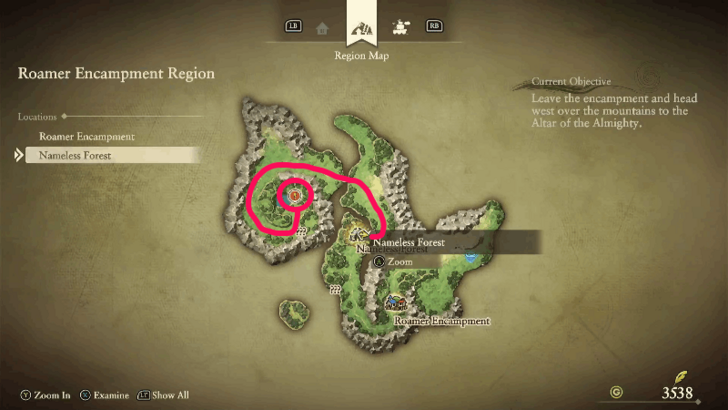 Head north and then cross the bridge west to reach the next area. |
| 3 |
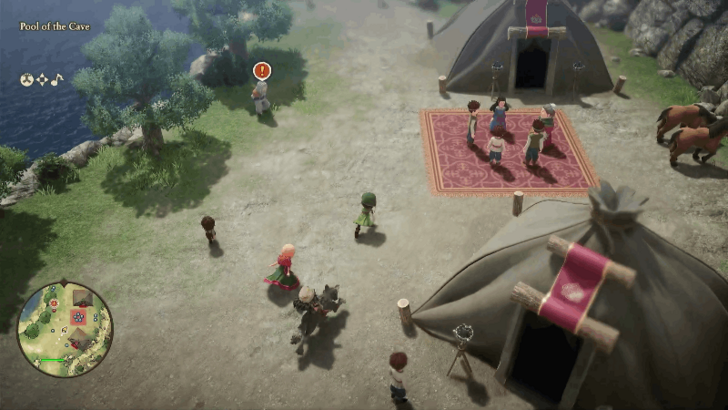 Talk to the old man with the exclamation point above him and then rest inside the nearby tent after. Exit the tent to activate a cutscene. |
Poolside Cave
| 1 |
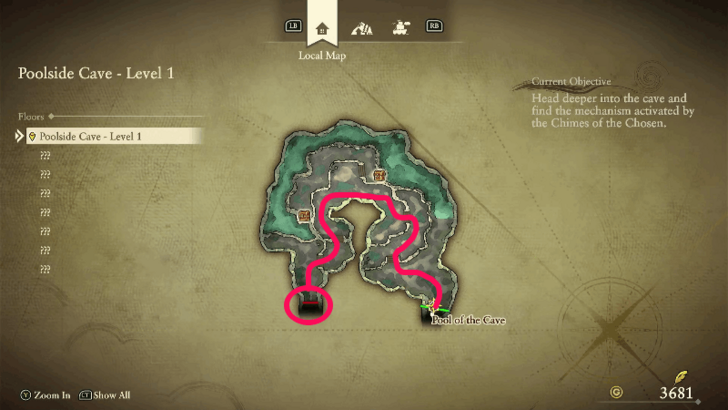 The chests at Level 1 do not contain anything, so ignore them and proceed with heading to the path west. |
|---|---|
| 2 |
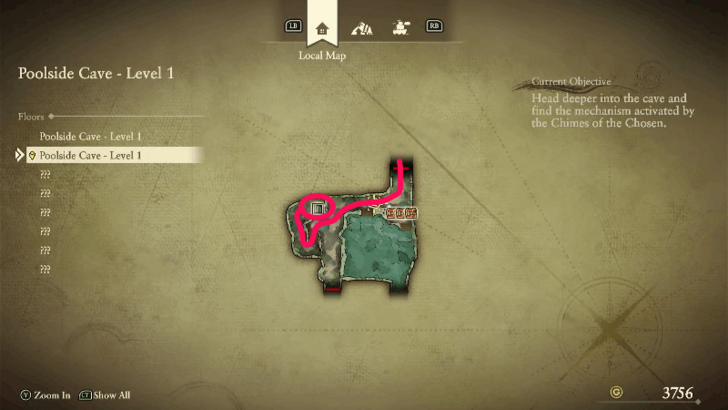 The three treasure chests in the room are inaccessible at this point, so proceed with heading west to reach the staircase. |
| 3 |
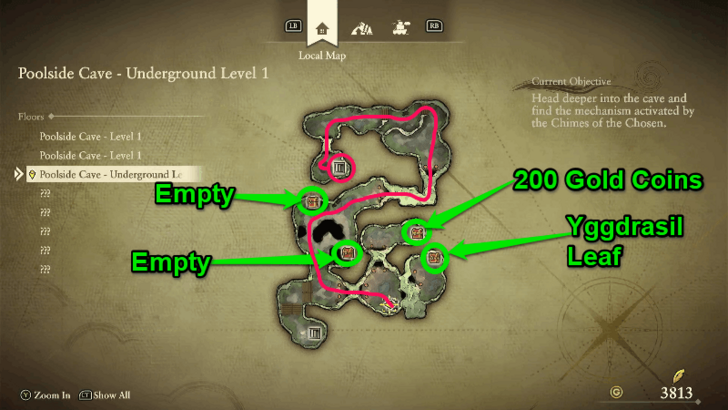 Head to the stairs north to reach the next area. Open the two treasure chests on the northeastern side to get 200 Gold Coins and an Yggdrasil Leaf. Be careful when crossing the area with the pits northwest as you will fall to Underground Level 2 when doing so. |
| 4 |
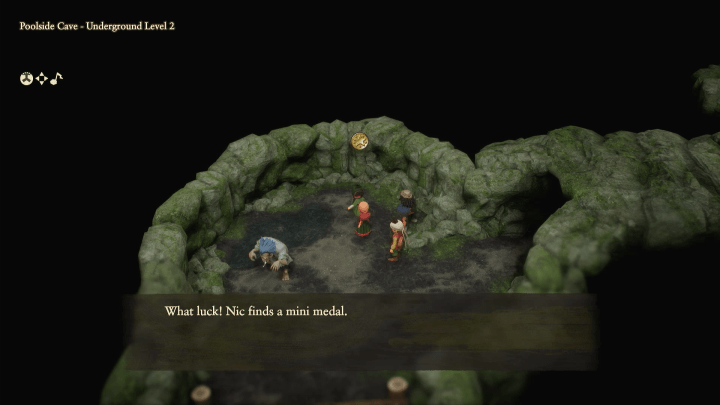
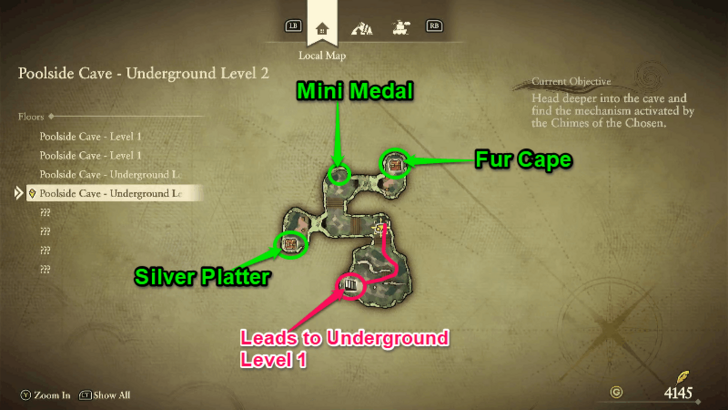 If you fall from the pits, you will reach Underground Level 2. Head to the northern corner and interact with the orange shiny spot to get a Mini Medal. Open the two treasure chests to get a Fur Cape and a Silver Platter. Head south towards the stairs to head back up to Underground Level 1. |
| 5 |
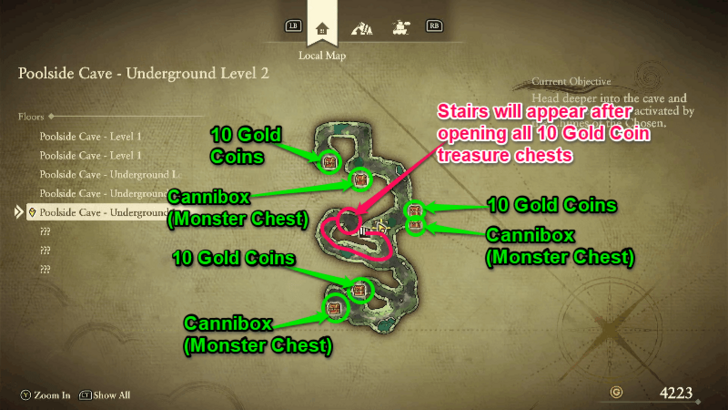 At Underground Level 2, open all the treasure chests that contain 10 Gold Coins in order to spawn the staircase that leads to the next area. The remaining treasure chests are Canniboxes (Monster Chests). |
| 6 |
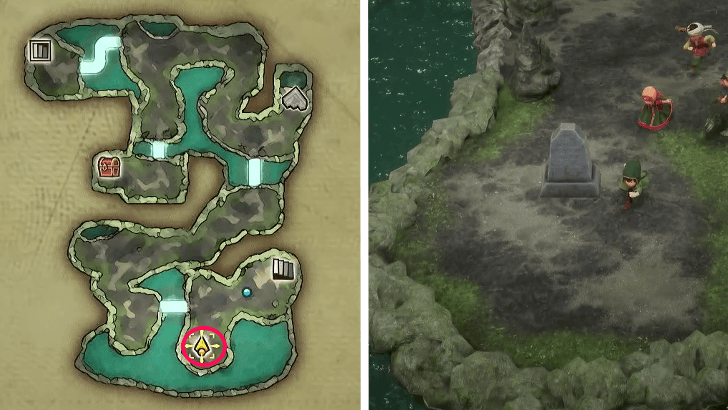 Interact with the stone at Underground Level 3 to activate light bridges that allow you to cross the paths that lead to the next area. Pick up the Yellow Fragment at the northeastern corner and open the treasure chest to get Magic Water. |
| 7 |
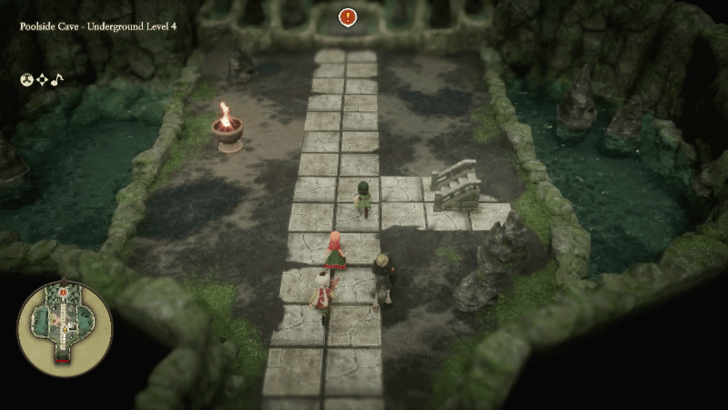 Head north to activate the mechanism that opens the wall on the southside of the area. Head to the newly opened area leading to Underground Level 4. Head north again to reach Level 1. |
| 8 |
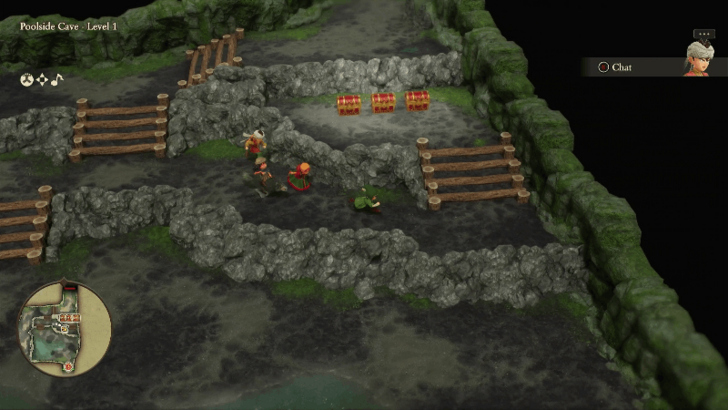 The eastern part of Level 1 is now accessible. Cross the stairs and open the three treasure chests to get a Prayer Ring, a Stellar Fan, and a Seed of Resilience. Head south to exit leading to the altar area of the Pool of the Cave. |
| 9 |
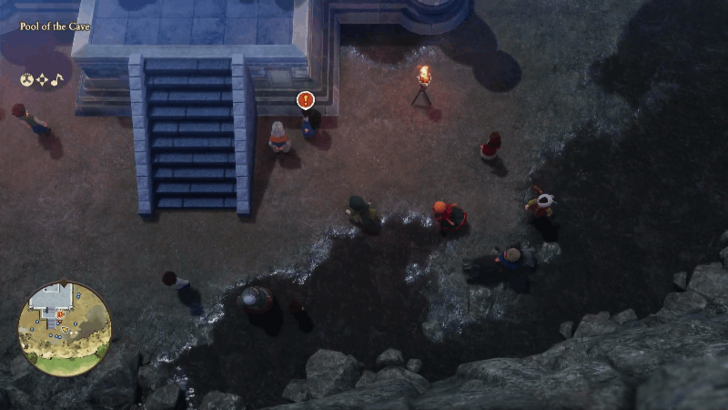 Save your progress at the angel statue and speak with the lady wearing a blue dress at the altar. The door in the altar will appear after the cutscene. Head inside and follow the path leading north. |
| 10 |
 Use Maribel's Crack skill and Kiefer's Lightning Slash skill to exploit Florin's elemental weaknesses. Use Ruff to attack normally or use his Skills if he still has MP. Have the Hero Heal when needed and use Buff to raise the party's defenses as soon as possible as Florin can use multi-attack moves that also inflict status ailments. |
Roamer Encampment (Part 2)
| 1 |
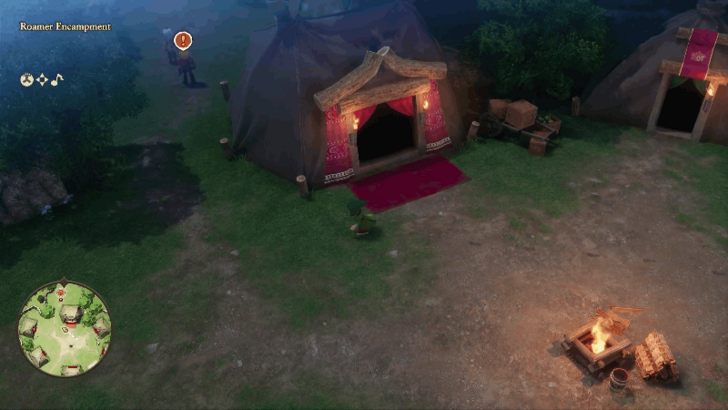 After the boss fight is over, you will teleport back at the Roamer Encampment. Find Kiefer at the north side of the tent. |
|---|---|
| 2 |
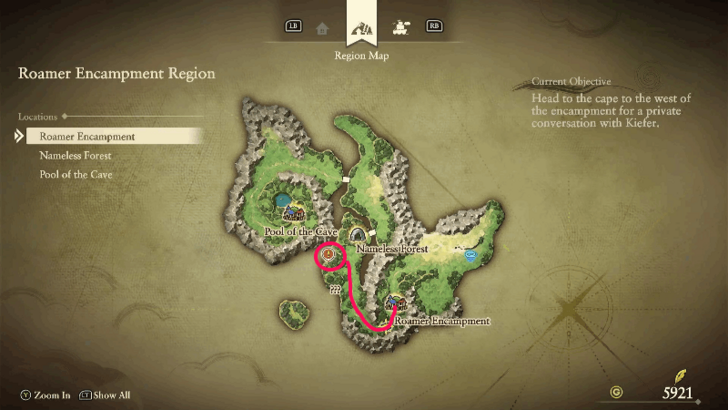 Head to the overworld and travel to the cape west of the encampment. Once the cutscene ends, exit the tent and approach Kiefer in the middle of the area. |
| 3 |
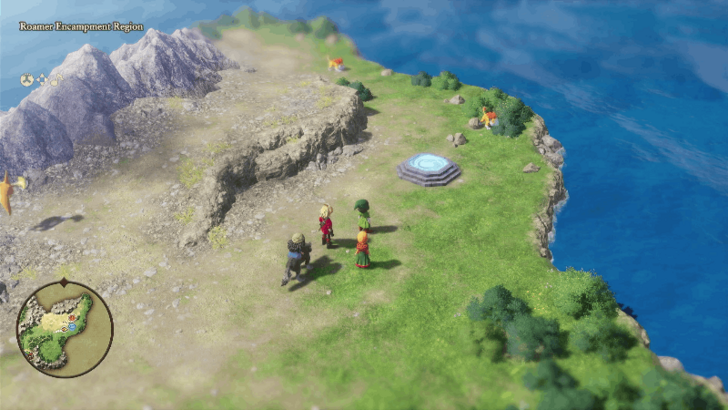 Head to the teleporter east of the encampment to return to the present era. Make sure to unequip Kiefer before entering the teleporter, as he will leave the party permanently at this point. |
Unlocking the Next Island
| 1 |
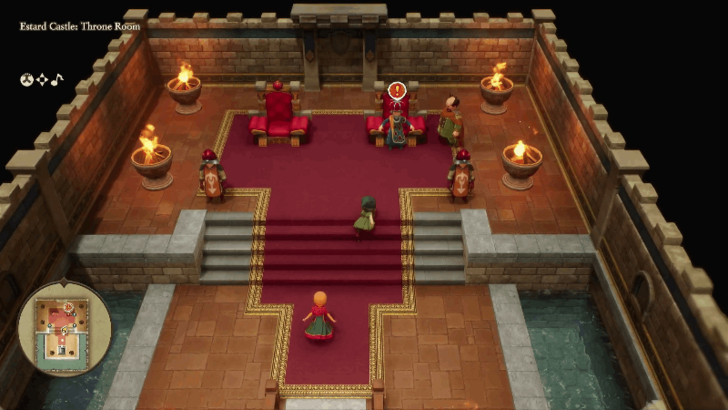 Head to the throne room of Estard Castle and deliver Kiefer's note to King Donald. He will give you a Blue Fragment in return. |
|---|---|
| 2 |
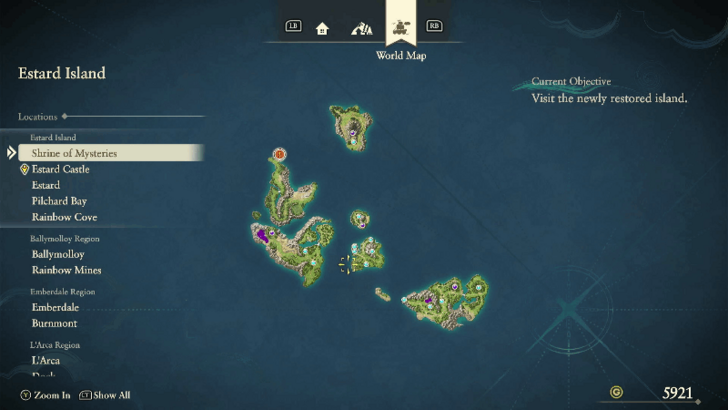 Set sail to the island northwest of Estard to reach the Roamer Encampment region in the present era. |
| 3 |
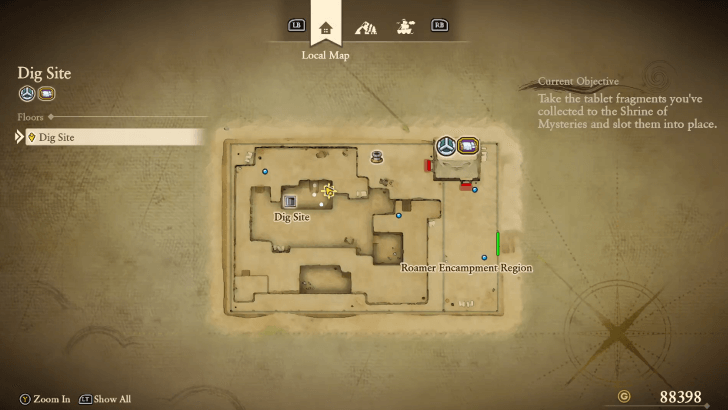
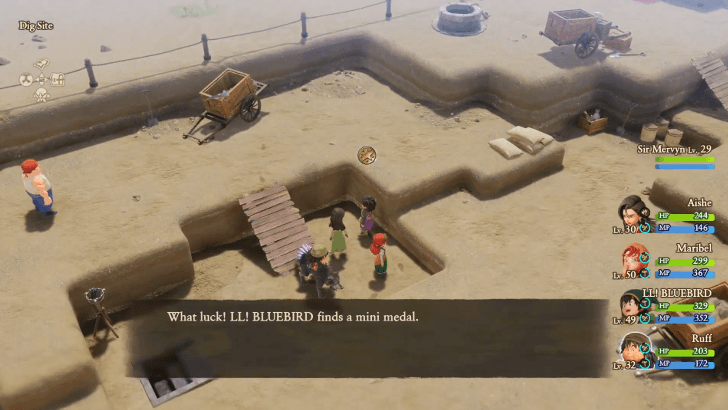
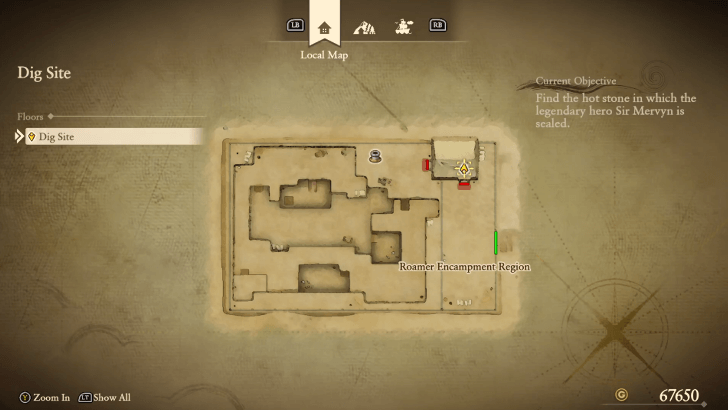
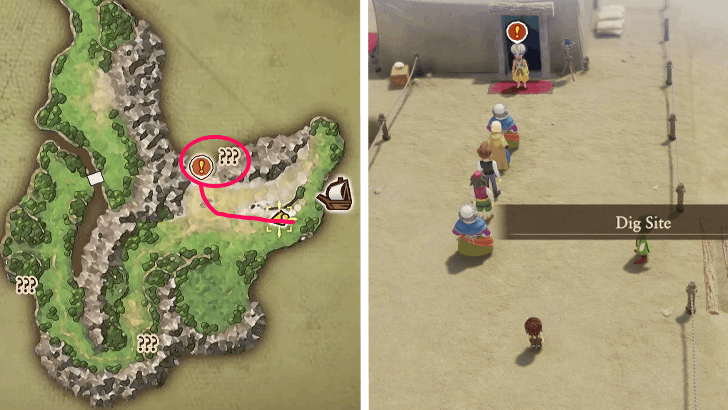 Head to the area north to reach the Dig Site. Talk to the man in front of the tent and pay him 5 Gold Coins to allow access to the dig site. |
| 4 |
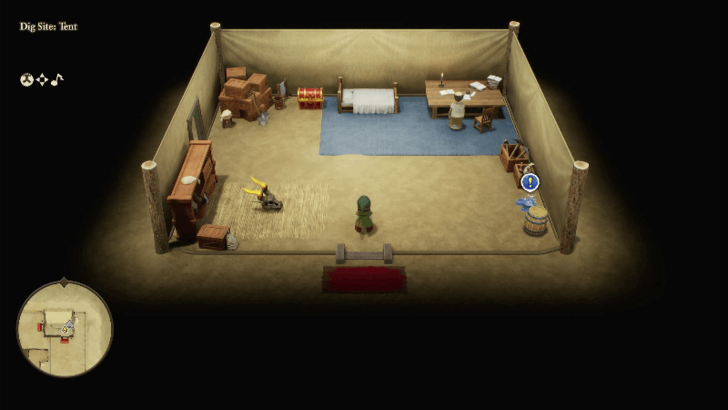 Pick up the Blue Fragment inside the tent and exit to the west side. |
| 5 |
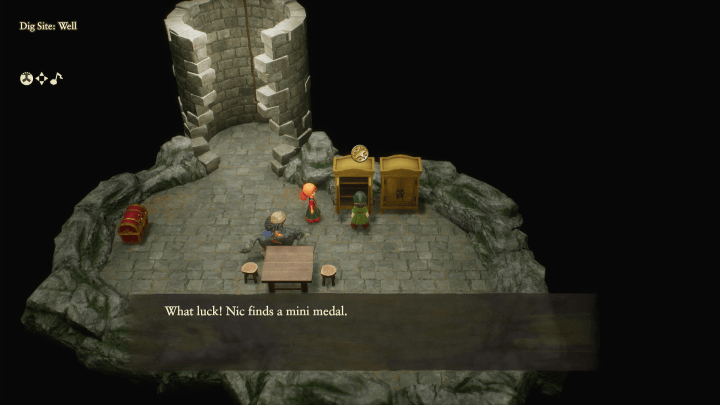
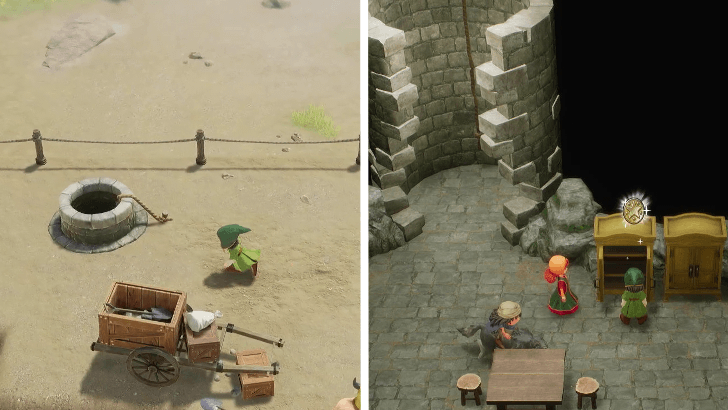 Enter the well and open the drawer near the table to get a Mini Medal. |
| 6 |
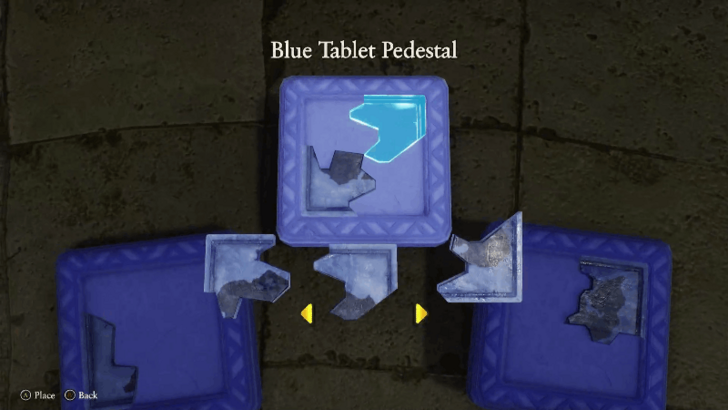 From this point, you can fast travel back to the Shrine of Mysteries. Assemble the Blue Fragments to piece together a Blue Tablet that transports you to the seventh island, Alltrades Abbey. ▶︎ Alltrades Abbey Walkthrough |
Roamer Encampment Bosses
All Roamer Encampment Bosses
| Boss | Information |
|---|---|
|
|
Location:
Roamer Encampment Region
(Present) Walkthrough:
Roamer Encampment
How to Beat: ・Watch Out for Multi-Target Skills ・Give Best Equipment to Hero ・Prioritize Jovan |
|
|
Location:
Roamer Encampment Region
(Present) Walkthrough:
Roamer Encampment
How to Beat: ・Watch Out for Multi-Target Skills ・Give Best Equipment to Hero ・Prioritize Jovan |
|
|
Location:
Roamer Encampment Region
(Present) Walkthrough:
Roamer Encampment
How to Beat: ・Watch Out for Multi-Target Skills ・Give Best Equipment to Hero ・Prioritize Jovan |
Roamer Encampment Mini Medals
List of Mini Medal Locations
| Map Image | World Image | |
|---|---|---|
21 |
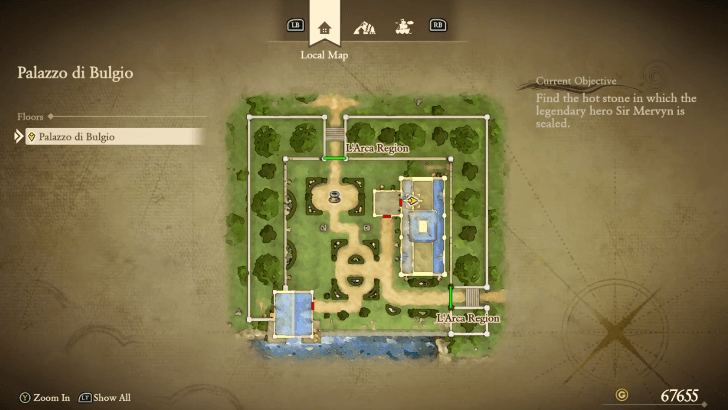 (Present) |
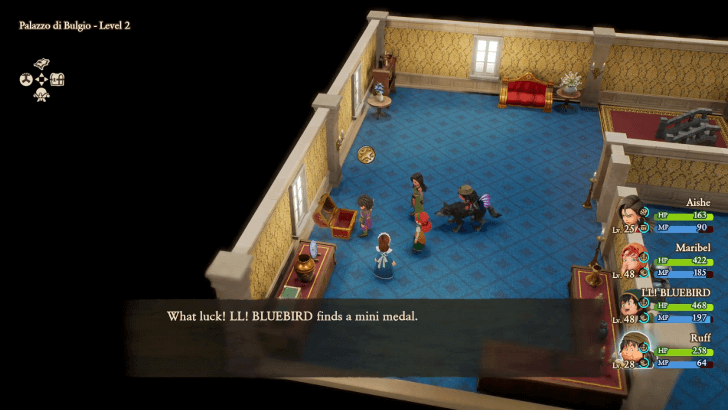 |
21 |
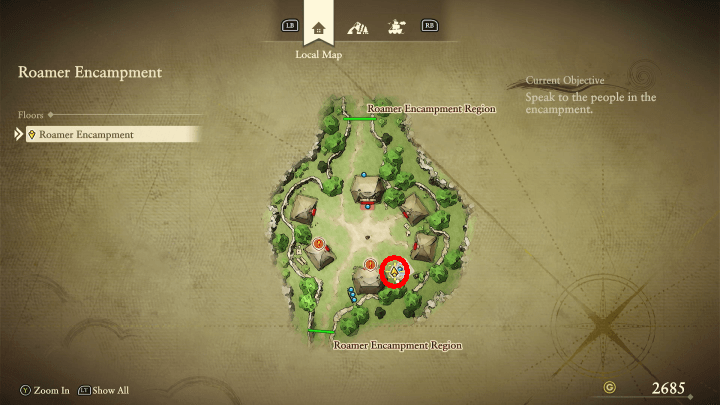 (Past) |
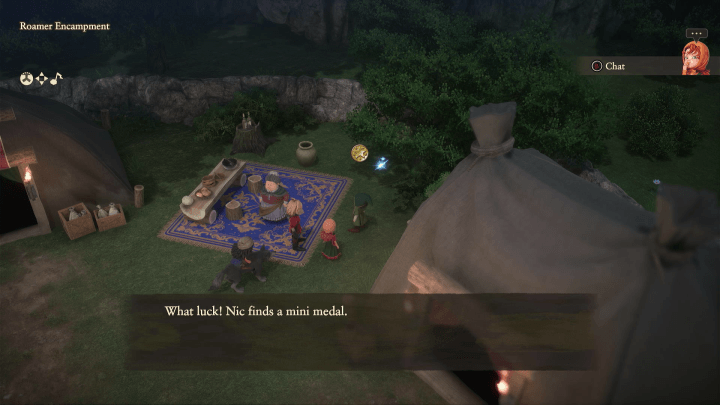 |
26 |
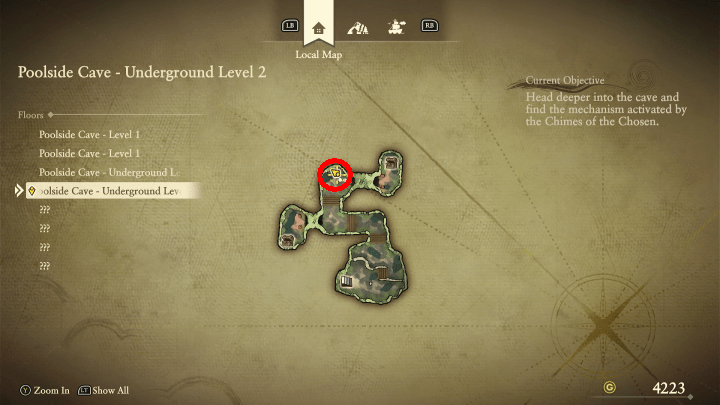 (Past) |
 |
27 |
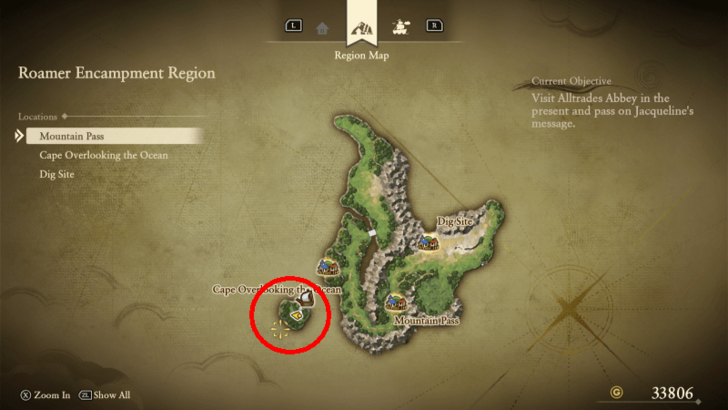 (Present) |
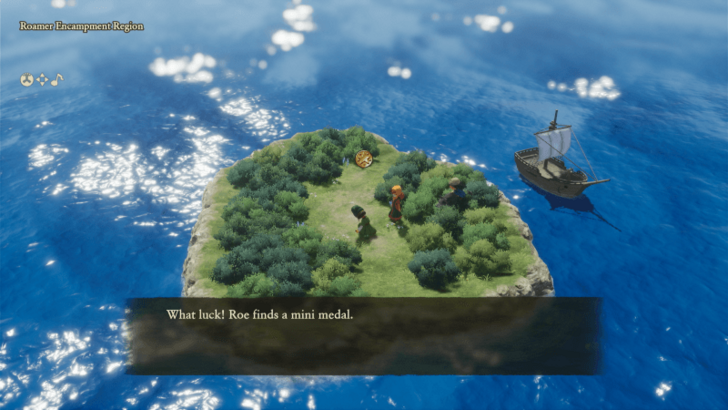 |
28 |
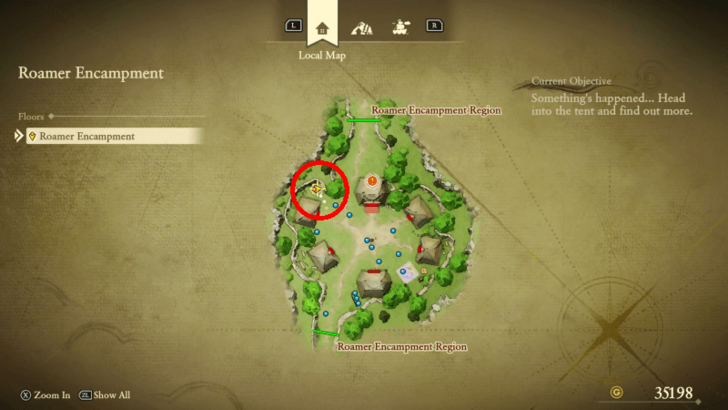 (Present) |
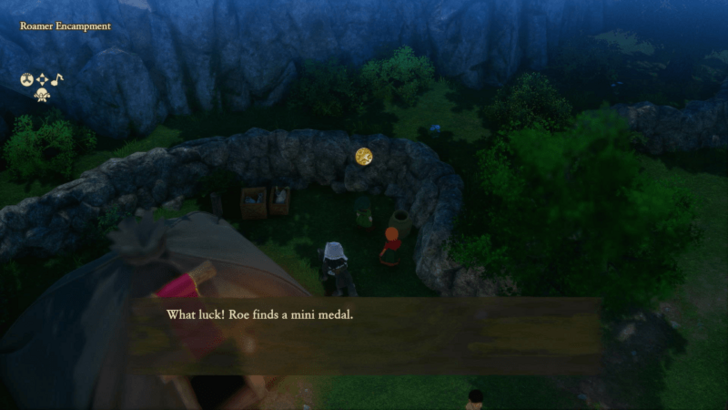 |
29 |
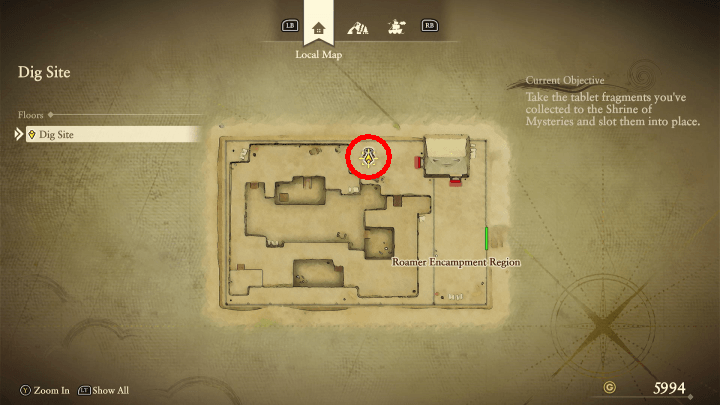 (Present) |
 |
30 |
 (Present) |
 |
31 |
 (Present) |
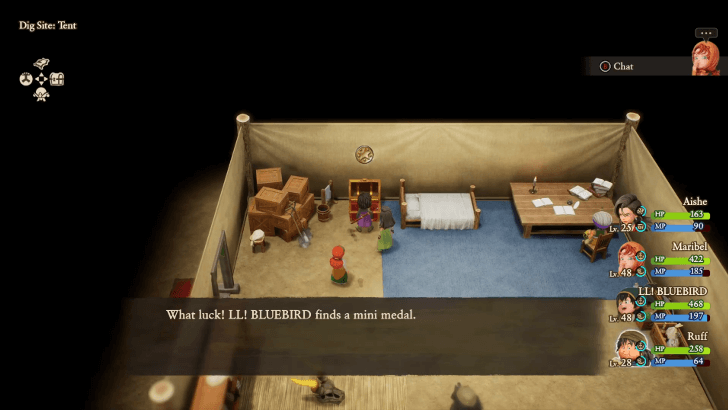 |
32 |
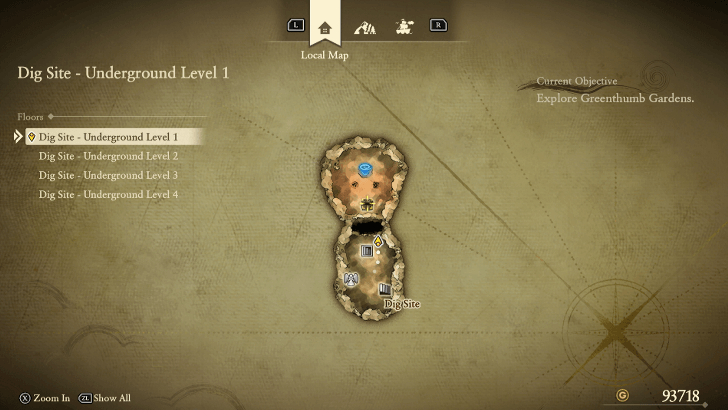 (Present) |
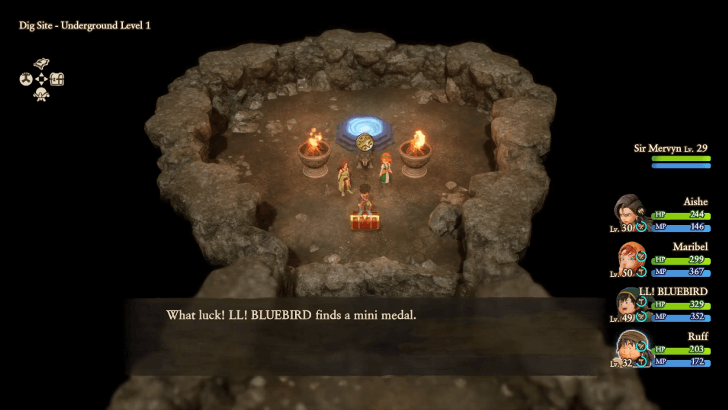 |
Roamer Encampment Trophies
All Trophies Unlocked in Roamer Encampment

|
Goodbye, Sweet Prince |
|---|---|
|
Awarded for completing "Farewell to Kiefer". ► Roamer Encampment Walkthrough |
Trophy Guide and Achievements List: How to Get Platinum
Dragon Quest 7 Reimagined (DQ7) Related Guides
List of All Story Walkthroughs
| All Main Story Walkthroughs | ||||
|---|---|---|---|---|
| 1 | Prologue | 2 | Ballymolloy | |
| 3 | Emberdale | 4 | L'Arca | |
| 5 | Regenstein | 6 | Frobisher | |
| 7 | Roamer Encampment | 8 | Alltrades Abbey | |
| 9 | Al-Balad | 10 | Roamer Encampment (Present) | |
| 11 | Hardlypool | 12 | The Tallest Tower | |
| 13 | Hubble | 14 | Aeolus Vale | |
| 15 | Buccanham | 16 | Pool of Piety | |
| 17 | Malign Shrine | 18 | Cathedral of Light | |
| 19 | Awakening the Fire Spirit | 20 | Awakening the Earth Spirit | |
| 21 | Awakening the Wind Spirit | 22 | Curious Tablet | |
| 23 | Cathedral of Blight | |||
| All Optional Side Stories | ||||
| 1 | Greenthumb Gardens | 2 | Vogograd | |
| 3 | Nottagen | |||
| All Post-Game Content | ||||
| 1 | Another World | 2 | Yet Another World | |
Comment
Author
Roamer Encampment Walkthrough Guide
Rankings
- We could not find the message board you were looking for.
Gaming News
Popular Games

Genshin Impact Walkthrough & Guides Wiki

Umamusume: Pretty Derby Walkthrough & Guides Wiki

Crimson Desert Walkthrough & Guides Wiki

Monster Hunter Stories 3: Twisted Reflection Walkthrough & Guides Wiki

Honkai: Star Rail Walkthrough & Guides Wiki

Pokemon Pokopia Walkthrough & Guides Wiki

The Seven Deadly Sins: Origin Walkthrough & Guides Wiki

Wuthering Waves Walkthrough & Guides Wiki

Zenless Zone Zero Walkthrough & Guides Wiki

Arknights: Endfield Walkthrough & Guides Wiki
Recommended Games

Fire Emblem Heroes (FEH) Walkthrough & Guides Wiki

Diablo 4: Vessel of Hatred Walkthrough & Guides Wiki

Cyberpunk 2077: Ultimate Edition Walkthrough & Guides Wiki

Yu-Gi-Oh! Master Duel Walkthrough & Guides Wiki

Super Smash Bros. Ultimate Walkthrough & Guides Wiki

Pokemon Brilliant Diamond and Shining Pearl (BDSP) Walkthrough & Guides Wiki

Elden Ring Shadow of the Erdtree Walkthrough & Guides Wiki

Monster Hunter World Walkthrough & Guides Wiki

The Legend of Zelda: Tears of the Kingdom Walkthrough & Guides Wiki

Persona 3 Reload Walkthrough & Guides Wiki
All rights reserved
© ARMOR PROJECT/BIRD STUDIO/SQUARE ENIX
© SUGIYAMA KOBO ℗ SUGIYAMA KOBO
The copyrights of videos of games used in our content and other intellectual property rights belong to the provider of the game.
The contents we provide on this site were created personally by members of the Game8 editorial department.
We refuse the right to reuse or repost content taken without our permission such as data or images to other sites.


