Recon by Fire Mission Walkthrough
☆ Camo Challenges | List of Blueprints
★ DMZ Key Locations and Map
☆ Ashika Island: DMZ Keys | Weapon Cases | Map Guide
★ How to Get Weapon Cases
Recon by Fire is a campaign story mission in Call of Duty: Modern Warfare II (MW2). Read on for a complete walkthrough of Recon by Fire including tips for beating the mission on Realism Difficulty, a list of achievements, as well as a list of weapons you can find & use.
| ◄ Previous Mission | Next Mission ▶ |
|---|---|
| Hardpoint | Violence and Timing |
List of Contents
Recon by Fire Overview
Mission Information
| Recon by Fire | |
|---|---|
 |
|
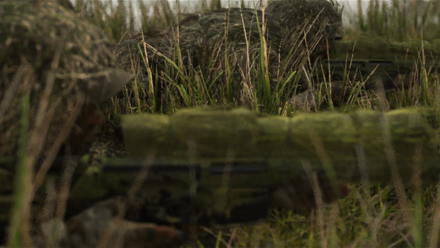
| Description | With Laswell on overwatch, Price and Gaz infiltrate a cartel smuggling operation off the coast of Spain in search of enemy missiles. |
| Place | Spain |
| Date & Time | 31 October 2022, 11000 |
| Character | Gaz |
| Completion Reward |  Gaz Calling Card Gaz Calling Card |
Starting Weapon Loadout
 Victus XMR Victus XMR
|
 M4 M4
|
This mission has you start off all ghillied up. Gaz will be packing a suppressed Victus XMR equipped with a thermal sniper scope, as well as a suppressed M4 with a thermal hybrid optic.
Additionally, this mission allows you to equip multiple lethals and tacticals including a Heartbeat Sensor, Flashes, Frags, Smokes, C4, Tear Gas Grenades, and a Snake Cam (for peeking under doors).
Recon by Fire Walkthrough
Recon by Fire Realism Difficulty Video Playthrough
Walkthrough
Note: Conversation options during the mission will not affect the mission outcome or objectives. For example, telling Price to go down and do the dirty work himself will only be taken as a joke.
| 1 | 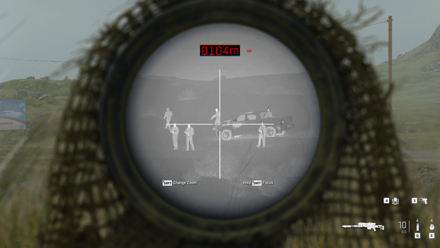 Observe the Cartel guards across the field using your sniper's thermal scope. |
|---|---|
| 2 | 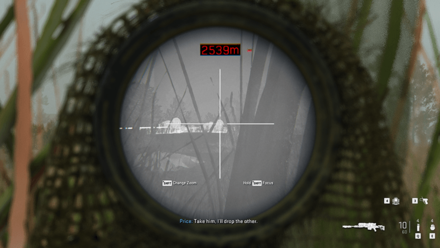 After getting the ok from Price, follow him until he marks 2 ghillied snipers in the bushes. Shoot either one to continue. |
| 3 | 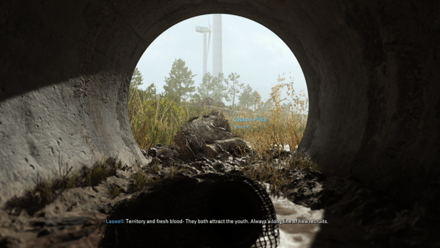 Follow Price, going through the small drainage tunnel while staying prone and crawling. |
| 4 | 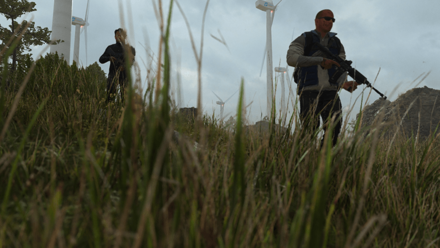 Allow the enemies to pass you by. Make sure you make small movements if you have to reposition or else the enemies will be alerted. |
| 5 | 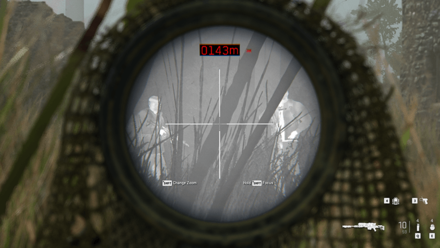 Kill the 2 Cartel guards standing outside the building. Shoot one and Price will take care of the other. |
| 6 | 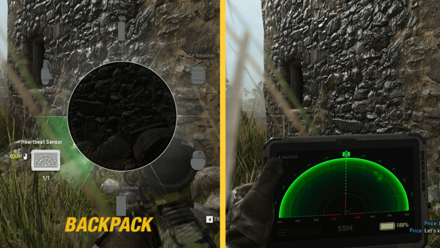 Equip your Heartbeat sensor from your backpack. Scan the area for heartbeats before following Price again. |
| 7 | 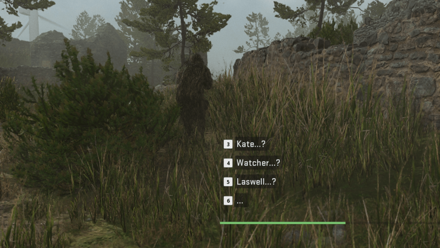 OPTIONAL: Reply and talk to Laswell. None of the dialogue choices will change the outcome of the mission. However, to get the most dialogue, ask Laswell about her favorite weapon. |
| 8 | 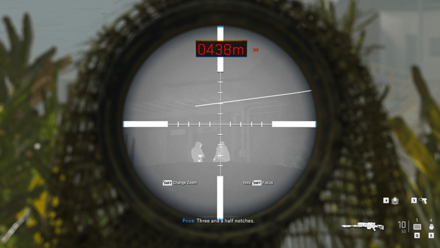 After you reach the ridge overlooking the facility, set up and prepare to take out the enemies using your sniper. Scope in and listen to Price's instructions about course adjustments to your hit your targets. |
| 9 | Once the enemies patrolling the perimeter are dealt with, start making your way down to the facility. |
| 10 | 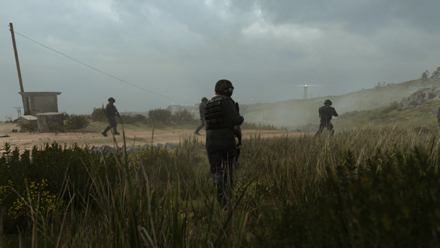 2 Technicals full of armed Cartel guards will exit and approach you. You can choose to kill them or let them pass you by, but the easiest would be to hide and wait. |
| 11 | 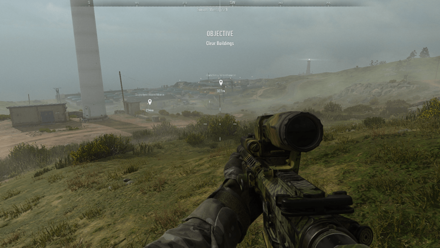 Once the technicals leave, approach the facility. You will be tasked to clear both the Supplies Warehouse and Hatchery Warehouse by Price. |
| 12 | 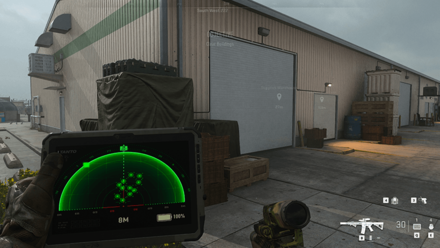 Clear out the Supplies Warehouse first. Use your Heartbeat Sensor to get a headcount of the hostiles. |
| 13 | 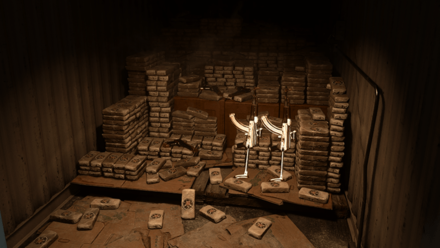 Once you finish dealing with the enemies, head inside and open the large container. Check inside for the ballistic missle. |
| 14 | Turning up with nothing, listen to Price over the comms. He will radio that 5 armored guards are heading to your position. |
| 15 | 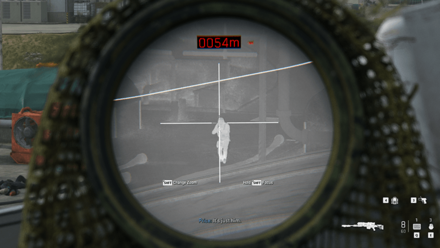 Reposition to the roof of the Supplies Warehouse and use your sniper to take them out with headshots. |
| 16 | With the way clear, head for the Hatchery Warehouse. Clear it out like before and proceed inside to look for clues. |
| 17 | 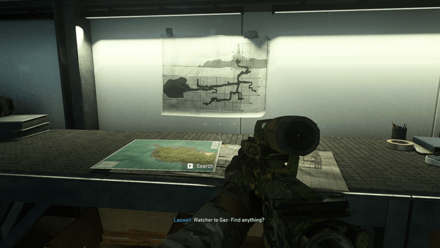 Check the map showing the underground tunnels beneath the lighthouse. After radioing the info to Laswell, head back outside to meet with Price. |
| 18 | 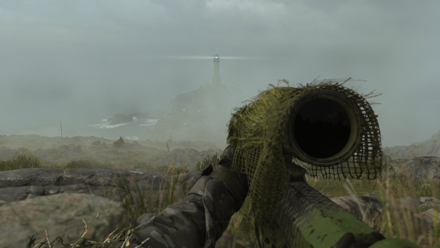 Follow Price to the outer perimeter of the lighthouse. This is another sniping section so prepare to move and reposition, as well as listen to Price's comms regarding aim adjustments. |
| 19 | 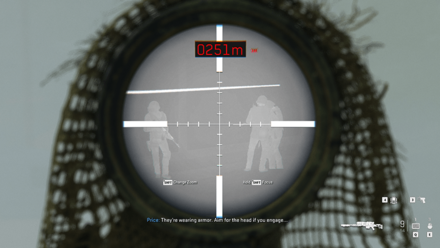 Clear out the enemies surrounding the lighthouse. If you managed to not alert anyone during this segment and the sniping segment at the Warehouses, you will get the Nobody was There achievement. |
| 20 | 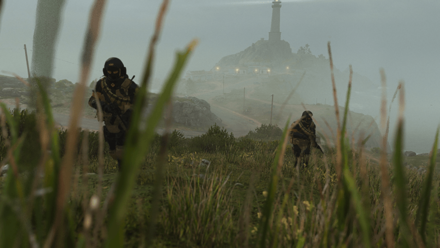 Once the enemies are cleared out, begin approaching the lighthouse. Like before, 2 technicals (this time filled with heavily armored guards) will stop and search the area. |
| 21 | Remain prone and wait for them to leave, or deal with them quickly to proceed. However, do note that there is a bug that has some of the soldiers refuse to leave during the stealth option. |
| 22 | 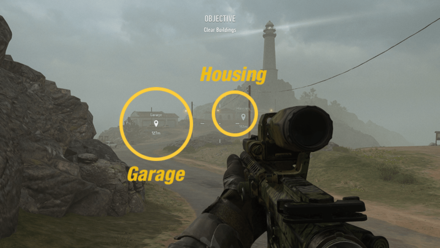 After losing or killing the enemy guards, Price will task you to clear out the Garage and Housing buildings. |
| 23 | 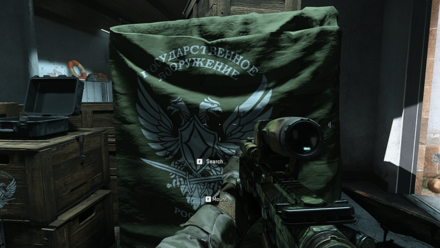 Clear out the Garage first. Inside, you will find that the Iranians are allied with the Russians after inspecting a makeshift flag. |
| 24 | 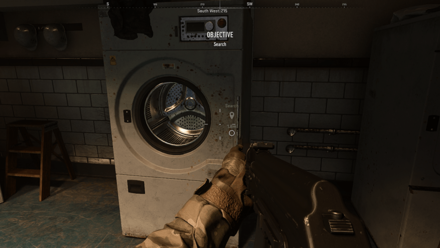 Next, head over to Housing and clear it out. Once the building is secure, observe the washing machine to uncover the tunnel entrance. |
| 25 | 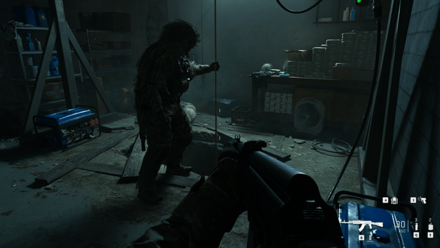 Use the rope to go down into the tunnels beneath the lighthouse. |
| 26 | 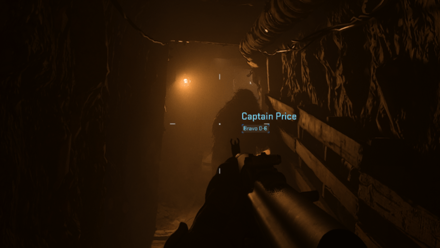 Follow Price through the tunnels, killing any guards until you reach the makeshift docks underneath the lighthouse. |
| 27 | Once the docks are secure, hail Laswell over the comms. After exchanging info, she will be attacked by Cartel patrol boats. |
| 28 | 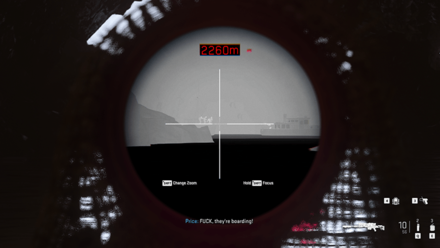 Listen to Price and try helping Laswell by shooting the boarders. |
| 29 | 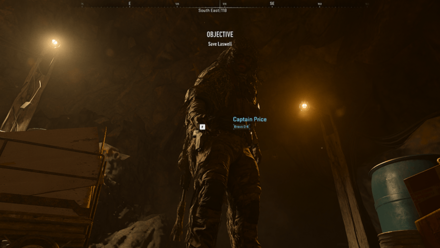 Once Laswell is captured, go over to Price and leave the tunnels. This completes the mission, Recon by Fire. |
▶ Next Mission: Violence and Timing
Vehicle Guards Not Leaving Bug Fix
Go Aggressive and Take Them Out
After the second sniping sequence at the lighthouse, players will have to face off or hide from 2 squads of heavily armored guards patrolling the area. However, a bug can occur that prevents one of the squads from leaving if you choose the stealth option.
To fix this, players will have to go aggressive and fight the guards. Head for higher ground and use a combination of Smokes and your Victus XMR to land easy headshots. Price will also help if you choose violence.
Does Not Affect the Stealth Achievement
Going loud and taking the fight to these enemies will not affect the requirements for the achievement, Nobody Was There. You are free to use this method without it compromising your level completion in any way.
How to Beat Recon by Fire in Realism Difficulty
| Realism Difficulty Tips |
|---|
|
|
Listen Carefully to Captain Price's Instructions
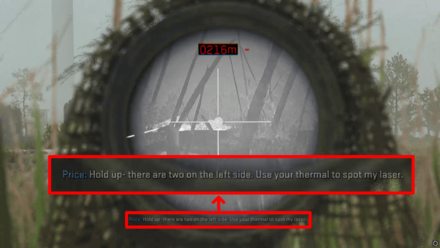
Captain Price will always instruct you on how to do things, killing or moving into an area. Make sure to follow every instruction he has throughout the mission to avoid getting yourself killed by the enemies.
You can turn on the subtitles in the settings to see his instructions clearly!
Look at Other Enemies if you Missed the Instruction While Sniping
Sometimes, Captain Price overlooks things and won't instruct you on how to aim for the enemies. You can try and look at other enemies to reset and get the instructions.
Use Tear Gas on the Vents
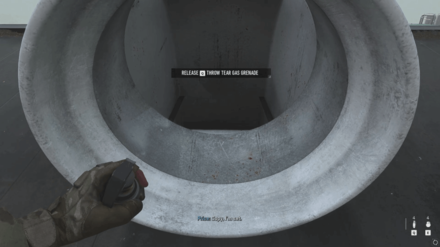
The best way to clear out the enemies inside the building is to throw Tear Gas on one of the vents. There's always a way up to the building, so take a look around if you can't find it.
Use Only 1 Tear Gas for Each Building
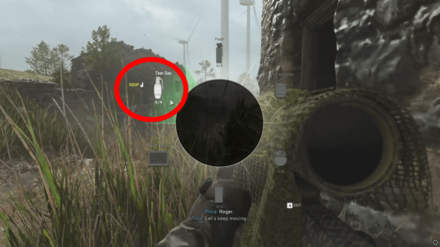
By default, you will have only 4 Tear Gas on your back, equal to the number of buildings you have to clear and secure. Only use one for each building, or you will be short on Tear Gas, and it will be difficult to breach and kill all the enemies in the building.
Let Captain Price Do Most of the Work
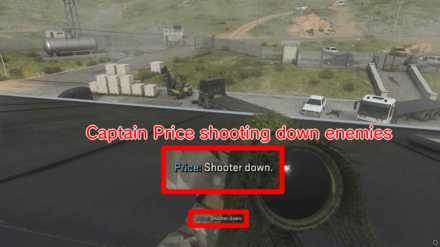
You can play safe and let Captain Price do most of the work for you, except when sniping the warehouse and the lighthouse. Attract and smoke enemies out from the building to give Captain Price an open shot at them. However, this strategy takes time to finish the whole mission, so it's not recommended for speedrunners.
Recon by Fire Achievements
Nobody Was There Achievement
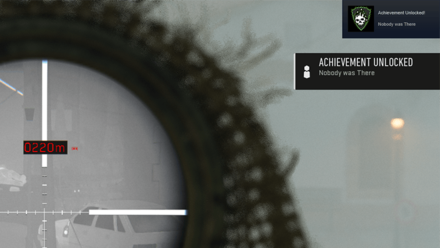
This achievement is tied to the sniping sections of Recon by Fire where Price spots for you. Make sure not to alert enemies during both the Fishing Facility and the Lighthouse Facility sniping segments in order to get this achievement!
List of All Trophies & Achievements
Weapons Found in Recon by Fire
All Weapons in the Level
| All Weapons | |||
|---|---|---|---|
 .50 GS .50 GS
|
 Kastov 762 Kastov 762
|
 Kastov 762 Kastov 762
|
 M4 M4
|
 Victus XMR Victus XMR
|
|||
Call of Duty: Modern Warfare 2 (MW2) Related Guides

All Campaign Missions
| List of Campaign Missions | |
|---|---|
| 1 | Strike |
| 2 | Kill or Capture |
| 3 | Wetwork |
| 4 | Tradecraft |
| 5 | Borderline |
| 6 | Cartel Protection |
| 7 | Close Air |
| 8 | Hardpoint |
| 9 | Recon by Fire |
| 10 | Violence and Timing |
| 11 | El Sin Nombre |
| 12 | Dark Water |
| 13 | Alone |
| 14 | Prison Break |
| 15 | Hindsight |
| 16 | Ghost Team |
| 17 | Countdown |
Author
Call of Duty: Modern Warfare 2 (MW2) Walkthrough & Guides Wiki
Recon by Fire Mission Walkthrough
improvement survey
03/2026
improving Game8's site?

Your answers will help us to improve our website.
Note: Please be sure not to enter any kind of personal information into your response.

We hope you continue to make use of Game8.
Rankings
- We could not find the message board you were looking for.
Gaming News
Popular Games

Genshin Impact Walkthrough & Guides Wiki

Honkai: Star Rail Walkthrough & Guides Wiki

Umamusume: Pretty Derby Walkthrough & Guides Wiki

Pokemon Pokopia Walkthrough & Guides Wiki

Resident Evil Requiem (RE9) Walkthrough & Guides Wiki

Monster Hunter Wilds Walkthrough & Guides Wiki

Wuthering Waves Walkthrough & Guides Wiki

Arknights: Endfield Walkthrough & Guides Wiki

Pokemon FireRed and LeafGreen (FRLG) Walkthrough & Guides Wiki

Pokemon TCG Pocket (PTCGP) Strategies & Guides Wiki
Recommended Games

Diablo 4: Vessel of Hatred Walkthrough & Guides Wiki

Fire Emblem Heroes (FEH) Walkthrough & Guides Wiki

Yu-Gi-Oh! Master Duel Walkthrough & Guides Wiki

Super Smash Bros. Ultimate Walkthrough & Guides Wiki

Pokemon Brilliant Diamond and Shining Pearl (BDSP) Walkthrough & Guides Wiki

Elden Ring Shadow of the Erdtree Walkthrough & Guides Wiki

Monster Hunter World Walkthrough & Guides Wiki

The Legend of Zelda: Tears of the Kingdom Walkthrough & Guides Wiki

Persona 3 Reload Walkthrough & Guides Wiki

Cyberpunk 2077: Ultimate Edition Walkthrough & Guides Wiki
All rights reserved
© 2021-2022 Activision Publishing, Inc. ACTIVISION, CALL OF DUTY, CALL OF DUTY VANGUARD, CALL OF DUTY WARZONE, WARZONE, and RICOCHET ANTI-CHEAT are trademarks of Activision Publishing, Inc. All other trademarks and trade names are the property of their respective owners.
The copyrights of videos of games used in our content and other intellectual property rights belong to the provider of the game.
The contents we provide on this site were created personally by members of the Game8 editorial department.
We refuse the right to reuse or repost content taken without our permission such as data or images to other sites.


