Circle of Conquest (Upper Echelon) Walkthrough: Chart 20
★ DQM3 releases on Steam and Mobile!
★ See all monster combinations: Synthesis Calculator
★ Some Helpful Articles:
┗ Story Walkthrough | Boss Guides | 100% Clear Guide
┗ List of Talents | List of Skills | List of Traits
┗ Level Up Guide | Mini Medal Locations | Egg Farming

A walkthrough for Circle of Conquest (Upper Echelon) in Dragon Quest Monsters: The Dark Prince (DQM3). Read on to see the recommended level for Circle of Conquest (Upper Echelon), as well as monsters that can be found there!
| ◄ Previous Section | Next Section ▶ |
|---|---|
| Circle of Caprice (Upper Echelon) | The Whispwoods (Secret Story) |
List of Contents
Circle of Conquest (Upper Echelon) Walkthrough
Circle of Conquest (Upper Echelon)
| Map Layout | |
|---|---|
 |
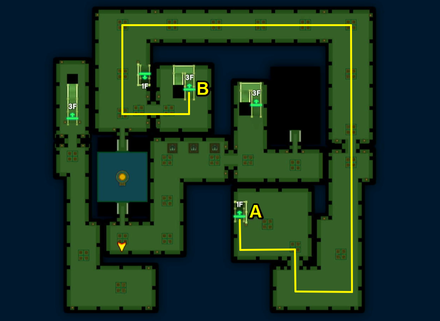
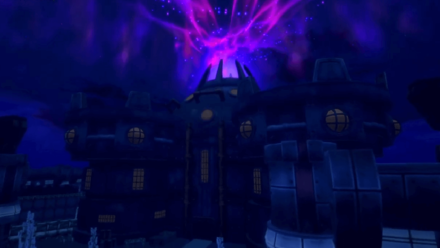
| 1 | Bring the White Travelite to the second floor of Rosehill Tower and go to the Circle of Conquest (???). When you leave the tower, you will arrive at Circle of Conquest (Upper Echelon). |
|---|---|
| 2 | Follow the path towards the red pin on the map. An event will occur when you try to cross the wooden bridge. |
| 3 | Climb down the ladder, go towards the south pin, and enter Hopeful Haven. |
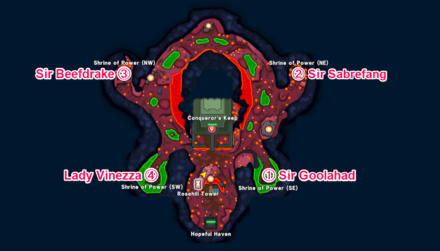
Hopeful Haven
| Map Layout | ||
|---|---|---|
 |
||
| Hopeful Haven Maps | |
|---|---|
 Sir Beefdrake |
 Sir Sabrefang |
 Lady Vinezzia 2x Scourgette |
 Sir Goolahad 2x Metal Slime Knight |
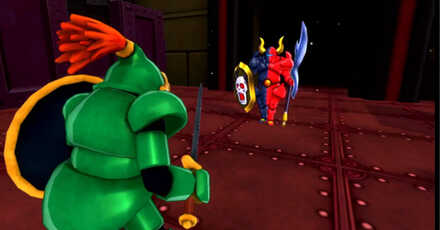
| 1 | Defeat the bosses in the Hopeful Haven. You can defeat them in any order. |
|---|---|
| 2 | After defeating them all, head towards the entrance of Conqueror's Keep in the center of the map. There will be another boss battle, so replenish your HP and MP! |
| 3 | When approaching the entrance to Conqueror's Keep, an event will occur. Battle with Dolph the Destroyer and 2x Alarmours |
| EX |  Get useful items along the way • Raging Ruby (+60 Attack / Area is only accessible in Fall) |
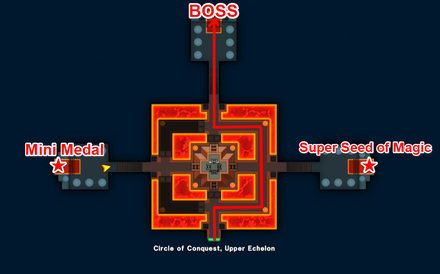
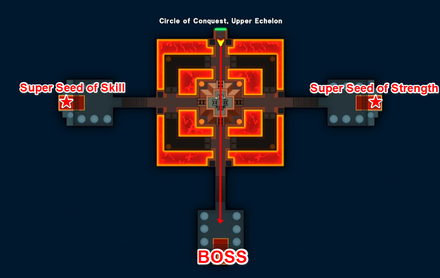
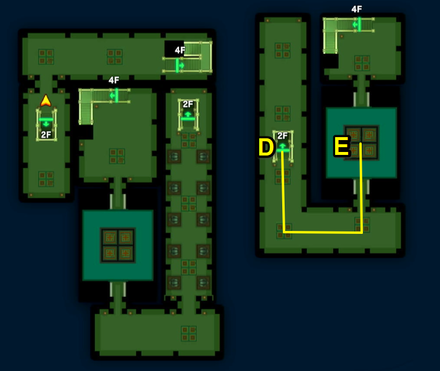
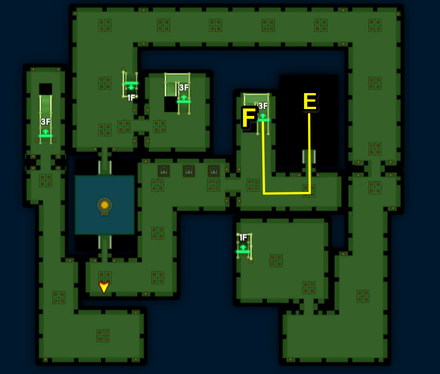
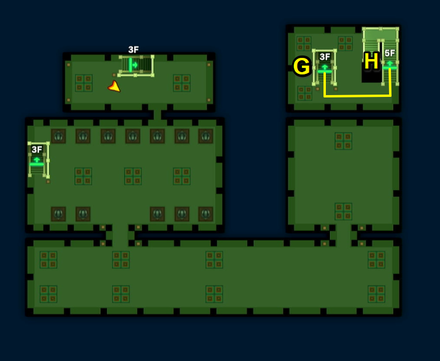
Conqueror's Keep
| Conqueror's Keep Route | |
|---|---|
 |
 |
 |
 |
 |
 |
 |
 |
 |
|
| 1 | Refer to the steps above and go to the top floor while operating the elevator. |
|---|---|
| 2 | Defeat the final boss on the top floor. Defeating the boss will make it easier to scout high-rank Demon Monsters in Conqueror's Keep. |
| 3 | When approaching the entrance to Conqueror's Keep, an event will occur. Battle with Dolph the Destroyer and 2x Alarmours |
| EX | 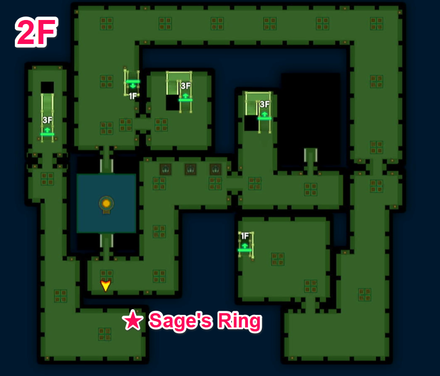 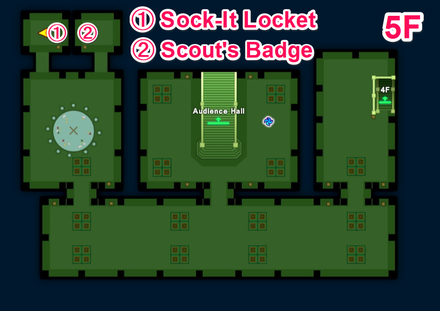 Get useful items along the way • Sage's Ring (+30 MP, +30 Wisdom) • Scout's Badge (Increases Scout Chance) • Sock-it Locket (+100 Wisdom) |
Conqueror's Keep Video Route
Circle of Conquest (Upper Echelon) Recommended Monsters
Monsters to Scout for Battle
| Monster | Explanation |
|---|---|
 Sekerleton Sekerleton
|
• Used as Synthesis material for
|
 Cosmic Chimaera Cosmic Chimaera
|
• Used as Synthesis material for
|
 Fowl Beast Fowl Beast
|
• Used as Synthesis material for
|
 Tantamount Tantamount
|
• Used as Synthesis material for
|
 Hocus-Poker Hocus-Poker
|
• Used as Synthesis material for
|
 Flapdragon Flapdragon
|
• Used as Synthesis material for
• |
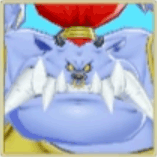
 Hellspawn Hellspawn
|
• Used as Synthesis material for
|
Monsters to Synthesize for Battle
| Monster | Explanation |
|---|---|
 Belial Belial
|
• A versatile Monster that can use a variety of spells as well as AoE heals. • Recommended skills to choose are Heretic, Supreme Healer, and Wisdom Up. • Since these skills consume a lot MP, equip it with items like Monk's Ring or Goddess' Ring that can automatically recover MP. |
Synthesis Guide and Calculator
Circle of Conquest (Upper Echelon) Boss Guide
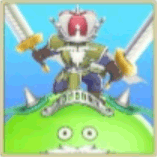
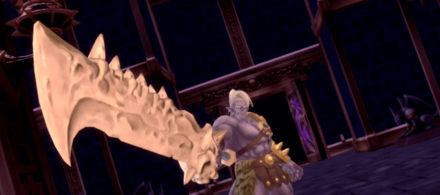
Boss Battle #1: Sir Goolahad
 |
|||
| Recommended Level | Family | ||
|---|---|---|---|
| 45 |
|
||
| Recommended Party | |||
| Main Strategy | |||
|
|
|||
 King Hydra
Other Recommended Parties
| Party 1 | |||
|---|---|---|---|
 King Cureslime King Cureslime
|
 Overkilling Machine Overkilling Machine
|
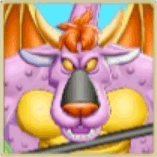 Archdemon Archdemon
|
 Snipevine Snipevine
|
| Party 2 | |||
|
Belial
|
Overkilling Machine
|
 Slionheart Slionheart
|
 Gem Slime Gem Slime
|
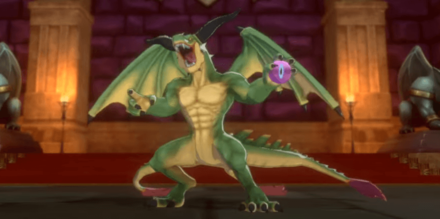
Boss Battle #2: Sir Sabrefang
 |
|||
| Recommended Level | Family | ||
|---|---|---|---|
| 45 |
|
||
| Recommended Party | |||
| Main Strategy | |||
|
|
|||
Boss Battle #3: Sir Beefdrake
 |
|||
| Recommended Level | Family | ||
|---|---|---|---|
| 45 |
|
||
| Recommended Party | |||
| Main Strategy | |||
|
|
|||
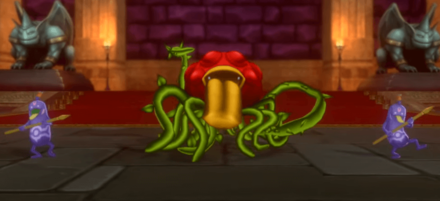
Boss Battle #4: Lady Vinezzia
 |
|||
| Recommended Level | Family | ||
|---|---|---|---|
| 45 |
|
||
| Recommended Party | |||
| Main Strategy | |||
|
|
|||
Boss Battle #5: Dolph the Destroyer
 |
|||
| Recommended Level | Family | ||
|---|---|---|---|
| 45 |
|
||
| Recommended Party | |||
| Main Strategy | |||
|
|
|||
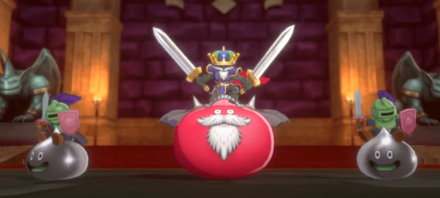
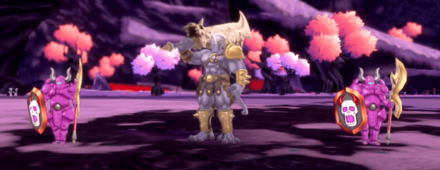
Boss Battle #6: Randolfo the Tyrant
 |
|||
| Recommended Level | Family | ||
|---|---|---|---|
| 47 |
|
||
| Recommended Party | |||
| Main Strategy | |||
|
|
|||
Boss Battle #7: Randolfo the Tyrant (2nd Form)
 |
|||
| Recommended Level | Family | ||
|---|---|---|---|
| 45 |
|
||
| Main Strategy | |||
|
|
|||
Circle of Conquest (Upper Echelon) Monster List
Circle of Conquest (Upper Echelon)
 Metal King Slime
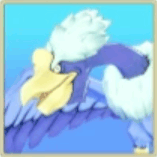 Snowbird
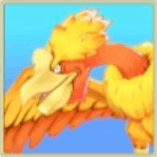 Firebird
 Admirer
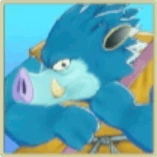 Orc King
 Dark Hare
 Maniacal Mole
 Crabber Dabber Doo
 Tufty Tot
 Bag O' Tricks
 Corpsickle
 Kisser
 King Bubble Slime
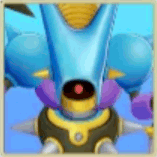
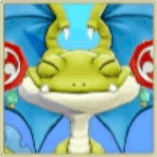 Zaptile
 Peeper
 Dead Resident
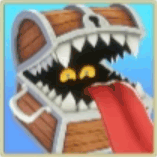 Cannibox
 Wing Slime
 Mad Mollusk
Strong Monsters
| Large Monster | Location |
|---|---|
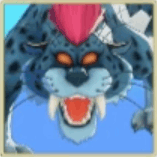 Dark Sabrecat Dark Sabrecat
|
 |
Monster List: All 526 Monsters
Hopeful Haven
 Mohawker Mohawker
|
||
 Skeleton Swordsman Skeleton Swordsman
|
||
 Drackolyte Drackolyte
|
 Brownie Brownie
|
|
Mohawker only appears in the Northeast (NE) and Northwest (NW) shrines. And Brownie only appears in the Southeast (SE) shrine.
Conqueror's Keep
|
Hellspawn
|
 Mogus Mogus
|
Hocus-Poker
|
|
Archdemon
|
||
 Mimic Mimic
|
 Liquid Metal Slime Liquid Metal Slime
|
 Dullahan Dullahan
|
|
Flapdragon
|
 Graven Idol Graven Idol
|
|
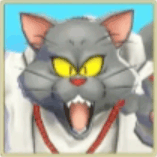
 Cheater Cheetah Cheater Cheetah
|
||
 Metal Slime Metal Slime
|
||
Circle of Conquest (Upper Echelon) Mini Medal Locations
| Obtained | Map / Image Location |
|---|---|
|
(Circle of Conquest) Upper Echelon At the South Behind the Hopeful Haven 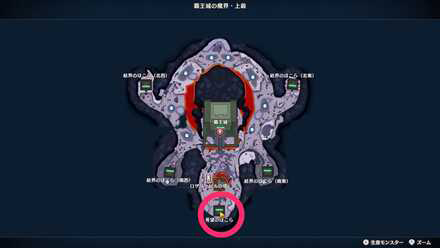 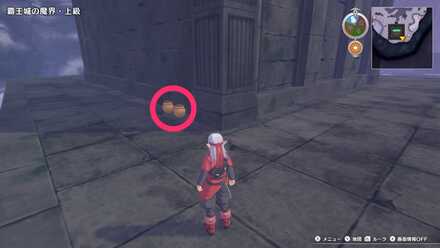
|
|
|
(Circle of Conquest) Upper Echelon At the Right of the Stairs of Conqueror's Keep  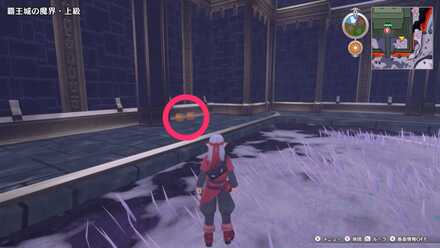
|
|
|
(Circle of Conquest) Upper Echelon Treasure Chest at the Northeast (Winter Only) 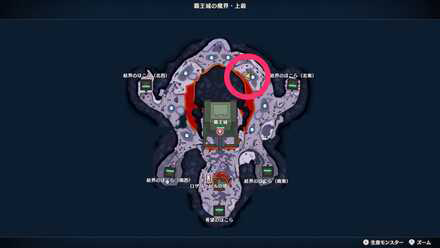 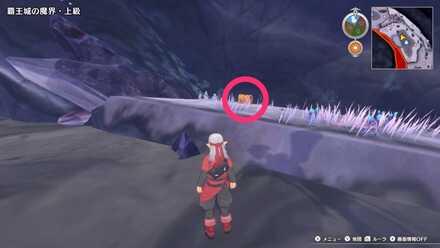
|
|
|
(Circle of Conquest) Upper Echelon West Room within the Shrine of Power (NW)  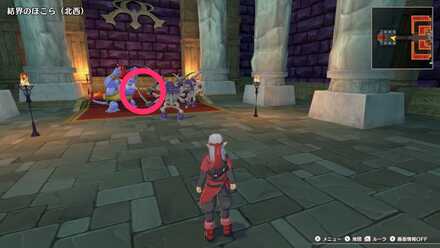
|
|
|
(Circle of Conquest) Upper Echelon West Room in the 1F Coming from the 2F  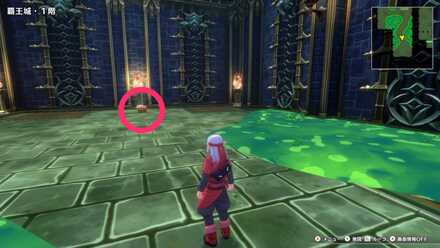
|
Mini Medal Checklist: All 72 Locations and Rewards
Dragon Quest Monsters: The Dark Prince Related Guides

Lower Echelon Guides
 Plains: Chart 1
 Circle of Conquest
  Circle of Temper (Lower Echelon): Chart 3
 Circle of Indulgence (Lower Echelon): Chart 4
 Circle of Caprice (Lower Echelon): Chart 5
 Circle of Fortitude (Lower Echelon): Chart 6
 Cradle of Corruption (Lower Level): Chart 7
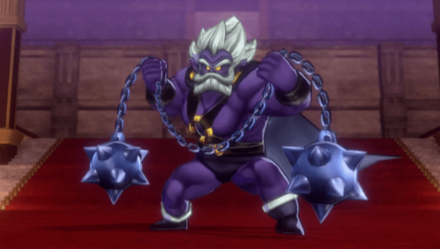 Terrestria (Diabolic Hall): Chart 8
Middle Echelon Guides
 Circle of Fortitude (Middle Echelon): Chart 9
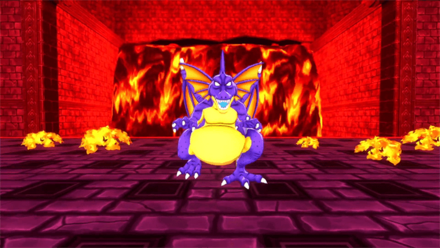 Circle of Temper (Middle Echelon): Chart 10
 Circle of Indulgence (Middle Echelon): Chart 11
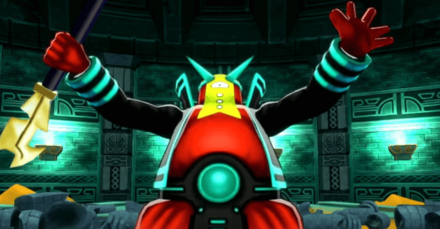 Circle of Caprice (Middle Echelon): Chart 12
 Circle of Conquest (Middle Echelon): Chart 13
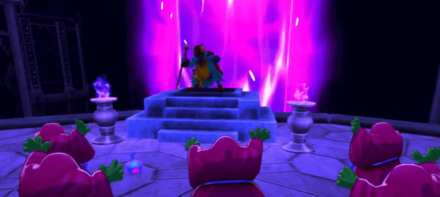 Cradle of Corruption (Middle Level): Chart 14
Upper Echelon Guides
 Circle of Temper (Upper Echelon): Chart 15
 Circle of Fortitude (Upper Echelon): Chart 17
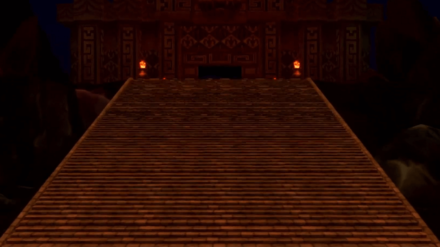 Cradle of Corruption (Upper Level): Chart 18
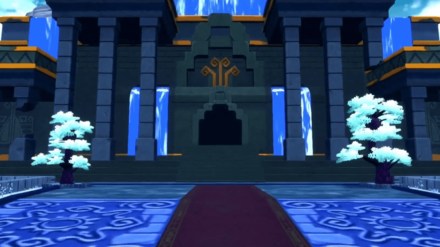
 Circle of Conquest (Upper Echelon): Chart 20
 The Whispwoods
Comment
I just caught Randolpho Today. He is not weak to electric. He’s at least if not very strong against that element.
Author

Dragon Quest Monsters: The Dark Prince Walkthrough & Guides Wiki
Circle of Conquest (Upper Echelon) Walkthrough: Chart 20
Rankings
- We could not find the message board you were looking for.
Gaming News


![The Liar Princess and the Blind Prince Review [PC] | Lovely to Look at but Tedious to Play](https://img.game8.co/4442586/8d95f5faf05780f1765ce7e0938bd825.jpeg/thumb)
![Marathon Cryo Archive Map Teased as [REDACTED] on Selection Screen](https://img.game8.co/4442236/6357203e58172f6de57f1991e7c39b22.png/thumb)

Popular Games

Genshin Impact Walkthrough & Guides Wiki
Umamusume: Pretty Derby Walkthrough & Guides Wiki
Pokemon Pokopia Walkthrough & Guides Wiki
Honkai: Star Rail Walkthrough & Guides Wiki
Monster Hunter Stories 3: Twisted Reflection Walkthrough & Guides Wiki
Arknights: Endfield Walkthrough & Guides Wiki
Wuthering Waves Walkthrough & Guides Wiki
Zenless Zone Zero Walkthrough & Guides Wiki
Pokemon TCG Pocket (PTCGP) Strategies & Guides Wiki
Monster Hunter Wilds Walkthrough & Guides Wiki


Recommended Games
Diablo 4: Vessel of Hatred Walkthrough & Guides Wiki
Cyberpunk 2077: Ultimate Edition Walkthrough & Guides Wiki
Fire Emblem Heroes (FEH) Walkthrough & Guides Wiki
Yu-Gi-Oh! Master Duel Walkthrough & Guides Wiki
Super Smash Bros. Ultimate Walkthrough & Guides Wiki
Pokemon Brilliant Diamond and Shining Pearl (BDSP) Walkthrough & Guides Wiki
Elden Ring Shadow of the Erdtree Walkthrough & Guides Wiki
Monster Hunter World Walkthrough & Guides Wiki
The Legend of Zelda: Tears of the Kingdom Walkthrough & Guides Wiki
Persona 3 Reload Walkthrough & Guides Wiki


All rights reserved
© ARMOR PROJECT/BIRD STUDIO/SQUARE ENIX © SUGIYAMA KOBO
Nintendo Switch is a trademark of Nintendo.
The copyrights of videos of games used in our content and other intellectual property rights belong to the provider of the game.
The contents we provide on this site were created personally by members of the Game8 editorial department.
We refuse the right to reuse or repost content taken without our permission such as data or images to other sites.
I meant fought not caught