Circle of Temper (Middle Echelon) Walkthrough: Chart 10
★ DQM3 releases on Steam and Mobile!
★ See all monster combinations: Synthesis Calculator
★ Some Helpful Articles:
┗ Story Walkthrough | Boss Guides | 100% Clear Guide
┗ List of Talents | List of Skills | List of Traits
┗ Level Up Guide | Mini Medal Locations | Egg Farming
A walkthrough for the Middle Echelon of the Circle of Temper in Dragon Quest Monsters: The Dark Prince (DQM3). Read on to see the recommended level for Circle of Temper, Middle Echelon, as well as monsters that can be found there!
| ◄ Previous Section | Next Section ▶ |
|---|---|
| Circle of Fortitude (Middle Echelon) | Circle of Indulgence (Middle Echelon) |
List of Contents
Circle of Temper (Middle Echelon) Walkthrough
Molten Mesa
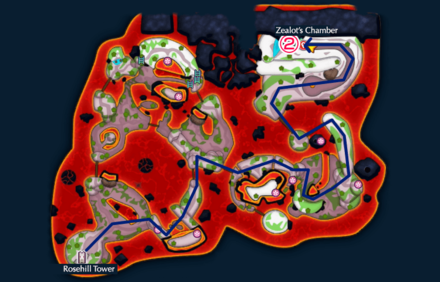
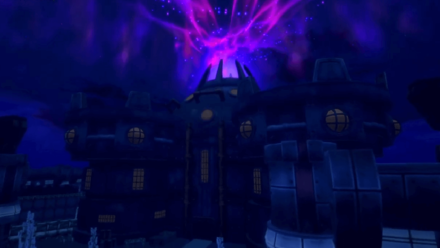
| 1 | Go to the second flood of Rosehill Tower, and use the teleporter to transport you to the unknown area in the Circle of Temper marked “???”. When you exit the tower you will arrive at the Circle of Temper, Middle Echelon. |
|---|---|
| 2 | Proceed to the red pin on the map and enter the "Zealot's Chamber" |
| EX | 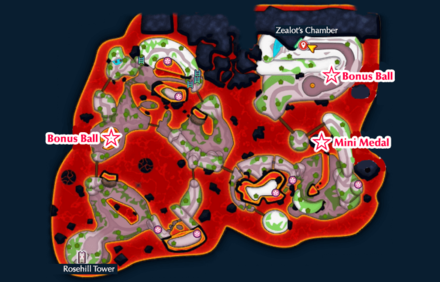 Get useful items along the way: |
Zealot's Chamber
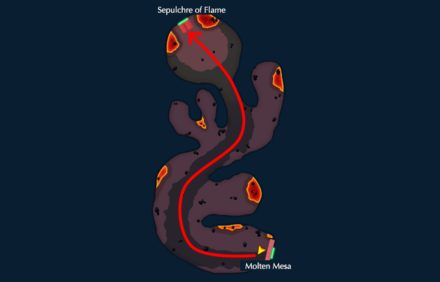
| 1 | Just follow the path to reach the Sepulchre of Flame |
|---|
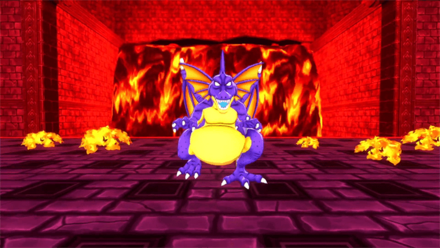
Sepulchre of Flame
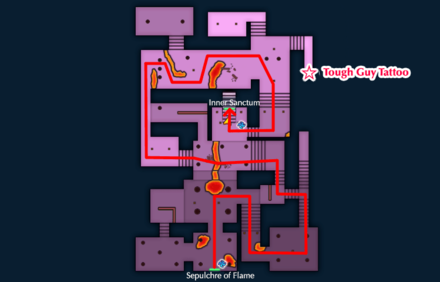
| 1 | Follow the path to the depths of the Sepulchre of Flame. Get the Tough Guy Tattoo for a +20 Attack buff for your monsters. |
|---|---|
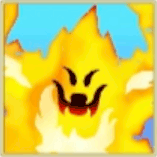
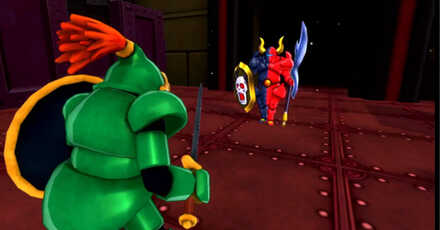
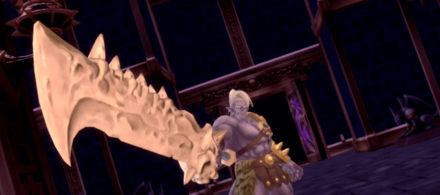
| 2 | Defeat Ash. ► How to Beat Ash |
| 3 | Return to the second floor of Rosehill Tower and teleport back to the human world. |
Circle of Temper (Middle Echelon) Boss Guide
Ash
 |
|||
| Recommended Level | Family | ||
|---|---|---|---|
| 23 (2 E-Rank, 1 D-Rank) | Dragon | ||
| Recommended Party | |||
 Dancing Flame |
 Archdemon |
 Briny Bronco |
 King Cureslime |
| Main Strategy | |||
|
|
|||
How to Beat Ash: Best Party Members and Weakness
Circle of Temper (Middle Echelon) Monster List
Circle of Temper (Middle Echelon)
 Metal Slime
 Spiny Slime
 Awebergine
 Hell Niño
 Rockbomb
 Rubble Slime
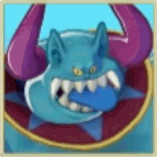 Hooper Trooper
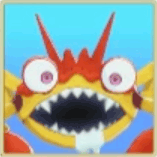 Crabid
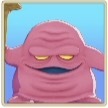 Lump Shaman
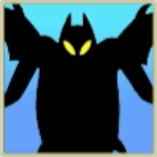 Shadow
 She-Slime
 Snowmangler
 Vampire Cat
 Drake Slime
 Pogoin' Penguin
 Guaardvark
 Airbagon
 Slime
Slime Firespirit
 Toady
Toady Stark Raven
Strong Monsters
| Large Monster | Location |
|---|---|
 Missing Lynx Missing Lynx
|
 |
Monster List: All 526 Monsters
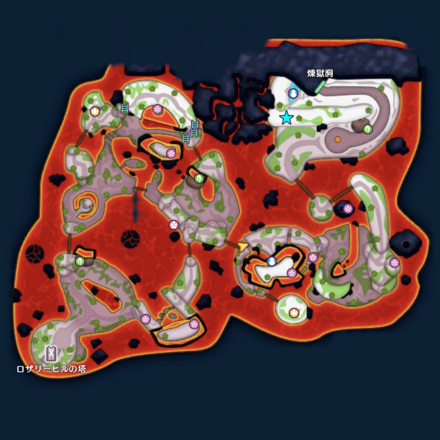
Circle of Temper (Middle Echelon) Mini Medal Locations
| Obtained | Map / Image Location |
|---|---|
|
(Circle of Temper) Middle Echelon Chest at the East Along Lava 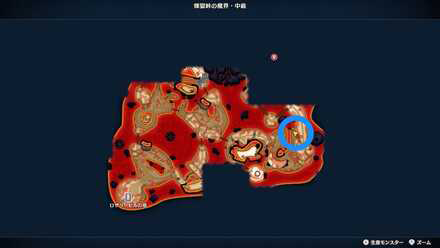 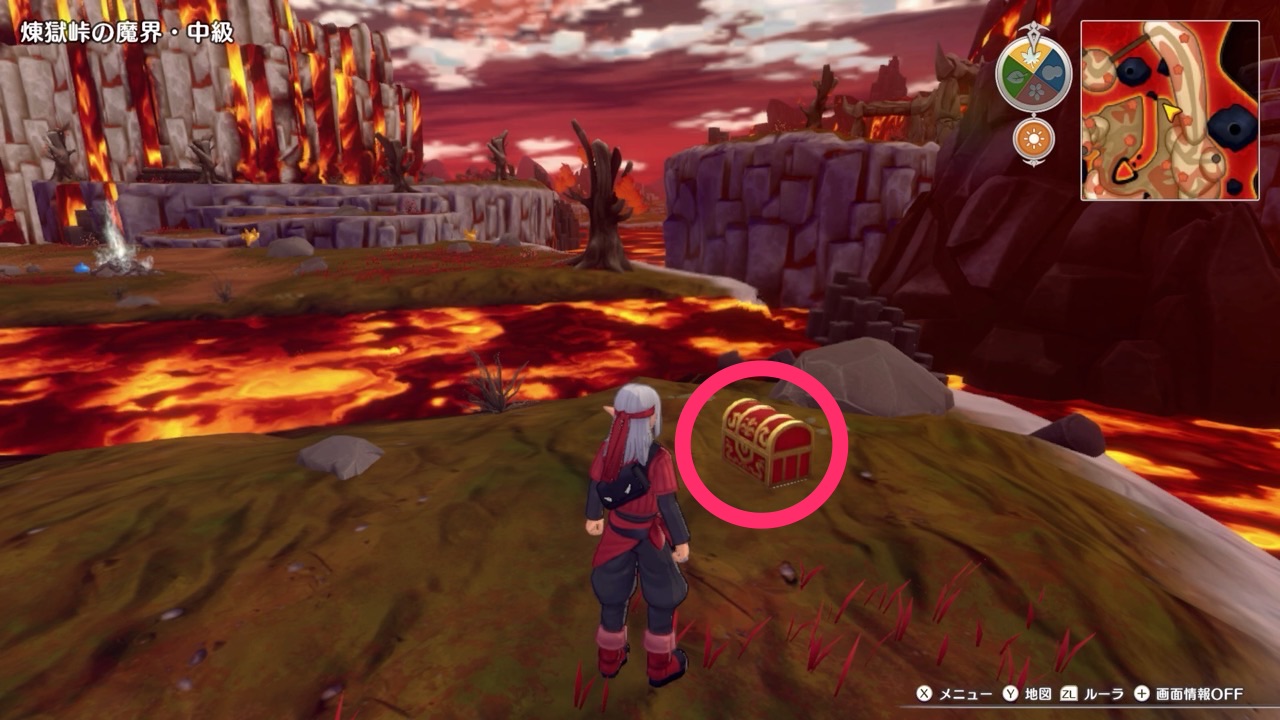
|
|
|
(Circle of Temper) Middle Echelon Chest at the Center Island (Summer Only). The Mini Medal is found only during Summer season.   |
|
|
(Circle of Temper) Middle Echelon Chest at the Northwest Island (Spring Only)  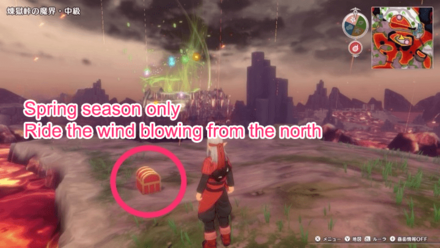 |
|
|
(Circle of Temper) Middle Echelon In a Pot East of Sepulchre of Flame  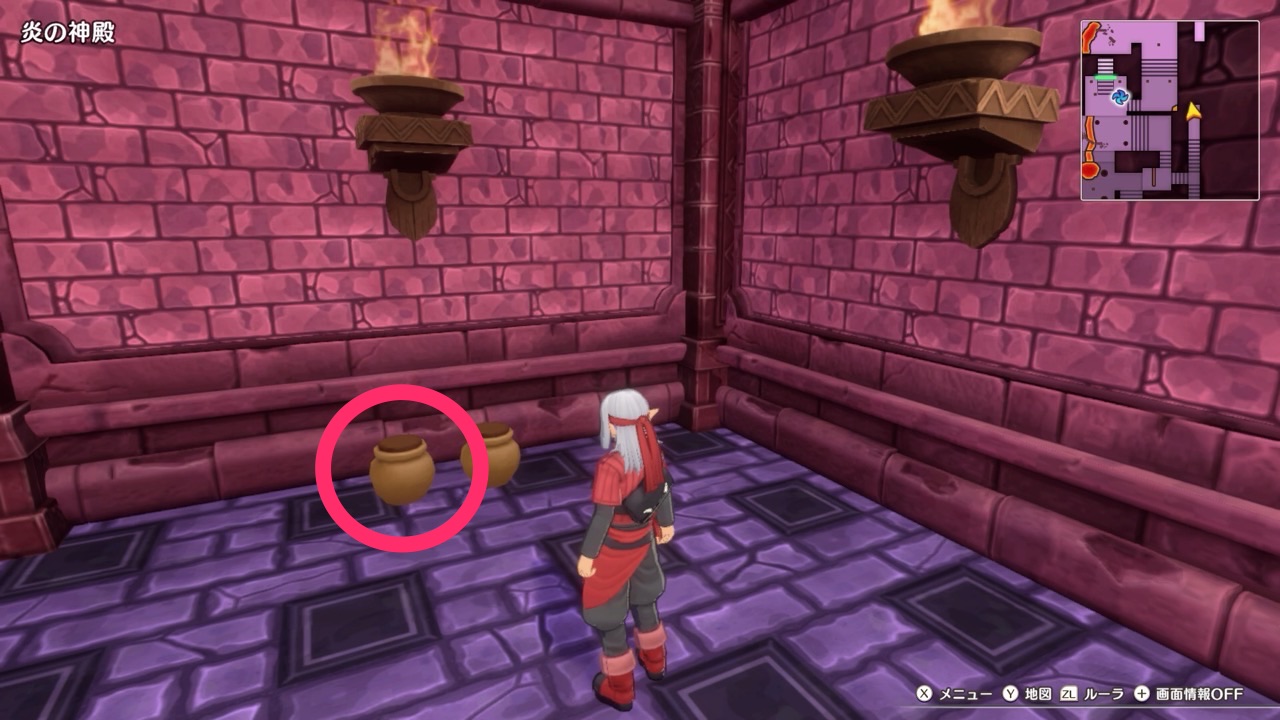
|
|
|
(Circle of Temper) Middle Echelon Northwest Corner at Sepulchre of Flame 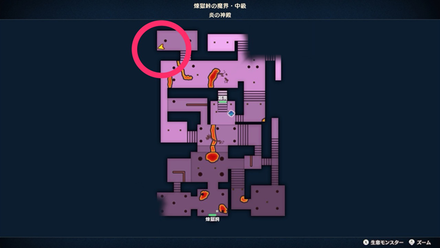 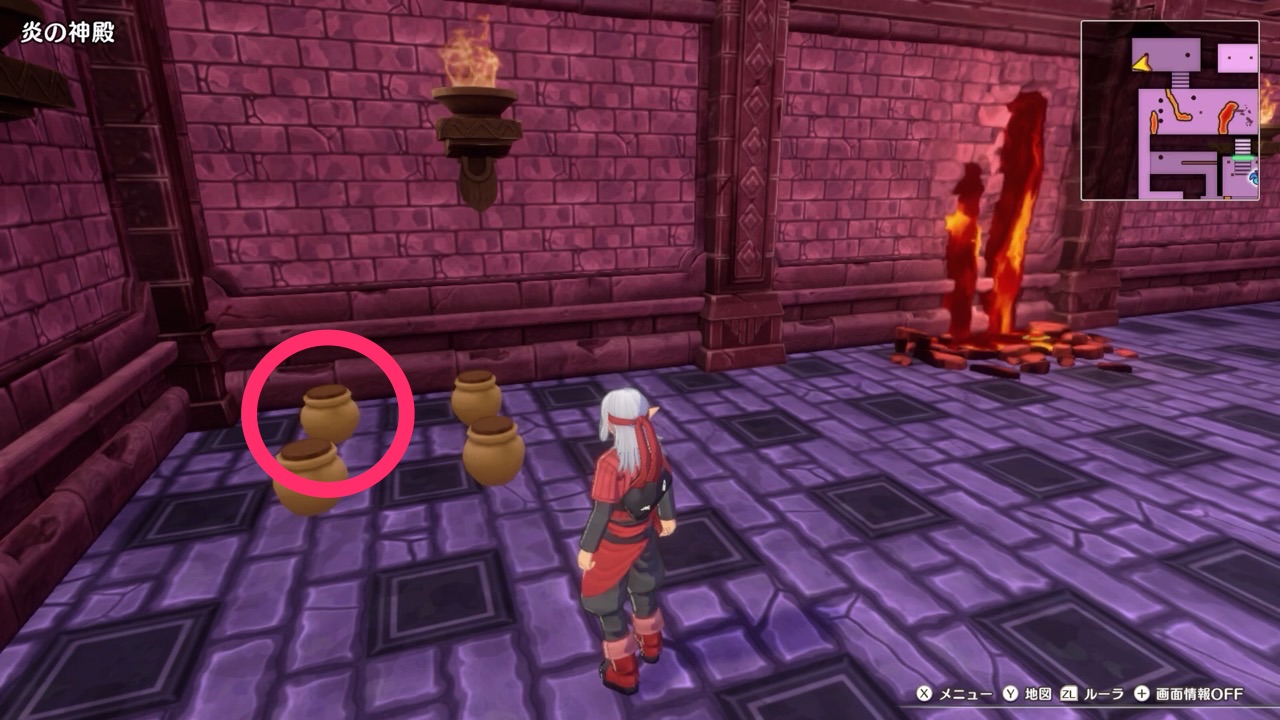
|
Mini Medal Checklist: All 72 Locations and Rewards
Dragon Quest Monsters: The Dark Prince Related Guides

Lower Echelon Guides
 Plains: Chart 1
 Circle of Conquest
  Circle of Temper (Lower Echelon): Chart 3
 Circle of Indulgence (Lower Echelon): Chart 4
 Circle of Caprice (Lower Echelon): Chart 5
 Circle of Fortitude (Lower Echelon): Chart 6
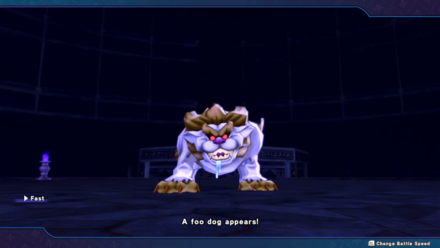 Cradle of Corruption (Lower Level): Chart 7
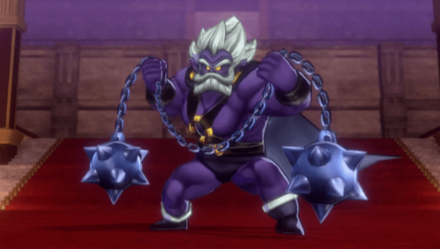 Terrestria (Diabolic Hall): Chart 8
Middle Echelon Guides
 Circle of Fortitude (Middle Echelon): Chart 9
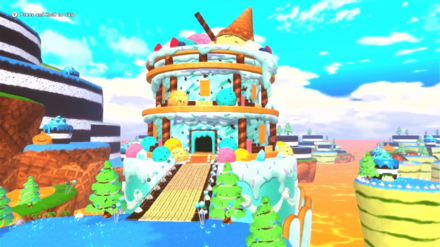 Circle of Indulgence (Middle Echelon): Chart 11
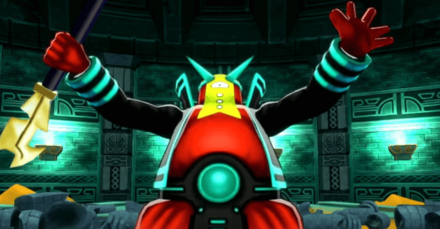 Circle of Caprice (Middle Echelon): Chart 12
 Circle of Conquest (Middle Echelon): Chart 13
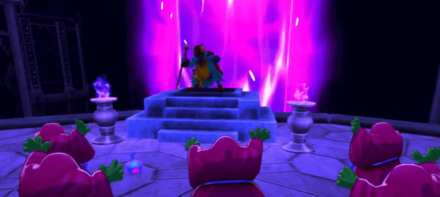 Cradle of Corruption (Middle Level): Chart 14
Upper Echelon Guides
 Circle of Temper (Upper Echelon): Chart 15
 Circle of Fortitude (Upper Echelon): Chart 17
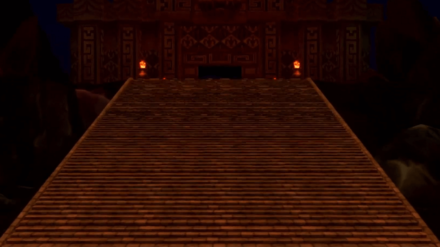 Cradle of Corruption (Upper Level): Chart 18
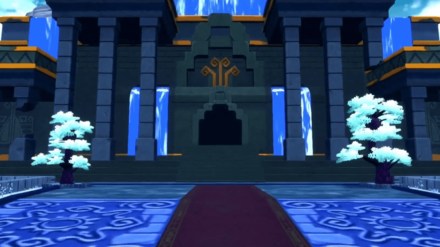
 Circle of Conquest (Upper Echelon): Chart 20
 The Whispwoods
Comment
Author

Dragon Quest Monsters: The Dark Prince Walkthrough & Guides Wiki
Circle of Temper (Middle Echelon) Walkthrough: Chart 10
Rankings
- We could not find the message board you were looking for.
Gaming News


![Monster Hunter Stories 3 Review [First Impressions] | Simply Rejuvenating](https://img.game8.co/4438641/2a31b7702bd70e78ec8efd24661dacda.jpeg/thumb)
Popular Games

Genshin Impact Walkthrough & Guides Wiki
Umamusume: Pretty Derby Walkthrough & Guides Wiki
Pokemon Pokopia Walkthrough & Guides Wiki
Honkai: Star Rail Walkthrough & Guides Wiki
Monster Hunter Stories 3: Twisted Reflection Walkthrough & Guides Wiki
Arknights: Endfield Walkthrough & Guides Wiki
Wuthering Waves Walkthrough & Guides Wiki
Zenless Zone Zero Walkthrough & Guides Wiki
Pokemon TCG Pocket (PTCGP) Strategies & Guides Wiki
Monster Hunter Wilds Walkthrough & Guides Wiki


Recommended Games
Diablo 4: Vessel of Hatred Walkthrough & Guides Wiki
Cyberpunk 2077: Ultimate Edition Walkthrough & Guides Wiki
Fire Emblem Heroes (FEH) Walkthrough & Guides Wiki
Yu-Gi-Oh! Master Duel Walkthrough & Guides Wiki
Super Smash Bros. Ultimate Walkthrough & Guides Wiki
Pokemon Brilliant Diamond and Shining Pearl (BDSP) Walkthrough & Guides Wiki
Elden Ring Shadow of the Erdtree Walkthrough & Guides Wiki
Monster Hunter World Walkthrough & Guides Wiki
The Legend of Zelda: Tears of the Kingdom Walkthrough & Guides Wiki
Persona 3 Reload Walkthrough & Guides Wiki


All rights reserved
© ARMOR PROJECT/BIRD STUDIO/SQUARE ENIX © SUGIYAMA KOBO
Nintendo Switch is a trademark of Nintendo.
The copyrights of videos of games used in our content and other intellectual property rights belong to the provider of the game.
The contents we provide on this site were created personally by members of the Game8 editorial department.
We refuse the right to reuse or repost content taken without our permission such as data or images to other sites.