Circle of Conquest (Lower Echelon) Walkthrough: Chart 2
★ DQM3 releases on Steam and Mobile!
★ See all monster combinations: Synthesis Calculator
★ Some Helpful Articles:
┗ Story Walkthrough | Boss Guides | 100% Clear Guide
┗ List of Talents | List of Skills | List of Traits
┗ Level Up Guide | Mini Medal Locations | Egg Farming
A walkthrough for the Lower Echelon of the Circle of Conquest in Dragon Quest Monsters: The Dark Prince (DQM3). Read on to see the recommended level for Lower Echelon, as well as monsters that can be found there!
| ◄ Previous Section | Next Section ▶ |
|---|---|
| Plains | Circle of Temper (Lower Echelon) |
List of Contents
Circle of Conquest (Lower Echelon) Walkthrough
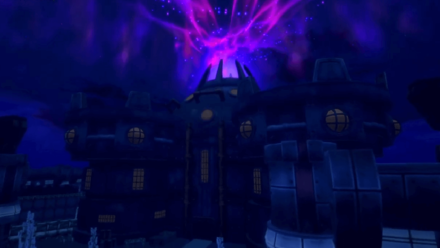
Circle of Conquest (Lower Echelon)
| 1 | Talk to Rose at the 3rd floor of Rosehill Tower. |
|---|---|
| 2 | When you exit the tower from the first floor, you will arrive at the Lower Echelon of the Circle of Conquest. |
| 3 | 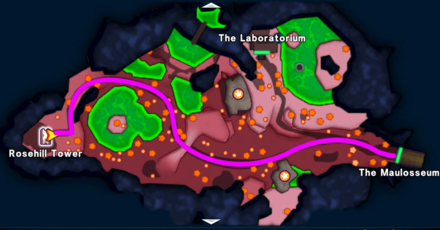 Before taking on the Maulosseum, be sure to level your monsters up to at least LVL 10 on your way there. |
| 4 | 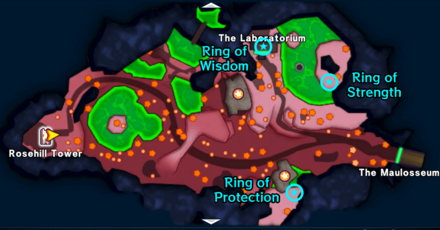 • Strength Ring (acquired only in Spring) • Ring of Protection (acquired only in Autumn) • Ring of Wisdom (inside the Laboratorium) |
Prioritize Leveling Up Over Scouting
It might be a little difficult to scout new monsters on your first time in the Circle of Conquest. Even if you do scout some successfully, there are no monsters with powerful spells or good stats. It is highly recommended to increase your monsters' levels instead.
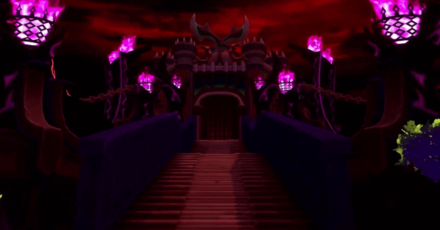
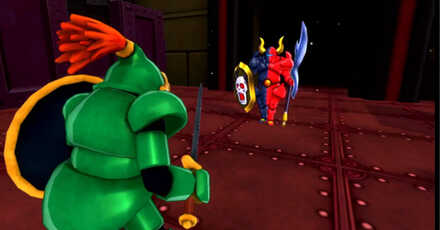
Maulosseum Category G (Unlocking Synthesis)
| 1 | Talk to the Maulosseum receptionist and clear Category G. This will reward you with the Travellite needed to progress. Completing the challenge will make for easier monster scouting in the Circle of Conquest. • Best Scouting Monsters |
|---|---|
| 2 | Zoom back to Rosehill Tower for a cutscene. |
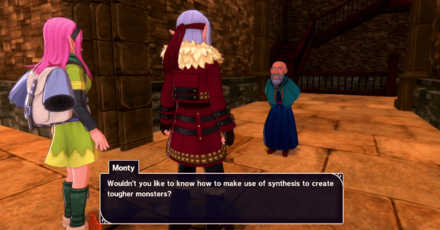
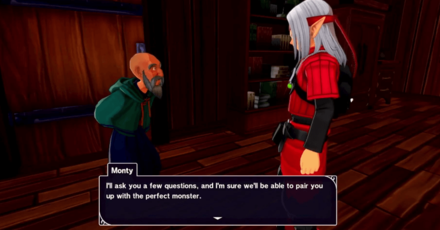
| 3 | Examine the teleportal on the 2nd floor of the Tower and return to Rosehill. Head to the stairs and talk to Monty to unlock Monster Synthesis. |
Monster Synthesis Unlocked!
Once you clear Category G of the Maulosseum, you will finally be able to synthesize monsters! Only monsters that reach LVL 10 and above can be synthesized, so be sure to level them up first.
Synthesis can make the early parts of the game much easier, for the stats and skill points from the parent monsters can be carried over to the resulting monster, making for even stronger units!
Synthesis Guide and Calculator
Circle of Conquest (Lower Echelon) Recommended Monsters
Monsters to Scout for Battle
| Monster | Explanation |
|---|---|
 Capsichum Capsichum
|
• Only caught in the Plains during Autumn • Keeps party alive with Heal • Can cure poison with Squelch |
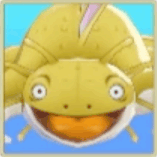
 Komodo Komodo
|
• Caught in the Plains • Keeps party alive with Heal • Useful in arena battles due to its Dazzleflash skill. |
Monsters to Scout for Synthesis
| Monster | Explanation |
|---|---|
 Woebergine Woebergine
|
• Synthesis component for Mud Mannequin, which can be later used to synthesize Chocolate Golem |
 Skeleton Skeleton
|
• Synthesis component for Skeleton Soldier • Will be useful for synthesizing C-rank monsters later in the game • Can create Skullrider through matchmaking |
 Leery Lout Leery Lout
|
• Synthesis component for numerous monsters, including Slime Knight, Restless Armour, Hunter Mech, and Escudogre |
Matchmaking
| Parent 1 | Parent 2 | Result | ||
|---|---|---|---|---|
 Killer Gila Killer Gila
|
x |
Skeleton
|
= |
 Skullrider Skullrider
|
Matchmaking becomes available after you clear Category G in the Maulosseum. Simply talk to the NPC in the Maulosseum and agree to a matchmaking service.
The monsters you wish to match with each other are entirely up to you. However, the recommended matchmaking pair is Skeleton with the NPC's Killer Gila to create an F-Rank Skullrider.
Maulosseum Arena Guide
Category G
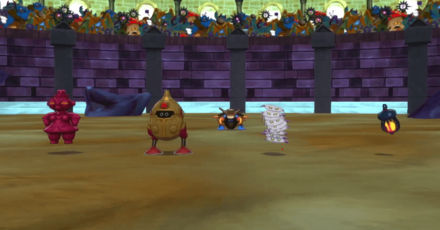 |
|||
| Recommended Level | |||
|---|---|---|---|
| 10~11 | |||
| Recommended Party | |||
 Cruelcumber Cruelcumber
|
 Slime Slime
|
 Khalamari Kid Khalamari Kid
|
 Dracky Dracky
|
| Main Strategy | |||
|
|
|||
Circle of Conquest (Lower Echelon) Monster List
Circle of Conquest (Lower Echelon)
 Lumbering Lizard Lumbering Lizard
|
||
 Feralball Feralball
|
 Wing Slime Wing Slime
|
Woebergine
|
 Lips Lips
|
 Lunatick Lunatick
|
 Damselfly Damselfly
|
 Bubble Slime Bubble Slime
|
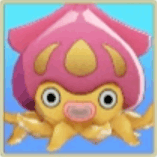
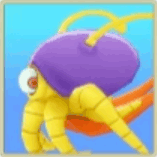
 Mad Mollusk Mad Mollusk
|
Leery Lout
|
 Ghost Ghost
|
Skeleton
|
 Funghoul Funghoul
|
 Putrefido Putrefido
|
||
Strong Monsters
| Large Monster | Location |
|---|---|
|
Lumbering Lizard
|
 |
Monster List: All 526 Monsters
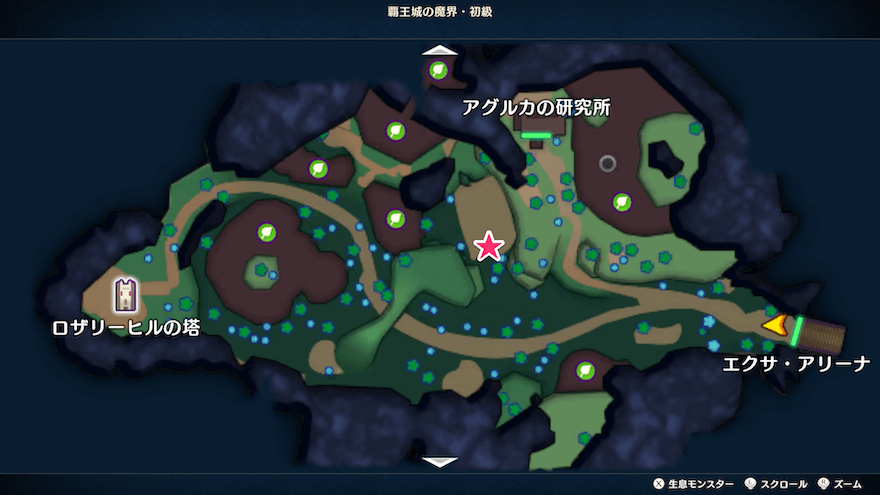
Circle of Conquest (Lower Echelon) Mini Medal Locations
| Obtained | Map / Image Location |
|---|---|
|
(Circle of Conquest) Lower Echelon Pot at the West Side of the Maulosseum 2F. The pot with the Mini Medal can be found at the west side of the Maulosseum.  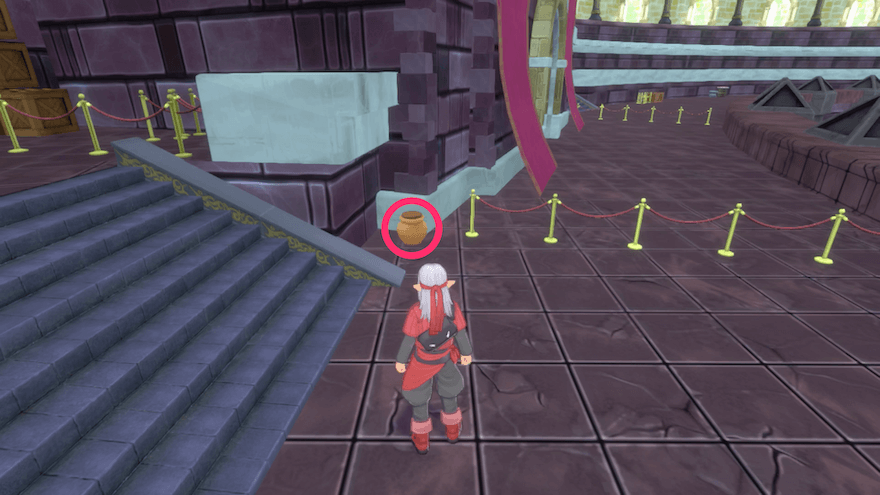
|
|
|
(Circle of Conquest) Lower Echelon Pot Behind the Laboratorium. Find the pot containing the Mini Medal behind the Laboratorium.  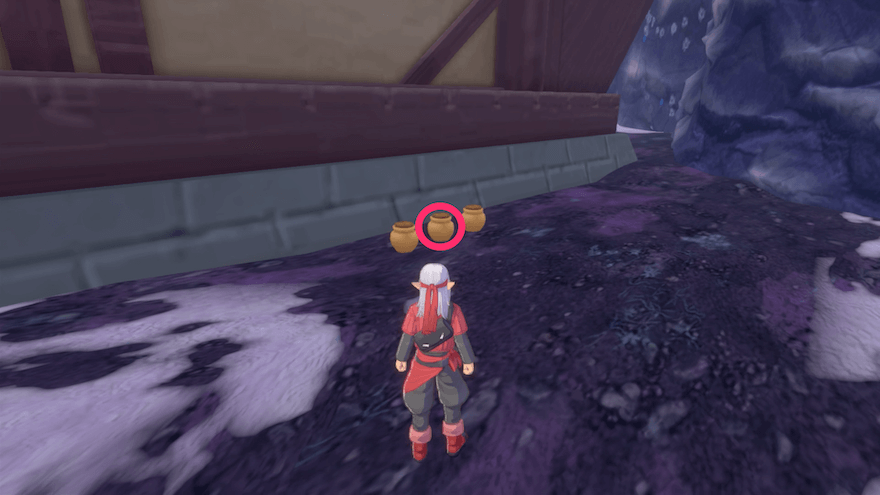
|
Mini Medal Checklist: All 72 Locations and Rewards
Dragon Quest Monsters: The Dark Prince Related Guides

Lower Echelon Guides
 Plains: Chart 1
 Circle of Conquest
  Circle of Temper (Lower Echelon): Chart 3
 Circle of Indulgence (Lower Echelon): Chart 4
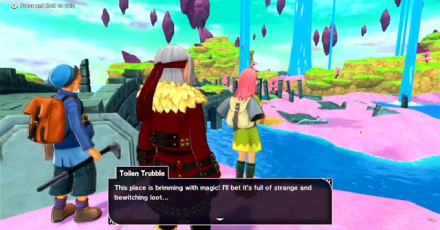 Circle of Caprice (Lower Echelon): Chart 5
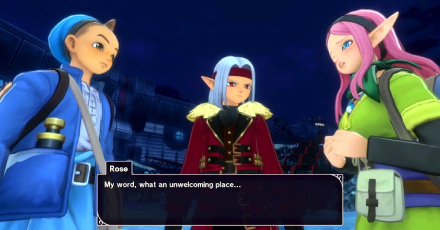 Circle of Fortitude (Lower Echelon): Chart 6
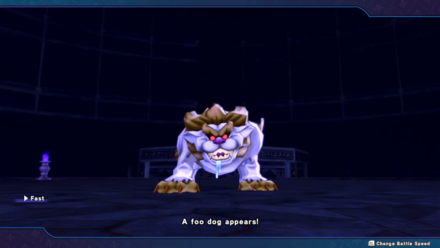 Cradle of Corruption (Lower Level): Chart 7
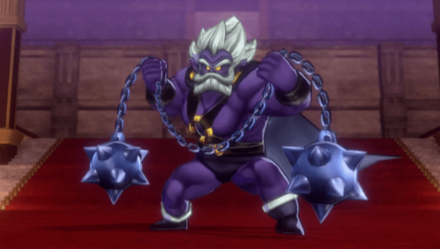 Terrestria (Diabolic Hall): Chart 8
Middle Echelon Guides
 Circle of Fortitude (Middle Echelon): Chart 9
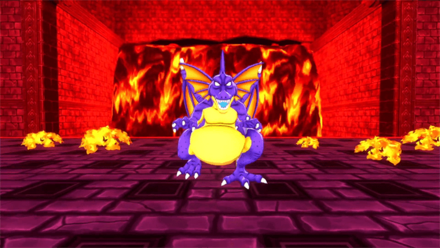 Circle of Temper (Middle Echelon): Chart 10
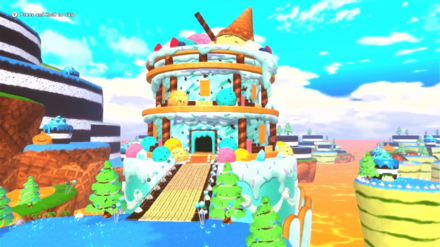 Circle of Indulgence (Middle Echelon): Chart 11
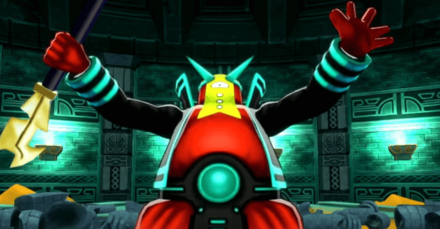 Circle of Caprice (Middle Echelon): Chart 12
 Circle of Conquest (Middle Echelon): Chart 13
 Cradle of Corruption (Middle Level): Chart 14
Upper Echelon Guides
 Circle of Temper (Upper Echelon): Chart 15
 Circle of Fortitude (Upper Echelon): Chart 17
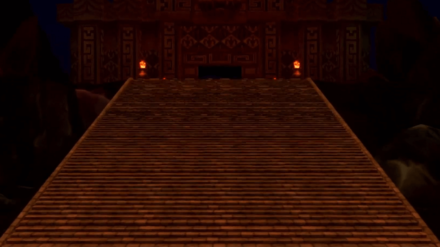 Cradle of Corruption (Upper Level): Chart 18
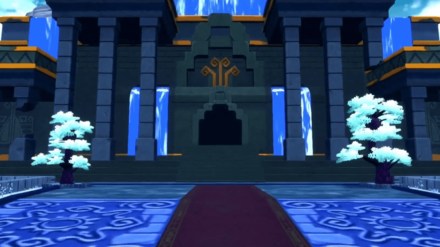
 Circle of Conquest (Upper Echelon): Chart 20
 The Whispwoods
Author

Dragon Quest Monsters: The Dark Prince Walkthrough & Guides Wiki
Circle of Conquest (Lower Echelon) Walkthrough: Chart 2
Rankings
- We could not find the message board you were looking for.
Gaming News

![The Liar Princess and the Blind Prince Review [PC] | Lovely to Look at but Tedious to Play](https://img.game8.co/4442586/8d95f5faf05780f1765ce7e0938bd825.jpeg/show)
![The Liar Princess and the Blind Prince Review [PC] | Lovely to Look at but Tedious to Play](https://img.game8.co/4442586/8d95f5faf05780f1765ce7e0938bd825.jpeg/thumb)
![Marathon Cryo Archive Map Teased as [REDACTED] on Selection Screen](https://img.game8.co/4442236/6357203e58172f6de57f1991e7c39b22.png/thumb)

Popular Games

Genshin Impact Walkthrough & Guides Wiki
Umamusume: Pretty Derby Walkthrough & Guides Wiki
Pokemon Pokopia Walkthrough & Guides Wiki
Honkai: Star Rail Walkthrough & Guides Wiki
Monster Hunter Stories 3: Twisted Reflection Walkthrough & Guides Wiki
Arknights: Endfield Walkthrough & Guides Wiki
Wuthering Waves Walkthrough & Guides Wiki
Zenless Zone Zero Walkthrough & Guides Wiki
Pokemon TCG Pocket (PTCGP) Strategies & Guides Wiki
Monster Hunter Wilds Walkthrough & Guides Wiki


Recommended Games
Diablo 4: Vessel of Hatred Walkthrough & Guides Wiki
Cyberpunk 2077: Ultimate Edition Walkthrough & Guides Wiki
Fire Emblem Heroes (FEH) Walkthrough & Guides Wiki
Yu-Gi-Oh! Master Duel Walkthrough & Guides Wiki
Super Smash Bros. Ultimate Walkthrough & Guides Wiki
Pokemon Brilliant Diamond and Shining Pearl (BDSP) Walkthrough & Guides Wiki
Elden Ring Shadow of the Erdtree Walkthrough & Guides Wiki
Monster Hunter World Walkthrough & Guides Wiki
The Legend of Zelda: Tears of the Kingdom Walkthrough & Guides Wiki
Persona 3 Reload Walkthrough & Guides Wiki


All rights reserved
© ARMOR PROJECT/BIRD STUDIO/SQUARE ENIX © SUGIYAMA KOBO
Nintendo Switch is a trademark of Nintendo.
The copyrights of videos of games used in our content and other intellectual property rights belong to the provider of the game.
The contents we provide on this site were created personally by members of the Game8 editorial department.
We refuse the right to reuse or repost content taken without our permission such as data or images to other sites.
You dont explain how you get the crystal for the next area after beating it or what the requirements are