Circle of Temper (Lower Echelon) Walkthrough: Chart 3
★ DQM3 releases on Steam and Mobile!
★ See all monster combinations: Synthesis Calculator
★ Some Helpful Articles:
┗ Story Walkthrough | Boss Guides | 100% Clear Guide
┗ List of Talents | List of Skills | List of Traits
┗ Level Up Guide | Mini Medal Locations | Egg Farming
A walkthrough for the Lower Echelon of the Circle of Temper in Dragon Quest Monsters: The Dark Prince (DQM3). Read on to see the recommended level for the Circle of Temper, as well as monsters that can be found there!
| ◄ Previous Section | Next Section ▶ |
|---|---|
| Circle of Conquest (Lower Echelon) | Circle of Indulgence (Lower Echelon) |
List of Contents
Circle of Temper Walkthrough
Circle of Temper (Lower Echelon)
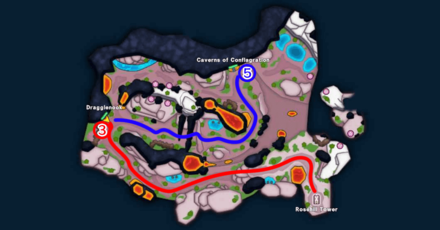
| 1 | Place the Travelite onto the magic circle on the 2F of the Rosehill Tower. |
|---|---|
| 2 | Exit the tower on the 1F and arrive at the Lower Echelon of the Circle of Temper. |
| 3 | Follow the pin on the map to the west and enter Dragglenook. |
| 4 | 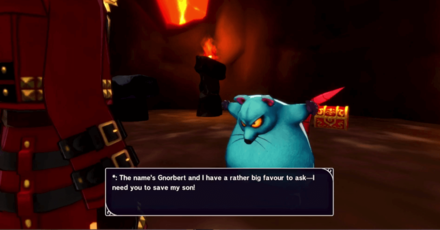 |
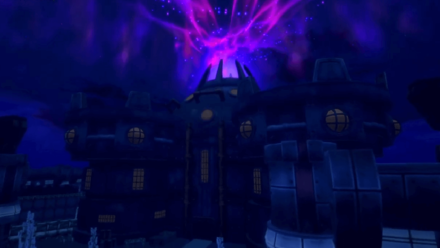
| 5 | After hearing Gnorbert's request, make your way to the Cavern of Conflagration to the north. |
Avoid the Dragon near Dragglenook
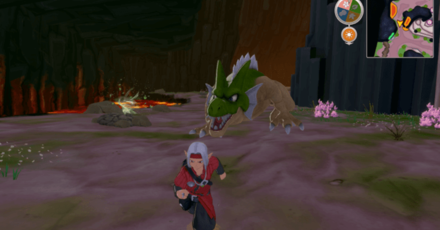
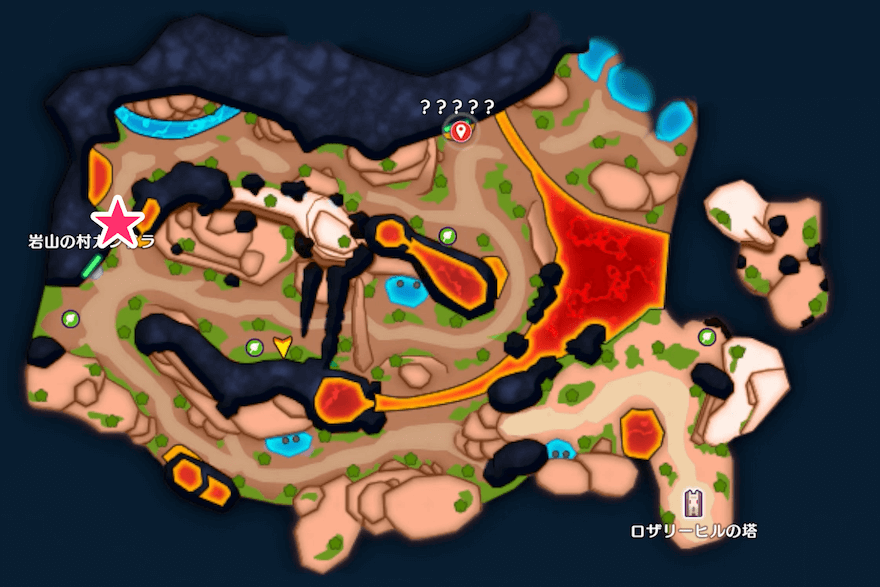
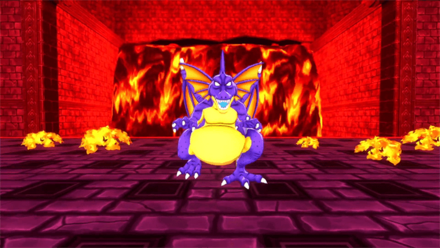
Near Dragglenook's entrance is a powerful dragon that deals about 50 damage to opponents and can act up to 3 times per turn. If you've been progressing the story normally, it's highly likely that you'll be underleveled for this fight, so be careful not to get too close!
You will be able to face this dragon once your monsters reach at least LVL 20, so focus on strengthening them, then come back to take on the challenge.
Cavern of Conflagration
| 1 | 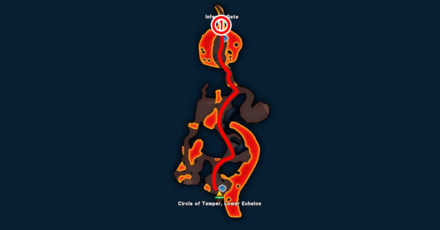 |
|---|---|
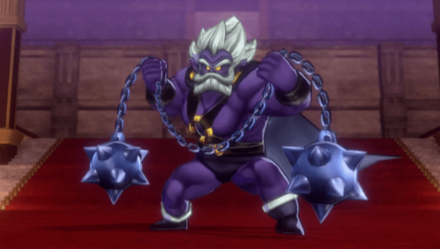
| 2 | You will go up against your first boss, Bernie. Defeating Bernie will not only complete your objective, but will also make for easier monster scouting. ► How to Beat Bernie |
| 3 | Use Zoom to warp back to Dragglenook. Talk to Gornbert to receive the Green Travelite. |
| 4 | 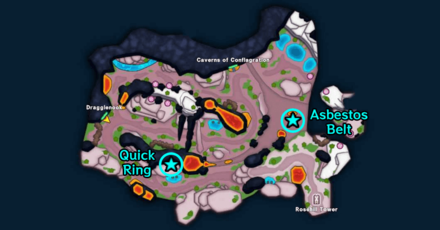 • Quick Ring (acquired only in Autumn) • Asbestos Belt (acquired after defeating the boss) |
Monsters Too Strong?
You will begin encountering full-fledged boss battles in the Lower Echelon of the Circle of Temper. Hence, leveling up your monsters and getting up to speed is imperative!
Check out our guide on how to level up fast, even when you're still in the early stages of Dragon Quest Monsters 3! Additionally, you can check out our guide below for the best monsters to have early on in the game.
Circle of Temper Recommended Monsters
Monsters to Scout for Synthesis
| Monster | Explanation |
|---|---|
 Leery Lout Leery Lout
|
• Synthesis component for numerous monsters, including Slime Knight, Restless Armour, Hunter Mech, and Escudogre |
 Airbagon Airbagon
|
• Synthesis component for Jargon |
 She-Slime She-Slime
|
• Synthesis component for Beshemoth Slime, which can be used to mass produce D-rank monsters. |
 Bongo Drongo Bongo Drongo
|
• Can be caught in the early stages • Synthesis component for F-rank Material Family monsters such as Eggsoskeleton and Hunter Mech. |
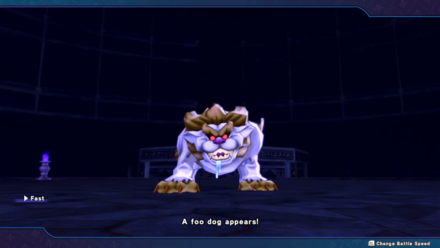
 Foo Dog Foo Dog
|
• Synthesis component for Hunter Mechs |
 Dracky Dracky
|
• Can create Horrifying Saucers through Matchmaking |
Matchmaking
| Parent 1 | Parent 2 | Result | ||
|---|---|---|---|---|
 Wax Murderer Wax Murderer
|
x |
 Dracky Dracky
|
= |
 Horrifying Saucers Horrifying Saucers
|
For this Matchmaking session, simply talk to the NPC in the village of Dragglenook and agree to a matchmaking service.
The monsters you wish to match with each other are entirely up to you. However, the recommended matchmaking pair is Dracky with the NPC's Wax Murderer to create an F-Rank Horrifying Saucers.
Monsters to Synthesize
| Monster | Explanation | ||
|---|---|---|---|
 Hunter Mech Hunter Mech
|
|
x |
|
| • Powerful monster than can act twice in a single turn. • Synthesis component for Killing Machine |
|||
 Behemoth Slime Behemoth Slime
|
|
x |
|
| • Synthesis component for Beshemoth Slime | |||
 Beshemoth Slime Beshemoth Slime
|
|
x |
|
| • Can be used to mass produce D-rank monsters. | |||
Synthesis Guide and Calculator
Circle of Temper (Lower Echelon) Arena Guide
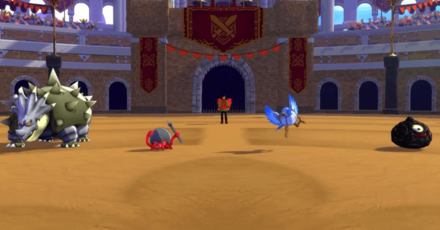
Endor Colosseum - Category E
 |
|||
| Recommended Level | |||
|---|---|---|---|
| 10~11 | |||
| Recommended Party | |||
 Komodo Komodo
|
 Leery Lout Leery Lout
|
 Wing Slime Wing Slime
|
 Drake Slime Drake Slime
|
| Main Strategy | |||
|
|
|||
In the second battle, monsters with high defense such as Tortoceratops and Octopot will appear. Additionally, Octopot can cast Buff on its teammates, so it is recommended to have monsters with spells and breath attacks that ignore defense increases.
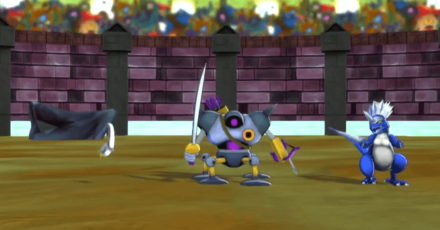
Maulosseum - Category F
 |
|||
| Recommended Level | |||
|---|---|---|---|
| 12 | |||
| Recommended Party | |||
 Guaardvark Guaardvark
|
 Hunter Mech Hunter Mech
|
 Healslime Healslime
|
 Vampire Cat Vampire Cat
|
| Main Strategy | |||
|
|
|||
The Hunter Mech you're going to be up against has high Attack power, and can target all of your monsters at the same time. Spells like Dazzle and Sandstorm can decrease your opponents' Accuracy, preventing them from landing hits on you.
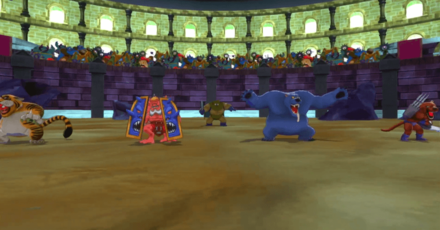
Maulosseum - Category E
 |
|||
| Recommended Level | |||
|---|---|---|---|
| 12 | |||
| Recommended Party | |||
 Guaardvark Guaardvark
|
 Hunter Mech Hunter Mech
|
 Healslime Healslime
|
 Vampire Cat Vampire Cat
|
| Main Strategy | |||
|
|
|||
The opponents in Category E pack a heavy punch, but are highly susceptible to being stunned. Skills like Sultry Dance and War Cry will work wonders for taking the edge off of this challenge!
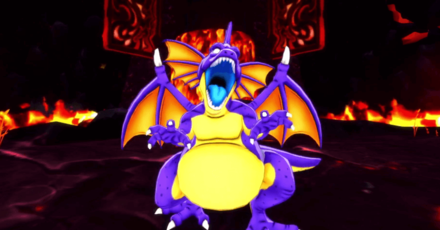
Boss Battle: Bernie
 |
|||
| Recommended Level | Family | ||
|---|---|---|---|
| 12 |
|
||
| Recommended Party | |||
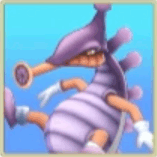 Briny Bronco Briny Bronco
|
 Briny Bronco Briny Bronco
|
 Hunter Mech Hunter Mech
|
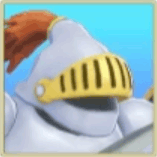 Restless Armour Restless Armour
|
| Main Strategy | |||
|
|
|||
Bernie almost exclusively uses Fire elemental attacks such as Fire Breath. It's weak to Water elemental attacks, so bringing along monsters with the Aquapothecary Talent will turn the tides of battle heavily in your favor.
Additionally, you can bring along monsters with the Soothesayer talent with the Insulate spell to reduce the damage your monsters take from Bernie's Fire Breath.
How to Beat Bernie: Best Party Members and Weakness
Monsters with Aquapothecary Talent
| Examples of Monsters with Aquapothecary | |
|---|---|
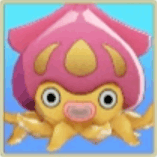 Khalamari Kid Khalamari Kid
|
 Briny Bronco Briny Bronco
|
Monsters with Soothesayer Talent
| Examples of Monsters with Soothesayer | |
|---|---|
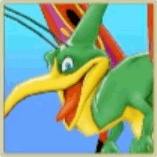 Damselfly Damselfly
|
 Picksy Picksy
|
Other Recommended Parties
| Party 1 | |||
|---|---|---|---|
 Cruelcumber Cruelcumber
|
 Leery Lout Leery Lout
|
 Mud Mannequin Mud Mannequin
|
 Feral Slime Feral Slime
|
| Party 2 | |||
 Toady Toady
|
 Toady Toady
|
 Toady Toady
|
 Restless Armour Restless Armour
|
Circle of Temper (Lower Echelon) Monster List
Circle of Temper (Lower Echelon)
 Green Dragon Green Dragon
|
||
 Bongo Drongo Bongo Drongo
|
 She-Slime She-Slime
|
 Shadow Shadow
|
 Cyclown Cyclown
|
 Foo Dog Foo Dog
|
|
 Lunatick Lunatick
|
 Dracky Dracky
|
 Leery Lout Leery Lout
|
 Mischievous Mole Mischievous Mole
|
 Lampling Lampling
|
 Firespirit Firespirit
|
 Healslime Healslime
|
 Toady Toady
|
 Airbagon Airbagon
|
 Stark Raven Stark Raven
|
||
Strong Monsters
| Large Monster | Location |
|---|---|
 Green Dragon Green Dragon
|
 |
Monster List: All 526 Monsters
Circle of Temper (Lower Echelon) Mini Medal Locations
| Obtained | Map / Image Location |
|---|---|
|
(Circle of Temper) Lower Echelon On a Large Bone at the Center Area (Autumn Only). The cliff where the Mini Medal is located is only accessible during the Autumn season. 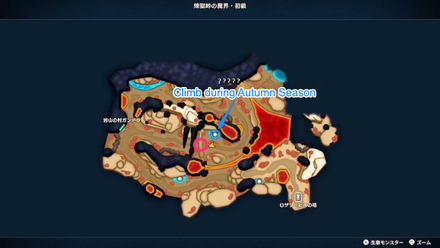 
|
|
|
(Circle of Temper) Lower Echelon Pot South of Dragglenook 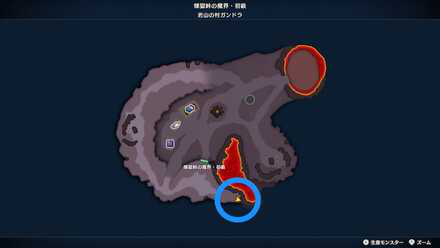 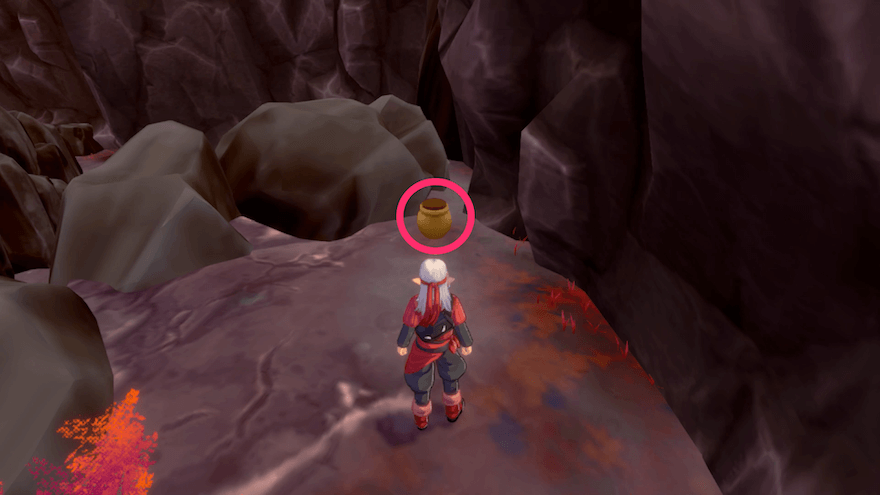
|
|
|
(Circle of Temper) Lower Echelon Chest at the East Island (Spring Only). This Mini Medal is accessible only during Spring season and after having cleared Cavern of Conflagrations.  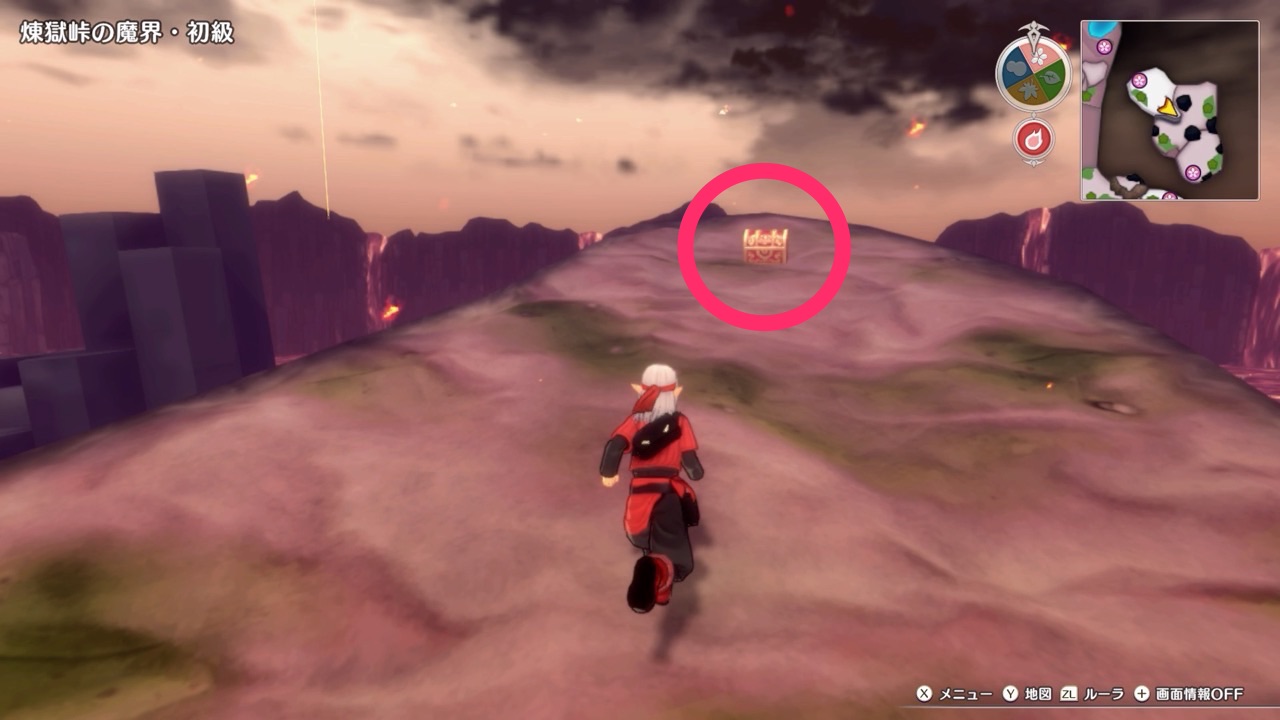
|
Mini Medal Checklist: All 72 Locations and Rewards
Dragon Quest Monsters: The Dark Prince Related Guides

Lower Echelon Guides
Middle Echelon Guides
Upper Echelon Guides
Author
Dragon Quest Monsters: The Dark Prince Walkthrough & Guides Wiki
Circle of Temper (Lower Echelon) Walkthrough: Chart 3
Rankings
- We could not find the message board you were looking for.
Gaming News
Popular Games

Genshin Impact Walkthrough & Guides Wiki

Umamusume: Pretty Derby Walkthrough & Guides Wiki

Pokemon Pokopia Walkthrough & Guides Wiki

Honkai: Star Rail Walkthrough & Guides Wiki

Monster Hunter Stories 3: Twisted Reflection Walkthrough & Guides Wiki

Arknights: Endfield Walkthrough & Guides Wiki

Wuthering Waves Walkthrough & Guides Wiki

Zenless Zone Zero Walkthrough & Guides Wiki

Pokemon TCG Pocket (PTCGP) Strategies & Guides Wiki

Monster Hunter Wilds Walkthrough & Guides Wiki
Recommended Games

Diablo 4: Vessel of Hatred Walkthrough & Guides Wiki

Cyberpunk 2077: Ultimate Edition Walkthrough & Guides Wiki

Fire Emblem Heroes (FEH) Walkthrough & Guides Wiki

Yu-Gi-Oh! Master Duel Walkthrough & Guides Wiki

Super Smash Bros. Ultimate Walkthrough & Guides Wiki

Pokemon Brilliant Diamond and Shining Pearl (BDSP) Walkthrough & Guides Wiki

Elden Ring Shadow of the Erdtree Walkthrough & Guides Wiki

Monster Hunter World Walkthrough & Guides Wiki

The Legend of Zelda: Tears of the Kingdom Walkthrough & Guides Wiki

Persona 3 Reload Walkthrough & Guides Wiki
All rights reserved
© ARMOR PROJECT/BIRD STUDIO/SQUARE ENIX © SUGIYAMA KOBO
Nintendo Switch is a trademark of Nintendo.
The copyrights of videos of games used in our content and other intellectual property rights belong to the provider of the game.
The contents we provide on this site were created personally by members of the Game8 editorial department.
We refuse the right to reuse or repost content taken without our permission such as data or images to other sites.
 Plains: Chart 1
 Circle of Conquest
  Circle of Indulgence (Lower Echelon): Chart 4
 Circle of Caprice (Lower Echelon): Chart 5
 Circle of Fortitude (Lower Echelon): Chart 6
 Cradle of Corruption (Lower Level): Chart 7
 Terrestria (Diabolic Hall): Chart 8
 Circle of Fortitude (Middle Echelon): Chart 9
 Circle of Temper (Middle Echelon): Chart 10
 Circle of Indulgence (Middle Echelon): Chart 11
 Circle of Caprice (Middle Echelon): Chart 12
 Circle of Conquest (Middle Echelon): Chart 13
 Cradle of Corruption (Middle Level): Chart 14
 Circle of Temper (Upper Echelon): Chart 15
 Circle of Fortitude (Upper Echelon): Chart 17
 Cradle of Corruption (Upper Level): Chart 18
 Circle of Conquest (Upper Echelon): Chart 20
 The Whispwoods




![Marathon Cryo Archive Map Teased as [REDACTED] on Selection Screen](https://img.game8.co/4442236/6357203e58172f6de57f1991e7c39b22.png/thumb)


I found Dracky here but not Drackyma.