Circle of Indulgence (Middle Echelon) Walkthrough: Chart 11
★ DQM3 releases on Steam and Mobile!
★ See all monster combinations: Synthesis Calculator
★ Some Helpful Articles:
┗ Story Walkthrough | Boss Guides | 100% Clear Guide
┗ List of Talents | List of Skills | List of Traits
┗ Level Up Guide | Mini Medal Locations | Egg Farming

A walkthrough for the Middle Echelon of the Circle of Indulgence in Dragon Quest Monsters: The Dark Prince (DQM3). Read on to see the recommended level for Circle of Indulgence, Middle Echelon, as well as monsters that can be found there!
| ◄ Previous Section | Next Section ▶ |
|---|---|
| Circle of Temper (Middle Echelon) | Circle of Caprice (Middle Echelon) |
List of Contents
Circle of Indulgence (Middle Echelon) Walkthrough
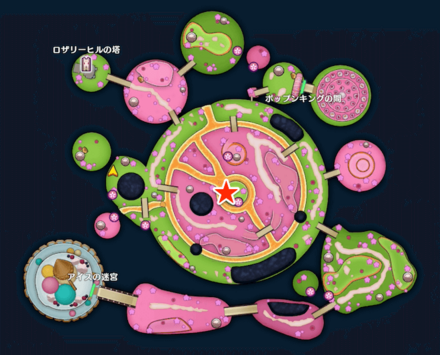
Circle of Indulgence (Middle Echelon)
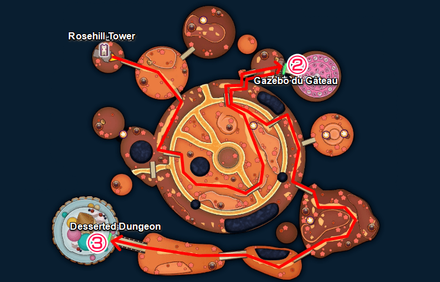
| 1 | You can go to the Circle of Indulgence, Middle Echelon after you offer the Purple Travelite to the magic circle in Rosehill Tower. |
|---|---|
| 2 | Go to the northeastern part of the map, towards the Gazebo du Gâteau. |
| 3 | From the floating island in the southeast of the Gazebo du Gâteau, proceed towards the red pin on the southwest part of the map, towards the Desserted Dungeon. |
| 4 | 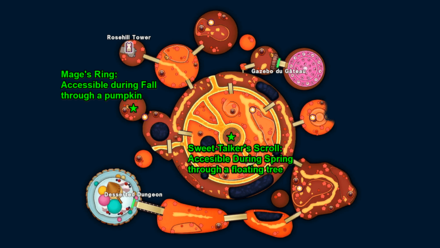 Get these useful items along the way: ・Sweet-Talker's Scroll ・Mage's Ring |
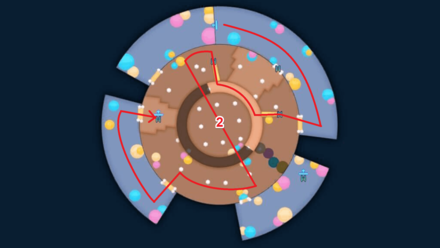
Desserted Dungeon
| Desserted Dungeon Map | |
|---|---|
 |
 |
 |
- |
*The dungeon begins on the 2nd Floor.
| 1 | Proceed towards the top floor of the Desserted Dungeon. |
|---|---|
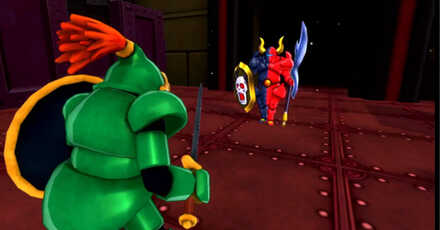
| 2 | Enter the circular room in the center of the first floor and defeat Dessert Demon, Boss Troll, and Chocolate Golem. ► How to Beat Dessert Demon, Boss Troll, and Chocolate Golem |
| 3 | Defeat the boss battle with Cane Custodian and the two Luneyetics. ► How to Beat Cane Custodian |
| 4 | Proceed towards Gazebo du Gâteau, but go towards Rosehill Tower first in case you need to recover your health. |
| 5 | Defeat Claudio and the two Notso Machos. ► How to Beat Claudio |
| 6 | Go to the 2nd floor of Rosehill Tower to the Circle of Conquest, Lower Echelon and head to the Laboratorium. |
| 7 | Return to Terrestria. |
| EX |
Get these useful items along the way: |
How to Go Through the Desserted Dungeon
Recommended Monsters in Circle of Indulgence (Middle Echelon)
Monsters to Scout
| Monster | Explanation |
|---|---|
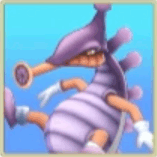
 Beshemoth Slime |
・Combine this monster with a Metal Slime Knight, which is then used to synthesize the B-rank monster, Shogum |
 Goonache Goodie |
・Combine this monster with a Chocolate Golem to synthesize Belial |
 Imp |
・Combine this monster with a Dessert Demon to synthesize Belial |
 Sugar Baddie |
・Matchmake this monster with a Low Djinks to get a Belial |
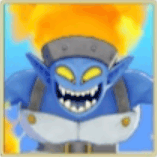
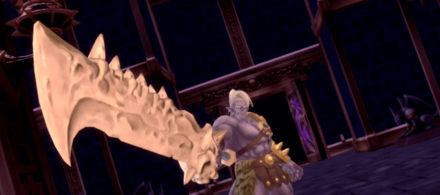
Keep the Fright Knight that Joins You
After you defeat the mid-level boss, a Fright Knight will join your party. We recommend keeping it for now, as two stages later, in the Circle of Conquest, Middle Echelon, you'll find a monster that you can combine it with to create a Demon-at-Arms, a B-Rank monster.
Monsters to Synthesize
| Monster | Explanation |
|---|---|
 Dessert Demon |
・Synthesize with Imp and Chocolate Golem. |
 Grim Keeper |
・Synthesize using a Low Djinks and a Beleth |
 Archdemon |
・Synthesize using the Dessert Demon and Grim Keeper above. |
Circle of Indulgence (Middle Echelon) Boss Guide
Dessert Demon, Boss Troll, and Chocolate Golem
 |
|||
| Recommended Level | Family | ||
|---|---|---|---|
| 26 (1 D-Rank, 1 C-Rank) |
|
||
| Recommended Party | |||
 Slime Knight |
 Briny Bronco |
 Hawk Man |
 Flamethrower |
| Main Strategy | |||
|
|
|||
How to Beat Dessert Demon, Boss Troll, Chocolate Golem: Best Party Members and Weakness
The Cane Custodian and Luneyetics x2
 |
|||
| Recommended Level | Family | ||
|---|---|---|---|
| 26 (1 D-Rank, 1 C-Rank) |
|
||
| Recommended Party | |||
|
Slime Knight |
Briny Bronco |
Hawk Man |
Flamethrower |
| Main Strategy | |||
|
|
|||
How to Beat The Cane Custodian: Best Party Members and Weakness
Claudio and Notso Macho x2
 |
|||
| Recommended Level | Family | ||
|---|---|---|---|
| 26 (1 D-Rank, 1 C-Rank) |
|
||
| Recommended Party | |||
|
Slime Knight |
Briny Bronco |
Hawk Man |
Flamethrower |
| Main Strategy | |||
|
|
|||
How to Beat Claudio: Best Party Members and Weakness
Circle of Indulgence (Middle Echelon) Monster List
Circle of Indulgence (Middle Echelon)
 Bag O' Tricks
 Saccharine Sacksquatch
 Night Sneaker
 Calypso King
 Cococoa Blobelisk
 Abracadabrador
 Metal Slime
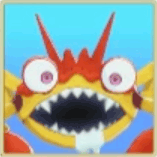 Crabid
 Jailcat
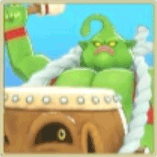 Bongo Drongo
 Croc-A-Bugle-Doo
 Odd Cob
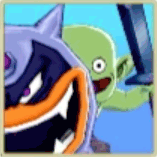 Leery Lout
 Ghost
Ghost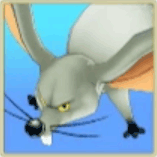 Mouseflap
 Putrefido
 Soft Serve Spook
 Fromage Fray
 Candy Cat
Strong Monsters
| Large Monster | Location |
|---|---|
 Roistering Rooster Roistering Rooster
|
 |
Desserted Dungeon
 Shivery Shrubbery Shivery Shrubbery
|
||
 Frolicker Frolicker
|
 Freezing Fog Freezing Fog
|
 Drackolyte Drackolyte
|
 Cannibox Cannibox
|
Imp
|
|
Circle of Indulgence (Middle Echelon) Mini Medal Locations
| Obtained | Map / Image Location |
|---|---|
|
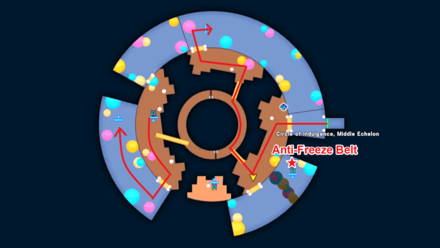
(Circle of Indulgence) Middle Echelon South of the Central Circular Area (Winter Only)   |
|
|
(Circle of Indulgence) Middle Echelon Chest at tthe Eastern-most Circle (Autumn Only)  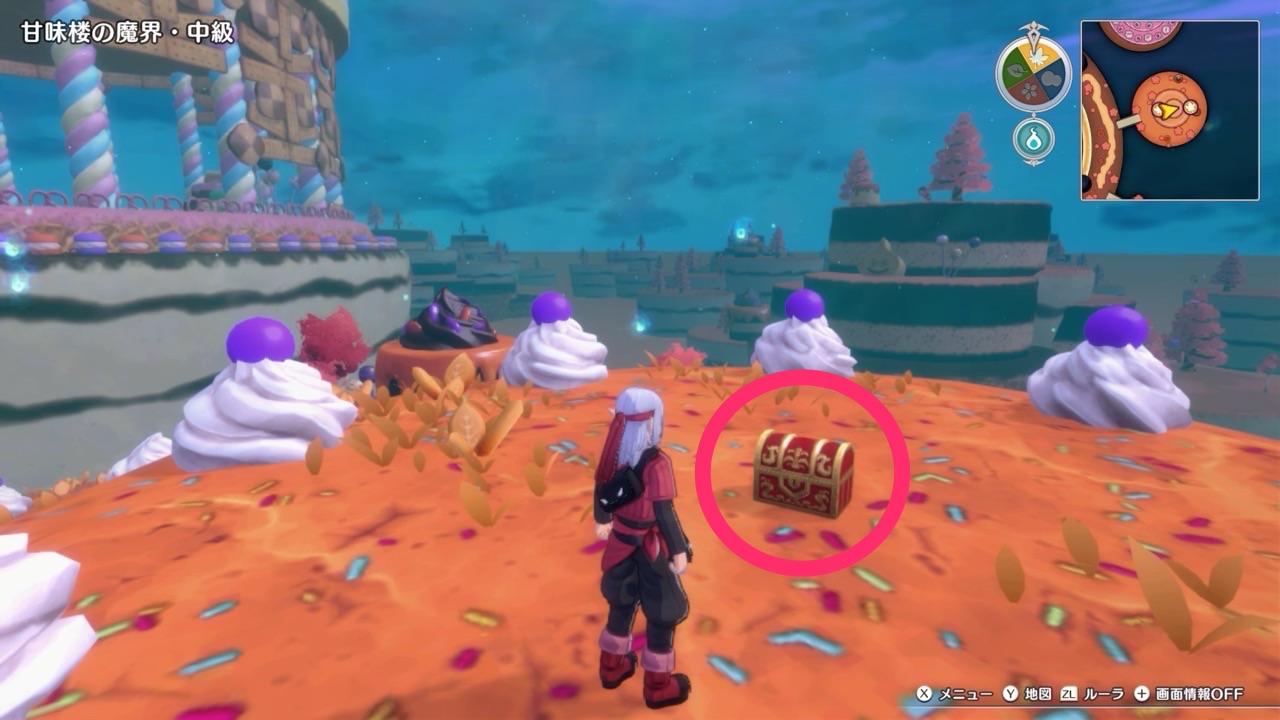
|
|
|
(Circle of Indulgence) Middle Echelon Pot Behind the Throne at the Gazebo 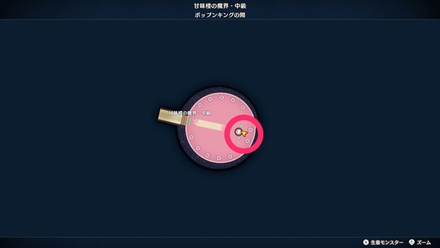 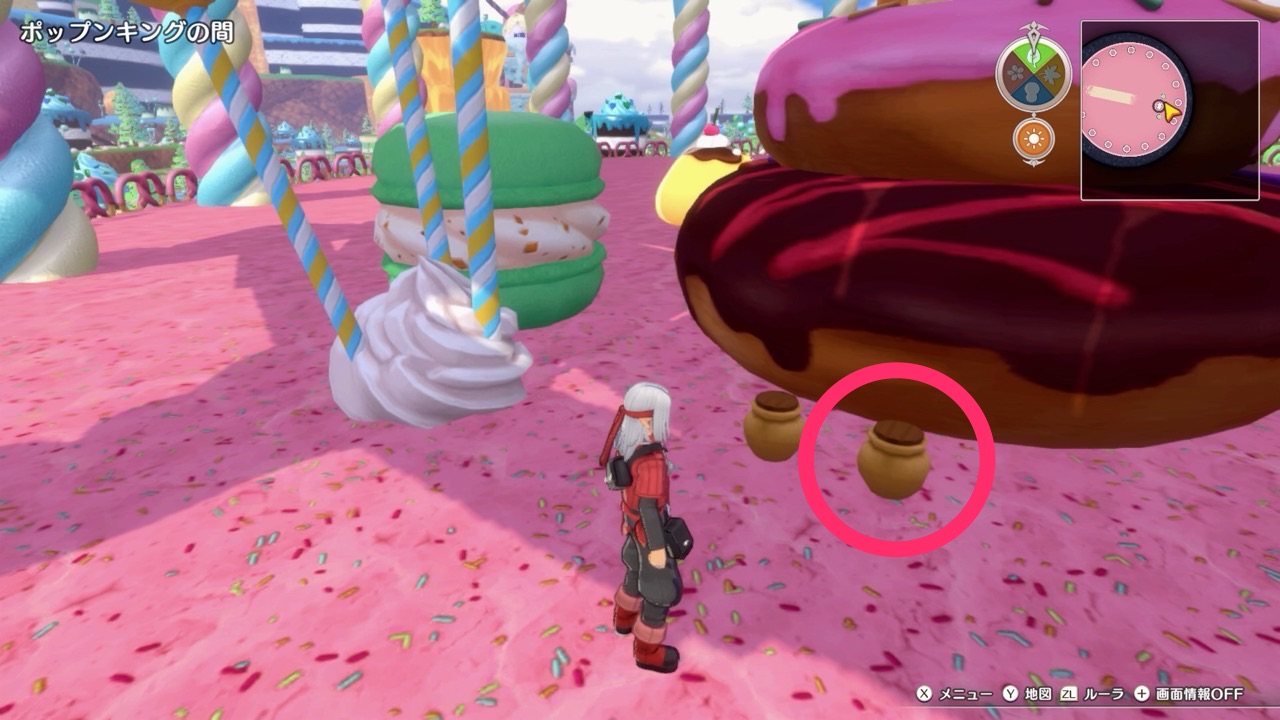
|
|
|
(Circle of Indulgence) Middle Echelon Northwest Chest of Desserted Dungeon 2F  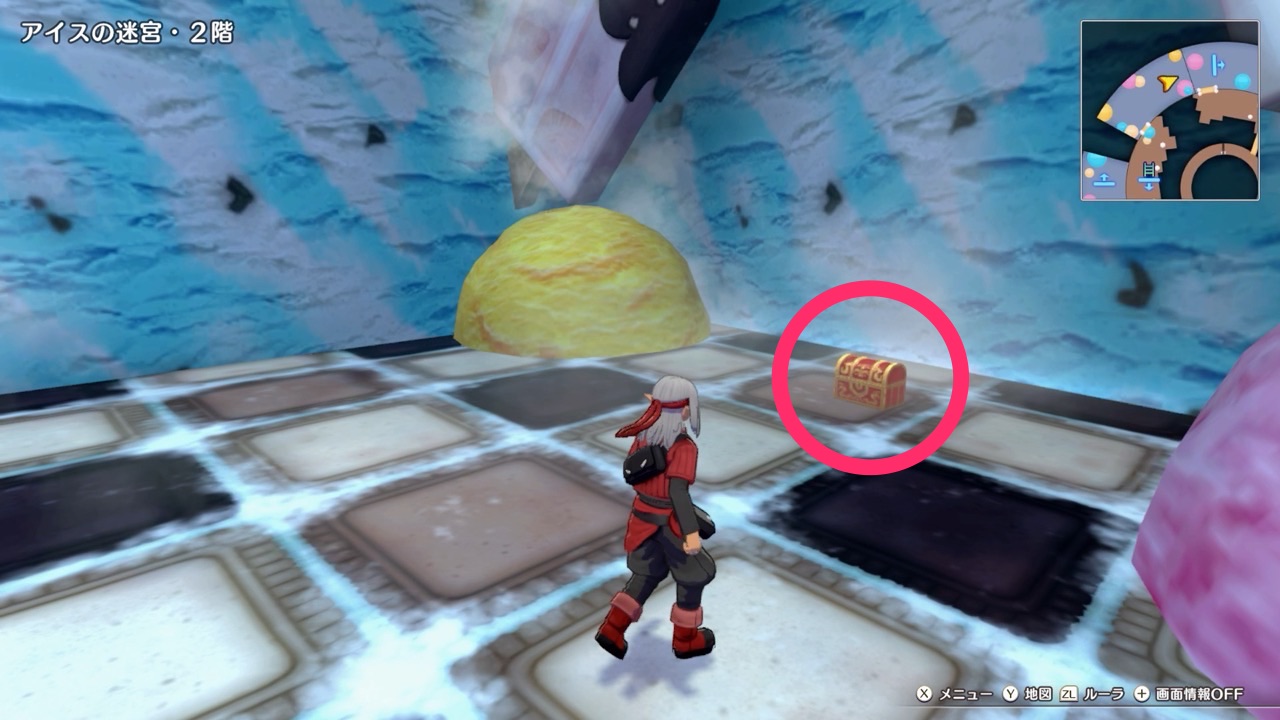
|
Mini Medal Checklist: All 72 Locations and Rewards
Dragon Quest Monsters: The Dark Prince Related Guides

Lower Echelon Guides
 Plains: Chart 1
 Circle of Conquest
  Circle of Temper (Lower Echelon): Chart 3
 Circle of Indulgence (Lower Echelon): Chart 4
 Circle of Caprice (Lower Echelon): Chart 5
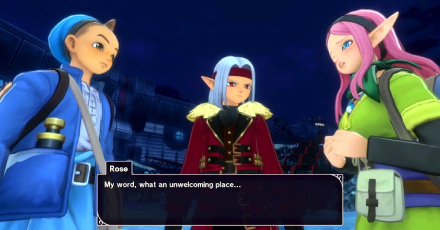 Circle of Fortitude (Lower Echelon): Chart 6
 Cradle of Corruption (Lower Level): Chart 7
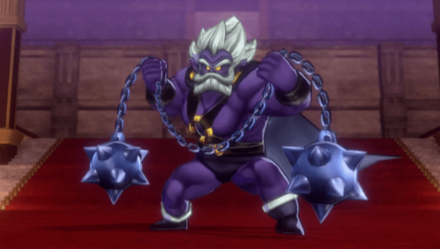 Terrestria (Diabolic Hall): Chart 8
Middle Echelon Guides
 Circle of Fortitude (Middle Echelon): Chart 9
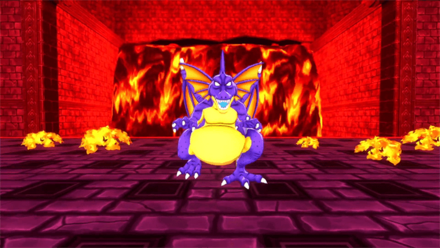 Circle of Temper (Middle Echelon): Chart 10
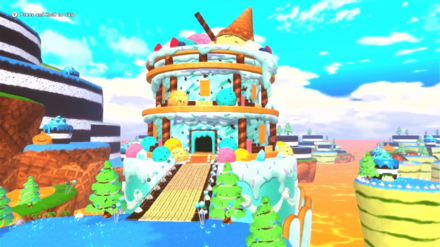 Circle of Indulgence (Middle Echelon): Chart 11
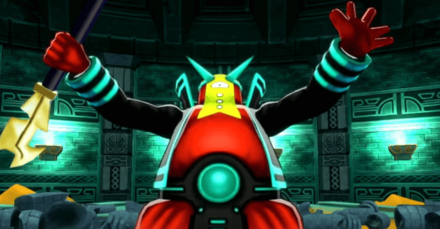 Circle of Caprice (Middle Echelon): Chart 12
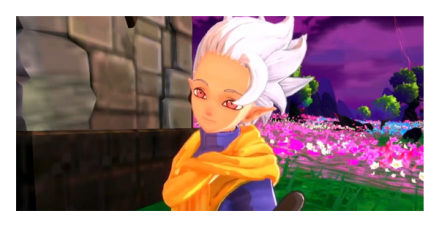 Circle of Conquest (Middle Echelon): Chart 13
 Cradle of Corruption (Middle Level): Chart 14
Upper Echelon Guides
 Circle of Temper (Upper Echelon): Chart 15
 Circle of Fortitude (Upper Echelon): Chart 17
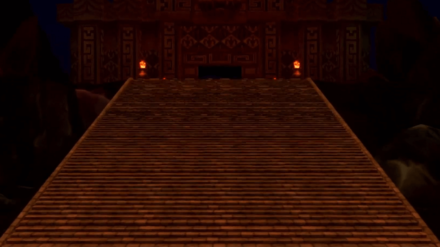 Cradle of Corruption (Upper Level): Chart 18
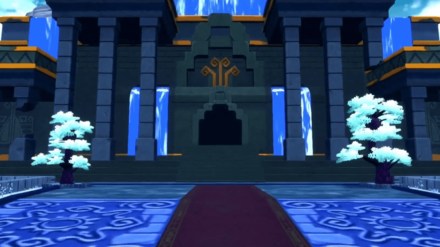
 Circle of Conquest (Upper Echelon): Chart 20
 The Whispwoods
Author

Dragon Quest Monsters: The Dark Prince Walkthrough & Guides Wiki
Circle of Indulgence (Middle Echelon) Walkthrough: Chart 11
Rankings
- We could not find the message board you were looking for.
Gaming News

![Death Stranding 2: On The Beach [PC] Review | A Port That Delivers](https://img.game8.co/4447392/15310a0c9aa1b6843bb713b2ea216930.jpeg/show)


Popular Games

Genshin Impact Walkthrough & Guides Wiki
Umamusume: Pretty Derby Walkthrough & Guides Wiki
Crimson Desert Walkthrough & Guides Wiki
Monster Hunter Stories 3: Twisted Reflection Walkthrough & Guides Wiki
Honkai: Star Rail Walkthrough & Guides Wiki
Pokemon Pokopia Walkthrough & Guides Wiki
The Seven Deadly Sins: Origin Walkthrough & Guides Wiki
Wuthering Waves Walkthrough & Guides Wiki
Zenless Zone Zero Walkthrough & Guides Wiki
Arknights: Endfield Walkthrough & Guides Wiki


Recommended Games
Fire Emblem Heroes (FEH) Walkthrough & Guides Wiki
Diablo 4: Vessel of Hatred Walkthrough & Guides Wiki
Cyberpunk 2077: Ultimate Edition Walkthrough & Guides Wiki
Yu-Gi-Oh! Master Duel Walkthrough & Guides Wiki
Super Smash Bros. Ultimate Walkthrough & Guides Wiki
Pokemon Brilliant Diamond and Shining Pearl (BDSP) Walkthrough & Guides Wiki
Elden Ring Shadow of the Erdtree Walkthrough & Guides Wiki
Monster Hunter World Walkthrough & Guides Wiki
The Legend of Zelda: Tears of the Kingdom Walkthrough & Guides Wiki
Persona 3 Reload Walkthrough & Guides Wiki


All rights reserved
© ARMOR PROJECT/BIRD STUDIO/SQUARE ENIX © SUGIYAMA KOBO
Nintendo Switch is a trademark of Nintendo.
The copyrights of videos of games used in our content and other intellectual property rights belong to the provider of the game.
The contents we provide on this site were created personally by members of the Game8 editorial department.
We refuse the right to reuse or repost content taken without our permission such as data or images to other sites.
Synthesizing Shogum with Beshemoth Slime does NOT make a Slionheart. A Superior Slime is needed