Training Guide: Which Stats to Train?
This a guide on how to maximize Training in your Career in Umamusume: Pretty Derby. Get to know how to prepare for a Career, all the mechanics of Training, what stats to train, and other valuable tips by reading below!
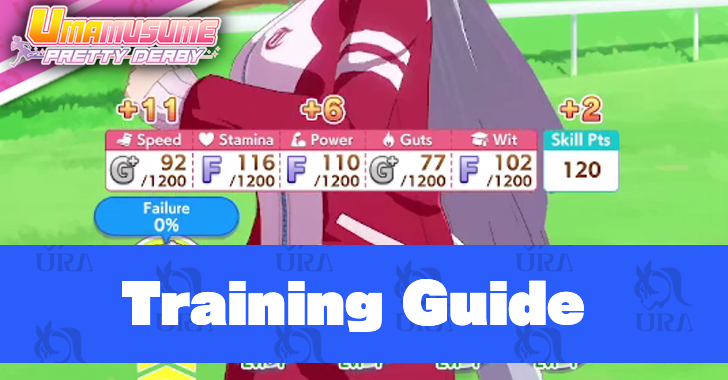
How to Train Efficiently
| Tips to Maximize Training |
|---|
|
|
Level Up Potential or Unlock Stars in Umas
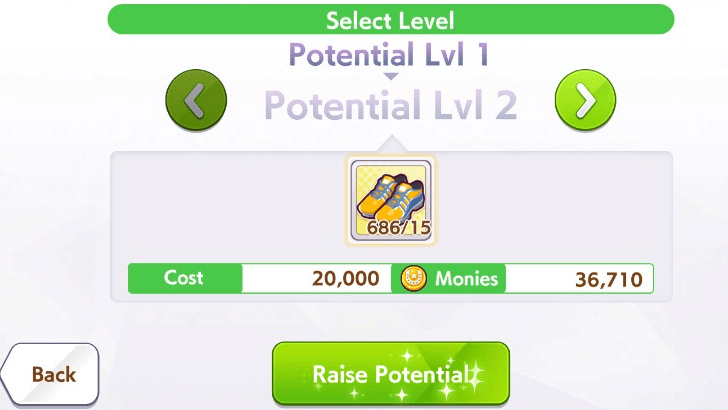
Before doing a Career, check if you can stregthen your characters by increasing their Potential or unlocking their Stars. This will allow them to start a Career with more skills, higher initial stats, or a stronger Unique Skill.
Use 3★ or 2★ Blue Sparks
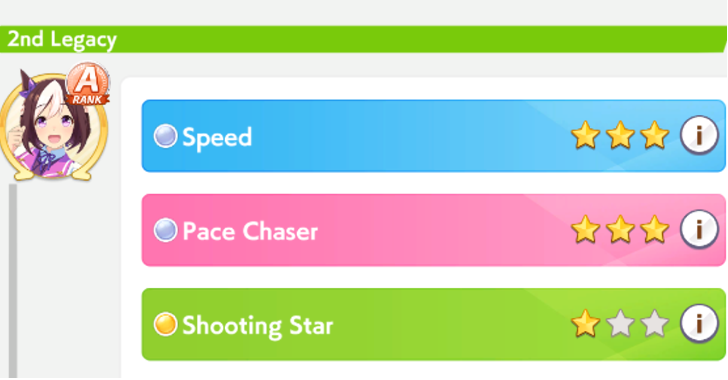
In the Legacy Select, look out for blue Sparks of Inspiration with 3★s 2★s that increase Speed or Stamina. This will drastically increase your Trainee's stats throughout their Career. This can also lead to your Trainee creating their own 3★ Spark.
You can check all the Sparks of your characters by sorting by Sparks.
Legacy and Sparks Guide: Inheritance Explained
Get a ⦾ or ○ Affinity
Ideally, you would want a ⦾ Affinity. This will increase the amount of bonuses you will gain from your Sparks. However, this can be difficult to achieve when starting out, so a ○ Affinity is good.
Borrow Umas From Friends
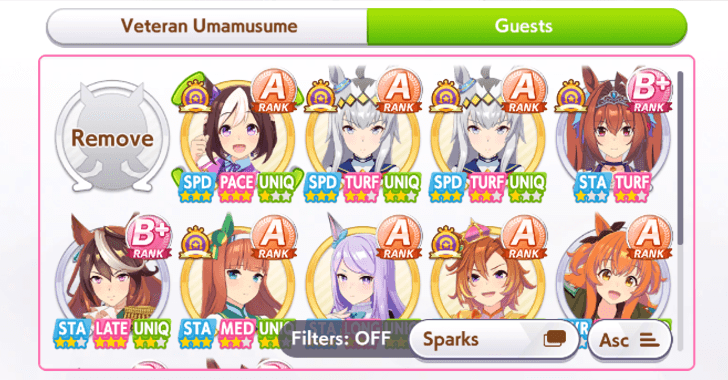
For free to play players, it is critical to follow people who have strong Veteran Umamusume. These can help you gain a huge training boost in your Career, even if you do not own SSR Support Cards or strong Legacy Umamusume.
You can only borrow a character three times a day.
Friend ID Sharing Board: Share Legacy and Support Cards
Pick Support Cards Based On Uma's Style
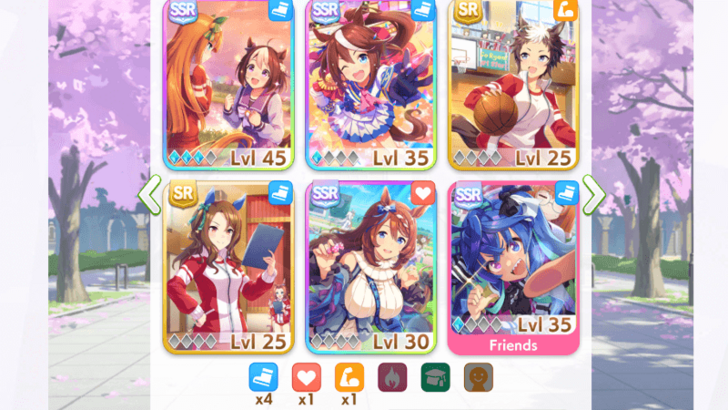
Choose Support Cards that will strengthen the running style and distance of your Trainee.
The last slot must be a borrowed Support Cards from another account. There is no limit to how many times you can borrow, so follow an account to gain access to a high leveled SSR Support Card!
Pick at Least 3 Speed Cards
| Sprint | |||||
|---|---|---|---|---|---|
x3 |
x2 |
||||
| Mile | |||||
x3 |
x2 |
||||
| Medium | |||||
x3 |
|||||
| Long | |||||
x3 |
x2 |
||||
The standard build is 3 Speed Support Cards, 1 Wit Support Card, and a mix of Stamina or Power Cards. The table above shows sample builds for each distance.
You should customize your build based on your Trainee's aptitudes. For example, Pace Chasers may need an extra Stamina Support Card so they can maintain their top speed.
Aptitude Guide (Track, Distance, Style)
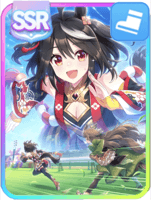
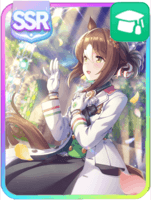
Recommended Support Cards
 Kitasan Black (Fire at My Heels) Kitasan Black (Fire at My Heels)
|
 Super Creek (Piece of Mind) Super Creek (Piece of Mind)
|
 Fine Motion (Wave of Gratitude) Fine Motion (Wave of Gratitude)
|
 Tazuna Hayakawa (Tracen Reception) Tazuna Hayakawa (Tracen Reception)
|
As of now, these are the best Support Cards in the game. They have very useful Support Events that give strong skills or training bonuses, useful skills, and great Support Effects. They can be used by most, if not all, characters.
Level Them Up for Support Effects
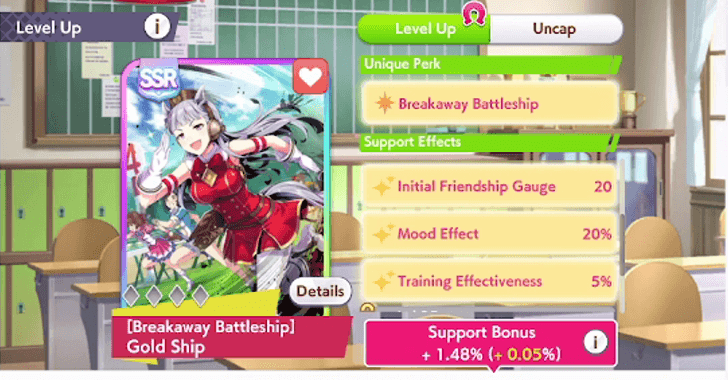
Make sure your Support Cards are at the highest level for optimal results. You can level them up straight from the Support Deck Select menu by long clicking or tapping a Support Card, then choosing Level Up.
How to Enhance and Uncap Support Cards
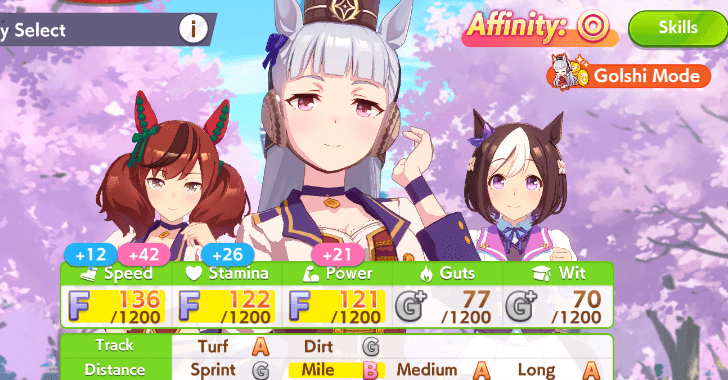
Training Mechanics
| How to Use Training Options |
|---|
|
|
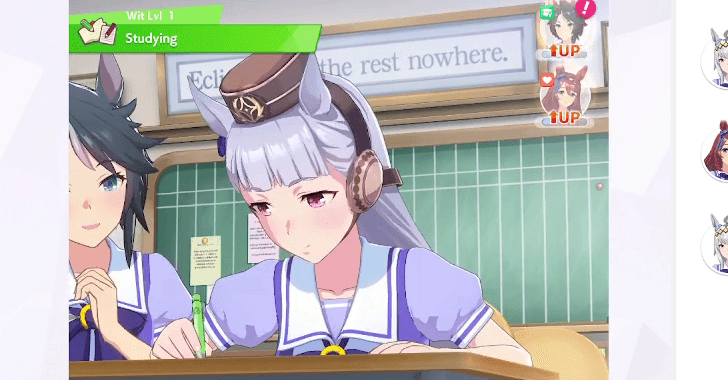
Training and Friendship Building
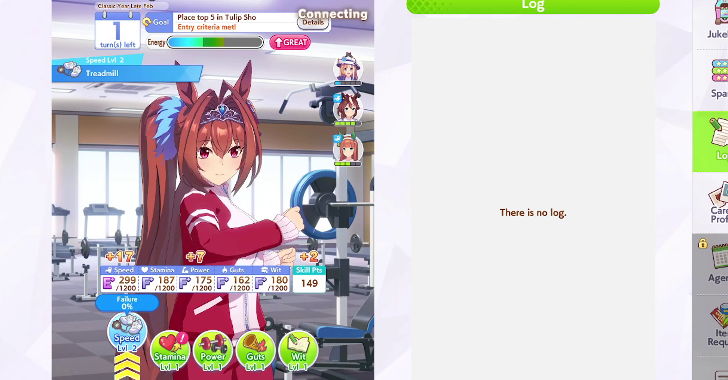
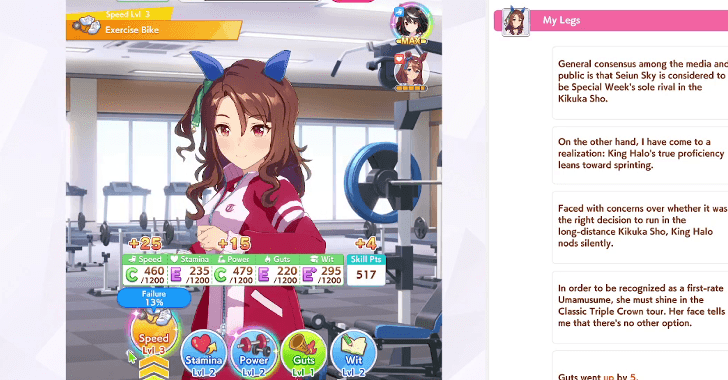
This is where you can choose which of the five stats your character willl train. After you trained in a facility for the fourth time, that facility will be upgraded by 1 level (up to 5).
Training will consume energy, except when you train Wit. Training Wit will recover a small amount of energy.
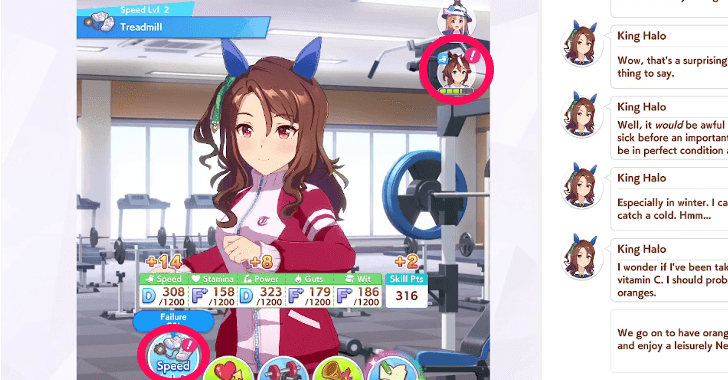
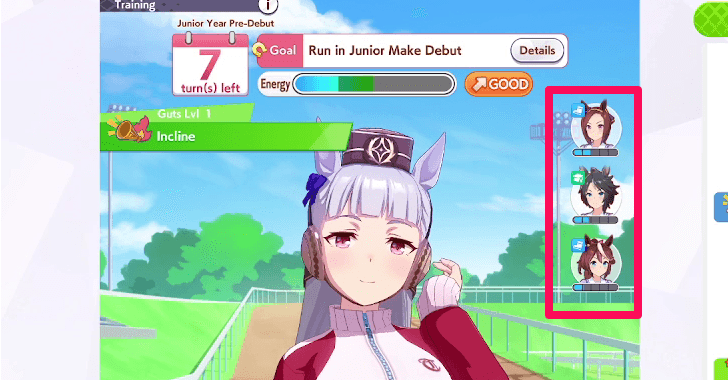
On the top right of the screen in each Training option, there may be other characters from your Support Cards who will be also in that facility. If you train in that facility, you will grow your friendship gauge with them.
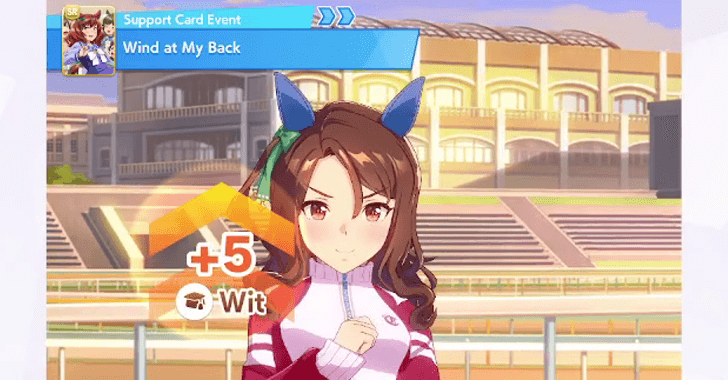
Unlocking Friendship Training Boosts Stat Gain
When a Support Card's friendship gauge is orange or around 80% , your character will unlock Friendship Training with them. This is a random event where a facility will have a rainbow aura. If you train there, it will provide a huge stat boost.
Friendship Training Guide: Calculation Formula
Support Cards May Also Give Hint Levels
A Support Card may also have a red exclamation point icon. If you train with them, you may receive hint levels for one of their skills or small stat boosts.
Quickly Check Each Training by Holding and Swiping
You can quickly check each facility by select-holding on a facility then dragging your selection to other facilities.
On PC, this is done by holding left-click on your mouse, then moving your cursor across the training options. On mobile, this can be done in a similar way by swiping your finger over them while touching down on the surface.
Releasing your finger on the left-click or on the touch screen will select that option for training.
Training a Stat can Grow Other Stats
| Main Stat Trained | Secondary Stat/s Trained |
|---|---|
| Speed | Power |
| Stamina | Guts |
| Power | Stamina |
| Guts | Speed, Stamina |
| Wit | Speed |
Training a stat will also slightly raise another stat. They will also give a small amount of Skill Points
Energy Bar Determines Failure Rate
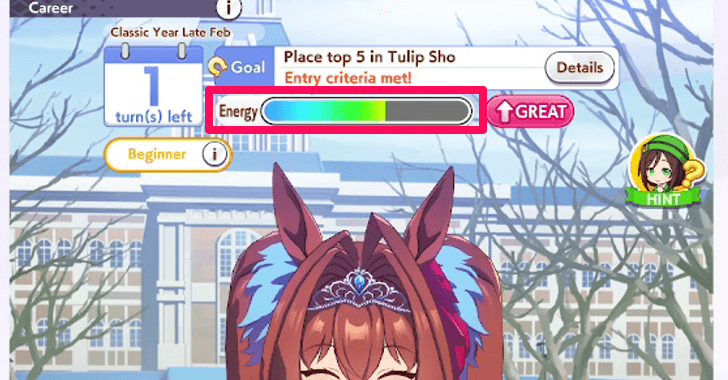
On the top section of the Training section is your energy bar. The lower it is, the higher the chance your character may fail a training session.
The chance of a failure will start to increase when you Trainee's energy is below 50%. Consider resting when your training facilities has a 15% to 25% failure rate.
Risk Failure for Friendship Training
In most cases, you want to avoid training when your energy is low and there is a high chance of failure.
However, in the late game, it can be worth it to risk failure when there at least two Friendship Training available in an important stat like Speed or Stamina.
If you fail, you can easily regain the loss in a single turn by retraining that facility. Do not try this when the Summer Training Camp event is near.
Rest Recovers Energy
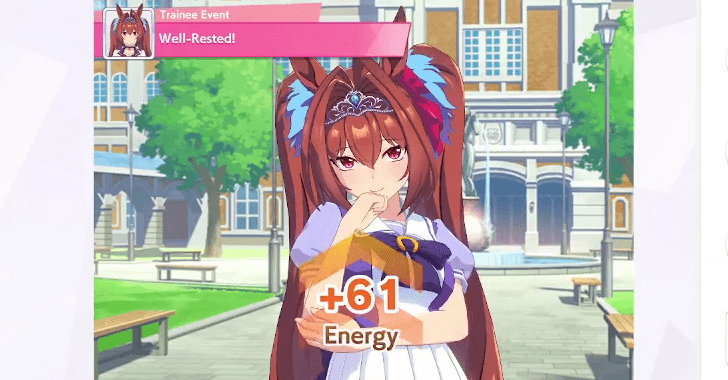
Rest is what you use to gain energy. Your character will gain around 30 to 70 energy, depending on the event.
There are three possible events that can happen when you rest: Sleep Deprived: +30 energy and a chance to gain the Night Owl condition, All Refreshed: +50 energy, and Well-Rested: +70 energy.
Aside from Rest, your character can gain energy from random events, certain dialogue choices, and the Infirmary. They can also gain a small amount from Recreation, except if they do karaoke.
Rest Guide: How to Increase Energy
Rest to Manage Risk
Though using Rest can usually give a good amount of energy, you'll want to use it strategically. Using a turn to Rest can leave you out on training stats or doing other races. On the other hand, failure can reduce stats and take more turns to catch up. The idea is to not rest too much, but to also make sure you have enough energy to avoid failing training.
Most of the time, you will use it before Summer Training or when your Trainee suddenly loses energy from random events or conditions. You can train Wit instead if you have just enough energy to bring the failure rate down to an acceptable amount.
Skills to Spend Skill Points
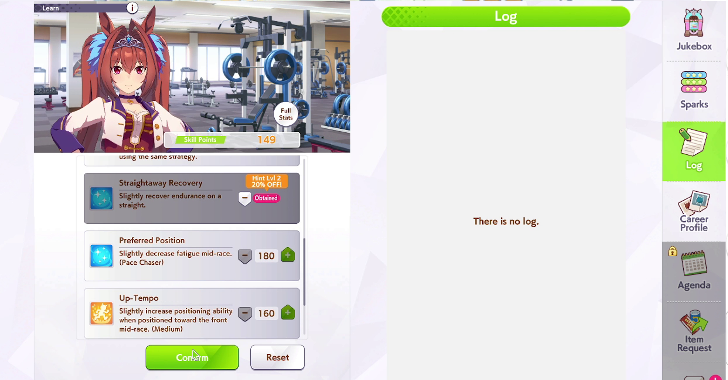
Skills are where your trainee can learn new skills by spending skill points. You can unlock skills by gaining hint levels through random events, training with Support Cards, Trainee or Support Card events, and winning races.
Checking and buying skills does not consume a turn and will be available on a race day. Usually, you want to buy Skills before a major race so your Trainee can be prepared for the track's conditions.
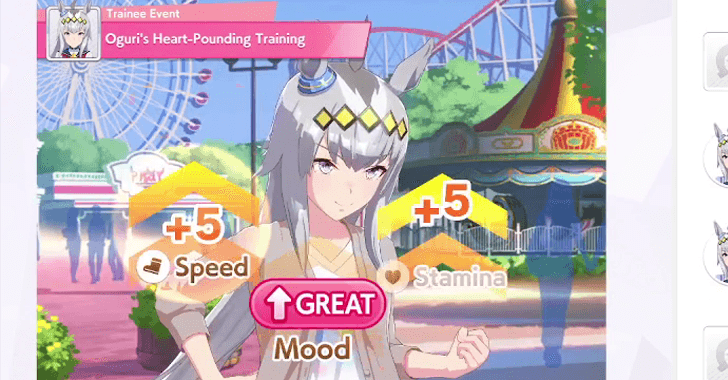
Recreation Raises Mood
To raise your character's mood, do Recreation. It will raise their Mood by one level and give little energy. There is a one-third chance they will do karaoke where they only receive two mood boosts.
Your character should have Good or Great mood throughout their Career to maximize their training output and race performance.
Additionally, there is a small chance that you can do the Claw Machine minigame after doing Recreation. If you get 6 plushies or 2 regular plushies and 1 big plushie, you will receive an additional mood boost, energy, and hint levels for Straightaway Recovery.
Recreation Guide: How to Improve Mood
Races for Fans, Stats, and Skill Points
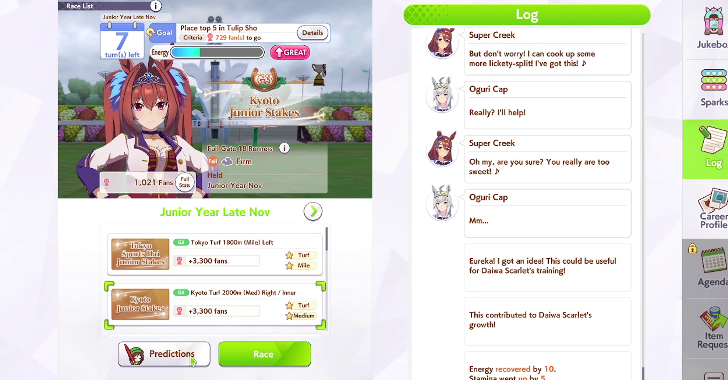
Your Trainee can participate in other races, aside from their Goals, after they win their first Make Debut race. If they didn't, they will need to get 1st in another Maiden race. Races will range from Pre-OP to G1, with each higher grade giving more fans.
It is recommended to do a few races in your Career to receive additional stat gains, hint levels for skills, and fans. You can also schedule a race so that the game will notify you on the day it happens.
List of All Races (G1, G2, G3, EX)
Infirmary for Bad Conditions
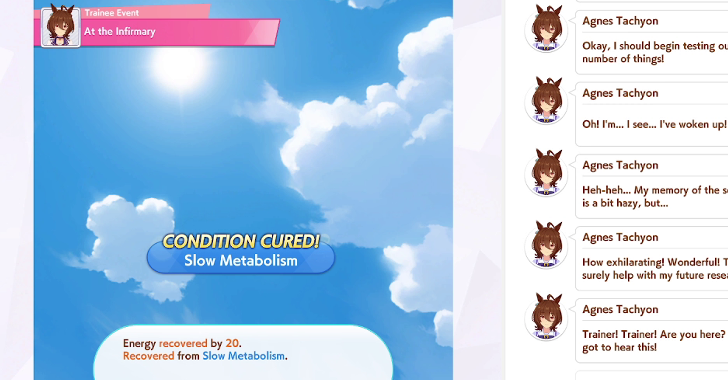
The Infirmary will be unlocked when your character receives a bad condition. If you choose to go there, your character will recieve 20+ energy and a chance to cure one bad condition.
You should enter the Infirmary as soon as your character has one to prevent it from affecting your training and races.
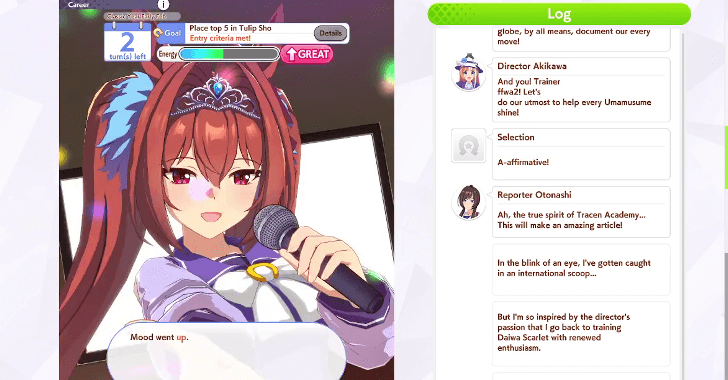
Events Can Give Buffs or Debuffs
After using a turn, there will be a chance a random event will happen. These events can come from your Trainee, Support Cards, or the Career Scenario.
These can give your Trainee buffs like stats, hint levels for skills, energy, or mood boosts. However, there are some negative ones that will lower your Trainee's mood or even give bad conditions.
Some events will make you choose a dialogue choice that has different outcomes. Use our Event Checker to know the outcomes for every event so you can pick the best one!
Gain Energy Through Event Choices
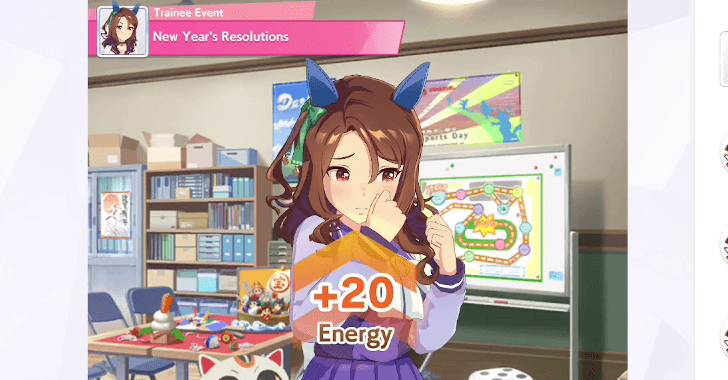
Though using Rest is the main way to get energy, it is more efficient to gain it through event choices.
As much as possible, pick dialogue choices that gain energy. This will go a long way in managing your energy and saving a turn for training stats.
Umamusume Event Choice Checker
Bonus Stats After Training
Most events usually give bonus stats. Though when each event will start is random, there are some events that will happen in a sequence.
Choose the right dialogue option on each event so you can optimize your stat gains.
Choose Winning, Charm, or Health Chakra
| Recommended Acupuncturist Choices | |
|---|---|
 |
|
| Activate the Winning Chakra | |
| Success (40~60%): ・Get Corner Recovery ◯ ・Get Straightaway Recovery ◯ |
Failure (40~60%): ・Mood down -2 ・Energy -20 |
| Activate the Charm Chakra | |
| Success (80~85%): ・Energy +20 ・Mood up +1 ・Get Charming ◯ status effect |
Failure (15~20%): ・Energy -10 ・Mood down -1 ・Get Practice Poor status effect (random) |
| Activate the Health Chakra | |
| Success (70~80%): ・Max Energy +12 ・Energy +40 ・Cure Negative Effects |
Failure (20~30%): ・Energy -20 ・Mood down -2 ・Get Practice Poor status effect |
In every Career, there is a small chance you will encounter an Acupuncturist, Each choice has a chance of giving a huge buff or lowers your Trainee's energy and mood.
In the Junior Year, Charm and Health Chakra are the best options to give an early game boost. However, the best overall option is Winning Chakra because the skills it gives are always useful.
Acupuncturist Event Choices, Effects, and Chances
What Stats to Train
| What Stats to Train for Each Year | ||
|---|---|---|
| Junior Year | Classic Year | Senior Year |
Junior Year
Build Friendship Bonds
In your first year in a Career, train the stats that have the most Support Cards on them.
Once their bond is 80%, they may provide Friendship Training on their training facility. This event drastically increases the stats gained from training. Try to get most of your Support Cards to a 80% Friendship gauge or an orange bar before Classic Year Early June.
Upgrade Training Facilities
As you focus on Friendship Bonds, try to pick the same stats often to upgrade their facility. Everytime you train a stat for the fourth time, its facility will be upgraded.
Additionally, most Support Cards have an effect where they are more likely to be on their stat's training facility. This is why your Support Card deck must be chosen based on your character's planned build.
Classic Year
Grow Stats for Your Strategy
Once your Friendship Bonds are high, start focusing on your character's key stats for their prefered racing style and distance. Focusing on two to three stats will help you get through the Classic Year.
Speed and Wit are always important to train. Stamina can be prioritized depending on the distance your character will usually run on.
Power is integral for End Closers and Pace Chasers, but can also be trained by training Speed. Guts is usually for Late Spurt skills, but a high Stamina is enough for most characters.
Do Races if There Is No Good Training
If there are no good stats to train, consider entering a race. Winning them will reward your Trainee with fans, skills, and stats so do not miss out on them! They can also earn additional Sparks by winning certain races.
Choose races with conditions that would be your ideal URA Finale. This will increase the chances of that race being the last one in your Career.
Buy Rare Skills After Inspiration
The best time to buy skills are after Inspiration events, at Early April in the Classic and Senior Years, or before a difficult Goal race. The Inspiration events, in particular, willl give you a good amount of skill points and a chance to receive more hint levels.
The best skills to buy are Rare Skills, those marked in yellow. If you buy one, you will also earn the regular skill under it. Conversely, you will also discount the Rare Skill if you buy the standard version of it.
Do Friendship Training in Summer Training
In the Summer Training event, all the facilities will be at their maximum level for four turns. You should prioritize training key stats with two of more Friendshp Training.
If there are none and there are still some turns left, you should train Wit to save some energy. Make sure to have as much Energy as possible and Great mood by Early July to maximize your gains.
Use Wit Training to Manage Energy
After Summer Training, your energy should be 50% most of the time so that you can do Friendship Training when it shows up. The best way to do this is to train Wit.
It will regain a bit of energy while raising an important stat for your Trainee's strategy. Then, you can spend your energy on Friendship Training, especially if there are two Support Cards on that stat.
Senior Year
Max Out Speed
To prepare for the series of races leading up to the URA Finale, you will be mostly training Speed for the last year. The higher your Trainee's speed, the better they can overtake and lead aganist other racers.
Round Out Other Stats Like Stamina
| Distance | Recommended Stamina |
|---|---|
| Sprint | 400 to 500 |
| Mile | 600 to 700 |
| Medium | 600 to 700 |
| Long | 800 |
However, make sure your other important stats are also high so that your character stays in the race. Stamina is important because it will determine how long your character can maintain their top speed.
If your character is a Pace Chaser or an End Closer, a good amount of Power will help.
For Wit, a D or 300 is enough to ensure your character will activate their skills during the race, most of the time.
Umamusume: Pretty Derby Related Guides
Tips and Tricks
Comment
The charm chakra is incorrect: Randomly either (~85%) Energy +20 Mood +1 Get Charming ○ status or (~15%) Energy -10/-20 Mood -1 (random) Get Practice Poor status The red exclamation marks also don't always give hint levels—they sometimes give small stat boosts and some friendship points for that uma instead.
Author

Training Guide: Which Stats to Train?
Premium Articles

Rankings

Gaming News


Popular Games

Genshin Impact Walkthrough & Guides Wiki
Umamusume: Pretty Derby Walkthrough & Guides Wiki
Crimson Desert Walkthrough & Guides Wiki
Monster Hunter Stories 3: Twisted Reflection Walkthrough & Guides Wiki
Honkai: Star Rail Walkthrough & Guides Wiki
Pokemon Pokopia Walkthrough & Guides Wiki
The Seven Deadly Sins: Origin Walkthrough & Guides Wiki
Wuthering Waves Walkthrough & Guides Wiki
Zenless Zone Zero Walkthrough & Guides Wiki
Arknights: Endfield Walkthrough & Guides Wiki


Recommended Games
Fire Emblem Heroes (FEH) Walkthrough & Guides Wiki
Diablo 4: Vessel of Hatred Walkthrough & Guides Wiki
Cyberpunk 2077: Ultimate Edition Walkthrough & Guides Wiki
Yu-Gi-Oh! Master Duel Walkthrough & Guides Wiki
Super Smash Bros. Ultimate Walkthrough & Guides Wiki
Pokemon Brilliant Diamond and Shining Pearl (BDSP) Walkthrough & Guides Wiki
Elden Ring Shadow of the Erdtree Walkthrough & Guides Wiki
Monster Hunter World Walkthrough & Guides Wiki
The Legend of Zelda: Tears of the Kingdom Walkthrough & Guides Wiki
Persona 3 Reload Walkthrough & Guides Wiki


All rights reserved
© Cygames, Inc.
The copyrights of videos of games used in our content and other intellectual property rights belong to the provider of the game.
The contents we provide on this site were created personally by members of the Game8 editorial department.
We refuse the right to reuse or repost content taken without our permission such as data or images to other sites.
Thank you for catching these! We've made these corrections on the page already.