This survey will take about 1 minute.
Your answers will help us to improve our website.
Digimon Story Time Stranger
The Final Battle Over the Natural Order Walkthrough
☆ DLC Episode Pack 3: March 11, 2026
★ Best Digimon | Best Team
★ Best Personality | How to Change Personality
☆ How Do Load Enhancements Work?
This is a walkthrough for the The Final Battle Over the Natural Order mission in Digimon Story Time Stranger. Read on to see how to complete all of its objectives and how to beat the Seven Great Demon Lords and Chronomon!
| ◀︎ Previous Mission |
|---|
| The Cycle of Time |
List of Contents
The Final Battle Over the Natural Order Walkthrough
| The Final Battle Over the Natural Order Guide | |
|---|---|
| 1 |  After a cutscene, the agent and Aegiomon will fuse to form Jupitermon WM. Defeat the Giant Slayer in this form. Simply keep pressing the attack button until the boss is defeated. |
| 2 | After a cutscene, the agent and Aegiomon will fuse to form Jupitermon WM. Defeat the Giant Slayer in this form. Simply keep pressing the attack button until the boss is defeated. |
| 3 | 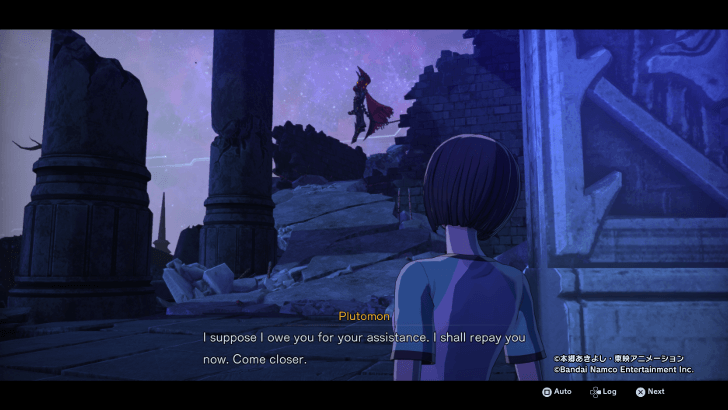 Biyomon cannot reach the other side, so it will drop you someplace else. Pass through the doors and talk to Plutomon on a cliff. Note: You will receive a notification for the A Gift from the Hosts side mission, which allows you to complete side missions you were locked out of. If you wish to do so, access the In-Between Theater just behind Plutomon. |
| 4 | 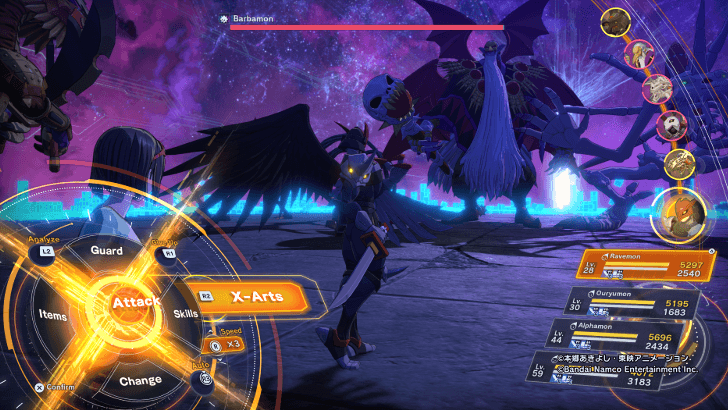 After talking to Plutomon, interact with Gekomon to be transported to the lower section of the area. Defeat Barbamon. ▶︎ How to Beat Barbamon |
| 5 | 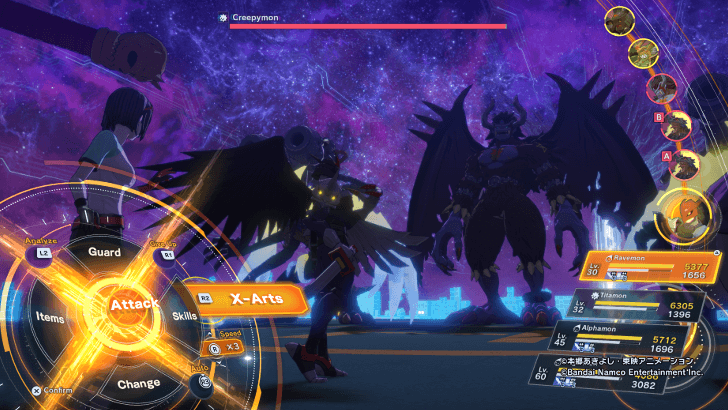 After defeating Barbamon, talk to Gekomon, who will transport you to another area. Here, defeat Machinedramon and Kimeramon. Next, defeat Creepymon and the pair of Millenniummon aiding it. ▶︎ How to Beat Creepymon |
| 6 | 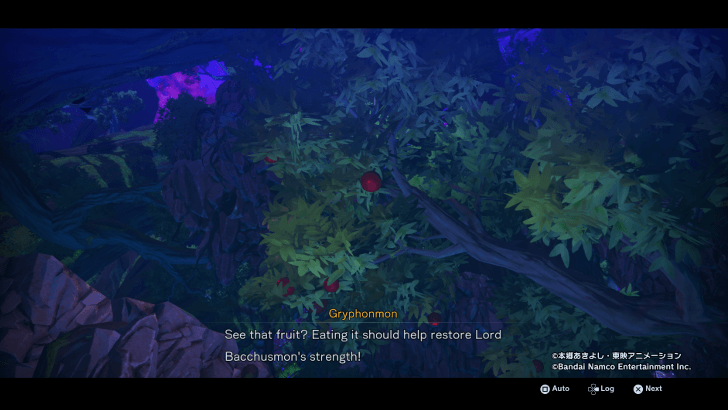 Afterwards, ride Pegasusmon to reach the Akashic Forest. You will have to retrieve three fruit for Bacchusmon to destroy Chronomon's wing blocking the path ahead. |
| 6.1 | 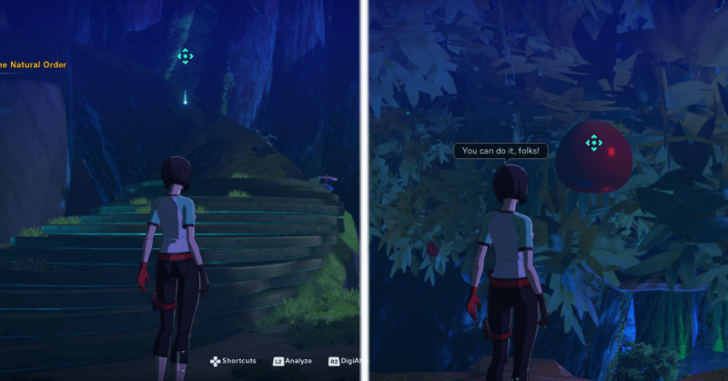 To get the red fruit, climb the tree branch marked by the objective. After a cutscene, DigiCo-Op with the Palmon to reach the tree with the fruit. DigiAttack the fruit to make it drop to the ground. |
| 6.2 | 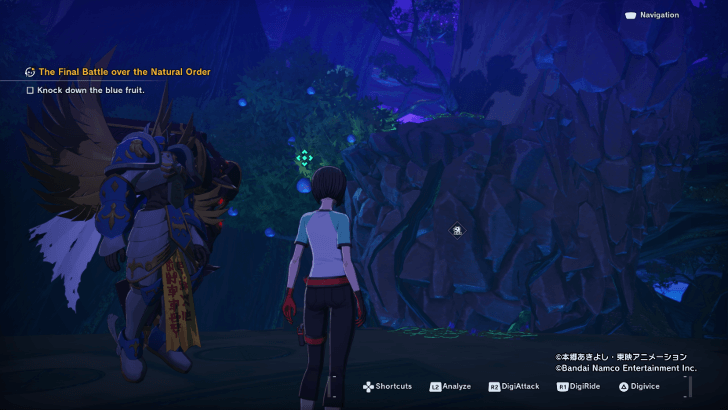 Back down where Bacchusmon is, take a left and climb the tree branch there. DigiCo-Op with the Palmon then DigiAttack the blue fruit to make it drop. |
| 6.3 | 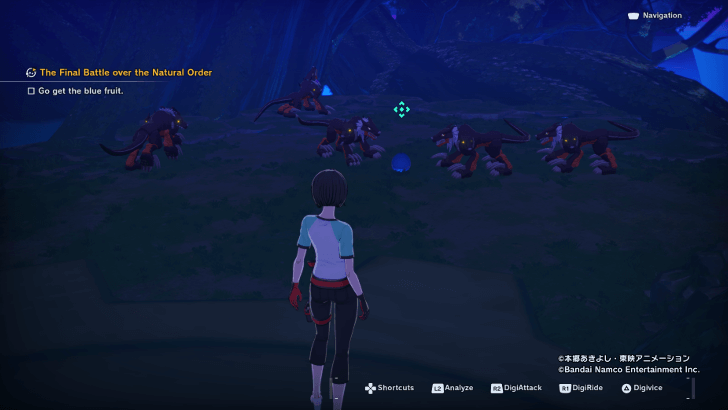 When you come back down to take the fruit, it will be surrounded by Cerberusmon. Defeat the Cerberusmon and carry the fruit to Inori. |
| 6.4 | 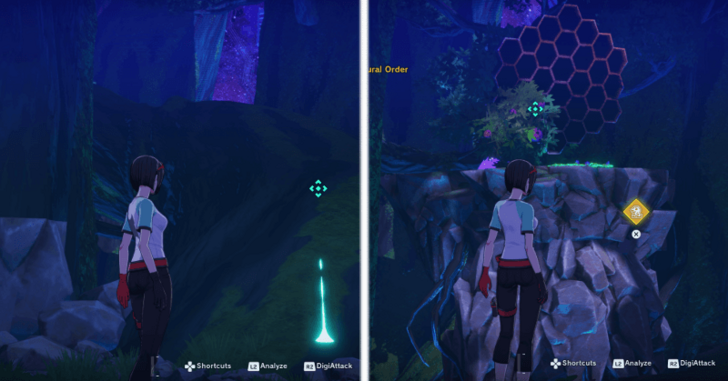 To get the final purple fruit, traverse the same tree branch you took when looking for the red fruit. DigiCo-Op with Palmon to get up the rocky formation. Then, turn left to travel up the tree branch there. Reach the purple fruit with Palmon's help, then DigiAttack the fruit. This will also cause CannonBeemon and Waspmon to spawn and attack. |
| 6.5 | 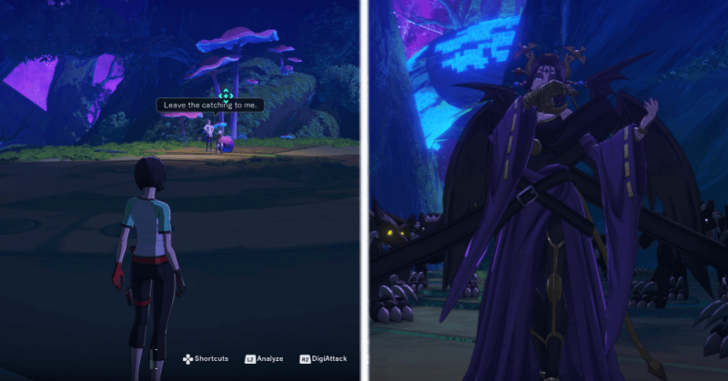 Return to the base of the tree and take the left where you fought the Cerberusmon. From there, continue ahead to meet with Inori and Aegiomon with the purple fruit. Suddenly, Lilithmon will appear. Defeat Lilithmon and the Cerberusmon accompanying it. ▶︎ How to Beat Lilithmon |
| 7 | 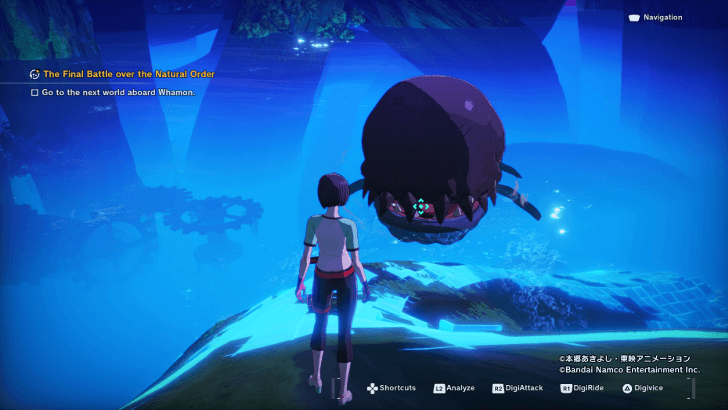 After Bacchusmon consumes all three fruit, it will destroy Chronomon's wing. Follow the newly opened path to meet with Whamon in the water. |
| 8 |  In the Akashic Abyss, run ahead to encounter Venusmon. Follow the objective marker to talk to the talkative Kamemon. Then, destroy the debris beside Kamemon. |
| 9 | 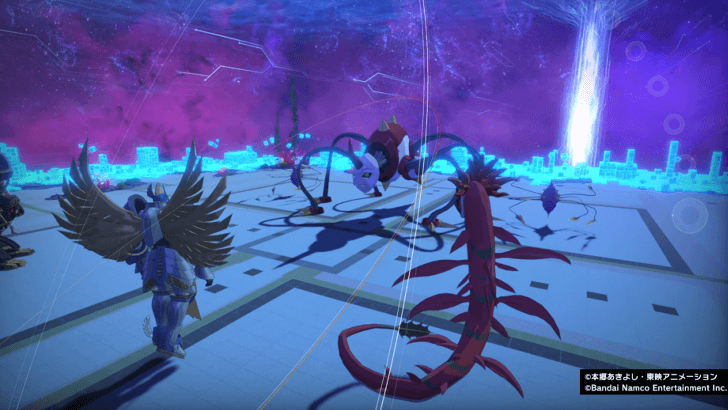 Ahead, fight Infermon and two Kurisarimon to rescue the WaruSeadramon and MetalSeadramon. |
| 10 | 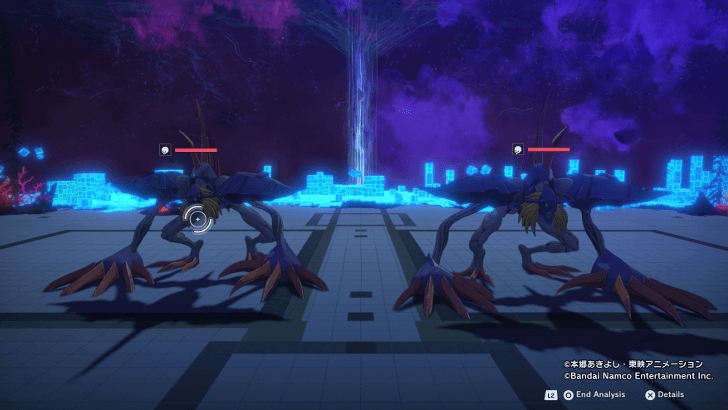 Find Submarimon up the stairs. DigiCo-Op with Submarimon to clear the currents of enemies. On a platform, defeat two Diaboromon before continuing on your way to Neptunemon. |
| 11 | 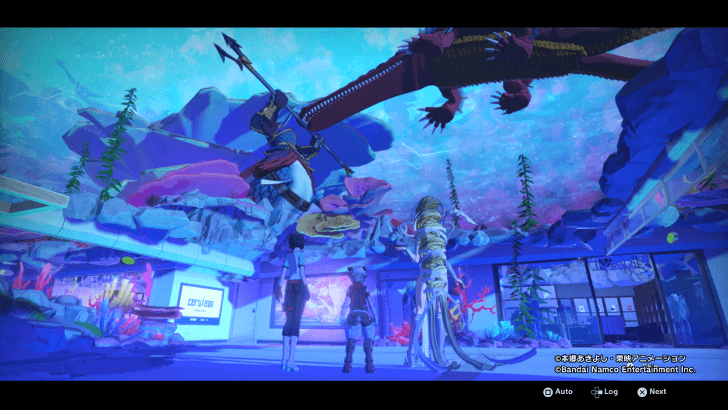 At the end of the Akashic Abyss, defeat Leviamon with the help of Neptunemon. ▶︎ How to Beat Leviamon |
| 12 | 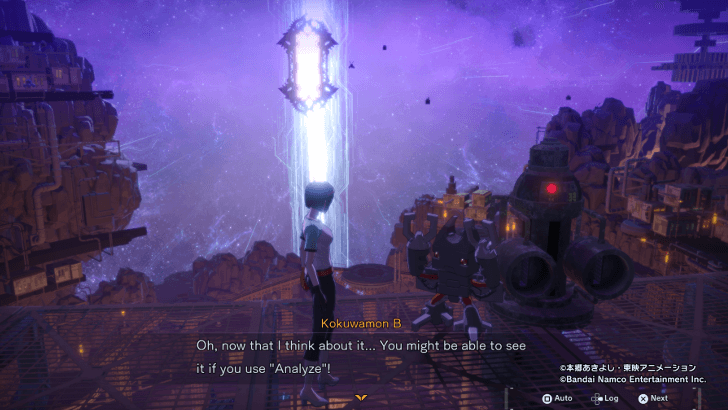 Step into the next gateway to be taken to Akashic Oblivion, where Junomon and Vulcanusmon are. You have to DigiAttack five Tsumemon scattered around the area to retrieve the Special Battery. |
| * | 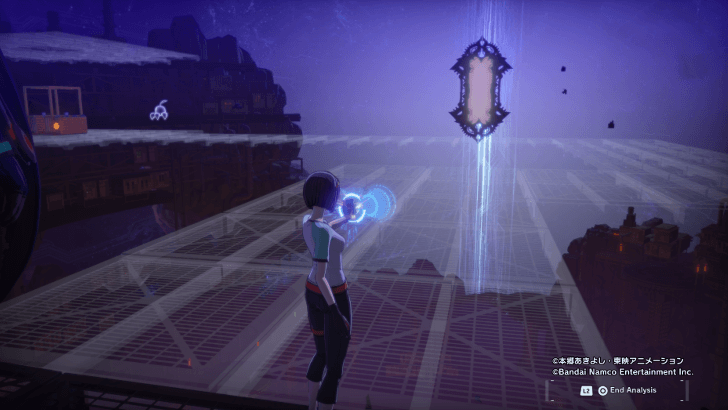 If you talk to the Kokuwamon on the right, you will learn that you can use the Analyze button to detect the invisible path. Use this to trace a path to the Tsumemon. However, keep in mind that the path will fade after a few seconds. |
| 13 |  After retrieving the Special Battery, you will be stopped by Lucemon SM on the bridge. Defeat Lucemon SM. ▶︎ How to Beat Lucemon SM |
| 14 | 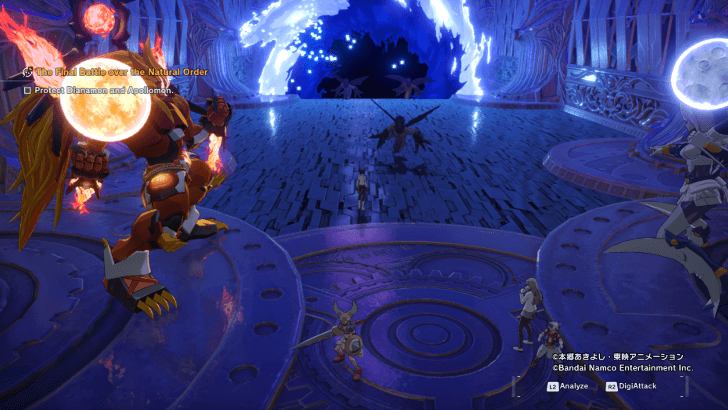 Enter the gateway to reach Akashic Ragnarok. You have to fend off three waves of hostile Digimon while Apollomon and Dianamon charge up an attack to destroy the rift. The invading Zanbamon and SkullGreymon require you to DigiAttack them twice. |
| 15 | 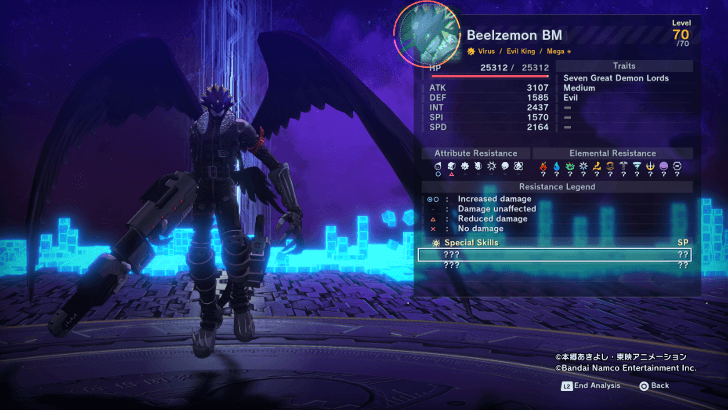 Once all three waves are over, Beelzemon BM will then appear. Defeat Beelzemon BM to proceed to the next area. ▶︎ How to Beat Beelzemon BM |
| 16 | 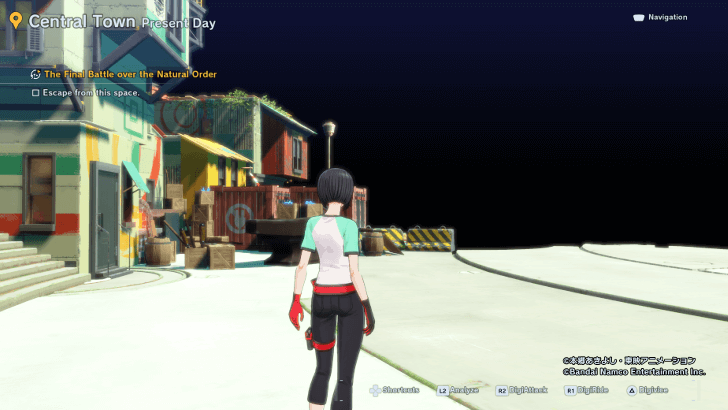 Exiting the gateway, you will find yourself in a warped Central Town. You have to loop the entire area four times before Merukimon notifies you about finding a discrepancy, which is the left door in the Factorial Area. The order of the areas is as follows: Central Town → Misono Home → Factorial Area → Shinjuku: East Shopping District (loops back to Central Town) ▶︎ How to Escape Central Town |
| 17 |  After DigiAttacking all copies of Belphemon SM, enter the door to the left shack, close to the walkway, in Factorial Town to go to the Warrior's Watering Hole. Go to Nanimon in Merukimon's room. |
| 18 | 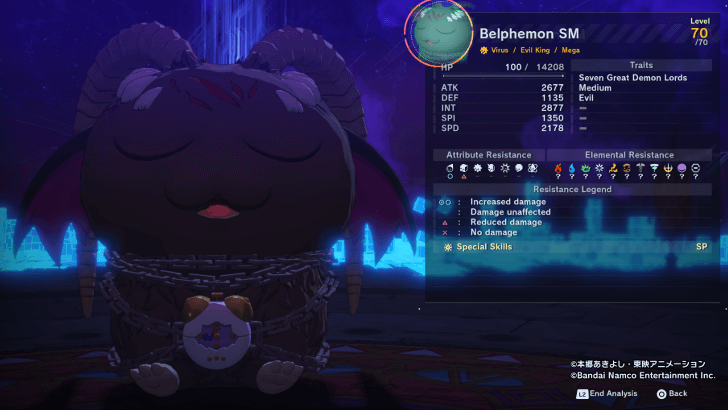 Defeat Belphemon SM. Belphemon SM will transform to Belphemon RM after you deplete its health bar. ▶︎ How to Beat Belphemon RM |
| 19 | 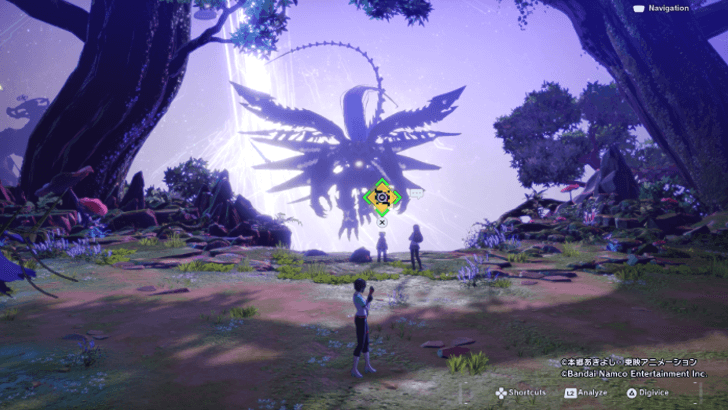 Once you defeat Belphemon RM, a cutscene will play and you will be brought to the final area where you will fight the boss Chronomon. Note: This is a point of no return. If you are not yet ready to face the boss, you can leave via the In-Between Theater to the left side of the area. This is recommended if you still have any leftover side missions you want to complete. |
| 20 | 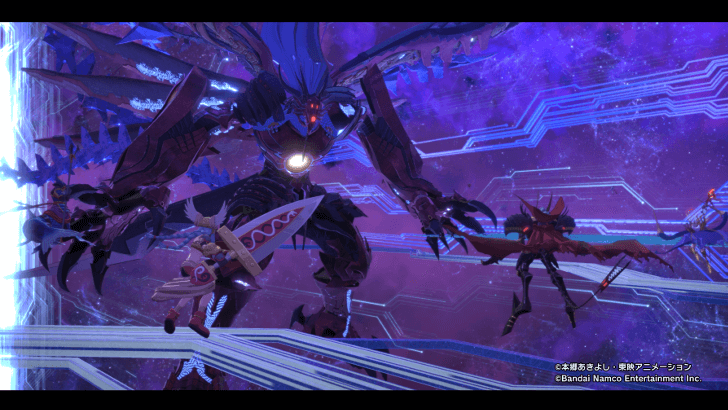 If you are ready to advance to the boss battle, talk to Aegiomon. Then, defeat the final boss Chronomon to end the mission and the game. ▶︎ How to Beat Chronomon |
How to Escape Central Town Puzzle Guide
| How to Solve | |
|---|---|
| 1 |  Go in the direction of Downtown. DigiAttack Belphemon SM on the house with the yellow ladder. Proceed to the path leading to Downtown and enter the house with the prompt to enter. |
| 2 | 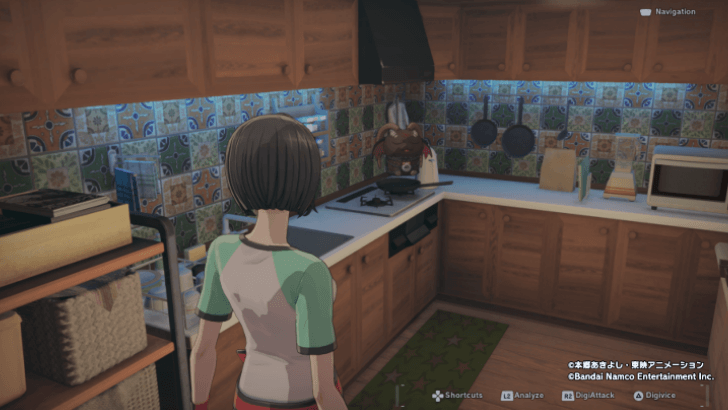 In the Misono home, go to the kitchen area. DigiAttack the tiny Belphemon SM on the corner of the counter. Leave through the kitchen door. |
| 3 | 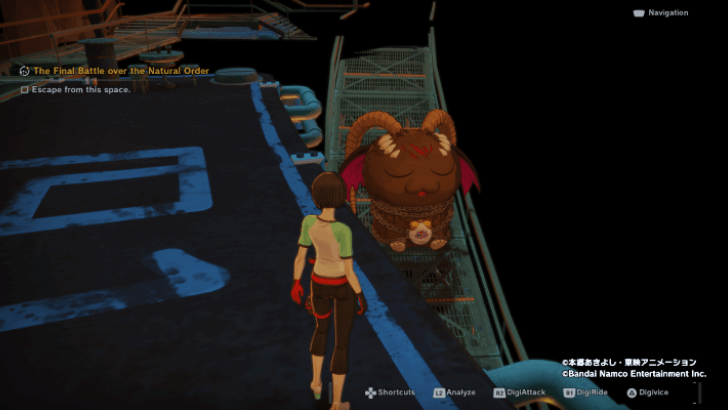 In the Factorial Area, go to the edge of the platform and DigiAttack Belphemon SM on the walkway. Take the door you just exited from. |
| 4 | 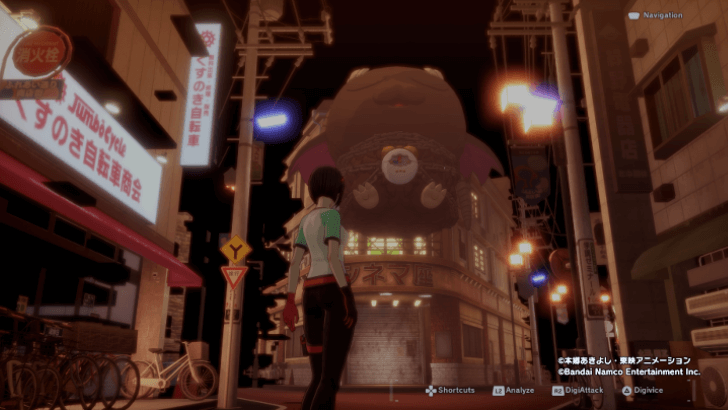 On the East Shopping District, follow the main road going to the Misono home. DigiAttack the large floating Belphemon SM in front of the building. Enter Kosuke Misono's office, taking you back to Central Town. This completes the first loop. |
| 5 | 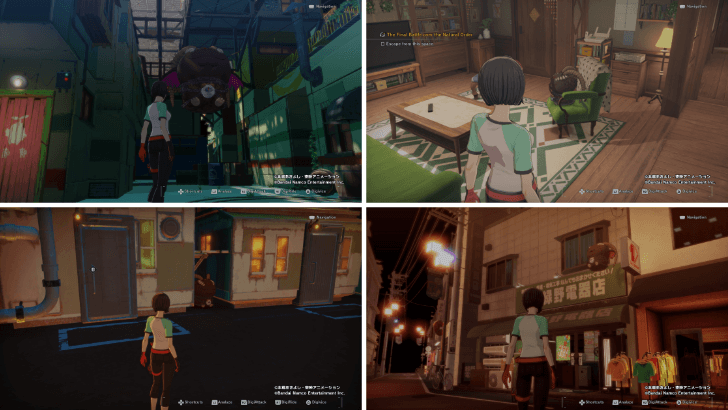 Returning to Central Town, Merukimon will message you on your Digivice. Go through all areas again, returning to Central Town, to complete the second loop. Belphemon SM will appear in different positions this time, so take note of them in the images above. |
| 6 | 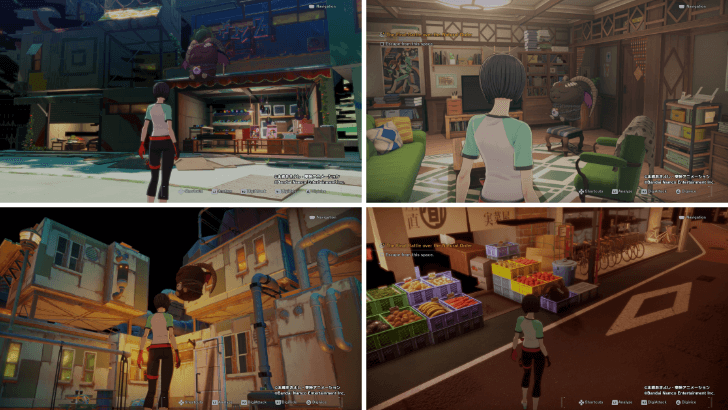 After completing the second loop, once you return to Central Town, you will see Nanimon running away from you. Run after him to make the third loop, and do not forget to DigiAttack Belphemon SM. |
| 7 | 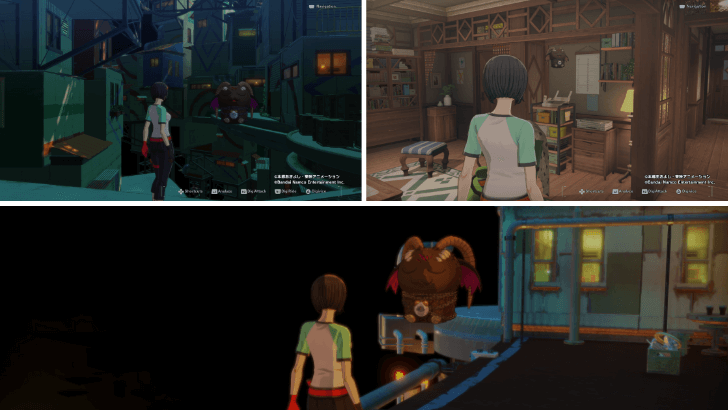 On your fourth loop, run after Nanimon again in Central Town and DigiAttack more of Belphemon SM. This time, stop at the Factorial Area once Merukimon alerts you about finding a discrepancy. |
| 8 |  From your position at the door, turn left to see a new door you can access. Take the door to finally escape the warped space and land in the Warrior's Watering Hole. |
The Final Battle Over the Natural Order Boss Guides
| Jump to a Boss | |||
|---|---|---|---|
| Barbamon | Creepymon | Lilithmon | Leviamon | Lucemon SM | Beelzemon BM | Belphemon RM | Chronomon |
How to Beat Barbamon
| Barbamon |
|---|
 |
| General Tips and Strategy |
|
|
Use Water and Light Attacks
Barbamon is weak to Vaccine Digimon and takes increased damage from Water and Light attacks.
Bring Data Digimon to Counter Character Reversal
During the fight, Barbamon will employ Character Reversal on itself. To counter this, bring Data Digimon in your reserve to regain the upperhand.
Prioritize Defeating Barbamon
When fighting Barbamon, do not bother defeating its minions as Barbamon will spawn more to aid it. Defeat Barbamon to immediately end the fight.
How to Beat Creepymon
| Creepymon |
|---|
 |
| General Tips and Strategy |
|
|
Use Ice and Light Attacks
Creepymon is weak to Vaccine Digimon and takes increased damage from Ice and Light attacks.
Defeat the Minions First
Unlike the Barbamon fight, you have to defeat Creepymon's minions to prevent them from harassing you. Defeating them grants you three turns against Creepymon.
How to Beat Lilithmon
| Lilithmon |
|---|
 |
| General Tips and Strategy |
|
|
Use Steel and Light Attacks
Lilithmon is weak to Vaccine Digimon and takes increased damage from Steel and Light attacks.
Prepare Recovery Items
Because Lilithmon applies status ailments to your Digimon, it is advised to bring Recovery Items in advance to undo any ill effects.
How to Beat Leviamon
| Leviamon |
|---|
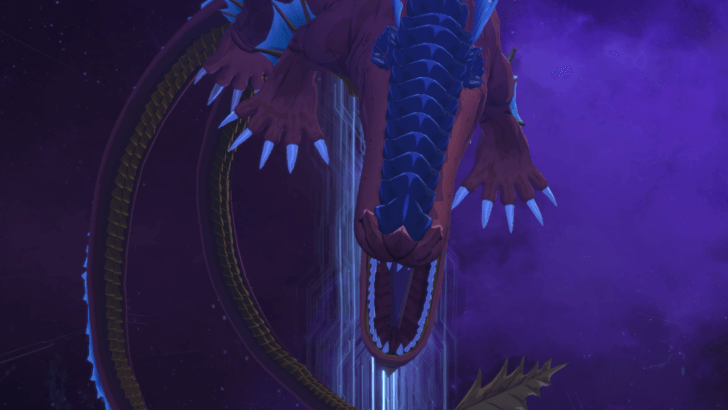 |
| General Tips and Strategy |
Use Electricity and Light Attacks
Leviamon is weak to Vaccine Digimon and takes increased damage from Electricity and Light attacks.
How to Beat Lucemon SM
| Lucemon SM |
|---|
 |
| General Tips and Strategy |
|
|
Use Light and Null Attacks
Lucemon SM is weak to Vaccine Digimon and takes increased damage from Light and Null attacks.
Bring Data Digimon to Counter Character Reversal
During the fight, Lucemon SM will employ Character Reversal on itself. To counter this, bring Data Digimon in your reserve to regain the upperhand.
How to Beat Beelzemon BM
| Beelzemon BM |
|---|
 |
| General Tips and Strategy |
|
|
Use Earth and Light Attacks
Beelzemon BM is weak to Vaccine Digimon and takes increased damage from Earth and Light attacks.
Bring Fire- and Dark-resistant Digimon
Because Beelzemon BM's moveset revolves around Fire and Dark skills, make sure your team is composed of Digimon that are resistant to those elements.
How to Beat Belphemon RM
| Belphemon RM |
|---|
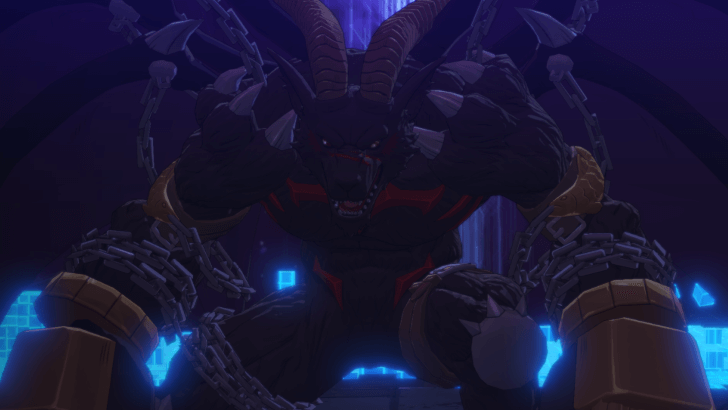 |
| General Tips and Strategy |
|
|
Use Ice and Light Attacks
Belphemon RM is weak to Vaccine Digimon and takes increased damage from Ice and Light attacks.
Bring Items to Recover from Deep Slumber
Belphemon's attacks can deal Deep Slumber to your Digimon, causing them to miss their turns. Prepare Sleep Recovery items in advance to immediately undo this effect.
How to Beat Chronomon
| Chronomon |
|---|
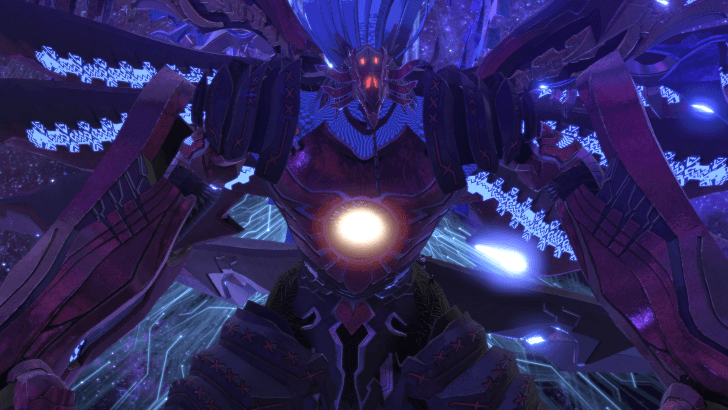 |
| General Tips and Strategy |
|
|
Bring Your Strongest Digimon
Chronomon has no attribute and elemental weaknesses, making this battle depend on the damage output of your Digimon. Simply bring your strongest Digimon to defeat Chronomon.
Bring Support Units
The fight with Chronomon is quite lengthy, so bring support Digimon with the Attachment Skills to hasten the battle with as many buff, debuff, and recovery abilities.
Digimon Time Stranger Related Guides
All Main Missions and Walkthrough
All Main Missions
Comment
Author

The Final Battle Over the Natural Order Walkthrough
Please participate in our site
improvement survey
03/2026
improvement survey
03/2026
Would you assist in
improving Game8's site?
improving Game8's site?

×
We are listening to our users' valuable opinions and discussing how to act on them.
The information collected through this survey will be used for the purpose of improving our services. In addition, the information will only be disclosed a part of a statistic in a format that will not allow identification of personal information.
Begin Survey
Not Now
×
Please rate each item regarding Game8.co's Advertisements.
Amount of Ads
Very Dissatisfied
Somewhat Dissatisfied
Fine
Somewhat Satisfied
Highly Satisfied
Placement of Ads
Timing of Ad Display
Ad Loading Speed
Safeness of Ads
Content of Ads
×
Please rate each item regarding Game8.co's Quality of Articles.
Amount of information
Very Dissatisfied
Somewhat Dissatisfied
Fine
Somewhat Satisfied
Highly Satisfied
Frequency of updates
Speed of new information
Accuracy of articles
Understandibility of articles
Readability of sentences
×
Please rate each item regarding Game8.co's Usability of the Site.
Ease of finding information
Very Dissatisfied
Somewhat Dissatisfied
Fine
Somewhat Satisfied
Highly Satisfied
Loading Speed
Use of Color
Font Size
Visibility of Images
Easy to Understand Layout
×
Please rate each item regarding Game8.co's Message Boards, Comments.
Ease of Writing
Very Dissatisfied
Somewhat Dissatisfied
Fine
Somewhat Satisfied
Highly Satisfied
Readability
Ease in Finding Information
Comment Quality
Comment Quantity
Admin Response
×
Please rate each item regarding Game8.co's Site's new design.
Please rate our site's new design
Very Dissatisfied
Somewhat Dissatisfied
Fine
Somewhat Satisfied
Highly Satisfied
Do you think that the website's design change makes the site easier to use?
Has the new design made it easier for you to find information on the site?
Has the new design improved the overall visual appeal of the site?
How would you rate your overall satisfaction with the new design of the site?
×
How likely are you to recommend Game8 to someone you know?
Very Unlikely
0
1
2
3
4
5
6
7
8
9
10
Very Likely
If you have other opinions regarding potential improvement to the website, please share them with us. We would appreciate your honest opinion.
Note: This is a free response section, so you can proceed without entering anything.
Note: Please be sure not to enter any kind of personal information into your response.
Note: Please be sure not to enter any kind of personal information into your response.
×
Thank You
×
Thank you for participating in our survey! Your answers will help us to improve the quality of our website and services.
We hope you continue to make use of Game8.
We hope you continue to make use of Game8.
Close
Rankings
- We could not find the message board you were looking for.
Gaming News


![Everwind Review [Early Access] | The Shaky First Step to A Very Long Journey](https://img.game8.co/4440226/ab079b1153298a042633dd1ef51e878e.png/thumb)

![Monster Hunter Stories 3 Review [First Impressions] | Simply Rejuvenating](https://img.game8.co/4438641/2a31b7702bd70e78ec8efd24661dacda.jpeg/thumb)
Popular Games

Genshin Impact Walkthrough & Guides Wiki
Honkai: Star Rail Walkthrough & Guides Wiki
Umamusume: Pretty Derby Walkthrough & Guides Wiki
Pokemon Pokopia Walkthrough & Guides Wiki
Resident Evil Requiem (RE9) Walkthrough & Guides Wiki
Monster Hunter Wilds Walkthrough & Guides Wiki
Wuthering Waves Walkthrough & Guides Wiki
Arknights: Endfield Walkthrough & Guides Wiki
Pokemon FireRed and LeafGreen (FRLG) Walkthrough & Guides Wiki
Pokemon TCG Pocket (PTCGP) Strategies & Guides Wiki


Recommended Games
Diablo 4: Vessel of Hatred Walkthrough & Guides Wiki
Fire Emblem Heroes (FEH) Walkthrough & Guides Wiki
Yu-Gi-Oh! Master Duel Walkthrough & Guides Wiki
Super Smash Bros. Ultimate Walkthrough & Guides Wiki
Pokemon Brilliant Diamond and Shining Pearl (BDSP) Walkthrough & Guides Wiki
Elden Ring Shadow of the Erdtree Walkthrough & Guides Wiki
Monster Hunter World Walkthrough & Guides Wiki
The Legend of Zelda: Tears of the Kingdom Walkthrough & Guides Wiki
Persona 3 Reload Walkthrough & Guides Wiki
Cyberpunk 2077: Ultimate Edition Walkthrough & Guides Wiki


All rights reserved
©Akiyoshi Hongo, Toei Animation
©Bandai Namco Entertainment Inc.
The copyrights of videos of games used in our content and other intellectual property rights belong to the provider of the game.
The contents we provide on this site were created personally by members of the Game8 editorial department.
We refuse the right to reuse or repost content taken without our permission such as data or images to other sites.