The Mad Oracle Walkthrough
☆ DLC Episode Pack 3: March 11, 2026
★ Best Digimon | Best Team
★ Best Personality | How to Change Personality
☆ How Do Load Enhancements Work?
This is a walkthrough for the The Mad Oracle mission in Digimon Story Time Stranger. Read on to see how to complete all of its objectives and how to beat Junomon HM!
| ◀︎ Previous Mission | Next Mission ▶︎ |
|---|---|
| Fire and Ice at War | The Cycle of Time |
List of Contents
The Mad Oracle Walkthrough
| The Mad Oracle Guide | |
|---|---|
| 1 | 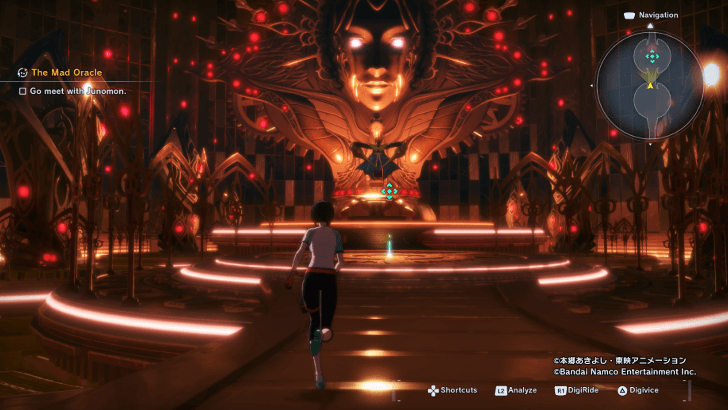 Travel to Terminal Otherside and enter Junomon's throne room. After a cutscene, you will be sent to a prison. |
| 2 | 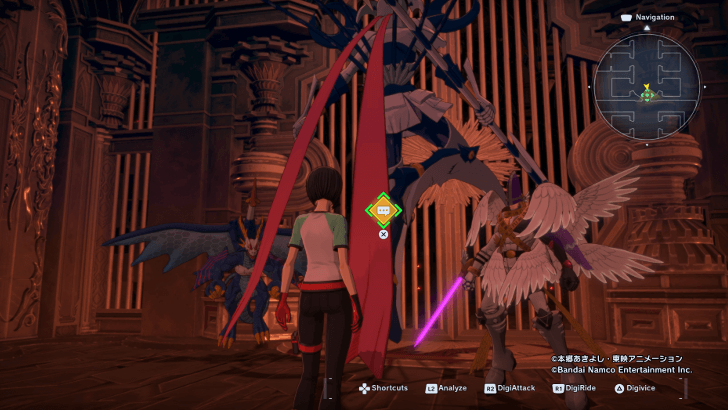 Leave by going up the stairs, then talk to Dianamon by Minervamon's cell. |
| 3 | 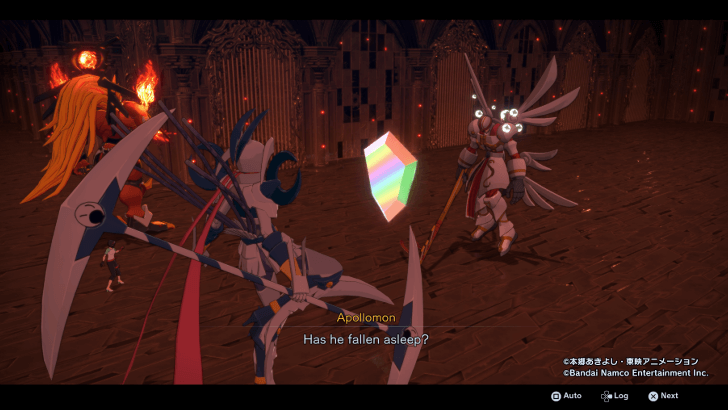 Shortly after, you will be confronted by ClavisAngemon. Note that you do not have to beat it, so just go along with the battle after a few turns until your team automatically escapes. Tsunomon (Titamon) and Dorimon will join your team afterwards. |
| 4 | 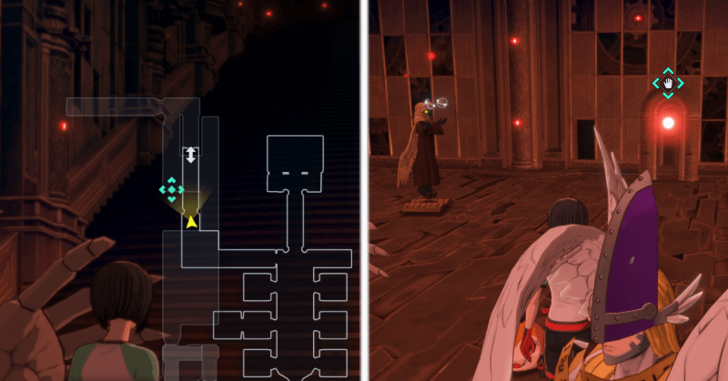 Follow the objective marker on the map to the Gamma Device needed to free Minervamon. You have to go up the stairs to find it near a Wisemon. |
| 5 | 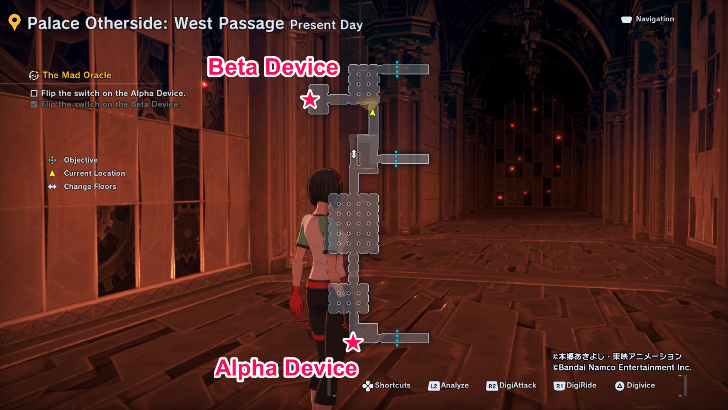 To activate the Gamma Device, you have to turn on the Alpha Device and the Beta Device. Go up the stairs near the Gamma Device to reach the West Passage, where the devices are located on the opposite ends of the room. |
| 5.1 | 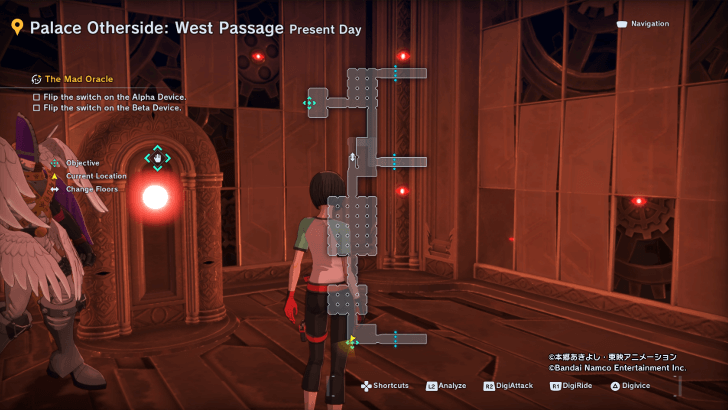 On the map, head south to find the Alpha Device. Go into the room and flip the switch. Afterwards, Witchmon will appear and join your team, but the room will be locked. |
| 5.2 | 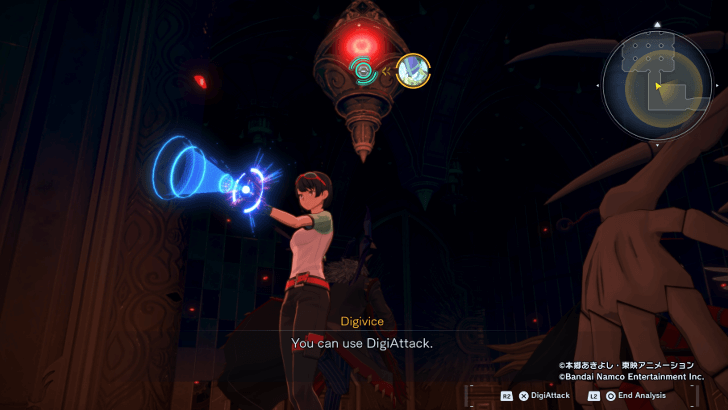 Press the Analyze button to survey your surroundings. Look up at the ceiling and destroy the eye-shaped switch with DigiAttack. After unlocking the doors, ClavisAngemon will appear again, forcing you to flee. |
| 5.3 | 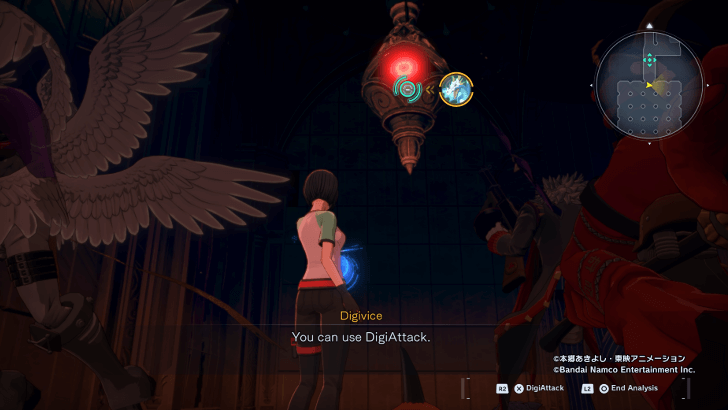 Escape the labyrinth by following the path free of warping walls. ClavisAngemon will be stopped each time with Idle Bubble, buying you time to escape. At the end of the labyrinth, look up and use DigiAttack on the switch to leave the room. |
| 5.4 |  Head north of the map to find the Beta Device. As the device is blocked off by a wall with Ogremon, Fugamon, and Hyogamon behind it, DigiAttack the switch on the ceiling to reveal it. Turn on the device. |
| 5.5 | 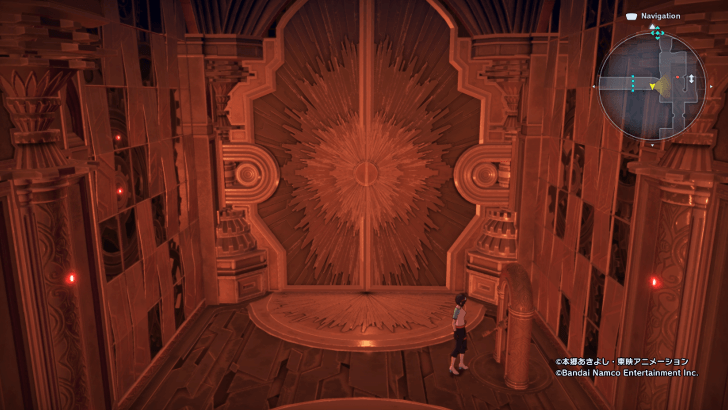 ClavisAngemon will appear again but will be stopped by Ogremon, Fugamon, and Hyogamon, allowing you to return to the Gamma Device. Flip the lever to open the doors to switch on the Gamma Device on the other side. |
| 6 | 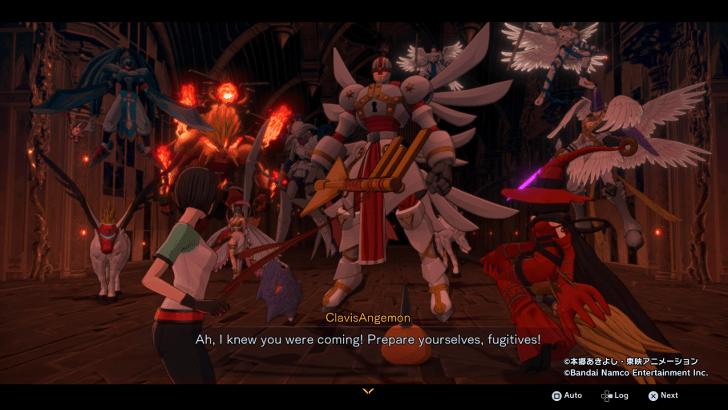 Return to Minervamon's cell. ClavisAngemon will appear for a third time but will be in a depowered state. Defeat ClavisAngemon and note its weaknesses to Dark and Null attacks. |
| 7 | 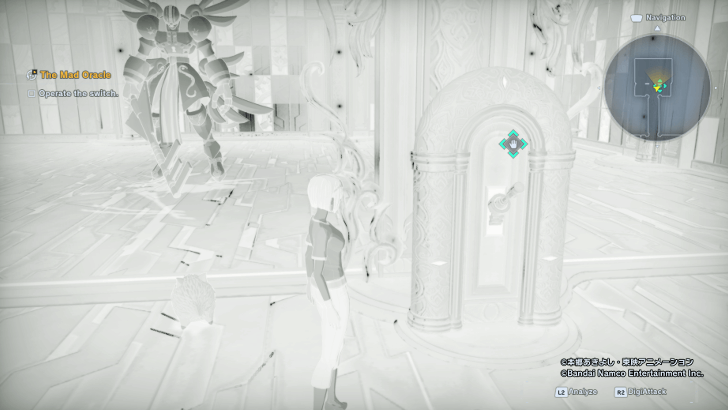 After defeating ClavisAngemon, Tsunomon (Titamon) will pause time. Flip the lever to the side to trap ClavisAngemon in the cell. Then, approach Minervamon's cell. |
| 8 | 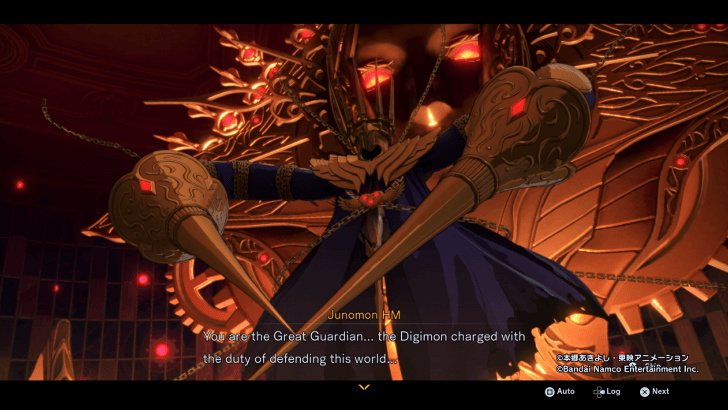 You will be transported back to the entrance of Terminal Otherside. Return to Junomon's throne room and fight the boss Junomon HM with Minervamon by your side. ▶︎ How to Beat Junomon HM |
The Mad Oracle Boss Guides
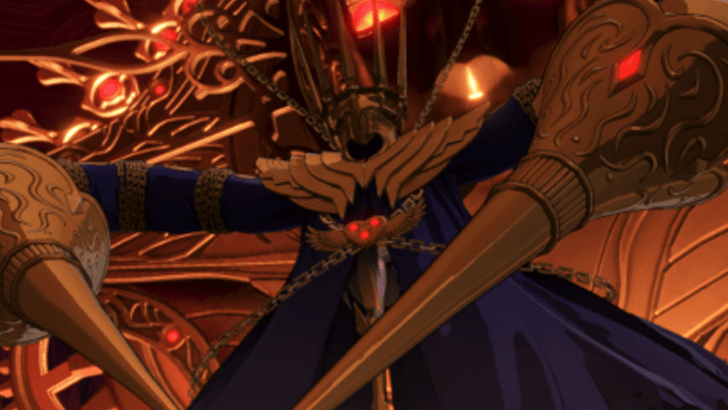
How to Beat Junomon HM
| Junomon HM |
|---|
 |
| General Tips and Strategy |
|
|
Use Light and Plant Attacks
Junomon HM is weak to Vaccine Digimon and takes significant damage from Light and Plant attacks. Assemble your Digimon according to these attributes to effectively defeat Junomon HM.
Attack Lances with Ice
When Junomon HM charges up its Welcome Demise attack, destroy its lances with Ice to temporarily stun it, giving you the opportunity to strike back.
Digimon Time Stranger Related Guides
All Main Missions and Walkthrough
All Main Missions
Comment
Author
The Mad Oracle Walkthrough
Rankings
- We could not find the message board you were looking for.
Gaming News


![The Liar Princess and the Blind Prince Review [PC] | Lovely to Look at but Tedious to Play](https://img.game8.co/4442586/8d95f5faf05780f1765ce7e0938bd825.jpeg/thumb)
![Marathon Cryo Archive Map Teased as [REDACTED] on Selection Screen](https://img.game8.co/4442236/6357203e58172f6de57f1991e7c39b22.png/thumb)

Popular Games

Genshin Impact Walkthrough & Guides Wiki
Umamusume: Pretty Derby Walkthrough & Guides Wiki
Pokemon Pokopia Walkthrough & Guides Wiki
Honkai: Star Rail Walkthrough & Guides Wiki
Monster Hunter Stories 3: Twisted Reflection Walkthrough & Guides Wiki
Arknights: Endfield Walkthrough & Guides Wiki
Wuthering Waves Walkthrough & Guides Wiki
Zenless Zone Zero Walkthrough & Guides Wiki
Pokemon TCG Pocket (PTCGP) Strategies & Guides Wiki
Monster Hunter Wilds Walkthrough & Guides Wiki


Recommended Games
Diablo 4: Vessel of Hatred Walkthrough & Guides Wiki
Cyberpunk 2077: Ultimate Edition Walkthrough & Guides Wiki
Fire Emblem Heroes (FEH) Walkthrough & Guides Wiki
Yu-Gi-Oh! Master Duel Walkthrough & Guides Wiki
Super Smash Bros. Ultimate Walkthrough & Guides Wiki
Pokemon Brilliant Diamond and Shining Pearl (BDSP) Walkthrough & Guides Wiki
Elden Ring Shadow of the Erdtree Walkthrough & Guides Wiki
Monster Hunter World Walkthrough & Guides Wiki
The Legend of Zelda: Tears of the Kingdom Walkthrough & Guides Wiki
Persona 3 Reload Walkthrough & Guides Wiki


All rights reserved
©Akiyoshi Hongo, Toei Animation
©Bandai Namco Entertainment Inc.
The copyrights of videos of games used in our content and other intellectual property rights belong to the provider of the game.
The contents we provide on this site were created personally by members of the Game8 editorial department.
We refuse the right to reuse or repost content taken without our permission such as data or images to other sites.