 Chaosdramon
 Kuwagamon
 Raremon
 Cyclonemon
 Vademon
 Greymon (Blue)
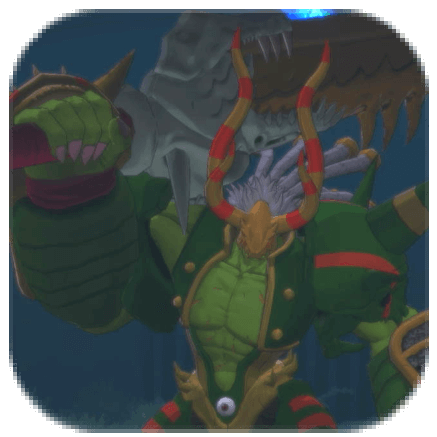 Titamon
 Fugamon, Ogremon and Hyogamon
 UltimateBrachiomon
 Vulcanusmon
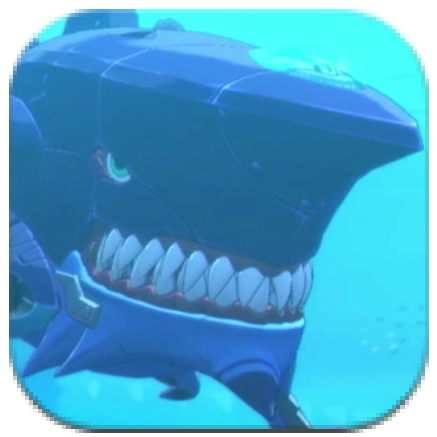 Sharkmon
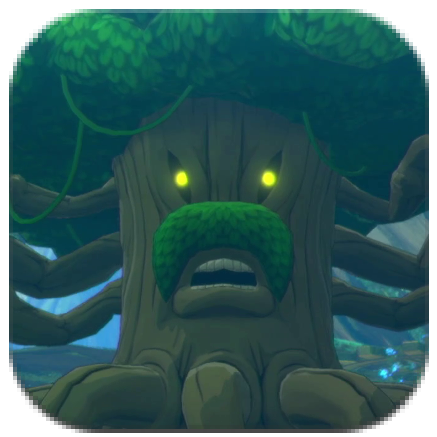 Cherrymon
 Okuwamon
 Titamon + SkullBaluchimon
 SkullSeadramon
 Calmaramon
 Witchmon
 TyrantKabuterimon
 Callismon
 VenomMyotismon
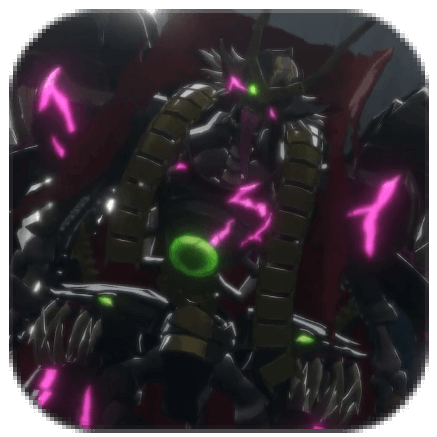 ZombiePlutomon
 Power Loader
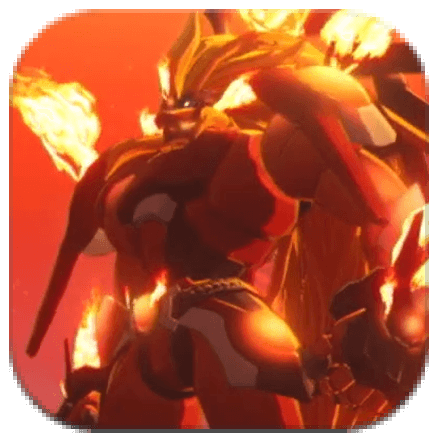 Apollomon
 Dianamon
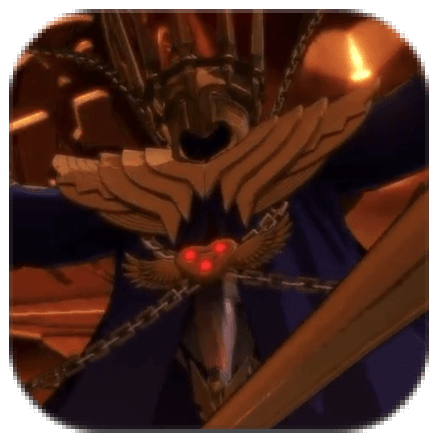 Junomon HM
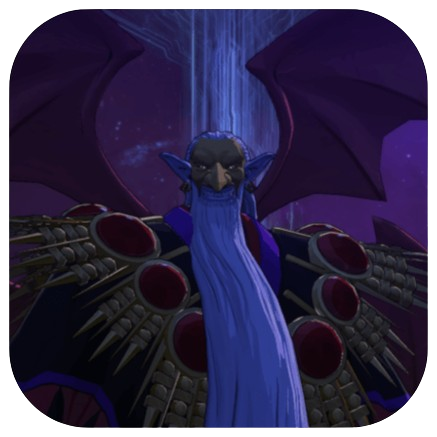 Barbamon
 Creepymon
 Lilithmon
 Leviamon
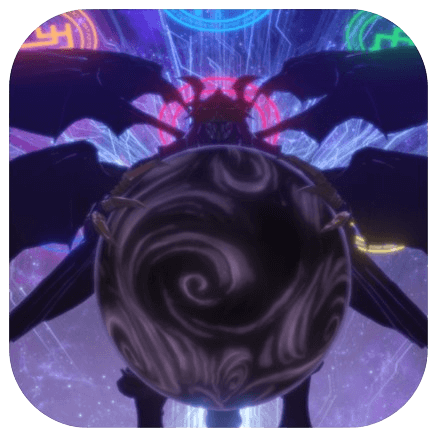 Lucemon SM
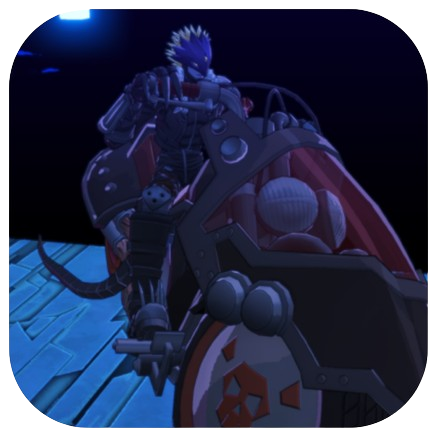 Beelzemon BM
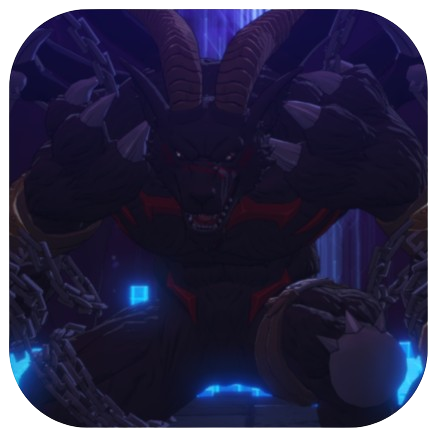 Belphemon RM
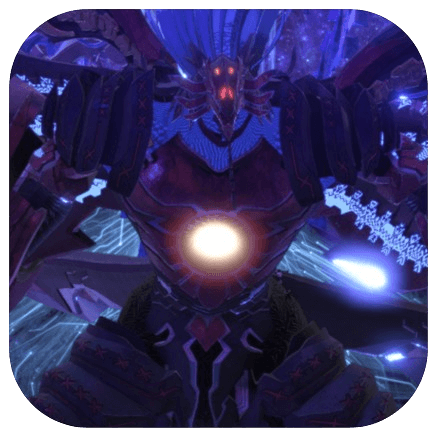 Chronomon
This survey will take about 1 minute.
Your answers will help us to improve our website.
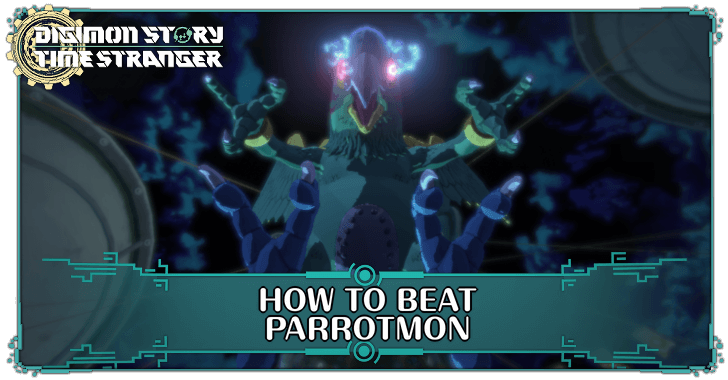
Digimon Story Time Stranger
How to Beat Parrotmon
☆ DLC Episode Pack 3: March 11, 2026
★ Best Digimon | Best Team
★ Best Personality | How to Change Personality
☆ How Do Load Enhancements Work?
Parrotmon is a Boss that can be encountered during the Gathering Storm Clouds mission in Digimon Story Time Stranger. See all weaknesses and resistances for Parrotmon, best digimon to use, and how to beat it!
| Related Pages | |
|---|---|
| How to Beat Parrotmon | Parrotmon Evolution Line and Stats |
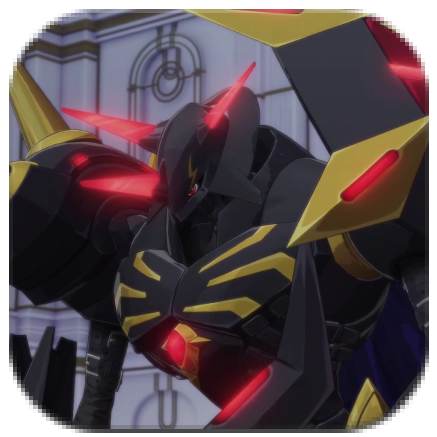
Parrotmon Boss Overview
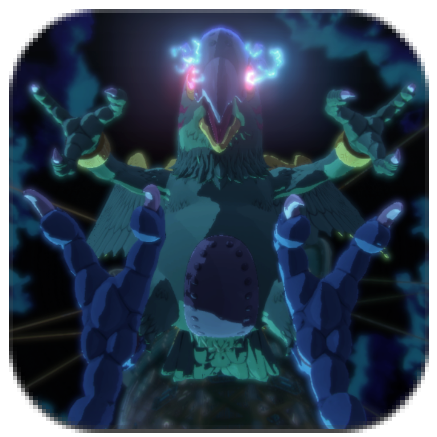 Parrotmon Parrotmon |
|
| Mission | Gathering Storm Clouds |
|---|---|
| Attribute | Vaccine |
| Recommended Level | Lv. 16+ |
Parrotmon Weaknesses and Resistances
◎: 2x damage; 〇: 1.5x damage; △: 0.5x damage; X: No damage
Attributes and Elements
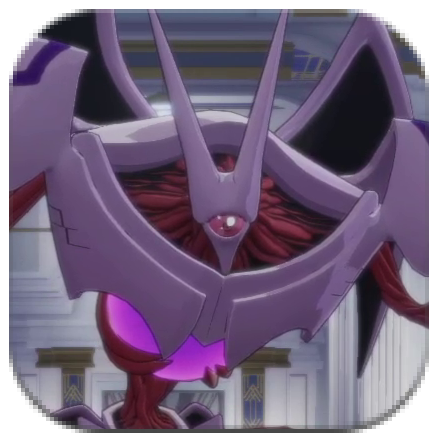
Change tabs to swap between Parrotmon and Parrotmon's Crest.
Parrotmon
Crest
| Attributes | ||||||
|---|---|---|---|---|---|---|
| Elements | ||||||
| Attributes | ||||||
|---|---|---|---|---|---|---|
| Elements | ||||||
You’ll have a chance to attack Parrotmon’s Crest while it's charging up. Keep in mind that its elemental weaknesses and resistances is different, requiring you to adjust your tactics mid-fight.
Attributes and Elements Compatibility Guide
Parrotmon Boss Recommended Digimon
Best Digimon Against Parrotmon
| Recommended Digimon | ||
|---|---|---|
 Blimpmon Blimpmon
|
 Dorugamon Dorugamon
|
 Starmon Starmon
|
 Tyrannomon Tyrannomon
|
 MudFrigimon MudFrigimon
|
 Kiwimon Kiwimon
|
A team of Data Type Digimon with Fire and Earth skills is highly recommended for this fight.
Blimpmon has the Zeppelin Explosion Special Skill which does 450% damage, although its accuracy is only 70%. Dorugamon is a good choice as it has a Comet Hammer Attachment skill. Starmon can cast Earth skills like Meteor Shower. Kiwimon is also a good pick, as its Fire skills Pummel Peck and Burst Flame II can pack a punch.
Tyrannomon has Fire Breath for Parrotmon and Heavy Strike II for its crest. Tyrannomon's conversion can also be farmed just outside the boss arena.
Best Digimon Against Parrotmon's Crest
| Recommended Digimon | |
|---|---|
 Seadramon Seadramon
|
 Coelamon Coelamon
|
When Parrotmon begins charging its ultimate move, bring in Data Type Digimon with Water, Ice, Light, or Null skills to target its Crest.
Seadramon is a good pick, as it has a whole host of Water Attachment skills, as well as a strong Special Ice skill in Ice Blast. Likewise, Coelamon can use the Special Water skill Fossil Bite.
How to Beat Parrotmon
Parrotmon is an Ultimate Vaccine Type Digimon with powerful electric attacks and a devastating ultimate move. Follow these tips to learn how to defeat Parrotmon effectively:
- Use Aegiomon as Healer
- Use Cross Art: Strike on the Crest
- Guard Against Mjölnir Thunder
- Bring Paralysis Recovery Item
- Use Reversal for Virus and Electric Advantage
- Use Buffs and Debuffs
Use Aegiomon as Healer
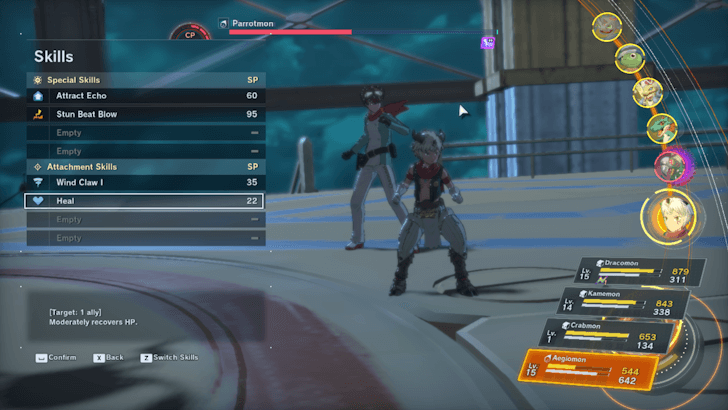
Aegiomon shines best as a dedicated healer in this fight. Its Heal skill is crucial for keeping your team alive. Aegiomon’s Wind skill is resisted and Attract Echo also offers little benefit here, as Parrotmon frequently uses its AOE attack.
Use Cross Art: Strike on the Crest
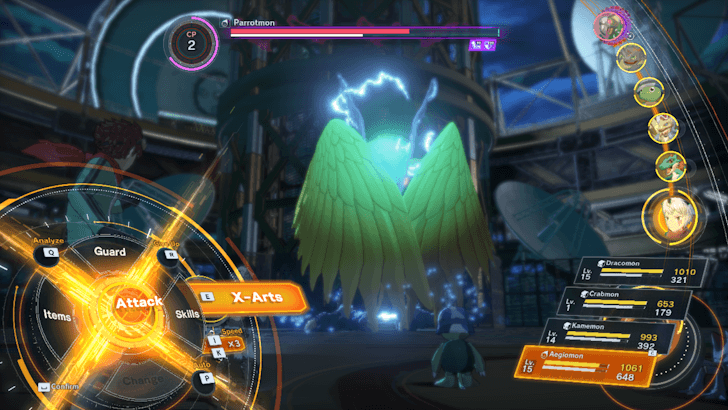
Parrotmon will eventually expose its Crest, which you need to quickly destroy before it charges its ultimate move, Mjölnir Thunder. Save your Cross Art: Strike for this phase, as it can deal significant damage and quickly reduce the Crest’s HP.
Guard Against Mjölnir Thunder
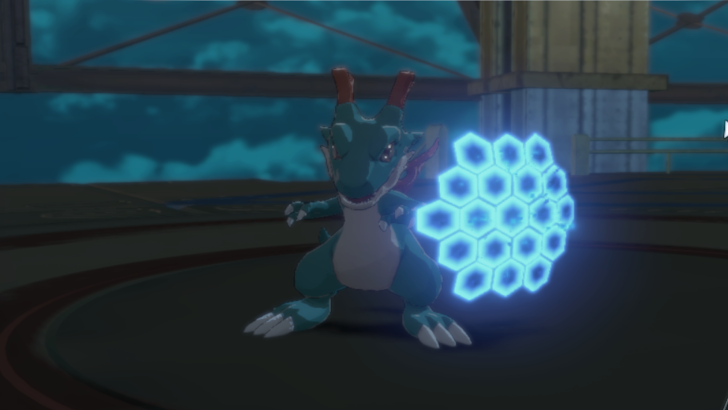
Failing to destroy the Crest will trigger Parrotmon’s Mjölnir Thunder. You’ll have one full turn before it’s unleashed, so use that time to have your team guard and survive the devastating blast.
Bring Paralysis Recovery Item

Parrotmon’s electric attacks can inflict Paralysis, causing your Digimon to lose their turns. Stock up on Paralysis Recovery items and cure the status right away to avoid losing momentum in battle.
If you don’t have any recovery items for Paralysis, you can instead equip the Meditator attachment skill, which cures status abnormalities.
Use Reversal for Virus and Electric Advantage
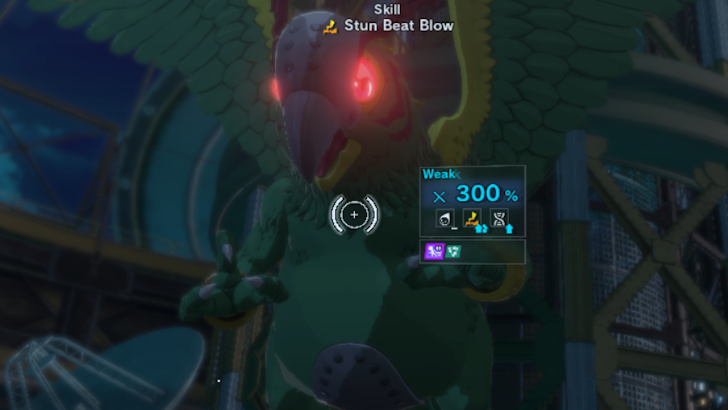
You can use Character Reversal or Cross Art: Reverse to make Parrotmon weak to Virus and Electric attacks. This strategy benefits Minervamon, who can take advantage of these weaknesses to deal heavy damage.
Aegiomon’s Stun Beat Blow also becomes more effective under this setup, letting Electric skills become effective against Parrotmon.
Merukimon Does Not Benifit From This Setup
Merukimon will join the fight once Parrotmon’s HP drops to 50%. However, Merukimon does not benefit from the Reversal setup since it changes Parrotmon’s resistances. Without Reversal, Parrotmon remains a Vaccine Type, allowing Merukimon to deal significant damage, making the mid-fight phase easier to finish.
Use Reversal if you want to rely on Minervamon’s power early on, or skip it if you prefer to take advantage of Merukimon’s strength later.
Use Buffs and Debuffs
To further tilt the fight in your favor, use Spirit Field and Magic Bind to reduce Parrotmon’s magic attack damage. These debuffs can also overwrite Parrotmon’s self-buffs, making them even more effective in maintaining control of the battle.
Digimon Story Time Stranger Related Guides
Base Game Bosses
DLC Bosses
 Omnimon Zwart Defeat Omnimon Zwart Defeat |
 Omnimon Alter-B Omnimon Alter-B |
 Parallelmon Parallelmon |
Comment
Author

How to Beat Parrotmon
Please participate in our site
improvement survey
03/2026
improvement survey
03/2026
Would you assist in
improving Game8's site?
improving Game8's site?

×
We are listening to our users' valuable opinions and discussing how to act on them.
The information collected through this survey will be used for the purpose of improving our services. In addition, the information will only be disclosed a part of a statistic in a format that will not allow identification of personal information.
Begin Survey
Not Now
×
Please rate each item regarding Game8.co's Advertisements.
Amount of Ads
Very Dissatisfied
Somewhat Dissatisfied
Fine
Somewhat Satisfied
Highly Satisfied
Placement of Ads
Timing of Ad Display
Ad Loading Speed
Safeness of Ads
Content of Ads
×
Please rate each item regarding Game8.co's Quality of Articles.
Amount of information
Very Dissatisfied
Somewhat Dissatisfied
Fine
Somewhat Satisfied
Highly Satisfied
Frequency of updates
Speed of new information
Accuracy of articles
Understandibility of articles
Readability of sentences
×
Please rate each item regarding Game8.co's Usability of the Site.
Ease of finding information
Very Dissatisfied
Somewhat Dissatisfied
Fine
Somewhat Satisfied
Highly Satisfied
Loading Speed
Use of Color
Font Size
Visibility of Images
Easy to Understand Layout
×
Please rate each item regarding Game8.co's Message Boards, Comments.
Ease of Writing
Very Dissatisfied
Somewhat Dissatisfied
Fine
Somewhat Satisfied
Highly Satisfied
Readability
Ease in Finding Information
Comment Quality
Comment Quantity
Admin Response
×
Please rate each item regarding Game8.co's Site's new design.
Please rate our site's new design
Very Dissatisfied
Somewhat Dissatisfied
Fine
Somewhat Satisfied
Highly Satisfied
Do you think that the website's design change makes the site easier to use?
Has the new design made it easier for you to find information on the site?
Has the new design improved the overall visual appeal of the site?
How would you rate your overall satisfaction with the new design of the site?
×
How likely are you to recommend Game8 to someone you know?
Very Unlikely
0
1
2
3
4
5
6
7
8
9
10
Very Likely
If you have other opinions regarding potential improvement to the website, please share them with us. We would appreciate your honest opinion.
Note: This is a free response section, so you can proceed without entering anything.
Note: Please be sure not to enter any kind of personal information into your response.
Note: Please be sure not to enter any kind of personal information into your response.
×
Thank You
×
Thank you for participating in our survey! Your answers will help us to improve the quality of our website and services.
We hope you continue to make use of Game8.
We hope you continue to make use of Game8.
Close
Rankings
- We could not find the message board you were looking for.
Gaming News


![Everwind Review [Early Access] | The Shaky First Step to A Very Long Journey](https://img.game8.co/4440226/ab079b1153298a042633dd1ef51e878e.png/thumb)

![Monster Hunter Stories 3 Review [First Impressions] | Simply Rejuvenating](https://img.game8.co/4438641/2a31b7702bd70e78ec8efd24661dacda.jpeg/thumb)
Popular Games

Genshin Impact Walkthrough & Guides Wiki
Honkai: Star Rail Walkthrough & Guides Wiki
Umamusume: Pretty Derby Walkthrough & Guides Wiki
Pokemon Pokopia Walkthrough & Guides Wiki
Resident Evil Requiem (RE9) Walkthrough & Guides Wiki
Monster Hunter Wilds Walkthrough & Guides Wiki
Wuthering Waves Walkthrough & Guides Wiki
Arknights: Endfield Walkthrough & Guides Wiki
Pokemon FireRed and LeafGreen (FRLG) Walkthrough & Guides Wiki
Pokemon TCG Pocket (PTCGP) Strategies & Guides Wiki


Recommended Games
Diablo 4: Vessel of Hatred Walkthrough & Guides Wiki
Fire Emblem Heroes (FEH) Walkthrough & Guides Wiki
Yu-Gi-Oh! Master Duel Walkthrough & Guides Wiki
Super Smash Bros. Ultimate Walkthrough & Guides Wiki
Pokemon Brilliant Diamond and Shining Pearl (BDSP) Walkthrough & Guides Wiki
Elden Ring Shadow of the Erdtree Walkthrough & Guides Wiki
Monster Hunter World Walkthrough & Guides Wiki
The Legend of Zelda: Tears of the Kingdom Walkthrough & Guides Wiki
Persona 3 Reload Walkthrough & Guides Wiki
Cyberpunk 2077: Ultimate Edition Walkthrough & Guides Wiki


All rights reserved
©Akiyoshi Hongo, Toei Animation
©Bandai Namco Entertainment Inc.
The copyrights of videos of games used in our content and other intellectual property rights belong to the provider of the game.
The contents we provide on this site were created personally by members of the Game8 editorial department.
We refuse the right to reuse or repost content taken without our permission such as data or images to other sites.