Obsession and Madness Puzzle Solution
☆ Best: Side Quests | Weapons | Armor | Skills
★ Controls | Best Items | What to Do First
☆ Characters: Damiane | Oongka | Kliff
★ Trending: Excavatron | Hornsplitter | Blix
┣ Dragon's Chamber | Azure Moon Labyrinth
┗ Bianca | Strongbox | How to Steal | Pets
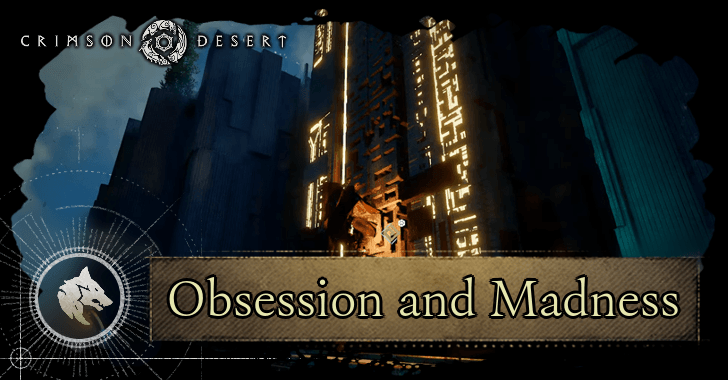
This is an Obsession and Madness walkthrough for Crimson Desert. Learn the puzzle solution during the Find the One Responsible for the Rift objective and how to complete the quest here!
List of Contents
Obsession and Madness Puzzle Solution
Connect the Pillars Using Axiom Force
| Puzzle Solution Steps | |
|---|---|
| 1 | Use Axiom Force on the Pillar to the right of the Abyss Nexus and lift it up. |
| 2 | Select the central pillar using |
| 3 | Repeat this process and connect the pillars all the way to the other end. |
Obsession and Madness Walkthrough
| 1 | Investigate the Abyss |
|---|---|
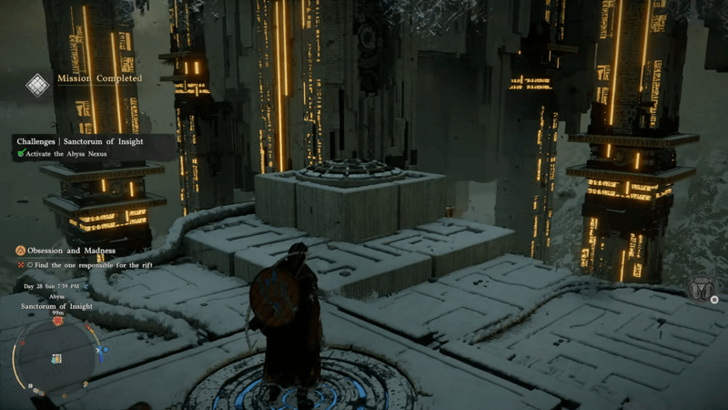 In the Abyss, make sure to step on the first Abyss Nexus right up ahead. If ever you fall, you can fast travel back here easily. |
|
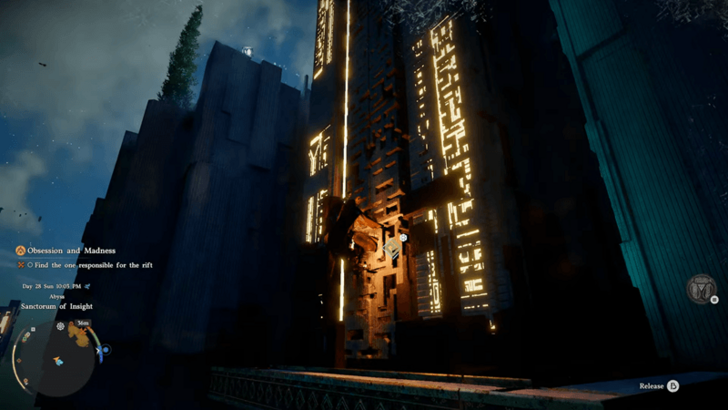
| 2 | Find the One Responsible for the Rift |
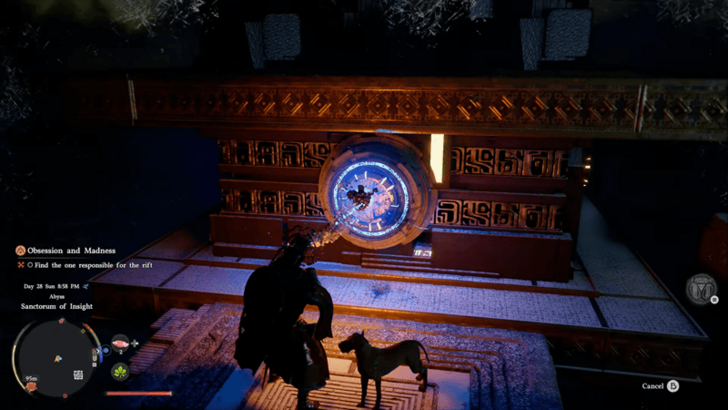 Turn to the right of the Abyss Nexus and find the conductor slot on the large pillar for the Axiom Force. Connect the force on it and lift the pillar up. |
|
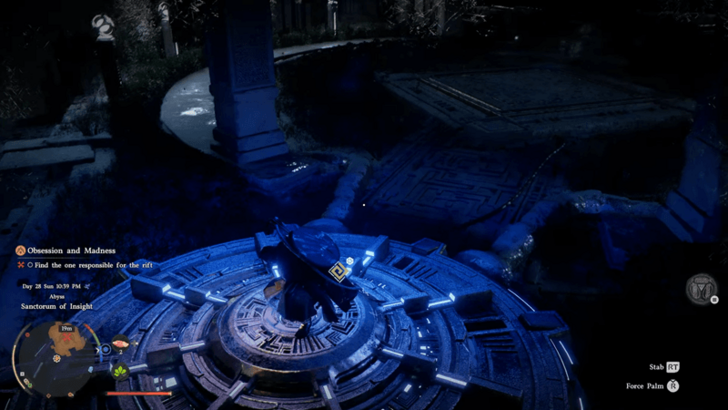
| 3 | |
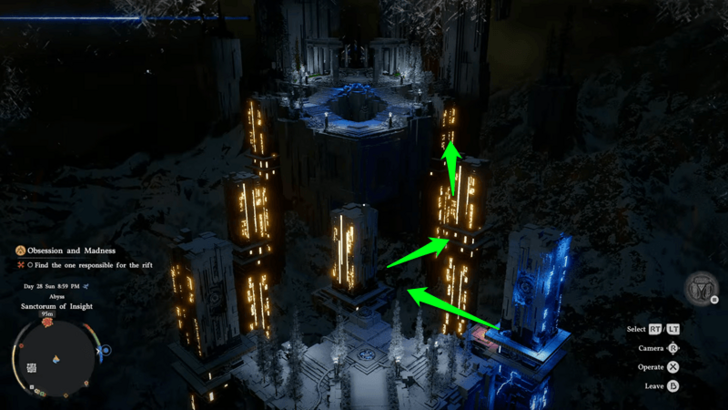 Lifting the pillar moves the camera to an aerial view of the path. The controls for this puzzle are on the bottom right of the screen. You must use L2/R2 or LT/RT to select a pillar, then press X/A to raise it. Select and activate the central pillar first, to move the platforms you are standing on towards it. |
|
| 4 | |
Continue moving the platforms by selecting and operating on the pillar nearest to it. Carefully walk along the pillar to find the Axiom Force slot for the next ones, and move all the way to the end. |
|
| 5 | |
 Climb to the top of the pillar using the climbable walls. Once at the top, jump to the island and follow the steps up. |
|
| 6 | |
 At the top of the stairs, approach the pressure platform and use Force Palm on it to trigger a cutscene. |
Forbidden Knowledge Walkthrough
Crimson Desert Related Guides
Puzzle Guides
| Main Quest Puzzles | |
|---|---|
| Polar Opposites Puzzle Solution | Abyss Without Balance (First Puzzle) Solution |
| Reunion Puzzle Solution | Glenbright Manor Basement Location |
| Obsession and Madness Puzzle Solution | Secret at the Church Puzzle Solutions |
| Side Puzzles | |
| All Strongbox Puzzle Solutions | Bluemont Manor Strongbox Solution |
| Crane Puzzle Solution | - |
| Other Puzzles | |
| Sword of the Cursed Puzzle Solution | Sealed Ancient Gate Puzzle Solution |
Comment
Author

Obsession and Madness Puzzle Solution
Rankings
- We could not find the message board you were looking for.
Gaming News


Popular Games

Genshin Impact Walkthrough & Guides Wiki
Umamusume: Pretty Derby Walkthrough & Guides Wiki
Crimson Desert Walkthrough & Guides Wiki
Monster Hunter Stories 3: Twisted Reflection Walkthrough & Guides Wiki
Honkai: Star Rail Walkthrough & Guides Wiki
Pokemon Pokopia Walkthrough & Guides Wiki
The Seven Deadly Sins: Origin Walkthrough & Guides Wiki
Wuthering Waves Walkthrough & Guides Wiki
Zenless Zone Zero Walkthrough & Guides Wiki
Arknights: Endfield Walkthrough & Guides Wiki


Recommended Games
Fire Emblem Heroes (FEH) Walkthrough & Guides Wiki
Diablo 4: Vessel of Hatred Walkthrough & Guides Wiki
Cyberpunk 2077: Ultimate Edition Walkthrough & Guides Wiki
Yu-Gi-Oh! Master Duel Walkthrough & Guides Wiki
Super Smash Bros. Ultimate Walkthrough & Guides Wiki
Pokemon Brilliant Diamond and Shining Pearl (BDSP) Walkthrough & Guides Wiki
Elden Ring Shadow of the Erdtree Walkthrough & Guides Wiki
Monster Hunter World Walkthrough & Guides Wiki
The Legend of Zelda: Tears of the Kingdom Walkthrough & Guides Wiki
Persona 3 Reload Walkthrough & Guides Wiki


All rights reserved
© Pearl Abyss Corp. All Rights Reserved.
The copyrights of videos of games used in our content and other intellectual property rights belong to the provider of the game.
The contents we provide on this site were created personally by members of the Game8 editorial department.
We refuse the right to reuse or repost content taken without our permission such as data or images to other sites.