Chapter 8b2: In the Eye of the Storm Story Walkthrough, Dialogue Choices, and Item Locations
★ Follow along with our Story Walkthrough.
┗ Want the Golden Route? Check out our Endings Guide!
┗ Strengthen Serenoa's Conviction as you pursue your path.
★ Learn about the best units to use in your battles!
┗ Find out how to recruit all of the characters to your party.

This is a walkthrough and guide for Chapter 8b2: In the Eye of the Storm in Triangle Strategy. Read on to learn more about the Chapter's objectives, dialogue choices, item locations, and battle strategies!
| Previous Chapter | Next Chapter |
|---|---|
| Chapter 8b: Weather the Storm |
Chapter 8b3: Of Hearts, Words, and Deeds |
Chapter 8b2 Objectives
In the Eye of the Storm Objectives
| In the Eye of the Storm Objectives | |
|---|---|
| 1 | The chapter begins with a quick discussion among Serenoa's allies about siding with Hyzante. Main Story unlocked: Whiteholm Castle Side Story unlocked: Citadel of the Sands |
| 2 | Proceed to Whiteholm Castle to watch a short cutscene. Main Story unlocked: Wolffort Harbor Side Story unlocked: Citadel of the Sands |
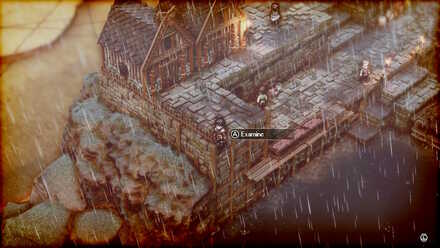
| 3 | Afterwards, head to Wolffort Harbor to explore and scout the area. Exploration Phase unlocked: Wolffort Harbor |
| 4 | After gathering information and scouting the area, end the Exploration Phase and make preparations for the upcoming battle. Main Story unlocked: Wolffort Harbor |
| 5 | Proceed to Wolffort Harbor and take down Aesfrost's army with the help of Hyzante army. Battle unlocked: Attack on Avlora |
| 6 | After defeating Avlora's men, watch a quick cutscene for an unexpected turn of events. End of Chapter 8b2: In the Eye of the Storm |
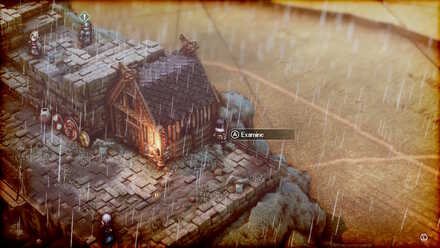
Chapter 8b2 Exploration Phase
Key Interactions
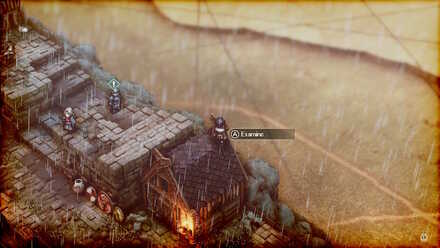
Aesfrosti Soldier Interaction
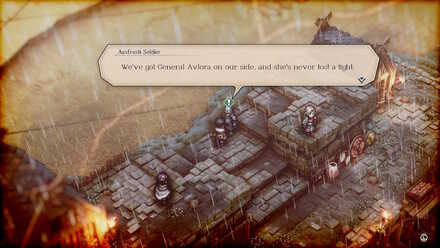
| Where to Find | Aesfrosti Soldier behind Avlora |
|---|---|
| Prompt | Choices and Effects |
| We've got General Avlora on our side, and she's never lost a fight. | Then we shall rely on Aesfrost for this victory and do our best not to stand in your way.
(Increases Liberty) |
| We appreciate you coming to our aid and will do all we can to aid you in this fight.
(Increases Morality) |
|
| The Wolffort demesne shares a border with Hyzante. This battle will be a decisive one for our house.
(Increases Utility) |
Frederica Interaction
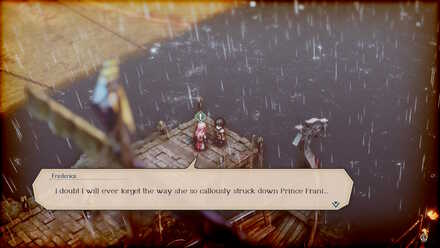
| Where to Find | Talk to Frederica |
|---|---|
| Prompt | Choices and Effects |
| I doubt I will ever forget the way she so callously struck down Prince Frani... | Her prowess in battle is undeniable. Consider her naught but a sword we need to strike down Hyzante.
(Increases Utility) |
| She was indeed the one who struck the fatal blow, but Gustadolph was the one who gave the order.
(Increases Liberty) |
|
| Neither will I. She spilled the blood of the royal family. As a retainer to the crown, that makes us enemies.
(Increases Morality) |
Information Locations
Defying the Holy One
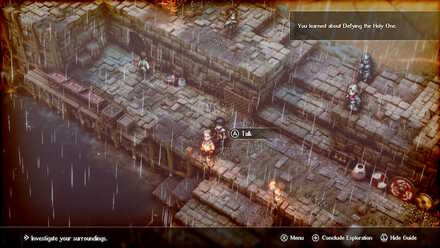
| Where to Find | Talk to the Wolffort Townsperson below Hughette and Avlora |
|---|
Notes Locations
| All Notes Locations | |
|---|---|
 |
Marvels of Norzelia, Vol. 2 By the crates directly below Hughette |
Item Locations
| All Item Locations | |
|---|---|
 |
Lightning Amulet By the rooftop left of Avlora |
 |
500 Coin In front of one of the houses behind Hughette |
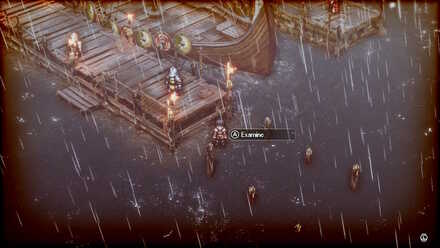 |
1100 Coin By the water right of the Wolffort Soldier next to Erador |
 |
Leather Side of the boat close to Anna and Benedict |
 |
Quality Fiber Right of old Wolffort Townsperson in blue |
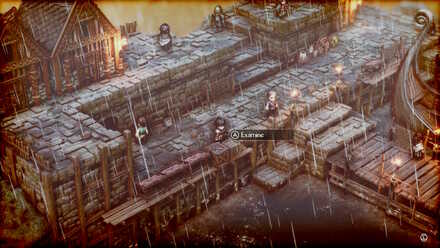 |
Iron Grill directly below Hughette |
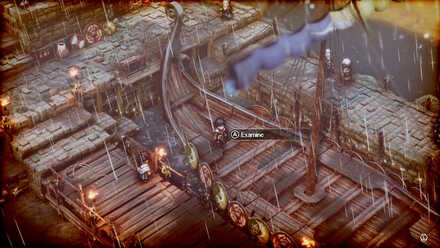
Cat Location

| Where to Find | Next to one of the buildings in the upper section of the docks. |
|---|
You will encounter a number of cats scattered across Norzelia throughout your adventure.
These cats can be found during Exploration Phases, and interacting with all of the cats throughout the game will grant you a Secret Note.
It is not required to interact with the cat again if you have approached it from a previous Exploration Phase.
Chapter 8b2 Battle and Strategies
Attack on Avlora Map and Battle Information

| Recommended Level: 12 | Enemy Units: 13 | ||
| Weather: | Rain | Wind: | Breezy |
|---|---|---|---|
| Victory Conditions: | Decimate the enemy forces. | ||
| Defeat Conditions: | Lose all allied forces. | ||
| Battle Spoils: |
・Iron x1 ・Stone x1 ・Timber x2 ・Fiber x2 ・Quality Stone x1 ・Spider Silk x1 ・Medal of Bravery x1 ・Ranged HP Recovery Pellet x1 ・Unprecise Spice x2 ・Precise Spice x1 |
||
Recommended Deployed Units
 Serenoa Serenoa Required |
 Benedict Benedict Reco. |
 Julio Julio Reco. |
 Narve Narve Reco. |
Maximum # of Deployed Units is 9
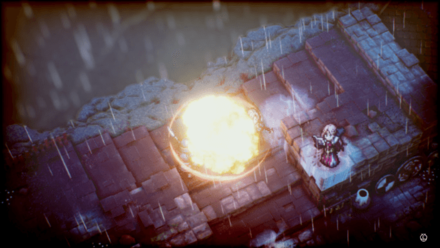
Battle Strategies
Electrify Puddles

The weather of the map gives the opportunity for players to electrify the terrain, namely puddles.
Since most of the fights will be taking place in narrow corridors, area of effect magic and electrifying puddles is recommended.
Use Corentin's Ice Wall

The boat connecting both bays have a lot cavalry. Corentin's ice magic is just enough to seal the corridor, in case the fight gets too tough.
By doing this, it should give players a round or two to heal and regroup.
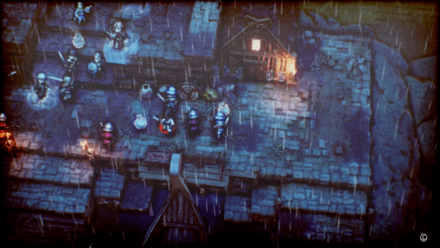
Hold the Line at the Stairs
| Deal physical damage to a single enemy, knock them back 5 squares and move forward 1 square. Power: 62 Range: 1-1 (Height -2 - +2) |
The best place to maintain a chokepoint are the stairs in front of the deployment zone. That said, place Erador on front lines alongside Serenoa.
When the area gets crowded, use Erador's Ram Foe in order to push back enemy units.
Use Magic On Top of the Ledge
While maintaining a chokepoint on stairs where Serenoa deploys, mages like Frederica can cast magic from the top.
The elevated terrain can prevent ranged units from melee attacks. However, be on the lookout for bowmen and spellcasters as they can still damage your units.
Flank With The Help of Brook
Brook is a poisoner from Hyzante that helps in Serenoa's betrayal of Aesfrost.
He is accompanied by two guards, with all three being able to deal significant damage against the enemy. Use him to strike first and whittle down health of enemies before going in for the kill.
Chapter 8b2 General Tips
Make Good Use of Ezana's Aptitude
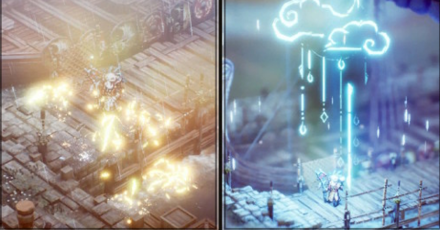
Ezana's expertise in wind and lightning magic are very useful in a battle. You can use her wind magic to deal massive damage and make them face the other direction so other units can land a back attack easily.
Lightning can also do a lot of damage to multiple enemies at once given that there's water in the terrain.
Ezana Q'linka Abilities, Class Promotions, and How to Recruit
Triangle Strategy Related Guides
Previous and Next Chapters
| Previous Chapter | Next Chapter |
|---|---|
| Chapter 8b: Weather the Storm |
Chapter 8b3: Of Hearts, Words, and Deeds |

Author

Chapter 8b2: In the Eye of the Storm Story Walkthrough, Dialogue Choices, and Item Locations
Rankings
- We could not find the message board you were looking for.
Gaming News


![Monster Hunter Stories 3 Review [First Impressions] | Simply Rejuvenating](https://img.game8.co/4438641/2a31b7702bd70e78ec8efd24661dacda.jpeg/thumb)
Popular Games

Genshin Impact Walkthrough & Guides Wiki
Honkai: Star Rail Walkthrough & Guides Wiki
Umamusume: Pretty Derby Walkthrough & Guides Wiki
Pokemon Pokopia Walkthrough & Guides Wiki
Resident Evil Requiem (RE9) Walkthrough & Guides Wiki
Monster Hunter Wilds Walkthrough & Guides Wiki
Wuthering Waves Walkthrough & Guides Wiki
Arknights: Endfield Walkthrough & Guides Wiki
Pokemon FireRed and LeafGreen (FRLG) Walkthrough & Guides Wiki
Pokemon TCG Pocket (PTCGP) Strategies & Guides Wiki


Recommended Games
Diablo 4: Vessel of Hatred Walkthrough & Guides Wiki
Cyberpunk 2077: Ultimate Edition Walkthrough & Guides Wiki
Fire Emblem Heroes (FEH) Walkthrough & Guides Wiki
Yu-Gi-Oh! Master Duel Walkthrough & Guides Wiki
Super Smash Bros. Ultimate Walkthrough & Guides Wiki
Pokemon Brilliant Diamond and Shining Pearl (BDSP) Walkthrough & Guides Wiki
Elden Ring Shadow of the Erdtree Walkthrough & Guides Wiki
Monster Hunter World Walkthrough & Guides Wiki
The Legend of Zelda: Tears of the Kingdom Walkthrough & Guides Wiki
Persona 3 Reload Walkthrough & Guides Wiki


All rights reserved
©2022 SQUARE ENIX CO., LTD. All Rights Reserved. Nintendo Switch is a trademark of Nintendo. © Nintendo.
The copyrights of videos of games used in our content and other intellectual property rights belong to the provider of the game.
The contents we provide on this site were created personally by members of the Game8 editorial department.
We refuse the right to reuse or repost content taken without our permission such as data or images to other sites.