Chapter 7b: Fate in Flames Story Walkthrough, Dialogue Choices, and Item Locations
★ Follow along with our Story Walkthrough.
┗ Want the Golden Route? Check out our Endings Guide!
┗ Strengthen Serenoa's Conviction as you pursue your path.
★ Learn about the best units to use in your battles!
┗ Find out how to recruit all of the characters to your party.
This is a walkthrough and guide for Chapter 7b: Fate in Flames in Triangle Strategy. Read on to learn more about the Chapter's objectives, dialogue choices, item locations, and battle strategies!
| Previous Chapter | Next Chapter |
|---|---|
| Chapter 7: A Soul Upon the Scales |
Chapter 8b: Weather the Storm |
Chapter 7b Objectives
Fate in Flames Objectives
| Fate in Flames Objectives | |
|---|---|
| 1 | The chapter begins with Roland surrendering himself to Gustadolph. |
| 2 | After the cutscene, you will be sent to the World Map. Main Story unlocked: Castle Wolffort Side Stories unlocked: Whiteholm Castle, Falkes Streets |
| 3 | Head to Wolffort Castle and hear about Aesfrost's demand from House Wolffort. Main Story unlocked: Falkes Streets Side Story unlocked: Wolffort Streets |
| 4 | Proceed to Falkes Streets and watch a cutscene about Landroi's response to House Wolffort's plan. |
| 5 | Afterwards, you will be sent to the World Map. Main Story unlocked: Falkes Streets |
| 6 | Head to Falkes Streets and prepare yourself for an Exploration Phase. Exploration Phase unlocked: Falkes Streets |
| 7 | After the Exploration Phase, watch a quick cutscene about Landroi's plan before being sent to the World Map. Main Story unlocked: Falkes Streets |
| 8 | Before heading to Falkes Streets, be sure you are prepared for battle by giving the Encampment a visit. Battle unlocked: Landroi's Last Stand |
| 9 | After the battle, watch a quick cutscene before moving on to Castle Wolffort. |
| 10 | You will be sent to the World Map afterwards. Main Story unlocked: Whiteholm Castle Side Story unlocked: Twinsgate |
| 11 | Proceed to Whiteholm Castle to see what has become of Roland after his surrender. End of Chapter 7 Part 2b: Fate in Flames |
Chapter 7b Exploration Phase
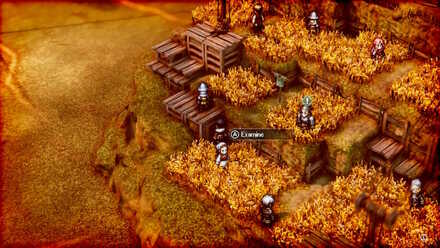
Key Interactions
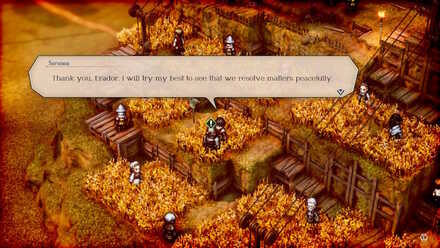
Erador Interaction
 Enlarge
| Where to Find | Go up the stairs behind Benedict |
|---|---|
| Prompt | Choices and Effects |
| I can see why Lord Landroi's subjects are so loyal to 'im. | The Falkelands truly are a sight to behold. Someday, I hope to return and bask in the beauty of this land...
(Increases Liberty) |
| I was surprised to see that harvesting took precedence over building any semblance of walls or fences.
(Increases Utility) |
|
| Lord Landroi is a man possessed of fierce loyalty. What would he do with this land were worst come to worst?
(Increases Morality) |
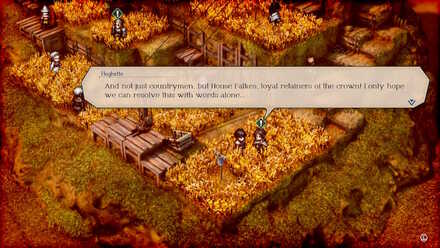
Hughette Interaction
 Enlarge
| Where to Find | Next to Benedict |
|---|---|
| Prompt | Choices and Effects |
| And not just countrymen, but House Falkes, loyal retainers of the crown! I only hope we can resolve this with words alone... | The Falkelands produce all the grain in Glenbrook. We have to protect these lands, for our people.
(Increases Morality) |
| We must try to persuade Lord Landroi to our cause, but he will inevitably have the final say on the matter.
(Increases Liberty) |
|
| There is nothing to be gained from a fight between our houses. I hope to convince him that an opportunity lies before us.
(Increases Utility) |
Information Locations
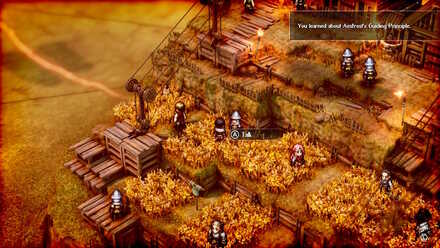
Aesfrost's Guiding Principle
 Enlarge
| Where to Find | Talk to the Falkes Soldier behind Frederica |
|---|
Whither Prince Roland
 Enlarge
| Where to Find | Talk to the Falkes Soldier east of Erador |
|---|
Notes Locations
| All Notes Locations | |
|---|---|
 Enlarge Enlarge |
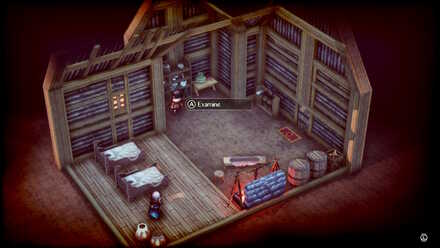
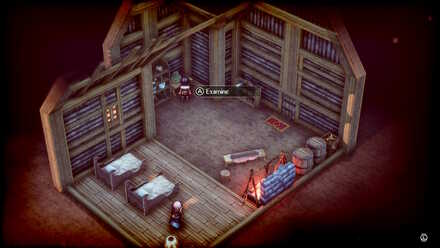
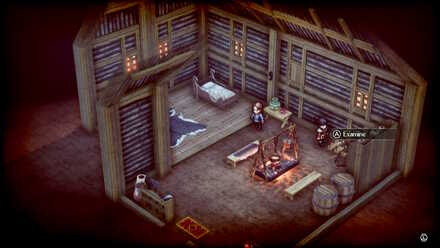
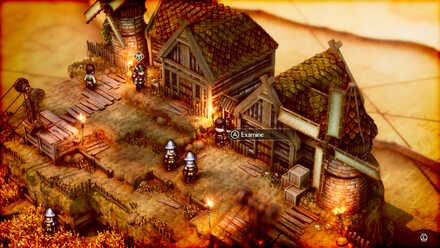
Marvels of Norzelia, Vol. 4 By the shelf inside the house next to the windmill that isn't spinning |
 Enlarge Enlarge |
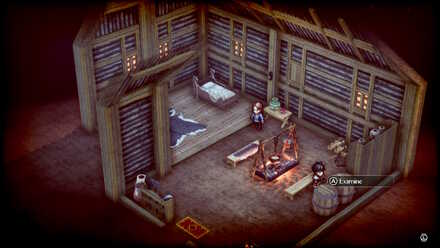
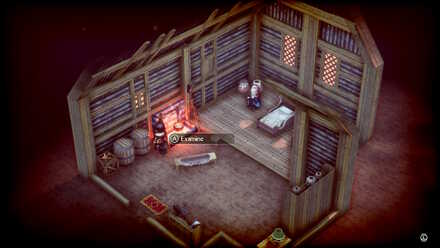
Letter from the Crown City By the barrels inside the house next to the spinning windmill |
Item Locations
| All Item Locations | |
|---|---|
 Enlarge Enlarge |
Icestone By the barrels inside the house next to the windmill that isn't spinning |
 Enlarge Enlarge |
1000 Coin By the vase inside the house next to the windmill that isn't spinning |
 Enlarge Enlarge |
Fire Amulet In front of the shelf inside the house next to the spinning windmill |
 Enlarge Enlarge |
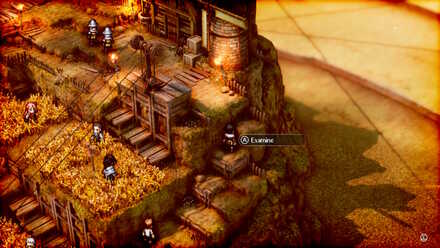
Icestone By the well in between the windmills |
 Enlarge Enlarge |
400 Coin By the steps west of Hughette |
 Enlarge Enlarge |
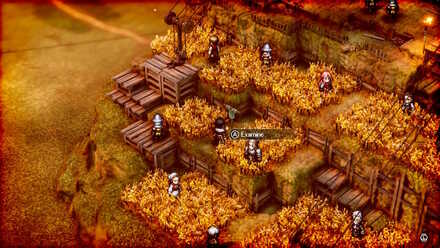
Large HP Recovery Pellet By the screcrow next to Erador |
 Enlarge Enlarge |
Immobility Recovery Pellet Behind the Falkes Citizen next to Anna |
 Enlarge Enlarge |
Large HP Recovery Pellet By the scarecrow next to Hughette |
Chapter 7b Battle and Strategies
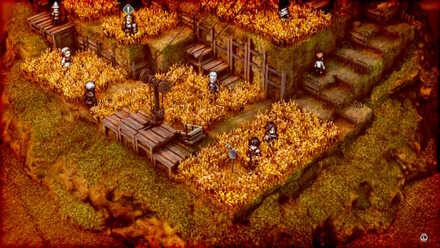
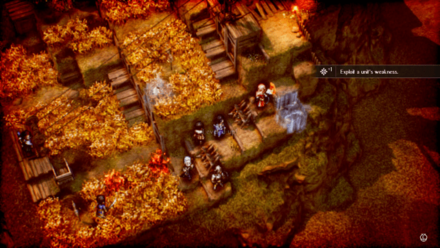
Landroi's Last Stand Map and Battle Information
 Enlarge
| Recommended Level: 11 | Enemy Units: 16 | ||
| Weather: | Clear | Wind: | Breezy |
|---|---|---|---|
| Victory Conditions: | Decimate the enemy forces. | ||
| Defeat Conditions: | Lose all allied forces. | ||
| Battle Spoils: |
・Stone x3 ・Timber x6 ・Firestone x1 ・Quality Iron x1 ・Silver x1 ・Dewarding Spice x1 ・Medal of Bravery x1 ・Ranged HP Recovery Pellet x2 |
||
Recommended Deployed Units
 Serenoa Serenoa Required |
 Hughette Hughette Reco. |
 Corentin Corentin Reco. |
 Medina Medina Reco. |
 Julio Julio Reco. |
Maximum # of Deployed Units is 10
Battle Strategies
Use Fire Magic Wisely
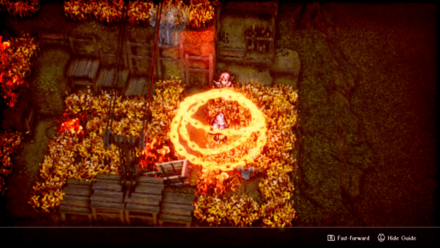
The hills of Falkes are covered in wheat, making the terrain flammable. Be cautious when using fire as it can burn friendly units!
However, when used smartly they will devastate the enemy units, so be sure to plan accordingly and only set the terrain on fire when you're sure you won't pass through them.
Use the Lifts
Lifts can take units up and down the map with ease. Use these to traverse the map and to flank enemy units.
Take note that when enemies are standing on the other side of the lifts, units will not be able to cross.
Take Advantage of Ice Spells
Corentin is unlocked upon completing Chapter 3, Part 2 (Hyzante Route)
Many of Landroi's forces use fire magic. With that, most of them are easily defeat by Corentin's ice magic.
Players can also use his ice magic to stop the flames on the fields. This is particularly helpful to prevent damage caused by the flammable terrain.
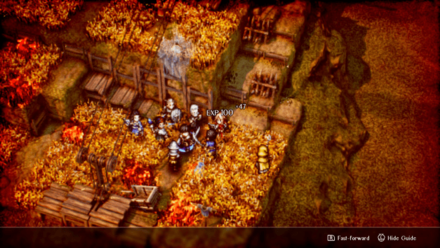
Deploy More Units Near the Stairs
The initial positioning during Unit Placement only adds two units to the deployment squares in front of the large stairs.
Given that there are more enemies on that side, it's good to balance out, or even outright deploy more units there.
Heavier units like Serenoa who can't jump high enough will be forced to used the steps to the right, so deploying them nearer is recommended.
Chapter 7b General Tips
Take Note of Terrain Affected by Magic
While terrain that is affected by magic could work to your advantage, it could sometimes do more bad than good for your units when executed poorly as it could cause unwanted occurrences like inflicting damage when on the square.
Be sure to hover over the squares to understand the type of terrain you are working with!
Triangle Strategy Related Guides
Previous and Next Chapters
| Previous Chapter | Next Chapter |
|---|---|
| Chapter 7: A Soul Upon the Scales |
Chapter 8b: Weather the Storm |

Comment
There's also a cat found west of frederica
Author

Chapter 7b: Fate in Flames Story Walkthrough, Dialogue Choices, and Item Locations
Rankings
- We could not find the message board you were looking for.
Gaming News


![Monster Hunter Stories 3 Review [First Impressions] | Simply Rejuvenating](https://img.game8.co/4438641/2a31b7702bd70e78ec8efd24661dacda.jpeg/thumb)
Popular Games

Genshin Impact Walkthrough & Guides Wiki
Honkai: Star Rail Walkthrough & Guides Wiki
Umamusume: Pretty Derby Walkthrough & Guides Wiki
Pokemon Pokopia Walkthrough & Guides Wiki
Resident Evil Requiem (RE9) Walkthrough & Guides Wiki
Monster Hunter Wilds Walkthrough & Guides Wiki
Wuthering Waves Walkthrough & Guides Wiki
Arknights: Endfield Walkthrough & Guides Wiki
Pokemon FireRed and LeafGreen (FRLG) Walkthrough & Guides Wiki
Pokemon TCG Pocket (PTCGP) Strategies & Guides Wiki


Recommended Games
Diablo 4: Vessel of Hatred Walkthrough & Guides Wiki
Cyberpunk 2077: Ultimate Edition Walkthrough & Guides Wiki
Fire Emblem Heroes (FEH) Walkthrough & Guides Wiki
Yu-Gi-Oh! Master Duel Walkthrough & Guides Wiki
Super Smash Bros. Ultimate Walkthrough & Guides Wiki
Pokemon Brilliant Diamond and Shining Pearl (BDSP) Walkthrough & Guides Wiki
Elden Ring Shadow of the Erdtree Walkthrough & Guides Wiki
Monster Hunter World Walkthrough & Guides Wiki
The Legend of Zelda: Tears of the Kingdom Walkthrough & Guides Wiki
Persona 3 Reload Walkthrough & Guides Wiki


All rights reserved
©2022 SQUARE ENIX CO., LTD. All Rights Reserved. Nintendo Switch is a trademark of Nintendo. © Nintendo.
The copyrights of videos of games used in our content and other intellectual property rights belong to the provider of the game.
The contents we provide on this site were created personally by members of the Game8 editorial department.
We refuse the right to reuse or repost content taken without our permission such as data or images to other sites.
How you forgot to mention theres a cat in the area is beyond me. I spent forever going back through other chapters thinking i missed one of those cats, when 1 wasn't even listed to begin with.