Chapter 3b: A Land of Sand and Sun Story Walkthrough, Dialogue Choices, and Item Locations
★ Follow along with our Story Walkthrough.
┗ Want the Golden Route? Check out our Endings Guide!
┗ Strengthen Serenoa's Conviction as you pursue your path.
★ Learn about the best units to use in your battles!
┗ Find out how to recruit all of the characters to your party.

This is a walkthrough and guide for Chapter 3b: A Land of Sand and Sun in Triangle Strategy. Read on to learn more about the Chapter's objectives, dialogue choices, item locations, and battle strategies!
| Previous Chapter | Next Chapter |
|---|---|
| Chapter 3: Whither the River Flows |
Chapter 4: A New Dawn |
Chapter 3b Objectives
A Land of Sand and Sun Objectives
| A Land of Sand and Sun Objectives | |
|---|---|
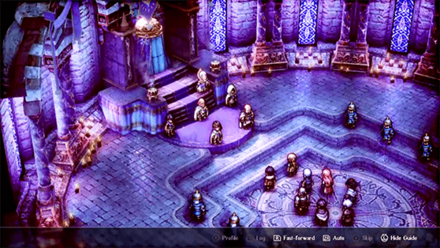
| 1 | The chapter opens with a quick cutscene, as well as a dialogue choice from Idore. Dialogue Choice: Talking to Idore |
| 2 | Afterwards, you will be sent to the World Map. Main Story unlocked: Central Hyzante Side Story unlocked: Whiteholm Castle |
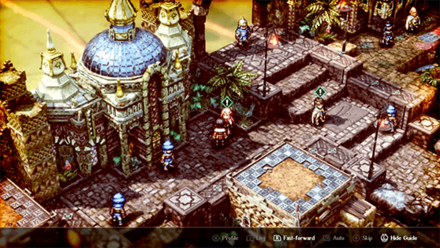
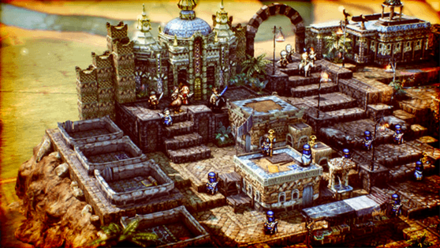
| 3 | Proceed to Central Hyzante. Watch the cutscene and move on to the Exploration Phase Exploration phase feature unlocked: Merchants—sells rare items not available in the Encampment. |
| 4 | After the Exploration Phase, you will be sent to the World Map. Main Story unlocked: Central Hyzante |
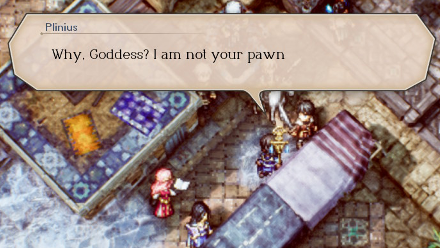
| 5 | Make the necessary preparations at the Encampment before heading to Central Hyzante to battle Plinius. Battle unlocked: Apprehending the Rebels |
| 6 | A cutscene ensues and Corentin will join your forces. |
| 7 | Afterwards, you will be sent to the World Map. Main Story unlocked: Central Hyzante Side Story unlocked: Ironstone |
| 8 | Proceed to Central Hyzante and watch a cutscene. End of Chapter 3b: A Land of Sand and Sun |
A Land of Sand and Sun Dialogue Choices
Talking to Idore
| Prompt | Choices and Effects |
|---|---|
| The hierophant would hear your true thoughts on the endeavor. | I think it a significant stepping stone toward peace between the three nations.
(Increases Morality) |
| I think it a valuable endeavor that will fairly profit everyone.
(Increases Utility) |
|
| I fear the intentions of the three nations are not aligned. I sense a storm is brewing on the horizon.
(Increases Liberty) |
Chapter 3b Exploration Phase
Key Interactions
Frederica Interaction
| Where to Find | Just outside of the Ministry. |
|---|---|
| Prompt | Choices and Effects |
| I always knew that the Goddess and Her followers looked upon the Roselle with disdain, yet I cannot help but worry for my people... | The sins they atone for are not their own. One cannot help but wonder why they must continue to pay for them...
(Increases Liberty) |
| This has less to do with the Goddess's Teachings than it does producing salt. It makes me wonder why other citizens do not labor at the Source...
(Increases Utility) |
|
| I find it difficult to understand why, in this nation that touts equality, the Roselle must suffer such discrimination...
(Increases Morality) |
Exharme Interaction
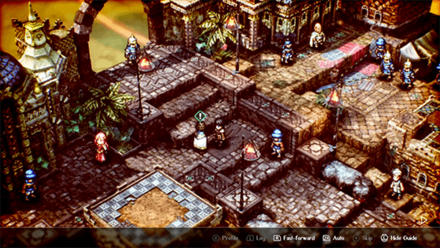
| Where to Find | Just outside of the Ministry. |
|---|---|
| Prompt | Choices and Effects |
| It is not wealth that drives Hyzante, but the faith and happiness of her people. | But we cannot ignore wealth's importance in the equation. How has the Holy State achieved such balance?
(Increases Utility) |
| It seems idealistic to think a nation can be built on faith alone. If the people are left dissatisfied, will their faith not waver?
(Increases Morality) |
|
| But what is it that brings the people such happiness? I thought the answer different for everyone.
(Increases Liberty) |
Information Locations
Exharme Marcial
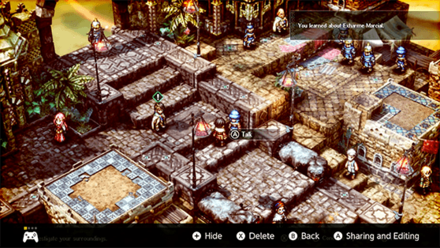
| Where to Find | Speak with a Hyzantian Soldier near where Exharme Marcial is. |
|---|
The Saintly Seven of Hyzante

| Where to Find | Speak with Exharme. |
|---|
Sorsley's Responsiblities
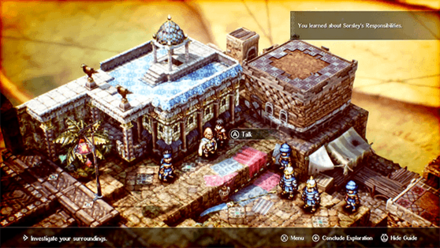
| Where to Find | Speak with Sorsely. |
|---|
Notes Locations
| All Notes Locations | |
|---|---|
 |
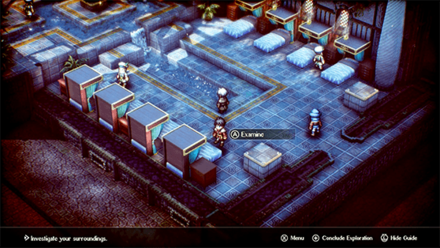
Marvels of Norzelia, Vol. 3 On the table in the house near where Roland is standing. |
 |
Treatment Notes Bedside table left of Anna |
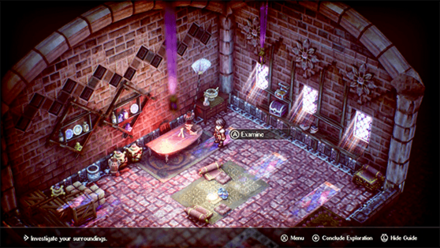
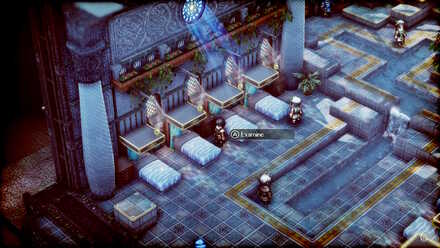
Item Locations
| All Item Locations | |
|---|---|
 |
HP Recovery Pellet Just outside of the Ministry of Medicine. |
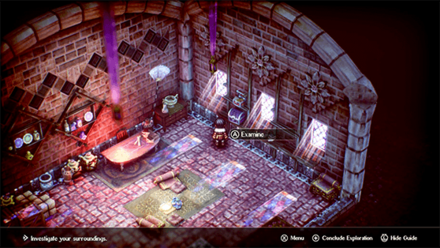 |
Icestone In a Purple Chest in the house near where Roland is standing. |
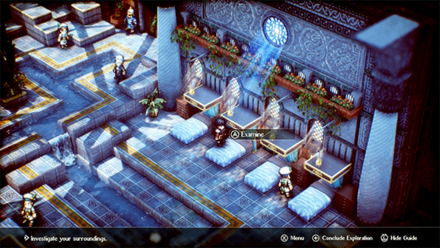 |
Icestone In one of the beds in the Ministry. |
 |
Ice Amulet In one of the beds in the Ministry. |
Cat Location

| Where to Find | In between the main street and houses. |
|---|
You will encounter a number of cats scattered across Norzelia throughout your adventure.
These cats can be found during Exploration Phases, and interacting with all of the cats throughout the game will grant you a Secret Note.
It is not required to interact with the cat again if you have approached it from a previous Exploration Phase.
Chapter 3b Battle and Strategies
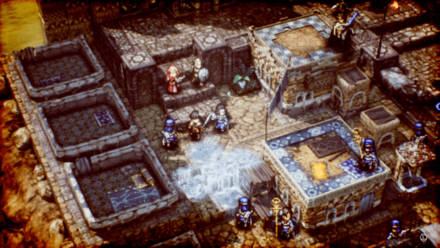
Apprehending the Rebels Map and Battle Information
| Recommended Level: 4 | Enemy Units: 9 | ||
| Weather: | Clear | Wind: | Breezy |
|---|---|---|---|
| Victory Conditions: | Defeat Plinius. | ||
| Defeat Conditions: | Lose all allied forces. | ||
| Battle Spoils: |
・HP Recovery Pellet 1 ・Large HP Recovery Pellet 1 |
||
Recommended Deployed Units
 Serenoa Serenoa Required |
 Roland Roland Reco. |
 Frederica Frederica Reco. |
 Geela Geela Reco. |
Maximum # of Deployed Units is 7
Battle Strategies
Use Benedict's Raging Beast on Exharme
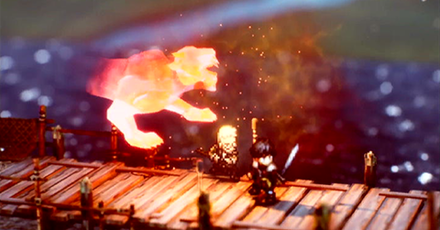
Exharme will actively pursue the fleeing Plinius. Since he is AI-controlled, you can help him take down Plinius easier by using Benedict's Raging Beast on him.
| Raise an ally's strength and magic attack for 3 turn(s). Power: - Range: 0-4 (Height -10 - +10) |
Take Advantage of Anna's Aptitudes
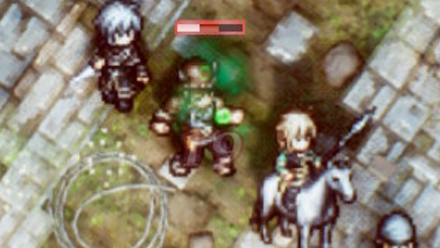
At this point in the game, Anna is one of your best offensive bets especially if she has unlocked Throw Poison. Her Act Twice ability can enable her to attack an enemy, and use her next movement session to chase after Plinius.
Roland on the other hand has the natural mobility to keep up with Exharme. With his mobility, he can easily set up back attacks and follow-up attacks with Exharme and Anna.
Exploit Weaknesses using Corentin
Corentin's Ice attacks are strong against the opposing rebels. By default, he wil be on the left side on the map with Exharme. Unlike Exharme, he is controlled by the player!
| Deal ice-type magic damage to a single enemy, have a chance to silence them for 2 turn(s), and freeze the ground. Power: 51 Range: 1-4 (Height -10 - +10) |
There will be mobs that will block your way from getting to Plinius, Corentin's Frosty Fetters will make quick work of these foes as the rebels are weak against it. Clear the mobs with Corentin so that Exharme and his supporting cast can easily take out Plinius!
Chapter 3b General Tips
Depending on Difficulty, Consider Rushing Plinius
The benefits of rushing Plinius is that you end the battle early, however, you might miss out on Kudos and spoils by not taking out foes. Additionally, if you are playing on higher difficulties, it might not be the best idea to rush Plinius as:
- Your units might clump up and get wiped by spells like Scorch if they do not have a surplus of levels.
- You miss out on spoils that help you on your next battles.
Depending on your playstyle and goals, (e.g. Do you want to run through the story as fast as possible, or are you willing to farm Mock Battles a lot?) choose whether it is more efficient for you to rush him or not.
Triangle Strategy Related Guides
Previous and Next Chapters
| Previous Chapter | Next Chapter |
|---|---|
| Chapter 3: Whither the River Flows |
Chapter 4: A New Dawn |

Comment
There's a timber near the npc between Geela and Roland
Author

Chapter 3b: A Land of Sand and Sun Story Walkthrough, Dialogue Choices, and Item Locations
Rankings
- We could not find the message board you were looking for.
Gaming News

![Monster Hunter Stories 3 Review [First Impressions] | Simply Rejuvenating](https://img.game8.co/4438641/2a31b7702bd70e78ec8efd24661dacda.jpeg/show)


![Monster Hunter Stories 3 Review [First Impressions] | Simply Rejuvenating](https://img.game8.co/4438641/2a31b7702bd70e78ec8efd24661dacda.jpeg/thumb)
Popular Games

Genshin Impact Walkthrough & Guides Wiki
Honkai: Star Rail Walkthrough & Guides Wiki
Umamusume: Pretty Derby Walkthrough & Guides Wiki
Pokemon Pokopia Walkthrough & Guides Wiki
Resident Evil Requiem (RE9) Walkthrough & Guides Wiki
Monster Hunter Wilds Walkthrough & Guides Wiki
Wuthering Waves Walkthrough & Guides Wiki
Arknights: Endfield Walkthrough & Guides Wiki
Pokemon FireRed and LeafGreen (FRLG) Walkthrough & Guides Wiki
Pokemon TCG Pocket (PTCGP) Strategies & Guides Wiki


Recommended Games
Diablo 4: Vessel of Hatred Walkthrough & Guides Wiki
Cyberpunk 2077: Ultimate Edition Walkthrough & Guides Wiki
Fire Emblem Heroes (FEH) Walkthrough & Guides Wiki
Yu-Gi-Oh! Master Duel Walkthrough & Guides Wiki
Super Smash Bros. Ultimate Walkthrough & Guides Wiki
Pokemon Brilliant Diamond and Shining Pearl (BDSP) Walkthrough & Guides Wiki
Elden Ring Shadow of the Erdtree Walkthrough & Guides Wiki
Monster Hunter World Walkthrough & Guides Wiki
The Legend of Zelda: Tears of the Kingdom Walkthrough & Guides Wiki
Persona 3 Reload Walkthrough & Guides Wiki


All rights reserved
©2022 SQUARE ENIX CO., LTD. All Rights Reserved. Nintendo Switch is a trademark of Nintendo. © Nintendo.
The copyrights of videos of games used in our content and other intellectual property rights belong to the provider of the game.
The contents we provide on this site were created personally by members of the Game8 editorial department.
We refuse the right to reuse or repost content taken without our permission such as data or images to other sites.
There's an hp recover pellet on the rooftop next to the fountain, above the merchant