Chapter 1: A Young Hawk Soars Story Walkthrough, Dialogue Choices, and Item Locations
★ Follow along with our Story Walkthrough.
┗ Want the Golden Route? Check out our Endings Guide!
┗ Strengthen Serenoa's Conviction as you pursue your path.
★ Learn about the best units to use in your battles!
┗ Find out how to recruit all of the characters to your party.
This is a walkthrough and guide for Chapter 1: A Young Hawk Soars in Triangle Strategy. Read on to learn more about the Chapter's objectives, dialogue choices, item locations, and battle strategies!
| Previous Chapter | Next Chapter |
|---|---|
| - | Chapter 2: To Arms, Brave Warriors |
List of Contents
Chapter 1 Objectives
A Young Hawk Soars Objectives
| A Young Hawk Soars Objectives | |
|---|---|
| 1 | Begin game and watch the story unfold through the opening scenes. |
| 2 | Afterwards, you will be brought to the World Map. Main Story unlocked: Wolffort Harbor |
| 3 | After the scene at Wolffort Harbor, you will engage in your first encounter! Battle unlocked: Beset by Brigands |
| 4 | You will be given dialogue choices before and after the battle. Refer to our guide to see possible responses! Dialogue Choice: Wolffort Harbor Brigands |
| 5 | After defeating the brigands, watch a cutscene and respond to Frederica with a dialogue choice. Afterwards, Frederica and Geela will join your party. Main Story unlocked: Castle Wolffort Side Story unlocked: Whiteholm Castle Encampment feature unlocked: Provisioner |
| 6 | Head back to Castle Wolffort to meet up with Anna and Erador. They will join your party after the cutscene. Main Story unlocked: Castle Wolffort |
| 7 | Proceed to Castle Wolffort once more to visit Serenoa's father Symon along with Frederica. End of Chapter 1: A Young Hawk Soars |
A Young Hawk Soars Dialogue Choices
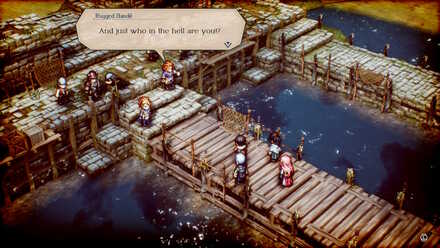
Wolffort Harbor Brigands
 Enlarge
| Prompt | Choices and Effects |
|---|---|
| And just who in the hell are you!? | Who are you, exactly? A band of common brigands, from the looks of it.
(Increases Utility) |
| You needn't know who. Surrender now and we can resolve this peacefully.
(Increases Morality) |
|
| You two bear a striking resemblance. Might you be father and daughter?
(Increases Liberty) |
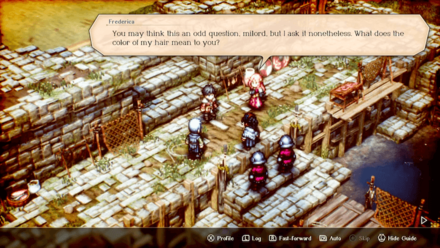
Talking to Frederica
 Enlarge
| Prompt | Choices and Effects |
|---|---|
| You may think this an odd question, milord, but I ask it nonetheless. What does the color of my hair mean to you? | If it is not too forward of me to say so, I find it most beautiful.
(Increases Liberty) |
| I find your courage more noteworthy than your appearance. You held your own out there on the battlefield.
(Increases Utility) |
|
| I think it nothing to be surprised about. We have Roselle living in our very demesne.
(Increases Morality) |
Chapter 1 Battle and Strategies
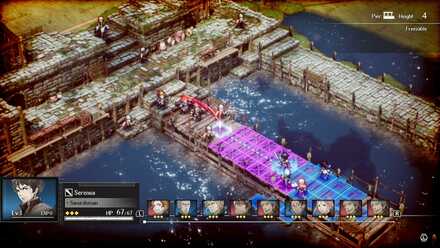
Beset by Brigands Map and Battle Information
 Enlarge
| Recommended Level: 2 | Enemy Units: 8 | ||
| Weather: | Clear | Wind: | Breezy |
|---|---|---|---|
| Victory Conditions: | Decimate the enemy forces. | ||
| Defeat Conditions: | Lose all allied forces. | ||
| Battle Spoils: |
・HP Recovery Pellet ・Large HP Recovery Pellet ・Iron |
||
Recommended Deployed Units
 Roland Roland Required |
 Serenoa Serenoa Required |
 Benedict Benedict Required |
 Geela Geela Required |
 Frederica Frederica Required |
Maximum # of Deployed Units is 5
Beset by Brigands Battle Strategies
Maximize Roland's Move and Attack Range

Roland can travel to distant tiles with the help of his steed. His expertise in wielding his lance allows him to damage up to 2 enemies in front of him. Use his aptitude to your advantage and take down multiple foes at once!
Use Benedict's Raging Blast to Buff Your Party
Having Benedict as an ally provides unwavering support to your team. His abilities buff your team, increasing your allies' strength and defenses.
It is recommended to use his skill Raging Blast to either Roland, Frederica, or Serenoa to increase their strength and magic attacks.
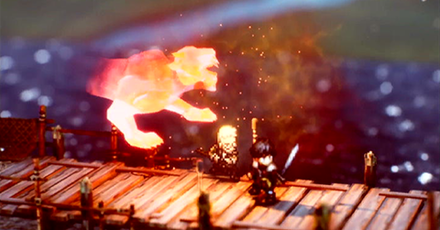
Attack Multiple Foes Using Frederica's Spells
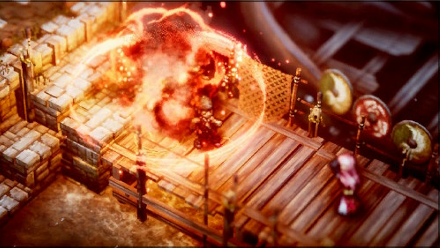
Frederica's spells can set flammable squares ablaze!
Frederica's spell Scorch is a handy move for this battle due to its attack range, allowing you to strike multiple foes in a single turn.
Be wary of the spell's TP Cost and only use it when you can hit multiple foes.
Chapter 1 General Tips
Understanding Positioning in Battle
Correct Positioning Deals Greater Damage
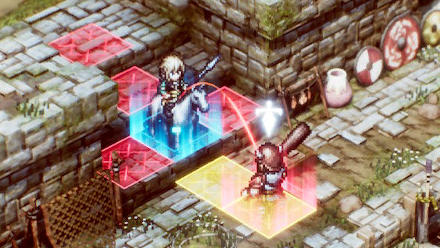
Roland on higher ground and maximizing his range!
Positioning plays a vital role when it comes to effectively dealing damage and maximizing your turns. Attacking from behind, executing follow-up attacks, and fighting on higher ground are recommended techniques to speed up battle!
Beginner's Combat Guide: Basics of Battle
Triangle Strategy Related Guides
Previous and Next Chapters
| Previous Chapter | Next Chapter |
|---|---|
| - | Chapter 2: To Arms, Brave Warriors |

Author

Chapter 1: A Young Hawk Soars Story Walkthrough, Dialogue Choices, and Item Locations
Rankings
- We could not find the message board you were looking for.
Gaming News


![Monster Hunter Stories 3 Review [First Impressions] | Simply Rejuvenating](https://img.game8.co/4438641/2a31b7702bd70e78ec8efd24661dacda.jpeg/thumb)
Popular Games

Genshin Impact Walkthrough & Guides Wiki
Honkai: Star Rail Walkthrough & Guides Wiki
Umamusume: Pretty Derby Walkthrough & Guides Wiki
Pokemon Pokopia Walkthrough & Guides Wiki
Resident Evil Requiem (RE9) Walkthrough & Guides Wiki
Monster Hunter Wilds Walkthrough & Guides Wiki
Wuthering Waves Walkthrough & Guides Wiki
Arknights: Endfield Walkthrough & Guides Wiki
Pokemon FireRed and LeafGreen (FRLG) Walkthrough & Guides Wiki
Pokemon TCG Pocket (PTCGP) Strategies & Guides Wiki


Recommended Games
Diablo 4: Vessel of Hatred Walkthrough & Guides Wiki
Cyberpunk 2077: Ultimate Edition Walkthrough & Guides Wiki
Fire Emblem Heroes (FEH) Walkthrough & Guides Wiki
Yu-Gi-Oh! Master Duel Walkthrough & Guides Wiki
Super Smash Bros. Ultimate Walkthrough & Guides Wiki
Pokemon Brilliant Diamond and Shining Pearl (BDSP) Walkthrough & Guides Wiki
Elden Ring Shadow of the Erdtree Walkthrough & Guides Wiki
Monster Hunter World Walkthrough & Guides Wiki
The Legend of Zelda: Tears of the Kingdom Walkthrough & Guides Wiki
Persona 3 Reload Walkthrough & Guides Wiki


All rights reserved
©2022 SQUARE ENIX CO., LTD. All Rights Reserved. Nintendo Switch is a trademark of Nintendo. © Nintendo.
The copyrights of videos of games used in our content and other intellectual property rights belong to the provider of the game.
The contents we provide on this site were created personally by members of the Game8 editorial department.
We refuse the right to reuse or repost content taken without our permission such as data or images to other sites.