Chapter 8a1: Sleep with One Eye Open Story Walkthrough, Dialogue Choices, and Item Locations
★ Follow along with our Story Walkthrough.
┗ Want the Golden Route? Check out our Endings Guide!
┗ Strengthen Serenoa's Conviction as you pursue your path.
★ Learn about the best units to use in your battles!
┗ Find out how to recruit all of the characters to your party.
This is a walkthrough and guide for Chapter 8a1: Sleep with One Eye Open in Triangle Strategy. Read on to learn more about the Chapter's objectives, dialogue choices, item locations, and battle strategies!
| Previous Chapter | Next Chapter |
|---|---|
| Chapter 8a: The Weather Vane |
Chapter 8a3: Light and Shadow |
Chapter 8a1 Objectives
Sleep with One Eye Open Objectives
| Sleep with One Eye Open Objectives | |
|---|---|
| 1 | The chapter opens with a quick cutscene before you get sent to the World Map. Main Story unlocked: Castle Wolffort Side Stories unlocked: Wolffort Harbor, Whiteholm Castle |
| 2 | Proceed to Castle Wolffort to hear new information from Anna. Main Story unlocked: Telliore Streets Side Stories unlocked: Wolffort Harbor, Whiteholm Castle |
| 3 | Proceed to Telliore Streets and prepare to survey the area. Exploration Phase unlocked: Telliore Streets |
| 4 | After surveying the area, be prepared for a battle against Silvio's army. Be sure to stock up on items and strengthen your party at the Encampment if needed. Main Story unlocked: Telliore Streets Side Story unlocked: Falkes Streets |
| 5 | Once you've made the necessary preparations, head to Telliore Streets and foil Telliore's plan! Battle unlocked: Betreyal Beneath the Tellioran Moon |
| 6 | Watch a quick cutscene after defeating Silvio's men. End of Chapter 8a1: Sleep with One Eye Open |
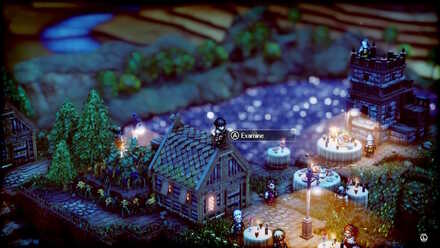
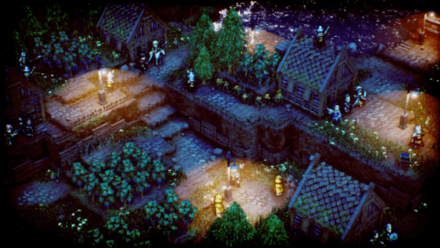
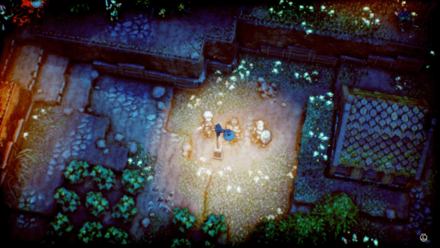
Chapter 8a1 Exploration Phase
Key Interactions
Anna Interaction
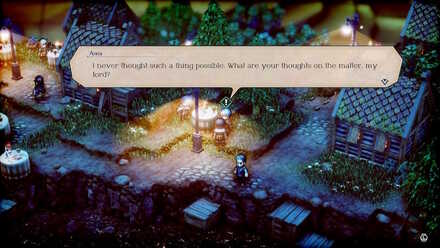
| Where to Find | In front of Hughette |
|---|---|
| Prompt | Choices and Effects |
| I never thought such a thing possible. What are your thoughts on the matter, my lord? | Betrayal is naught but another path toward victory. If it comes down to a fight, we must win.
(Increases Utility) |
| As lord of House Wolffort, I have no intention of running from a fight. But I would prefer to do so without needless bloodshed.
(Increases Morality) |
|
| This is the path House Telliore has chosen to walk. Likewise, we must continue down the one we have chosen.
(Increases Liberty) |
Tellioran Soldier Interaction
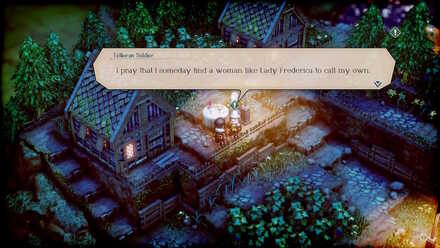
| Where to Find | By the table before heading to Rufus |
|---|---|
| Prompt | Choices and Effects |
| I pray that I someday find a woman like Lady Frederica to call my own. | You needn't worry. A kind soul such as yourself is bound to find a worthy companion in time.
(Increases Morality) |
| To gain something dear is both a blessing and a curse, for you now have something to lose. There are merits to living a bachelor's life.
(Increases Utility) |
|
| Some say marriage is a beginning; and others, and end. What say you?
(Increases Liberty) |
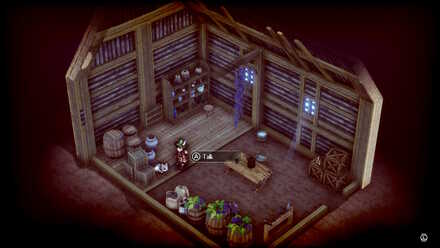
Notes Locations
| All Notes Locations | |
|---|---|
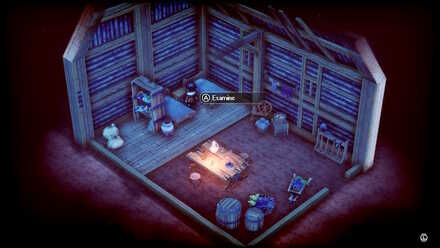 |
Marvels of Norzelia, Vol. 5 By the side table inside the house behind Anna |
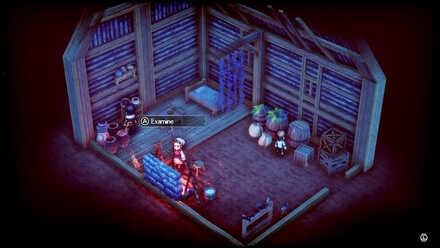 |
Salt and Fish By the vases inside the northeastermost house |
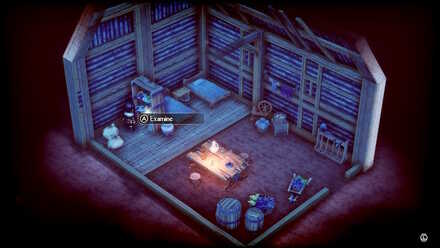 |
Marvels of Norzelia, Vol. 6 By the shelf inside the house next to Rufus |
Item Locations
| All Item Locations | |
|---|---|
 |
Iron Top of the house behind Benedict |
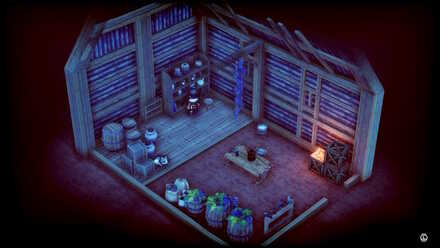 |
1100 Coin By the shelves inside the house behind Anna |
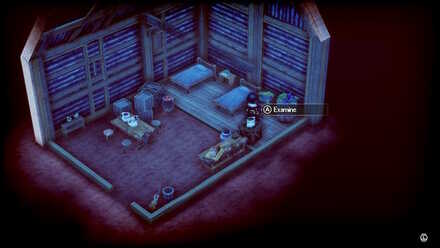 |
500 Coin By the planted barrels inside the house next to Rufus |
 |
Invigorating Spice By the small table behind Silvio |
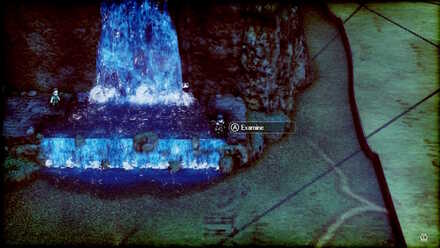 |
Ranged Icestone By the corner of the waterfall |
 |
Invigorating Spice By the planted barrels inside the house at the starting point |
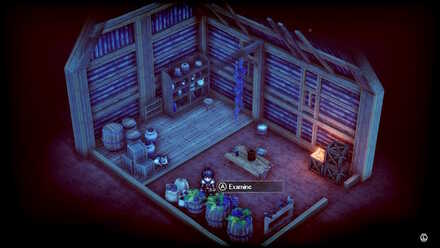
Cat Location
| Where to Find | In the house next to the vineyard. |
|---|
You will encounter a number of cats scattered across Norzelia throughout your adventure.
These cats can be found during Exploration Phases, and interacting with all of the cats throughout the game will grant you a Secret Note.
It is not required to interact with the cat again if you have approached it from a previous Exploration Phase.
Chapter 8a1 Battle and Strategies
Betreyal Beneath the Tellioran Moon Map and Battle Information
| Recommended Level: 12 | Enemy Units: 13 | ||
| Weather: | Clear | Wind: | Breezy |
|---|---|---|---|
| Victory Conditions: | Decimate the enemy forces. | ||
| Defeat Conditions: | Allow Roland to fall. | ||
| Battle Spoils: |
・HP Recovery Pellet x1 ・Iron x2 ・Quality Stone x1 ・Quality Timber x1 ・Quality Fiber x1 ・Spider Silk x1 ・Medal of Bravery x1 ・Ranged HP Recovery Pellet x1 ・Unprecise Spice x2 ・Precise Spice x2 |
||
Recommended Deployed Units
 Serenoa Serenoa Required |
 Roland Roland Required |
 Anna Anna Reco. |
 Hughette Hughette Reco. |
 Frederica Frederica Reco. |
 Medina Medina Reco. |
Maximum # of Deployed Units is 10
Battle Strategies
Use Shadowstitching Arrow on Rufus
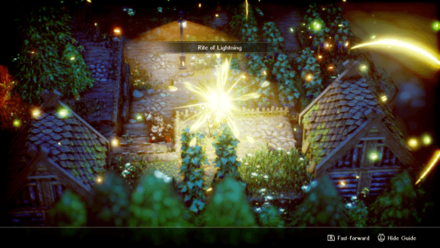
Compared to Avlora, Rufus is much easier to handle. He can be afflicted with status ailments like poison and immobility.
In addition, Rufus is also weaker to magic than when attacking him with physical attacks.
| Deal physical damage to an enemy, and have a chance to immobilize them for 2 turn(s). Power: 76 Range: 2-4 (Height -20 - +8) |
A great strategy would be to immobilize him using Hughette's Shadowstitching Arrow.
Once immbolized, mage units should start attacking him with spells from a safe distance.
Use Units with a HIgh Jump Stat
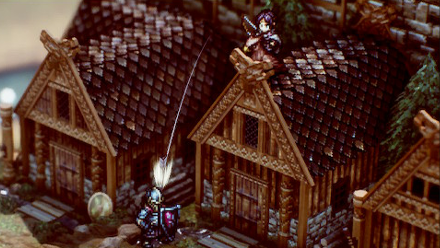
It's tough to move across the map considering that it is a cliffside. Adding high mobility units to this battle like Anna and Hughette is highly recommended.
Hughette is able to freely travel up and down the cliffs, which allows her able to support units on both sides of the map due to her Aptitude that expands her attack range when at a square of higher elevation.
Target Ranged Units First

Given the verticality of the map, it's much harder to engage in close combat.
The battle will go in favor of those with more ranged units like mages and archers.
Archers in this battle use fire-based attack, which makes Corentine worth bringing along due to his ice spells.
Keep Roland Away from Rufus
Rufus is a very strong physical attacker, and should he manage to take down Roland, you will lose immediately.
Since he is mostly accompanied by mages, there's little worry about follow-up attacks than if he heads up the map. Hence, it's best to keep him on the lower parts of the map.
Instead, Roland should focus on supporting the units furthest from him, on top of the cliff, where it is much safer.
Chapter 8a1 General Tips
Take Advantage of Status Changes

Unlike Avlora from the previous battle, Rufus is susceptible to status changes.
As such, try to use attacks that could immobilize, poison, or even blind him in order to prevent him from doing any substantial damage to your party — especially to Roland.
List of All Status Changes and Effects
Triangle Strategy Related Guides
Previous and Next Chapters
| Previous Chapter | Next Chapter |
|---|---|
| Chapter 8a: The Weather Vane |
Chapter 8a3: Light and Shadow |

Author

Chapter 8a1: Sleep with One Eye Open Story Walkthrough, Dialogue Choices, and Item Locations
Rankings
- We could not find the message board you were looking for.
Gaming News


![Monster Hunter Stories 3 Review [First Impressions] | Simply Rejuvenating](https://img.game8.co/4438641/2a31b7702bd70e78ec8efd24661dacda.jpeg/thumb)
Popular Games

Genshin Impact Walkthrough & Guides Wiki
Honkai: Star Rail Walkthrough & Guides Wiki
Umamusume: Pretty Derby Walkthrough & Guides Wiki
Pokemon Pokopia Walkthrough & Guides Wiki
Resident Evil Requiem (RE9) Walkthrough & Guides Wiki
Monster Hunter Wilds Walkthrough & Guides Wiki
Wuthering Waves Walkthrough & Guides Wiki
Arknights: Endfield Walkthrough & Guides Wiki
Pokemon FireRed and LeafGreen (FRLG) Walkthrough & Guides Wiki
Pokemon TCG Pocket (PTCGP) Strategies & Guides Wiki


Recommended Games
Diablo 4: Vessel of Hatred Walkthrough & Guides Wiki
Cyberpunk 2077: Ultimate Edition Walkthrough & Guides Wiki
Fire Emblem Heroes (FEH) Walkthrough & Guides Wiki
Yu-Gi-Oh! Master Duel Walkthrough & Guides Wiki
Super Smash Bros. Ultimate Walkthrough & Guides Wiki
Pokemon Brilliant Diamond and Shining Pearl (BDSP) Walkthrough & Guides Wiki
Elden Ring Shadow of the Erdtree Walkthrough & Guides Wiki
Monster Hunter World Walkthrough & Guides Wiki
The Legend of Zelda: Tears of the Kingdom Walkthrough & Guides Wiki
Persona 3 Reload Walkthrough & Guides Wiki


All rights reserved
©2022 SQUARE ENIX CO., LTD. All Rights Reserved. Nintendo Switch is a trademark of Nintendo. © Nintendo.
The copyrights of videos of games used in our content and other intellectual property rights belong to the provider of the game.
The contents we provide on this site were created personally by members of the Game8 editorial department.
We refuse the right to reuse or repost content taken without our permission such as data or images to other sites.