Chapter 2: To Arms, Brave Warriors Story Walkthrough, Dialogue Choices, and Item Locations
★ Follow along with our Story Walkthrough.
┗ Want the Golden Route? Check out our Endings Guide!
┗ Strengthen Serenoa's Conviction as you pursue your path.
★ Learn about the best units to use in your battles!
┗ Find out how to recruit all of the characters to your party.
This is a walkthrough and guide for Chapter 2: To Arms, Brave Warriors in Triangle Strategy. Read on to learn more about the Chapter's objectives, dialogue choices, item locations, and battle strategies!
| Previous Chapter | Next Chapter |
|---|---|
| Chapter 1: A Young Hawk Soars |
Chapter 3: Whither the River Flows |
Chapter 2 Objectives
To Arms, Brave Warriors Objectives
| To Arms, Brave Warriors Objectives | |
|---|---|
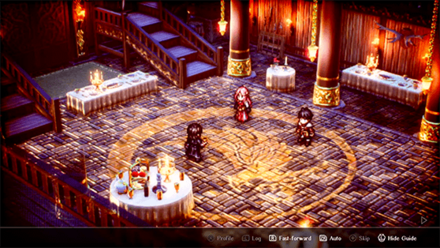
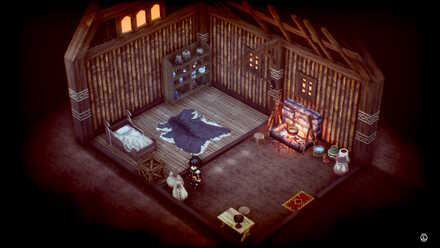
| 1 | The chapter starts with a quick cutscene. Afterwards, you will be sent to the World Map. Main Story unlocked: Castle Wolffort |
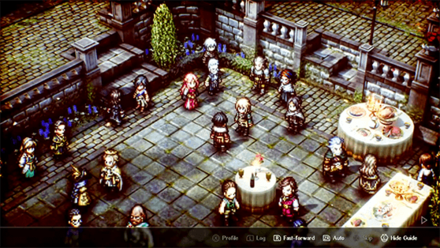
| 2 | Proceed to Castle Wolffort to explore and survey the area. Exploration Phase: Castle Wolffort |
| 3 | After ending the Exploration Phase, you will be sent to the World Map. Main Story unlocked: Castle Wolffort Side Story unlocked: Whiteholm Castle |
| 4 | Head to Castle Wolffort and speak with Dragan, Frederica's cousin. Dialogue Choice: Talking to Dragan |
| 5 | Watch a scene with Benedict and Symon. You will be sent to the World Map afterwards. Main Story unlocked: Castle Wolffort |
| 6 | Head to Castle Wolffort. Symon will entrust House Wolffort's lordship to Serenoa. |
| 7 | Afterwards, you will be sent once again to the World Map. Main Story unlocked: Whiteholm Castle Encampment feature unlocked: Smithy |
| 8 | Proceed to Whiteholm, Castle. Watch a quick cutscene and respond to Roland. Afterwards, Roland and Hughette will officially join your party. Dialogue Choice: Talking to Roland |
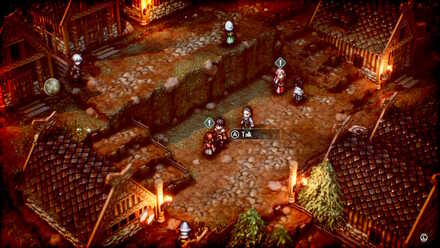
| 9 | Exploration Phase: Whitehold Castle Recommended Information to Get • The Captured Smuggler (Aesfrost Route) • The Ministry of Medicine (Hyzante Route) These Information can help dictate your route during the Voting Phase of Chapter 3. |
| 11 | You will be sent to the World Map afterwards. Make necessary preparations at the Encampment before heading to battle! Battle unlocked: The Tourney |
| 12 | After the battle, the story will continue and will determine a victor for the Tourney. End of Chapter 2: To Arms, Brave Warriors |
To Arms, Brave Warriors Dialogue Choices
Talking to Dragan
| Prompt | Choices and Effects |
|---|---|
| But what of you, my kin-to-be? How do you see our grand cooperative venture? | It is the first step towards true harmony among our three nations. I welcome it.
(Increases Morality) |
| It will benefit all nations involved. I see nothing wrong with that.
(Increases Utility) |
|
| It is impossible to understand each nation's motivations. I can't say whether this bodes well...
(Increases Liberty) |
Talking to Roland
| Prompt | Choices and Effects |
|---|---|
| You'll do your father proud, I'm sure. Unlike some of us... | Have more faith in yourself, my friend. You, too, shoulder the future of the kingdom, after all.
(Increases Morality) |
| This is no time for self-pity. A prince's subjects mustn't hear him talking that way.
(Increases Utility) |
|
| ...Come. Preparing for the tourney will take your mind off your worries.
(Increases Liberty) |
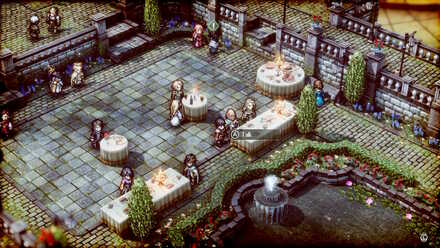
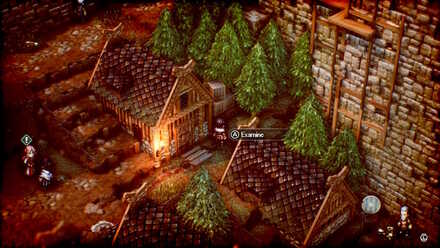
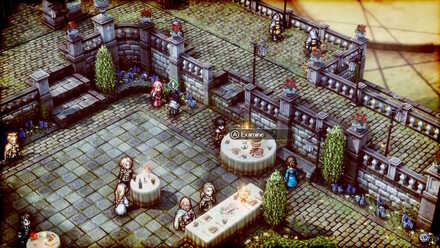
Chapter 2 Exploration Phase
Key Interactions
Child Interaction
| Where to Find | Center of the town |
|---|---|
| Prompt | Choices and Effects |
| We're playin' hide-and-seek till Da comes home. I need to find a place to hide, and quick! | Take care not to hurt yourself. Your father wouldn't want anything bad to happen to you.
(Increases Morality) |
| Ah, one of my favorite games. Barrels were always my favorite places to hide.
(Increases Liberty) |
|
| It takes a clever mind to hide. Perhaps you can use that cleverness to help your father when you're older.
(Increases Utility) |
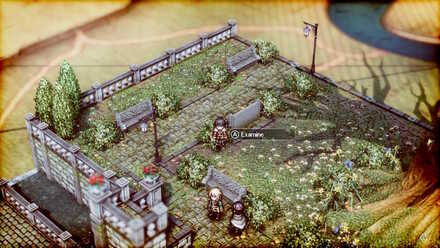
Frederica Interaction
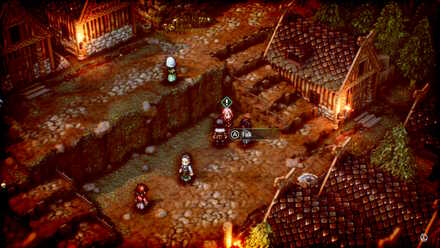
| Where to Find | Center of the town |
|---|---|
| Prompt | Choices and Effects |
| Still, I suppose this is a chance to become acquainted with my future home. How would you describe your town, Serenoa? | To know a town, you must take time to relish her company. That's what Erador told me, in perhaps more colorful words.
(Increases Morality) |
| It is the port at the center of commerce. A town built on taxes, but not at the expense of fair trade.
(Increases Utility) |
|
| Wolffort is nestled safely behind the castle walls. It is a town at peace, and sets an example for the rest of the kingdom.
(Increases Liberty) |
Benedict Interaction
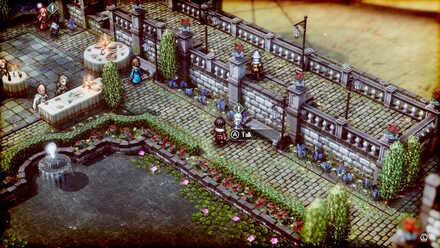
| Where to Find | By the fountain pool |
|---|---|
| Prompt | Choices and Effects |
| To what end do you believe this contest is being held? | It's a chance for our three nations to gather and celebrate. Although the battles may be bloodless, victory is sweet all the same.
(Increases Liberty) |
| In times of peace there are precious few chances to display martial prowess. I mean to remind people of House Wolffort's legacy.
(Increases Utility) |
|
| It may appear to be mere entertainment, but reputations are at stake. If we show weakness, then it will be noted by all in attendance.
(Increases Morality) |
Geela Interaction
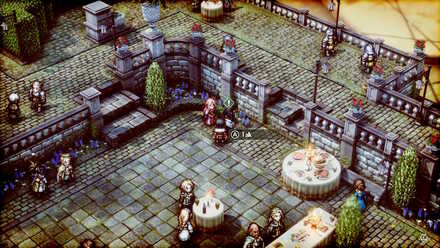
| Where to Find | Left of starting point |
|---|---|
| Prompt | Choices and Effects |
| Do you have a stratagem in mind for the tourney? | It may be but a tourney, but defeat will bring shame upon us. I intend to do whatever I must to win.
(Increases Utility) |
| Our house fights with honor. There shall be no tricks, but we will offer our opponents no quarter.
(Increases Morality) |
|
| You handled yourselves admirably when the bandits attacked. I expect your magic will be key to our victory.
(Increases Liberty) |
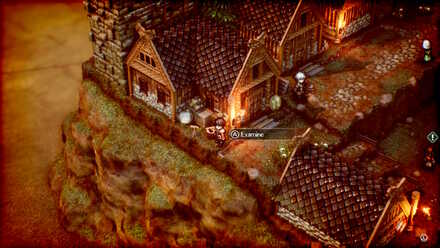
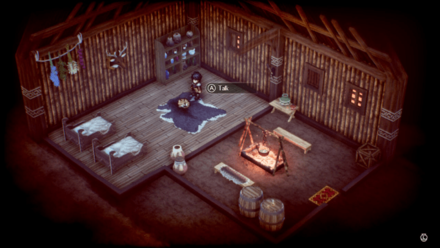
Information Locations
The Grand Duchy of Aesfrost
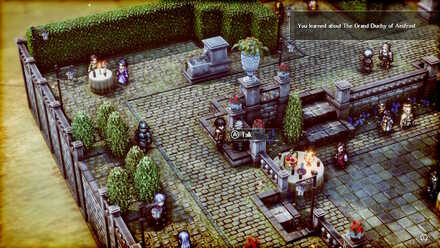
| Where to Find | Talk to Stout Hawkshield |
|---|
The Captured Smuggler
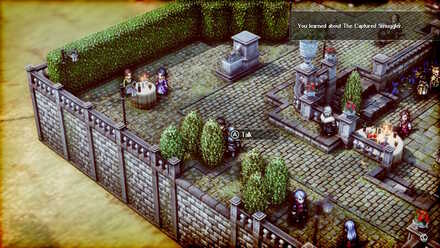
| Where to Find | Talk to the Aesfrosti Soldier behind Stout Hawkshield |
|---|
The Archives
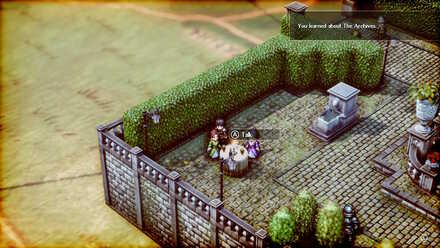
| Where to Find | Talk to the Glenbrook Noble in green near Stoud Hawkshield |
|---|
The Ice Mage
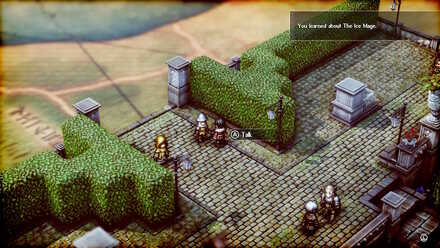
| Where to Find | Talk to the Glenbrook Soldier next to Erador and Anna |
|---|
The Holy State of Hyzante
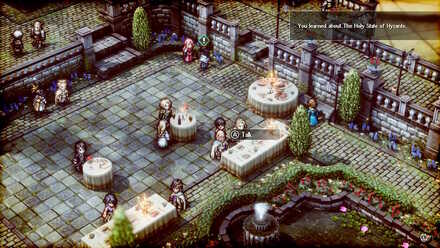
| Where to Find | Talk to Clarus |
|---|
The Ministry of Medicine
| Where to Find | Talk to Sorsley Ende |
|---|
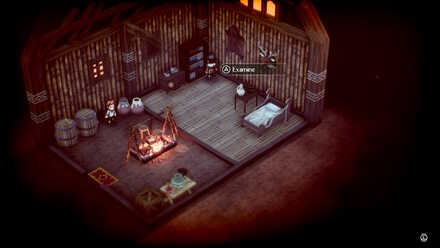
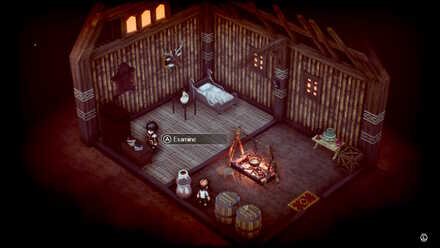
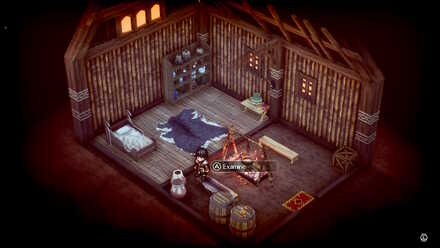
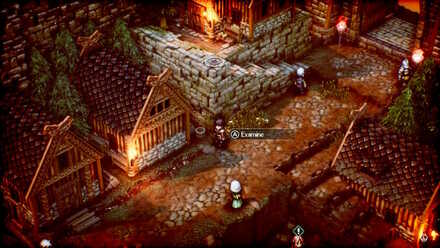
Notes Locations
| All Notes Locations | |
|---|---|
 |
Marvels of Norzelia, Vol. 12 By the shelf inside the house left of Anna |
 |
Marvels of Norzelia, Vol. 8 By the table inside the house left of Anna |
Item Locations
| All Item Locations | |
|---|---|
 |
HP Recovery Pellet Inside the house behind the Saltmonger |
 |
300 Coin Inside the house near Frederica and Geela |
 |
HP Recovery Pellet Tree next to the house near Frederica and Geela |
 |
HP Recovery Pellet By the stump next to Anna |
 |
HP Recovery Pellet Bucket behind stone steps |
 |
150 Coin By the bench next to the big tree |
 |
Sleep Recovery Pellet Table behind Geela |
Cat Location
Wolffort Demesne Cat
| Where to Find | In the house with a shield out front. |
|---|
Glenbrook Cat
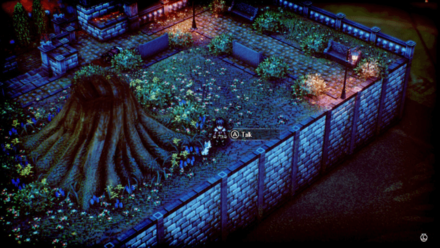
| Where to Find | Behind the large tree. |
|---|
You will encounter a number of cats scattered across Norzelia throughout your adventure.
These cats can be found during Exploration Phases, and interacting with all of the cats throughout the game will grant you a Secret Note.
It is not required to interact with the cat again if you have approached it from a previous Exploration Phase.
Chapter 2 Battle and Strategies
The Tourney Map and Battle Information
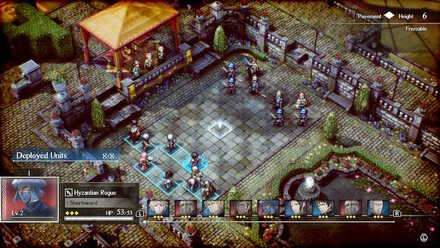
| Recommended Level: 3 | Enemy Units: 8 | ||
| Weather: | Clear | Wind: | Breezy |
|---|---|---|---|
| Victory Conditions: | Decimate the enemy forces. | ||
| Defeat Conditions: | Lose all allied forces. | ||
| Battle Spoils: |
・HP Recovery Pellet x1 ・Large HP Recovery Pellet x1 ・HP Ring x1 |
||
Recommended Deployed Units
 Serenoa Serenoa Required |
 Roland Roland Required |
 Hughette Hughette |
 Benedict Benedict |
 Frederica Frederica |
 Geela Geela |
 Anna Anna |
 Erador Erador |
Maximum # of Deployed Units is 8
Battle Strategies
Attack Twice Using Anna's Aptitude

Anna's aptitude allows her to take two actions every turn and conceal her presence from enemy units. Strategically place her on a tile where she can make the most out of her aptitude.
Get Anna to deal more damage by using Benedict's skill Raging Beast increase her strength!
Use Hughette's Blinding Arrow Attack

Hughette's attack Blinding Arrow, has a chance of blinding an enemy for three turns.
This move is recommended against Hyzantian Pikemen and Sorsley!
Watch Out for Exharme's Debuffs
| Deal physical damage to a single enemy, and lower their strength and physical defense for 3 turn(s). Power: 45 Range: 1-1 (Height -2 - +2) |
Exharme's attack Sandstorm debuffs your unit's strength and physical defense.
It is recommended to take him down first by taking advantage of Roland's Movement speed and Range!
Don't Let Sorsley's Attacks Put You to Sleep
| Deal physical damage to an enemy, and have a chance to put them to sleep for 2 turn(s). Power: 21 Range: 1-1 (Height -2 - +2) |
Sorsley's attack Slumber Stab can put your units to sleep, making that unit lose two turns and be susceptible to multiple attacks.
Once you get close to Sorsley, attack him using Serenoa's skill Delaying Strike to prevent him from unleashing the sleeping attack!
Chapter 2 General Tips
Familiarize Yourself With Status Changes
This battle introduces Status Changes, starting with Sleep, Blindness, and Act Again.
These conditions can have either a positive or negative effect to your party as well as your enemies.
Learning how these Status Changes operate will work to your advantage as you progress through the story!
List of All Status Changes and Effects
Take Advantage of Unit Positioning
Correct Positioning Maximizes Turns
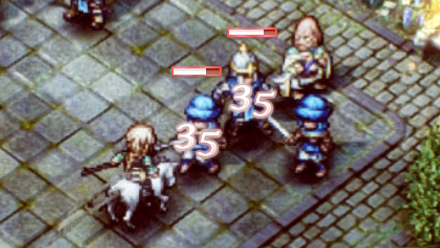
Roland simultaneously attacks two units with his spear!
Positioning plays a vital role when it comes to effectively dealing damage and maximizing your turns. Attacking from behind, executing follow-up attacks, and fighting on higher ground are recommended techniques to speed up battle!
It is also worth considering the range of your units, both in terms of Movement and Attack.
Beginner's Combat Guide: Basics of Battle
Triangle Strategy Related Guides
Previous and Next Chapters
| Previous Chapter | Next Chapter |
|---|---|
| Chapter 1: A Young Hawk Soars |
Chapter 3: Whither the River Flows |

Author

Chapter 2: To Arms, Brave Warriors Story Walkthrough, Dialogue Choices, and Item Locations
Rankings
- We could not find the message board you were looking for.
Gaming News


![Monster Hunter Stories 3 Review [First Impressions] | Simply Rejuvenating](https://img.game8.co/4438641/2a31b7702bd70e78ec8efd24661dacda.jpeg/thumb)
Popular Games

Genshin Impact Walkthrough & Guides Wiki
Honkai: Star Rail Walkthrough & Guides Wiki
Umamusume: Pretty Derby Walkthrough & Guides Wiki
Pokemon Pokopia Walkthrough & Guides Wiki
Resident Evil Requiem (RE9) Walkthrough & Guides Wiki
Monster Hunter Wilds Walkthrough & Guides Wiki
Wuthering Waves Walkthrough & Guides Wiki
Arknights: Endfield Walkthrough & Guides Wiki
Pokemon FireRed and LeafGreen (FRLG) Walkthrough & Guides Wiki
Pokemon TCG Pocket (PTCGP) Strategies & Guides Wiki


Recommended Games
Diablo 4: Vessel of Hatred Walkthrough & Guides Wiki
Cyberpunk 2077: Ultimate Edition Walkthrough & Guides Wiki
Fire Emblem Heroes (FEH) Walkthrough & Guides Wiki
Yu-Gi-Oh! Master Duel Walkthrough & Guides Wiki
Super Smash Bros. Ultimate Walkthrough & Guides Wiki
Pokemon Brilliant Diamond and Shining Pearl (BDSP) Walkthrough & Guides Wiki
Elden Ring Shadow of the Erdtree Walkthrough & Guides Wiki
Monster Hunter World Walkthrough & Guides Wiki
The Legend of Zelda: Tears of the Kingdom Walkthrough & Guides Wiki
Persona 3 Reload Walkthrough & Guides Wiki


All rights reserved
©2022 SQUARE ENIX CO., LTD. All Rights Reserved. Nintendo Switch is a trademark of Nintendo. © Nintendo.
The copyrights of videos of games used in our content and other intellectual property rights belong to the provider of the game.
The contents we provide on this site were created personally by members of the Game8 editorial department.
We refuse the right to reuse or repost content taken without our permission such as data or images to other sites.