Chapter 7a: Not a Word, My Friend Story Walkthrough, Dialogue Choices, and Item Locations
★ Follow along with our Story Walkthrough.
┗ Want the Golden Route? Check out our Endings Guide!
┗ Strengthen Serenoa's Conviction as you pursue your path.
★ Learn about the best units to use in your battles!
┗ Find out how to recruit all of the characters to your party.

This is a walkthrough and guide for Chapter 7a: Not a Word, My Friend in Triangle Strategy. Read on to learn more about the Chapter's objectives, dialogue choices, item locations, and battle strategies!
| Previous Chapter | Next Chapter |
|---|---|
| Chapter 7: A Soul Upon the Scales |
Chapter 8a: The Weather Vane |
Chapter 7a Objectives
Not a Word, My Friend Objectives
| Not a Word, My Friend Objectives | |
|---|---|
| 1 | The chapter begins with Gustadolph receiving a letter from Castle Wolffort stating that they refuse to surrender Prince Roland to the Aesfrosti. |
| 2 | After Gustadolph asks his men to send a message back to Castle Wolffort, you will be sent to the World Map. Main Story unlocked: Castle Wolffort Side Stories unlocked: Telliore Streets, Whiteholm Castle, Falkes Streets |
| 3 | Head to Castle Wolffort and receive the news that General Avlora has got Castle Wolffort surrounded by Aesfrosti soldiers. Main Story unlocked: Wolffort Streets |
| 4 | Proceed to Wolffort Streets, watch a cutscene, and prepare for an Exploration Phase. Exploration Phase unlocked: Wolffort Streets |
| * | Golden Route Ending Requirement If you want to get the Golden Route ending, be sure not to use the Hawk Statuettes in battle. Using it, whether deliberately or on accident, will lock you out of the route. |
| 5 | Should you opt to use the Hawk Statuettes, you can talk to Hughette and she will mention that another Hawk Statuette can be set up someone in the town for leverage. |
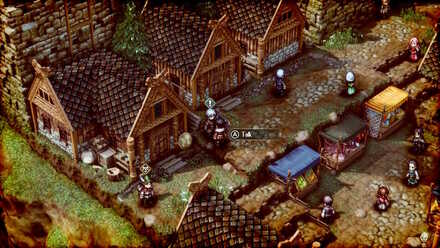
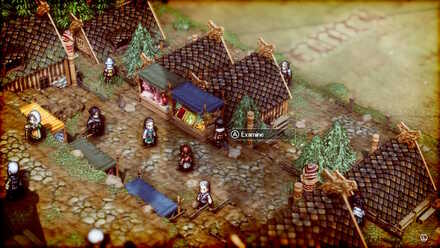
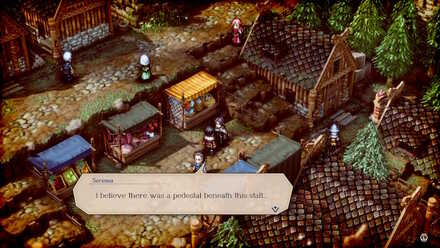
| 6 | Have Serenoa talk to the male Wolffort townsperson at the marketplace, and he will help clear the stalls for the Hawk Statuette. |
| 7 | End Exploration Phase, head to the World Map and prepare for battle. Main Story unlocked: Wolffort Streets |
| 8 | Before moving on, it is highly recommended to train and buy items first at the Encampment. The succeeding battle may prove to be difficult, and it is better to at least be above the recommended level of 11. |
| 9 | Once you have made the necessary preparations for the battle, proceed to Wolffort Streets and face General Avlora. Battle unlocked: General Avlora's Assault Golden Route Ending Tip: It is highly recommended to save before you head to battle in case you activate the Hawk Statuette Traps by accident. |
| 10 | After failing to infiltrate Castle Wolffort, General Avlora and her army retreats and the victory goes to House Wolffort. Main Story unlocked: Castle Wolffort Side Stories unlocked: Citadel of the Sands, Falkes Streets, Telliore Streets |
| 11 | Once back at the World Map, be sure to visit the Encampment and promote a Recruit unit to Veteran class using the Medal of Bravery spoil from the previous battle. Class Promotion Guide: How to Get Stronger Classes |
| 12 | Afterwards, head back to Castle Wolffort and see how Serenoa and the others are doing after a tough battle. End of Chapter 7, Part 2a: Not a Word, My Friend |
Chapter 7a Exploration Phase
Key Interactions
Anna Interaction
| Where to Find | Talk to Anna |
|---|---|
| Prompt | Choices and Effects |
| It will take many years to rebuild the town. Innocent people will suffer. | I will offer them due compensation if we triumph. If we fail, then all was lost from the start.
(Increases Utility) |
| Prince Roland is my friend. I must protect him, come what may.
(Increases Liberty) |
|
| We must put down any threat to our demesne and our people.
(Increases Morality) |
Roland Interaction
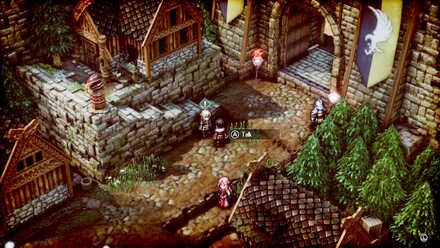
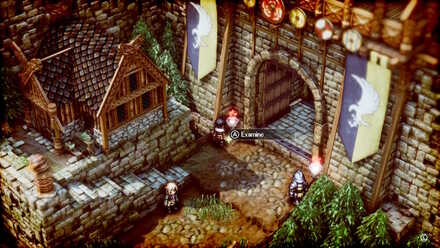
| Where to Find | In front of the gate to Castle Wolffort |
|---|---|
| Prompt | Choices and Effects |
| She killed them all, Serenoa! I must avenge them with my own hand! | I understand how you feel, but now is not the time for revenge.
(Increases Morality) |
| Then I'll not stand in your way. Avlora is yours.
(Increases Liberty) |
|
| Pray calm yourself, Roland. You needn't fight this battle alone - let us aid you.
(Increases Utility) |
Information Locations
Lord Silvio's Loyalty
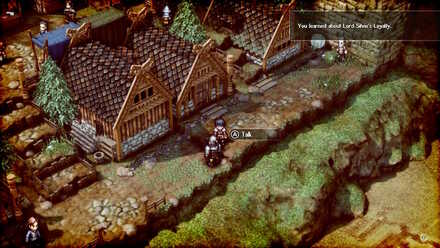
| Where to Find | Talk to Erador |
|---|
Glenbrook's Three High Houses
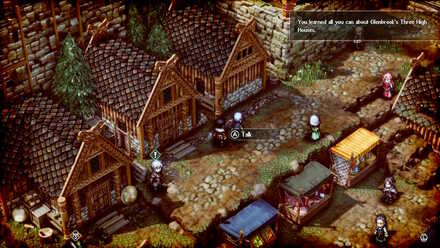
| Where to Find | Talk to Roland |
|---|
Item Locations
| All Item Locations | |
|---|---|
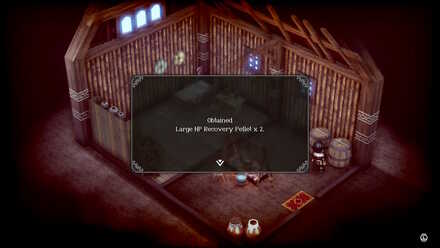 |
Large Recovery Pellet By the barrels inside the house in front of Erador |
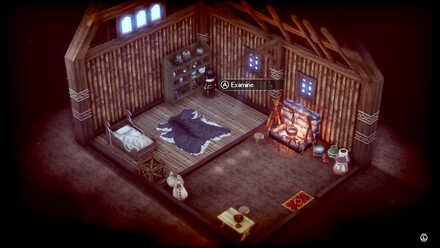 |
Red Scarf By the shelves inside the house behind Hughette |
 |
400 Coin Directly ahead of Geela |
 |
1000 Coin By the table with a vase inside the house right of Anna |
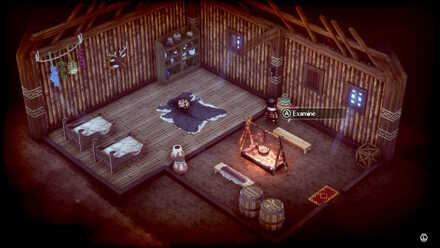
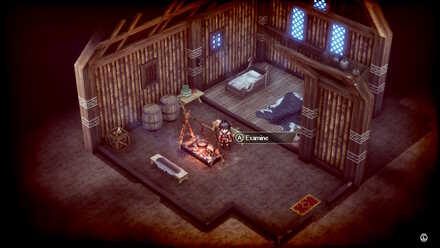 |
Firestone By the pot inside the house behind Roland |
 |
Firestone By the torch left of Roland |
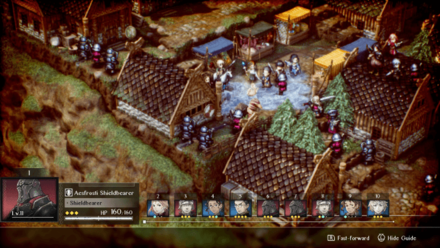
Cat Location
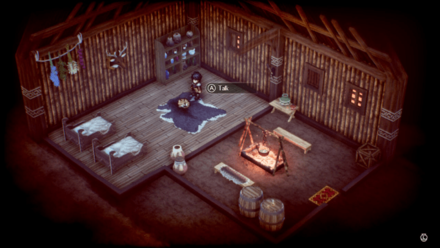
| Where to Find | In the house with a shield out front. |
|---|
You will encounter a number of cats scattered across Norzelia throughout your adventure.
These cats can be found during Exploration Phases, and interacting with all of the cats throughout the game will grant you a Secret Note.
It is not required to interact with the cat again if you have approached it from a previous Exploration Phase.
Chapter 7a Battle and Strategies
General Avlora's Assault Map and Battle Information
| Recommended Level: 11 | Enemy Units: 9 | ||
| Weather: | Clear | Wind: | Breezy |
|---|---|---|---|
| Victory Conditions: | Decimate the enemy forces. | ||
| Defeat Conditions: | Lose all allied forces. | ||
| Battle Spoils: |
・Large HP Recovery Pellet x1 ・Stone x5 ・Timber x1 ・Fiber x1 ・Quality Iron x1 ・Quality Stone x1 ・Silver x1 ・Dewarding Spice x4 ・Medal of Bravery x1 |
||
Recommended Deployed Units
 Serenoa Serenoa Required |
 Frederica Frederica Reco. |
 Anna Anna Reco. |
 Geela Geela Reco. |
 Medina Medina Reco. |
 Jens Jens Reco. |
Maximum # of Deployed Units is 10
Battle Strategies
Form Up Adjacent to Avlora
Most of the enemies, along with ther reinforcements will come from the side nearest to Avlora.
The second regiment of reinforcements in particular can be held up beside the totem poles.
When using choke points, the best units to use mages with are of effect spells, archers from above, and Roland's spear which can hit two enemies at the same time.
The map will allow players to deploy units on the lefthand side of the map. However, most of the battles are done elsewhere.
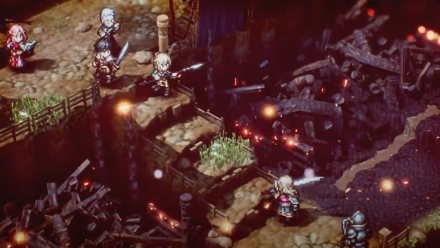
Capture the Rooftops
One the keys to winning this battle is to not let enemies control the rooftops. Avlora has many archer units that when alone can be the start of many follow-up attacks.
It is highly recommended to control the rooftops in order to rain down spells and arrows from a safe distance!
Gang Up on Avlora
Avlora is one of the strongest bosses in the game so far. She can one-shot units given the right opportunity. She also wears the Amulet of Immunity, which protects her from all status ailments.
Limiting the range of Avlora's movements is key in order to win this battle. The goal is to get her to barely do anything so in order to lessen potential casualties.
It is recommended to have heavy-hitters like Serenoa and Roland to whittle down Avlora's health, while having tanks like Erador holding the chokepoint.
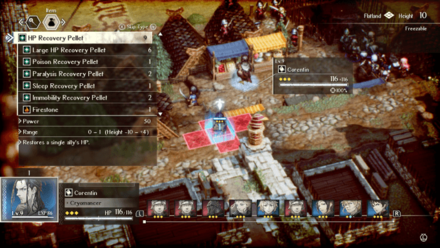
Bring Lots of HP Recovery Pellets

Compared to preceeding battles with reinforcements, this is the first time where players are expected to defeat all enemy units.
It is recommended to stock up on HP Recovery Pellets as you can. Avlora by herself will probably make players consume a lot as she is strong.
Use the Hawk Statuettes if Youre Not Going for the Golden Route Ending
For the most part, timing these traps can be quite difficult. Enemies barely walk on its effective range, but can be devastating when used correctly.
For players trying to level up, however, it may not be the best choice as there's little experience to receive.
It is only recommended to use these Hawk Statuette traps if you're not going for the Golden Route Ending.
Chapter 7a General Tips
Golden Route Ending Requirement
In order to get a chance to unlock the Golden Route ending, it is completely required not to use the Hawk Statuettes in battle.
Using it, whether deliberately or on accident, will lock you out of the route.
It is a must to save your game before fighting Avlora and her troops.
How to Get the Golden Route | Endings Guide
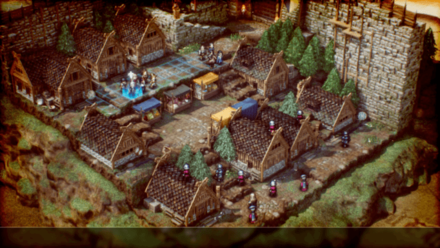
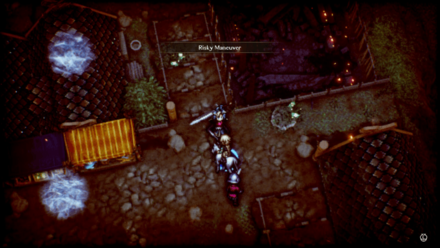
Set Up Another Hawk Statuette
During the Exploration Phase, you will notice Hawk Statuettes spread out across the Wolffort Streets.
Using these in battle can deal massive damage. However, its range albeit wide, is fixed, and if no enemy crosses that area, then it is not worth using up a turn to set up.
However, you can set up another statuette conveniently placed at the marketplace by talking to Hughette. She will tell you that there can be another trap set up should the marketplace be cleared.
This can be accomplished by talking to the male Wolffort townsperson at the marketplace. Serenoa will convince him to pack up their stalls to prevent the loss of their business.
Triangle Strategy Related Guides
Previous and Next Chapters
| Previous Chapter | Next Chapter |
|---|---|
| Chapter 7: A Soul Upon the Scales |
Chapter 8a: The Weather Vane |

Author

Chapter 7a: Not a Word, My Friend Story Walkthrough, Dialogue Choices, and Item Locations
Rankings
- We could not find the message board you were looking for.
Gaming News


![Monster Hunter Stories 3 Review [First Impressions] | Simply Rejuvenating](https://img.game8.co/4438641/2a31b7702bd70e78ec8efd24661dacda.jpeg/thumb)
Popular Games

Genshin Impact Walkthrough & Guides Wiki
Honkai: Star Rail Walkthrough & Guides Wiki
Umamusume: Pretty Derby Walkthrough & Guides Wiki
Pokemon Pokopia Walkthrough & Guides Wiki
Resident Evil Requiem (RE9) Walkthrough & Guides Wiki
Monster Hunter Wilds Walkthrough & Guides Wiki
Wuthering Waves Walkthrough & Guides Wiki
Arknights: Endfield Walkthrough & Guides Wiki
Pokemon FireRed and LeafGreen (FRLG) Walkthrough & Guides Wiki
Pokemon TCG Pocket (PTCGP) Strategies & Guides Wiki


Recommended Games
Diablo 4: Vessel of Hatred Walkthrough & Guides Wiki
Cyberpunk 2077: Ultimate Edition Walkthrough & Guides Wiki
Fire Emblem Heroes (FEH) Walkthrough & Guides Wiki
Yu-Gi-Oh! Master Duel Walkthrough & Guides Wiki
Super Smash Bros. Ultimate Walkthrough & Guides Wiki
Pokemon Brilliant Diamond and Shining Pearl (BDSP) Walkthrough & Guides Wiki
Elden Ring Shadow of the Erdtree Walkthrough & Guides Wiki
Monster Hunter World Walkthrough & Guides Wiki
The Legend of Zelda: Tears of the Kingdom Walkthrough & Guides Wiki
Persona 3 Reload Walkthrough & Guides Wiki


All rights reserved
©2022 SQUARE ENIX CO., LTD. All Rights Reserved. Nintendo Switch is a trademark of Nintendo. © Nintendo.
The copyrights of videos of games used in our content and other intellectual property rights belong to the provider of the game.
The contents we provide on this site were created personally by members of the Game8 editorial department.
We refuse the right to reuse or repost content taken without our permission such as data or images to other sites.