Chapter 4: A New Dawn Story Walkthrough, Dialogue Choices, and Item Locations
★ Follow along with our Story Walkthrough.
┗ Want the Golden Route? Check out our Endings Guide!
┗ Strengthen Serenoa's Conviction as you pursue your path.
★ Learn about the best units to use in your battles!
┗ Find out how to recruit all of the characters to your party.

This is a walkthrough and guide for Chapter 4: A New Dawn in Triangle Strategy. Read on to learn more about the Chapter's objectives, dialogue choices, item locations, and battle strategies!
| Previous Chapter | Next Chapter |
|---|---|
| Chapter 3a: A Land of Snow and Ice (Aesfrost Route) Chapter 3b: A Land of Sand and Sun (Hyzante Route) |
Chapter 5: Encroaching Darkness |
Chapter 4 Objectives
A New Dawn Objectives
| A New Dawn Objectives | |
|---|---|
| 1 | The Chapter begins with a cutscene showing Dragan at the Grand Norzelian Mines. |
| 2 | Meanwhile at House Wolffort, preparations are being settled for Serenoa and Frederica's wedding. |
| 3 | After the cutcene, you will be sent to the World Map. Main Story unlocked: Rosellan Village |
| 4 | Head to Rosellan Village and speak with Jerrom. Exploration Phase unlocked: Rosellan Village |
| 5 | After the Exploration Phase, watch a cutscene of King Regna and Roland talking. |
| 6 | Afterwards, the scene returns to Dragan and his investigation at the Grand Norzelian Mines. Dragan's message will be sent to Gustadolph right after. |
| 7 | After the cutscene, you will be sent to the World Map. Main Story unlocked: Rosellan Village |
| 8 | Head back to Rosellan Village to wrap up Serenoa and Frederica's wedding preparation. |
| 9 | After the cutscene, you will be sent to the World Map. Exploration Phase unlocked: Grand Norzelian Mines |
| 10 | After the Exploration Phase, you will be sent to the World Map once again. Make sure to drop by the Encampment to prepare for a battle! Battle unlocked: Defending Dragan |
| 11 | Watch the cutscene after clearing the battle. Afterwards, you will be informed that Whiteholm Castle is under attack. End of Chapter 4: A New Dawn |
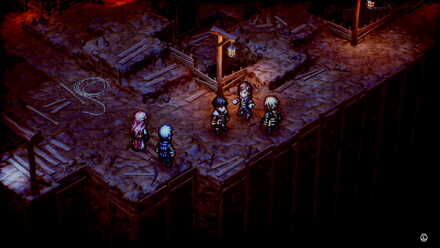
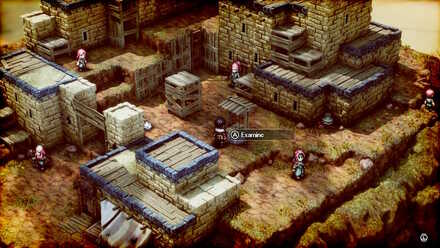
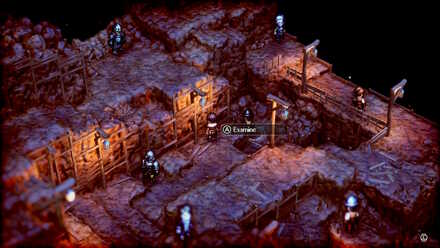
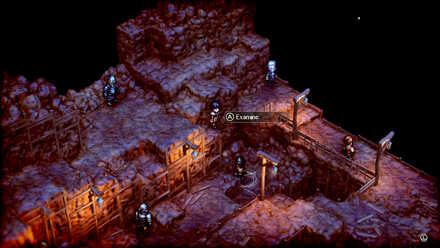
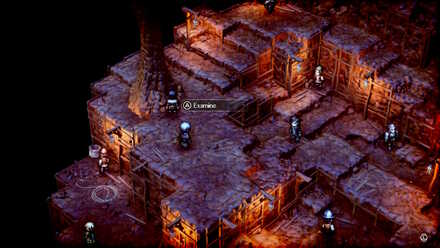
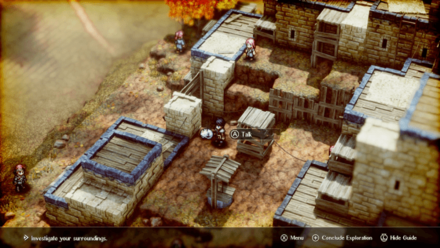
Chapter 4 Exploration Phase
Key Interactions
Child Interaction
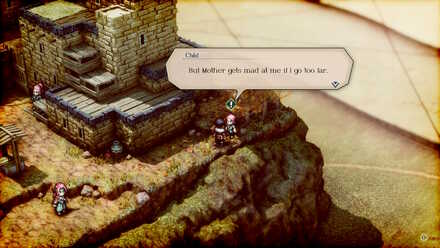
| Where to Find | Northeast corner upon entering the village entrance |
|---|---|
| Prompt | Choices and Effects |
| But Mother gets mad at me if I go too far. | You'll be able to venture further afield when you're older. And when that day comes, I'll show you both around the demesne myself.
(Increases Liberty) |
| Ah, but there's plenty of fun to be had here! I'm sure your mother would be pleased if you took up hunting or fishing.
(Increases Utility) |
|
| That's because you're precious to her. You'd do well to heed her words.
(Increases Morality) |
Elder Interaction
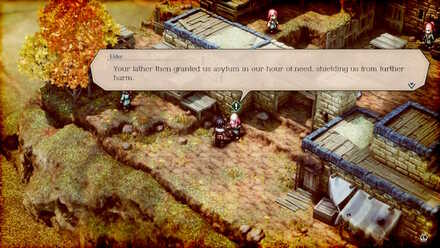
| Where to Find | Rosellan Village Entrance |
|---|---|
| Prompt | Choices and Effects |
| Your father then granted us asylum in our hour of need, shielding us from further harm. | I would have done the same. We have a duty to help those in need.
(Increases Morality) |
| I pray the day soon comes when you no longer require protection, and are free to live your lives unfettered.
(Increases Liberty) |
|
| And I intend to honor that. Let us work together and make this land a prosperous one for your people.
(Increases Utility) |
Benedict Interaction
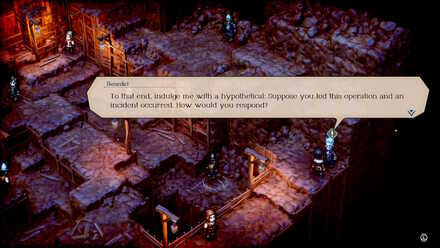
| Where to Find | Walk straight east of Geela |
|---|---|
| Prompt | Choices and Effects |
| To that end, indulge me with a hypothetical: Suppose you led this operation and an incident occurred. How would you respond? | Seeing as it is a joint accord, I would resolve the matter peaceably with Hyzante and Aesfrost's involvement.
(Increases Utility) |
| I would hear of the problems firsthand from the miners themselves. Issuing orders blindly from above leads to chaos.
(Increases Liberty) |
|
| I would order an investigation into the cause, and find the party or parties responsible. There must be no cause for bad blood between our nations.
(Increases Morality) |
Information Locations
Serenoa's Duty
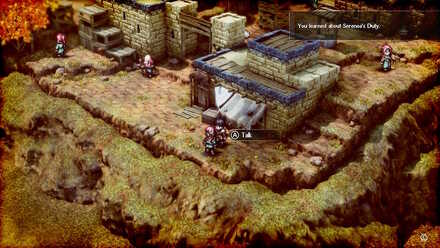
| Where to Find | East of starting position |
|---|
The Roselle in the Wolffort Demense
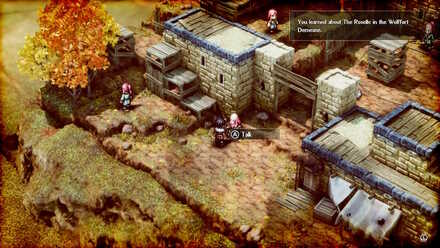
| Where to Find | Immediately unlocked after talking to the village elder |
|---|
Svarog Aesfrost
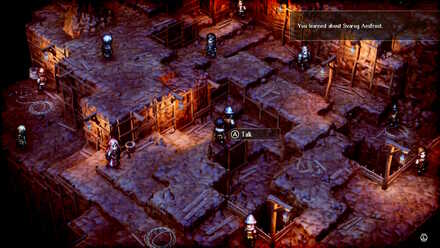
| Where to Find | Talk to the Aesfrosti Miner left of Frederica |
|---|
Notes Locations
| All Notes Locations | |
|---|---|
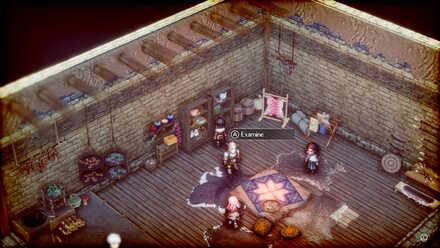 |
Marvels of Norzelia, Vol. 10 By the bookshelf behind Erador inside the house east of starting point |
 |
Mining Schedule Behind Anna |
 |
The Power of Salt Given by Dragan before the second Exploration Phase |
Item Locations
| All Item Locations | |
|---|---|
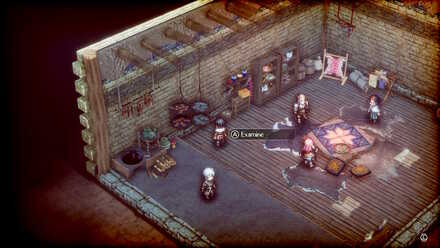 |
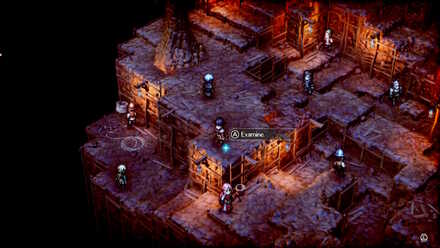
300 Coin Behind Anna inside the house east of the starting point |
 |
HP Recovery Pellet Examine the well |
 |
HP Recovery Pellet By the window left of where the Child is facing |
 |
450 Coin By the lamp in front of Erador |
 |
Vanguard Scarf In front of the Aesfrosti Soldier guarding the tunnel |
 |
Stone Left of Anna |
 |
Large Recovery Pellet In front of Roland |
Cat Location
Rosellan Village
| Where to Find | In between the village entrance and the front of the Elder's House. |
|---|
You will encounter a number of cats scattered across Norzelia throughout your adventure.
These cats can be found during Exploration Phases, and interacting with all of the cats throughout the game will grant you a Secret Note.
It is not required to interact with the cat again if you have approached it from a previous Exploration Phase.
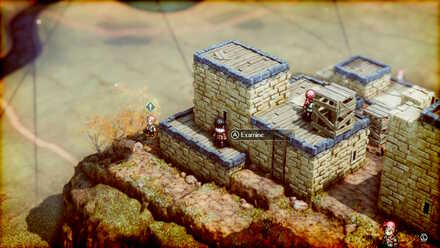
Chapter 4 Battle and Strategies
Defending Dragan Map and Battle Information
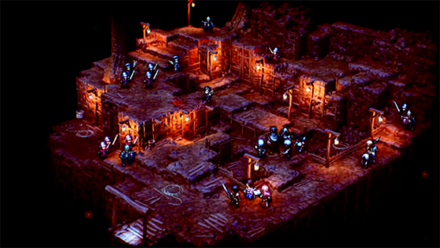
| Recommended Level: 5 | Enemy Units: 13 | ||
| Weather: | - | Wind: | - |
|---|---|---|---|
| Victory Conditions: | Decimate the enemy forces. | ||
| Defeat Conditions: | Allow Dragan to fall. | ||
| Battle Spoils: |
・HP Recovery Pellet x2 ・Iron x2 ・Stone x1 ・Uninvigorating Spice x1 |
||
Recommended Deployed Units
 Serenoa Serenoa Required |
 Erador Erador Reco. |
 Geela Geela Reco. |
 Anna Anna Reco. |
 Hughette Hughette Reco. |
 Corentin Corentin Reco. |
Maximum # of Deployed Units is 9
Battle Strategies
Position Units with High Movement Closest to Dragan
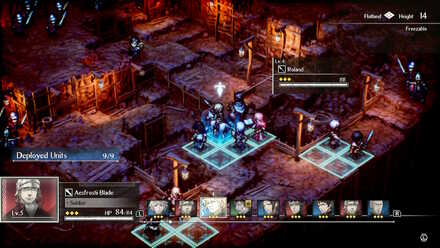
Take note that the defeat condition for this battle is to allow Dragan to fall. Hence, be sure to head to Dragan as quickly as possible using units with high Movement like Roland and Hughette.
Likewise, it is recommended to bring along Benedict or Geela alongside them to offer support skills like Bulwark and Cure Wounds to Dragan and his immediate backup respectively.
Use Frederica's Fire Spells to Take Down Bowmen

The archers in this battle can prove to be quite a pain given that they're hard to reach. Luckily, Aesfrosti Bowmen take 30% more damage when dealt with a Fire attack.
Be sure to take advantage of Frederica's spells to take down the Aesfrosti Bowmen fast!
Watch Out for Aesfrosti Shieldbearer's Shield Slam Attack
| Deal physical damage to a single enemy and knock them back 3 squares. Power: 32 Range: 1-1 (Height -2 - +2) |
Be on the lookout for the Aesfrosti Shieldbearer east of where your party is facing. His attack Shield Slam could knock back your party and consequently ruin your positioning strategy.
Chapter 4 General Tips
Take Advantage of Inaction Bonuses
| Inaction | Waiting Time Until Next Turn |
|---|---|
| No Movement | -10% |
| No Commands Used | - 10% |
| Both | - 20% |
If you end your turn without moving or using a command, the time until your next turn will be reduced by a certain percentage.
All the more will the waiting time until your unit's next turn be shorter should you do both!
Maximize Aptitudes, Movement, and Range
The Aptitudes of Serenoa's party can benefit you greatly in battle when used at the right situations.
Instead of just ganging up on enemies, consider using buffs, attacking on high ground, and traps. This way, you can deal more damage against your foes and consequently speed up battles!
Beginner's Combat Guide: Basics of Battle
Triangle Strategy Related Guides
Previous and Next Chapters
| Previous Chapter | Next Chapter |
|---|---|
| Chapter 3a: A Land of Snow and Ice (Aesfrost Route) Chapter 3b: A Land of Sand and Sun (Hyzante Route) |
Chapter 5: Encroaching Darkness |

Author

Chapter 4: A New Dawn Story Walkthrough, Dialogue Choices, and Item Locations
Rankings
- We could not find the message board you were looking for.
Gaming News


![Monster Hunter Stories 3 Review [First Impressions] | Simply Rejuvenating](https://img.game8.co/4438641/2a31b7702bd70e78ec8efd24661dacda.jpeg/thumb)
Popular Games

Genshin Impact Walkthrough & Guides Wiki
Honkai: Star Rail Walkthrough & Guides Wiki
Umamusume: Pretty Derby Walkthrough & Guides Wiki
Pokemon Pokopia Walkthrough & Guides Wiki
Resident Evil Requiem (RE9) Walkthrough & Guides Wiki
Monster Hunter Wilds Walkthrough & Guides Wiki
Wuthering Waves Walkthrough & Guides Wiki
Arknights: Endfield Walkthrough & Guides Wiki
Pokemon FireRed and LeafGreen (FRLG) Walkthrough & Guides Wiki
Pokemon TCG Pocket (PTCGP) Strategies & Guides Wiki


Recommended Games
Diablo 4: Vessel of Hatred Walkthrough & Guides Wiki
Cyberpunk 2077: Ultimate Edition Walkthrough & Guides Wiki
Fire Emblem Heroes (FEH) Walkthrough & Guides Wiki
Yu-Gi-Oh! Master Duel Walkthrough & Guides Wiki
Super Smash Bros. Ultimate Walkthrough & Guides Wiki
Pokemon Brilliant Diamond and Shining Pearl (BDSP) Walkthrough & Guides Wiki
Elden Ring Shadow of the Erdtree Walkthrough & Guides Wiki
Monster Hunter World Walkthrough & Guides Wiki
The Legend of Zelda: Tears of the Kingdom Walkthrough & Guides Wiki
Persona 3 Reload Walkthrough & Guides Wiki


All rights reserved
©2022 SQUARE ENIX CO., LTD. All Rights Reserved. Nintendo Switch is a trademark of Nintendo. © Nintendo.
The copyrights of videos of games used in our content and other intellectual property rights belong to the provider of the game.
The contents we provide on this site were created personally by members of the Game8 editorial department.
We refuse the right to reuse or repost content taken without our permission such as data or images to other sites.