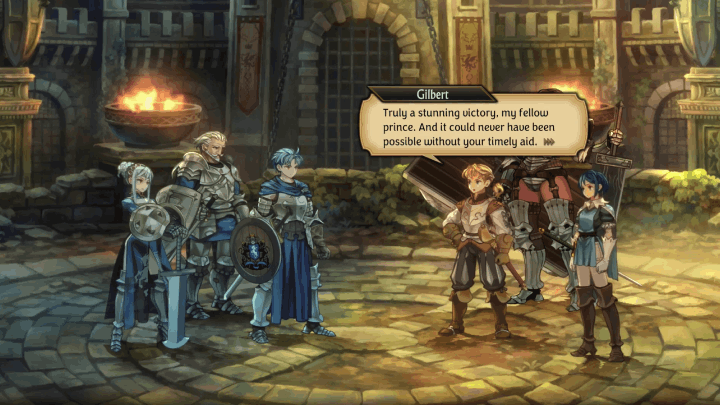
Another Prince Walkthrough
☆Get to know Alain and the other characters
★Choices | Gammel | Mandrin
☆Farm Divine Shards for Ochlys!
★Classes | How to Promote and How to Change Class
☆Let us know who you'll marry in our Romance guide!
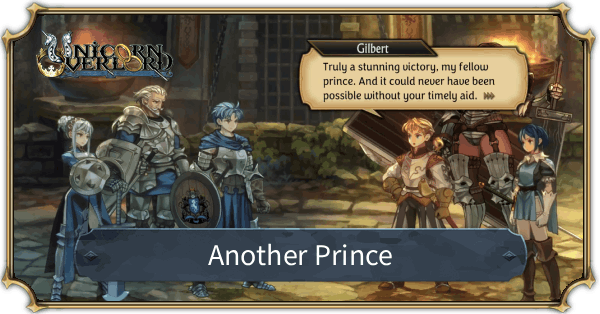
This is a walkthrough and guide for Another Prince in Unicorn Overlord. See a walkthrough guide for Another Prince, its location and rewards, the stage's objectives, recommended units and formations, item locations, and battle strategies!
List of Contents
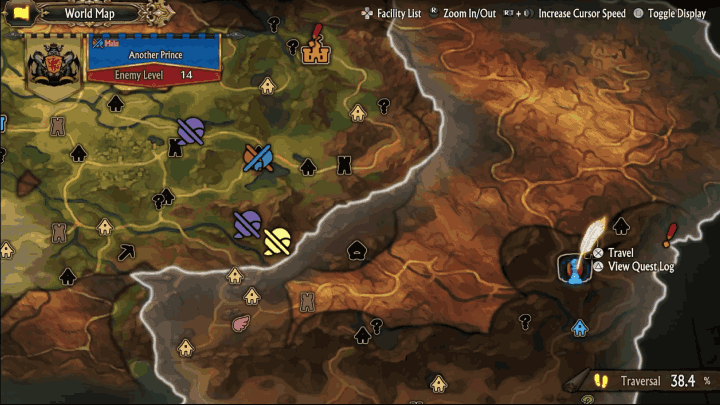
Another Prince Location and Rewards
Location
| Map Location | Overworld Location |
|---|---|
 |
 |
| Region: Drakenhold Location: East of Drakenhold Coliseum |
|
Rewards
| Rewards |
|---|
|
・Black-Iron Shield x1 ・Giant's Canopy x1 ・Coliseum Gladiators x1 ・Idealist's Handmirror ・Searing Shield |
Another Prince Recruitable Characters
| There are no known characters that can be recruited in this stage. |
List of All Recruitable Characters
Another Prince Recommended Units
| Recommended Unit Leaders | ||||
|---|---|---|---|---|
 Alain
Alain |
 Hodrick
 |
 Clive
Clive |
||
Another Prince allows up to 4 deployed units. You will also receive temporary assistance from Gilbert and Amalia.
This stage emphasizes terrain control, defensive positioning, and effective use of Valor Skills.
Alain's Unit
| Alain's Unit | ||
|---|---|---|
 Yahna Yahna (Witch) |
 Berengaria Berengaria (Dark Marquess) |
 Virginia Virginia (Crusader) |
| - |
Alain (Lord) |
- |
Alain serves as the primary frontline carry and Valor generator for this stage. Meanwhile, Virginia reinforces the front row as a durable secondary defender with strong physical presence. Berengaria provides high burst damage and excellent anti-cavalry pressure. Finally, Yahna supplies consistent magic damage to counter armored units and Wyvern Knights.
This unit is ideal for pushing northeast toward Anton if attempting a fast clear.
Hodrick's Unit
| Hodrick's Unit | ||
|---|---|---|
 Josef Josef (Paladin) |
 Bruno Bruno (Gladiator) |
- |
| - |
Hodrick (Hoplite) |
- |
Hodrick anchors chokepoints such as the northwest bridge with his high physical defense. Josef adds cavalry mobility and cleanup damage with Pursuit and Bruno contributes strong sustained melee damage against infantry waves.
This formation excels at holding defensive lanes during prolonged 50-enemy clears.
Clive's Unit
| Clive's Unit | ||
|---|---|---|
 Miriam Miriam (Radiant Knight) |
 Hilda Hilda (Wyvern Knight) |
- |
| - |
Clive (Knight) |
- |
Clive functions as a mobile cavalry leader capable of quickly reinforcing lanes. Miriam provides magical durability and healing support, especially effective against Witches and Hilda adds additional physical damage and coverage against armored enemies.
This unit is ideal for rotating between southern lanes and assisting with catapult control.
Another Prince Walkthrough
| # | Step by Step Guide |
|---|---|
| 1 |
Deploy Alain’s unit northeast and Hodrick’s unit northwest early. Start by capturing the eastern strongholds quickly. Alain’s team should push toward Anton while Virginia and Yahna soften enemies. Hodrick’s high defense makes him ideal for holding chokepoints like the northwest bridge. |
| 2 |
Use Clive’s cavalry to control southern lanes and capture the catapult. Clive’s mobility allows quick reinforcement between points. Take control of the southern catapult and use it to thin enemy waves and protect your left flank before they reach your command post. |
| 3 |
Defend garrisons and clear small enemy groups. Fortify positions once key locations are secured. Hold bridges and use units like Hodrick’s and Josef’s to absorb repeated waves. Bruno’s sustained melee damage and Josef’s Pursuit help clear infantry and maintain control. |
| 4 |
Push toward Anton once lanes are stable. After gaining map control and reducing reinforcement pressure via catapults and captured garrisons, advance with Alain’s unit toward Anton’s position in the northeast. Use Valor Skills to aid in breaking through heavier defenses. |
| 5 |
 Defeat Anton to finish the stage. Anton’s forces often include Wyvern Knights and armored units. Burst damage from Berengaria and magic support from Yahna help chunk his flank while your frontline absorbs hits. Once Anton falls the stage ends. |
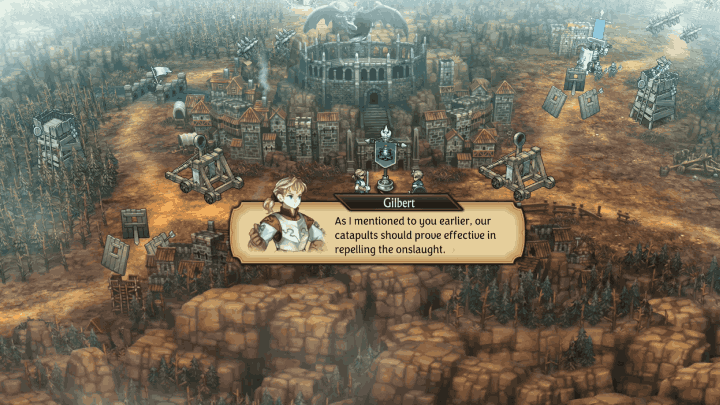
Another Prince Stage Info
| Another Prince Stage Map | ||
|---|---|---|
 |
||
| Enemy Level | 14 | |
| Victory Condition | ・Defeat Anton | |
| Defeat Condition |
・The Liberation's command post is captured ・The time limit expires |
|
Unicorn Overlord Related Guides

All Main Quest Stages
All Side Quest Stages
All Overworld Quests
| Overworld Quests | |
|---|---|
| An Angel's Request | Palevia's Escaped Chickens |
| Carved of Cornia Stone | Cemeteries of Cornia |
| Carved of Drakenhold Stone | Cemeteries of Drakenhold |
| Drakenhold's Escaped Chickens | - |
All Liberation Quests
Comment
Author

Another Prince Walkthrough
Rankings
- We could not find the message board you were looking for.
Gaming News

![Star Savior Review [First Impressions] | Engaging, Entertaining, and Expensive](https://img.game8.co/4447603/8f500e9bf666bdb8adb1af478e9dfdbd.png/show)

![Death Stranding 2: On The Beach Review [PC] | A Port That Delivers](https://img.game8.co/4447392/15310a0c9aa1b6843bb713b2ea216930.jpeg/thumb)

Popular Games

Genshin Impact Walkthrough & Guides Wiki
Umamusume: Pretty Derby Walkthrough & Guides Wiki
Crimson Desert Walkthrough & Guides Wiki
Monster Hunter Stories 3: Twisted Reflection Walkthrough & Guides Wiki
Honkai: Star Rail Walkthrough & Guides Wiki
Pokemon Pokopia Walkthrough & Guides Wiki
The Seven Deadly Sins: Origin Walkthrough & Guides Wiki
Wuthering Waves Walkthrough & Guides Wiki
Zenless Zone Zero Walkthrough & Guides Wiki
Arknights: Endfield Walkthrough & Guides Wiki


Recommended Games
Fire Emblem Heroes (FEH) Walkthrough & Guides Wiki
Diablo 4: Vessel of Hatred Walkthrough & Guides Wiki
Cyberpunk 2077: Ultimate Edition Walkthrough & Guides Wiki
Yu-Gi-Oh! Master Duel Walkthrough & Guides Wiki
Super Smash Bros. Ultimate Walkthrough & Guides Wiki
Pokemon Brilliant Diamond and Shining Pearl (BDSP) Walkthrough & Guides Wiki
Elden Ring Shadow of the Erdtree Walkthrough & Guides Wiki
Monster Hunter World Walkthrough & Guides Wiki
The Legend of Zelda: Tears of the Kingdom Walkthrough & Guides Wiki
Persona 3 Reload Walkthrough & Guides Wiki


All rights reserved
©ATLUS. ©SEGA. All rights reserved. SEGA is registered in the U.S. Patent and Trademark Office. ATLUS and the ATLUS logo are registered trademarks or trademarks of ATLUS Co., Ltd. SEGA, the SEGA logo and UNICORN OVERLORD are registered trademarks or trademarks of SEGA CORPORATION.
The copyrights of videos of games used in our content and other intellectual property rights belong to the provider of the game.
The contents we provide on this site were created personally by members of the Game8 editorial department.
We refuse the right to reuse or repost content taken without our permission such as data or images to other sites.