The Sundering Sea: How to Explore, Chests, Routes, and Dungeons
★ See our Story Walkthrough and Side Story guides!
┣ Unlock the Final Chapter and get the True Ending!
┗ Learn how to beat the Secret Boss!
☆ Easily farm Money, EXP, JP, and Octopuff Travelers!
★ Best Character Tier List | Best Secondary Jobs
☆ All Guild Locations | All Altar Locations
The Sundering Sea is home to the routes and dungeons in the waters of Solistia in Octopath Traveler 2. Read on to learn more about The Sundering Sea, how to explore it, the chests within it, and the enemies you can find there.
List of Contents
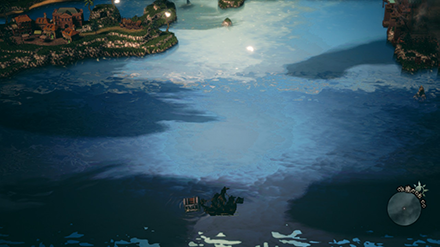
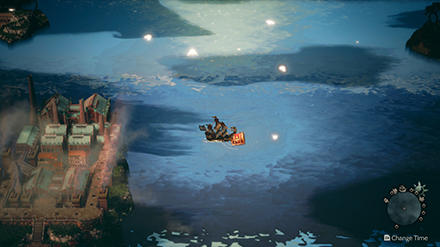
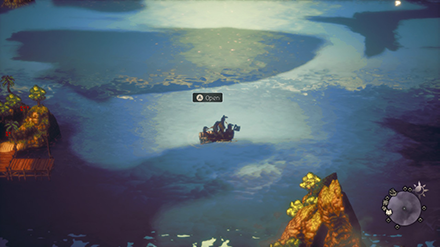
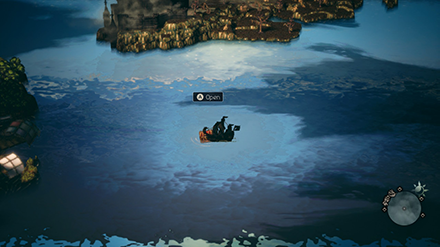
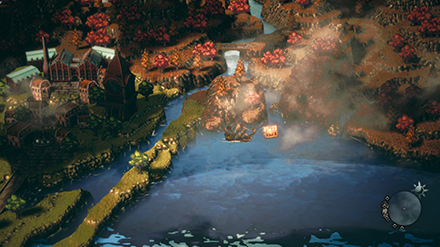
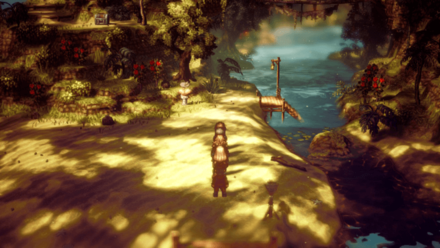
How to Explore The Sundering Sea
Obtain Ship from Scent of Commerce Quest
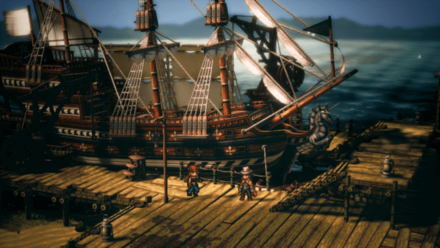
Players can obtain their own ship, the Grand Terry by completing Partitio's Scent of Commerce quest in Tropu'hopu, Toto'haha.
Be prepared and farm for money first before tackling this quest as you need to pay 100,000 Leaves before acquiring the ship.
Scent of Commerce (Tropu'hopu) Walkthrough
Take Note of High Level Enemies and Dungeons
While exploring the seas, players might randomly encounter strong enemies and high level dungeons. Prepare to grind EXP and try to hit at least Level 30+ before tackling the dangers awaiting you at the Sundering Sea.
How to Level Up Fast
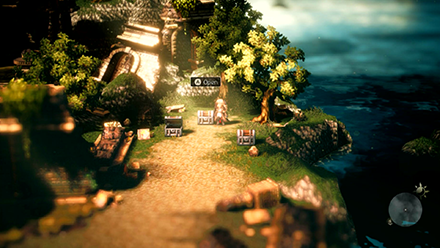
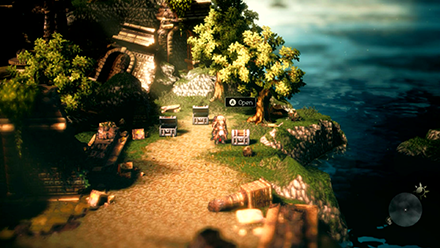
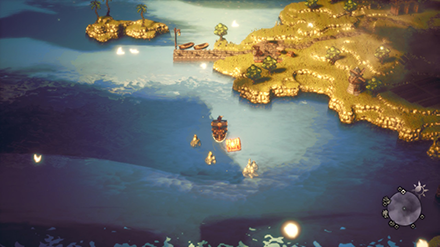
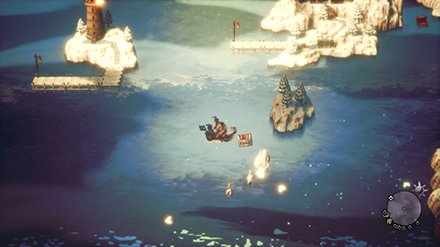
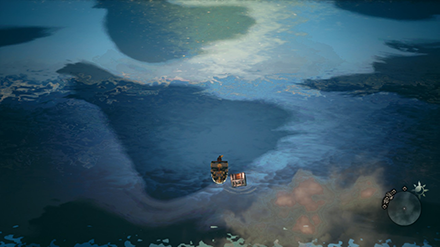
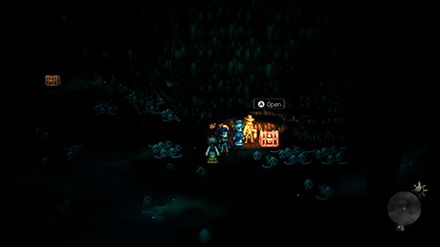
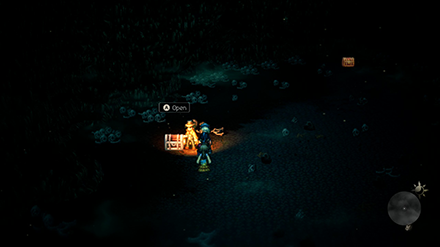
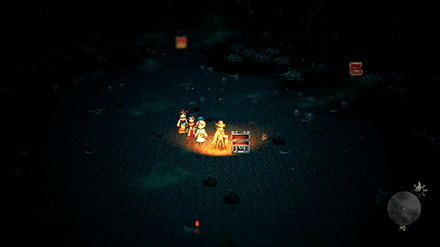
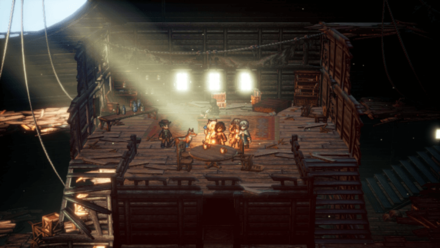
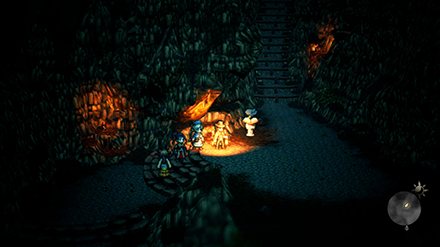
The Sundering Sea Chests
Chests in The Sundering Sea
| All Chest Locations | |
|---|---|
|
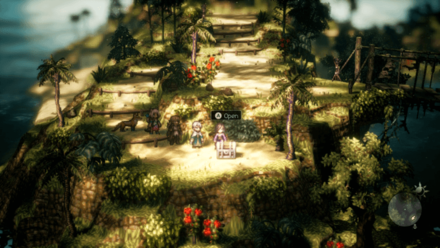
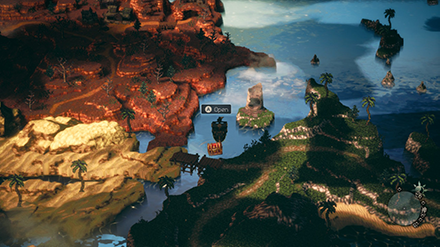
Conscious Stone Up the ladder northeast after taking the canoe near the starting area. |
 Enlarge EnlargeNameless Isle |
|
Quartz Axe Down the ladder south of the wooden bridge. |
 Enlarge EnlargeNameless Isle |
|
Healing Grape Bunch Down the stairs next to the wooden bridge. |
 Enlarge EnlargeNameless Isle |
|
Finisher's Claws Under the tree after defeating Gigantes. |
 Enlarge EnlargeNameless Isle |
|
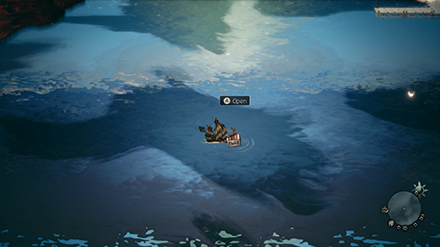
Inspiriting Plum Basket From the save point at the dock, head west and ride a canoe towards the foreground and back east. |
 Enlarge EnlargeShipwreck of the Empress |
|
Thunder Soulstone (L) Continue to ride the canoe east. Climb up the ladder and find this chest in the back of the first room. |
 Enlarge EnlargeShipwreck of the Empress |
|
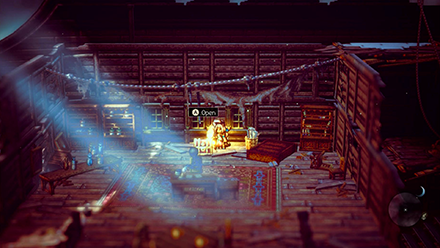
Cursed Shield After climbing three flights of stairs, find a set of stairs thats leads back down to the second level in the far left end of the ship. Move towards the foreground to get to this chest. |
 Enlarge EnlargeShipwreck of the Empress |
|
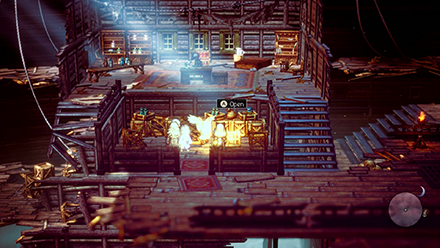
Lost Tribe's Spear After climbing the set of stairs by the dock, Find the platform with this chest by heading east and go up the ladder. |
 Enlarge EnlargeShipwreck of the Empress |
|
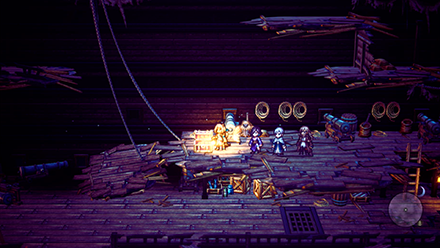
Rusty Dagger At the west-most, top-most room, behind what can be presumed to be the ex-captain's corpse. |
 Enlarge EnlargeShipwreck of the Empress |
|
Master Thief's Sapphire Stone In the dark room beneath the west-most, top-most room. |
 Enlarge EnlargeShipwreck of the Empress |
|
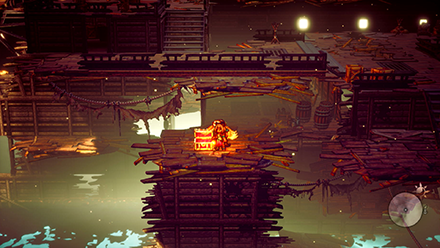
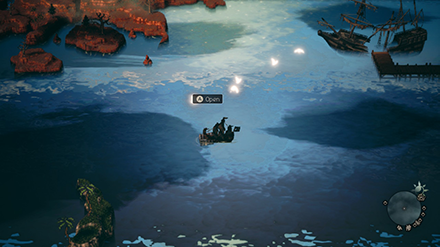
Double Tomahawk At the southwest-most part of the Sundering Sea. |
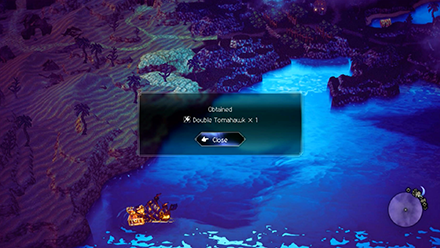 Enlarge EnlargeOn the Water |
|
Octopuff Pot Located east of the save point. |
 Enlarge EnlargeLighthouse Island |
|
12000 Leaves Directly west of the lighthouse. |
 Enlarge EnlargeLighthouse Island |
|
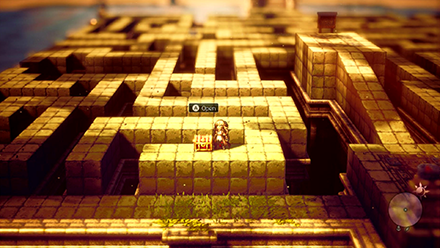
Ancient Cursed Talisman First chest along the maze as you move southeast. |
 Enlarge EnlargeThe Lost Isle |
|
Ancient Cursed Talisman Second chest along the maze near its east edge. |
 Enlarge EnlargeThe Lost Isle |
|
Blessing in Disguise In the southwest part of the maze. |
 Enlarge EnlargeThe Lost Isle |
|
Ancient Cursed Talisman In the southwest-most corner of the maze. |
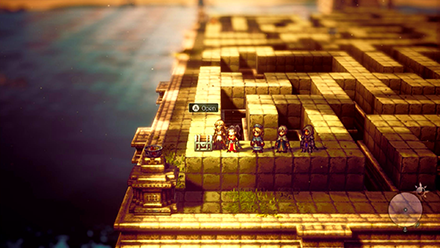 Enlarge EnlargeThe Lost Isle |
|
Ancient Cursed Talisman Slightly west of the center of the maze. |
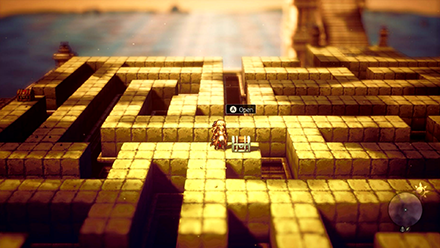 Enlarge EnlargeThe Lost Isle |
|
Lost Tribe's Dagger Slightly east of the center of the maze. |
 Enlarge EnlargeThe Lost Isle |
|
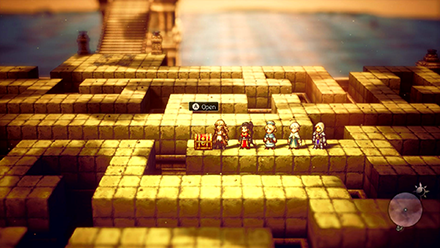
Great Sage's Staff In the northwest part of the maze. |
 Enlarge EnlargeThe Lost Isle |
|
Skystone By the ruins northwest of the save point. |
 Enlarge EnlargeGate of Finis |
|
Dragon's Scarf By the ruins north of the save point. |
 Enlarge EnlargeGate of Finis |
|
Herb-of-Grace Bud In each of the three chests by the eastern shore. |
 Enlarge EnlargeGate of Finis |
|
Herb-of-Grace Bud In each of the three chests by the eastern shore. |
 Enlarge EnlargeGate of Finis |
|
Herb-of-Grace Bud In each of the three chests by the eastern shore. |
 Enlarge EnlargeGate of Finis |
|
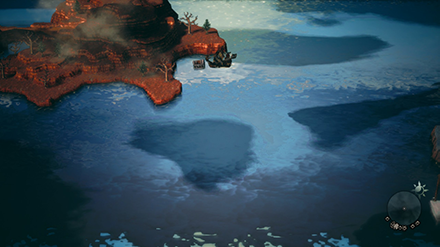
Diffusing Serum Southwest of Roque Island Anchorage. |
 Enlarge EnlargeOn the Water |
|
Fortune Wand Directly East of Roque Island Anchorage. |
 Enlarge EnlargeOn the Water |
|
Reinforcing Jam East of Nameless Isle. |
 Enlarge EnlargeOn the Water |
|
20000 Leaves South of New Delsta Harbor Anchorage. |
 Enlarge EnlargeOn the Water |
|
Dual Leaf South of both Lighthouse Island and Frigit Isle. |
 Enlarge EnlargeOn the Water |
|
EXP Augmentor East of Frigit Isle. |
 Enlarge EnlargeOn the Water |
|
Gold Nugget Northwest of Lighthouse Island. |
 Enlarge EnlargeOn the Water |
|
Invigorating Nut (L) Directly north of Shipwreck of the Empress. |
 Enlarge EnlargeOn the Water |
|
Strengthening Serum East of the Shipwreck of the Empress. |
 Enlarge EnlargeOn the Water |
|
Platinum Shield Northwest of the Shipwreck of the Empress. |
 Enlarge EnlargeOn the Water |
|
Sunken Gold Statue Near a broken bridge south of Crackridge Harbor Anchorage. |
 Enlarge EnlargeOn the Water |
|
Olive of Life (L) Southwest of Shipwreck of the Empress. |
 Enlarge EnlargeOn the Water |
|
Beastly Scarf Sail directly northeast of Canalbrine, Harborlands. |
 Enlarge EnlargeOn the Water |
|
Gimmick Goggles Sail west of Roque Island and defeat the Battle-Worn Shark boss. |
 Enlarge EnlargeOn the Water |
|
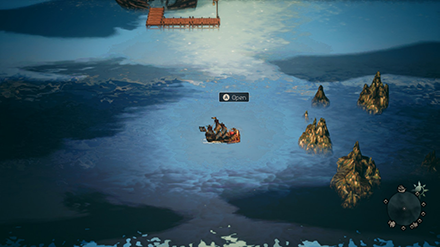
Leviathan Greatbow Sail towards west of ???. |
 Enlarge EnlargeOn the Water |
|
Dual Flower Directly south of The Lost Isle |
 Enlarge EnlargeOn the Water |
|
Sublime Ornamental Armor Sail towards north of The Lost Isle. |
 Enlarge EnlargeOn the Water |
|
Inspiriting Plum Basket Northwest of ???. |
 Enlarge EnlargeOn the Water |
|
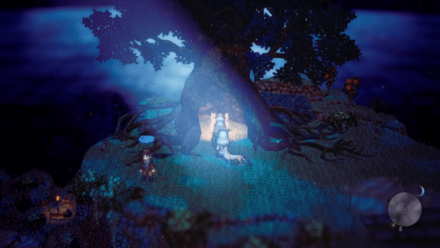
Fang of Ferocity North of Tyrannodrake's lair. |
 Enlarge EnlargeCurious Nest |
|
Tornado Glaive East of Tyrannodrake's lair. |
 Enlarge EnlargeCurious Nest |
|
Decaying Dragon's Essence West of Tyrannodrake's lair. |
 Enlarge EnlargeCurious Nest |
|
Decaying Dragon's Essence Found at the middle of Tyrannodrake's Lair. |
 Enlarge EnlargeCurious Nest |
|
Lost Tribe's Bow Southwest of Tyrannodrake's lair. |
 Enlarge EnlargeCurious Nest |
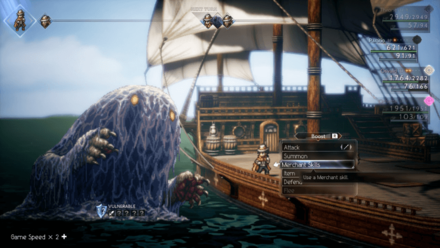
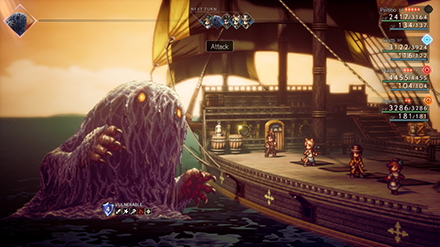
The Sundering Sea Boss
Scourge of the Sea
 |
|
| Recommended Level | Level 45 |
|---|---|
| Reward | Sea Monster's Whisker |
Scourge of the Sea is a boss monster found in the Sundering Sea region. Defeating this boss is a requirement to unlock an additional Hunter license.
Routes in the The Sundering Sea
| List of Locations | |
|---|---|
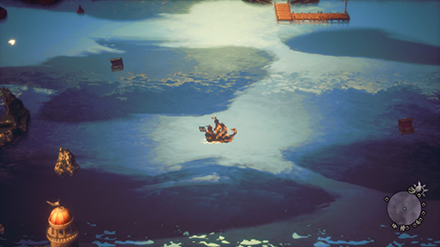 On the Water (Danger Level 34) |
 The Lost Isle (Danger Level 45) |
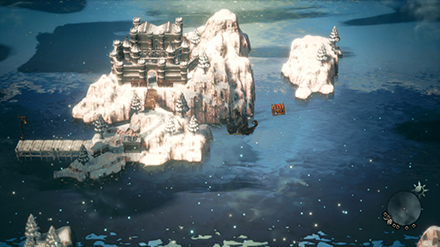
Dungeons in the The Sundering Sea
| List of Locations | |
|---|---|
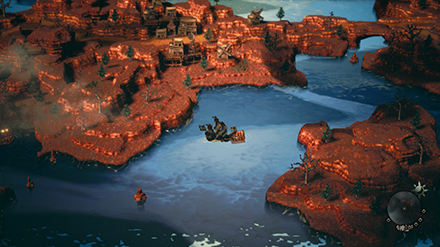
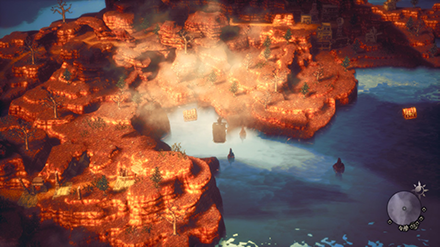
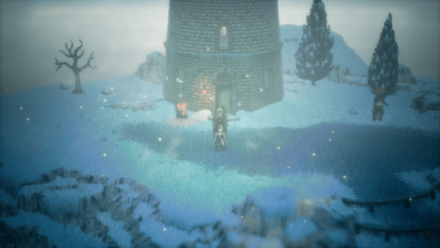 Lighthouse Island |
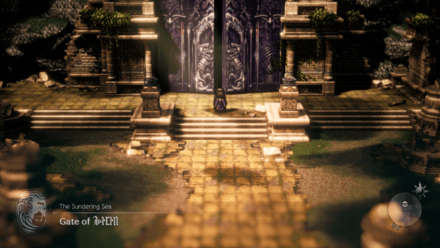 Gate of Finis |
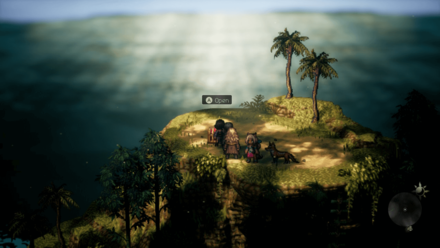
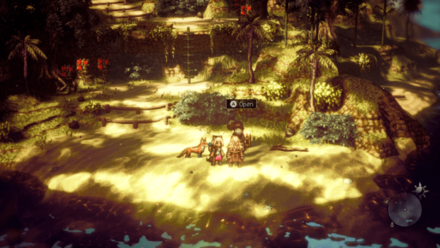
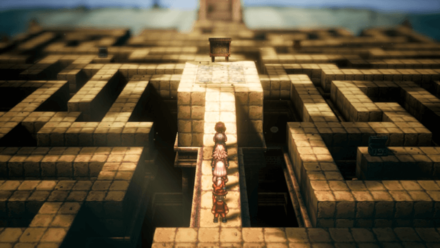
 Nameless Isle (Danger Level 38) |
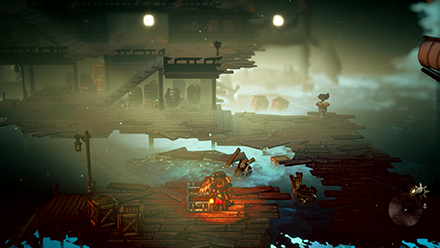
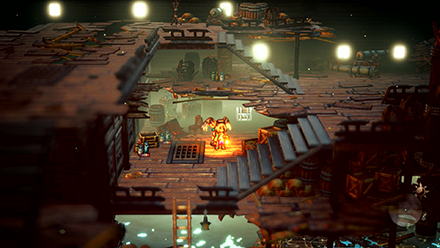
 Shipwreck of the Empress (Danger Level 48) |
 Curious Nest (Danger Level 52) |
|
Enemies and Monsters in The Sundering Sea
| Enemy / Shield Points | Details |
|---|---|
 Scourge of the Sea Scourge of the Sea
(12 SP |
Vulnerabilities: Drops/Steal: Revitalizing Jam |
Octopath Traveler 2 Related Guides

Solistia Map and List of Regions
| All Solistia Regions | |||
|---|---|---|---|
 Winterlands Winterlands |
 Harborlands Harborlands |
 Brightlands Brightlands |
 Toto'haha Toto'haha |
 Wildlands Wildlands |
 Leaflands Leaflands |
 Crestlands Crestlands |
 Hinoeuma Hinoeuma |
 The Sundering Sea The Sundering Sea |
|||
Author

The Sundering Sea: How to Explore, Chests, Routes, and Dungeons
Rankings
- We could not find the message board you were looking for.
Gaming News


Popular Games

Genshin Impact Walkthrough & Guides Wiki
Umamusume: Pretty Derby Walkthrough & Guides Wiki
Crimson Desert Walkthrough & Guides Wiki
Monster Hunter Stories 3: Twisted Reflection Walkthrough & Guides Wiki
Honkai: Star Rail Walkthrough & Guides Wiki
Pokemon Pokopia Walkthrough & Guides Wiki
The Seven Deadly Sins: Origin Walkthrough & Guides Wiki
Wuthering Waves Walkthrough & Guides Wiki
Zenless Zone Zero Walkthrough & Guides Wiki
Arknights: Endfield Walkthrough & Guides Wiki


Recommended Games
Fire Emblem Heroes (FEH) Walkthrough & Guides Wiki
Diablo 4: Vessel of Hatred Walkthrough & Guides Wiki
Cyberpunk 2077: Ultimate Edition Walkthrough & Guides Wiki
Yu-Gi-Oh! Master Duel Walkthrough & Guides Wiki
Super Smash Bros. Ultimate Walkthrough & Guides Wiki
Pokemon Brilliant Diamond and Shining Pearl (BDSP) Walkthrough & Guides Wiki
Elden Ring Shadow of the Erdtree Walkthrough & Guides Wiki
Monster Hunter World Walkthrough & Guides Wiki
The Legend of Zelda: Tears of the Kingdom Walkthrough & Guides Wiki
Persona 3 Reload Walkthrough & Guides Wiki


All rights reserved
© 2023 SQUARE ENIX CO., LTD. All Rights Reserved.
The copyrights of videos of games used in our content and other intellectual property rights belong to the provider of the game.
The contents we provide on this site were created personally by members of the Game8 editorial department.
We refuse the right to reuse or repost content taken without our permission such as data or images to other sites.