Temenos Chapter 4 Walkthrough
★ See our Story Walkthrough and Side Story guides!
┣ Unlock the Final Chapter and get the True Ending!
┗ Learn how to beat the Secret Boss!
☆ Easily farm Money, EXP, JP, and Octopuff Travelers!
★ Best Character Tier List | Best Secondary Jobs
☆ All Guild Locations | All Altar Locations
This a walkthrough guide to Chapter 4 in Temenos's Storyline in Octopath Traveler 2 (Octopath 2). Read on to learn more about each section in this chapter, including enemies encountered, tips and strategies to defeat Captain Kaldena (Kaldena of Night), and how to solve the Wandering Wood puzzle!
List of Contents
Temenos Chapter 4 Walkthrough
Chapter Summary and Introduction
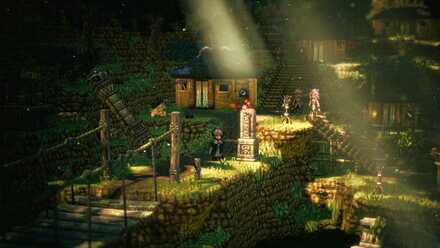
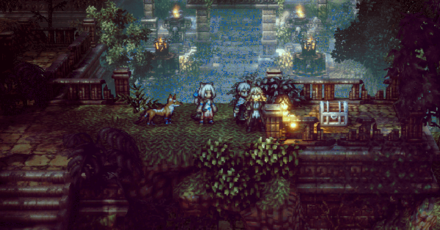
Temenos' journey takes him to the Nameless Village in Toto'haha. He must take on the trials to reach and stop Kaldena who plans to take revenge against all descendants of those who oppressed her people.
| Objectives | |
|---|---|
| 1 | Take on the trial. |
| 2 | Get lost in the Wandering Wood. |
| 3 | Find a guide in the Nameless Village. |
| 4 | Follow Shirlutto. |
| 5 | Make for the rifted rock. |
| 6 | Make for the depths of the rifted rock. |
| 7 | Go to Kaldena. |
Nameless Village
| Objectives | |
|---|---|
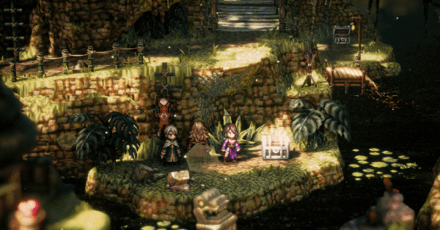
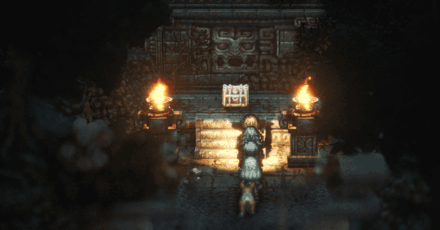
| 1 | 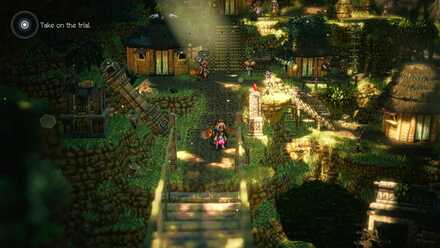 Take on the trial. When you arrive in the Village, head north to the Wandering Wood. |
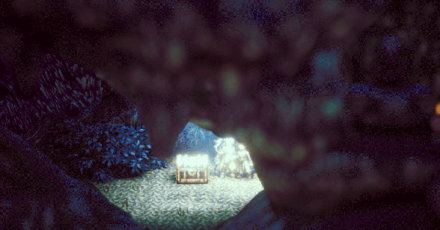
Wandering Wood
How to Solve the Wandering Wood Puzzle
| Objectives | |
|---|---|
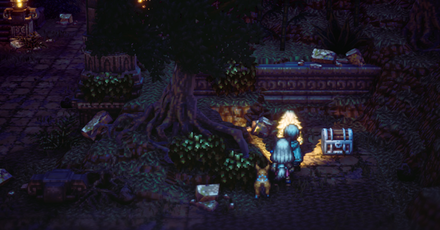
| 1 | 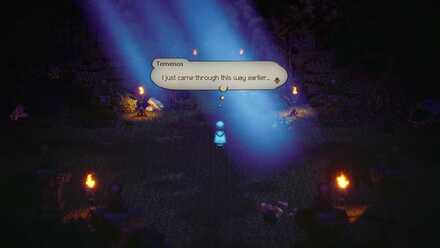 Get lost in the Wandering Wood. Once you enter the woods, you'll have to get lost in it twice to trigger the next objective. |
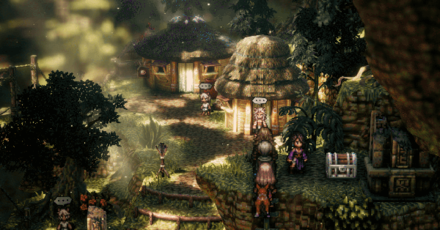
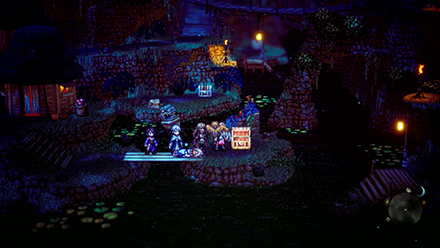
| 2 | 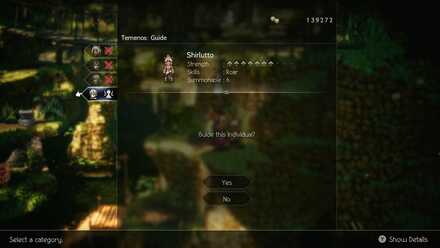 Find a guide in the Nameless Village. Once you get lost twice, Temenos will discern that he would need a guide to get through the woods. He will have to go back to the village to find a guide.Use Temenos' path action Guide on Shirlutto, who can be found below the ladder south of the Nameless Village inn. |
| 3 | 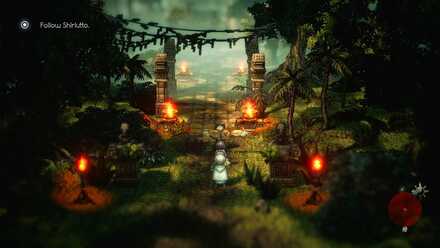 Follow Shirlutto. Once you have acquired Shirlutto as a guide, the next time you go into the Wandering Wood there will only be a singular waypoint for you to follow. |
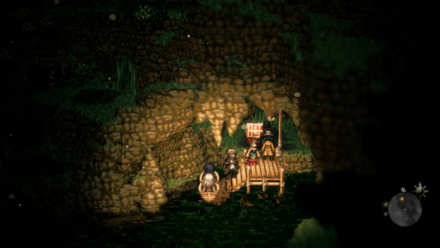
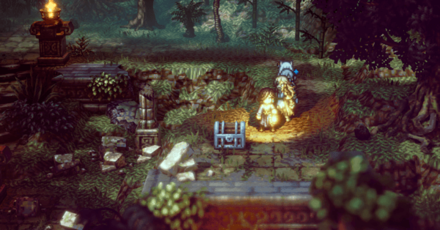
| 4 | 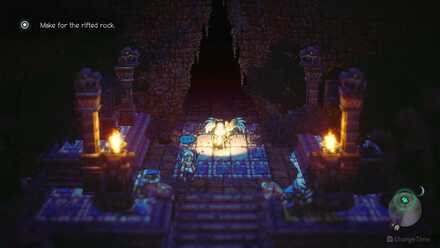 Make for the rifted rock. At the end of the path, Shirlutto will be waiting just outside the Rifted Rock. Interact with him to get 3 free Superior Jerky! |
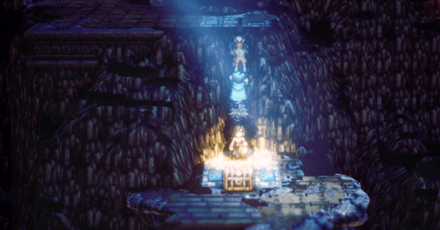
Rifted Rock
| Objectives | |
|---|---|
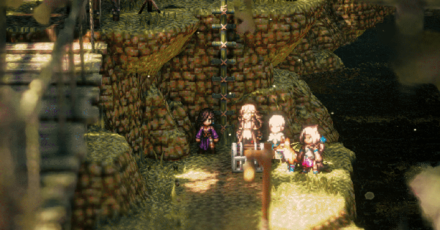
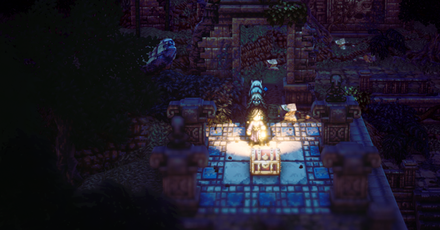
| 1 | 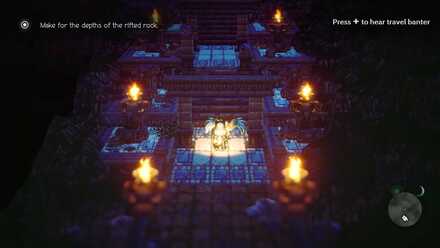 Make for the depths of the rifted rock. Head inside the cave and reach the far end of the rifted rock to where Kaldena is. |
| 2 | 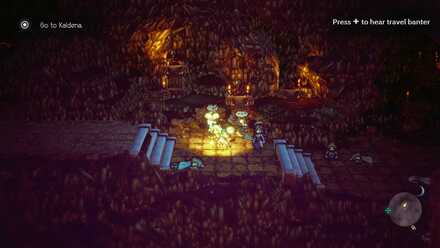 Go to Kaldena. After a brief conversation Captain Kaldena will attack you. Defeat her to complete Temenos' path. |
| 3 |
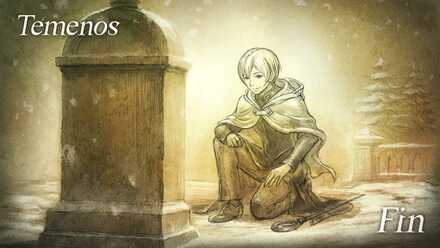 Make peace with Roi and Crick's death. After defeating Kaldena, Temenos is left with more questions to answer. But he can now rest a bit easier knowing that Roi and Crick did not die for nothing. |
Temenos Chapter 4 Side Stories
All Chapter 4 Side Stories
| Name | Information |
|---|---|
| Ghormf! |
Location: Nameless Village Client: Beastling How to Complete: Bring the Beastling in the northwest area of Beastling Village speaking the same language to the client. Rewards: 10000 Leaves, Stupefying Stone Axe |
| Shirlutto's Next Chapter |
Location: Nameless Village Client: Shirlutto How to Complete: Obtain Lute from a Merchant in Sai, Paper Play from a Cleric in Flamechurch, and History Book at night from a Merchant in Montwise, then return to client. Unlock by completing Temenos' path. Rewards: 10000 Leaves, Befuddling Greatbow |
List of All Side Stories and Side Quests
Temenos Chapter 4 Path Actions
Guide
| Character | Information |
|---|---|
|
Stats ・Skill: Roar ・Summonable: 6 Times Benefit: ・Find the way through Wandering Wood. Shirlutto Location: Found in the Nameless Village south of the Tavern. |
Temenos Chapter 4 Enemies Encountered
Wandering Wood
| Enemy | SP & Vulnerabilities |
|---|---|
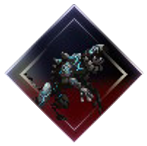
 Giant Gator Giant Gator
|
Shield Points: 6 SP Weaknesses: |
 Remnant Remnant
|
Shield Points: 3 SP Weaknesses: |
Rifted Rock
| Enemy | SP & Vulnerabilities |
|---|---|
 Ice Remnant Ice Remnant
|
Shield Points: 3 SP Weaknesses: |
 Dark Elemental Dark Elemental
|
Shield Points: 4 SP Weaknesses: |
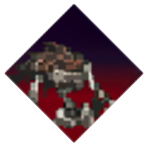 Brawler Bones Brawler Bones
|
Shield Points: 2 SP Weaknesses: |
Temenos Chapter 4 Boss Guide
Kaldena Shield Points and Weaknesses
| Enemy | SP & Vulnerabilities |
|---|---|
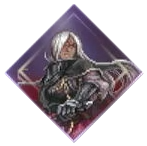 Captain Kaldena Captain Kaldena
|
Shield Points: 8 SP Weaknesses: |
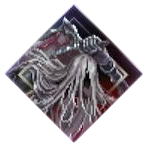 Kaldena of Night Kaldena of Night
|
Shield Points: 13 SP Weaknesses: |
How to Beat Captain Kaldena (Kaldena of Night)
Use Temenos' and Throne's Latent Powers
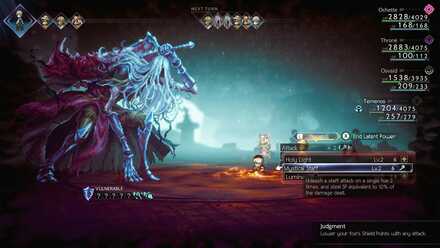
Temenos' Latent Power allows you to lower an enemy's SP regardless of weakness. This is a good pair if you have a Merchant in your party to donate BP to Temenos. While Throne's Latent Power allows her to attack Twice. Using these tactics against Kaldena of the Night makes it easier to break her 13 Shield Points.
Make Temenos a Scholar
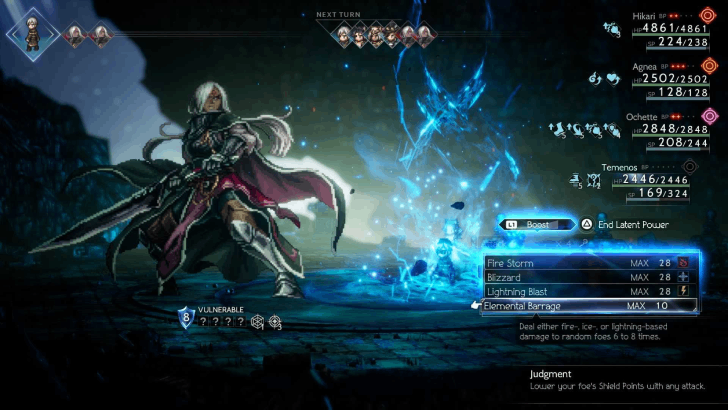
If you find Kaldena's high SP overwhelming, then you can turn Temenos into a Scholar as this job has the skill Elemental Barrage, which can hit random foes 6-8 times at max BP. If you use this skill in conjunction with Temenos' Latent Power, then you can easily whittle down Kaldena's SP.
Best Secondary Jobs and Class Combos for Each Character
Temenos Chapter 4 Chests
Nameless Village
| All Chest Locations | |
|---|---|
|
Empowering Lychee (M) |
 |
|
Bottle of Befuddling Dust |
 |
|
Salted Seafood |
 |
|
Mythical Horn |
 |
|
Stimulating Necklace |
 |
|
Forbidden Bow |
 |
Wandering Wood
| All Chest Locations | |
|---|---|
|
Antique Ceremonial Mask Temenos |
 |
|
Healing Grape Bunch Temenos |
 |
|
28000 Leaves Temenos |
 |
|
Inspriting Plum (M) Temenos |
 |
|
Light Soulstone (L) Temenos |
 |
Rifted Rock
| All Chest Locations | |
|---|---|
|
Hallowed Rod Temenos |
 |
|
Void Amulet Temenos |
 |
Octopath Traveler 2 (Octopath 2) Related Guides
Story Walkthrough: All Character Storylines
All Character Storylines & Routes
| Chap. 1 | Chap. 2 | Chap. 3 | |||||||||||||||||
| Cateracta | Tera | Glacis | |||||||||||||||||
| Chap. 1 | Chap. 2 | Chap. 3 | Chap. 4 | Chap. 5 | |||||||||||||||
| Chap. 1 | Chap. 2 | Chap. 3 | Chap. 4 | Chap. 5 | |||||||||||||||
| Chap. 1 | Chap. 2 | Chap. 3 | Chap. 4 | Chap. 5 | |||||||||||||||
| Chap. 1 | Chap. 2 | Chap. 3 | Chap. 4 | ||||||||||||||||
| Chap. 1 | Chap. 2 | Chap. 3 | Chap. 4 | ||||||||||||||||
| Winterbloom Sai |
|||||||||||||||||||
| Chap.1 | Chap. 2 | Chap. 3 | Chap. 4 | ||||||||||||||||
| Father Mother |
Father Mother |
||||||||||||||||||
| Chap. 1 | Chap.2 | Chap. 3 | Chap. 4 | ||||||||||||||||
| Crackridge Stormhail |
|||||||||||||||||||
All Crossed Paths Routes
| Crossed Paths Pairs | |||
|---|---|---|---|
Thief |
|||
Final Chapter: Extra Stories
| Introduction | |||
| Tranquil Grotto | Fellsun Ruins | Tombs of the Wardenbeasts | Flamechurch |
| Vidania (Epilogue) | |||
All Scent of Commerce Routes
| Tropu'hopu (Ship) |
Sai (Manuscript) |
Winterbloom (Gramophone) |
Author

Temenos Chapter 4 Walkthrough
Rankings
- We could not find the message board you were looking for.


Popular Games

Genshin Impact Walkthrough & Guides Wiki
Umamusume: Pretty Derby Walkthrough & Guides Wiki
Crimson Desert Walkthrough & Guides Wiki
Monster Hunter Stories 3: Twisted Reflection Walkthrough & Guides Wiki
Honkai: Star Rail Walkthrough & Guides Wiki
Pokemon Pokopia Walkthrough & Guides Wiki
The Seven Deadly Sins: Origin Walkthrough & Guides Wiki
Wuthering Waves Walkthrough & Guides Wiki
Zenless Zone Zero Walkthrough & Guides Wiki
Arknights: Endfield Walkthrough & Guides Wiki


Recommended Games
Fire Emblem Heroes (FEH) Walkthrough & Guides Wiki
Diablo 4: Vessel of Hatred Walkthrough & Guides Wiki
Cyberpunk 2077: Ultimate Edition Walkthrough & Guides Wiki
Yu-Gi-Oh! Master Duel Walkthrough & Guides Wiki
Super Smash Bros. Ultimate Walkthrough & Guides Wiki
Pokemon Brilliant Diamond and Shining Pearl (BDSP) Walkthrough & Guides Wiki
Elden Ring Shadow of the Erdtree Walkthrough & Guides Wiki
Monster Hunter World Walkthrough & Guides Wiki
The Legend of Zelda: Tears of the Kingdom Walkthrough & Guides Wiki
Persona 3 Reload Walkthrough & Guides Wiki


All rights reserved
© 2023 SQUARE ENIX CO., LTD. All Rights Reserved.
The copyrights of videos of games used in our content and other intellectual property rights belong to the provider of the game.
The contents we provide on this site were created personally by members of the Game8 editorial department.
We refuse the right to reuse or repost content taken without our permission such as data or images to other sites.
The entire theme of the boss is that it halves your healing perpetually, which is lifted while broken.