Slippenglide Island Walkthrough Guide
★ Mario & Luigi: Brothership out now!
★ How to Unlock and Complete Every Challenge!
★ Pull off strong Bros. Attacks for maximum damage!
★ Best Gear | Best Battle Plugs | Rank-Up Bonuses
★ Power up with Best Battle Plug Combos.
★ Share your Hammer Rally high scores!
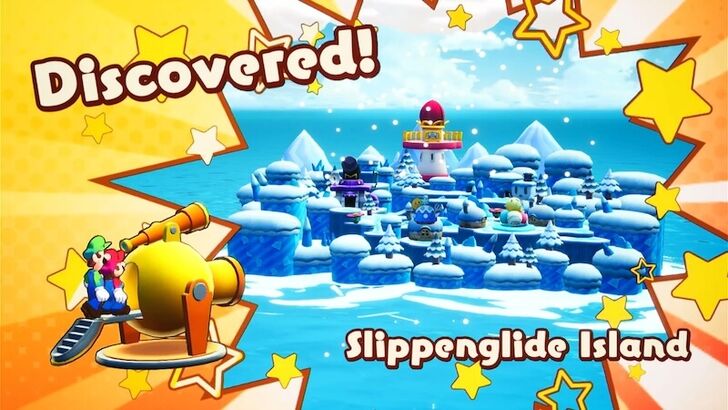
Slippenglide Island is an Island located at Brrrning Sea in Mario & Luigi: Brothership. See a map of Slippenglide Island, a full walkthrough, its location in Concordia, and how to unlock it.
List of Contents
Slippenglide Island Map and Location
Slippenglide Island Map
| Icon | How to Use |
|---|---|
 | Show Names This button reveals the Name of every icon currently shown. |
 | Show Pins This button will toggle between showing and hiding all the pins that you have already marked as acquired. |
 | Fullscreen This button will change the map display to fill the screen. |
 | Search Mode Toggle This button will display a search bar which you can use to search for an individual pin by its name. |
 | Icon Mode Toggle In Search Mode, this button will toggle you back to Icon Mode, removing the search bar and displaying the icons again. |
 | All Pins This button is shown along with the Icons on the right when there are over 6 types of pins. Click it for a full selection of all available pin types. |
 | Counter Tracks the number of pins you have of a certain type. The pin type shown is set to the page and currently cannot be changed; however, all pin type counters can be viewed by clicking the checklist icon on the right side. |
| View All Counters This icon is found on the right side of the Counter. When a map has more than one pin type, click this icon to see Counters for all pin types. |
List of All Islands and Islets
Slippenglide Island Location
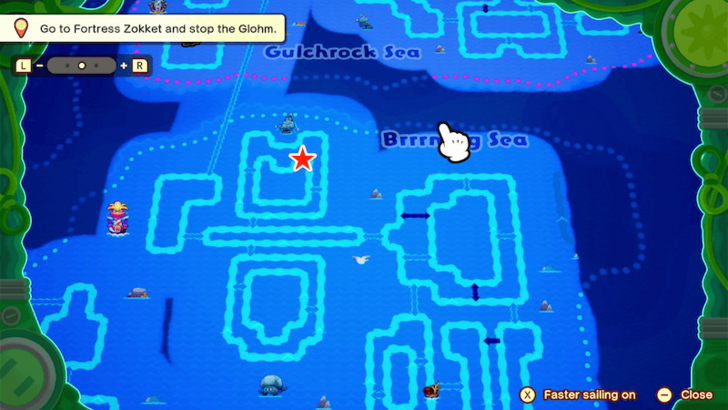
Slippenglide Island can be found near the small current at the top of Brrrning Sea.
Slippenglide Island Grampy Turnip Location
East of the Second Save Point
| Map Image | Overworld Image |
|---|---|
 |
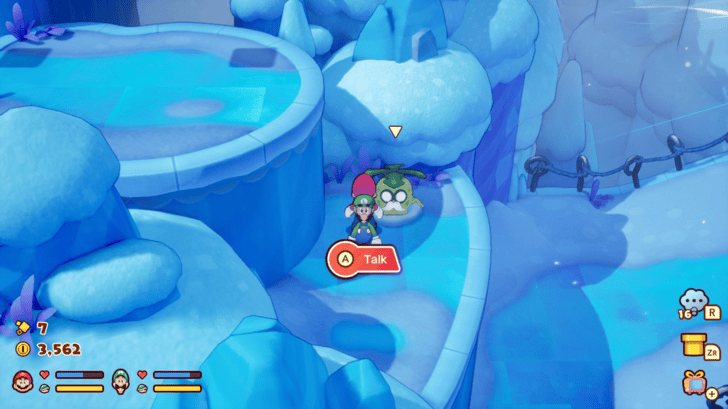 |
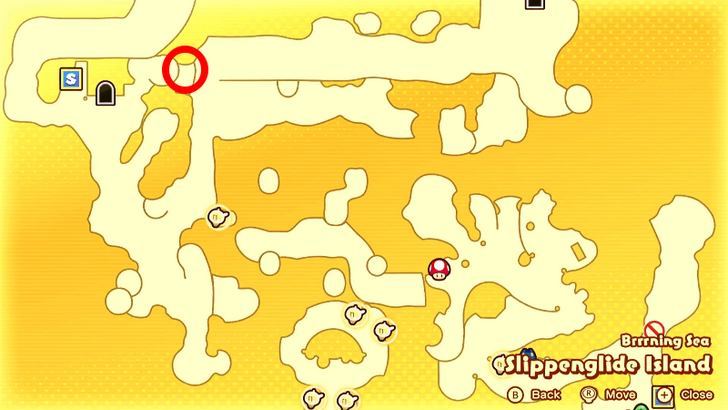
Head east of the second save point and reach the Secret Research Lab. Climb on the platforms at the right side of the lab to reach the Grampy Turnip.
All 18 Grampy Turnip Locations
Slippenglide Island Item Locations
Slowdown Boots DX
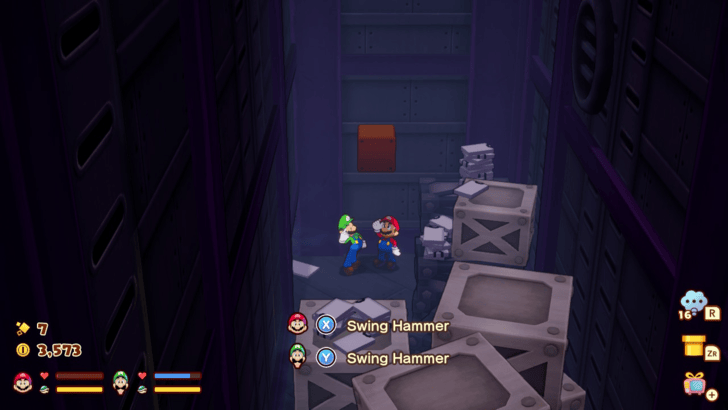
There is a question mark block that contains the Slowdown Boots DX in the lab's secret room. Go to the first floor of the laboratory and go behind one of the shelves and walk to the right.
Power Bean
You can find a question mark block that contains a Power Bean north of the first save point.
Stache Bean
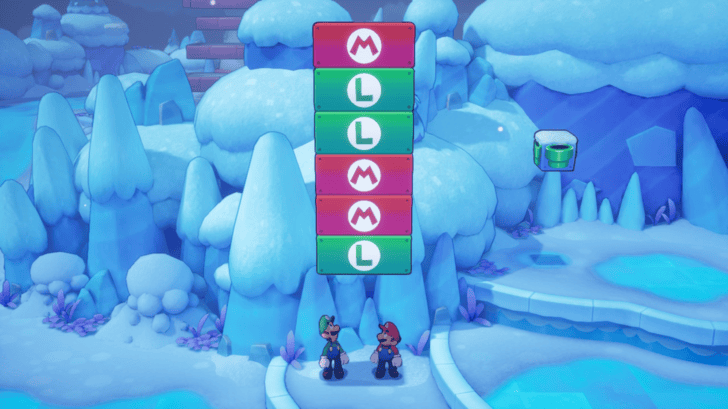
There is a single question mark block near the save block just before reaching the island's lighthouse. Hitting this question mark block activates a memory game where you have to hit the blocks that corresponds to the correct brother.
Slippenglide Island Walkthrough
| # | Step by Step Objectives |
|---|---|
| 1 |
 After completing Heatfreeze Island and returning to Shipshape, you’ll face a choice: either cure Chilliam by heading to Slippenglide Island or pursue the Extension Corps by setting sail for Skorcheen Island. Both choices lead to the same story outcome. Once you decide to go to Slippenglide Island to cure Chilliam, navigate the newly opened current at the top of Brrning Sea to reach Slippenglide Island. ▶ Cure Chilliam or Pursue Extension Corps? |
| 2 |
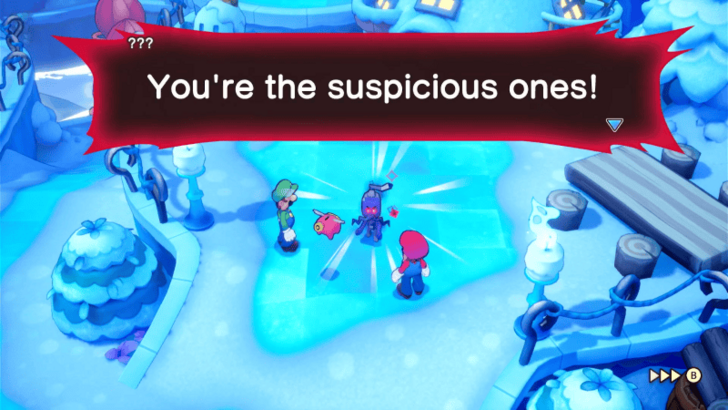 Upon arriving at Slippenglide Island, head to your left and continue the path until you reach the area where Chilliam's Dad is. He will call you out and start a brief cutscene, after this, another NPC will talk to you about how the Island is infested with Glohm. |
| 3 |
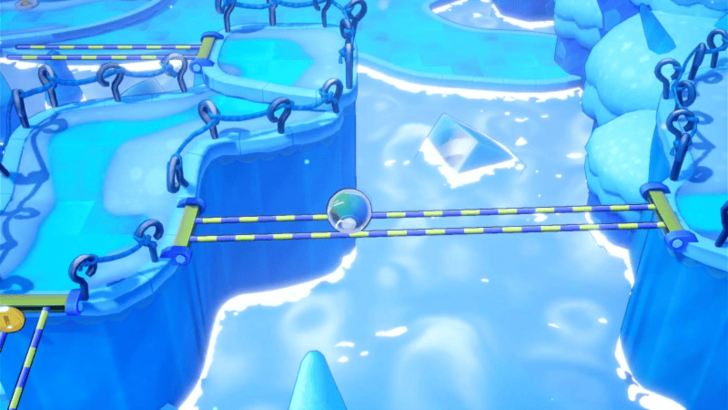 Head over to the narrow bridge supported by two pipes and use your Bro Ball Bros Move by tilting right analog stick down to safely cross to the other side. ★ Helpful Tip: Slippenglide Island will be filled with these narrow bridges, so be sure to keep using the Bro Ball Bros Move whenever you encounter them. Additionally, if a bridge is broken, you can press B and jump while in Bro Ball form to get to the other side. |
| 4 |
 Traverse the narrow bridges ahead and land on the ice below. Once on the ice, jump onto the nearby ice platforms and step on each one, moving carefully until you reach the island on the other side. ★ Helpful Tip: Be mindful that each ice platform can only be stepped on twice. After you step on it, it will crack, and if you step on it again, you’ll fall into the water. Use the image above as a guide on how to safely traverse the ice platforms. |
| 5 |
 Turn left and follow the path, battling Drillby Rs and Spikes along the way, until you reach Ten's lair. After a brief cutscene, Ten will retreat and flee. Help Dulles, who is passed out to the right, and then follow the path where Ten escaped. Be sure to use the Save Block nearby to save your progress before moving forward. |
| 6 |
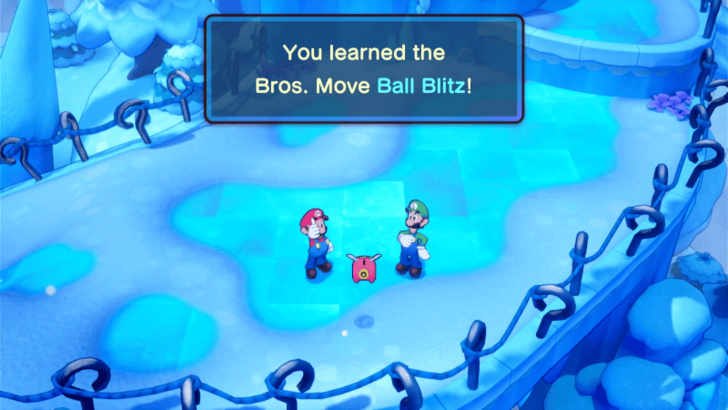 Proceed forward until you encounter a blizzard storm blocking your way, pushing you downhill whenever you attempt to go up. Snoutlet will appear and inform you that while the Bro Ball Bros Move can help, it won’t be enough to overcome the storm. You will then acquire an upgraded version of your move, the Ball Blitz. Use this new ability to power through the storm and tread uphill, ignoring its force. ▶How to Unlock All Bros. Moves |
| 7 |
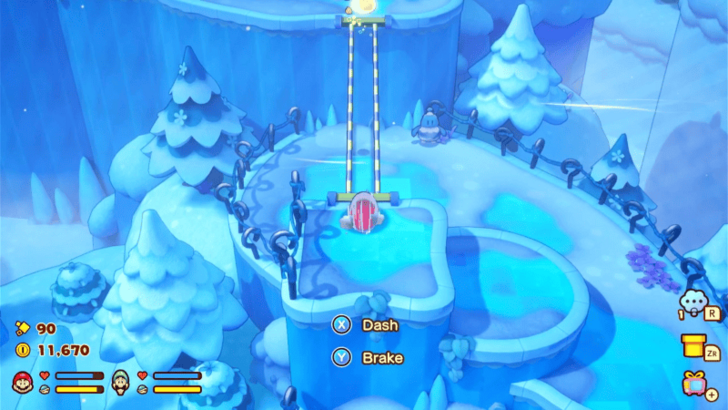 Continue ascending the mountain until you reach the moving bridge. Use your newly learned Ball Blitz move to accelerate across the bridge and safely reach the other side. |
| 8 |
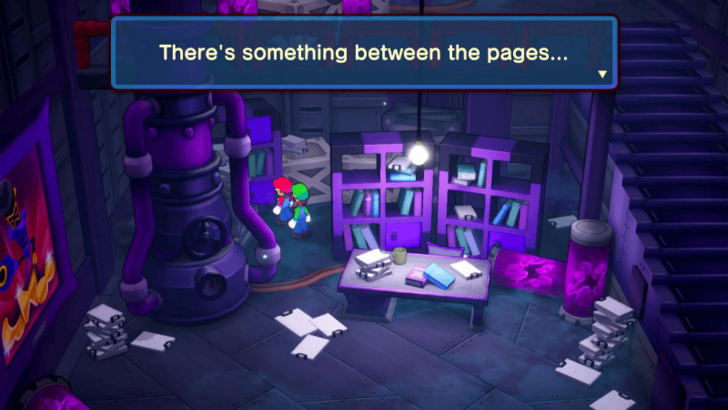 Once you cross the bridge, Ten will be waiting for you. Approach him to trigger a brief cutscene. Afterward, you’ll be redirected to his lab, where you’ll need to investigate everything you can about the Glohm and the experiments conducted there. Once you’ve finished your investigation, head outside and reconvene with the gang. |
| 9 |
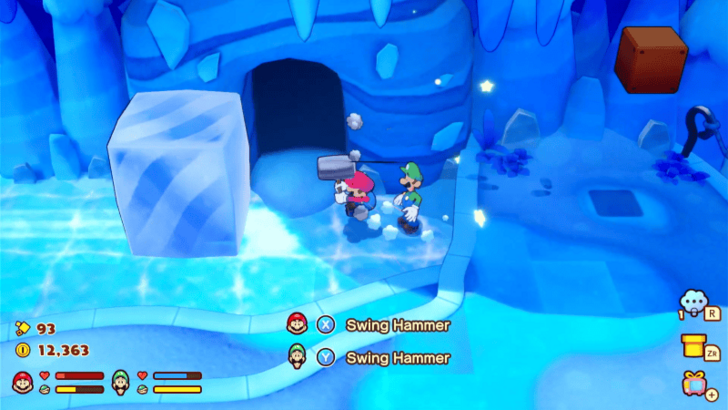 Head right from the lab until you encounter another blizzard storm. Use your Ball Blitz move to power through and reach the end of the storm. There, you’ll find an Ice Block covering a cave entrance. Use your hammer to push the Ice Block away, then proceed inside the cave. |
| 10 |
 Inside the cave, you’ll need to locate three ice blocks and push them into the water on the left to form a makeshift bridge for exiting the cave. Refer to the image above for the locations of the ice blocks. Push each block carefully so they fall through the floor and into the water one by one. ★ Helpful Tip: Use your hammer to push the ice blocks. Additionally, you can examine the sign near the entrance for a bird's eye view of the ice block puzzle. |
| 11 |
 After exiting the cave, you’ll come across a Recovery Block, a Save Block, and a Tunnel Block. Make use of these, as the next area will feature a back-to-back battle against the Goomba Army and the Koopa Troopa Army. ★ Helpful Tip: Focus on using multi-hit Bros Attacks to target multiple enemies at once, as defeating one enemy will only cause another to spawn. Keep your strategy focused on clearing groups efficiently! ▶ List of All Bros. Attacks |
| 12 |
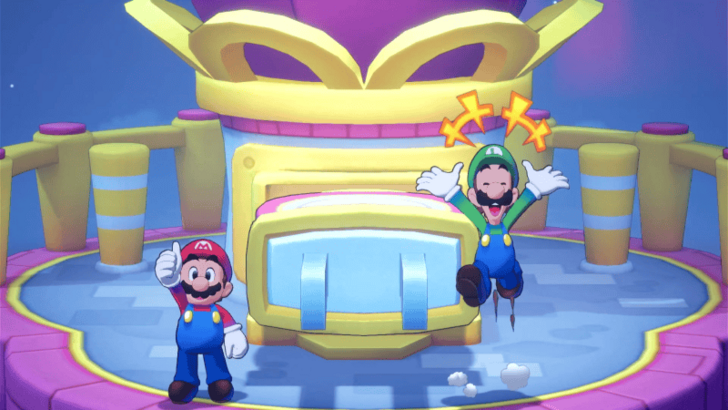 After successfully defeating both batches of Goombas and Koopa Troopas, a brief cutscene with Bowser Jr. will play. However, you won’t battle him, as he will flee the area. With the enemies cleared, proceed to pull the plug on Slippenglide Island to complete your mission. Once done, return to Shipshape Island to report back. |
Slippenglide Island Puzzles
How to Cross the Narrow Path
Use Bro Ball Bros. Move

Use the Bro Ball Bros. Move to cross the yellow and purple narrow pathways without falling off. If there's a gap in between the two paths, press the B Button to jump.
How to Climb the Steep Slope
Use the Ball Blitz Bros. Move Upgrade
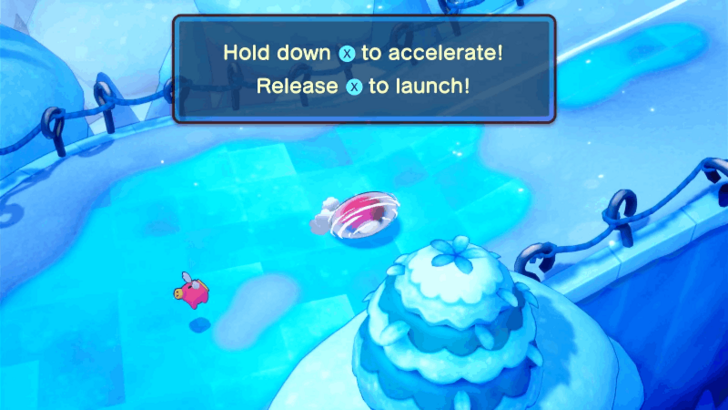
Once you reach the entrance to the lab facility, head left and jump on the ledges until you reach an area where you cannot climb the steep slope due to the wind.
Watch the cutscene that plays and activate Bro Ball to try to climb up the slope. Activate Bro Ball for the second time and press and hold the X Button to accelerate. Release the X Button to launch yourself to the top of the slope.
Enemies in Slippenglide Island
All Enemies Found in Slippenglide Island
| Enemy | Enemy Tips |
|---|---|
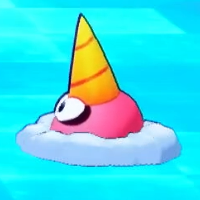 Drillby R Drillby R
|
Although Drillby R’s underground attack isn’t visible, you can listen for its digging sounds to know its proximity and counter the attack effectively. |
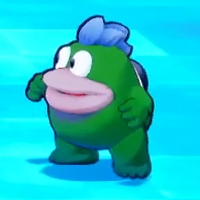 Spike Spike
|
Spike's spiked log attack has three variations: the first is a straightforward attack that hits both Mario and Luigi in a straight line; the second involves tossing the log upward to miss Mario, but it will continue rolling toward Luigi; and the third tosses the log upward to miss Mario, but it will roll backward, ultimately targeting Mario. |
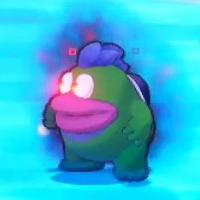 Glohm Spike Glohm Spike
|
Glohm Spike's spiked log attack has three variations: the first is a straightforward attack that hits both Mario and Luigi in a straight line; the second involves tossing the log upward to miss one brother, but it will continue rolling toward the other one; and the third tosses the log upward to miss one brother, but it will roll backward, ultimately targeting the other brother. |
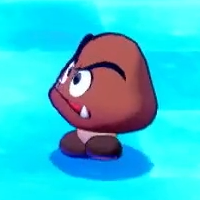 Goomba Goomba
|
Pay attention to each Goomba's movement during their formation attack as each one can either jump at you or ram through you. |
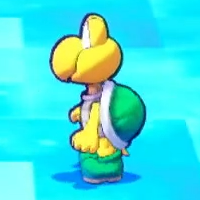 Koopa Troopa Koopa Troopa
|
If a Koopa Troopa has wings, only use Jump attacks. If it is a regular Koopa Troopa, you can use either Jump or Hammer attacks. |
Slippenglide Island Shops
Item Shop
| Map Image | Overworld Image |
|---|---|
 |
 |
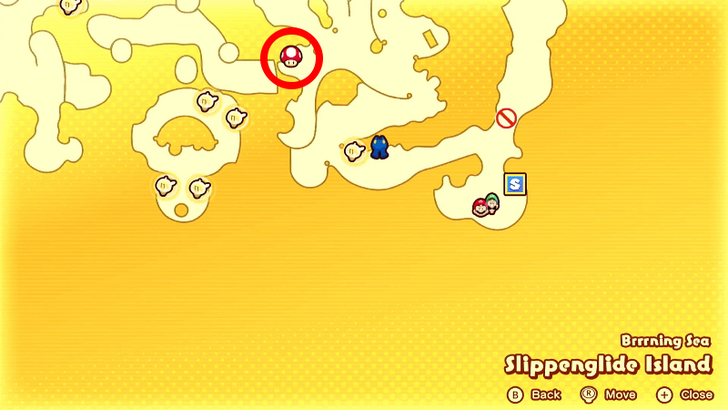
The item shop is located northwest of the first save point at Slippenglide Island.
Items Sold
| Item | Price |
|---|---|
|
|
10 |
|
|
30 |
|
|
100 |
|
|
50 |
|
|
400 |
|
|
20 |
|
|
20 |
|
|
60 |
|
|
200 |
|
|
30 |
|
|
100 |
|
|
300 |
|
|
5 |
Gear Shop
| Map Image | Overworld Image |
|---|---|
 |
 |
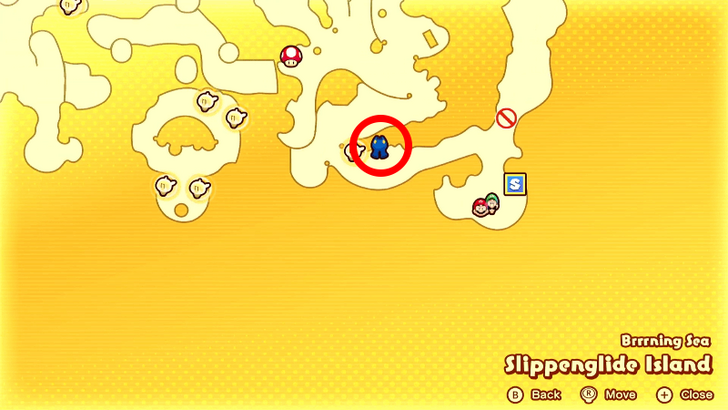
The gear shop is located west of the first save point at Slippenglide Island.
Gear Sold
| Gear | Price |
|---|---|
|
|
1,200 |
|
|
1,600 |
|
|
1,600 |
|
|
1,200 |
|
|
2000 |
|
|
1,300 |
|
|
920 |
|
|
1600 |
Mario and Luigi: Brothership Related Guides

List of All Islands and Islets
All Islands
| Lushgreen Sea Islands | |
|---|---|
| Great Lighthouse Island (Lushgreen Sea) | Rumbla Island |
| Twistee Island | Raynforst Island |
| Florall Island | |
| Color-Full Sea Islands | |
| Great Lighthouse Island (Color-Full Sea) | Desolatt Island |
| Merrygo Island | Lottacoins Island |
| Allsand Island | |
| Brrrning Sea Islands | |
| Great Lighthouse Island (Brrrning Sea) | Bulbfish Island |
| Heatfreeze Island | Skorcheen Island |
| Slippenglide Island | |
| Gulchrock Sea Islands | |
| Great Lighthouse Island (Gulchrock Sea) | Offandon Island |
| Wayaway Island | |
| Stormstar Sea Islands | |
| Conductor Island | Jellyfish Island |
| Fortress Zokket | Soli-Tree |
Comment
Author
Slippenglide Island Walkthrough Guide
improvement survey
03/2026
improving Game8's site?

Your answers will help us to improve our website.
Note: Please be sure not to enter any kind of personal information into your response.

We hope you continue to make use of Game8.
Rankings
- We could not find the message board you were looking for.
Gaming News
Popular Games

Genshin Impact Walkthrough & Guides Wiki

Honkai: Star Rail Walkthrough & Guides Wiki

Umamusume: Pretty Derby Walkthrough & Guides Wiki

Pokemon Pokopia Walkthrough & Guides Wiki

Resident Evil Requiem (RE9) Walkthrough & Guides Wiki

Monster Hunter Wilds Walkthrough & Guides Wiki

Wuthering Waves Walkthrough & Guides Wiki

Arknights: Endfield Walkthrough & Guides Wiki

Pokemon FireRed and LeafGreen (FRLG) Walkthrough & Guides Wiki

Pokemon TCG Pocket (PTCGP) Strategies & Guides Wiki
Recommended Games

Diablo 4: Vessel of Hatred Walkthrough & Guides Wiki

Fire Emblem Heroes (FEH) Walkthrough & Guides Wiki

Yu-Gi-Oh! Master Duel Walkthrough & Guides Wiki

Super Smash Bros. Ultimate Walkthrough & Guides Wiki

Pokemon Brilliant Diamond and Shining Pearl (BDSP) Walkthrough & Guides Wiki

Elden Ring Shadow of the Erdtree Walkthrough & Guides Wiki

Monster Hunter World Walkthrough & Guides Wiki

The Legend of Zelda: Tears of the Kingdom Walkthrough & Guides Wiki

Persona 3 Reload Walkthrough & Guides Wiki

Cyberpunk 2077: Ultimate Edition Walkthrough & Guides Wiki
All rights reserved
© Nintendo. Games are property of their respective owners.
The copyrights of videos of games used in our content and other intellectual property rights belong to the provider of the game.
The contents we provide on this site were created personally by members of the Game8 editorial department.
We refuse the right to reuse or repost content taken without our permission such as data or images to other sites.





![Everwind Review [Early Access] | The Shaky First Step to A Very Long Journey](https://img.game8.co/4440226/ab079b1153298a042633dd1ef51e878e.png/thumb)

![Monster Hunter Stories 3 Review [First Impressions] | Simply Rejuvenating](https://img.game8.co/4438641/2a31b7702bd70e78ec8efd24661dacda.jpeg/thumb)


