Offandon Island Walkthrough Guide
★ Mario & Luigi: Brothership out now!
★ How to Unlock and Complete Every Challenge!
★ Pull off strong Bros. Attacks for maximum damage!
★ Best Gear | Best Battle Plugs | Rank-Up Bonuses
★ Power up with Best Battle Plug Combos.
★ Share your Hammer Rally high scores!
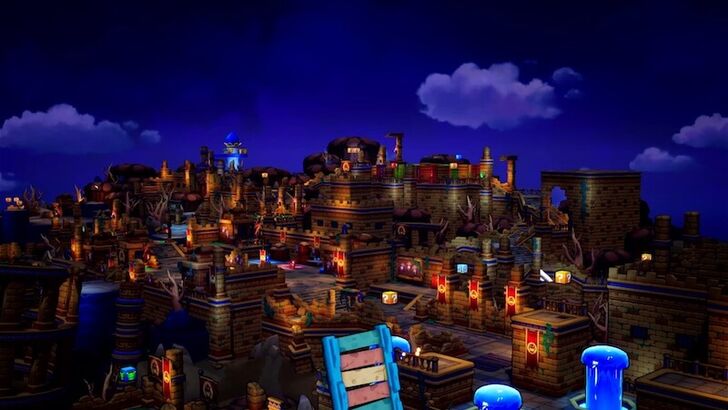
Offandon Island is an Island located at Gulchrock Sea in Mario & Luigi: Brothership. See a map of Offandon Island, a full walkthrough, its location in Concordia, and how to unlock it.
List of Contents
Offandon Island Map and Location
Offandon Island Map
| Icon | How to Use |
|---|---|
 | Show Names This button reveals the Name of every icon currently shown. |
 | Show Pins This button will toggle between showing and hiding all the pins that you have already marked as acquired. |
 | Fullscreen This button will change the map display to fill the screen. |
 | Search Mode Toggle This button will display a search bar which you can use to search for an individual pin by its name. |
 | Icon Mode Toggle In Search Mode, this button will toggle you back to Icon Mode, removing the search bar and displaying the icons again. |
 | All Pins This button is shown along with the Icons on the right when there are over 6 types of pins. Click it for a full selection of all available pin types. |
 | Counter Tracks the number of pins you have of a certain type. The pin type shown is set to the page and currently cannot be changed; however, all pin type counters can be viewed by clicking the checklist icon on the right side. |
| View All Counters This icon is found on the right side of the Counter. When a map has more than one pin type, click this icon to see Counters for all pin types. |
List of All Islands and Islets
Offandon Island Location

Offandon Island can be found within a current east of Gulchrock Sea.
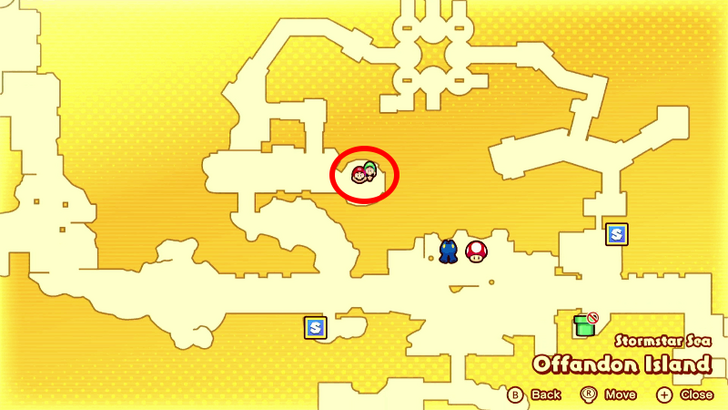
Offandon Island Grampy Turnip Location
Northwest of the Second Item and Gear Shop
| Map Image | Overworld Image |
|---|---|
 |
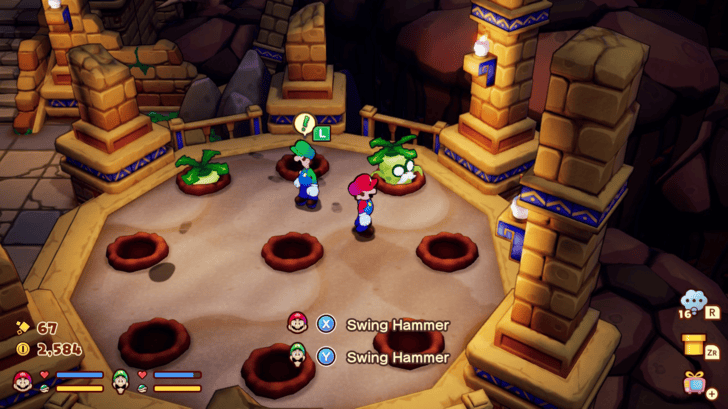 |
You can find the Grampy Turnip at the circular area filled with other turnips northwest of the second item and gear shops.
All 18 Grampy Turnip Locations
Offandon Island Item Locations
Bros. Wear DX
There is a question mark block that contains the Bros. Wear DX located north of the Grampy Turnip.
How to Get Bros. Wear DX and Stats
Offandon Island Walkthrough
Offandon Island First Visit
| # | Step by Step Objectives |
|---|---|
| 1 |
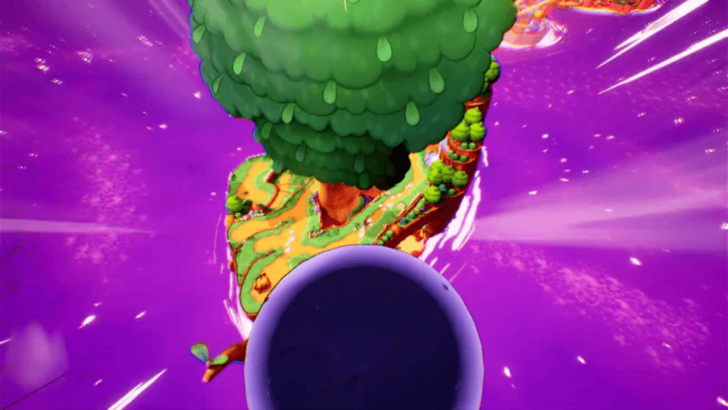 After finishing the Great Lighthouse Island of Brrrning Sea and returning to Shipshape, you’ll be witnessing a battle between the Zok Trooper Army and Bowser's Minions. After a brief cutscene, you'll be thrown off of Shipshape Island and you'll eventually drift off into an unfamiliar island. ▶ Brrrning Great Lighthouse Island Location Guide |
| 2 |
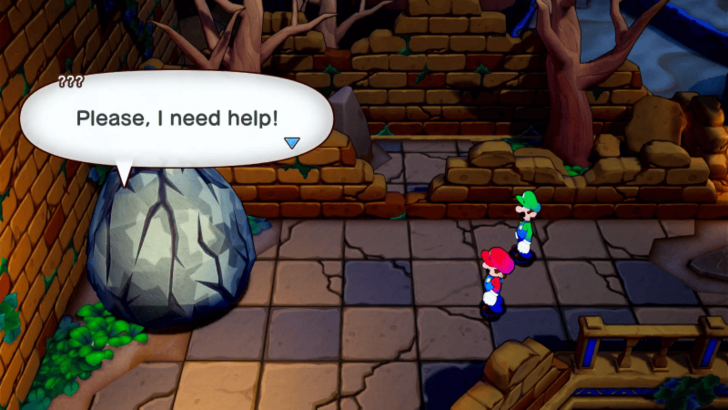 Head north to find a Shop, a Recovery Block, and a Save Block. Use them as needed, and don’t forget to save your game. Continue along the curved path until you hear someone calling for help, triggering a cutscene. Break the boulder with your hammer to set Buddy free. He’ll inform you that you’ve landed on Offandon Island. |
| 3 |
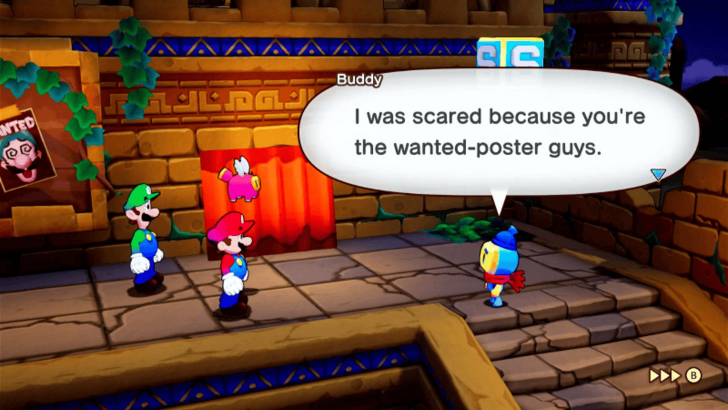 After the cutscene, Buddy will run away. Follow him and give chase until you come across a group of people discussing Mario and Luigi, noting that they are now wanted. Buddy will then escort you to a secret path leading to the lighthouse. Transform into your Ball Blitz Bros. Move and navigate through the tunnel. |
| 4 |
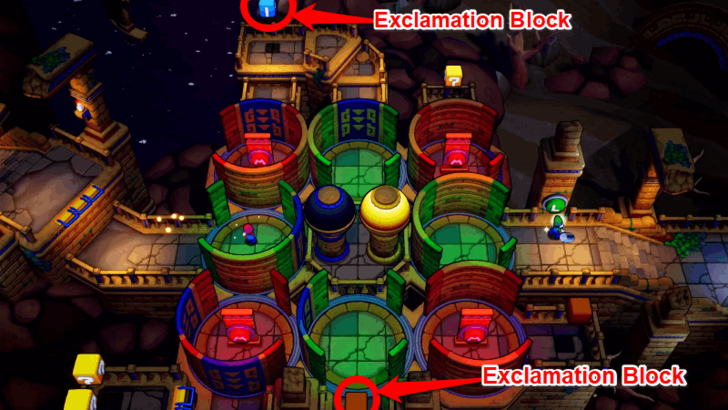 Continue through the path, battling Miltons as you climb toward the top, until you reach the Rotating Wall Puzzle. To solve it, have Luigi press the green L button located at the left corner of the bridge. This rotates the walls, giving access to the orange exclamation block at the bottom. After activating it, head to the top-right and press the red M button to unlock the blue exclamation block. Activating the blue block lowers parts of the rotating walls, allowing Luigi to reunite with Mario and cross to the opposite side of the bridge. |
| 5 |
 After exiting the puzzle, proceed onward, battling Goombas, Koopa Troopas, and Miltons along the way. ★ Helpful Tip: Keep moving left, as enemies will catch up to you if you attempt to backtrack or head right. |
| 6 |
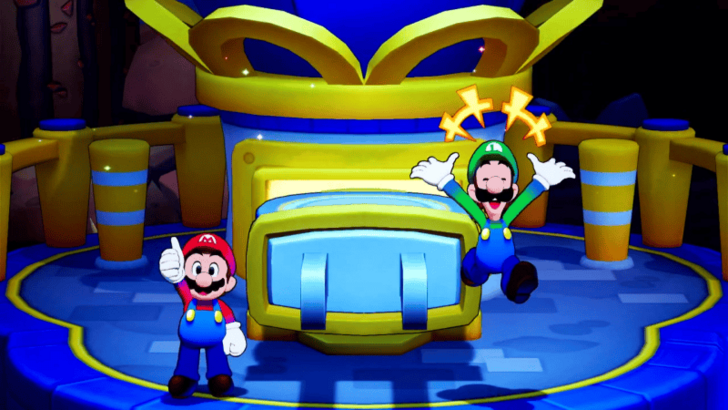 Proceed through the path on the left until you arrive at the Lighthouse area. After a brief cutscene, unplug the socket from the Lighthouse to complete Offandon Island. You can return to Shipshape Island afterwards. |
| 7 |
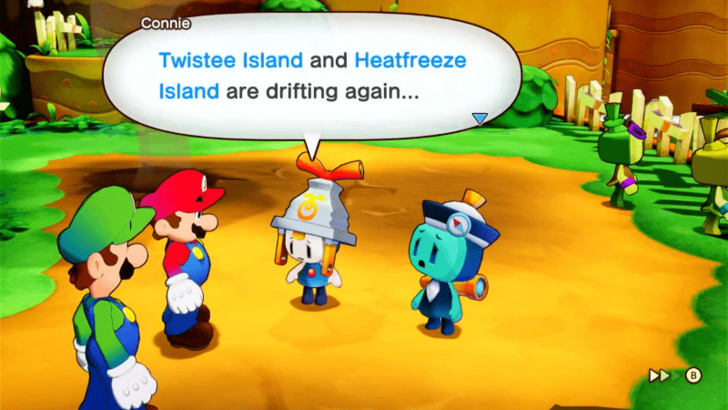 Upon returning to Shipshape Island, you’ll discover that the island has been slightly destroyed. After speaking with Connie, she will inform you that Twistee Island and Heatfreeze Island have been dislodged from the connectar and need to be relinked. These islands will be your next destinations, so it is time to visit them to restore the connections. |
Offandon Island Second Visit
| # | Step by Step Objectives |
|---|---|
| 1 |
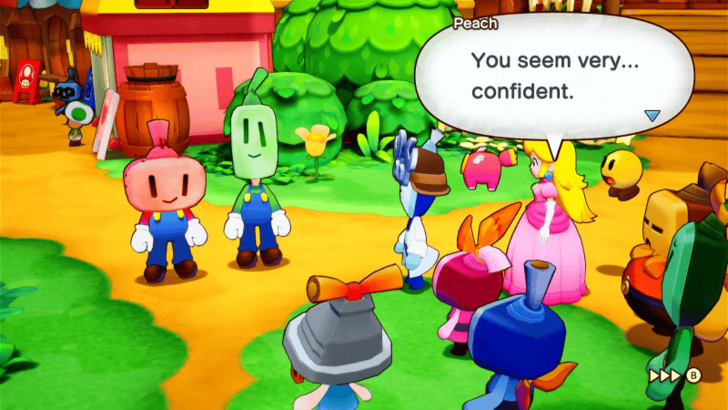 After successfully relinking both Heatfreeze and Twistee Island, your next objective is to gather a substantial supply of Ampberries. These essential resources are required to restore the islands to their former glories. Ampberries can be found on Wayaway Island, but to access them, you’ll first need to make your way through Offandon Island. Furthermore, you’ll need to return to Offandon Island to uncover what Bowser and his minions are plotting. To avoid suspicion, you must disguise yourself before heading back to conduct your investigation. You can save time traveling to Offandon by sea by using the Tunnel near the Save Block on Shipshape Island. This allows you to select your destination island directly. |
| 2 |
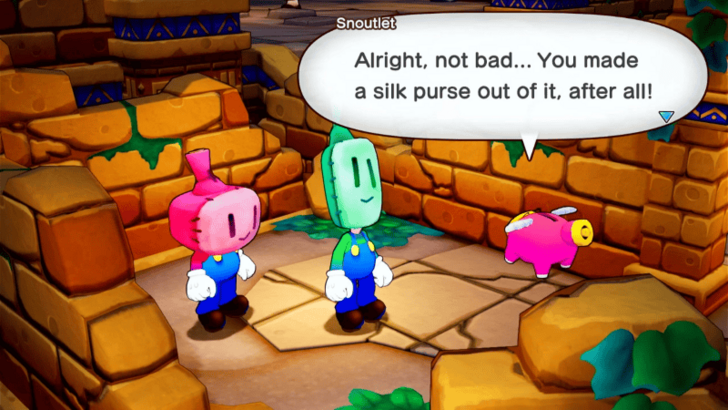 When you arrive back at Offandon, head to the plaza in the center of the map. This is where Bowser, his minions, and some villagers were discussing Mario and Luigi being wanted during your first visit to the island. They will still be gathered there, but this time, you can safely approach by wearing the disguises, allowing you to explore the area that was off-limits before. |
| 3 |
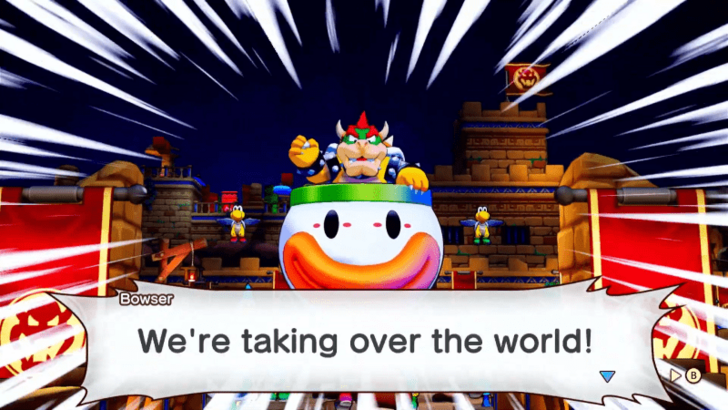 After donning your disguises and entering the plaza, you’ll encounter two Goombas who will try to interrogate you. You’ll also meet Bowser and his minions as Bowser discusses his plans and what lies ahead for him and the Zokket army. Following this brief cutscene, a pipe will appear near the entrance of the plaza, which leads you back to the main pipe leading to Shipshape. |
| 4 |
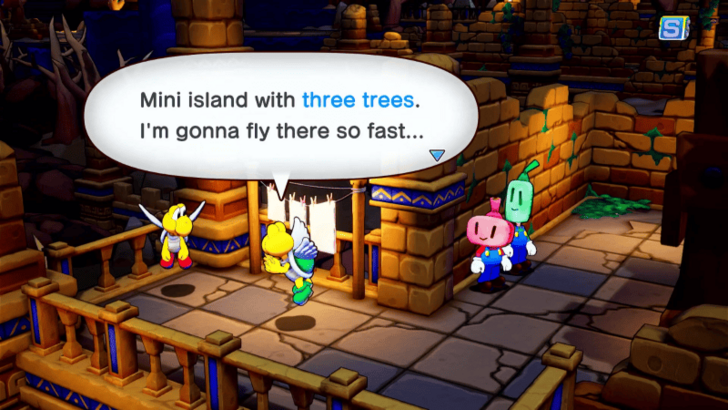 Head south from the plaza and overhear two Koopa Troopas talking about a path to Wayaway Island found in an islet with three trees. |
| 5 |
 Head back into the plaza where you will be stopped again by Bowser's minions, unfortunately your cover will be blown here and you will be sent into jail. |
| 6 |
 From the jail cell, examine the wall to your right and attempt to interact with it using your hammer, though this will prove ineffective. Next, examine the small rock to your left, but nothing will happen. After trying all possible ways to escape, a brief cutscene will trigger where Mario and Luigi shout for help. This prompts Buddy, your former ally, to come to your aid and free you from the cell. |
| 7 |
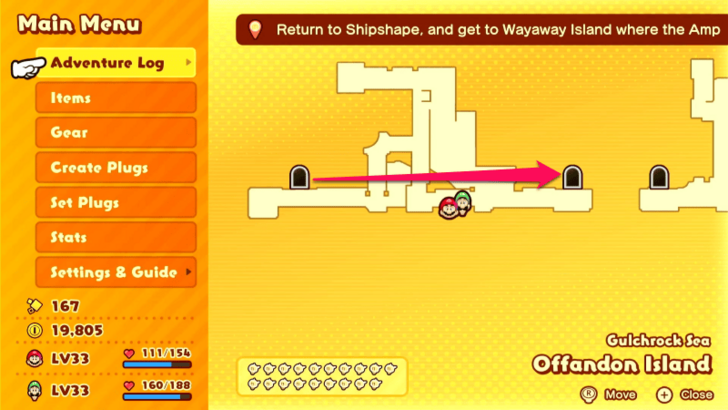 Head right and interact with the nearby cells to free another prisoner, then check the adjacent cell to collect a Max Mushroom. Once done, continue heading right and climb the stairs to exit the jail. After escaping, you'll find yourself in a completely new area of Offandon. Make your way to the rightmost part of this area, battling Bowser's Minions like Koopa Troopas and Goombas along the way, until you reach another cave entrance. |
| 8 |
 Inside the cave, the environment will be mostly dark, with Mario and Luigi illuminated by spotlights as they move. Some wall-mounted light fixtures provide limited visibility, while Watchers patrol the area with flashlights that you'll need to avoid. To navigate the pipes, you’ll need to utilize the Blitz Ball Bros. Move. Follow the path carefully, evading Watchers until you reach a stopping point where the connecting pipes come to an abrupt end. ★ Helpful Tip: Do your best not to be spotted by the watchers as this will lead you restarting from the current area. |
| 9 |
 To progress, you'll need to realign the middle pipe by locating and activating M buttons mounted on the walls throughout the area. Some of these buttons are hidden behind crates, so use your hammer to smash them and reveal the buttons. Keep hitting the buttons to adjust the pipe until it is properly aligned. Once the path is clear, follow it to the cave's exit and proceed outside. |
| 10 |
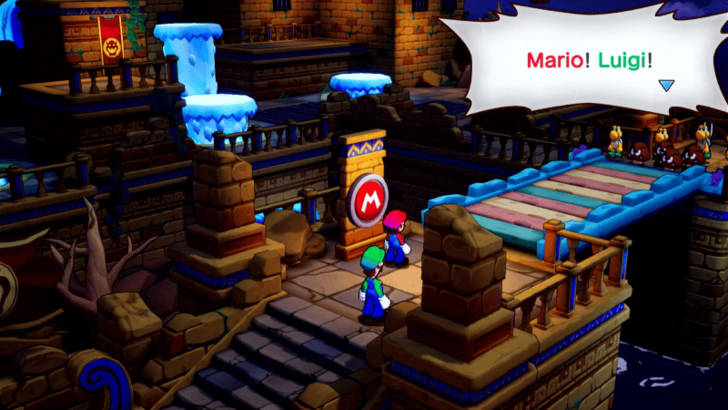 Once you exit the cave, you'll find yourself back on familiar ground in Offandon. Head north until you reach a bridge. To lower it, smash the M button with Mario's hammer. However, be cautious, as after pressing the button, you'll be ambushed by a large group of Bowser's minions. Prepare for battle. |
| 11 | After the battle, a brief cutscene will trigger featuring Buddy and Bowser Jr. Once it's over, you'll return to the first area where you initially entered Offandon Island via the pipe. Take the time to save your game, then use the nearby Recovery Block to restore your health. Once you're prepared, head back to Shipshape Island via the pipe. |
| 12 |
 Once you return to Shipshape, report your findings to Connie and share the details of what you discovered while re-exploring Offandon Island. Your next task will be to locate the Islet with three trees, as this will lead you to Wayaway Island. ▶ Wayaway Island Walkthrough Guide |
Offandon Island Puzzles
How to Solve the Rotating Wall Puzzle
Rotate the Walls to Reach the Two Exclamation Blocks

To solve this puzzle, have Luigi press the green L button at the left corner of bridge to rotate the walls around until you can reach the orange exclamation mark block at the bottom.
After activating the orange exclamation mark block, head to the top-right red M button to reach the blue exclamation block. This causes parts of the rotating walls to come down, allowing Luigi to reunite with Mario and cross the opposite side of the bridge.
Enemies in Offandon Island
All Enemies Found in Offandon Island
| Enemy | Enemy Tips |
|---|---|
 Goomba Goomba
|
Pay attention to each Goomba's movement during their formation attack as each one can either jump at you or ram through you. |
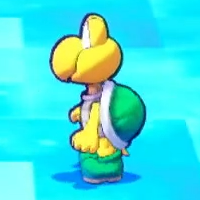 Koopa Troopa Koopa Troopa
|
If a Koopa Troopa has wings, only use Jump attacks. If it is a regular Koopa Troopa, you can use either Jump or Hammer attacks. |
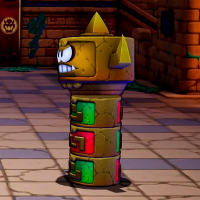 Milton Milton
|
Milton can engage in battle from a distance by throwing rocks in your direction, so stay alert. |
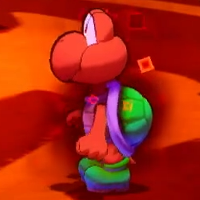 Glohm Koopa Troopa Glohm Koopa Troopa
|
If a Glohm Koopa Troopa has wings, use Jump attacks, and if it's a regular Koopa Troopa, you can use either Jump or Hammer attacks. |
 Glohm Goomba Glohm Goomba
|
Creates copies of itself and shuffles position with them. Defeat the real Glohm Goomba to win the battle! |
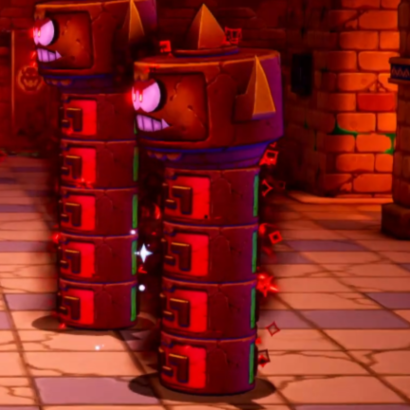 Glohm Milton Glohm Milton
|
The Glohmed version of a Milton can gain a Power boost whenever it gets attacked. |
Offandon Island Shops
Item and Gear Shop
| Map Image | Overworld Image |
|---|---|
 |
 |
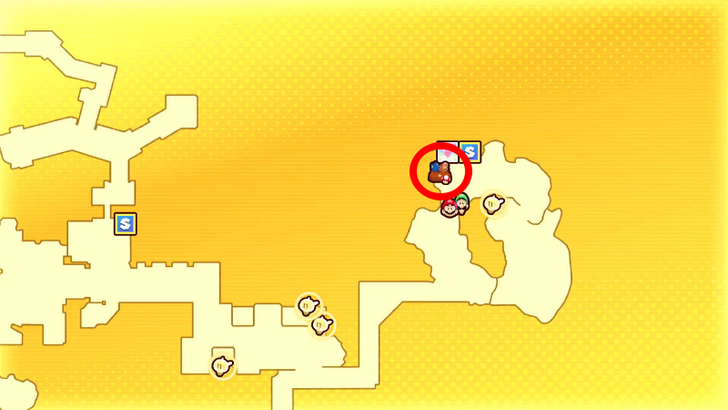
The item and gear shop is located beside the first save block in Offandon Island.
Mario and Luigi: Brothership Related Guides

List of All Islands and Islets
All Islands
| Lushgreen Sea Islands | |
|---|---|
| Great Lighthouse Island (Lushgreen Sea) | Rumbla Island |
| Twistee Island | Raynforst Island |
| Florall Island | |
| Color-Full Sea Islands | |
| Great Lighthouse Island (Color-Full Sea) | Desolatt Island |
| Merrygo Island | Lottacoins Island |
| Allsand Island | |
| Brrrning Sea Islands | |
| Great Lighthouse Island (Brrrning Sea) | Bulbfish Island |
| Heatfreeze Island | Skorcheen Island |
| Slippenglide Island | |
| Gulchrock Sea Islands | |
| Great Lighthouse Island (Gulchrock Sea) | Offandon Island |
| Wayaway Island | |
| Stormstar Sea Islands | |
| Conductor Island | Jellyfish Island |
| Fortress Zokket | Soli-Tree |
Comment
Author
Offandon Island Walkthrough Guide
improvement survey
03/2026
improving Game8's site?

Your answers will help us to improve our website.
Note: Please be sure not to enter any kind of personal information into your response.

We hope you continue to make use of Game8.
Rankings
- We could not find the message board you were looking for.
Gaming News
Popular Games

Genshin Impact Walkthrough & Guides Wiki

Honkai: Star Rail Walkthrough & Guides Wiki

Umamusume: Pretty Derby Walkthrough & Guides Wiki

Pokemon Pokopia Walkthrough & Guides Wiki

Resident Evil Requiem (RE9) Walkthrough & Guides Wiki

Monster Hunter Wilds Walkthrough & Guides Wiki

Wuthering Waves Walkthrough & Guides Wiki

Arknights: Endfield Walkthrough & Guides Wiki

Pokemon FireRed and LeafGreen (FRLG) Walkthrough & Guides Wiki

Pokemon TCG Pocket (PTCGP) Strategies & Guides Wiki
Recommended Games

Diablo 4: Vessel of Hatred Walkthrough & Guides Wiki

Fire Emblem Heroes (FEH) Walkthrough & Guides Wiki

Yu-Gi-Oh! Master Duel Walkthrough & Guides Wiki

Super Smash Bros. Ultimate Walkthrough & Guides Wiki

Pokemon Brilliant Diamond and Shining Pearl (BDSP) Walkthrough & Guides Wiki

Elden Ring Shadow of the Erdtree Walkthrough & Guides Wiki

Monster Hunter World Walkthrough & Guides Wiki

The Legend of Zelda: Tears of the Kingdom Walkthrough & Guides Wiki

Persona 3 Reload Walkthrough & Guides Wiki

Cyberpunk 2077: Ultimate Edition Walkthrough & Guides Wiki
All rights reserved
© Nintendo. Games are property of their respective owners.
The copyrights of videos of games used in our content and other intellectual property rights belong to the provider of the game.
The contents we provide on this site were created personally by members of the Game8 editorial department.
We refuse the right to reuse or repost content taken without our permission such as data or images to other sites.





![Everwind Review [Early Access] | The Shaky First Step to A Very Long Journey](https://img.game8.co/4440226/ab079b1153298a042633dd1ef51e878e.png/thumb)

![Monster Hunter Stories 3 Review [First Impressions] | Simply Rejuvenating](https://img.game8.co/4438641/2a31b7702bd70e78ec8efd24661dacda.jpeg/thumb)


