Firebreak Walkthrough
This guide will show you how to complete Firebreak, a main quest in Horizon Zero Dawn - The Frozen Wilds. Read on to learn the objectives, strategies, location, and rewards for the Firebreak main quest.
| Previous Quest | Next Quest |
|---|---|
| For the Werak | The Forge of Winter |
Firebreak Quest Information
General Info
| Quest Name | Firebreak |
|---|---|
| Quest Giver | Ourea |
| Rewards |
16670 XP +1 Extraordinary Reward Box +3 Bluegleam |
| Recommended Level | 50 |
| Percent (%) Completion | - - |
| Description | Now Chieftain of the werak, Aloy must lead Aratak and Ourea up to Thunder's Drum to discover the secrets within. |
Firebreak Walkthrough
How to Complete
Note: Despite unlocking the entrance of Cauldron EPSILON and The Forge of Winter quest at the end of this mission, players can still backtrack and leave the area to do more side quests or explore The Cut.
| Objectives | |
|---|---|
| 1 | 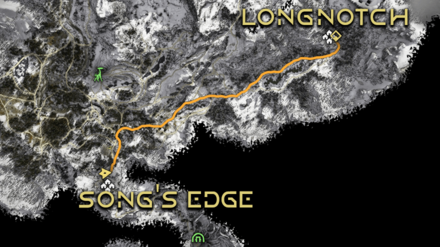 Head over to Longnotch. It can be found to the east of Song's Edge, just at the foot of the great ice wall. |
| 2 |  Talk to Ourea. Talk to Ourea.Speak to Ourea and tell her you're ready to enter Thunder's Drum. |
| 3 | 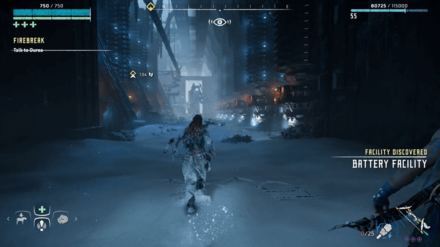 Ourea will open the door to Thunder's Drum. Watch the cutscene before entering the facility |
| 4 | 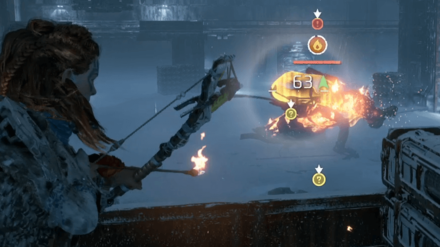 Once inside, head over to the end of the room. Climb the crane and use the pipes to get to the other side. Defeat the Daemonic Fire Bellowback, Scrappers, and Watchers out on patrol. |
| 5 | 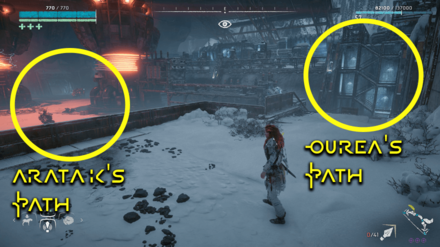 After defeating the Machines inside the Bellowback Room, you will soon enter a large factory floor patrolled by enemy machines. Aratak will suggest direct combat, while Ourea will suggest a stealth route. Choose between the two to proceed further. |
| 5.5 | 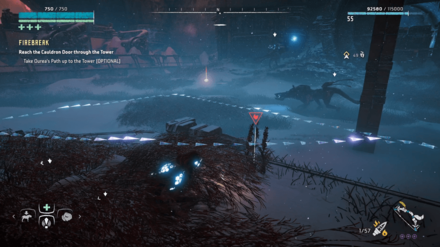 If you chose Ourea's route, immediately turn right and head up the stairs. Drop down to the new area patrolled by multiple machines. Scan and tag them, before using the Tall Grass as cover to make your way to the end. |
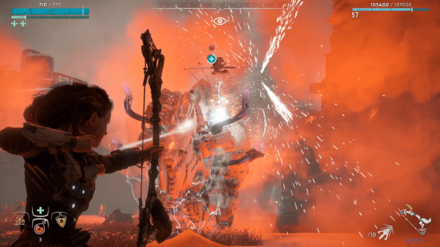 If you chose Aratak's route, take the zipline down to the middle of the large room. 2 Daemonic Scorchers and 1 Daemonic Behemoth await you at the bottom. |
|
| 6 | 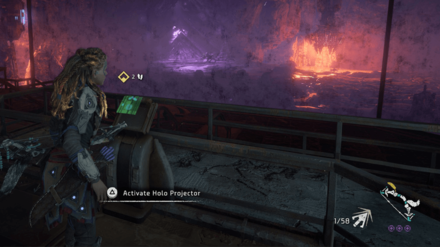 Follow the waypoints to the viewing area of the Cauldron's Door. Once there, activate the console to view a hologram recording of the facility's purpose. |
| 7 | 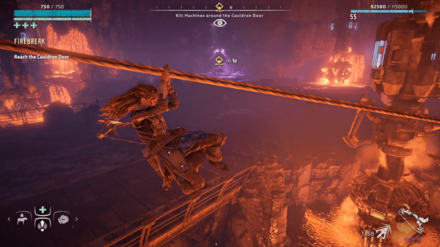 After the Hologram ends, a door will unlock. Go through it and use the zipline to reach the base of the volcanic room. |
| 8 | 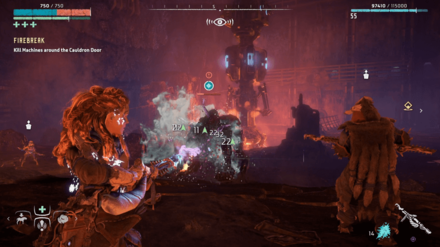 Once there, you will have to kill 1 Daemonic Scorcher, 2 Daemonic Redeye Watchers, and 2 Daemonic Scrappers. To make another upcoming battle easier, remember to detach the mine launcher from the Scorcher and save its ammunition for later. |
| 9 | 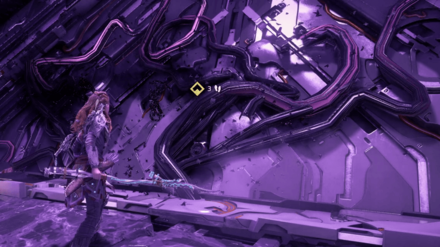 With the machines dealt with, start overriding the cauldron door. Midway through the process, you will be interrupted by the appearance of a Daemonic Thunderjaw. |
| 10 | 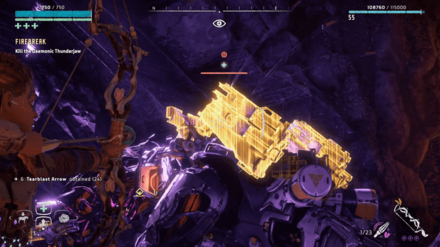 This high-level Thunderjaw will have a high resistance to tear, only reliably dropping its disc launchers if you use multiple Tearblast or Harvester arrows. Use the mine launcher you removed from the Scorcher earlier to make quick work of the Thunderjaw. |
| 11 | 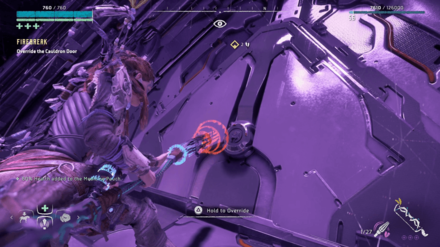 Once the Thunderjaw is beaten, head back to the Cauldron Door and override it. |
| 12 | 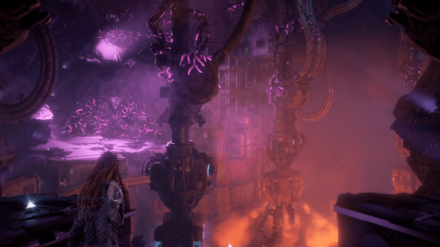 Enter the Cauldron. Enter the Cauldron.Enter the Cauldron and view the work of the Daemon. This automatically unlocks the next quest, The Forge of Winter. |
Tips and Strategies
Grab an Improved Icerail at Longnotch
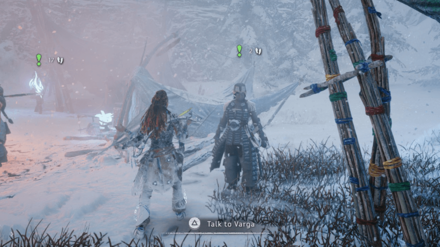
Before heading into the Battery Facility, players can opt to grab an Improved Icerail. Accept the Geared Up: Icerail errand from Varga inside Longnotch to begin.
This imporoved weapon will help you deal with all the Scorchers that appear during the current Firebreak quest and The Forge of Winter quest, later on.
Aratak's Path: Deal with the Scorchers First
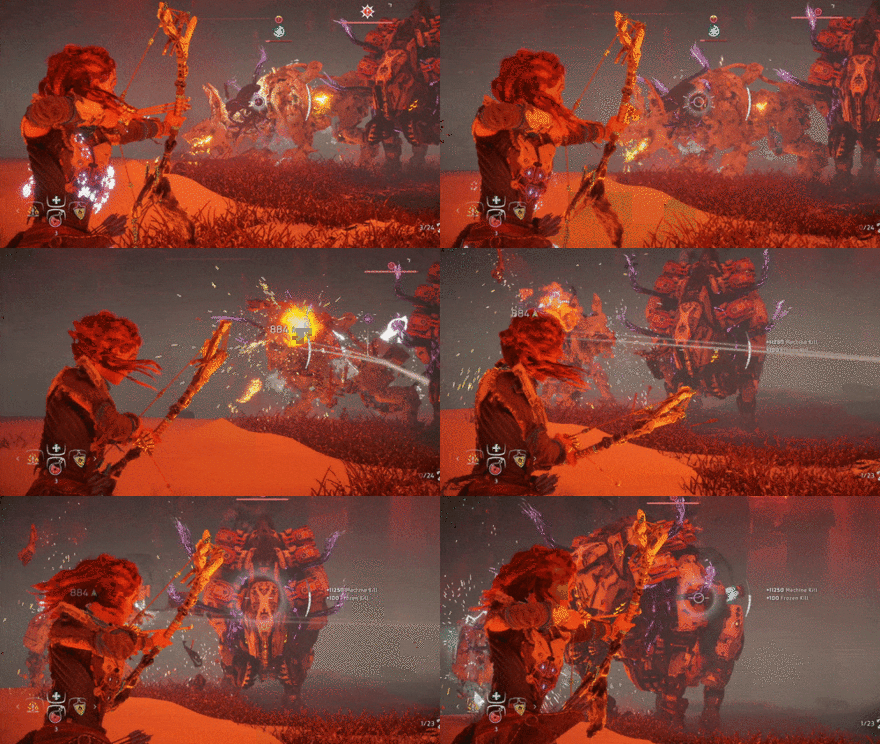
Scorchers are highly mobile machines that possess a multitude of area-of-effect fire attacks. To make this fight easier, take them out first before focusing on the Daemonic Behemoth.
Freeze them quickly using your (or Aratak's) Banuk Icerail before hitting them with Hardpoint Arrows. Using this Freeze and arrow combo will kill each of the Scorchers in quick succession.
Aratak's Path: Shoot the Behemoth's Freeze Canisters
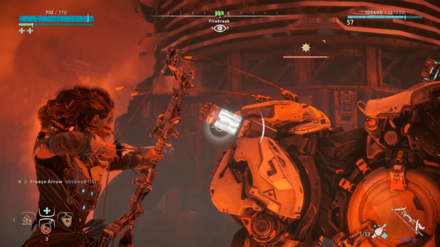
Due to the Behemoth's powerful area-of-effect attacks, getting close with the Icerail will be dangerous. Instead, use Freeze Arrows to hit the Freeze Canisters located above the Behemoth's hind legs to quickly apply the freeze debuff.
Aratak's Path: Destroy the Behemoth's Force Loaders
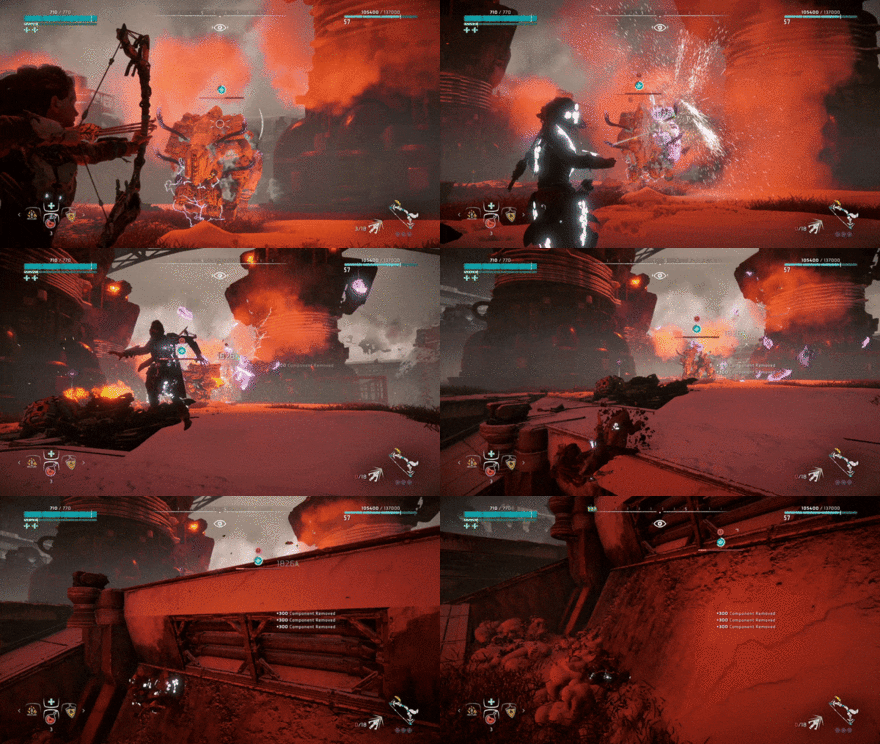
Once frozen, start destroying the Force Loaders located at the sides of the Behemoth's head. Use a combination of Hardpoint Arrows and Triple Shot to deal massive damage.
Detach the Mine Launcher from the Patrolling Scorcher
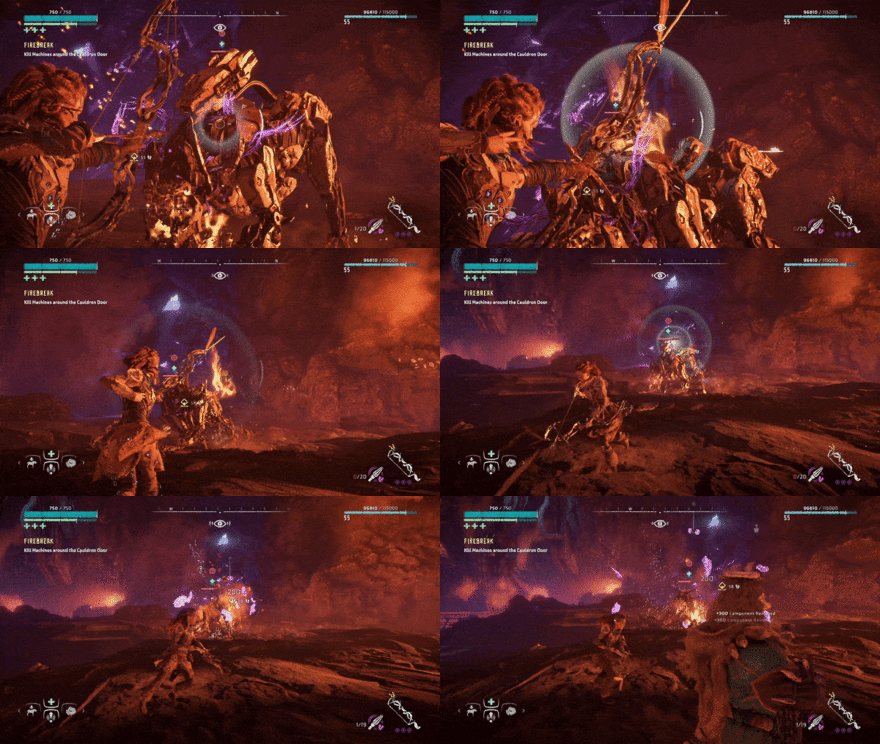
Before first overriding the door, Aloy will have to fight the Machines guarding its entrance. One of them is a Daemonic Scorcher that has a Mine Launcher strapped to its back.
Use Tearblast Arrows to remove it but do not use it immediately. Instead, after the fight ends, position it somewhere easily visible so that it can be used against the Daemonic Thunderjaw, later on.
Use the Mine Launcher on the Daemonic Thunderjaw
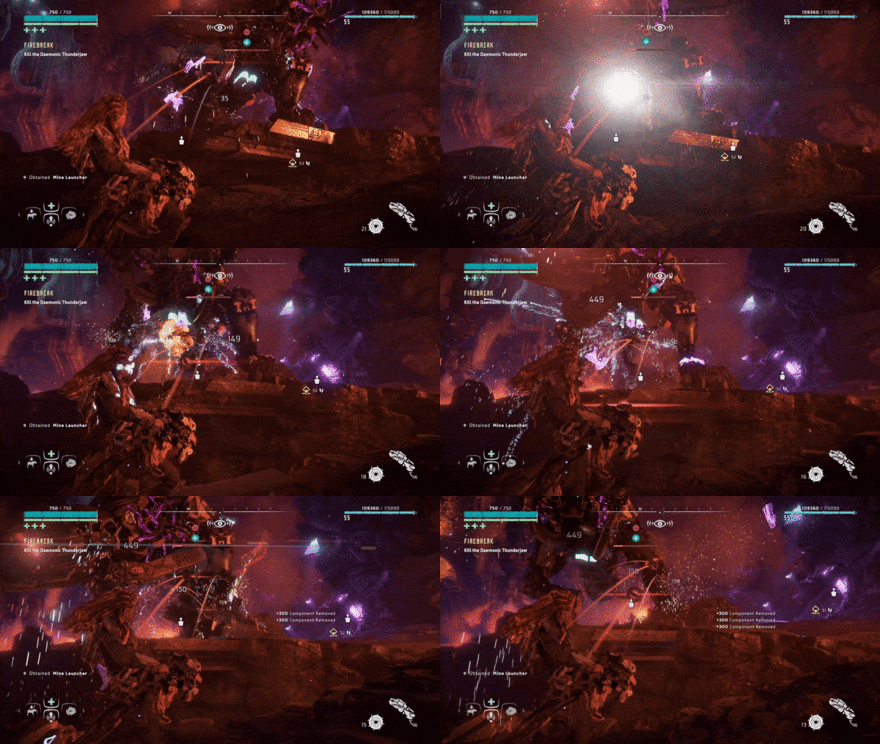
A quick way to deal a lot of damage to the high-level, Daemonic Thunderjaw is to use the Mine Launcher against it. While Aratak distracts it, start shooting the mines near it for immediate detonation.
Use Multiple Tear Arrows to Detach the Disc Launchers
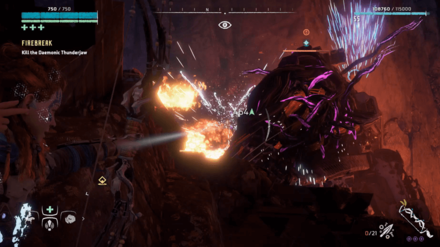
Even with a Sharpshot bow armed to the teeth with high tear modifications, Tearblast and Harvester Arrows will rarely take off the disc launchers in one go. Use multiple shots with the Triple Shot skill to remove the disc launchers for use.
Note: Do not use Hardpoint Arrows if you want to detach the disc launchers. These arrows will destroy the component entirely.
Horizon Zero Dawn Quests
Main Quest Guides
Frozen Wild Main Quest Guides
| Frozen Wild Main Quest Walkthroughs | |
|---|---|
| Into the Frozen Wilds | The Shaman's Path |
| For the Werak | Firebreak |
| The Forge of Winter | |
Author
Firebreak Walkthrough
improvement survey
03/2026
improving Game8's site?

Your answers will help us to improve our website.
Note: Please be sure not to enter any kind of personal information into your response.

We hope you continue to make use of Game8.
Rankings
- We could not find the message board you were looking for.
Gaming News
Popular Games

Genshin Impact Walkthrough & Guides Wiki

Honkai: Star Rail Walkthrough & Guides Wiki

Umamusume: Pretty Derby Walkthrough & Guides Wiki

Pokemon Pokopia Walkthrough & Guides Wiki

Resident Evil Requiem (RE9) Walkthrough & Guides Wiki

Monster Hunter Wilds Walkthrough & Guides Wiki

Wuthering Waves Walkthrough & Guides Wiki

Arknights: Endfield Walkthrough & Guides Wiki

Pokemon FireRed and LeafGreen (FRLG) Walkthrough & Guides Wiki

Pokemon TCG Pocket (PTCGP) Strategies & Guides Wiki
Recommended Games

Diablo 4: Vessel of Hatred Walkthrough & Guides Wiki

Fire Emblem Heroes (FEH) Walkthrough & Guides Wiki

Yu-Gi-Oh! Master Duel Walkthrough & Guides Wiki

Super Smash Bros. Ultimate Walkthrough & Guides Wiki

Pokemon Brilliant Diamond and Shining Pearl (BDSP) Walkthrough & Guides Wiki

Elden Ring Shadow of the Erdtree Walkthrough & Guides Wiki

Monster Hunter World Walkthrough & Guides Wiki

The Legend of Zelda: Tears of the Kingdom Walkthrough & Guides Wiki

Persona 3 Reload Walkthrough & Guides Wiki

Cyberpunk 2077: Ultimate Edition Walkthrough & Guides Wiki
All rights reserved
©2016 Sony Interactive Entertainment Europe. Horizon Zero Dawn is a trademark of Sony Interactive Entertainment
America LLC. Developed by Guerrilla.
Sony Interactive Entertainment Privacy Policy & EULA
The copyrights of videos of games used in our content and other intellectual property rights belong to the provider of the game.
The contents we provide on this site were created personally by members of the Game8 editorial department.
We refuse the right to reuse or repost content taken without our permission such as data or images to other sites.





![Everwind Review [Early Access] | The Shaky First Step to A Very Long Journey](https://img.game8.co/4440226/ab079b1153298a042633dd1ef51e878e.png/thumb)

![Monster Hunter Stories 3 Review [First Impressions] | Simply Rejuvenating](https://img.game8.co/4438641/2a31b7702bd70e78ec8efd24661dacda.jpeg/thumb)


