This survey will take about 1 minute.
Your answers will help us to improve our website.
FF7 Remake
Intergrade Chapter 2: Covert Ops Walkthrough

Welcome to Game8's story walkthrough of Chapter 2: Covert Ops featured in the INTERmission DLC of FF7 Remake Intergrade, the FF7 Remake upgrade for the PS5 that released on June 10th, 2021. For a step-by-step guide of the new Yuffie episode including hunting down the Ultimate Materia in Shinra's Advanced Weaponry Division, how to beat Scarlet and the Crimson Mare, and how to beat Nero, read on!
| Previous Chapter | Wutai's Finest |
|---|---|
| Current Chapter | Covert Ops |
| Next Chapter | - |
List of Contents
- List of Main Scenario Objectives
- INTERmission Chapter 2
- Shinra Building B16 - Advanced Weaponry: Inspection
- B15 - Advanced Weaponry: Production
- B14 - Advanced Weaponry: Maintenance
- B13 Advanced Weaponry Development
- B20 - Advanced Weaponry Testing
- Heavy Weapons Platform Testing
- Combat Simulator Prototype
- Maps and Obtainable Items
- Maps
- Obtainable Items
- Shops & Vending Machines
- Tips and Strategies
- Hard Mode Tips
- Boss Strategy Guide
- Scarlet
- Projector
- Nero
- Related Links
List of Main Scenario Objectives
| No. | Title | Description |
|---|---|---|
| 1 | Scarlet's Trap | Make your way through the Advanced Weaponry division of Shinra. |
| 2 | The Hunt Continues | Continue searching for the Ultimate Materia in the Advanced Weaponry division of Shinra. |
| 3 | The Invitation | Scarlet invites you to play with some of her machines. |
| 4 | A New Threat | Nero has been awakened and is ready for a hunt. | 5 | Escape | Escape from Shinra headquarters. |
| 6 | Dread | Battle against Nero. |
INTERmission Chapter 2
Shinra Building B16 - Advanced Weaponry: Inspection
| Objectives | |
|---|---|
| 1 |  After Scarlet blocks your path turn back the other way for a rest area. |
| 2 |  Continue down the hall and enter the door on the right for a fight with 1 Sweeper and 2 Slug-Rays. |
| 3 | 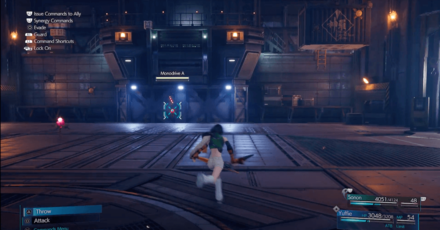 Fight the 2 Monodrives that spawn. |
| 4 | 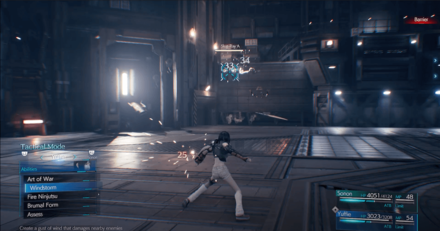 Fight the 3 Shock-Rays and 2 Slug-Rays that spawn. |
| 5 |  Knock down the cargo container with your shuriken and have Sonon boost Yuffie up. Kick down the ladder for Sonon. |
| 6 |  Continue down the hall to enter B15 - Advanced Weaponry: Production |
B15 - Advanced Weaponry: Production
| Objectives | |
|---|---|
| 1 |  Fight the two Shock Troopers. |
| 2 | 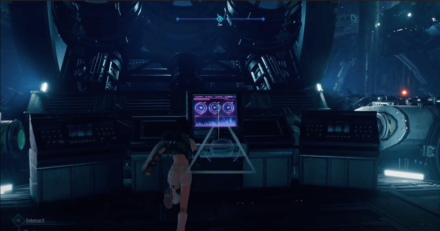 Turn on the power from the terminal to open several pods with Materia and open a path forward. |
| 3 | 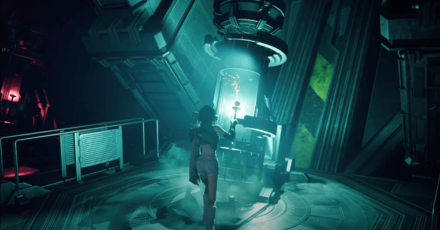 Collect the following Materia from the room: Ninja Cannonball x1, Steadfast Block x1, Skill Master x1. |
| 4 | 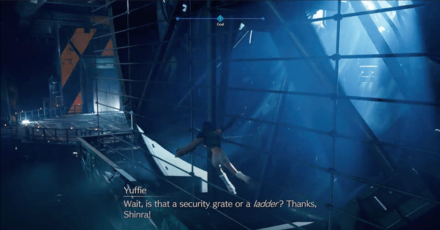 Go back to the terminal and go across the metal pipes. Run across the side of the fan and climb up. |
B14 - Advanced Weaponry: Maintenance
| Objectives | |
|---|---|
| 1 | 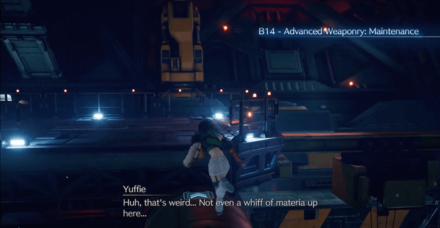 Go across the pipe to the next platform. |
| 2 | 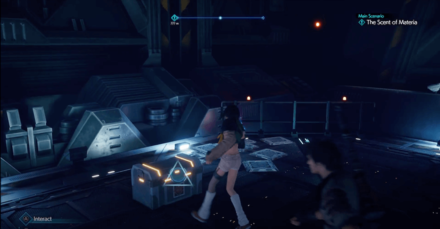 Go left for a chest with the Ribbon then continue back to the right. |
| 3 |  Go through the door and the chest to the left will have a Volant Armlet. Continue through the next doorway and fight the 2 3-C Soldier Operators. |
| 4 |  Follow the path forward and swing across the gap. |
| 5 | 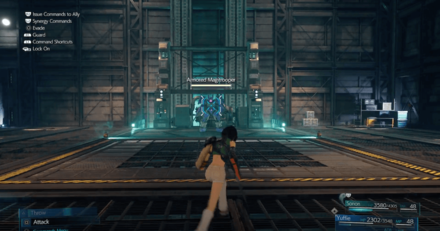 Fight the Armored Magitrooper |
| 6 |  Go through the door to the left and the chest will have Djinn Staff for Sonon. |
| 7 | 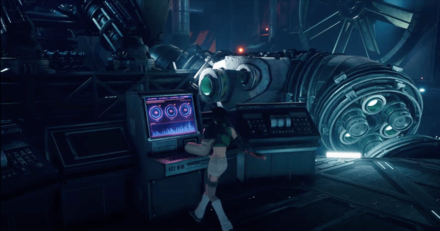 Keep moving forward and activate the terminal in the next room. |
| 8 | 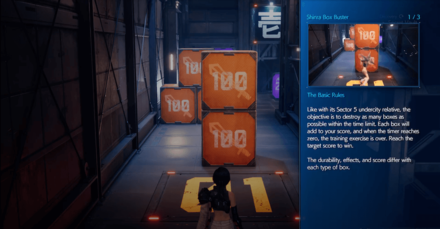 Enter the door that opens behind you and access the terminal to play Shinra Box Buster. |
| 9 | 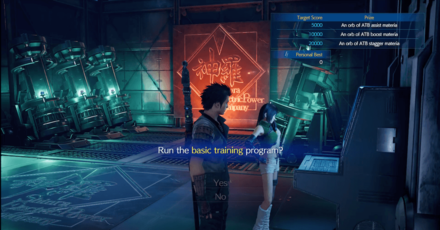 Score 5,000, 10,000, and 20,000 points on normal difficulty to receive ATB Assist, ATB Boost, and ATB Stagger Materia respectively. Score 10,000, 30,000, and 50,000 points on hard to receive Magnify Materia, Gil Up Materia, and EXP Up Materia respectively. |
| 10 | 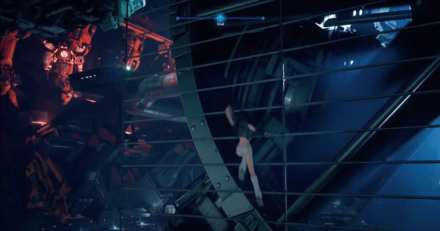 Go back to the main room and climb up the fan's left side in the center and cross to the next platform. |
B13 Advanced Weaponry Development
| Objectives | |
|---|---|
| 1 | 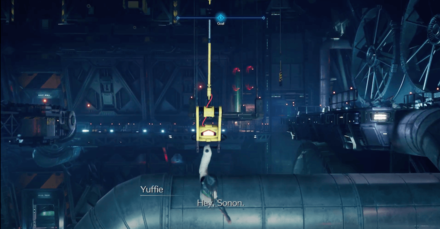 From the left side of the fan continue forward and swing across the next 2 gaps to get some Time Materia. Now slide back down and climb up the right side of the fan. |
| 2 | 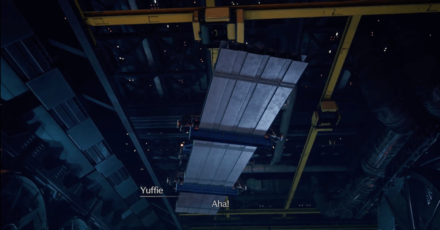 From the right side of the fan go forward and a cutscene will play. Knock down the beam to get across to the next area. |
| 3 | 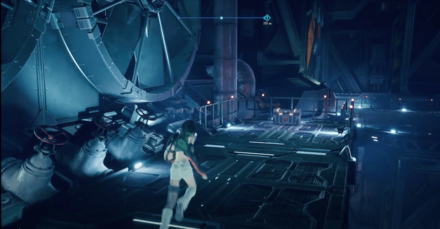 Take a side path to the left for a chest with a Healing Carcanet. |
| 4 | 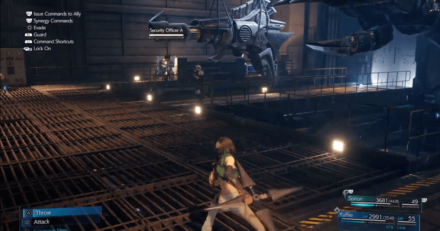 Return to the main path and go through the door to fight 3 Security Officers and 1 Elite Grenadier. |
| 5 |  Continue through the door between two big suspended robot arms and follow the path to end up in Scarlet's room. |
| 6 | 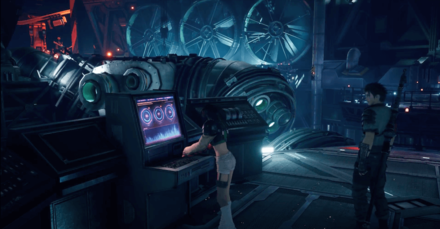 Continue through the door on the right and go to the next terminal to turn on the power. |
| 7 |  Go back to Scarlet's room to get a better look at the Materia in the tube. Fight the Armored Shock Trooper and Armored Magitrooper that spawn. |
| 8 | 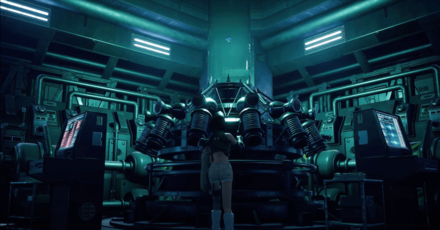 Grab the AP Up Materia from Scarlet's Room. Then rest up in Scarlet's chair and continue through the door to the left of where you originally entered. |
B20 - Advanced Weaponry Testing
| Objectives | |
|---|---|
| 1 |  Use your shuriken to hit a hologram above the gate. This will decide if you will fight 2 Mark II Monodrives (left hologram) or 2 Sweepers (right hologram). Then go down the elevator. |
| 2 | 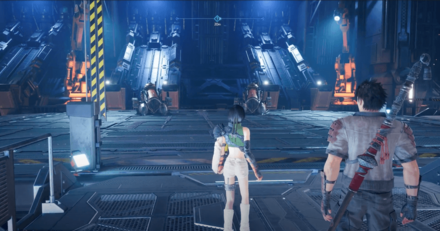 Fight the 2 Sweepers or the 2 Mark II Monodrives after getting off of the elevator. |
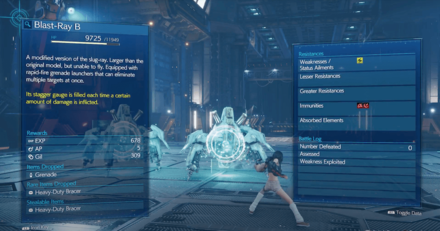
| 3 |  Hit the right hologram and get on the next platform to fight 2 Blast-Rays or hit the hologram on the left to fight a Cutter. |
| 4 |  Return to the platform and hit the left hologram to go to the next area to fight 6 Monodrives. Hit the right hologram to fight 4 Slug-Rays. |
| 5 |  Return to the platform and hit the left hologram to fight the M.O.T.H. Unit, or hit the right hologram to fight 2 Armored Magitroopers. |
| 6 |  Return to the platform, this time there is only one hologram. Continue and fight the Deathwheel. |
| 7 |  Go up the elevator and rest at the bench. Then go through the next hallway to enter Heavy Weapons Platform Testing. |
Heavy Weapons Platform Testing

| Objectives | |
|---|---|
| Boss 1 |
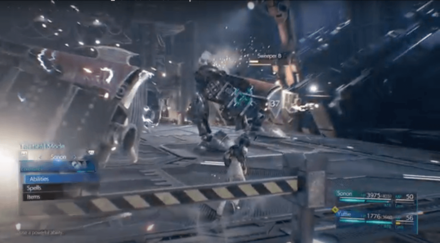
 It's time for a boss fight with Scarlet in her Crimson Mare! This boss has a weakness to fire-based attacks. How to Beat the Crimson Mare |
| 2 | 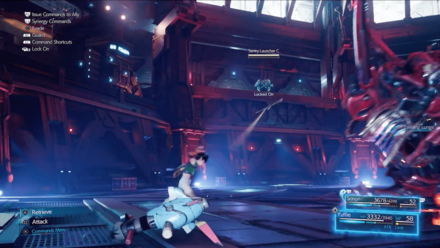 Take out the Sentry Rays and Sentry Launchers on the sides with your shuriken or spells. |
| 3 | 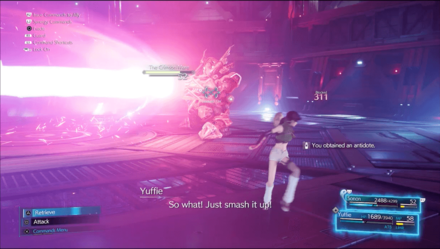 After a certain point in the fight she will equip herself with Makocannons on each arm. Target them to disable them. |
| 4 | 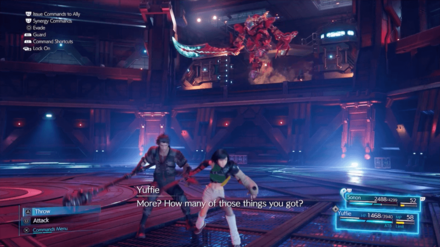 The Crimson Mare will then switch to sword and shield mode, equipping a claymore. Watch out for it's long reach. |
| 5 | 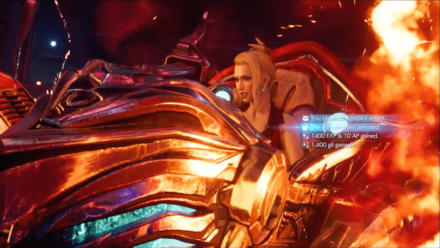 Take her down and you will receive the Firebird Armlet. Scarlet will contact Deepground after she is defeated. |
| 6 | 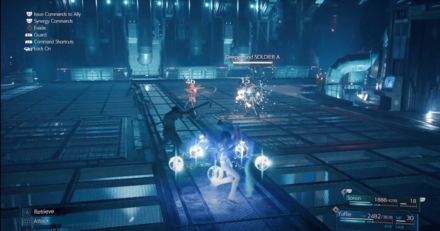 Follow the path and fight the 3 Deepground SOLDIERS. They are weak to fire-based attacks. |
Combat Simulator Prototype

| Objectives | |
|---|---|
| 1 |  Rest at the bench and attempt to open the door. |
| 2 | 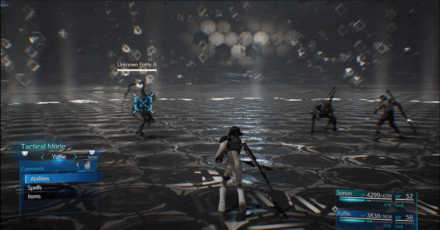 Fight the 2 Unknown Entities which are weak to ice-based attacks. |
| 3 | 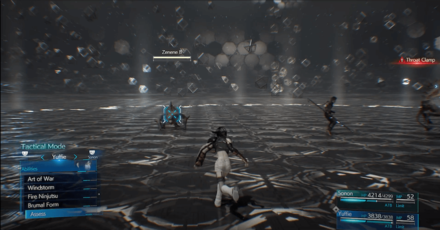 Next fight the the two Zenene which have no weakness. |
| 4 |  Next take down the Elite Grenadier, and the 3 Riot Troopers. |
| Boss 5 |
 Next is the fight with the Diabolic Creation and Projector. Take out the Projector to stop the Diabolic Creation from respawning. How to Beat Projector |
| 6 |  Rest at the bench and continue through the door you couldn't open before. |
| Boss 7 |
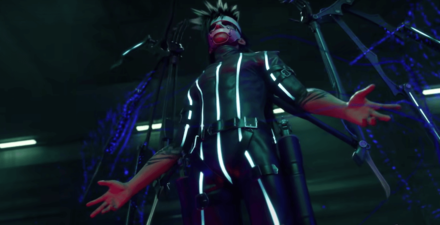
Go through the door in the right corner of the room and follow the path to encounter Nero. Defeat him to trigger the ending scenes of the INTERmission DLC. How to Beat Nero |
Maps and Obtainable Items
Maps
| B16 - Advanced Weaponry | B15 - Advanced Weaponry |
|---|---|
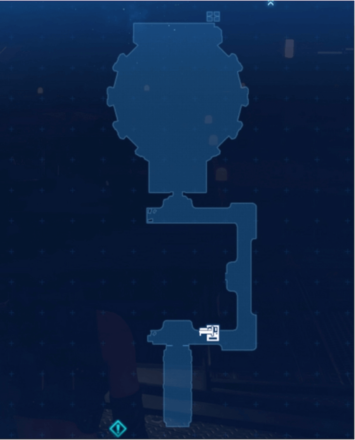 |
 |
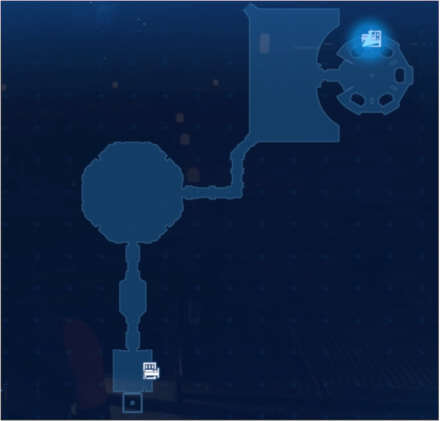
| B14 - Advanced Weaponry | B13 - Advanced Weaponry |
 |
 |
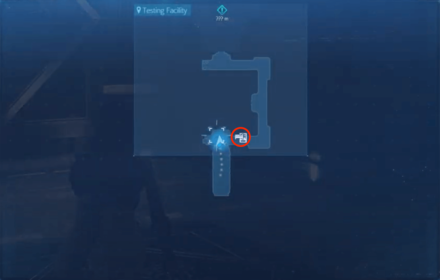
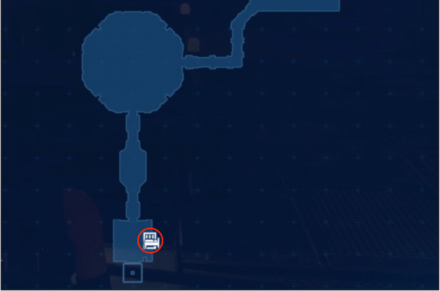
| B13 - Testing Grounds | B20 - Heavy Weapons Platform Testing |
 |
 |
Obtainable Items
| B15 - Advanced Weaponry | ||
|---|---|---|
| Skill Master Materia | Ninja Cannoball Materia | Steadfast Block Materia |
| B14 - Advanced Weaponry | ||
| Volant Armlet | Ribbon | Djinn Staff |
| B13 - Advanced Weaponry | ||
| Time Materia | Healing Carcanet | AP Up Materia |
| Heavy Weapons Platform Testing | ||
| Firebird Armlet | - | - |
Shops & Vending Machines
Vending Machine - B16
 |
| Items | Price |
|---|---|
| Potion | 50 Gil |
| Hi-Potion | 300 Gil |
| Phoenix Down | 300 Gil |
| Antidote | 80 Gil |
| Echo Mist | 100 Gil |
| Healing Materia | 600 Gil |
| Cleansing Materia | 1500 Gil |
| Revival Materia | 3000 Gil |
| Fire Materia | 500 Gil |
| Ice Materia | 500 Gil |
| Lightning Materia | 500 Gil |
| Poison Materia | 1500 Gil |
| Barrier Materia | 1500 Gil |
| Binding Materia | 3000 Gil |
| Subversion Materia | 3000 Gil |
| HP Up Materia | 2000 Gil |
| Deadly Dodge Materia | 600 Gil |
| Iron Bangle | 1000 Gil |
| Star Bracelet | 1600 Gil |
| Gothic Bangle | 3000 Gil |
| Magician's Bracelet | 4800 Gil |
| Heavy-Duty Bracer | 4800 Gil |
| Sorcerer's Armlet | 4800 Gil |
| Geometric Armlet | 6400 Gil |
| Supreme Bracer | 6400 Gil |
| Rune Armlet | 6400 Gil |
| Force Bracelet | 8000 Gil |
| Iron Maiden | 8000 Gil |
| Astral Cuff | 8000 Gil |
| Power Wristguards | 800 Gil |
| Bulletproof Vest | 800 Gil |
| Earrings | 800 Gil |
| Talisman | 800 Gil |
| Supernatural Wristguards | 5000 Gil |
| Survival Vest | 5000 Gil |
| Platinum Earrings | 5000 Gil |
| Timeworm Talisman | 5000 Gil |
| Star Pendant | 1500 Gil |
| Revival Earrings | 500 Gil |
Vending Machine - B13 Advanced Weaponry
 |
| Items | Price |
|---|---|
| Potion | 50 Gil |
| Hi-Potion | 300 Gil |
| Phoenix Down | 300 Gil |
| Antidote | 80 Gil |
| Echo Mist | 100 Gil |
| Healing Materia | 600 Gil |
| Cleansing Materia | 1500 Gil |
| Revival Materia | 3000 Gil |
| Fire Materia | 500 Gil |
| Ice Materia | 500 Gil |
| Lightning Materia | 500 Gil |
| Poison Materia | 1500 Gil |
| Barrier Materia | 1500 Gil |
| Binding Materia | 3000 Gil |
| Subversion Materia | 3000 Gil |
| HP Up Materia | 2000 Gil |
| Deadly Dodge Materia | 600 Gil |
| Iron Bangle | 1000 Gil |
| Star Bracelet | 1600 Gil |
| Gothic Bangle | 3000 Gil |
| Magician's Bracelet | 4800 Gil |
| Heavy-Duty Bracer | 4800 Gil |
| Sorcerer's Armlet | 4800 Gil |
| Geometric Armlet | 6400 Gil |
| Supreme Bracer | 6400 Gil |
| Rune Armlet | 6400 Gil |
| Force Bracelet | 8000 Gil |
| Iron Maiden | 8000 Gil |
| Astral Cuff | 8000 Gil |
| Power Wristguards | 800 Gil |
| Bulletproof Vest | 800 Gil |
| Earrings | 800 Gil |
| Talisman | 800 Gil |
| Supernatural Wristguards | 5000 Gil |
| Survival Vest | 5000 Gil |
| Platinum Earrings | 5000 Gil |
| Timeworm Talisman | 5000 Gil |
| Star Pendant | 1500 Gil |
| Revival Earrings | 500 Gil |
Vending Machine - Combat Simulator Prototype
 |
| Items | Price |
|---|---|
| Potion | 50 Gil |
| Hi-Potion | 300 Gil |
| Phoenix Down | 300 Gil |
| Antidote | 80 Gil |
| Echo Mist | 100 Gil |
| Healing Materia | 600 Gil |
| Cleansing Materia | 1500 Gil |
| Revival Materia | 3000 Gil |
| Fire Materia | 500 Gil |
| Ice Materia | 500 Gil |
| Lightning Materia | 500 Gil |
| Poison Materia | 1500 Gil |
| Barrier Materia | 1500 Gil |
| Binding Materia | 3000 Gil |
| Subversion Materia | 3000 Gil |
| HP Up Materia | 2000 Gil |
| Deadly Dodge Materia | 600 Gil |
| Iron Bangle | 1000 Gil |
| Star Bracelet | 1600 Gil |
| Gothic Bangle | 3000 Gil |
| Magician's Bracelet | 4800 Gil |
| Heavy-Duty Bracer | 4800 Gil |
| Sorcerer's Armlet | 4800 Gil |
| Geometric Armlet | 6400 Gil |
| Supreme Bracer | 6400 Gil |
| Rune Armlet | 6400 Gil |
| Force Bracelet | 8000 Gil |
| Iron Maiden | 8000 Gil |
| Astral Cuff | 8000 Gil |
| Power Wristguards | 800 Gil |
| Bulletproof Vest | 800 Gil |
| Earrings | 800 Gil |
| Talisman | 800 Gil |
| Supernatural Wristguards | 5000 Gil |
| Survival Vest | 5000 Gil |
| Platinum Earrings | 5000 Gil |
| Timeworm Talisman | 5000 Gil |
| Star Pendant | 1500 Gil |
| Revival Earrings | 500 Gil |
Tips and Strategies
| 1 | Make full use of synergized attacks when facing difficult enemies. |
|---|---|
| 2 | Analyze the weaknesses of strong enemies and use that to your advantage. |
| 3 | Make sure to grab the Ribbon on B14 - Advanced Weaponry. |
| 4 | Get the 50000 points on Shinra Box Buster before moving on. |
Use Synergized Attacks

When Yuffie's attacks alone don't seem to be doing enough to damage or stagger enemies, making use of synergized attacks proves to be very effective.
Assess Strong Enemies for Their Weaknesses
Exploiting weaknesses of tough foes is essential, especially if you are playing on hard mode. If you are struggling against a miniboss be sure use the Assess Materia to check if it has an elemental weakness or if it can be affected by status ailments.
Pick up the Ribbon on B14 - Advanced Weaponry
The Ribbon makes its wearer immune to status ailments and it makes it harder for you to be interrupted when casting spells. Find this accessory by turning left immediately after entering B14 - Advanced Weaponry.
Get the 50,000 Points in Shinra Box Buster Before Moving On

By clearing the most difficult challenge of this minigame, you will receive EXP Up Materia. This can help grind levels for subsequent playthroughs and is particularly useful if you plan on taking on hard mode. That being said, Yuffie and Sonon take fewer experience points to level up than the Cloud, Tifa, Barret, and Aerith.
Hard Mode Tips and Strategies
As is the case with the main game, before doing a hard mode playthrough you ideally want to be at level 50. Keep in mind that you cannot use items and MP does not recover at rest areas on hard mode. Fully upgrading Materia and weapons will also help minimize the risk of getting a game over.
How to Grind EXP and AP for Hard Mode
The fastest way to get to max level while also leveling up Materia is to change the difficulty to Easy, equip an EXP Up Materia and an AP Up Materia, and then repeat battles in the Shinra Combat Simulator.
Intergrade: How to Level Up Fast and AP Farm
Boss Strategy Guide
Scarlet
| Scarlet and the Crimson Mare | |
|---|---|
|
|
| Location | Weaknesses |
| Heavy Weapons Platform Testing | Fire |
How to Defeat Scarlet and the Crimson Mare
- Use fire-based Ninjutsu and spells.
- Target the Makocannons to disable them.
- Keep a distance when it uses the Claymore.
- Hard Mode Tip - Recommended Materia: HP Up, Healing, Revival, Chakra, Prayer, MP Up, Steadfast Block, ATB Stagger, and Synergy.
- Hard Mode Tip - New Attacks: The Crimson Mare has 2 attacks exclusive to hard mode: Makocannon Fusillade (block then dodge) and Fulgent Blade (dodge).
Projector
| Projector | |
|---|---|
|
|
|
| Location | Weaknesses |
| Combat Simulator Prototype | - |
How to Defeat the Projector
- Defeat the Diabolic Creation
- Focus on the Diabolic Creation's Arm
- Bring antidotes
- When you get an opening hit the Projector with everything you have.
- Hard Mode Tip - Conserve MP: This boss comes directly before the final boss, and on hard mode you will need the MP against Nero. If you need to heal, it's best to use Chakra or Prayer to conserve MP.
Nero
| Nero | |
|---|---|
 |
|
| Location | Weaknesses |
| Beyond the Combat Simulator Prototype | - |
How to Defeat Nero
- Pressure Nero by staying aggressive and using synergized attacks
- Avoid the Darkness or Use Regen
- Aim for his wings in the final phase to stagger him
- Summon Ramuh to deal high amounts of damage
- Hard Mode Tip - Recommended Materia: HP Up, Healing, Revival, Chakra, Prayer, MP Up, Steadfast Block, ATB Stagger, and Synergy.
- Hard Mode Tip - MP: At this point you will likely be running low on MP, so be mindful of MP management when fighting Nero.
FF7 Remake Intergrade Related Links
Intergrade and INTERmission Guide
Intergrade Story Walkthrough
| Chapter 1 | Chapter 2 |
|---|---|
 Chapter 1: Wutai's Finest Chapter 1: Wutai's Finest
|
Chapter 2: Covert Ops
|
Intergrade Boss Fights
| Chapter 1 | Levrikon Gigantipede Ramuh |
|---|---|
| Chapter 2 | Scarlet & The Crimson Mare Projector Nero the Sable |
| Shinra Combat Simulator | vs. Shinra's Dark Secrets vs. Midgarian Monsters Weiss the Immaculate Pride and Joy Mk 0.5 (Top Secrets) |
Intergrade Side Content
 Happy Turtle Flyers Happy Turtle Flyers
|
 Shinra Box Buster Shinra Box Buster
|
Fort Condor Minigame
 Fort Condor Guide Fort Condor Guide
|
Condor Coin Farming |
| Fort Condor Units | |
| Fort Condor Boards |
Intergrade Guides
Author

Intergrade Chapter 2: Covert Ops Walkthrough
Please participate in our site
improvement survey
03/2026
improvement survey
03/2026
Would you assist in
improving Game8's site?
improving Game8's site?

×
We are listening to our users' valuable opinions and discussing how to act on them.
The information collected through this survey will be used for the purpose of improving our services. In addition, the information will only be disclosed a part of a statistic in a format that will not allow identification of personal information.
Begin Survey
Not Now
×
Please rate each item regarding Game8.co's Advertisements.
Amount of Ads
Very Dissatisfied
Somewhat Dissatisfied
Fine
Somewhat Satisfied
Highly Satisfied
Placement of Ads
Timing of Ad Display
Ad Loading Speed
Safeness of Ads
Content of Ads
×
Please rate each item regarding Game8.co's Quality of Articles.
Amount of information
Very Dissatisfied
Somewhat Dissatisfied
Fine
Somewhat Satisfied
Highly Satisfied
Frequency of updates
Speed of new information
Accuracy of articles
Understandibility of articles
Readability of sentences
×
Please rate each item regarding Game8.co's Usability of the Site.
Ease of finding information
Very Dissatisfied
Somewhat Dissatisfied
Fine
Somewhat Satisfied
Highly Satisfied
Loading Speed
Use of Color
Font Size
Visibility of Images
Easy to Understand Layout
×
Please rate each item regarding Game8.co's Message Boards, Comments.
Ease of Writing
Very Dissatisfied
Somewhat Dissatisfied
Fine
Somewhat Satisfied
Highly Satisfied
Readability
Ease in Finding Information
Comment Quality
Comment Quantity
Admin Response
×
Please rate each item regarding Game8.co's Site's new design.
Please rate our site's new design
Very Dissatisfied
Somewhat Dissatisfied
Fine
Somewhat Satisfied
Highly Satisfied
Do you think that the website's design change makes the site easier to use?
Has the new design made it easier for you to find information on the site?
Has the new design improved the overall visual appeal of the site?
How would you rate your overall satisfaction with the new design of the site?
×
How likely are you to recommend Game8 to someone you know?
Very Unlikely
0
1
2
3
4
5
6
7
8
9
10
Very Likely
If you have other opinions regarding potential improvement to the website, please share them with us. We would appreciate your honest opinion.
Note: This is a free response section, so you can proceed without entering anything.
Note: Please be sure not to enter any kind of personal information into your response.
Note: Please be sure not to enter any kind of personal information into your response.
×
Thank You
×
Thank you for participating in our survey! Your answers will help us to improve the quality of our website and services.
We hope you continue to make use of Game8.
We hope you continue to make use of Game8.
Close
Rankings
- We could not find the message board you were looking for.
Gaming News


Popular Games

Genshin Impact Walkthrough & Guides Wiki
Honkai: Star Rail Walkthrough & Guides Wiki
Umamusume: Pretty Derby Walkthrough & Guides Wiki
Pokemon Pokopia Walkthrough & Guides Wiki
Resident Evil Requiem (RE9) Walkthrough & Guides Wiki
Monster Hunter Wilds Walkthrough & Guides Wiki
Wuthering Waves Walkthrough & Guides Wiki
Arknights: Endfield Walkthrough & Guides Wiki
Pokemon FireRed and LeafGreen (FRLG) Walkthrough & Guides Wiki
Pokemon TCG Pocket (PTCGP) Strategies & Guides Wiki


Recommended Games
Fire Emblem Heroes (FEH) Walkthrough & Guides Wiki
Diablo 4: Vessel of Hatred Walkthrough & Guides Wiki
Yu-Gi-Oh! Master Duel Walkthrough & Guides Wiki
Super Smash Bros. Ultimate Walkthrough & Guides Wiki
Pokemon Brilliant Diamond and Shining Pearl (BDSP) Walkthrough & Guides Wiki
Elden Ring Shadow of the Erdtree Walkthrough & Guides Wiki
Monster Hunter World Walkthrough & Guides Wiki
The Legend of Zelda: Tears of the Kingdom Walkthrough & Guides Wiki
Persona 3 Reload Walkthrough & Guides Wiki
Cyberpunk 2077: Ultimate Edition Walkthrough & Guides Wiki


All rights reserved
© SQUARE ENIX CO., LTD. All Rights Reserved.
CHARACTER DESIGN:TETSUYA NOMURA/ROBERTO FERRARI
The copyrights of videos of games used in our content and other intellectual property rights belong to the provider of the game.
The contents we provide on this site were created personally by members of the Game8 editorial department.
We refuse the right to reuse or repost content taken without our permission such as data or images to other sites.