How to Beat Three-Person Team Vs. Top Secrets | Shinra Combat Simulator Guide

This is a guide to beating the Shinra Combat Simulator challenge Three-Person Team vs. Top Secrets in the game Final Fantasy 7 Remake. This article explains what enemies you will face, recommended equipment and materia, and tips and strategies for defeating them.
List of Contents
Three-Person Team vs. Top Secrets Basic Information
Enemies
| Battle Number | Enemy |
|---|---|
| Battle #1 | Shiva |
| Battle #2 | Fat Chocobo |
| Battle #3 | Leviathan |
| Battle #4 | Bahamut |
| Battle #5 | Pride and Joy |
Rewards
| Rewards |
|---|
| Gotterdammerung |
Best Characters for This Battle
Available Characters
 Cloud Cloud
|
 Barret Barret
|
 Tifa Tifa
|
 Aerith Aerith
|
It's possible to use any set of 3 characters in this battle, but we recommend using Cloud, Tifa and Aerith.
Recommended Characters
 Cloud Cloud |
Role: Attacker & Tank Weapon: Hardedge Armor: Force Bracelet Accessory: Transference Module |
|---|---|
 Tifa Tifa |
Role: Pinch Hitter Weapon: Metal Knuckles Armor: Force Bracelet Accessory: Champion Belt |
 Aerith Aerith |
Role: Red Mage Weapon: Mythril Rod Armor: Chain Bangle Accessory: Circlet |
Use Cloud When Trying to Stagger
Cloud's Focused thrust is effective for staggering the enemy and his Counterstance is good at dealing damage while blocking damage. With his all roundedness you will be using him most of the fight.
Switch to Tifa when Enemy is Staggered
While Tifa has amazing damage potential when the enemy is staggered. She can make the fights much shorter if her abilities are maximized while attacking a staggered enemy.
Aerith as Healer and Offensive Caster
Aerith will be the main healer and should prioritize healing as much as she can. And when healing is not necessary she should be casting spells or using her abilities to help the party.
Best Equipment for This Battle
Equipment
Cloud
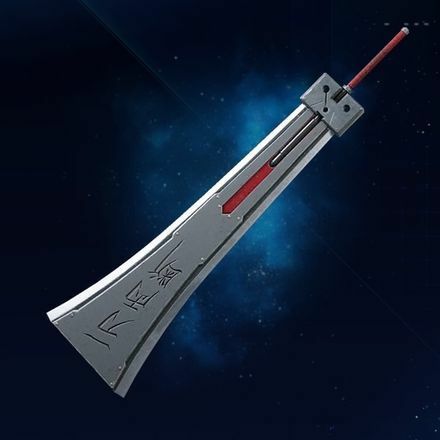
| Hardedge | Base | Fully Upgraded | ||
|---|---|---|---|---|
|
Attack | 57 | 137 | |
| Magic Attack | 19 | 46 | ||
| User | Cloud | |||
| Materia Slots (Fully Upgraded) |
○-○○ ○-○○-○○-○ |
|||
| Fully Upgraded Bonus Stats | ||||
| Defense | +0 | Magic Defense | +0 | |
| Max HP | +0 | Max MP | +0 | |
| Description | ||||
| A mighty blade able to cleave in one stroke anything foolish enough to stand in the wielder's way. | ||||
Tifa
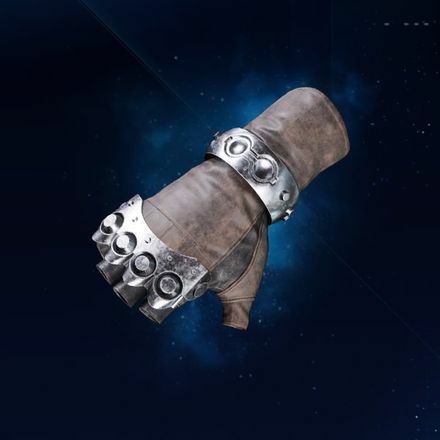
| Metal Knuckles | Base | Fully Upgraded | ||
|---|---|---|---|---|
|
Attack | 54 | 164 | |
| Magic Attack | 12 | 36 | ||
| User | Tifa | |||
| Materia Slots (Fully Upgraded) |
○-○ ○-○○-○○-○ |
|||
| Fully Upgraded Bonus Stats | ||||
| Defense | +0 | Magic Defense | +0 | |
| Max HP | +0 | Max MP | +0 | |
| Description | ||||
| Gloves reinforced with metal to pack an extra punch. | ||||
Aerith
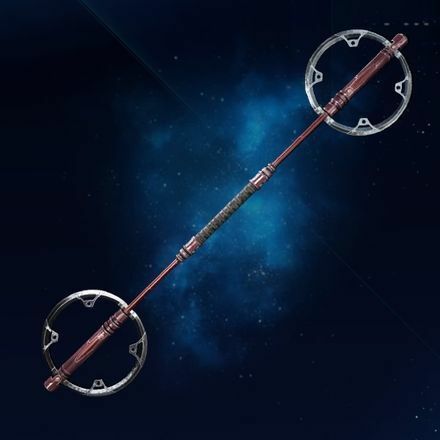
| Mythril Rod | Base | Fully Upgraded | ||
|---|---|---|---|---|
|
Attack | 24 | 24 | |
| Magic Attack | 92 | 164 | ||
| User | Aerith | |||
| Materia Slots (Fully Upgraded) |
○○○ ○-○○-○○-○ |
|||
| Fully Upgraded Bonus Stats | ||||
| Defense | +0 | Magic Defense | +0 | |
| Max HP | +400 | Max MP | +13 | |
| Description | ||||
| A rod made of mythril. Said to be a fabled mage's weapon of choice. | ||||
Everyone
Materia
Cloud
| Weapon (6 Slots) | ||
|---|---|---|
| Armor (4 Slots) | ||
| Summon | ||
Tifa
| Weapon (6 Slots) | ||
|---|---|---|
| Armor (4 Slots) | ||
| Summon | ||
Aerith
| Weapon (6 Slots) | ||
|---|---|---|
| Armor (4 Slots) | ||
| Summon | ||
Three-Person Team vs. Top Secrets Battle Guide
Battle #1
| Shiva | |
|---|---|
 |
|
| HP | Weaknesses |
| 47,160 | Fire |
Elemental + Ice to Negate All Ice Attacks
If you have Elemental Lv.2 linked with Ice in the armor slot, the character equipped will be immune to Ice magic. This will allow them to get up close and personal with Shiva without having to worry about getting hurt.
Fire Magic is Very Effective For Pressuring
Hitting her with Fire magic will put her into the pressured state, making staggering her easy. Watch out for her Frost Familiars, as long as she has one, all elemental magic is blocked. Use Aerith's Arcane Ward to make full use of Fire magic when she does not have her Frost Familiars up!
How to Beat Shiva
Battle #2
| Fat Chocobo | |
|---|---|
 |
|
| HP | Weaknesses |
| 117,900 | None |
Go on the Offensive to Pressure
Doing a certain amount of damage will put the Fat Chocobo into the pressured state, making it easier to stagger it. So throw out your damaging moves when you can save some ATB for your stagger increasing moves.
Get Rid of the Summons ASAP
During the fight, the moogles that accompany Fat Chocobo will be summoning monsters. You will want to get rid of them as soon as you can. Triple Slash is very useful to do that while still doing damage to the Fat Chocobo.
How to Beat Fat Chocobo
Battle #3
| Leviathan | |
|---|---|

|
|
| HP/th> | Weaknesses |
| 47,160 | Thunder |
Guard When You See an Ability
Any time Leviathan starts charging an ability it takes a bit of time, so watch out for the names that pop up over its head and get ready to guard. Taking a hit from any of Leviathan's attacks can send you to the danger zone so keep your eyes open!
Bait Briny Bellow with Aerith
Just like in the VR Mission on Normal Mode, Leviathan will target far away characters with Briny Bellow, its beam attack. Take advantage of this by switching to Aerith and standing far away to bait out Briny Bellow, then quickly swap back to Cloud and go to town.
Heal Up or Cast Manaward When It is Casting Tidal Wave
Leviathan still has a devistating attack called Tidal Wave. In Hard Mode this attack will deal even more damage than it did before, so you still want to make sure your whole party survives it. Healing up and making sure everyone has their health as close to max as possible and having Manaward buffs on your party will help greatly. If its stagger meter is close to full, it is better to just go for the stagger and cancel the move.
How to Beat Leviathan
Battle #4
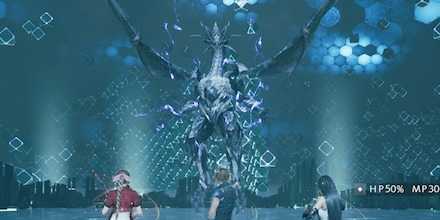
| Bahamut | |
|---|---|
|
|
| HP | Weaknesses |
| 66,732 | None |
Counterstance Counters Almost All of Bahamut's Attacks
Counterstance is a useful ability against Bahamut. With its constant aggression, you will have multiple opportunnities to take advantage and do some damage countering.
Manawall to Help Survive
Megaflare is Bahamut's strongest attack. It is most likely most if not all of your party members will faint. Casting Manawall will make it likely that your party members survive the attack. If you still have trouble you might want to equip your party member/s with Revival Earings or equip weapons with the upgrade Reprieve.
Go All Out on Offensive When Bahamut is Counting Down
Even if your party survives the Megaflare, they will be at low health and still at risk of dying. Instead of trying to endure Megaflare, it is better to try to stagger him before Bahamut casts it. Everytime it starts counting down, use your strongest attacks. After enough damage it will be pressured, letting you fill up the stagger gauge. Hopefuly by the time it is at one you will be able to stagger it.
Focus on Ifrit
When Bahamut summons Ifrit, you will need to divert your attention and take it out ASAP. It is recommended you save your Limit Breaks just for Ifrit to take him out of the fight quickly. Equipping Fire linked with Elemental in your armory will also help greatly.
How to Beat Bahamut
Battle #5
| Pride and Joy | |
|---|---|
 |
|
| HP | Weaknesses |
| ???? | Thunder |
Stick Behind It
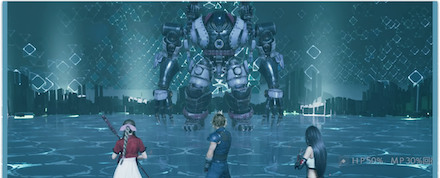
Most of Pride and Joy's high damage attacks come from its front. Stick behind it and deal damage from there. It has one attack it can do that will do damage around it. It is signalled by it raising its arms so stay back when you see it raise its arms!
Stay Out of the Fire
Pride and Joy will set the battlefield on fire. If your party ends up standing in the fire it will deal massive damage and can easily make them faint after a few seconds. It is recommended to keep distance and use Lightning spells to deal damage from afar.
Revive or Try to Break One of Its Limbs When it Grabs
Pride and Joy will try to grab one of your party members. If successful it can instantly kill them after some time has passed. Prepare to use raise or even better, try to break one of its limbs to make it let go of the character before they faint.
How to Beat Pride and Joy Prototype
Combat Simulator Related Articles
| ★3 Battle Challenges |
|---|
| Three-Person Team vs. Mayor is Best |
| ★4 Battle Challenges |
| Vs. SOLDIER Trainees |
| Two-Person Team vs. High Flyers |
| Three-Person Team vs. Team Ragbag |
| ★5 Battle Challenges |
| Vs. 3-C SOLDIER Candidates |
| Two-Person Team vs. Dynamic Duos |
| ★6 Battle Challenges |
| Three-Person Team vs. Monsters of Legend |
| ★7 Battle Challenges |
| Three-Person Team Vs. Top Secrets |
Comment
I just want to say I could kiss you. I haven’t played the game in over a year because I was over it. Found this guide, did a little AP farming, and beat it on the first try like a cake walk. Thank you, you wayward soul. Platinum trophy here I come
Author
How to Beat Three-Person Team Vs. Top Secrets | Shinra Combat Simulator Guide
improvement survey
03/2026
improving Game8's site?

Your answers will help us to improve our website.
Note: Please be sure not to enter any kind of personal information into your response.

We hope you continue to make use of Game8.
Rankings
- We could not find the message board you were looking for.
Gaming News
Popular Games

Genshin Impact Walkthrough & Guides Wiki

Honkai: Star Rail Walkthrough & Guides Wiki

Umamusume: Pretty Derby Walkthrough & Guides Wiki

Pokemon Pokopia Walkthrough & Guides Wiki

Resident Evil Requiem (RE9) Walkthrough & Guides Wiki

Monster Hunter Wilds Walkthrough & Guides Wiki

Wuthering Waves Walkthrough & Guides Wiki

Arknights: Endfield Walkthrough & Guides Wiki

Pokemon FireRed and LeafGreen (FRLG) Walkthrough & Guides Wiki

Pokemon TCG Pocket (PTCGP) Strategies & Guides Wiki
Recommended Games

Diablo 4: Vessel of Hatred Walkthrough & Guides Wiki

Fire Emblem Heroes (FEH) Walkthrough & Guides Wiki

Yu-Gi-Oh! Master Duel Walkthrough & Guides Wiki

Super Smash Bros. Ultimate Walkthrough & Guides Wiki

Pokemon Brilliant Diamond and Shining Pearl (BDSP) Walkthrough & Guides Wiki

Elden Ring Shadow of the Erdtree Walkthrough & Guides Wiki

Monster Hunter World Walkthrough & Guides Wiki

The Legend of Zelda: Tears of the Kingdom Walkthrough & Guides Wiki

Persona 3 Reload Walkthrough & Guides Wiki

Cyberpunk 2077: Ultimate Edition Walkthrough & Guides Wiki
All rights reserved
© SQUARE ENIX CO., LTD. All Rights Reserved.
CHARACTER DESIGN:TETSUYA NOMURA/ROBERTO FERRARI
The copyrights of videos of games used in our content and other intellectual property rights belong to the provider of the game.
The contents we provide on this site were created personally by members of the Game8 editorial department.
We refuse the right to reuse or repost content taken without our permission such as data or images to other sites.


Thanks for this! I couldn't follow everything 100% due to my armor on Aerith and Tifa only having 3 slots. Aerith had the elemental+ice duo since Shiva isn't that hard. Even with barrier, Leviathan's attacks hurt Aerith more so I let Cloud tank some of the hits. And Cloud got the elemental+fire combo. I prioritized killing Bahamut first, making Ifrit very easy. But Pride and Joy was hard and Tifa died often. Aerith's cure+magnify was a gamechanger, why haven't I been using that?! Thank you!