Lost Settlement Mission Walkthrough

Lost Settlement is the first and only Secret Mission for the Creeping Winter DLC in Minecraft Dungeons. Learn how to get through this level, what gear and artifacts can be found here, and tips and strategies for beating it!
| Previous Mission | Current Mission | Next Mission |
|---|---|---|
| Frosted Fjord | Lost Settlement | Lone Fortress |
Basic information
How to Unlock Lost Settlement

Lost Settlement is a Secret Mission which can be unlocked by finding a map in the previous Mission, Frosted Fjord. Check our guide below to find out how to unlock Lost Settlement.
Weapon Drops
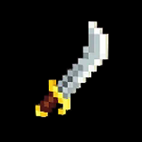 Cutlass Cutlass
|
 Sickles Sickles
|
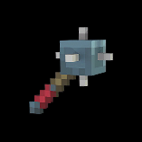 Mace Mace
|
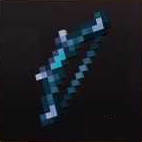 Snow Bow Snow Bow
|
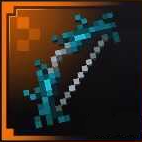 Winter's Touch Winter's Touch
|
Armor Drops
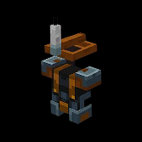 Spelunker Armor Spelunker Armor
|
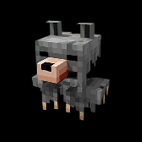 Wolf Armor Wolf Armor
|
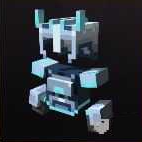 Snow Armor Snow Armor
|
 Frost Armor Frost Armor
|
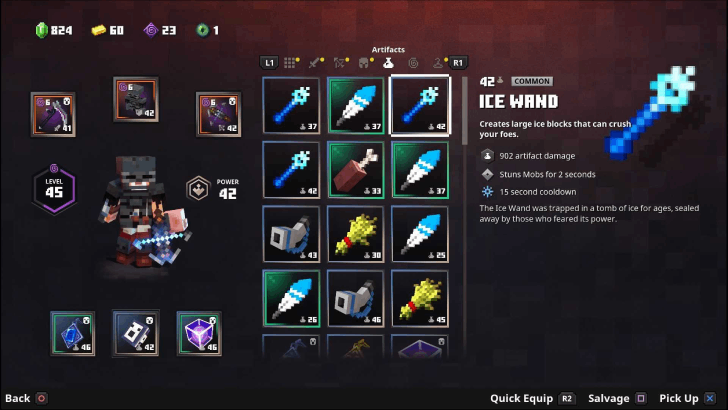
Artifact Drops
 Light Feather Light Feather
|
 Shock Powder Shock Powder
|
Recommended Power for Each Difficulty
| Recommended Power | |||||||
|---|---|---|---|---|---|---|---|
| I | II | III | IV | V | VI | VII | |
| Default | - | - | - | - | 22 | 27 | 33 |
| Adventure | - | - | - | - | 56 | 62 | 68 |
| Apocalypse | - | - | - | - | 91 | 97 | 103 |
Mission Objectives
| # | Step by Step Objectives |
|---|---|
| 1 |
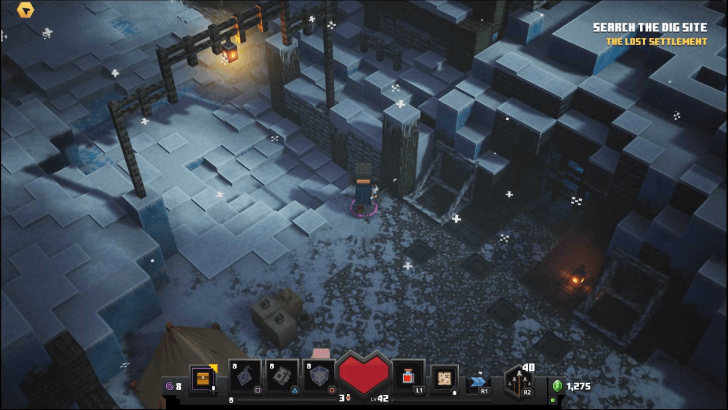
Search the Dig Site Follow the marker to reach the next objective. |
| 2 |
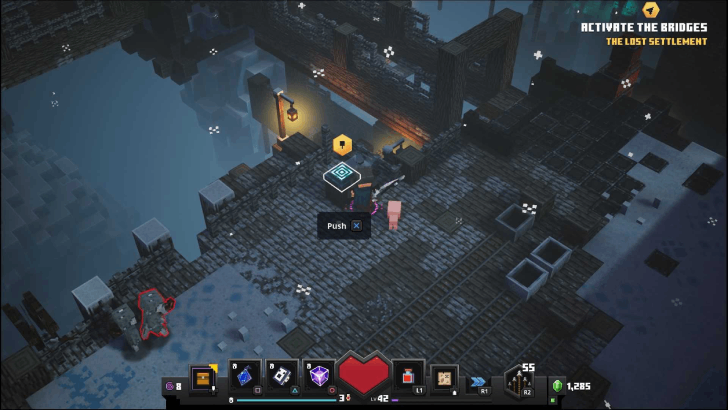
Activate the Bridges Push the pads at the entrance of the area along with the pads on the northern and western part of the area to connect the bridges together. |
| 3 |
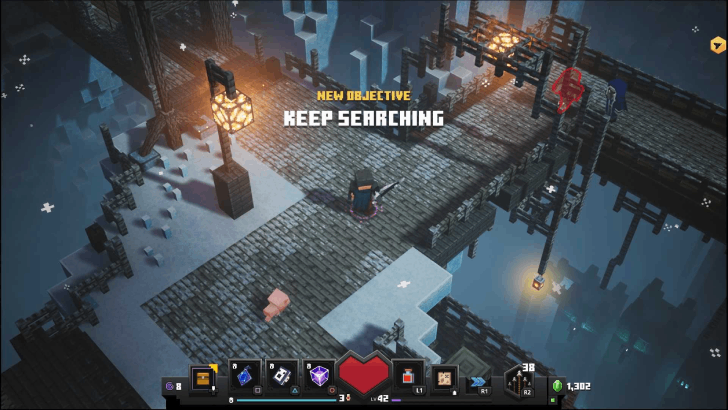
Keep Searching After connecting the bridges, head to the east. |
| 4 |

Cross the Ice Wall Keep following the objective markers. You will encounter an Illusioner along the way. |
| 5 |
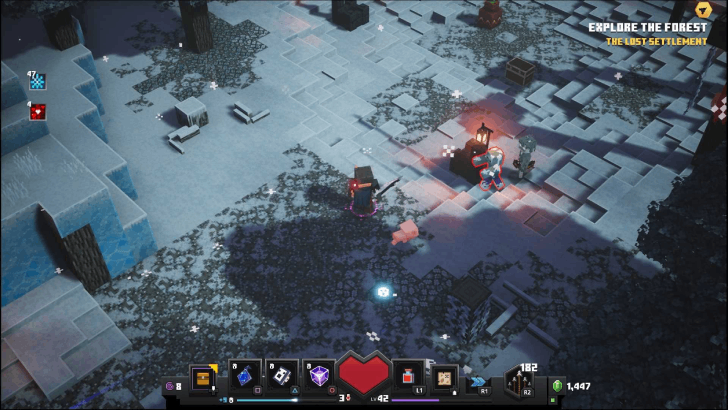
Explore the Forest You should be near the settlement! Keep following the objective marker to reach it. |
| 6 |
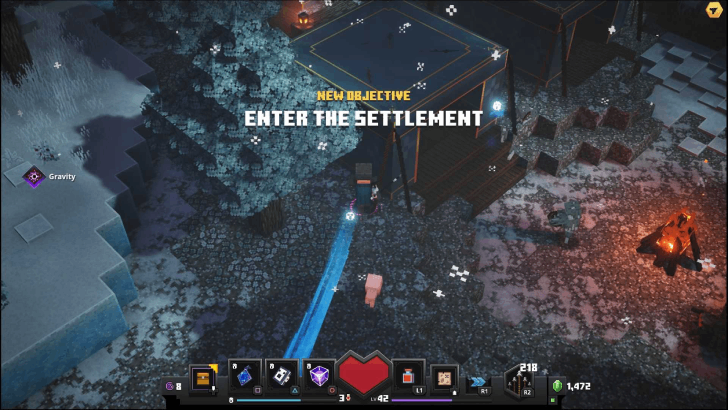
Enter the Settlement Go past the tents and the campfire and head to the closed gate. |
| 7 |
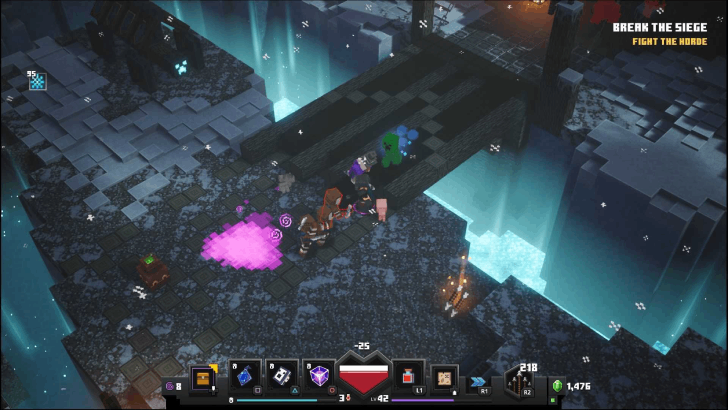
Break the Siege Fight waves of mobs to open the gate. You'll encounter another Illusioner during the last wave. |
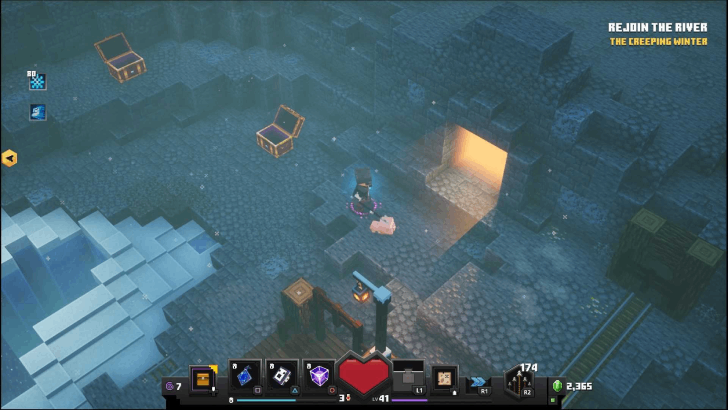
| 8 |
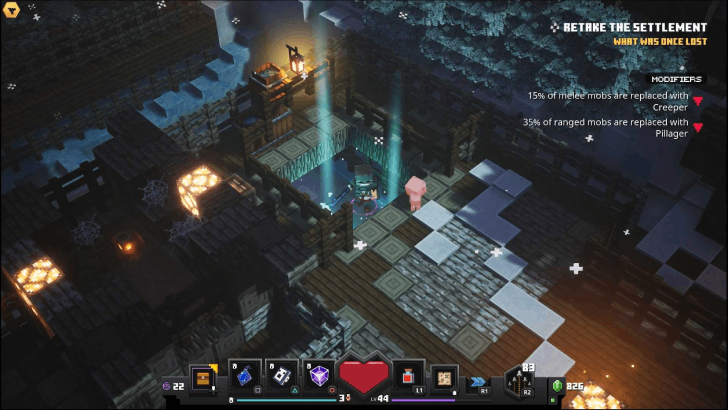
Retake the Settlement After opening the gate, follow the objective marker. Eventually, you'll reach an unpassable wooden bridge. You'll have to fall into the hole depicted above to move forward and reach the next objective. |
| 9 |
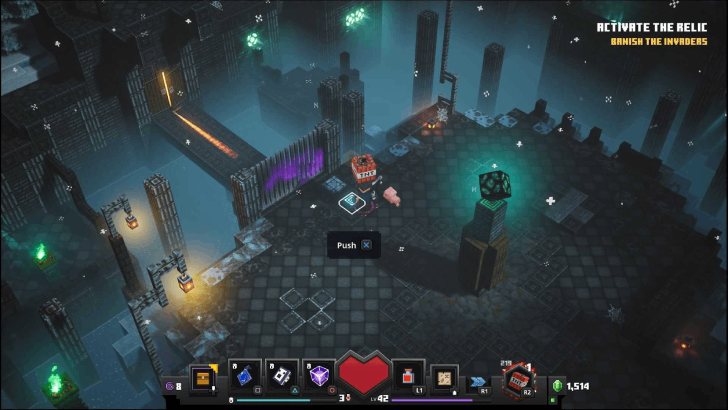
Activate the Relic The exit is near! Push the pad in front of the closed gate to start the final section of this mission. |
| 10 |
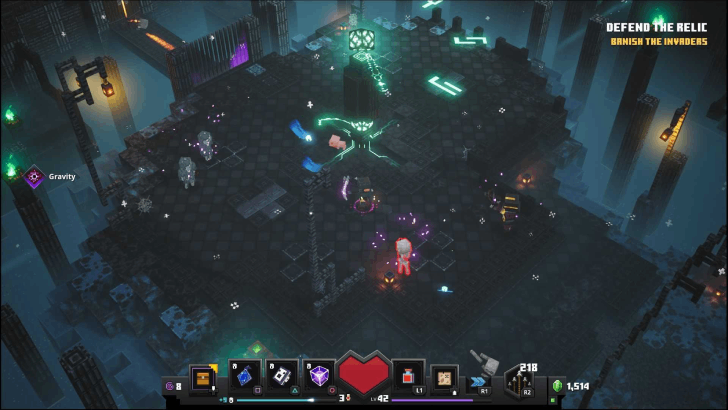
Defend the Relic After pushing the pad, you'll have to defend the relic in the middle of the area from waves of mobs. |
| 11 |
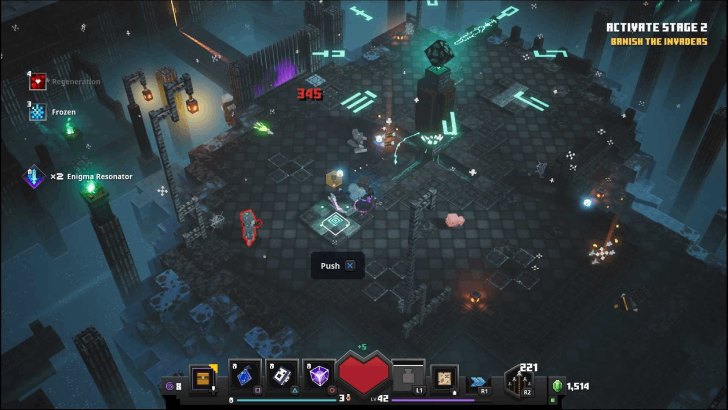
Activate Stage 2 After defeating the mobs, push the pad to the left. You'll have to defend the relic from mobs again afterward. |
| 12 |
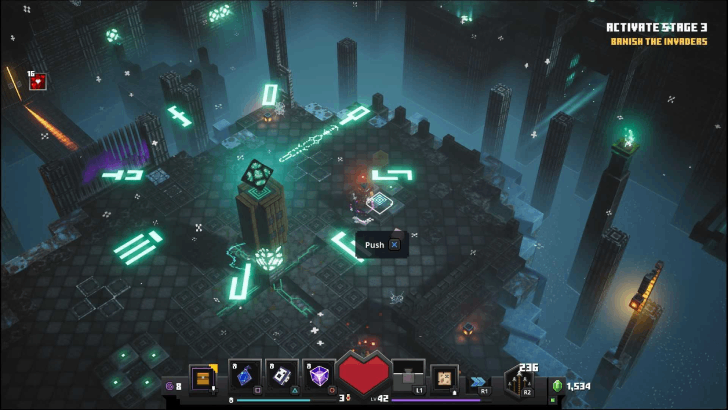
Activate Stage 3 Finally, push the pad to the right. A final horde of mobs will appear, including another Illusioner. |
| 13 |
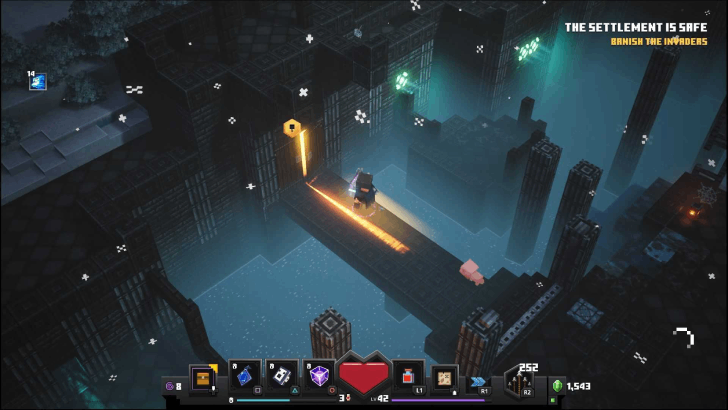
The Settlement is Safe The gate is now open, and you can now exit the mission and head back to the camp. |
Boss Strategy Guide
Illusioner

The tricky Illusioner appears thrice in this Secret Level. Make sure to bring weapons or artifacts that deal area-of-effect (AoE) damage to deal with the pesky clones.
Related Links
Creeping Winter Missions
| Missions | |
|---|---|
| 1 | Frosted Fjord |
| 2 | Lone Fortress |
| Secret Mission | |
| 1 | Lost Settlement |
Creeping Winter Guides
| All Creeping Winter Guides | |
|---|---|
 How to Unlock Lost Settlement How to Unlock Lost Settlement |
 Creeping Winter New Equipment Creeping Winter New Equipment |
 How to Beat Illusioner How to Beat Illusioner |
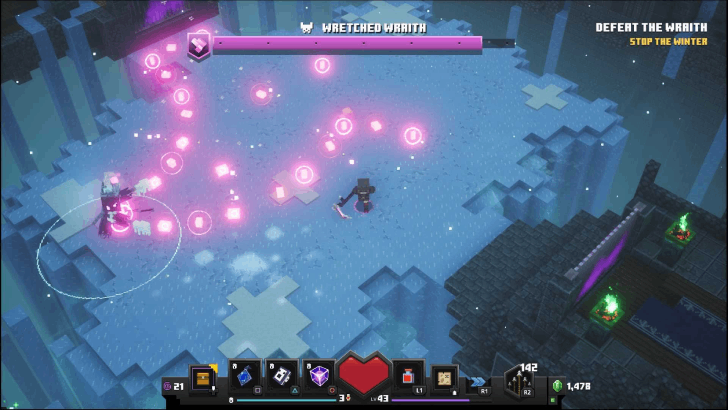 How to Beat Wretched Wraith How to Beat Wretched Wraith |
Comment
Author
Lost Settlement Mission Walkthrough
Rankings
- We could not find the message board you were looking for.
Gaming News

![The Liar Princess and the Blind Prince Review [PC] | Lovely to Look at but Tedious to Play](https://img.game8.co/4442586/8d95f5faf05780f1765ce7e0938bd825.jpeg/show)
![Monster Hunter Stories 3 Review [First Impressions] | Simply Rejuvenating](https://img.game8.co/4438641/2a31b7702bd70e78ec8efd24661dacda.jpeg/thumb)
![The Seven Deadly Sins: Origin [First Impressions] | A Promising Start](https://img.game8.co/4440581/584e0bfb87908f12c4eab6e846eb1afd.png/thumb)

Popular Games

Genshin Impact Walkthrough & Guides Wiki
Umamusume: Pretty Derby Walkthrough & Guides Wiki
Pokemon Pokopia Walkthrough & Guides Wiki
Honkai: Star Rail Walkthrough & Guides Wiki
Monster Hunter Stories 3: Twisted Reflection Walkthrough & Guides Wiki
Arknights: Endfield Walkthrough & Guides Wiki
Wuthering Waves Walkthrough & Guides Wiki
Zenless Zone Zero Walkthrough & Guides Wiki
Pokemon TCG Pocket (PTCGP) Strategies & Guides Wiki
Monster Hunter Wilds Walkthrough & Guides Wiki


Recommended Games
Diablo 4: Vessel of Hatred Walkthrough & Guides Wiki
Cyberpunk 2077: Ultimate Edition Walkthrough & Guides Wiki
Fire Emblem Heroes (FEH) Walkthrough & Guides Wiki
Yu-Gi-Oh! Master Duel Walkthrough & Guides Wiki
Super Smash Bros. Ultimate Walkthrough & Guides Wiki
Pokemon Brilliant Diamond and Shining Pearl (BDSP) Walkthrough & Guides Wiki
Elden Ring Shadow of the Erdtree Walkthrough & Guides Wiki
Monster Hunter World Walkthrough & Guides Wiki
The Legend of Zelda: Tears of the Kingdom Walkthrough & Guides Wiki
Persona 3 Reload Walkthrough & Guides Wiki


All rights reserved
Mojang © 2009-2020. "Minecraft" is a trademark of Mojang Synergies AB
The copyrights of videos of games used in our content and other intellectual property rights belong to the provider of the game.
The contents we provide on this site were created personally by members of the Game8 editorial department.
We refuse the right to reuse or repost content taken without our permission such as data or images to other sites.