All In Walkthrough
This is a All In walkthrough for Star Wars Outlaws DLC, Wild Card. Read on to learn more about All In's objectives and location!
| Previous Quest | Next Quest |
|---|---|
| Double Down | - |
List of Contents
All In Walkthrough
| 1 | Meet with Lando |
|---|---|
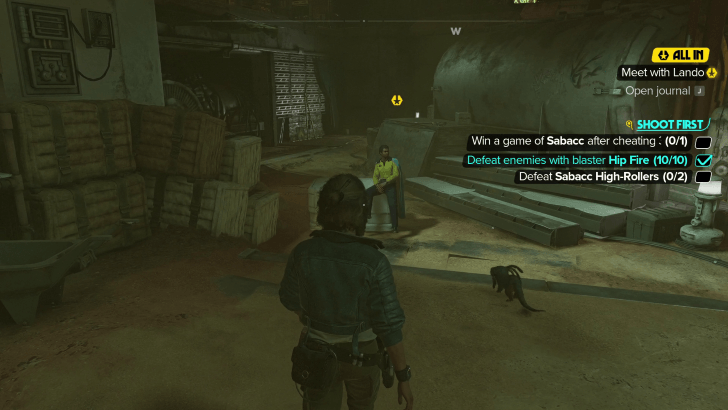 Go to Mirogana and meet up with Lando. Interacting with him will start the mission, so be sure to prepare for the mission before talking to him. |
|
| 2 | Reach the Top of the spaceport |
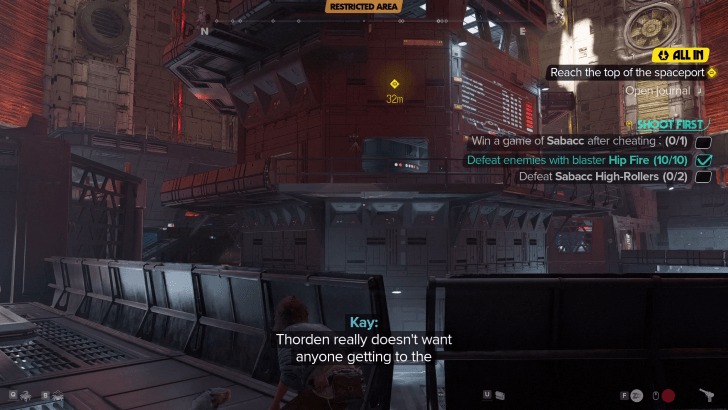 From your position, go left and slice the terminal to unlock the passenger gate. Then sneak past the enemies and walk up the stairs to reach the command center. Take the lift to progress, and complete the platforming section. |
|
| 3 | Find a way to Thorden's landing pad |
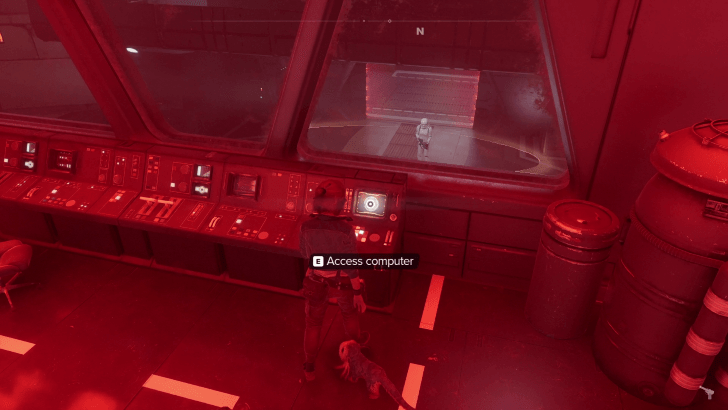 Exiting the lift and go right while sneaking past guards. You will have to access the control tower to slice the terminal in order to unlock the gate leading to Thorden's landing pad. Enter the gate and go into the vent to your right. |
|
| 4 | Infiltrate Thorden's compound |
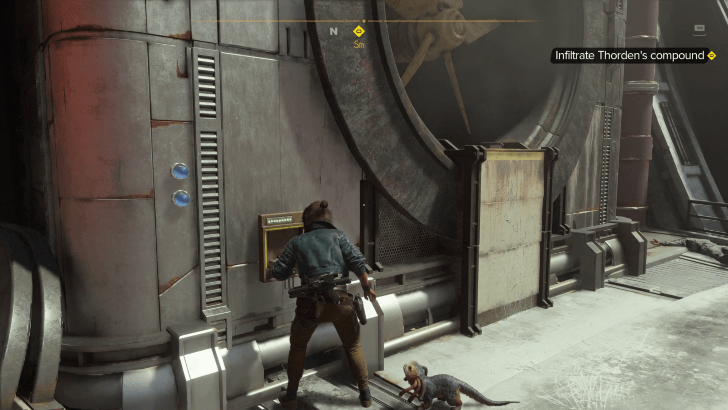 Upon exiting onto the landing pad, go left and make your way down via the rope. Sneak up to the air vent and climb your way up. Use nix to turn off the air vent and crouch into the passageway. Follow the path until you reach the compound. |
|
| 5 | Break into the check-in |
 Turn right when you exit the vent and keep going until you find a ladder. This will give you the safest path to the check-in with lots of cover. Follow the path after the cutscene and enter the vent until you reach a cave area. |
|
| 6 | Find a way through the natural cave |
 Climb the rocks and be mindful of when the turbine turns on, as it will blow you away. After squeezing through a crevice, cross the gap and jump onto a moving crate to enter the bunker. |
|
| 7 | Access the central databank |
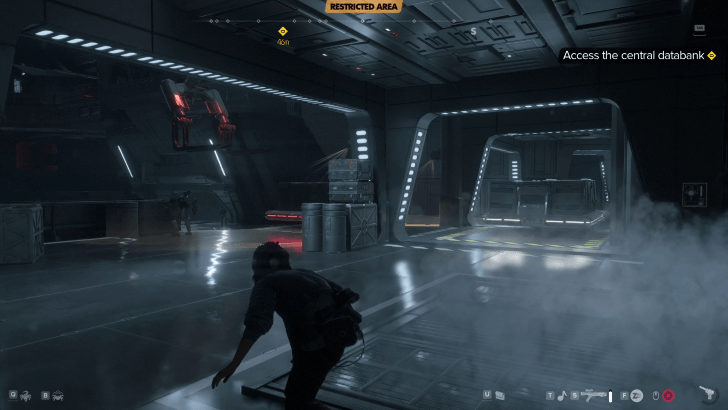 Head left from where you enter and jump on the lift to access the second floor, and go right from there to access the databank. |
|
| 8 | Steal the map to Okala V |
 Take the nearby lift to the bottom and enter the room on the left. Flip the switch to disable the gates, then head back up and out to the control rooms. Enter the left one, while commanding Nix to move the crane in the other room. Time it correctly, the crane will move, granting access to the central room. Enter the room and access Thorden's archives on the terminal. ▶ Steal the Map to Okala V |
|
| 9 | Reach the landing pad |
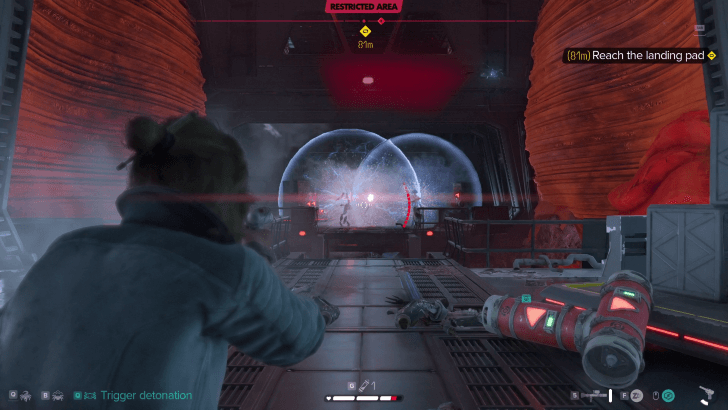 Start running and gunning towards the exit. There, you will be ambushed by an AT-ST. |
|
| 10 | Lure the AT-ST to expose the capacitors |
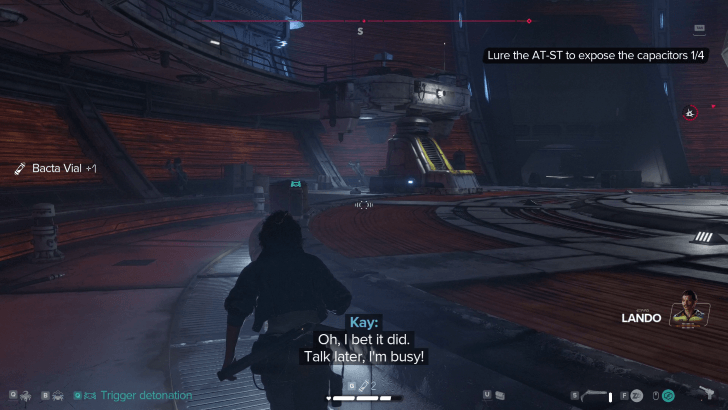 Players must hide behind the marked yellow pillars in order to lure the AT-ST. You will see an icon charging up, signifying that it is about to launch a rocket. When it hits the pillar, it will expose the capacitor which you have to shoot. Do this four times to complete the mission. |
How to Operate the Crane
Hit the Switch in the Left Room
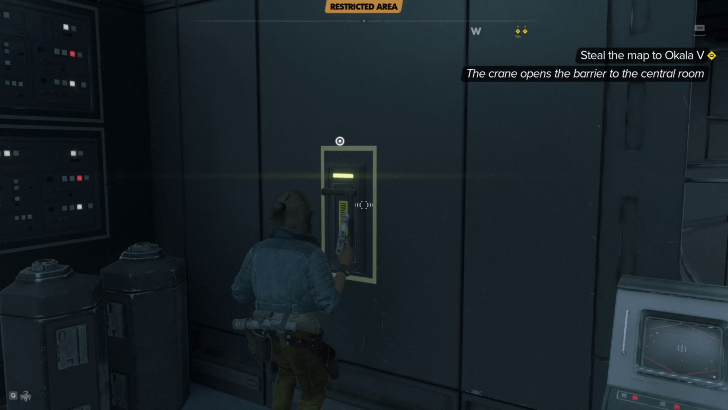
As soon as you access the central databank in the bunker, look for a lift that takes you to a floor below. Upon exiting the lift, open the door on the left and flip the switch to disable the gates.
Operate the Crane with Nix
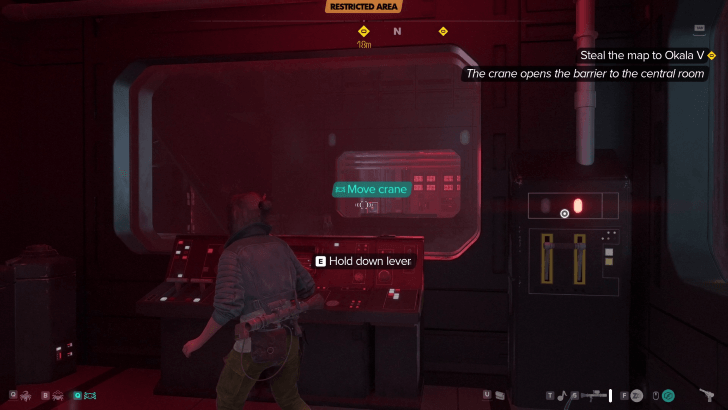
Players can then return to the central databank and enter the control room on the left. Across from the player will be another control room with a switch that needs to be activated at the same time. Use Nix to flip the switch opposite to you, and time it so Nix holds it down at the same time as you.
Star Wars Outlaws Related Guides

Wild Card DLC Quests
| List of Quests | |
|---|---|
| 1 | Wild Card |
| 2 | The Game |
| 3 | Double Down |
| 4 | All In |
Pirate's Fortune DLC Quests
| List of Quests | |
|---|---|
| 1 | Pirate's Plight |
| 2 | Brave the Unknown |
| 3 | No Prey, No Pay |
| 4 | Lost Treasures |
| 5 | Dead Man's Tale |
Comment
Author
All In Walkthrough
improvement survey
03/2026
improving Game8's site?

Your answers will help us to improve our website.
Note: Please be sure not to enter any kind of personal information into your response.

We hope you continue to make use of Game8.
Rankings
- We could not find the message board you were looking for.
Gaming News
Popular Games

Genshin Impact Walkthrough & Guides Wiki

Honkai: Star Rail Walkthrough & Guides Wiki

Umamusume: Pretty Derby Walkthrough & Guides Wiki

Pokemon Pokopia Walkthrough & Guides Wiki

Resident Evil Requiem (RE9) Walkthrough & Guides Wiki

Monster Hunter Wilds Walkthrough & Guides Wiki

Wuthering Waves Walkthrough & Guides Wiki

Arknights: Endfield Walkthrough & Guides Wiki

Pokemon FireRed and LeafGreen (FRLG) Walkthrough & Guides Wiki

Pokemon TCG Pocket (PTCGP) Strategies & Guides Wiki
Recommended Games

Fire Emblem Heroes (FEH) Walkthrough & Guides Wiki

Diablo 4: Vessel of Hatred Walkthrough & Guides Wiki

Yu-Gi-Oh! Master Duel Walkthrough & Guides Wiki

Super Smash Bros. Ultimate Walkthrough & Guides Wiki

Pokemon Brilliant Diamond and Shining Pearl (BDSP) Walkthrough & Guides Wiki

Elden Ring Shadow of the Erdtree Walkthrough & Guides Wiki

Monster Hunter World Walkthrough & Guides Wiki

The Legend of Zelda: Tears of the Kingdom Walkthrough & Guides Wiki

Persona 3 Reload Walkthrough & Guides Wiki

Cyberpunk 2077: Ultimate Edition Walkthrough & Guides Wiki
All rights reserved
STAR WARS © & TM 2024 Lucasfilm Ltd. All Rights Reserved. Developed by Ubisoft. Ubisoft TM & © 2024 Ubisoft Entertainment. All Rights Reserved.
The copyrights of videos of games used in our content and other intellectual property rights belong to the provider of the game.
The contents we provide on this site were created personally by members of the Game8 editorial department.
We refuse the right to reuse or repost content taken without our permission such as data or images to other sites.




![Marathon Review [First Impressions] | Playing The Long Game](https://img.game8.co/4435736/b9b1ec1e9219416dfc2599f85295d6ef.png/thumb)


