East Raccoon City Walkthrough
This is an East Raccoon City walkthrough for Resident Evil Requiem (RE9). Read on for a complete East Raccoon City walkthrough, including its objectives, key items, and how to complete the area.
| ◀ Previous | Next ▶ |
|---|---|
| Water Treatment Plant | Raccoon City Center |
List of Contents
East Raccoon City Walkthrough
Click on a step to jump to its section in the walkthrough!
Head to Raccoon City Center
| Walkthrough | |
|---|---|
| 1 | 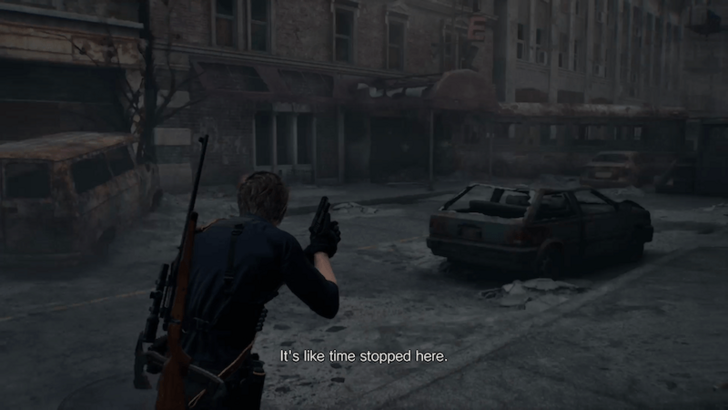 Once you arrive as Leon in Raccoon City, proceed forward and turn right. Enter The Applegate Hotel on your left at the end of the path, next to Cafe Oasis. |
| 2 |  Loot as much as you can in the area. When you're ready, interact with the revolving door inside the hotel lobby to enter the next area. |
| 3 | 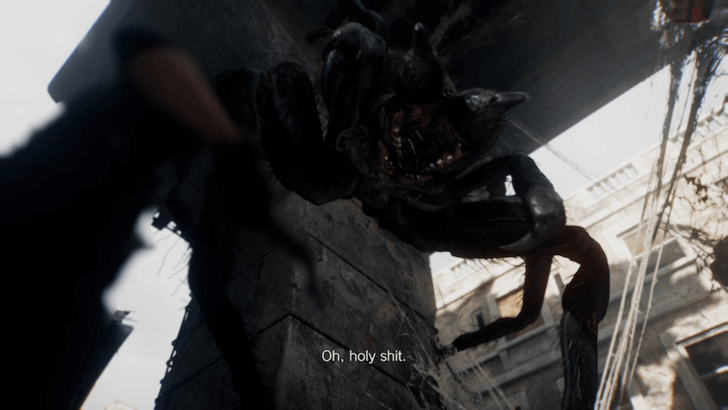 Continue moving forward to trigger a cutscene where you are attacked by the Giant Spider. |
Find a Way Out
| Walkthrough | |
|---|---|
| 1 | 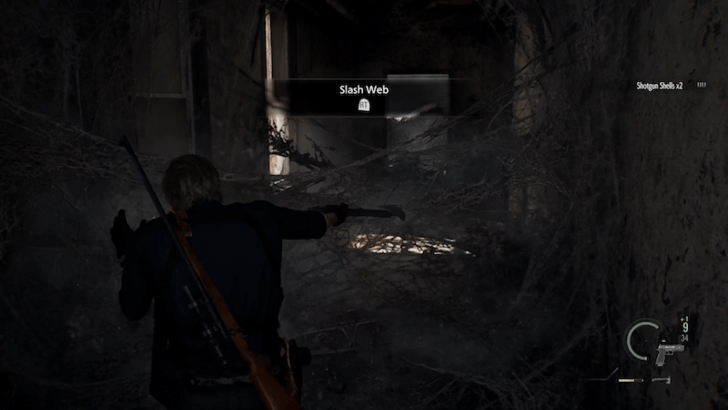 After the cutscene, you'll be stuck in a corridor. Move forward and use your hatchet to slash the web blocking your way. |
| 2 | 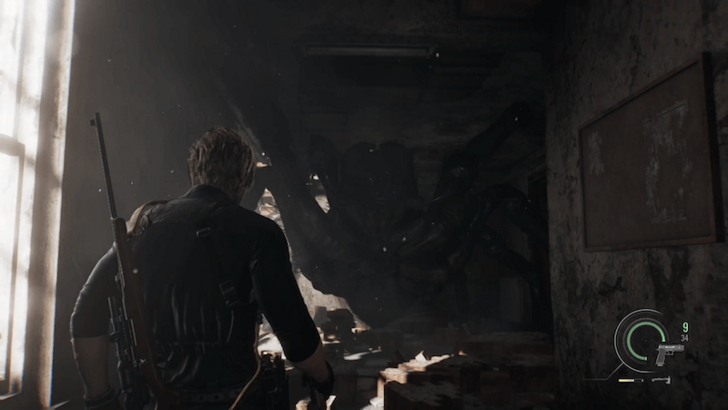 Continue through the corridor until you get jumpscared by the Giant Spider. Don’t waste your bullets at this point, just run back to where you started, and the Giant Spider will catch you and throw you into the next room. |
| 3 | Run in the opposite direction of the Giant Spider and enter the door on your right. |
| 4 | 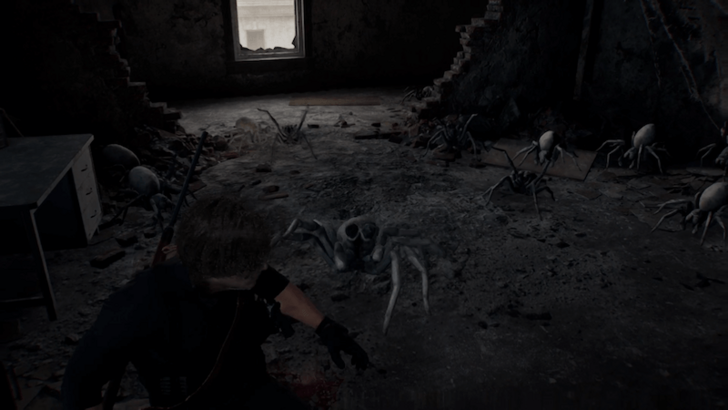 Head upstairs and proceed forward until you reach a room full of Spiderlings. Melee attacks should kill them easily, so there’s no need to fire your guns. |
| 5 | 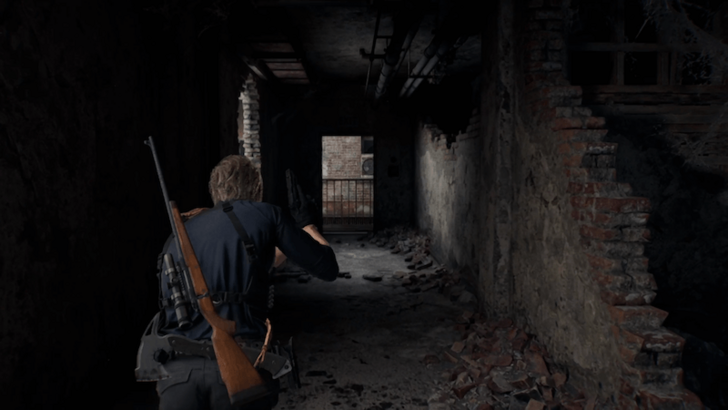 Turn right and head toward the fire escape. Beware of the Giant Spider jumpscare from the hole next to the doorway. |
| 6 | 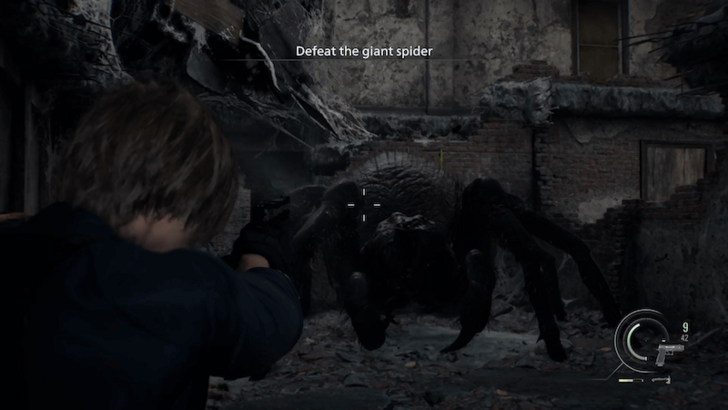 Climb the ladder to the upper level and enter the door, triggering the Giant Spider boss fight. |
Defeat the Giant Spider
| Walkthrough | |
|---|---|
| 1 | 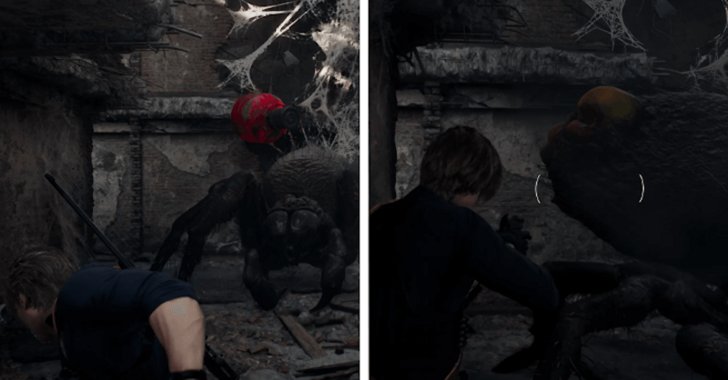 Kill the Giant Spider! Run to your right until you reach a red propane tank. Wait for the Giant Spider to get close, then throw the propane tank at the boss to stagger it. The Giant Spider's weak point is the yellow-orange blob on its back, so try to aim there to inflict significant damage. |
| 2 | 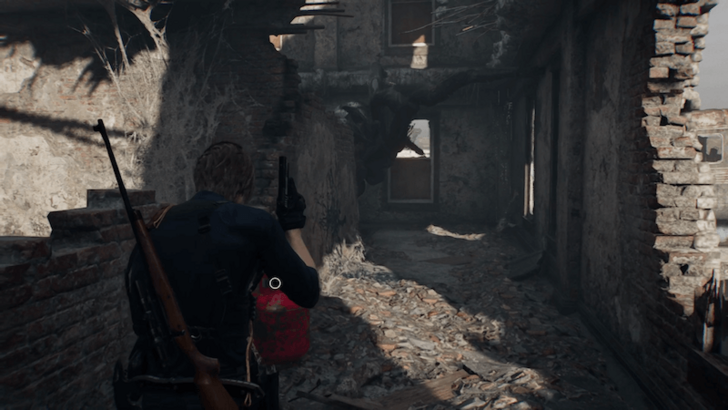 Climb up to the upper level using the ladder and use the red propane tank in the corridor to throw it at the Giant Spider again. |
| 3 | For the rest of the boss fight, circle around the Giant Spider using the ladders in the building and shoot at its weak point. Once you deal enough damage, a cutscene will trigger of Leon defeating the Giant Spider. |
How to Beat Titan Spinner (Giant Spider)
Head to Raccoon City Center
| Walkthrough | |
|---|---|
| 1 | 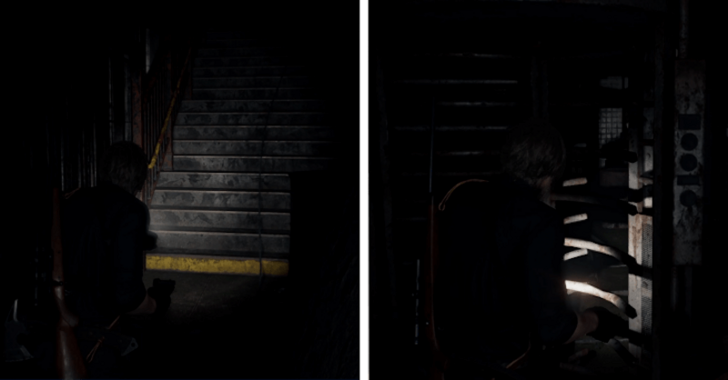 After falling to Ridgewood Station, proceed forward and take the stairs. |
| 2 | 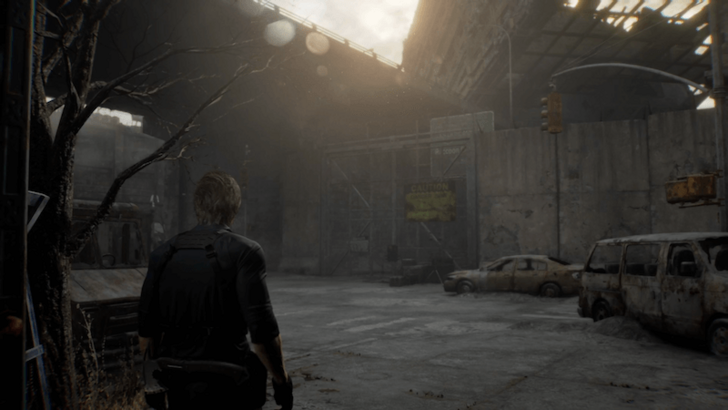 Enter through the turnstile on your right and interact with the warped door ahead to open it, which will take you back to the surface in front of a large barrier. |
Examine the Main Gate
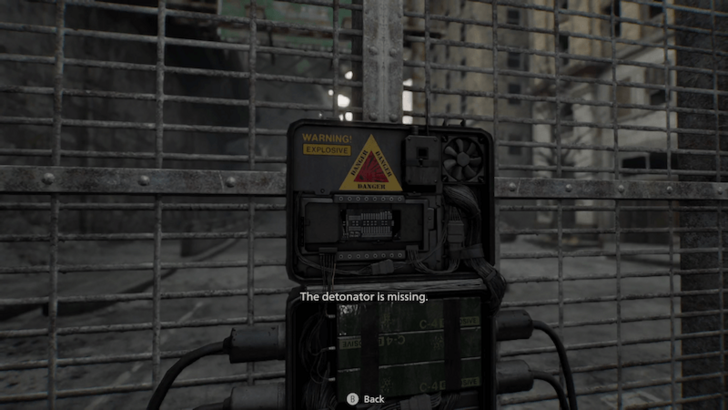
Interact with the explosive attached to the main gate ahead, and you’ll notice that it is missing a detonator.
Search the Camp
| Walkthrough | |
|---|---|
| 1 | 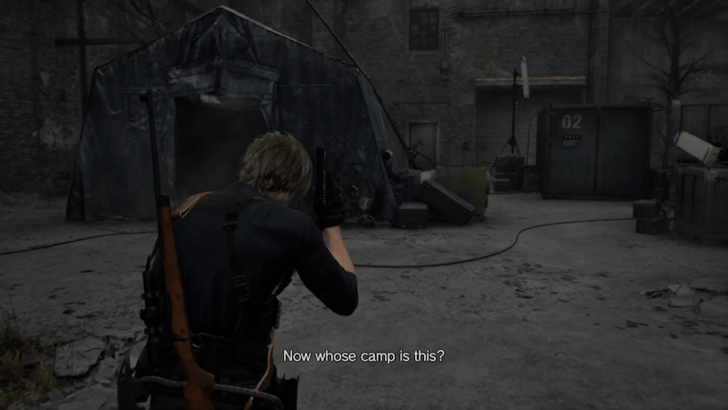 Facing the main gate, head to your left and enter Central Camp. You will see a large blue tent and a blue container once you arrive. |
| 2 | 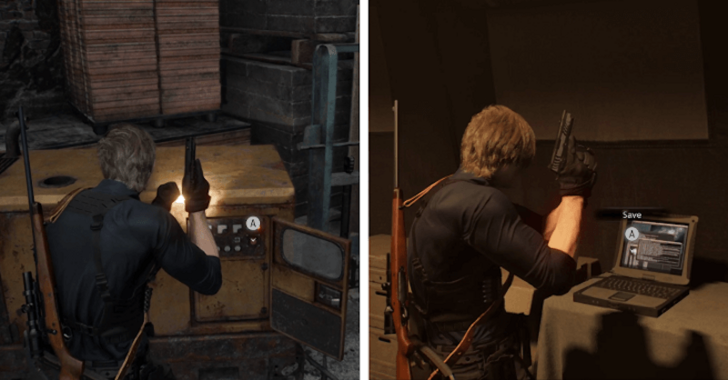 Turn on the generator near the tent to restore power at the camp. This will be your hub for the rest of your time in East Raccoon City. You can use the laptop inside the tent to save your progress. |
| 3 | 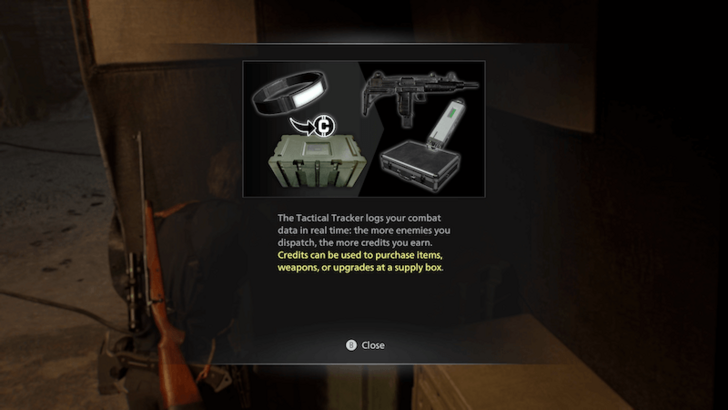 Interact with the green supply box inside the tent to obtain the Tactical Tracker, which earns you credits for each enemy you kill. You can then use credits to purchase items, weapons, or upgrades at a supply box like this one. |
| 4 | 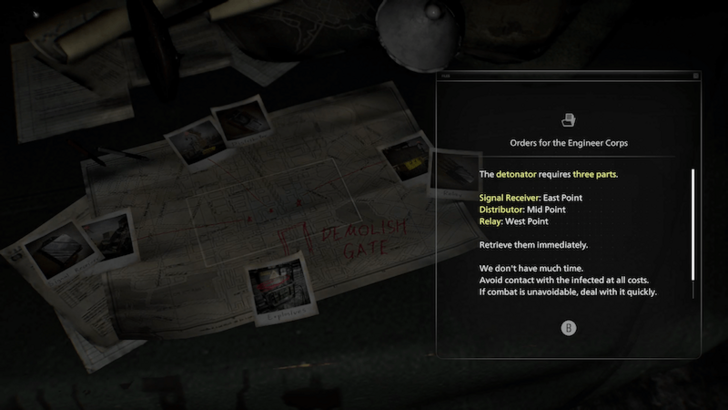 Read the document on the table to learn that the detonator on the main gate requires three parts. Your main objective is collect the three detonator parts to blow up the main gate. |
Collect the Detonator Parts
| Divider | Broken Signal Receiver | Relay |
First Detonator Part (Distributor)
| Walkthrough | |
|---|---|
| 1 | 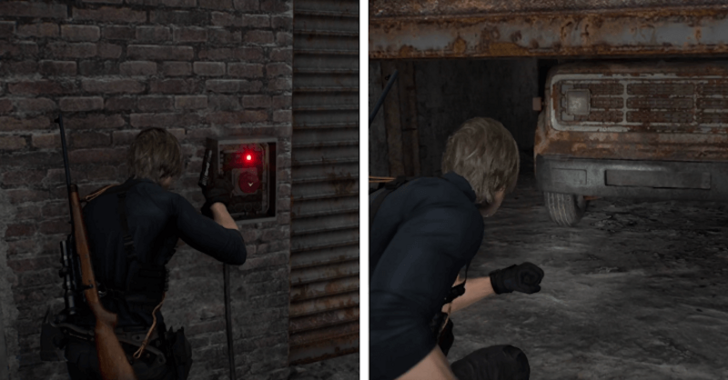 For the first detonator part, press the button next to the garage door behind the blue container. Crouch to enter the Logistics Warehouse. |
| 2 | 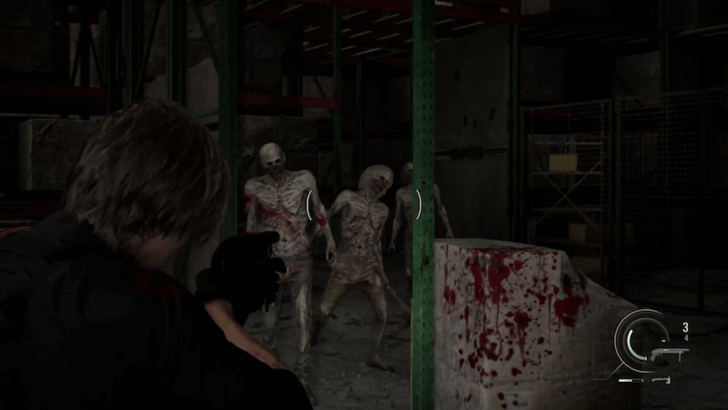 Proceed forward into the warehouse and head to the storage area, where a mob of zombies will rise and attack you. Kill them all to earn credits! |
| 3 | 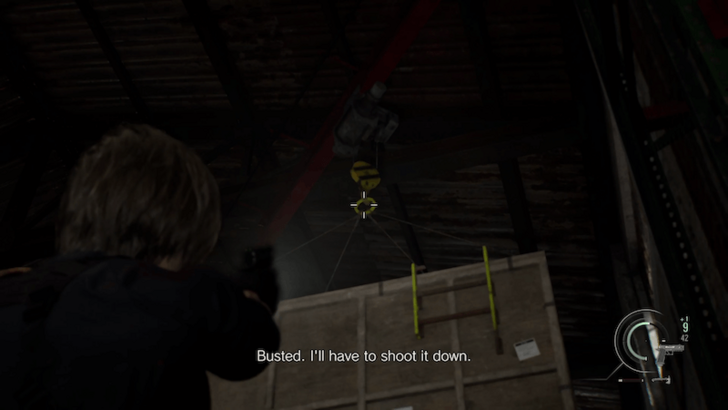 Once it is clear, shoot down the hanging crate in the northeast part of the area and use the ladder to climb to the second floor. |
| 4 | Climb up another ladder and follow the path to the southeast of the upper level. Be careful of zombies along the way! |
| 5 | 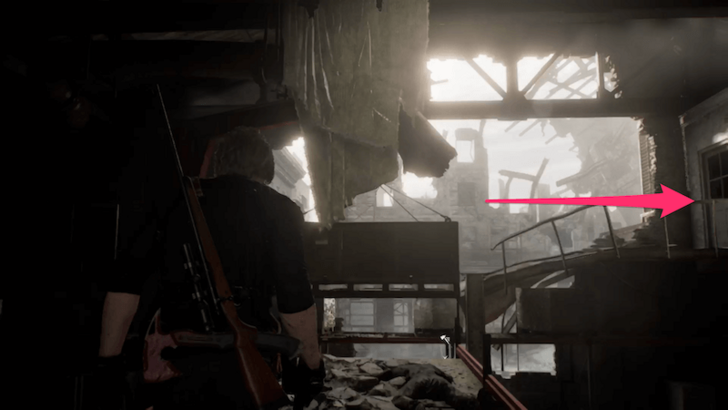 Shoot the hanging crate to create a path, then turn right and enter the adjacent building. |
| 6 | 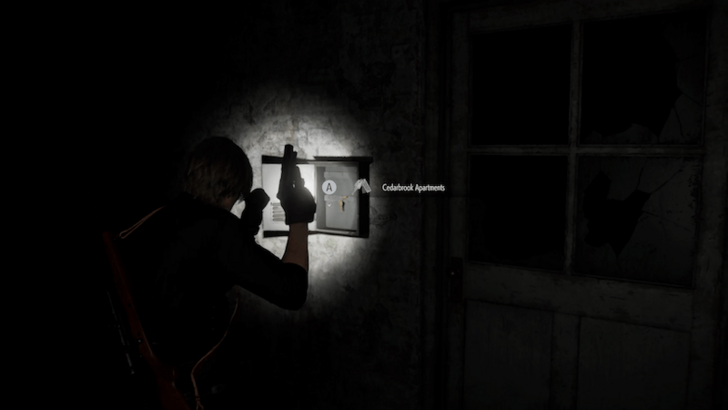 Proceed forward and take the Cedarbrook Apartments Key next to the door. |
| 7 | 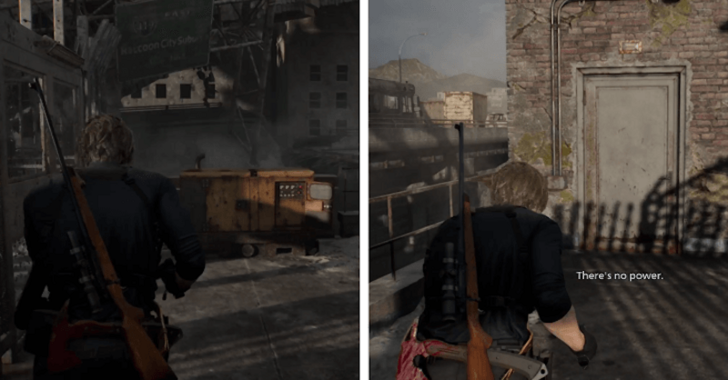 Continue through the building until you reach the outside. Climb the ladder on your right, then enter the door on the right. Take note of the generator just before the door, as you will return here later once you have gas. |
| 8 | 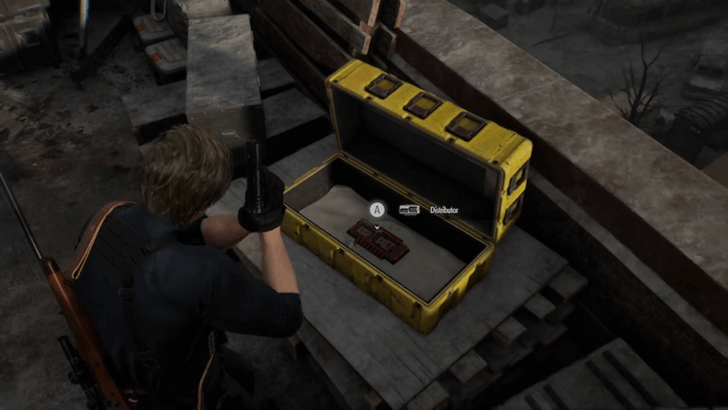 Keep moving forward, then climb the ladder to reach the rooftop. Turn left and interact with the large yellow case on the table to obtain the Distributor, the first detonator part. |
| 9 | 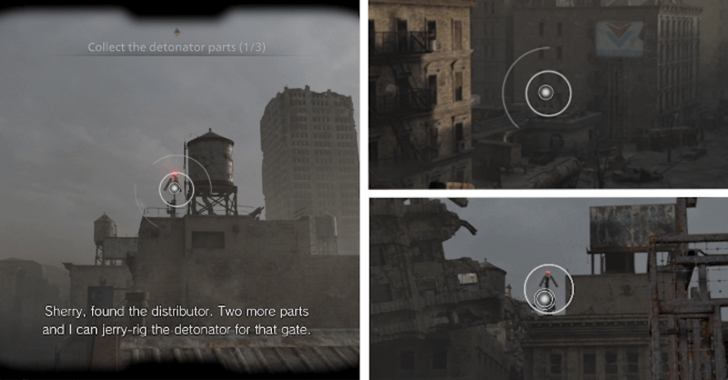 Leon will then use his binoculars to check the surroundings. Inspect the cell tower directly in front of you next to the water tank. From there, look slightly down to your left and inspect the gas station. Then turn around and inspect the cell tower next to the collapsed building. |
| 10 |  Once you're done, take the service elevator behind you to return to camp. Use this opportunity to save your game and purchase new equipment and weapon upgrades at the supply box before continuing. |
Second Detonator Part (Broken Signal Receiver)
| Walkthrough | |
|---|---|
| 1 | 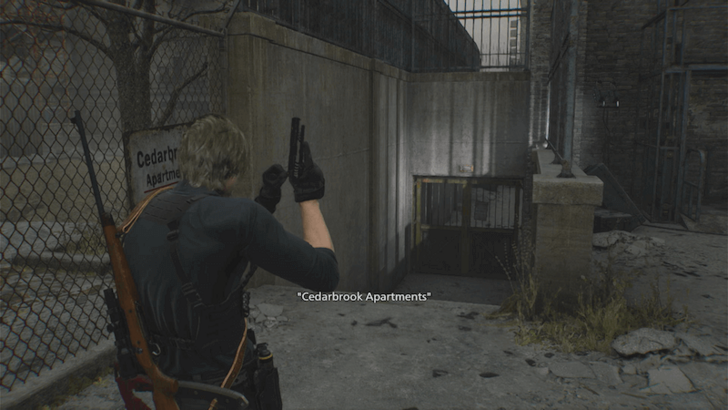 For the second detonator part, head downstairs next to the service elevator and use the key to unlock the gate to Cedarbrook Apartments. |
| 2 | 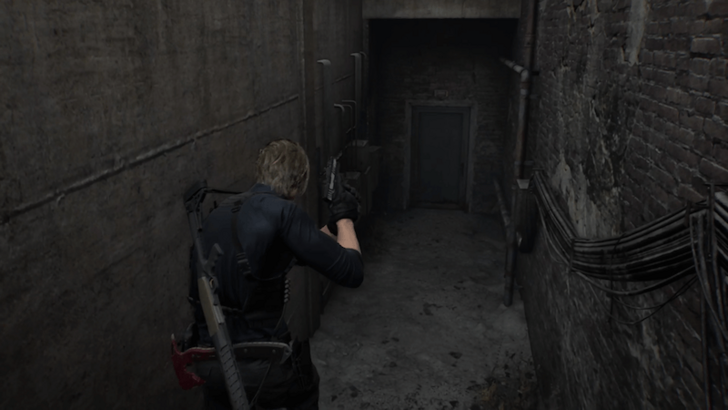 Turn left and enter the door downstairs next to the ladder to get inside the building. |
| 3 | 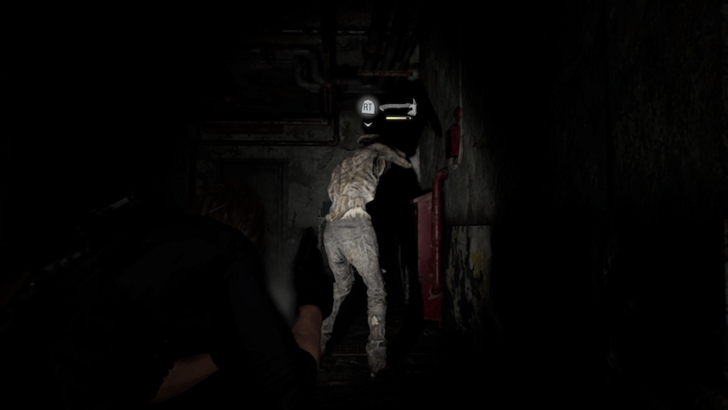 Proceed forward through the building. Along the way, you'll receive a tutorial on how to perform stealth kills as Leon. Sneak up on an unsuspecting enemy and press the melee button to execute a stealth kill. |
| 4 | 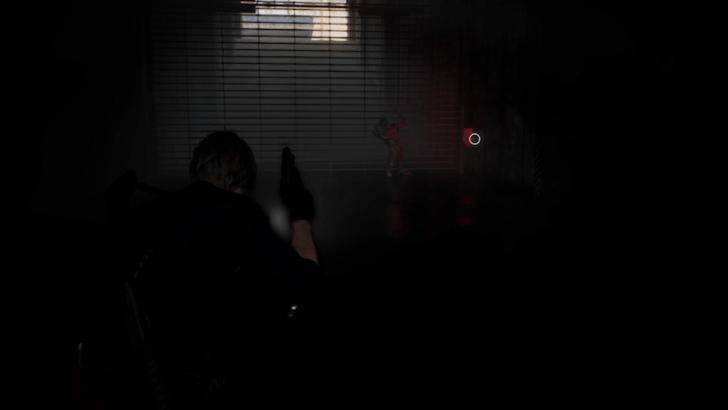 Continue until you reach a large garage gate with a zombie banging on it. Interact with the fuse box next to the gate and read the note inside. You’ll need to find two batteries from the sewage facility and the underground parking garage. You can do this in any order, but for this walkthrough, we’ll go to the undeground parking garage first. |
| 5 | 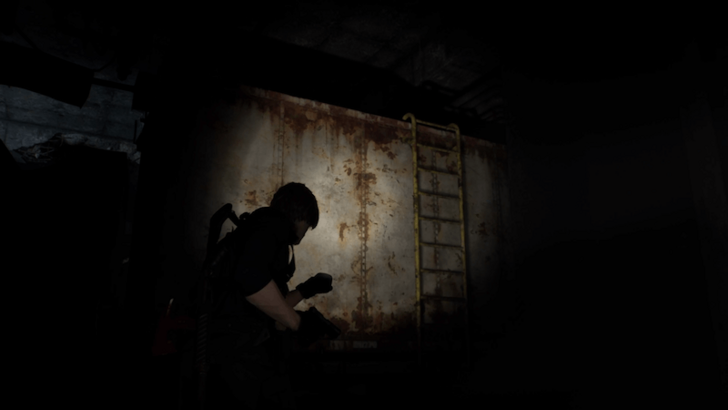 Climb up the ladder opposite the fuse box to enter the underground parking garage. |
| 6 | 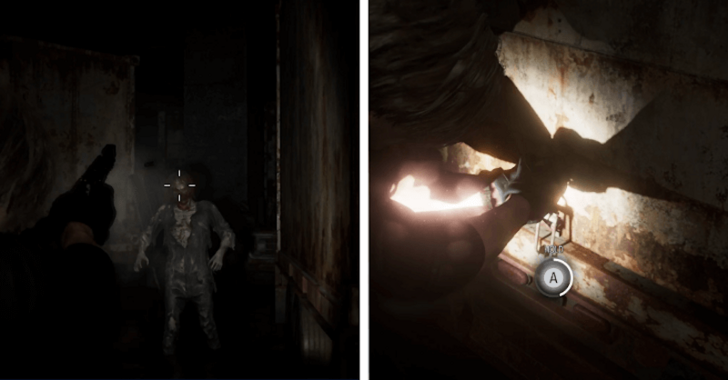 Make your way through the garage and reach the control room in the northwest. You can open the trucks in the area to loot for resources, but some contain surprise zombies, so be careful! |
| 7 | 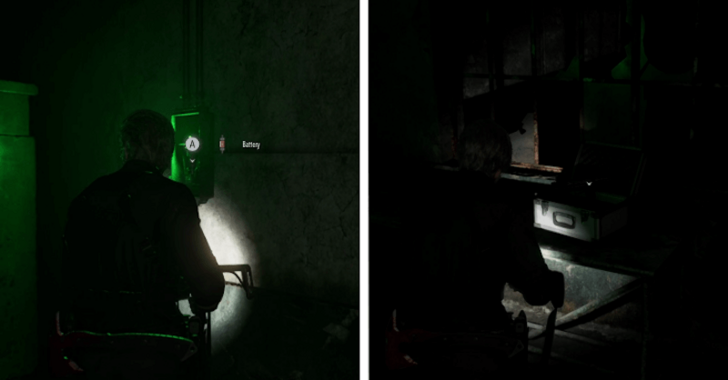 Once you're in the control room, take the Battery from the fuse box. You can also obtain a new weapon, the Gal, from the silver briefcase near the ladder. |
| 8 | 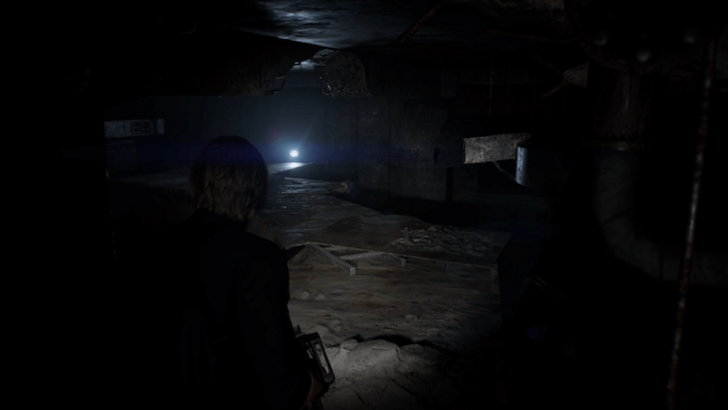 Climb up the ladder to the vents and follow the path to return to the garage gate area. Place the Battery in the fuse box. |
| 9 | 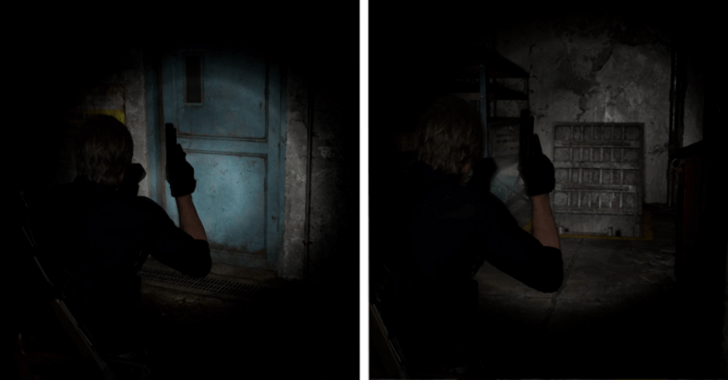 Next, enter the blue door on the right side. Proceed through the corridor and climb down the ladder to the lower levels. |
| 10 | 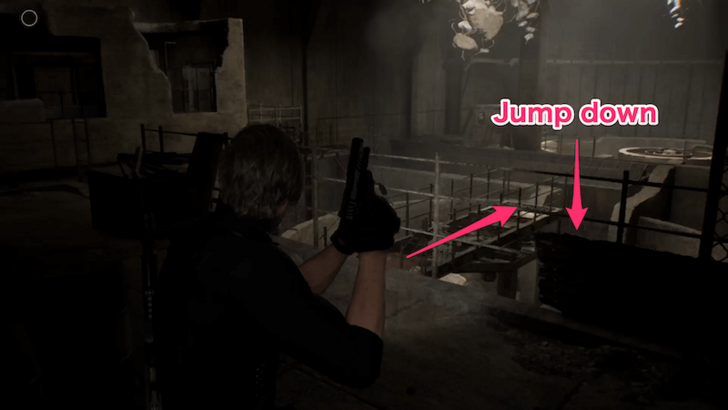 Continue until you reach the sewage facility. Head to the bridge and jump down into the empty tank. |
| 11 | 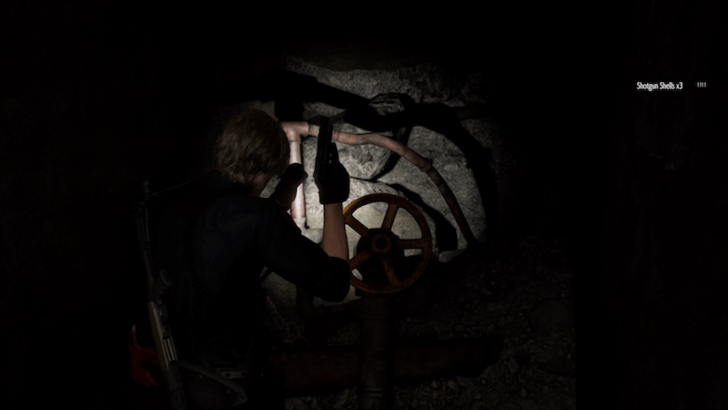 Turn around and take the Valve Handwheel from the rubble. After picking it up, zombies will rise and attack you. Kill them! |
| 12 | 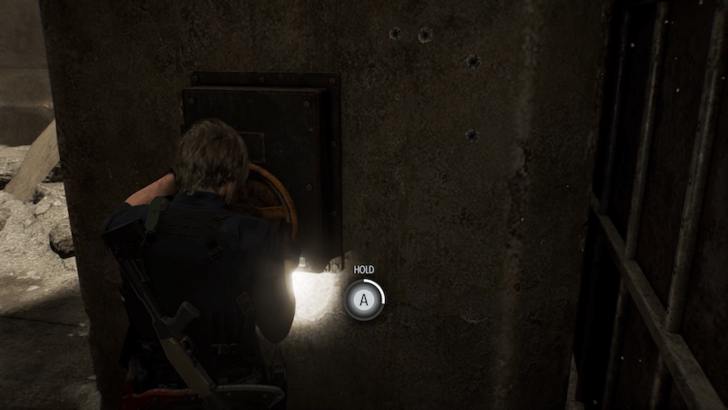 Once the area is clear, interact with the slot next to the door to place the Valve Handwheel. Hold the button to start turning the valve and open a path. |
| 13 |  A large zombie (similar to the one in the church in Care Center) will appear behind the door. It’s best to deal with him first, along with the other zombies in the area. The large zombie’s weak points are the orange blobs on his body, but destroying them will cause him to mutate nearby zombies. |
| 14 | After dealing with the zombies, finish turning the valve to create a bridge to the control room. |
| 15 | 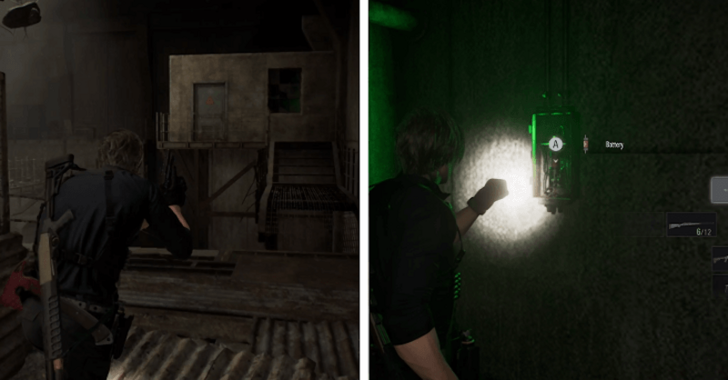 Proceed forward, take the stairs, and enter the control room. Take the Battery from the fuse box. |
| 16 | 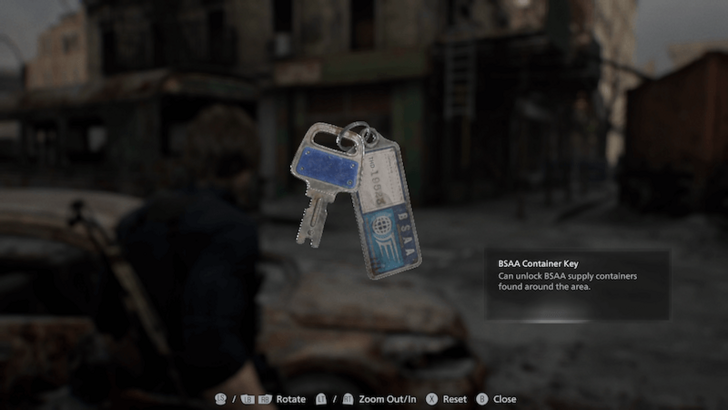 Return to the garage gate area and place the Battery in the fuse box to finally open the garage gate. Go up the surface and this will trigger a cutscene. Afterward, you will obtain the BSAA Container Key, which allows you to open the four blue containers scattered around East Raccoon City. Three are optional, while the blue container in Central Camp is required for story progression. |
| 17 | 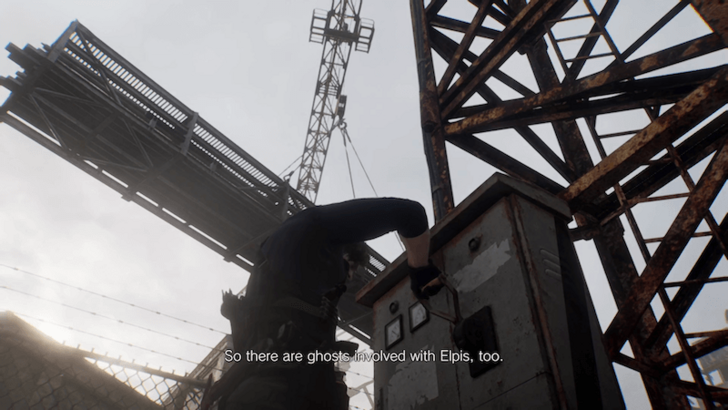 Before continuing, head to your upper left and flip the switch on the crane tower in front of the construction site. This will drop a makeshift bridge creating a shortcut to Central Camp. |
| 18 | 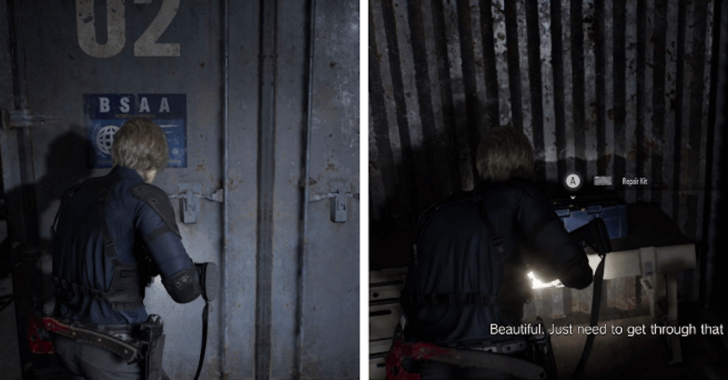 Return to Central Camp to save your game and spend credits at the supply box if needed. To save time, open the blue container in the camp already and take the Repair Kit inside. The motorcycle will be used later. |
| 19 | 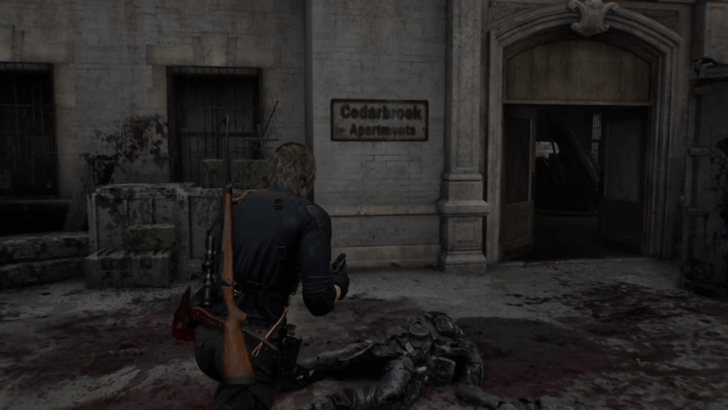 When you're ready, head back to where the dead BSAA soldiers are and enter the main entrance to Cedarbrook Apartments. |
| 20 | 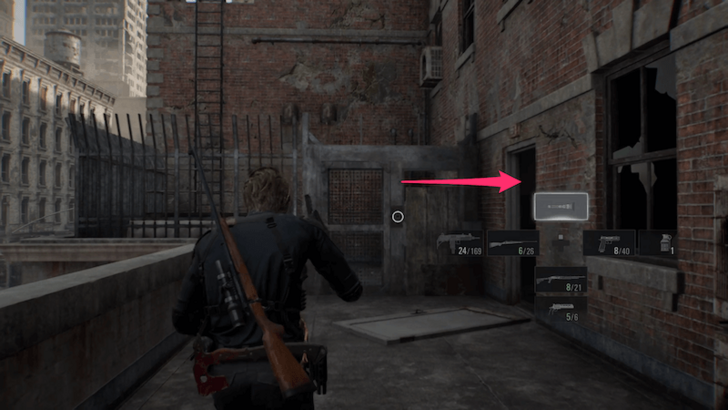 Head upstairs to reach the outside. You will see a gate ahead that requires a crank to open. |
| 21 | 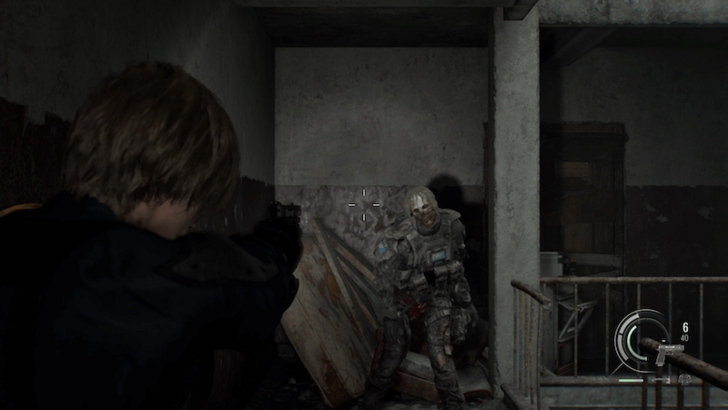 Enter the door to the right of the locked gate and you will encounter an armored BSAA zombie. These enemies are tougher to kill, so you'll have to rely on headshots to take them down quickly. |
| 22 | Drop down into the hall, where you will be ambushed by more BSAA zombies. Survive the attack before continuing! |
| 23 | 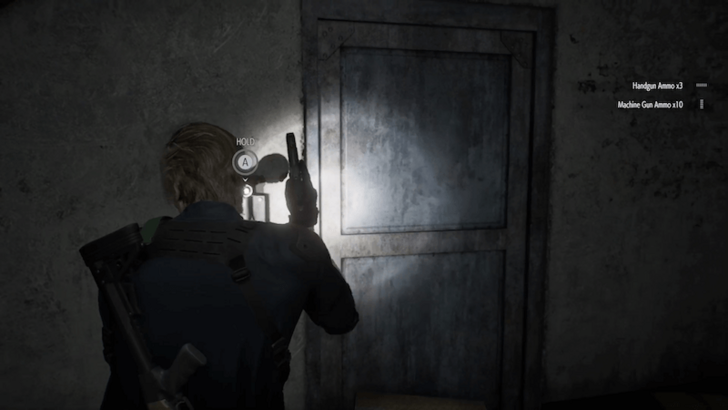 Once the area is clear, interact with the crank next to the blue door on the right. Hold the button to turn the crank and open the door, and you will get the Rusty Crank afterward. |
| 24 | 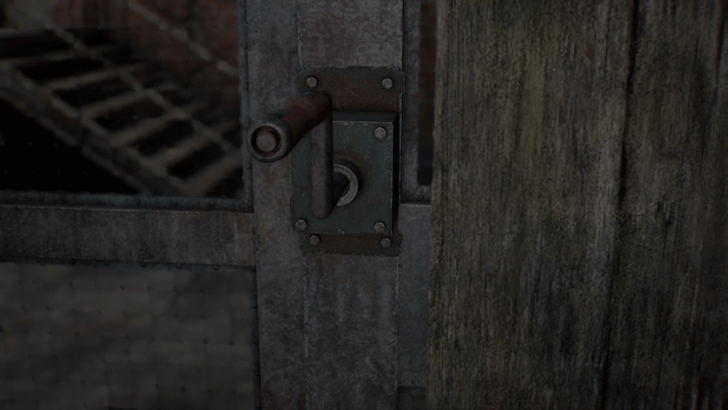 Head back to the locked gate. Interact with the slot to place the crank, then turn it to open the gate. |
| 25 | 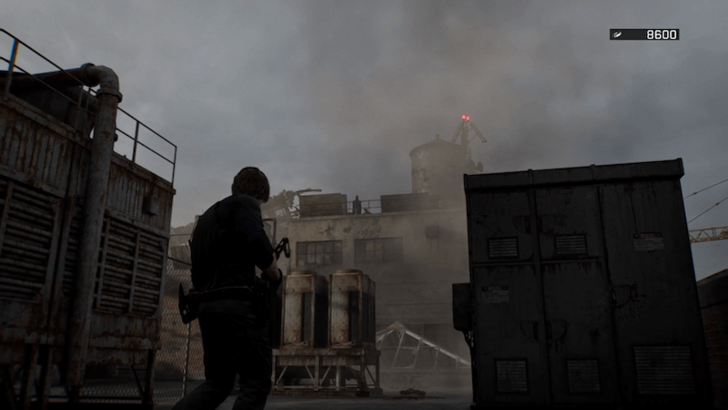 Take the stairs to reach the Cedarbrook Apartments Roof. Be careful, as there are three zombies on the rooftops operating a mortar and will bombard you. Use your Classic 70 to shoot the zombies operating the mortar. There is no indicator when you are being targeted. You will have keep moving and take cover to avoid the bombs. Only make moves after hearing a bomb land since they would need to reload. |
| 26 | 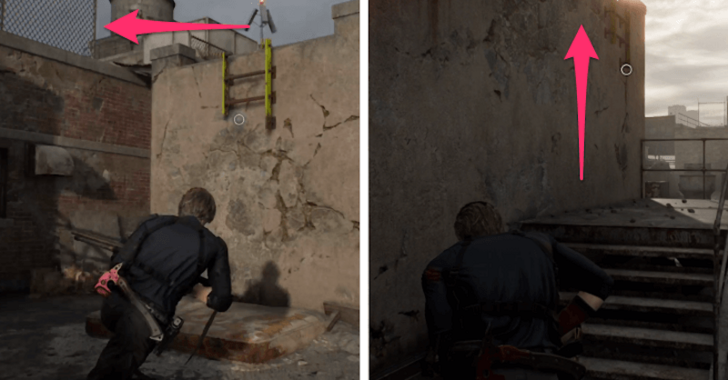 Proceed through the rooftops, climb the ladder near the stairs, and cross the planks to the next building. Continue forward, then turn right and use the ladder to reach the roof where the mortar is located. You can use the mortar to clear enemies on your way back. |
| 27 | 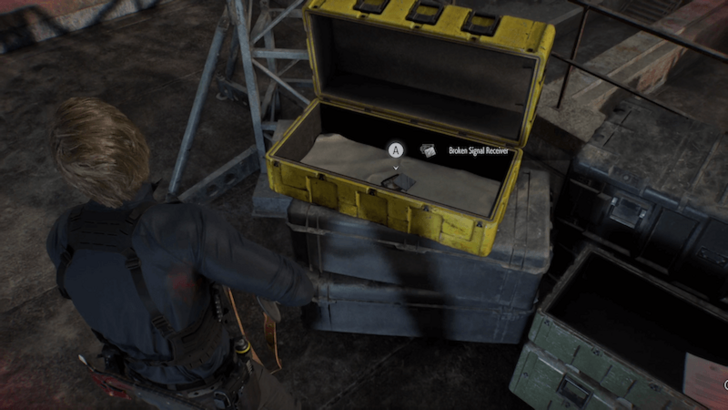 Interact with the large yellow case to get the Broken Signal Receiver, the second detonator part. Combine it with the Distributor and use the Repair Kit to fix it. |
| 28 | Return to Central Camp to save your progress and prepare for the third detonator part. |
How to Get the Broken Signal Receiver
Third Detonator Part (Relay)
| Walkthrough | |
|---|---|
| 1 | 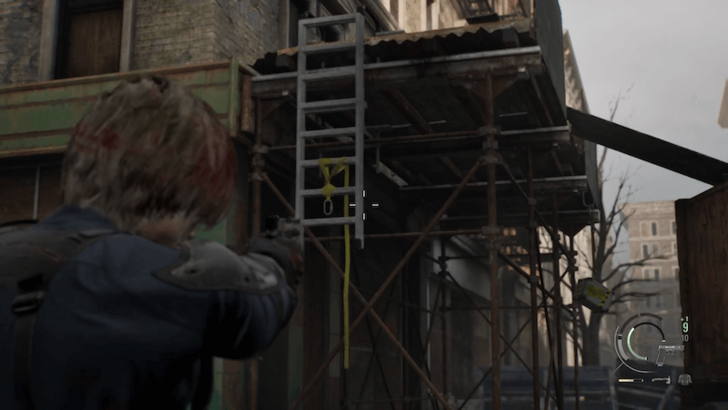 For the third detonator part, head back in front of Cedarbrook Apartments. Shoot the strap on the ladder attached to the scaffolding near the construction site to drop it down. |
| 2 | 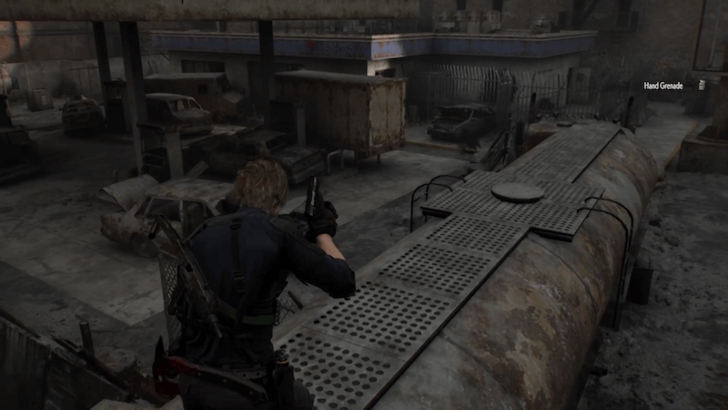 Climb up and walk across the platforms, then drop down to the gas station area. |
| 3 | 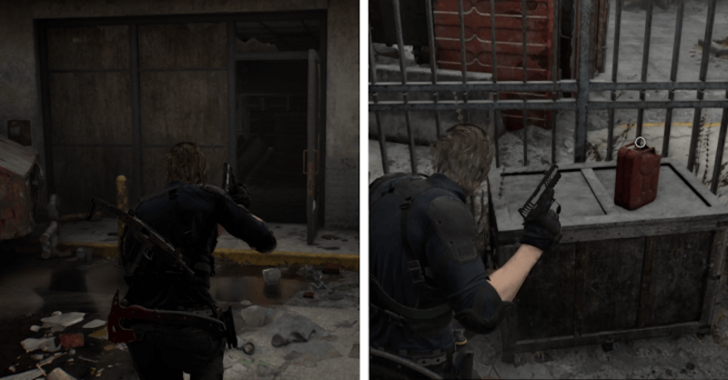 Enter the gas station and proceed forward until you reach the outside. Grab the Gas Can on top of the wooden crate near the generator. |
| 4 |  As you make your way back, you will be ambushed by zombies. Kill them all to continue! |
| 5 | 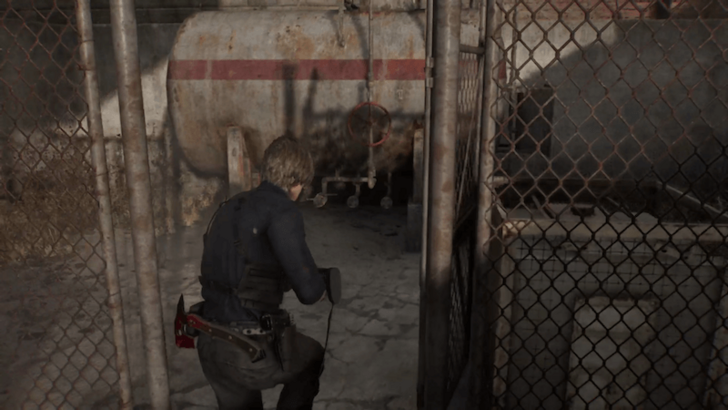 Once the zombies have been dealt with, go to the fuel tank in the northern part of the area. Turn the valve and refuel the Gas Can. |
| 6 | 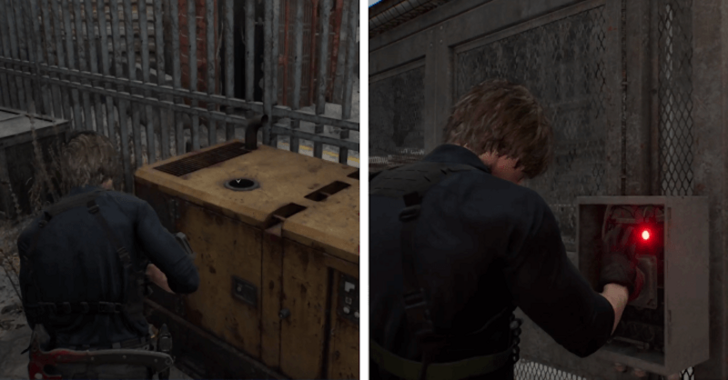 Head back to the generator and refuel it with the Gas Can. Press the button on the gate to open it. |
| * |  You can also use the Gas Can to refuel the generator at the construction site. It's not part of the story progression, but clearing the construction site allows you to backtrack to the starting area of East Raccoon City if ever you have any unfinished business there. |
| 7 | Return to Central Camp and take the elevator back up to where you got the first detonator part. |
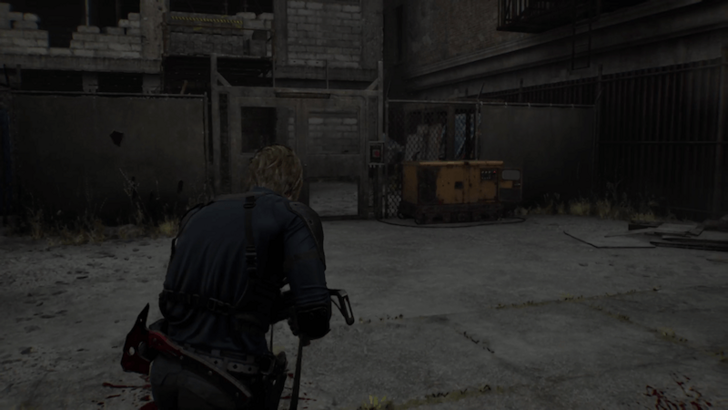
| 8 | 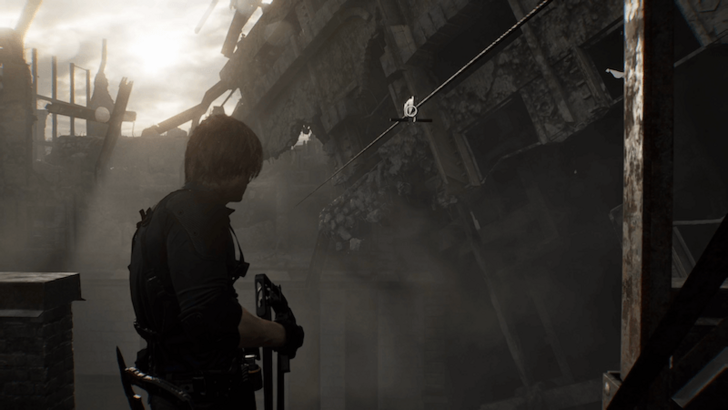 Make your way back to the generator from earlier and refuel it. Press the button to open the gate and interact with the zipline to reach the Willis Tower. |
| 9 | 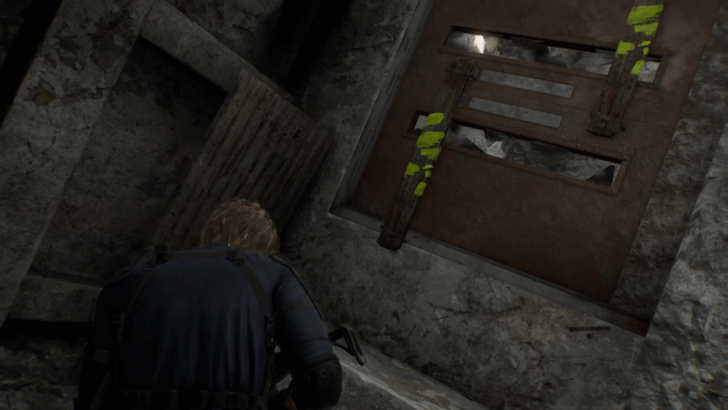 Proceed forward into the tower and take the stairs to the upper level. Continue ascending until you reach a double door boarded up with yellow-painted planks. Shoot the planks to open a path. |
| 10 |  Cross the concrete pillar and shoot the planks on the door to your right, then jump your way to the other side. |
| 11 | 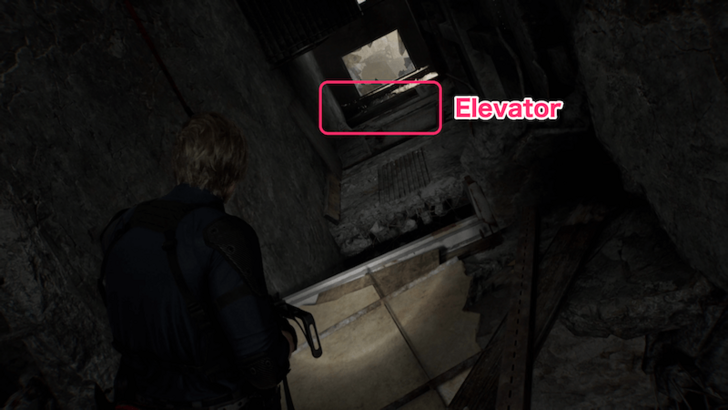 Shoot the planks above you to create a platform below, then drop down. Jump across and enter the elevator ahead. |
| 12 | 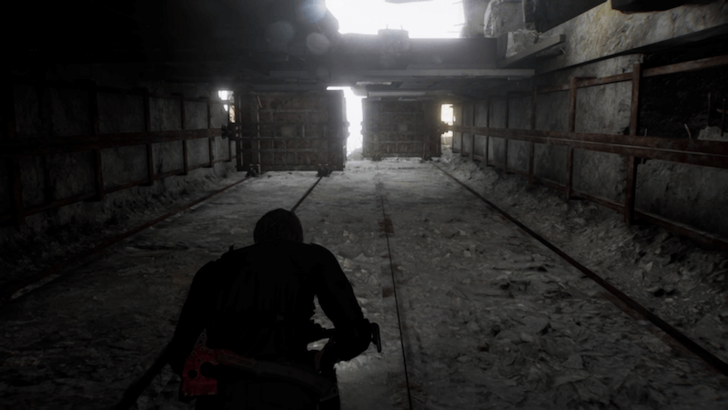 As you ascend, stay on the left, as the elevator on the right will drop. Immediately move to the right to avoid the elevator on the left when it also falls. |
| 13 | 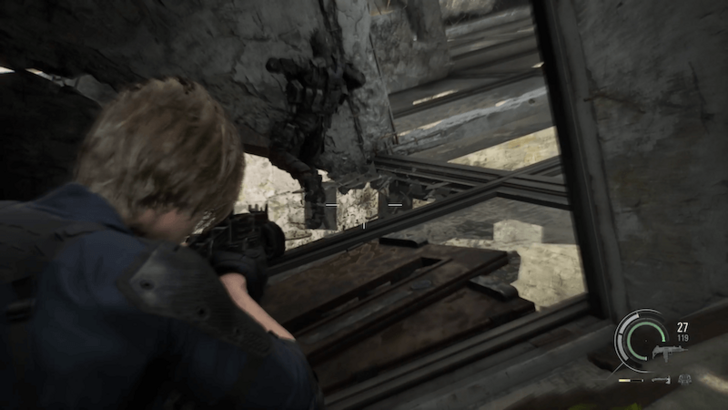 Slide down and shoot the planks on the door to reach a glass floor area with zombies. Be careful, as the glass surface can break and cause you to fall. You can shoot the glass under a zombie to make them fall through. |
| 14 | 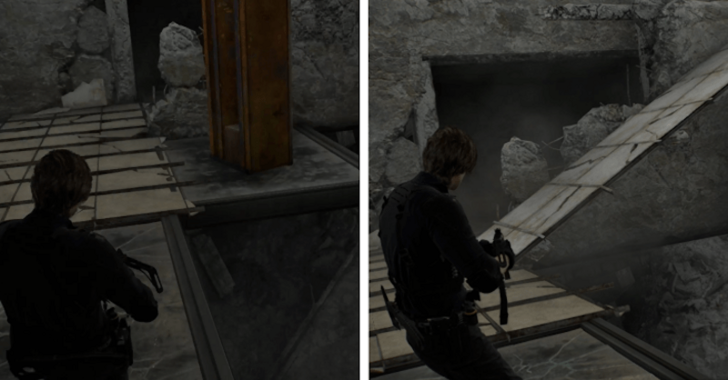 Shoot the glass under the wooden desk in the center to create a path forward. There will be more zombies along the way, so get ready! |
| 15 | 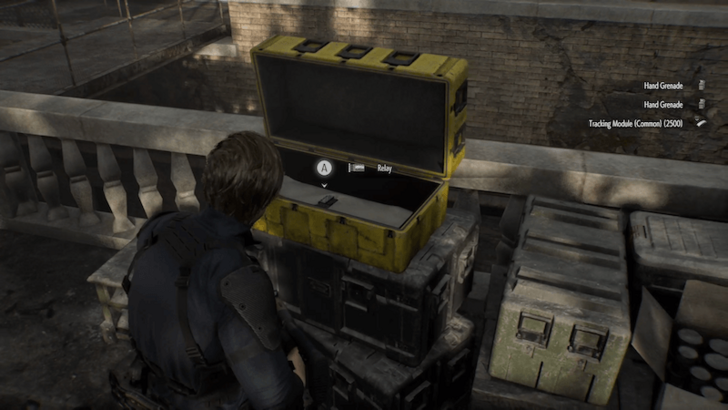 Proceed forward and jump down to the Grimstone Building Rooftop. Unlock the gate to your right and interact with the large yellow case to get the Relay, the third and final detonator part. |
Destroy the Main Gate
| Walkthrough | |
|---|---|
| 1 | Enter the door on the left and you’ll find a laptop to save your progress, as well as a supply box to spend credits. |
| 2 | 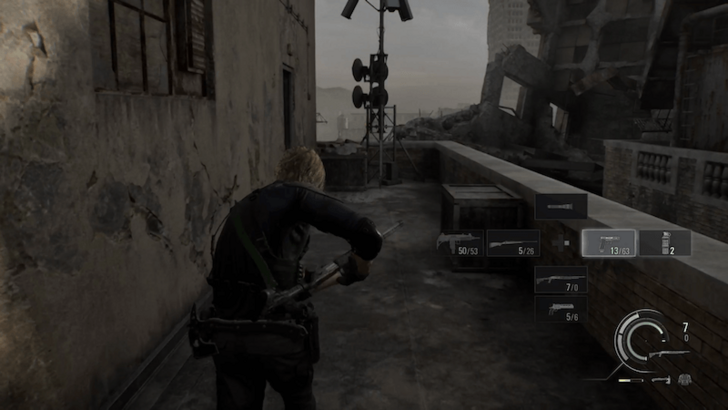 When you’re ready, proceed forward and enter the door on your left to reach the other side of the rooftop. |
| 3 | 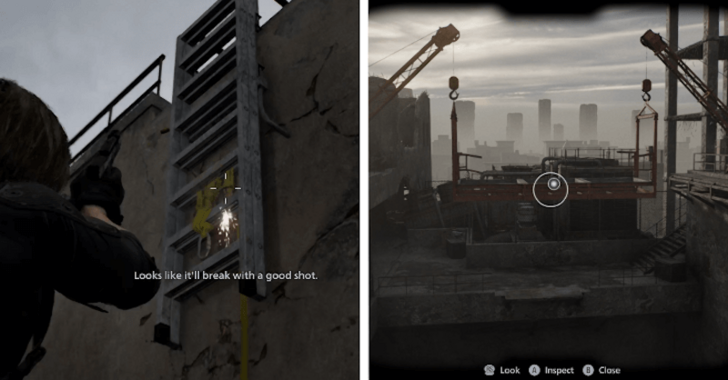 Shoot the strap on the ladder to your left. Climb up and use your binoculars to inspect the suspended scaffolding, which you will use to head back down. |
| 4 | 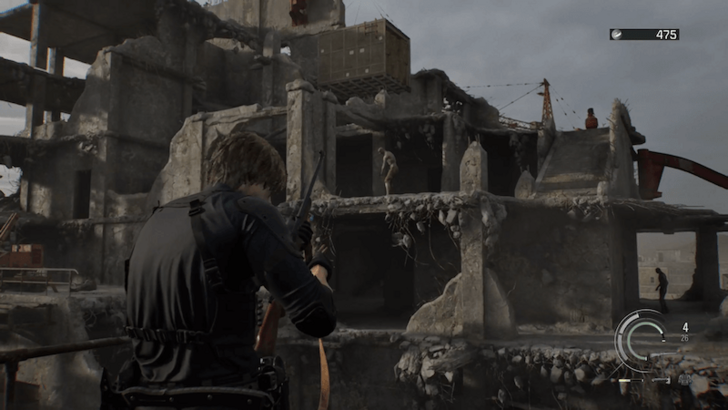 Drop down to your right and cross toward the ruined building. There will be zombies in the area. Kill them all to continue! |
| 5 |  Use the stairs to reach the highest floor, then slide down in the center to reach the crane. Turn the valve to lower the scaffolding on this side. |
| 6 | Head to the right and drop down to another ruined building with zombies. |
| 7 | 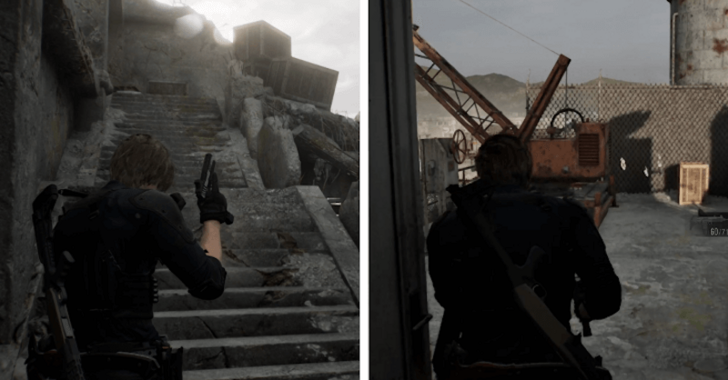 Take the stairs on the right and continue until you reach the crane past the door. Turn the valve to lower the scaffolding on this side as well, balancing it. |
| 8 | 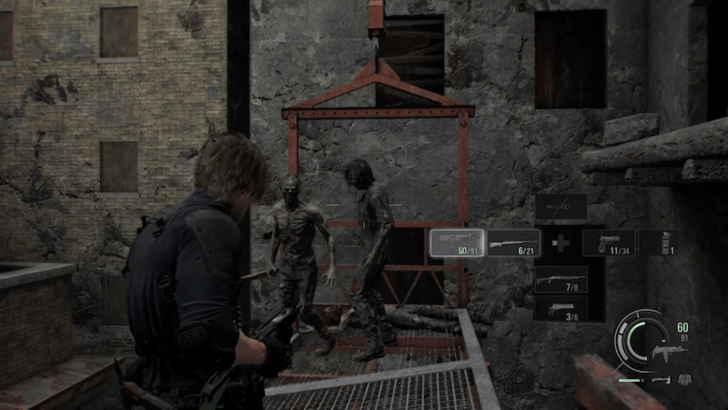 Drop down and press the button on the scaffolding to start descending. Zombies will drop and attack you as you descend, so stay alert! |
| 9 | 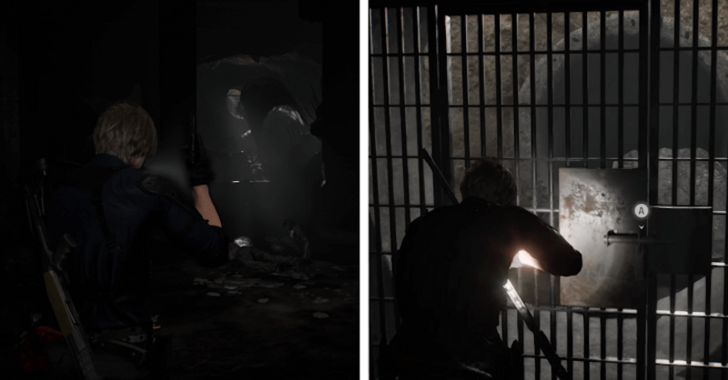 As you near the ground, a cutscene will trigger and you will fall into the sewers. Kill the zombies around you, then move toward the gate. Unlock it and make your way back to the surface near the main gate. |
| 10 | Before proceeding, it’s best to save your progress and make any final purchases at the supply box at Central Camp first before leaving. When you’re ready, return to the barrier and interact with the explosive to destroy the main gate. |
Head to Raccoon City Center
| Walkthrough | |
|---|---|
| 1 |  As Leon rides his motorcycle to Raccoon City Center, Victor will attack you with his mutant hounds. Aim and shoot the mutant hounds on the road to kill them. |
| 2 | 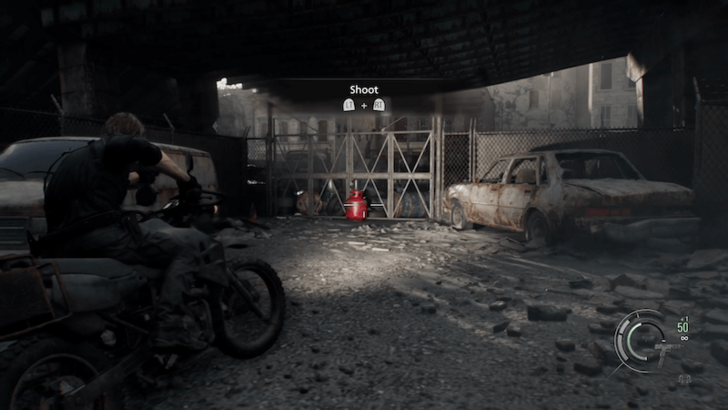 Later in the sequence, shoot the red propane tanks blocking your way to clear a path. |
| 3 | 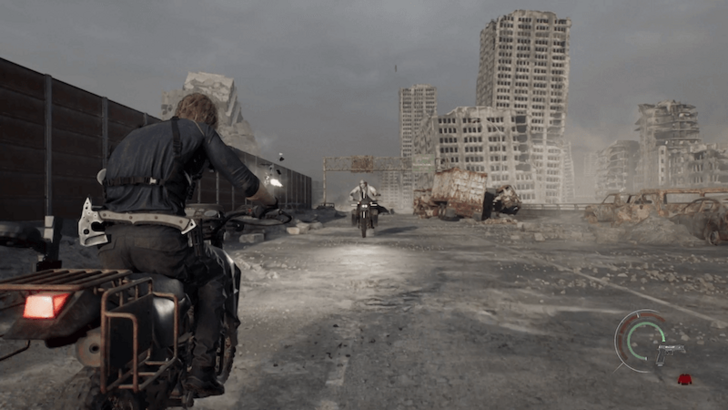 You’ll then find yourself in a showdown against Victor. When prompted, shoot him as you drive towards him and this will trigger a cutscene. |
Resident Evil Requiem (RE9) Related Guides

Main Story Order
| # | Walkthroughs |
|---|---|
| 1 | Wrenwood |
| 2 | Care Center |
| 3 | Care Center Basement |
| 4 | Care Center Courtyard |
| 5 | Water Treatment Plant |
| 6 | East Raccoon City |
| 7 | Raccoon City Center |
| 8 | Orphanage |
| 9 | ARK |
Comment
Author

East Raccoon City Walkthrough
Premium Articles
Rankings
- We could not find the message board you were looking for.
Gaming News


Popular Games

Genshin Impact Walkthrough & Guides Wiki
Umamusume: Pretty Derby Walkthrough & Guides Wiki
Crimson Desert Walkthrough & Guides Wiki
Monster Hunter Stories 3: Twisted Reflection Walkthrough & Guides Wiki
Honkai: Star Rail Walkthrough & Guides Wiki
Pokemon Pokopia Walkthrough & Guides Wiki
The Seven Deadly Sins: Origin Walkthrough & Guides Wiki
Wuthering Waves Walkthrough & Guides Wiki
Zenless Zone Zero Walkthrough & Guides Wiki
Arknights: Endfield Walkthrough & Guides Wiki


Recommended Games
Fire Emblem Heroes (FEH) Walkthrough & Guides Wiki
Diablo 4: Vessel of Hatred Walkthrough & Guides Wiki
Cyberpunk 2077: Ultimate Edition Walkthrough & Guides Wiki
Yu-Gi-Oh! Master Duel Walkthrough & Guides Wiki
Super Smash Bros. Ultimate Walkthrough & Guides Wiki
Pokemon Brilliant Diamond and Shining Pearl (BDSP) Walkthrough & Guides Wiki
Elden Ring Shadow of the Erdtree Walkthrough & Guides Wiki
Monster Hunter World Walkthrough & Guides Wiki
The Legend of Zelda: Tears of the Kingdom Walkthrough & Guides Wiki
Persona 3 Reload Walkthrough & Guides Wiki


All rights reserved
©CAPCOM U.S.A., INC. ALL RIGHTS RESERVED.
The copyrights of videos of games used in our content and other intellectual property rights belong to the provider of the game.
The contents we provide on this site were created personally by members of the Game8 editorial department.
We refuse the right to reuse or repost content taken without our permission such as data or images to other sites.