Insanity Difficulty Guide
★ The Final Puzzle Solution
☆ Roulette Wheel Solution
★ Antique Coins | Mr. Raccoons | Files
☆ Speedrun Guide | Insanity Difficulty Guide
★ Post Game | Infinite Ammo | CP Farming
☆ List of Jump Scares | Points of No Return
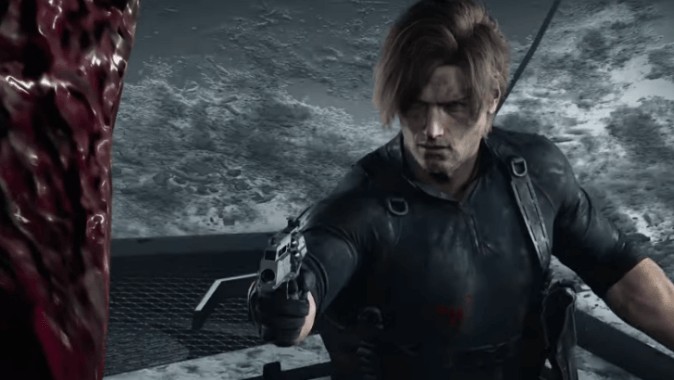
This is a guide to the Insanity DIfficulty, the hardest difficulty in Resident Evil Requiem (RE9). Find out how Insanity compares to the other difficulties, and get tips on how to beat it.
Insanity Difficulty Differences
|
|
Enemy Changes
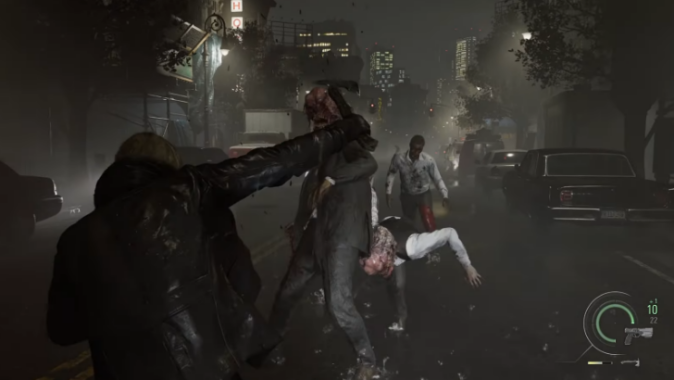
In addition to appearing in greater numbers and having more durability, enemies move much faster and more aggressively. Players will have less time to decide whether to fight or flee and will need to act faster than usual.
It should be noted that more shots are required to stagger them, which significantly increases the difficulty of combat.
Blister Heads Appear More Often
Be prepared to face more Blister Heads, which appear much more frequently and as early as Leon's introductory sequence. This is in stark contrast to lower difficulties, where they appear later inside the care center.
Normal zombies can mutate into Blister Heads on the spot after being killed, which makes them much more dangerous.
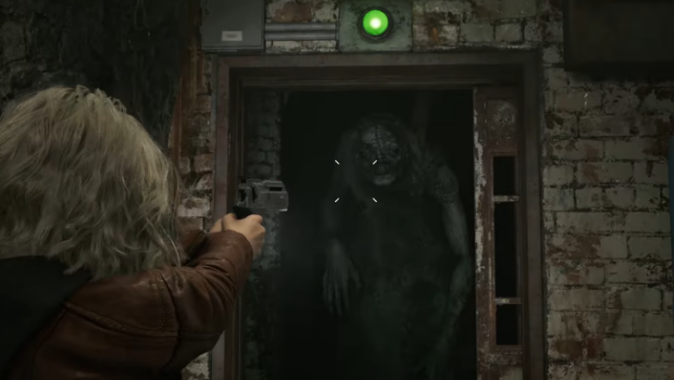
The Girl Is Much More Difficult To Deal With
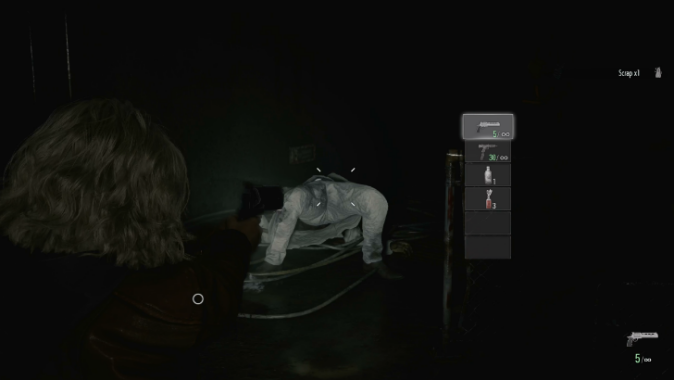
The Girl will move much faster, take more damage before being stunned, and recover much faster than on the easier difficulties. She will also appear more often in the basement, making that area more difficult.
It will take approximately three Requiem headshots or two Molotov Cocktails to stun her. Dealing with her will mostly be the same, but you'll have to react much faster.
How to Beat Shadow Ghost (The Girl)
The Commander is Much More Formidable
HUNK's movements and attacks are faster and more relentless. His brief combat sequence demands swift reflexes, as he can swiftly end the fight if his attacks aren't properly parried.
Different Item Placement
| Standard | Insanity |
|---|---|
 |
 |
Some items won't be in the same place as in Standard Difficulty, which makes certain sections much harder to play through in Insanity Mode.
The Supply Crate Is Available at the Start
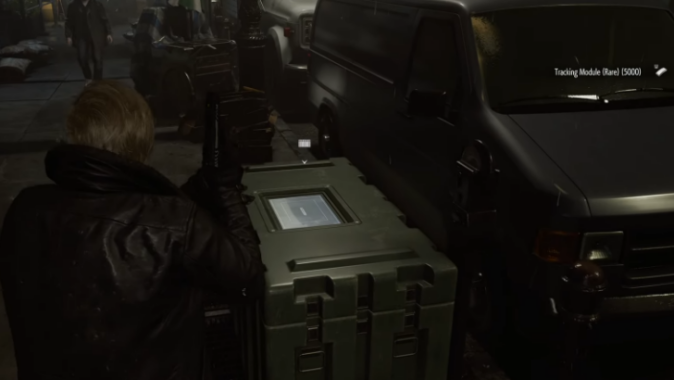
The Supply Crate is available as soon as Leon becomes playable, giving him immediate access to his full arsenal, provided that he has credits to spend.
This makes completing the challenges on lower difficulties much more rewarding, since the rewards you purchase can be used for Insanity difficulty runs.
All Challenges and How to Complete
Ink Ribbons Are Required To Save Progress
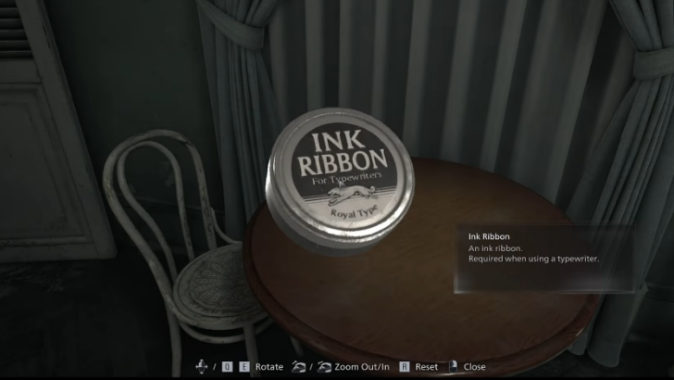
The save limitation, previously exclusive to the Standard Classic difficulty run, has now been extended to the Insanity Difficulty setting. Players must now use Ink Ribbons to save their progress.
Safe Code Changes
| Safe Location | Insanity Difficulty Code |
|---|---|
| Examination Room Safe | Right 20, Left 50, Right 30 |
| Bar and Louge | Right 20, Right 50, Left 30 |
| Basement Room | Left 70, Right 50, Left 20 |
| Sterilization Chamber | Left 80, Left 50, Right 0 |
| Monitor Control Room | Right 20, Left 0, Right 70 |
Safe codes have been changed, and you would have to check the various notes and files once again across the areas in order to open the safes.
All Safe Code Solutions and Locations
Insanity Difficulty Tips
|
|
Plan Your Route
Given the limited inventory space, scarce resources, and increased threat posed by the enemies, it is advisable to plan your route in as safe a manner as possible, taking only the bare minimum resources necessary to minimize backtracking.
This includes using the available resources to their fullest potential, taking calculated risks in certain sections, and using skips to increase efficiency.
Unlock Post-Game Items
| Reward | CP Cost | Usage |
|---|---|---|
| Matsuoka Master Manual (Grace) |
1000 CP | Minimizes backtracking and lets you carry more Infected Blood at a time. |
| Infinite Ribbon (Grace) |
Complete the main story in 4 hours. | Provides infinite saves, letting you re-do specific sections until you get the desired outcome. ┗ ▶Speedrun Guide |
| Tactical Tracker (Leon) |
3000 CP | Provides more Credits when slain, letting you purchase more items in the Supply Crate. |
You can unlock helpful items to aid you in Insanity difficulty runs by completing challenges.
This makes certain sections of the game easier due to the helpful perks it provides. For example, the Matsuoka Master Manual lets you carry more blood and minimizes backtracking. The Infinite Ribbon lets you circumvent the saving restriction completely.
Unlock Weapon Tuning
In order to unlock additional weapon attachments, you to unlock weapon tuning. Once this is done, the weapon can be attached to the final level, thus reaching its maximum potential.
To unlock it, it is necessary to destroy all 25 Mr. Racoon Statues in the game.
All Mr. Raccoon Statue Locations
Invest in Survivability
The substantial increase in the enemy's damage output has made survival significantly more challenging, and Grace can even die immediately on full health upon being grabbed by a regular zombie.
The same goes for Leon, and enemies can make quick work of him if certain attacks are allowed to land.
Steroids and Body Armor are much more valuable at the Insanity difficulty level; they can often determine the difference between life and death in most scenarios.
Unlock Infinite Ammo
Unlocking infinite ammo can make difficult sections riddled with enmies much easier, since you won't need to rely solely on stealth anymore.
It also eases the burden of inventory management by eliminating the need to carry extra ammo for each gun in your inventory.
That being said, the enhanced enemies mean that every encounter can still be dangerous, so caution must still be exercised during combat.
Locate Powerful Charms
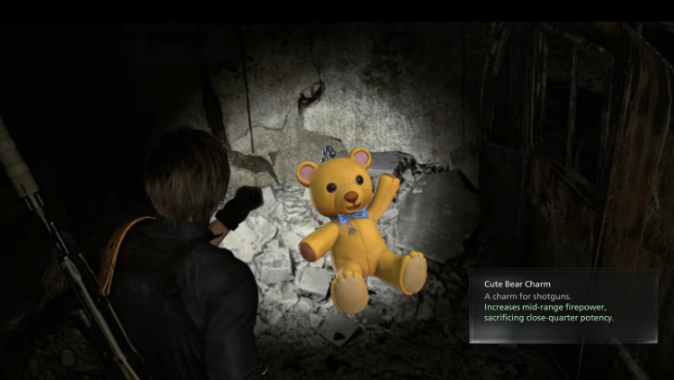
Charms can provide a weapon with increased flexibility by improving certain aspects, like range or penetration, or by improving its performance by simply increasing the damage of the weapon that it's equipped to.
They are located in various places on different maps, and are worth the time and effort due to the improvements they provide.
Master the Parry
The amount of enemies that are present in some sections can outpace the amount of firepower that Leon's guns can output, and so mastering the parry mechanic is essential to survivability.
Parrying is very useful in both normal combat and boss fights, letting Leon survive attacks that would otherwise end him.
Always Have a Melee Weapon Ready
This applies to both Grace and Leon. Try to keep a knife in your inventory at all times as Grace and keep Leon's weapon sharpened.
Normal enemies and bosses both have grab attacks that can be problematic, so keep one ready at all times.
Insanity Difficulty Walkthrough per Area
|
|
Wrenwood
During Leon's section, you can go straight to the end of the road to quickly finish the level. You can defeat the enemies to earn points to purchase items, but it isn't required.
Wrenwood Walkthrough
Care Center
| 1 | 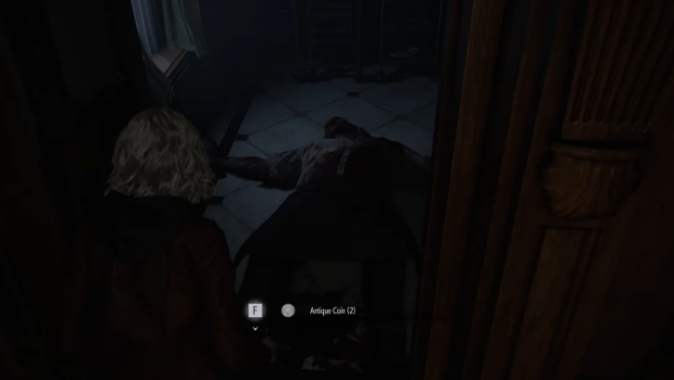 Instead of dropping the pantry key, the chef now drops antique coins. |
|---|---|
| 2 | 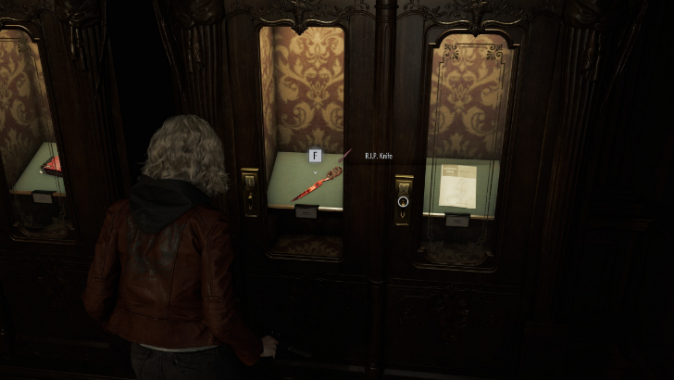 The gallery shop has replaced both the Steroid and the Stabilizer with Handgun Ammo and the R.I.P. Knife, respectively. |
| 3 | 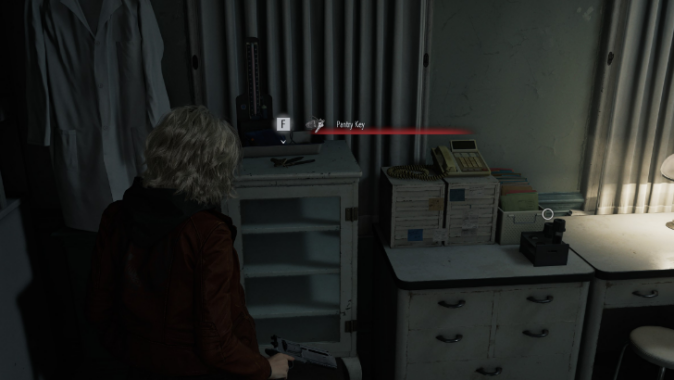 The Pantry Key can be found in Waiting Room closet, accessible once you have obtained the ID Wriestband (Level 1). Additionally, the Blood Specimen (Polymerized) is located right beside it, which is exclueisve to Insanity Difficulty. |
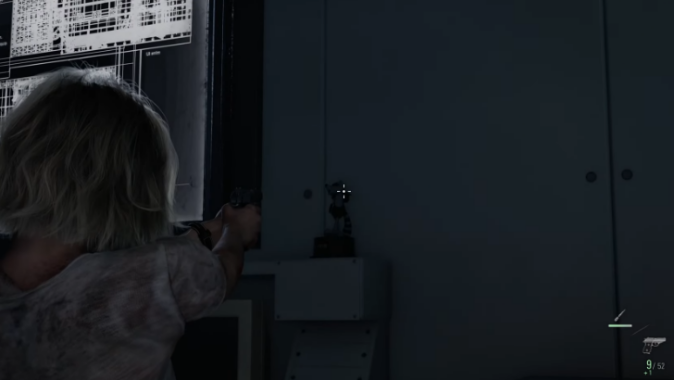
| 4 |  The singer no longer dies from a single requiem headshot, even when the reticle is fully centered and lined up perfectly. Additionally, the antique coin is no longer on the piano. |
| 5 | 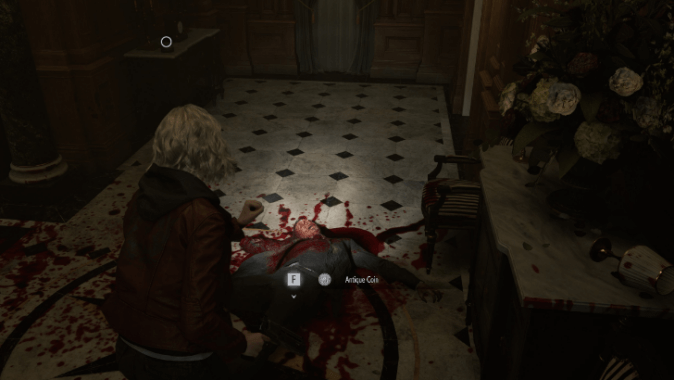 Many enemies drop Antique Coins when they die, which makes buying all the items in the Gallery easy.
 |
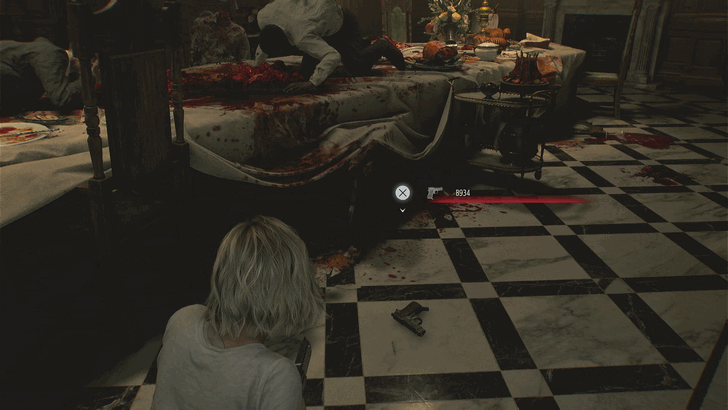
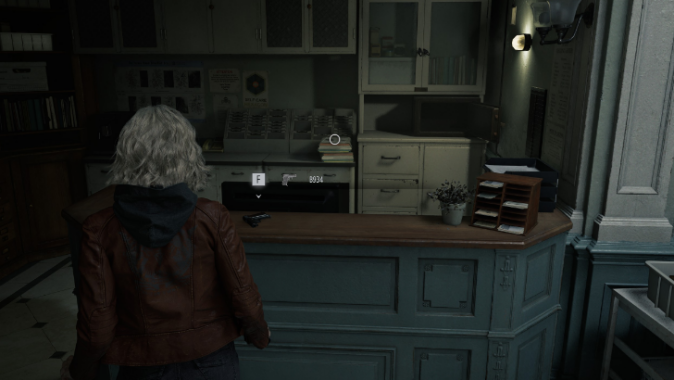
| 6 | The B934 is located at the East Wing Dining Room instead of the Dining Room in the West Wing. |
Throughout the entire run, Grace's section at the care center undergoes the most changes. Item locations are significantly altered, and enemies have different item drops.
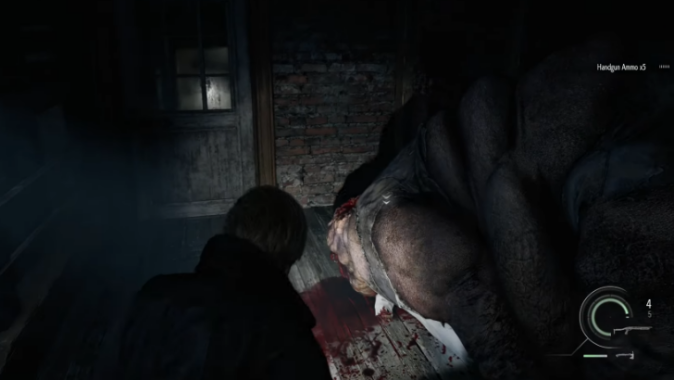
Using the Chainsaw Can Be Disadvantageous
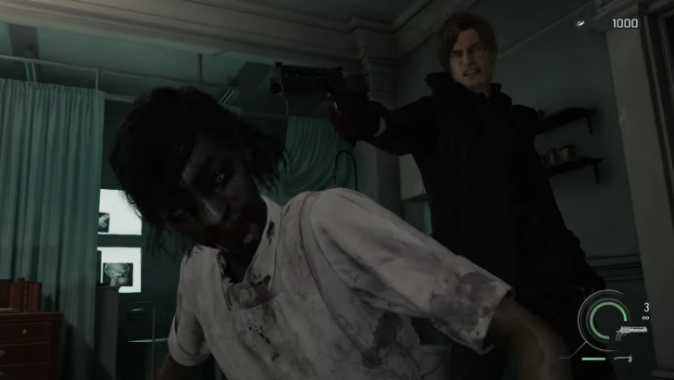
The chainsaw is useful because it lets you save ammo and deals high damage. However, its slow swings can leave you open to attacks afterwards.
Take the time to isolate enemies when using the chainsaw. Alternatively, you can use up all of the Requiem ammo given to Leon in this section, as Grace will always start her section with one Requiem ammo.
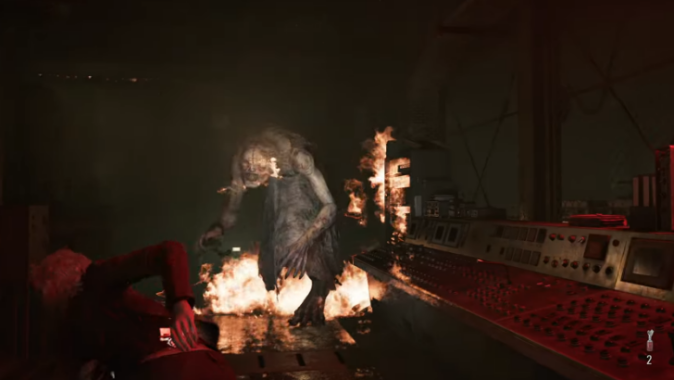
The MSBG 500 Does Not Spawn
Be sure to purchase a shotgun from the supply crate before entering the boss room where Leon faces Chunk, as the MSBG 500 is absent during this section.
This holds true for Insanity mode and all subsequent playthroughs, since it only spawns during the first playthrough.
Care Center Basement
In addition to her increased speed and aggression, The Girl appears much more frequently outside of her scripted sequences.
Care Center Basement Walkthrough
Care Center Courtyard
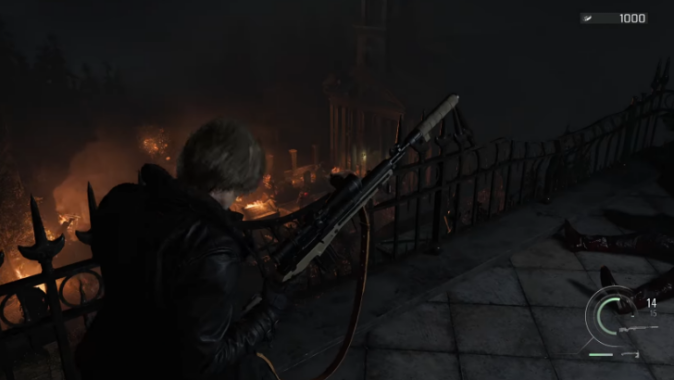
Similar to the MSBG 500, the Classic 70 does not spawn during subsequent playthroughs. This requires Leon to purchase a rifle before the section begins. Additionally, a zombie and a Blister Head become active during this section.
For this section, we recommend purchasing the Marksman 1A due to its high fire rate, large magazine, and fast reload speed. We also recommend purchasing the Ghost Grudge since the Requiem is unavailable at this time.
Care Center Courtyard Walkthrough
Water Treatment Plant
For the final showdown with The Girl, you will need to land 2-3 Requiem headshots or 2 direct hits with Molotov Cocktails to stun her. Make sure you have enough resources for this fight, or stand near light sources to fend her off.
Water Treatment Plant Walkthrough
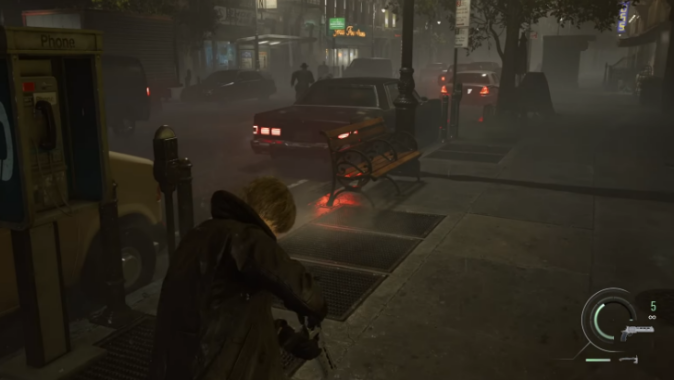
East Racoon City
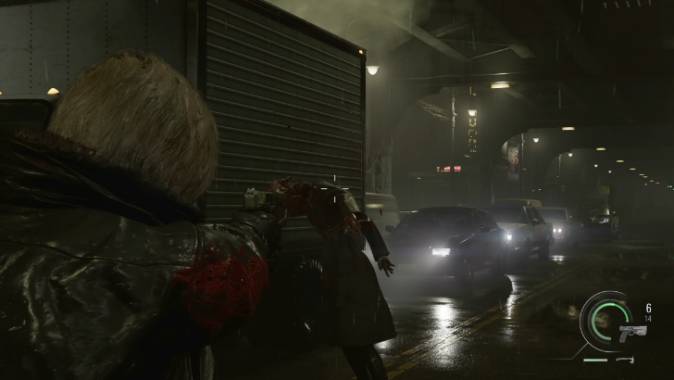
Some sections have additional enemies that are scripted to attack you once you enter the area. This is the best time to start investing in Body Armor for increased survivability, as this is also the section where BSAA soldiers start to spawn, and they can be quite deadly.
ARK
| 1 | 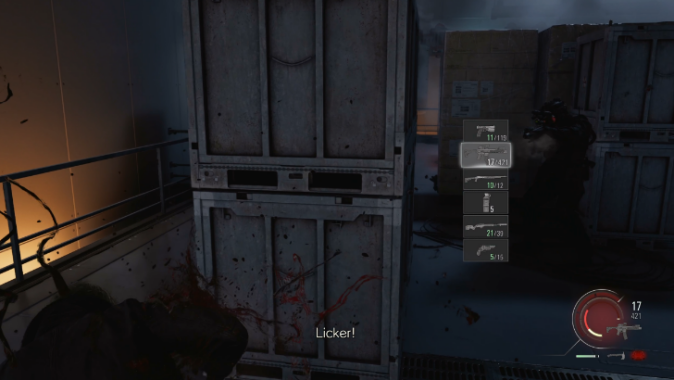 If you still haven't invested in body armor, now is the best time to do so, as you will be facing multiple soldiers in this area, and they are much deadlier than BSAA soldiers. They are much deadlier this time around, and quickly take Leon down if he's caught out in the open. |
|---|---|
| 2 | 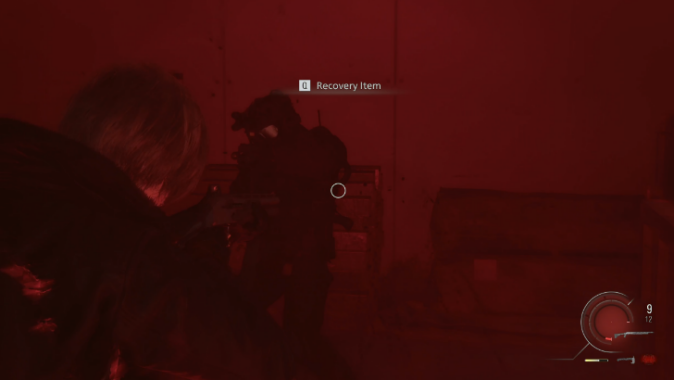 Additional soldiers will spawn in the next room after you defeat HUNK. Be sure to quickly heal up and take cover if needed, as they will enter the room shortly after HUNK is defeated. |
If your only goal is to finish the Remarkable Agent challenge, you can simply destroy Elpis and complete the challenge. This lets you skip the Victor boss fight, which could be difficult if you don't have enough ammunition.
ARK Walkthrough
Best Weapons for Insanity Difficulty
| Best Weapon | Weapon Strengths |
|---|---|
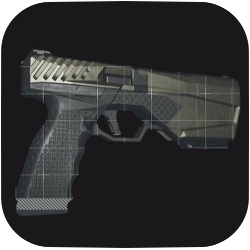 Silencer 9 Silencer 9
|
・Most ammo efficient pistol due to having the highest damage per shot, while having a large ammo capacity. |
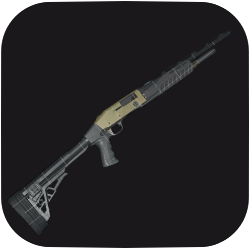 990-TAC 990-TAC
|
・Semi-Auto makes it easier to switch to different targets.
・Tightest spread when fully upgraded. ・Great in medium-range, when paired with the Bear Charm. |
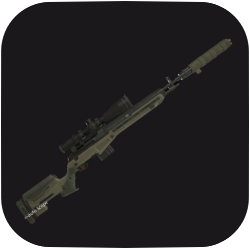 Marksman 1A Marksman 1A
|
・Magazine Reload allows it to outperform the Classic-70 in certain scenarios, like protecting from zombies in the Care Center Courtyard.
・Works best with the Connoisseur charm for sniping and the BSAA Charm for short to medium ranges. |
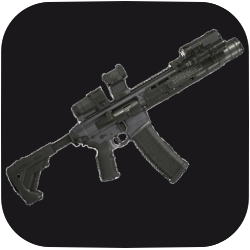 Clatter Carbine Clatter Carbine
|
・Outperforms all the submachine guns due to it's base stats. ・Performs well in boss fights where you have to shoot multiple targets, such as the Titan Spinner's phase where it spawns spiders, or during the fight against Victor where you have to shoot multiple cysts. ・Works best with the S.T.A.R.S Emblem charm. |
 Ghost Grudge Ghost Grudge
|
・Re-Centers faster than the Requiem.
・Usable in Leon's Scenario during the Care Center and the Courtyard, where the Requiem is unavailable. |
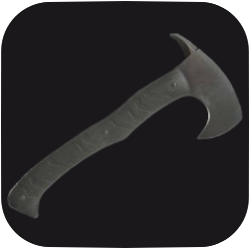 Mortal Edge Mortal Edge
|
・Higher Base Stats
・More Lenient Parry WIndows ・Less time needed to sharpen due to higher durability. |
Although you can finish the game with powerful weapons like the Classic 70 or the W870 Police, we recommend using other weapons on the list, such as the Marksman 1A and the 990-TAC.
Some threats demand an immediate response, and some scenarios require you to discard your reliable weapon for one that excels in that particular situation.
The list of Weapons provided above can help you get through the entire game in Insanity Difficulty without needing to switch.
How to Unlock Insanity Difficulty
Complete the Game on Any Difficulty
Insanity difficulty is automatically unlocked after you finish the game once, regardless of any difficulty, and ending.
If you want to unlock Insanity Difficulty as soon as you can, you can play the game on the Casual difficulty setting to do it much faster.
Insanity Difficulty Rewards
Provides 40,000 CP
| Remarkable Agent | Reward: 40000 CP Complete the main story on Insanity difficulty. |
Completing the game on Insanity difficulty will complete the Remarkable Agent challenge and reward you with 40,000 CP, which can be used in the Special Content Shop.
Resident Evil Requiem (RE9) Related Guides

Recommended Guides
Wiki Contents
 Story Walkthrough Story Walkthrough |
 Weapons Weapons |
 Bosses Bosses |
 Interactive Map Interactive Map |
 Safe Codes Safe Codes |
 Tips and Tricks Tips and Tricks |
 Puzzles Puzzles |
 Skips Skips |
 Items Items |
 Endings Endings |
 Charms Charms |
 Weapon Upgrades Weapon Upgrades |
 Costumes Costumes |
 Characters Characters |
 News and Game Info News and Game Info |
- |
Author

Insanity Difficulty Guide
Premium Articles
Rankings
- We could not find the message board you were looking for.
Gaming News

![Star Savior Review [First Impressions] | Engaging, Entertaining, and Expensive](https://img.game8.co/4447603/8f500e9bf666bdb8adb1af478e9dfdbd.png/show)


Popular Games

Genshin Impact Walkthrough & Guides Wiki
Umamusume: Pretty Derby Walkthrough & Guides Wiki
Crimson Desert Walkthrough & Guides Wiki
Monster Hunter Stories 3: Twisted Reflection Walkthrough & Guides Wiki
Honkai: Star Rail Walkthrough & Guides Wiki
Pokemon Pokopia Walkthrough & Guides Wiki
The Seven Deadly Sins: Origin Walkthrough & Guides Wiki
Wuthering Waves Walkthrough & Guides Wiki
Zenless Zone Zero Walkthrough & Guides Wiki
Arknights: Endfield Walkthrough & Guides Wiki


Recommended Games
Fire Emblem Heroes (FEH) Walkthrough & Guides Wiki
Diablo 4: Vessel of Hatred Walkthrough & Guides Wiki
Cyberpunk 2077: Ultimate Edition Walkthrough & Guides Wiki
Yu-Gi-Oh! Master Duel Walkthrough & Guides Wiki
Super Smash Bros. Ultimate Walkthrough & Guides Wiki
Pokemon Brilliant Diamond and Shining Pearl (BDSP) Walkthrough & Guides Wiki
Elden Ring Shadow of the Erdtree Walkthrough & Guides Wiki
Monster Hunter World Walkthrough & Guides Wiki
The Legend of Zelda: Tears of the Kingdom Walkthrough & Guides Wiki
Persona 3 Reload Walkthrough & Guides Wiki


All rights reserved
©CAPCOM U.S.A., INC. ALL RIGHTS RESERVED.
The copyrights of videos of games used in our content and other intellectual property rights belong to the provider of the game.
The contents we provide on this site were created personally by members of the Game8 editorial department.
We refuse the right to reuse or repost content taken without our permission such as data or images to other sites.
There is a change in the Cold Storage room (Where you get the artificial lungs). In other difficulties you just need to shoot the zombie in the bulldozer and the bulldozer stops, however in Insanity it keeps going even after you kill him, so you have the shoot the area under the bulldozer's bucket to fully stop it from moving.