ARK Walkthrough
This is an ARK walkthrough for Resident Evil Requiem (RE9). Read on for a complete ARK walkthrough, including its objectives, key items, and how to complete the area.
| ◀ Previous |
|---|
| Raccoon City Center |
List of Contents
ARK Walkthrough
| 1 | Head After Grace (1) | |
|---|---|---|
| 2 | Eliminate the Elite Guards | |
| 3 | Head After Grace (2) | |
| 4 | Eliminate the Commander | |
| 5 | Find a Way Out of the Dump | |
| 6 | Search for the Override Key | |
| 7 | Head to the Central Refining System (1) | |
| 8 | Head to the Central Refining System (2) | |
| 9 | Go to Leon | |
| Option 1 | Option 2 | |
| Destroy Elpis | Release Elpis | |
| 10 | Defeat Victor | |
Click on a step to jump to its section in the walkthrough!
Head After Grace
| Walkthrough | |
|---|---|
| 1 | 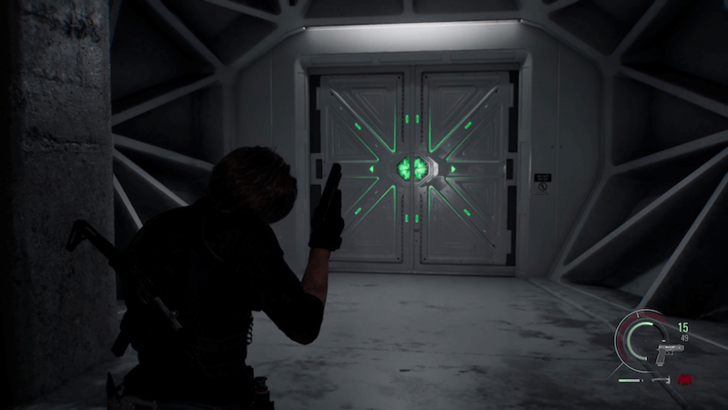 Once you’re inside the ARK facility, proceed through the white doors with green lights. |
| 2 | 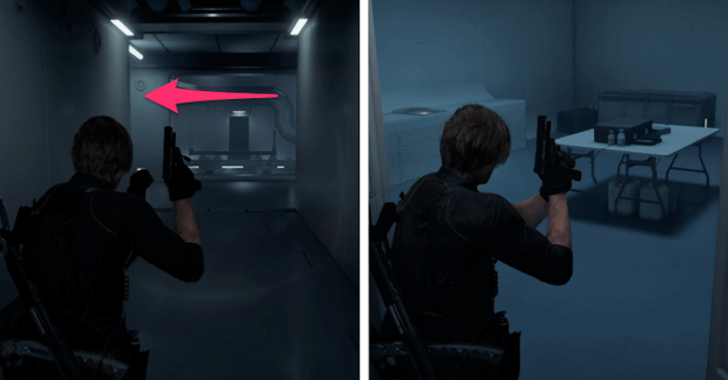 When you reach a split in the corridor, turn left to enter the Staff Room. You can save your progress using the panel on the left and spend credits at the supply box there. |
| 3 | 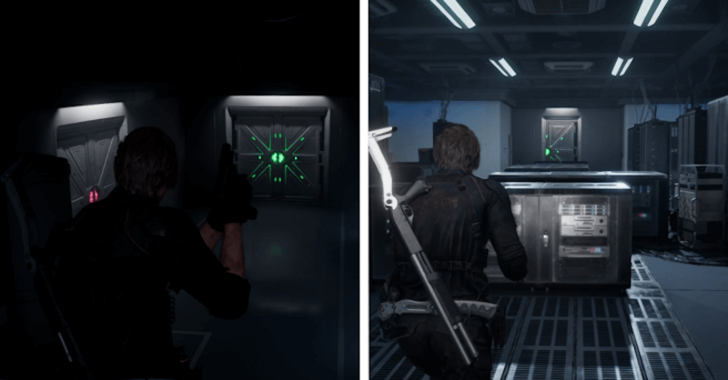 Leave the Staff Room, move forward, and head downstairs to the Server Room. |
| 4 | 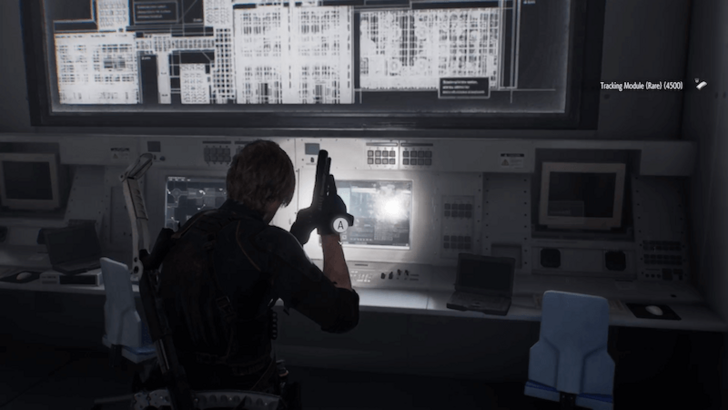 Enter the room ahead and interact with the monitor on the terminal to trigger a cutscene. |
Eliminate the Elite Guards
| Walkthrough | |
|---|---|
| 1 | 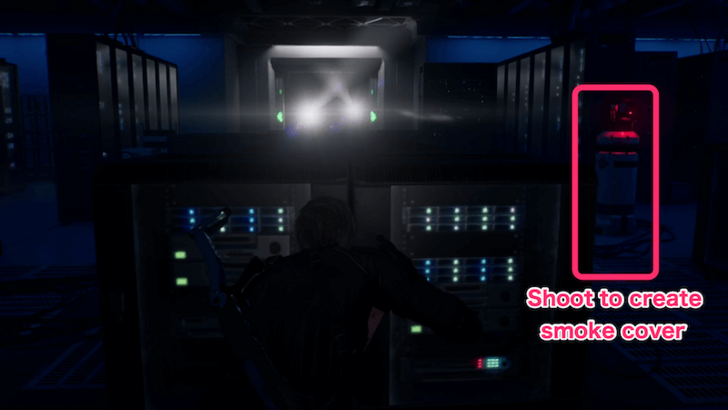 Elite guards will then ambush you in the Server Room. These human enemies will shoot on sight, so be extra careful! You can go in guns blazing or take a stealth approach by shooting the white gas tanks in the area to create cover and sneak up on them for stealth kills. |
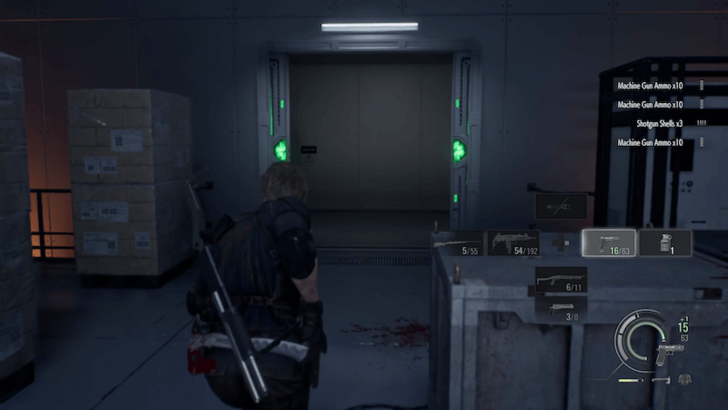
| 2 | 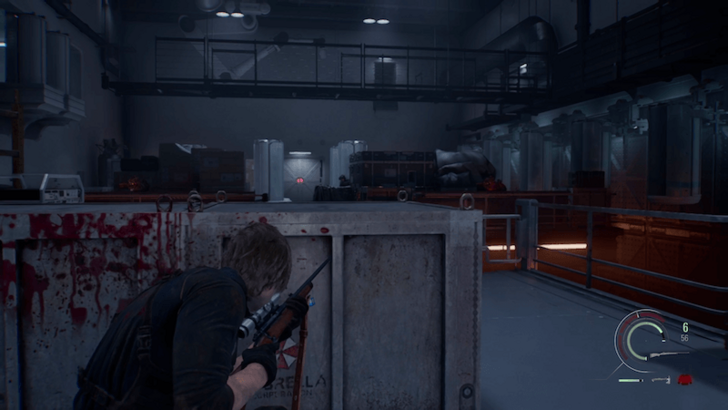 Leave the Server Room, then enter the door on the right to the Stock Room. Use your sniper rifle to shoot the elite guards across the room. |
| 3 | 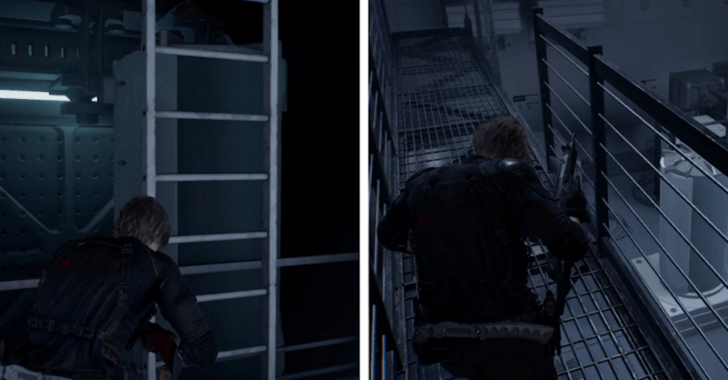 Climb up the nearby ladder to the upper level, cross the gap, then drop down to the other side. |
| 4 | 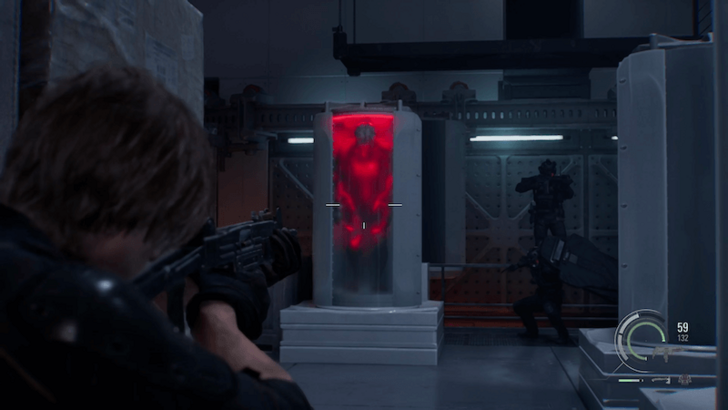 Deal with the reinforcements that arrive. You can shoot the glowing red chamber near the door to release a Licker and distract the elite guards. Just keep in mind that you may have to kill the Licker yourself afterward. |
Head After Grace
Once the elite guards have been dealt with, leave the Stock Room through the door. Take the stairs on the left and unlock the door to create a shortcut to the Staff Room. Take this opportunity to save your game and make your preparations, as a boss fight is coming up.
Eliminate the Commander
| Walkthrough | |
|---|---|
| 1 | 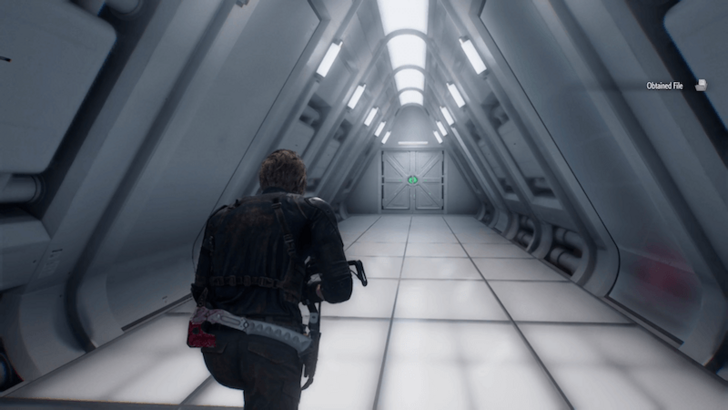 From the Stock Room, turn right and proceed forward until you reach a triangular corridor. This will then lead to the Commander boss fight. |
| 2 | 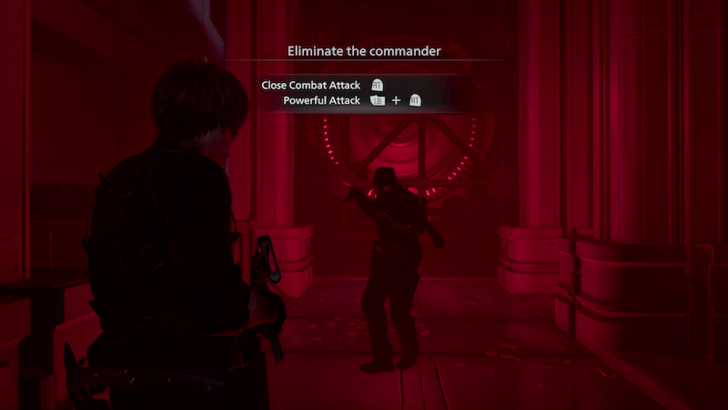 Defeat the Commander! This is a mostly melee-focused boss fight, so stay alert. You must successfully parry the Commander's melee attacks to stagger him temporarily so you can land your own attacks. Check out our guide below for more tips on how to defeat the Commander! ▶︎ How to Beat the Commander |
| 3 | 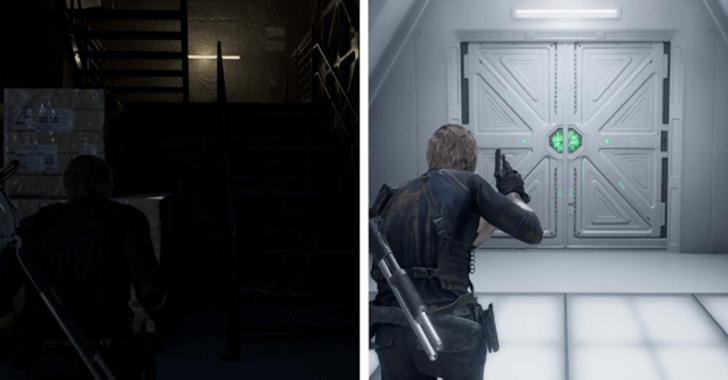 After defeating the Commander, head upstairs back to the corridor and enter the door on your left to trigger a cutscene. |
Find a Way Out of the Dump
| Walkthrough | |
|---|---|
| 1 | 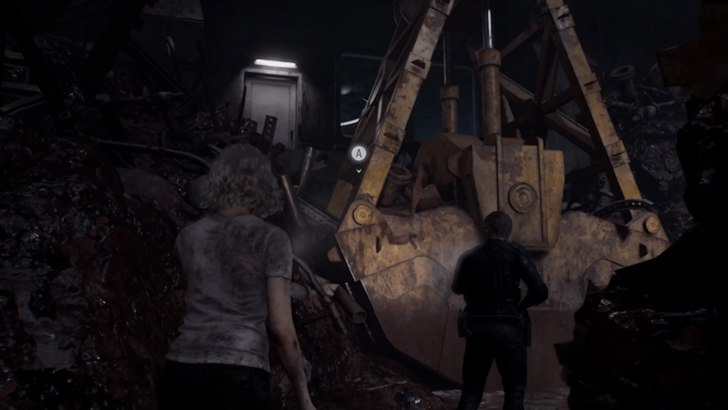 Now playing as Grace, proceed forward through the dump. Inspect the large crane claw along the way. |
| 2 | 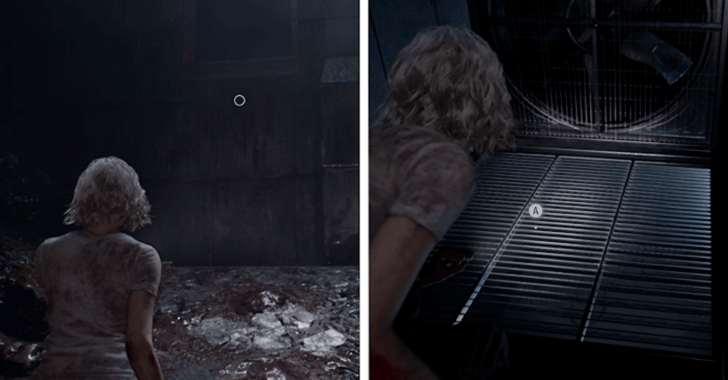 Interact with the vent above on the right side so Leon can boost you up to reach it. Once you're up, move through the vents, kick down the screen at the end, and drop down. |
| 3 | 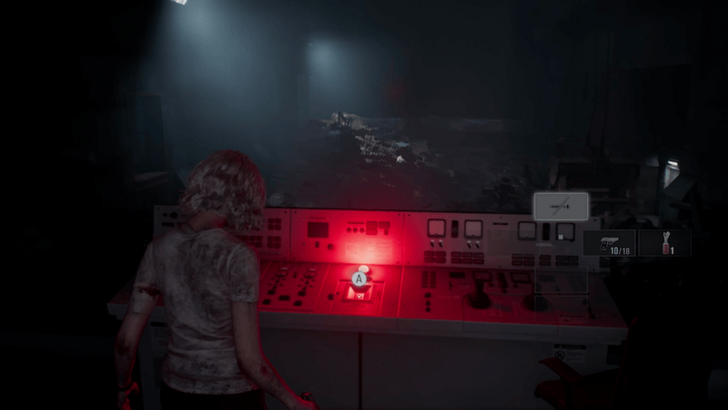 Head upstairs to the Dump Control Room and interact with the terminal with the glowing red light. You'll need to find the override key to remove the crane claw for Leon. |
Search for the Override Key
For this next section as Grace, it's important to note that the Bottles of Acid essentially one-shot the Lickers (blind monsters) and Molotov Cocktails one-shot the normal, grey zombies. Prepare those 2 items in your inventory, along with some crafted Hemolytic Injectors and looted Empty Bottles (for luring), and you should easily clear most areas of zombies.
| Walkthrough | |
|---|---|
| 1 | 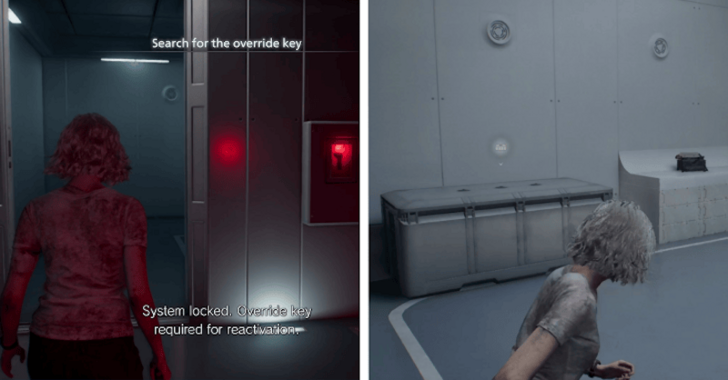 Enter the doorway opposite the terminal and go upstairs to the lab entrance. You can save your game using the typewriter and organize your inventory at the storage box here. |
| 2 | 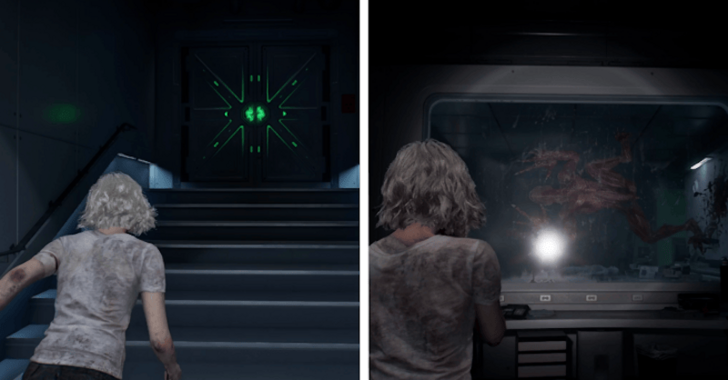 When you’re ready, unlock the door on the right and enter. Proceed until you reach the Sterilization Chamber, where a Licker will jumpscare you at the window. Lickers are blind and can only sense you through sound. Crouch when you’re around them and throw Empty Bottles to lure them away. If you need to fight them, they can be taken down with 4-5 headshots. |
| 3 |  Proceed through the chamber and into Bioweapon Repository 02 on the left. Be careful, as there will also be zombies in the area! |
| 4 | 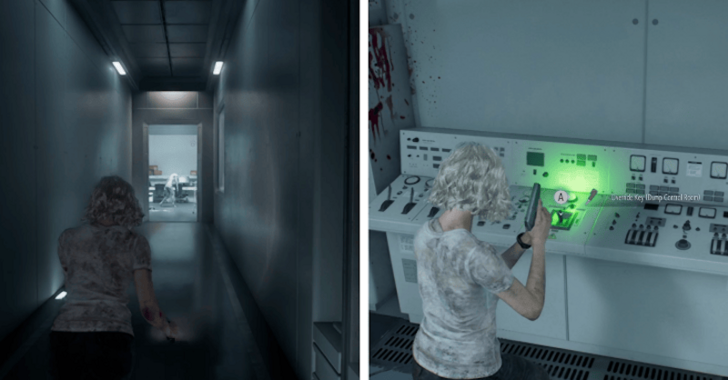 Turn right into the corridor, then move forward to the Chemical Storage. Grab the Override Key (Dump Control Room) from the terminal with the glowing green light. You can also pick up a Bottle of Acid from one of the tables, which is effective against killing Lickers. |
| 5 | Make your way back to the Dump Control Room. You can unlock the door south of Bioweapon Repository 02 to create a shortcut through the lab entrance. There will be a Licker on the stairs on your way back. |
| 6 | 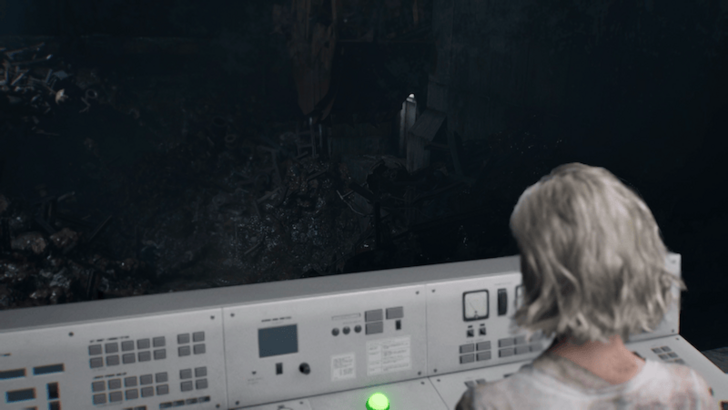 Once you're at the Dump Control Room, interact with the terminal and insert the key to lift the crane claw in the dump, allowing Leon to escape. |
Head to the Central Refining System (Grace)
| Walkthrough | |
|---|---|
| 1 | 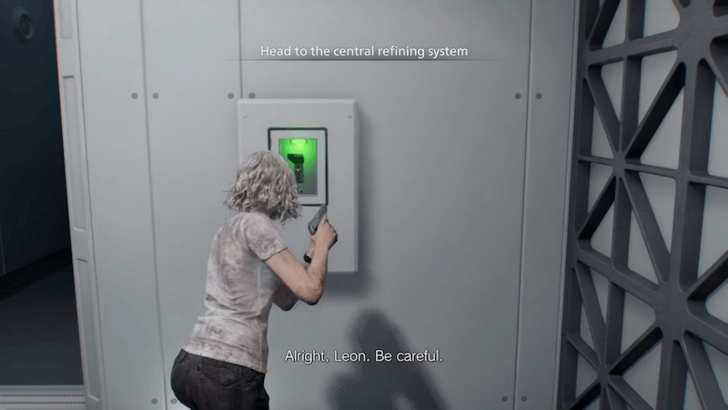 Get the Magnetic Key next to the doorway and head back to the lab entrance. Make sure to save your game before continuing. |
| 2 | 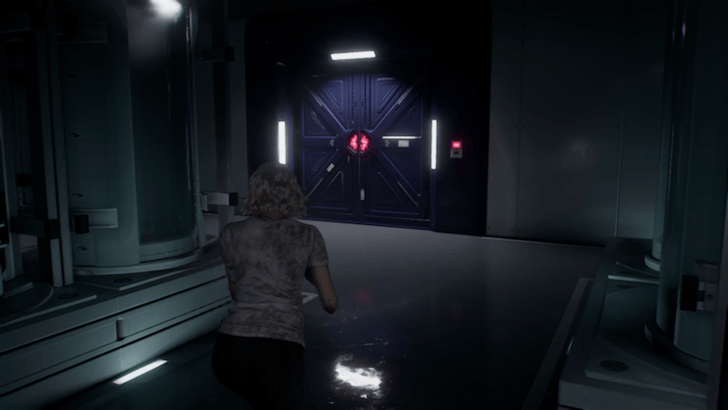 To save time on backtracking, return to Bioweapon Repository 02 first and use the Magnetic Key on the key reader next to the blue door to the north to unlock it. |
| 3 | 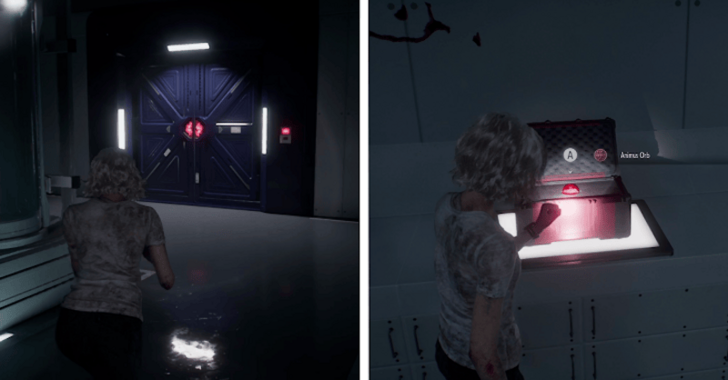 Enter the cleanroom and open the small red chest to take the Animus Orb, which you will use later. |
| 4 | 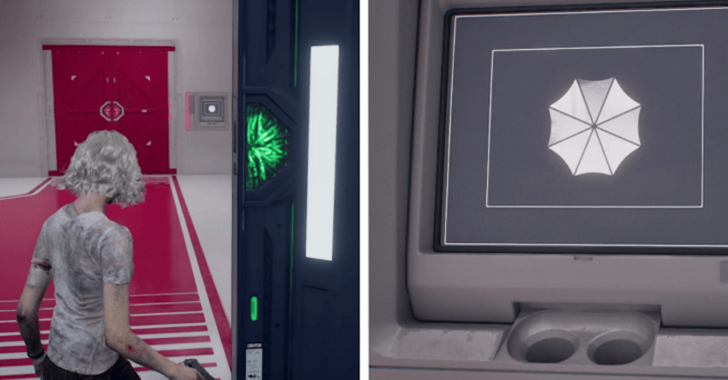 Return to the lab entrance and unlock the blue door there as well to reach the lobby. In front of you in the lobby is a locked red door. You need to find two orbs, one of which you already have, to unlock it. |
| 5 | 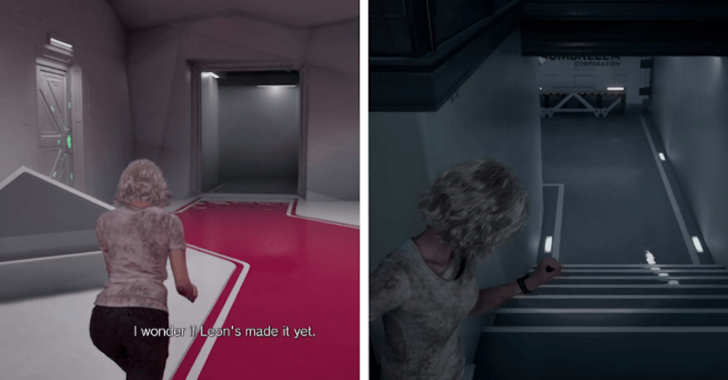 Enter the doorway on the left and proceed to the anteroom. Head downstairs on the left to reach Bioweapon Repository 05. |
| 6 | 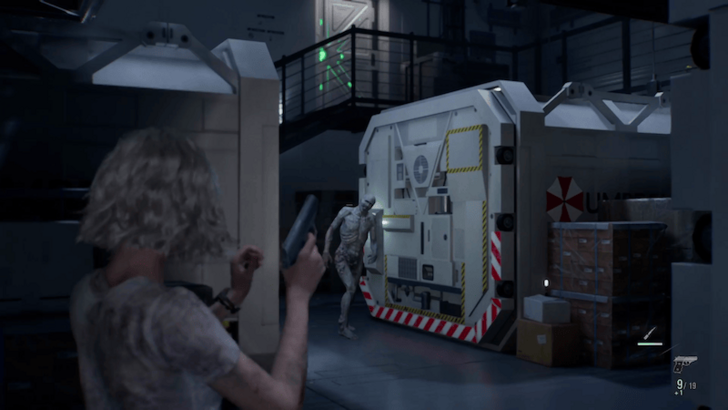 Make your way to the stairs at the north end of the room. Be careful of the Lickers and zombies in the area. You can also open the crates for additional resources, though some contain surprise zombies, so watch out! |
| 7 | 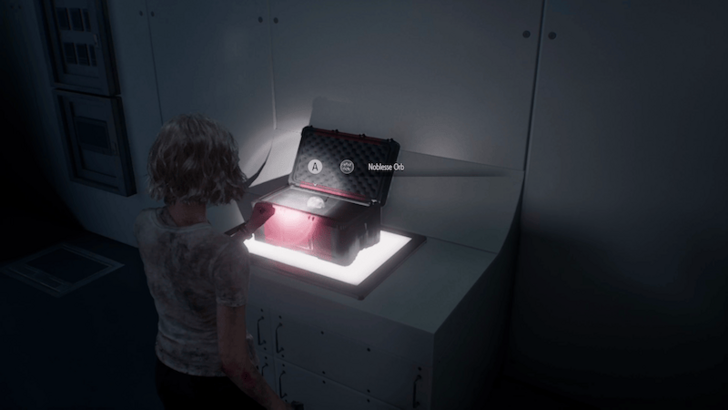 Take the stairs and enter the Operations Room. Open the small red chest and get the Noblesse Orb. |
| 8 | 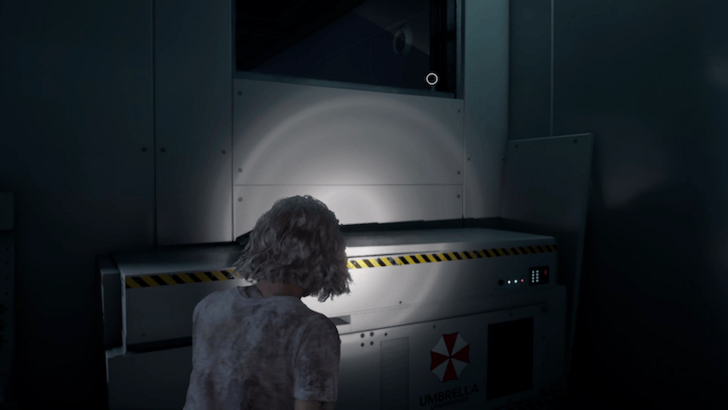 Head back to the lobby. You can vault over the window on the left side to cut through the entrance of Bioweapon Repository 05. Be ready for two Lickers to smash through the window in the anteroom on your way back. |
| 9 | When you’re back in the lobby, interact with the panel next to the red door and place both orbs to open it. |
| 10 | 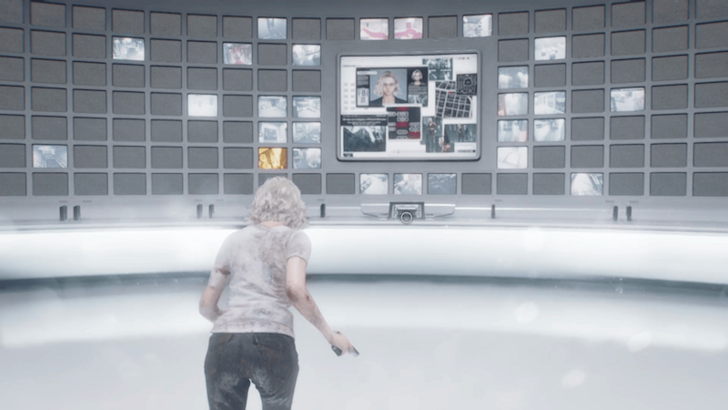 Enter the Archives. Interact with the terminal in the center north to trigger a cutscene. |
Head to the Central Refining System (Leon)
| Walkthrough | |
|---|---|
| 1 | 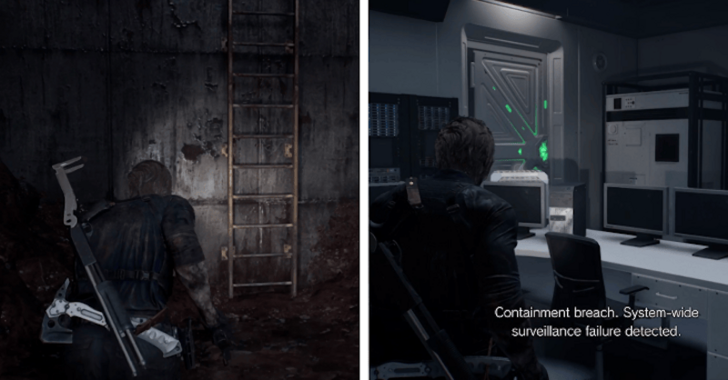 When you’re back playing as Leon, climb the ladder in the dump and enter the back room. |
| 2 | 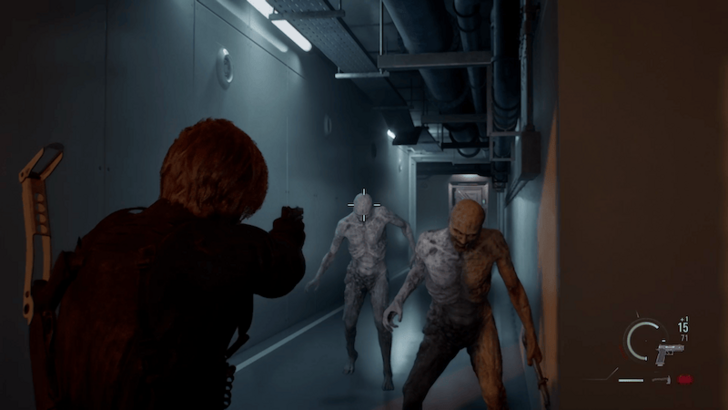 Proceed into the corridor. There will be two zombies along the way. |
| 3 | 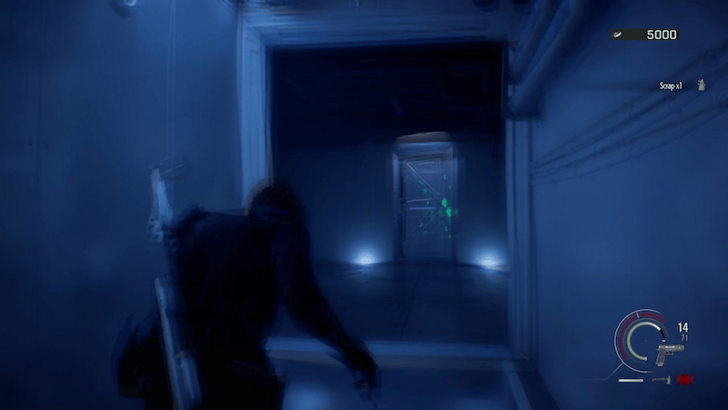 Leon will then start coughing, causing your POV to become blurry and his movement to slow down. Wait a few seconds for the effects to wear off whenever this happens. |
| 4 |  Enter the door ahead to reach the B4 Staff Room, where you can save your game and spend credits at the supply box. |
| 5 | 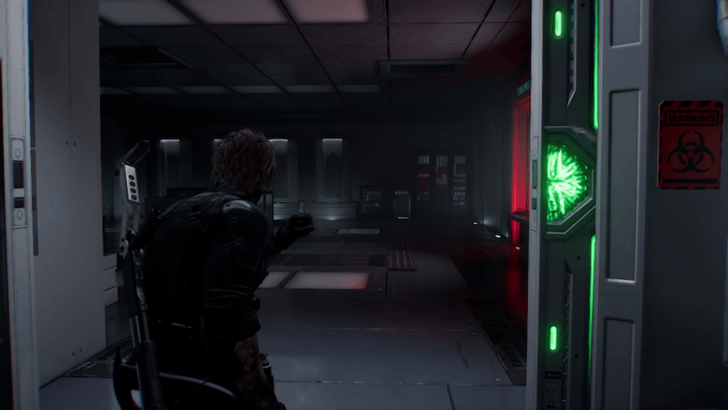 When you’re ready, leave the staff room and unlock the door on your right to enter Bioweapon Repository 11. |
| 6 | 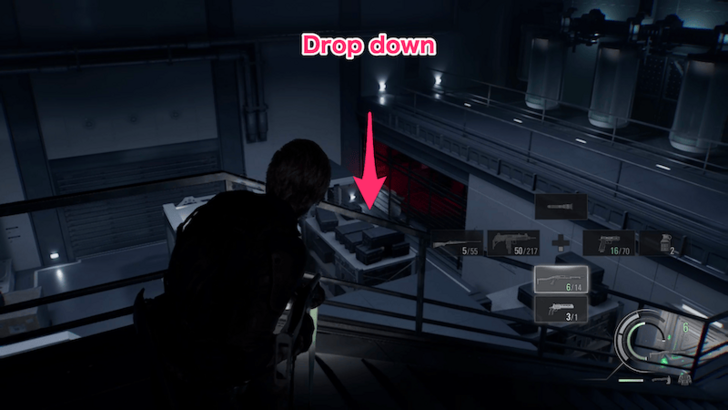 Proceed through the door on the left, head downstairs, and drop down into Bioweapon Repository 12. Be careful of Lickers along the way! |
| 7 | 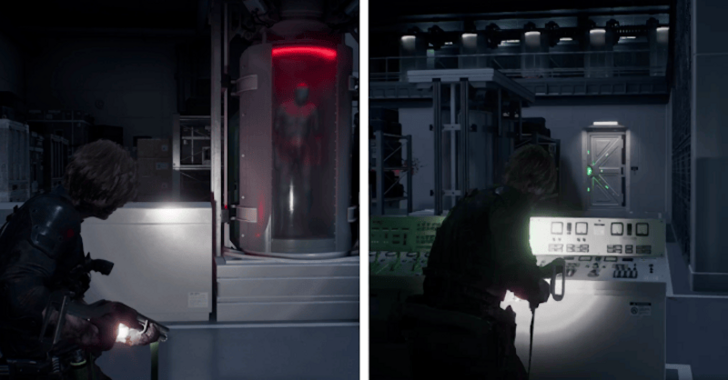 Make your way to the left side of the area. Interact with the button on the terminal next to the glowing red chamber to open a path right in front of you. |
| 8 | 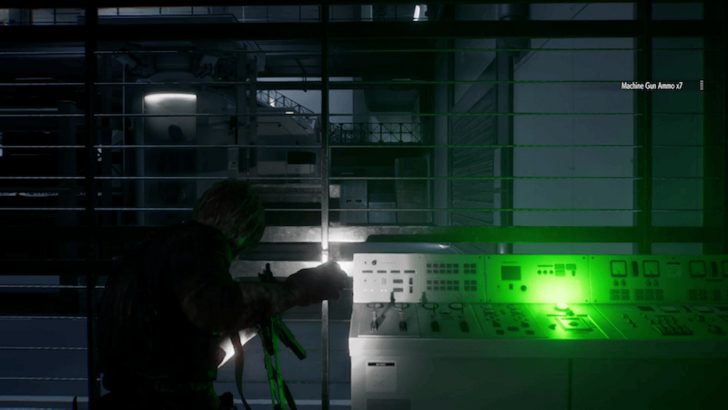 Enter the door ahead, then press the button on the terminal on the left to open another path. |
| 9 | 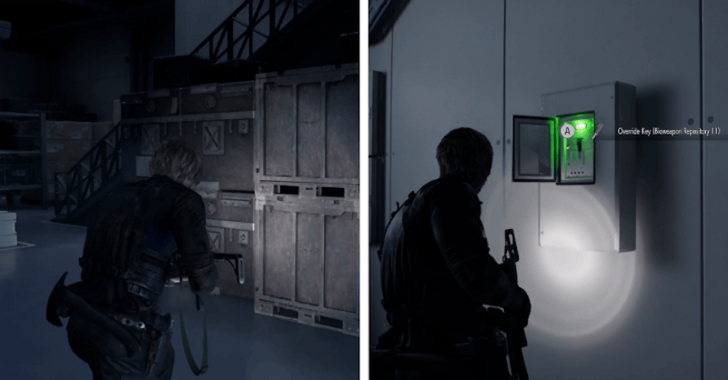 Head back and take the newly opened path. Go up the stairs to Systems Management and grab the Override Key (Bioweapon Repository 11) from the wall on the right side. |
| 10 | Unlock the door on the left and make your way back to Bioweapon Repository 11, where multiple Lickers await you. Kill them to continue! |
| 11 | 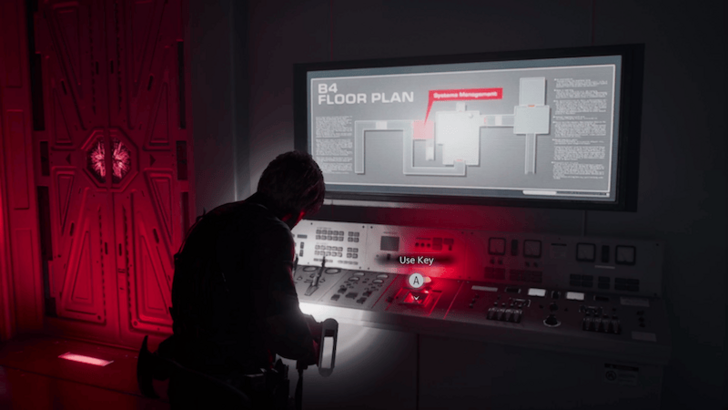 Once the Lickers are dealt with, use the key on the terminal next to the elevator to activate it. |
| 12 | 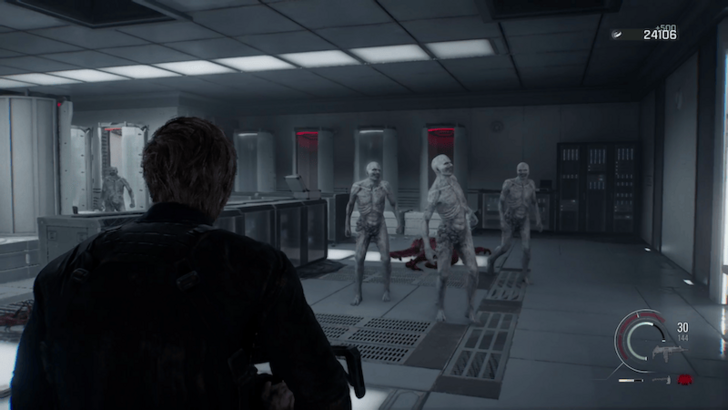 While waiting for the elevator, you will be ambushed by zombies coming out of the chambers. Survive the ambush! Make use of the red propane tanks in the area to take out multiple enemies at once. |
| 13 | 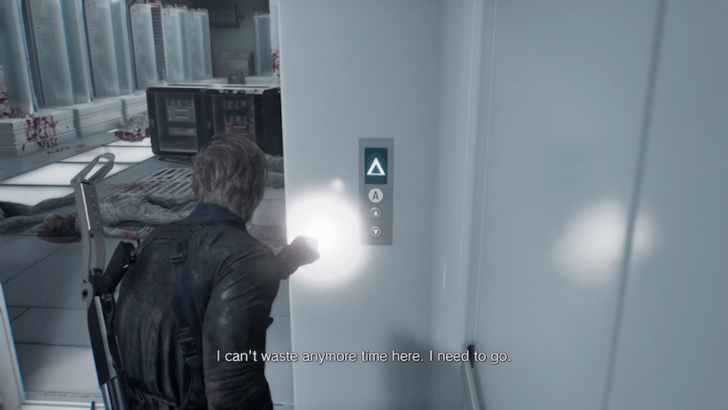 After surviving the ambush and once the elevator arrives, enter it and press the button to go up. |
| 14 | 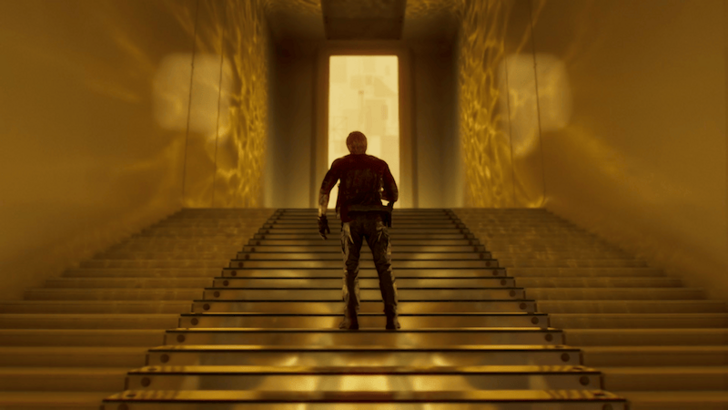 Leon’s illness will worsen during this time, so you’ll have to limp your way to the Central Refining System. As you approach the large yellow door, a cutscene will trigger. |
Go to Leon
| Walkthrough | |
|---|---|
| 1 | 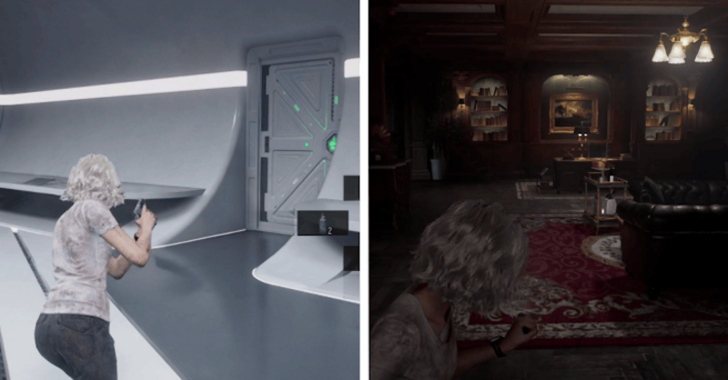 Playing as Grace once again, enter the door on the left side of the Archives to reach the Study. |
| 2 | 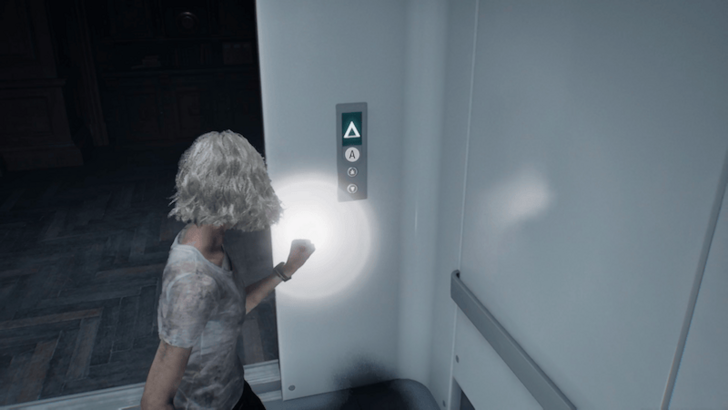 Take the elevator in the southeast corner of the Study and press the button to go up. |
| 3 | 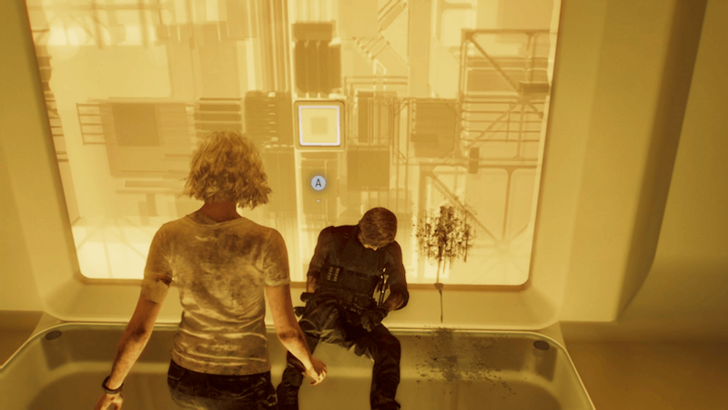 Proceed forward to the Central Refining System and interact with Leon’s body in front of the large yellow door to trigger a cutscene. |
| 4 | 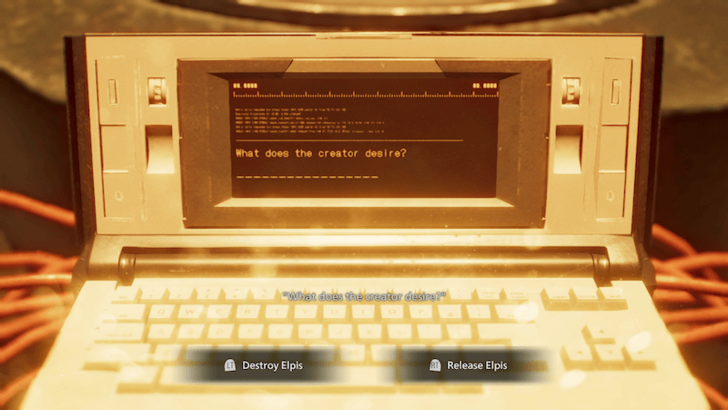 You will then have to make a game-changing decision on whether to destroy or release Elpis. Note that Grace's choice will affect the game’s ending. ▶︎ Should You Release or Destroy Elpis? |
Check the choices below to see what happens in each outcome before making your decision!
| Choices | |
|---|---|
| Destroy Elpis | Release Elpis |
Destroy Elpis

If you choose Destroy Elpis, the gameplay ends here as Grace starts the ARK facility's self-destruct sequence. Leon helps Grace escape but he dies at the hands of Zeno, ending the game.
Release Elpis

If you choose Release Elpis, Grace will release the vials of Elpis which is revealed to be an antiviral cure. Zeno loses his powers (and is later killed by Victor) after he injects himself with Elpis while Leon's T-virus syndrome is cured.
The game then continues with Leon in the next and final objective.
Defeat Victor
| Walkthrough | |
|---|---|
| 1 | 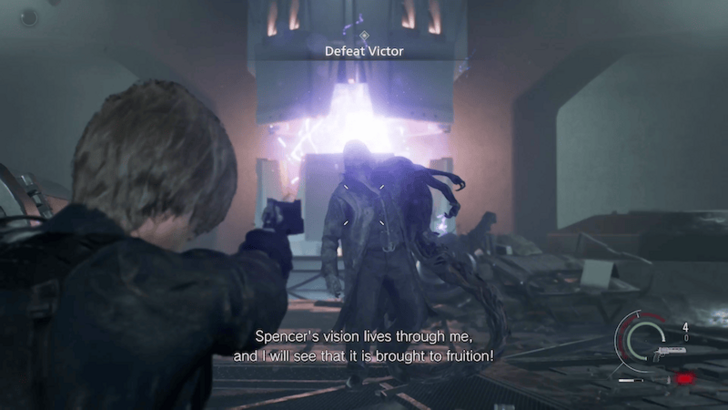 If you chose to release Elpis, Leon is cured but you must fight the final boss, Victor. In the first phase, aim for his head and parry his attacks. Use the Requiem to deal significant damage. When Victor mutates into his Nemesis form in the second phase, go all out and shoot the glowing orbs on his body. Check out our guide below for more tips on how to defeat Victor! ▶︎ How to Beat Victor |
| 2 |  After defeating Victor, a cutscene will trigger, ending Resident Evil Requiem. |
Resident Evil Requiem (RE9) Related Guides

Main Story Order
| # | Walkthroughs |
|---|---|
| 1 | Wrenwood |
| 2 | Care Center |
| 3 | Care Center Basement |
| 4 | Care Center Courtyard |
| 5 | Water Treatment Plant |
| 6 | East Raccoon City |
| 7 | Raccoon City Center |
| 8 | Orphanage |
| 9 | ARK |
Comment
Author

Premium Articles
Rankings
- We could not find the message board you were looking for.
Gaming News


Popular Games

Genshin Impact Walkthrough & Guides Wiki
Umamusume: Pretty Derby Walkthrough & Guides Wiki
Crimson Desert Walkthrough & Guides Wiki
Monster Hunter Stories 3: Twisted Reflection Walkthrough & Guides Wiki
Honkai: Star Rail Walkthrough & Guides Wiki
Pokemon Pokopia Walkthrough & Guides Wiki
The Seven Deadly Sins: Origin Walkthrough & Guides Wiki
Wuthering Waves Walkthrough & Guides Wiki
Zenless Zone Zero Walkthrough & Guides Wiki
Arknights: Endfield Walkthrough & Guides Wiki


Recommended Games
Fire Emblem Heroes (FEH) Walkthrough & Guides Wiki
Diablo 4: Vessel of Hatred Walkthrough & Guides Wiki
Cyberpunk 2077: Ultimate Edition Walkthrough & Guides Wiki
Yu-Gi-Oh! Master Duel Walkthrough & Guides Wiki
Super Smash Bros. Ultimate Walkthrough & Guides Wiki
Pokemon Brilliant Diamond and Shining Pearl (BDSP) Walkthrough & Guides Wiki
Elden Ring Shadow of the Erdtree Walkthrough & Guides Wiki
Monster Hunter World Walkthrough & Guides Wiki
The Legend of Zelda: Tears of the Kingdom Walkthrough & Guides Wiki
Persona 3 Reload Walkthrough & Guides Wiki


All rights reserved
©CAPCOM U.S.A., INC. ALL RIGHTS RESERVED.
The copyrights of videos of games used in our content and other intellectual property rights belong to the provider of the game.
The contents we provide on this site were created personally by members of the Game8 editorial department.
We refuse the right to reuse or repost content taken without our permission such as data or images to other sites.