Walkthrough Part 12: Sunken Ship to Passage to Rendarak
★ Interactive Map and Locations
┗ Secret Spots | Sparkly Spots | Mini Medals
☆ 100% Walkthrough Guide
┗Post Game Guide
☆ Trophy Guide: How to Get Platinum
★ Playing the first game? DQ1 Wiki here!
This is a walkthrough guide from the Sunken Ship to the Passage to Rendarak for the Main Story of Dragon Quest 2 HD-2D Remake (DQ2). See the objectives for the Sunken Ship to the Passage to Rendarak and follow a step-by-step walkthrough in this guide.
| ◀ Previous Guide | Next Guide ▶ |
|---|---|
| Volcanic Grotto to Dirkandor | Rendarak Shrine to Hall of Hargon |
List of Contents
 Attention! Attention! |
This page contains major spoliers for Dragon Quest 2 HD-2D Remake! Continue reading on at your own risk. |
|---|
Sunken Ship to Passage to Rendarak Walkthrough Guide
| Jump to an Area Walkthrough! | |||
|---|---|---|---|
| 1 | Sunken Ship | 2 | Shrine of Rubiss |
| 3 | Passage to Rendarak | 4 | - |
Sunken Ship
| 1 | Teleport to Galenholm and take your ship north until you can dive. Once you're on the seabed, continue heading north until you get to the Sunken Ship. |
|---|---|
| 2 | Explore the ship for any treasures, and when you're done, open the chest at the top of B2 to get the Pearl Earring and the Letter in a Bottle. |
| 3 | Head back to Mersea and talk to the queen to give her the earring and bottle. Doing this will upgrade Lorelei's Harp and allow you to dive deeper into the dark parts of the ocean. |
Shrine of Rubiss
| 1 | With the upgraded harp, you'll now be able to get to the Shrine of Rubiss. Teleport to Dirkandor and take the ship northwest until you can dive twice to reach the shrine. |
|---|---|
| 2 | Before following the path north and going further into the shrine, make sure you're healed up and your equipment is upgraded, since you'll encounter the boss Atlas here. They only use high-power physical attacks, so make sure to employ strategies that help either minimize the damage or dodge their hits. |
| 3 | After the boss has been defeated, you can continue following the path until you reach the end. Once the cutscene is over, you'll now have the Eye of Rubiss. |
Passage to Rendarak
| 1 | When you're ready, head to Beran and go through the teleportal behind the church to reach the Shrine South of Rendarak. |
|---|---|
| 2 | After exploring the area, head out west until you reach the mountain range. Interact with the closed-off entrance to open up the Passage to Rendarak. This is a pretty long and difficult dungeon, so you can leave first and teleport back here if you need to stock up on supplies. |
| 3 | Once you're inside the cave, explore the area first while avoiding the pitfalls scattered around the floor. When you're ready to proceed, head to the northeast exit to reach an area that doesn't have a map. |
| 4 | To get through the seemingly never-ending corridors, you'll need to go to the room with a ladder on the top right. The room is found in the center of the area, and from the staircase from the previous room, you will need to head right and go down the third staircase. |
| 5 | Now that you're free from that area and can see the map again, continue exploring the area for any treasures. Make sure that you don't miss Erdrick's Armor in the bottom right room, since this will be one of the best armor pieces you can use for a while. |
| 6 | Once you reach the 5th floor room with many pitfalls, it's recommended to fall down to the 4th and 3rd floors to get the treasures in both areas. However, this will mean you will need to go through the entire dungeon again, so it's up to you if it's worth getting the Mini Medal and Thunderbolt Blade now or later. |
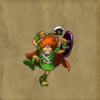
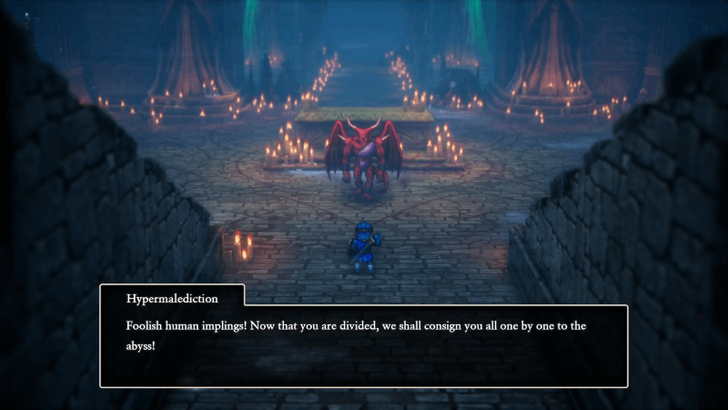
| 7 | Before going up the ladder in the top right of the 5th floor, make sure that the Prince of Midenhall is wearing the best equipment possible, even if you have to unequip items from your other party members. When you're ready, head up the ladder to enter a 1-on-1 boss fight against the Hypermalediction. This fight can be hard since you're solo, so make sure to use Meditation and block whenever necessary. |
| 8 | After the boss goes down, you'll reunite with your party members. Before exploring again, make sure that everyone has re-equipped their items if you removed something before the 1-on-1 boss fight. |
| 9 | When you're ready to proceed, head out right from the boss room and follow the candles until you reach a healing tile. This is an obvious indicator that there's an upcoming boss fight, so make sure that you're prepared before continuing on. |
| 10 | Approach the end of the dungeon to face Belial again, who's a lot stronger since your last encounter. This fight can easily be won as long as you're applying buffs, like the Prince of Cannock's Souped-Up Kabuff, so keep fighting until the boss goes down. Once he's been defeated, you can leave the dungeon and finally reach the final area of the game, Rendarak. However, if you're low on HP, it's recommended to back track a bit just so you can heal at the green tile. |
Encounterable Enemies and Bosses
All Enemies in Sunken Ship
 Boat-Borer |
 Goocumber |
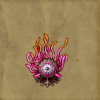 Enemy Anemone |
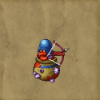 Pot Shot |
All Enemies in Shrine of Rubiss
|
Boat-Borer |
Goocumber |
Enemy Anemone |
|
Pot Shot |
All Enemies in Passage to Rendarak
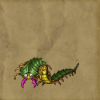
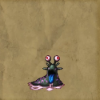
 Ghoul |
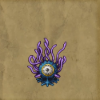 Eyelasher |
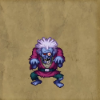
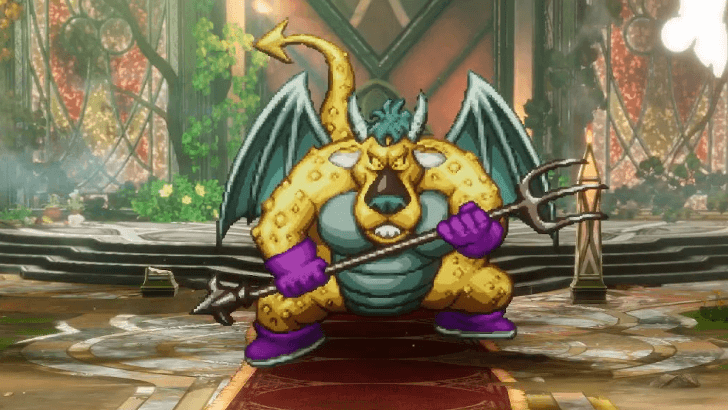
 Orc King |
 Tyrannodactyl |
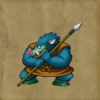
 Berserker |
 Liquid Metal Slime |
 Cyclops |
 Silvapithecus |
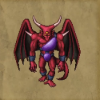
 Belial |
 Heavy Hood |
 Troll |
 Tearwolf |
 Armful |
 Hypermalediction |
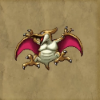
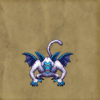
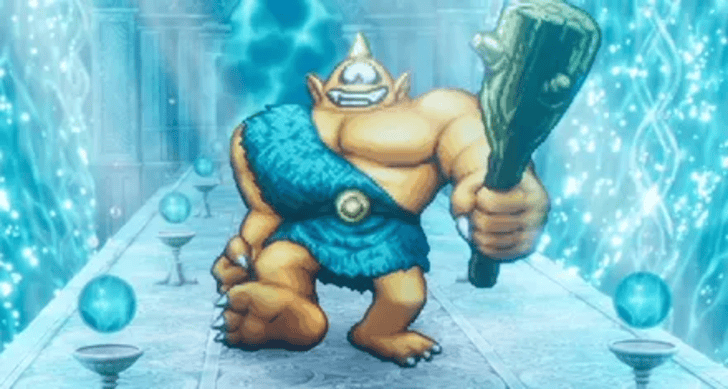
Atlas
|
| Recommended Level |
|---|
| Level 38 |
Atlas is the first boss you'll encounter in this part of the story. High physical damage is recommended for this fight, so rely on the Prince of Midenhall and the Prince of Cannock for offense.
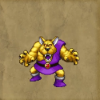
Hypermalediction
|
| Recommended Level |
|---|
| Level 38 |
Hypermalediction is the next boss fight, and you'll be facing him with the Prince of Midenhall in a solo battle. Since this is a 1v1, make sure to prepare thoroughly before approaching the fight.
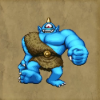
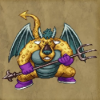
Belial
|
| Recommended Level |
|---|
| Level 38 |
Next is Belial, and unlike the first encounter, he’ll be much stronger this time. You can breeze through this battle by simply using buffs and debuffs to defeat him.
All Sparkly Spot Locations
| We’re still gathering all sparkly spot locations for this part of the story. Please check back later! |
All Secret Spot Locations
| There are no secret spots for this part of the adventure! |
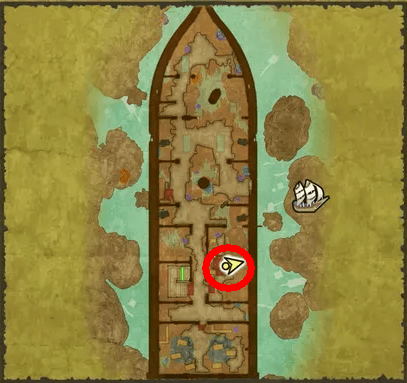
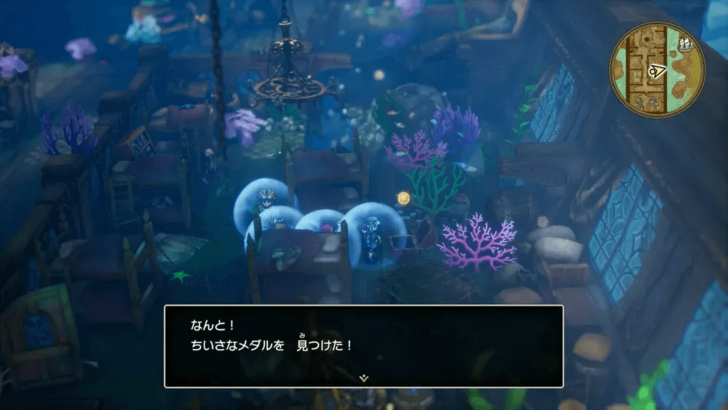
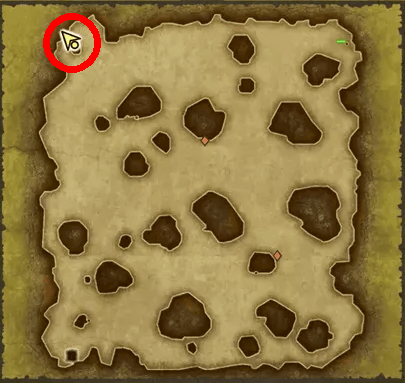
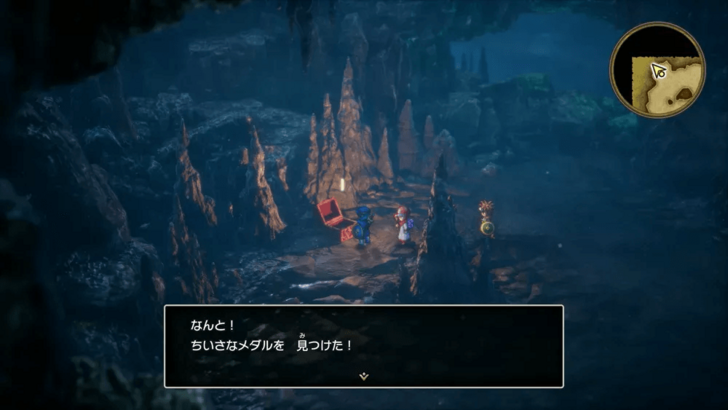
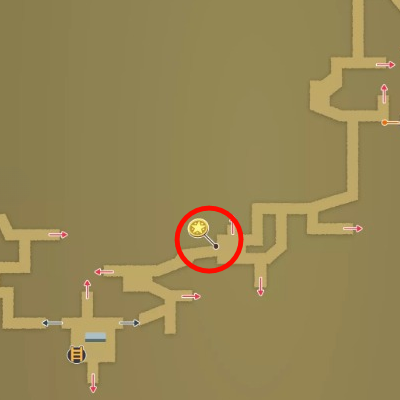
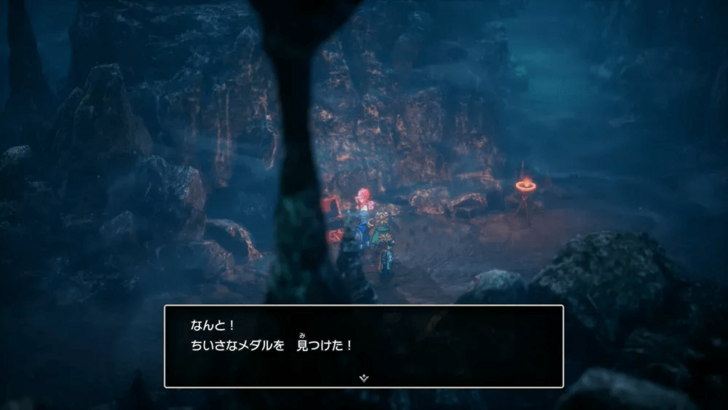
All Mini Medal Locations
| Map Image | World Image | |
|---|---|---|
49 |
 |
 |
53 |
 |
 |
54 |
 |
 |
All 80 Mini Medal Locations and Rewards
Dragon Quest 2 HD-2D Remake (DQ2) Related Guides
List of All Story Walkthroughs
Comment
Author
Walkthrough Part 12: Sunken Ship to Passage to Rendarak
Rankings
- We could not find the message board you were looking for.
Gaming News


Popular Games

Genshin Impact Walkthrough & Guides Wiki
Umamusume: Pretty Derby Walkthrough & Guides Wiki
Crimson Desert Walkthrough & Guides Wiki
Monster Hunter Stories 3: Twisted Reflection Walkthrough & Guides Wiki
Honkai: Star Rail Walkthrough & Guides Wiki
Pokemon Pokopia Walkthrough & Guides Wiki
The Seven Deadly Sins: Origin Walkthrough & Guides Wiki
Wuthering Waves Walkthrough & Guides Wiki
Zenless Zone Zero Walkthrough & Guides Wiki
Arknights: Endfield Walkthrough & Guides Wiki


Recommended Games
Fire Emblem Heroes (FEH) Walkthrough & Guides Wiki
Diablo 4: Vessel of Hatred Walkthrough & Guides Wiki
Cyberpunk 2077: Ultimate Edition Walkthrough & Guides Wiki
Yu-Gi-Oh! Master Duel Walkthrough & Guides Wiki
Super Smash Bros. Ultimate Walkthrough & Guides Wiki
Pokemon Brilliant Diamond and Shining Pearl (BDSP) Walkthrough & Guides Wiki
Elden Ring Shadow of the Erdtree Walkthrough & Guides Wiki
Monster Hunter World Walkthrough & Guides Wiki
The Legend of Zelda: Tears of the Kingdom Walkthrough & Guides Wiki
Persona 3 Reload Walkthrough & Guides Wiki


All rights reserved
© ARMOR PROJECT/BIRD STUDIO/SPIKE CHUNSOFT/SQUARE ENIX
© SUGIYAMA KOBO ℗ SUGIYAMA KOBO
The copyrights of videos of games used in our content and other intellectual property rights belong to the provider of the game.
The contents we provide on this site were created personally by members of the Game8 editorial department.
We refuse the right to reuse or repost content taken without our permission such as data or images to other sites.