Walkthrough Part 3: Pillar of the Winds to Rippleport
★ Interactive Map and Locations
┗ Secret Spots | Sparkly Spots | Mini Medals
☆ 100% Walkthrough Guide
┗Post Game Guide
☆ Trophy Guide: How to Get Platinum
★ Playing the first game? DQ1 Wiki here!
This is a walkthrough guide from Pillar of the Winds to Rippleport for the Main Story of Dragon Quest 2 HD-2D Remake (DQ2). See the objectives for Pillar of the Winds to Rippleport and follow a step-by-step walkthrough in this guide.
| ◀ Previous Guide | Next Guide ▶ |
|---|---|
| Cave of the Lake to Moonbrooke | Tantegel to Dragonlord's Castle |
List of Contents
 Attention! Attention! |
This page contains major spoliers for Dragon Quest 2 HD-2D Remake! Continue reading on at your own risk. |
|---|
Pillar of the Winds to Rippleport Walkthrough Guide
| Jump to an Area Walkthrough! | |||
|---|---|---|---|
| 1 | Pillar of the Winds | 2 | South Tower |
| 3 | North Tower | 4 | Rippleport |
Pillar of the Winds
| 1 |
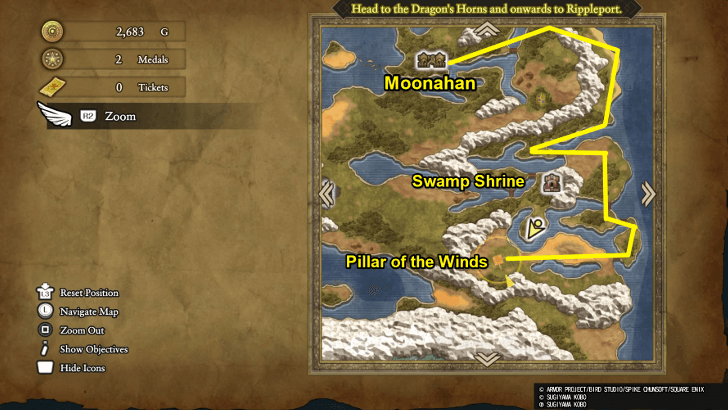 To reach the Pillar of the Winds, fast travel to Moonahan and head east, then go north behind the mountain. Follow the path down and go past the Swamp Shrine, and you should reach the Pillar of the Winds southeast of it. |
|---|---|
| 2 |
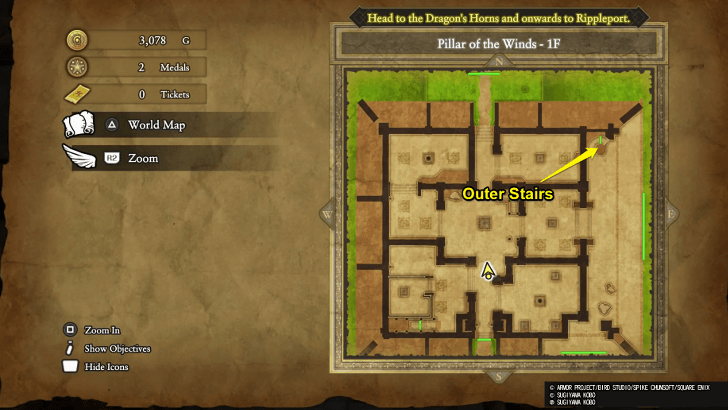 Enter the Pillar of the Winds and head to the outer stairs. Take them and keep climbing the exterior sets of stairs until you reach the top. |
| * |
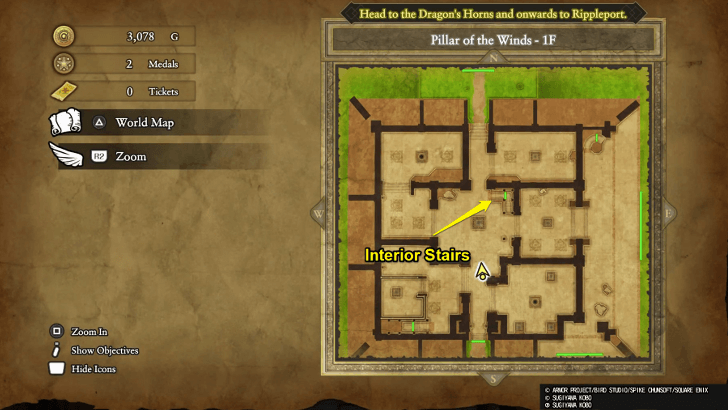 If you want to loot items, you can start with the interior stairs, but to progress the story, the exterior stairs are the way to go. |
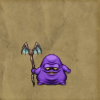
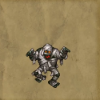
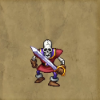
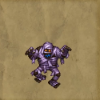
| 3 | 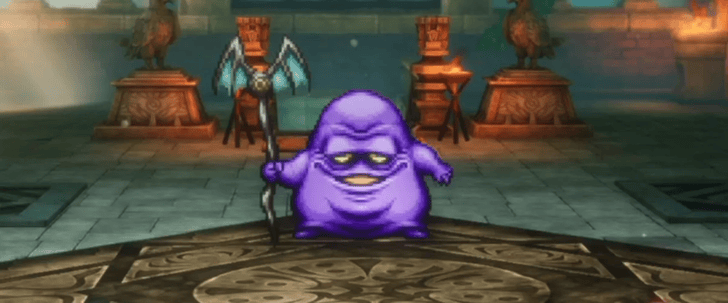 At the top, there will be a boss battle against the Lumpfather. A good strategy is to keep a dedicated healer, such as the Princess of Moonbrooke, since the Lumpfather attacks twice each turn. |
| 4 | 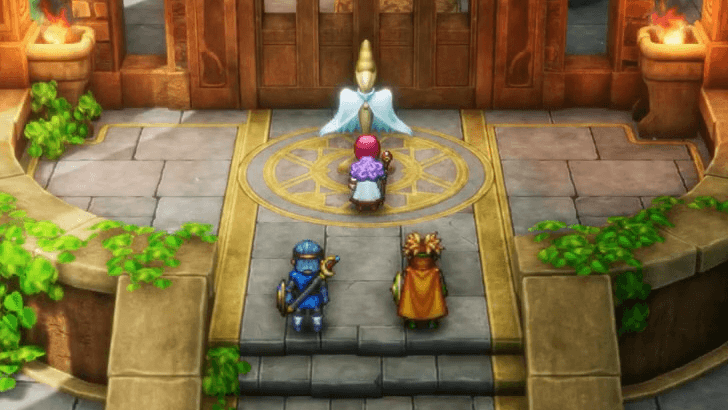 After defeating the Lumpfather, take the stairs ahead and claim the Windbreaker. If you don’t plan to loot or explore the Pillar any further, you can fast travel to Moonbrooke afterward and head toward the Dragon's Horn. |
All Obtainable Items in Pillar of the Winds
| 1F | 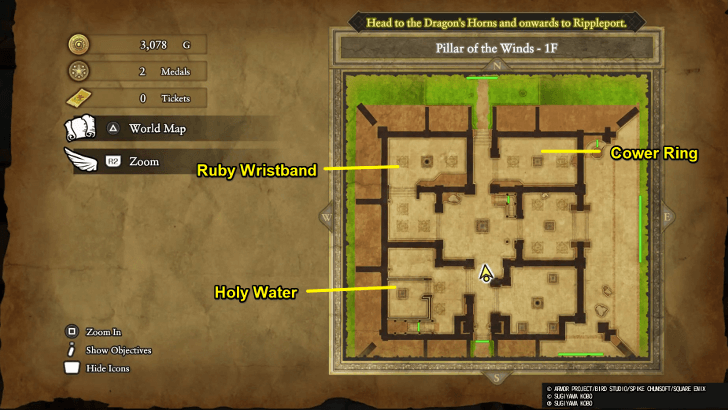 ・Ruby Wristband ・Holy Water ・Cower Ring |
|---|---|
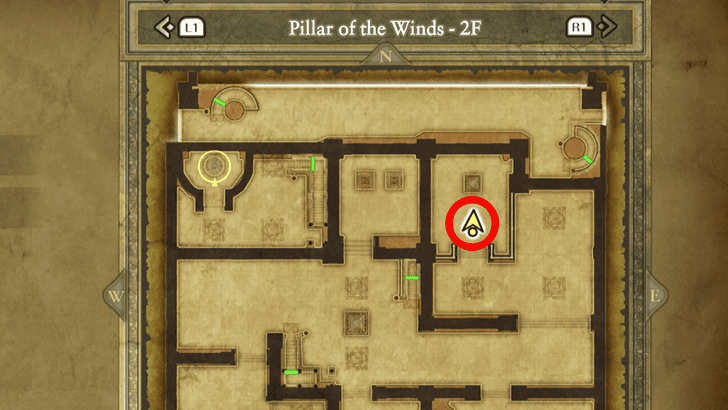
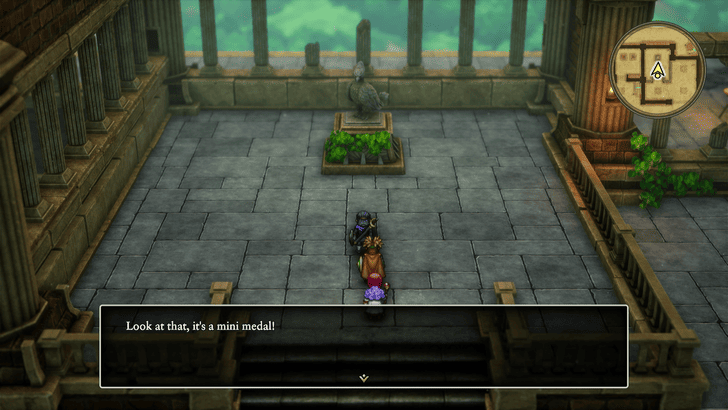
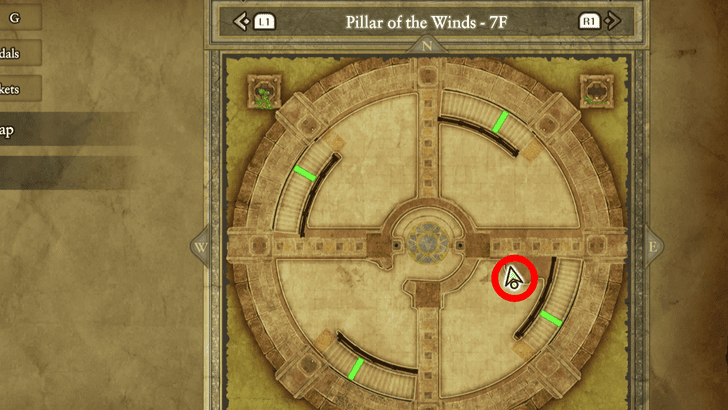
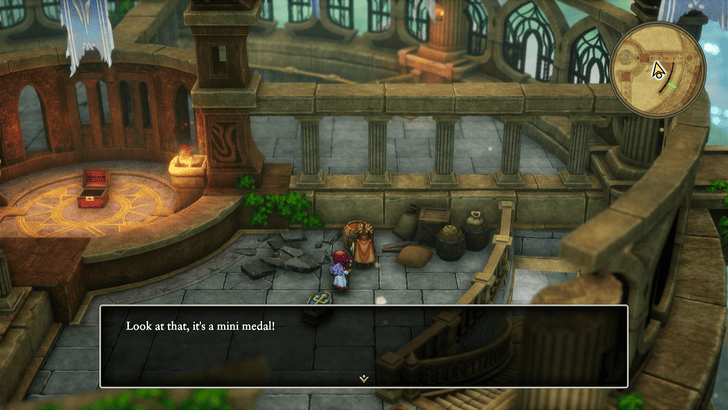
| 2F | 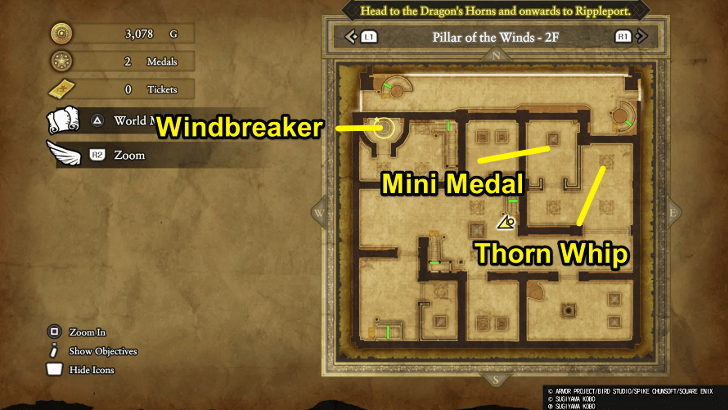 ・Thorn Whip ・Mini Medal ・Windbreaker |
| 3F | 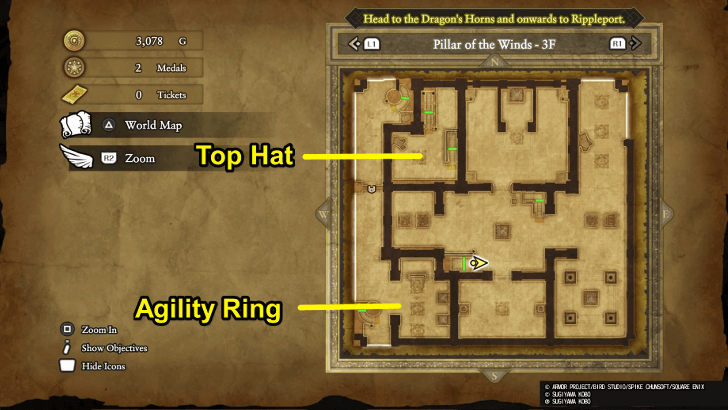 ・Agility Ring ・Top Hat |
| 4F | 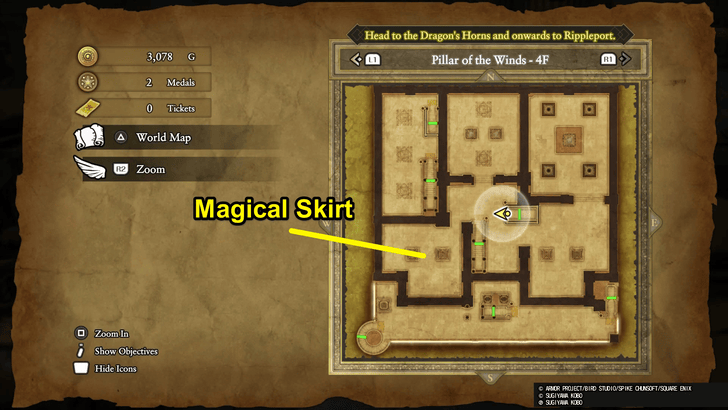 ・Magical Skirt |
| 5F | 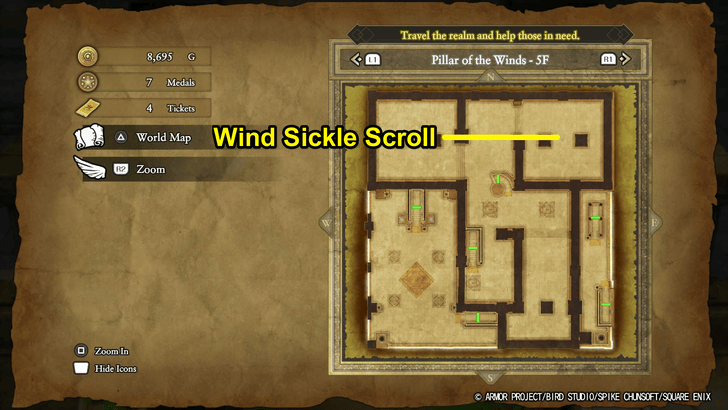 ・Wind Sickle Scroll |
| 7F |
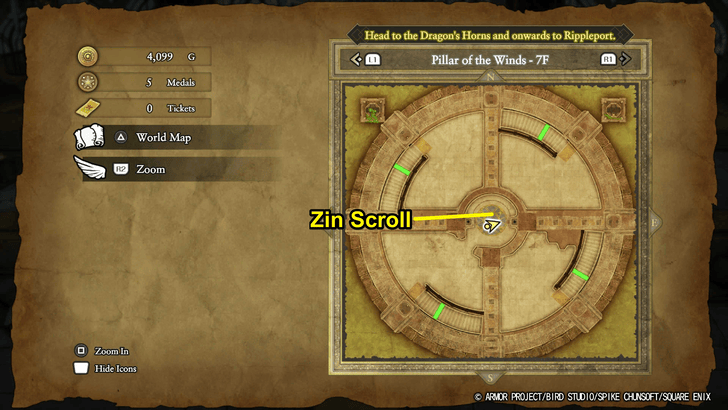 ・Zin Scroll |
Here are all the items you can get on each floor of the Pillar. Every floor has some valuable items you can pick up, except for the sixth floor, which is just a room of stairs.
Dragon's Horns South Tower
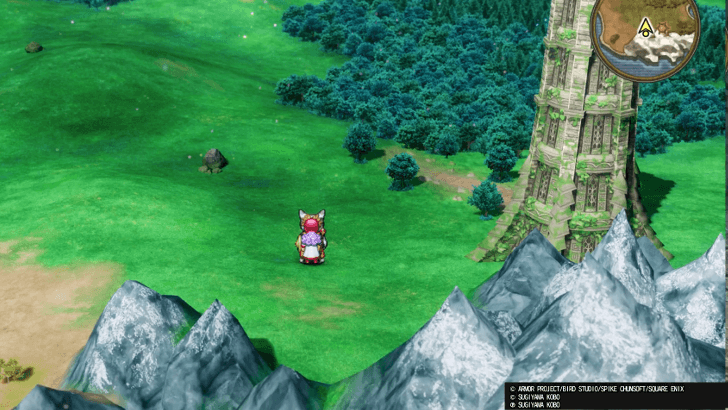
| 1 |
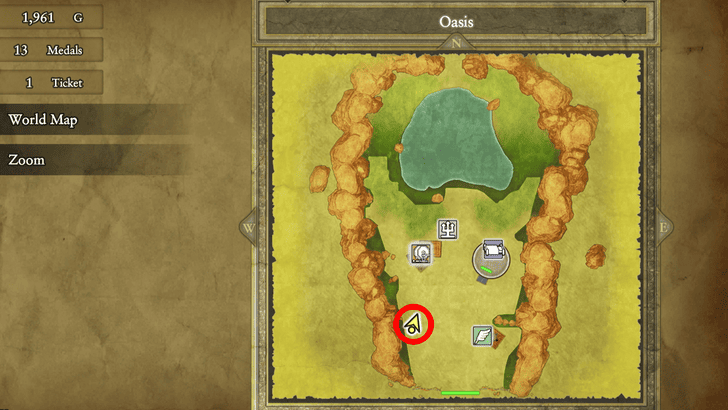
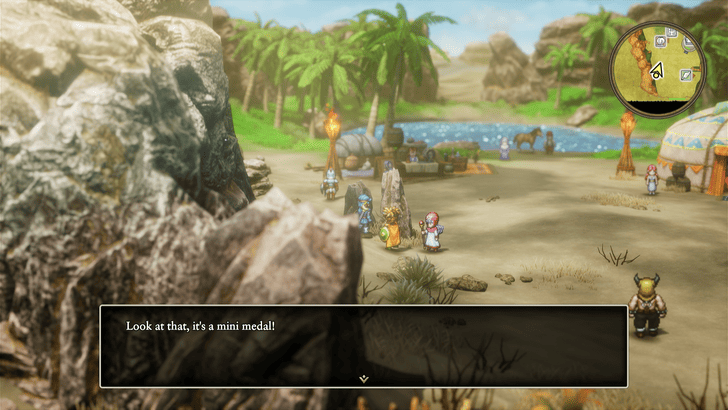
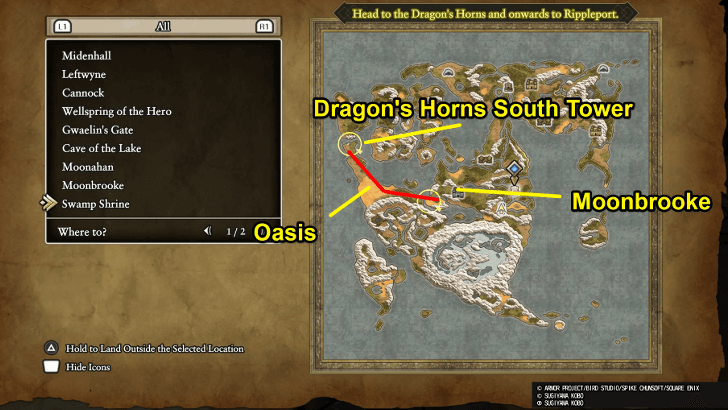 Head to Dragon’s Horn by going west of Moonbrooke. It’s a long journey, so feel free to stop at the Oasis first to rest and gather more weapons and armor before continuing your trip to the tower. |
|---|---|
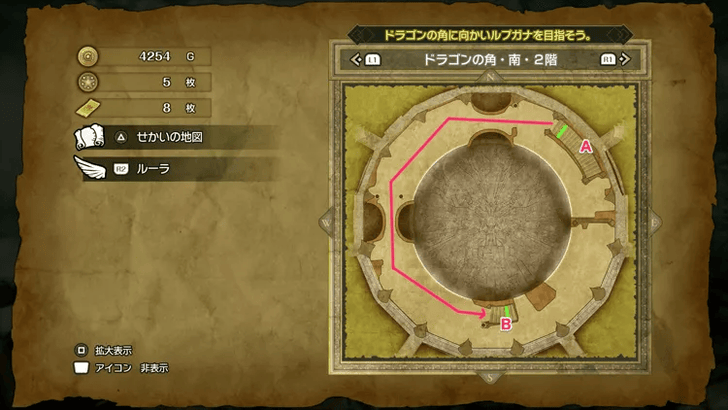
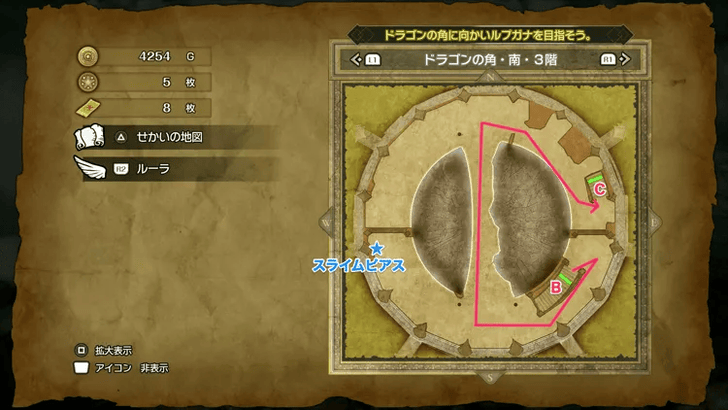
| 2 |
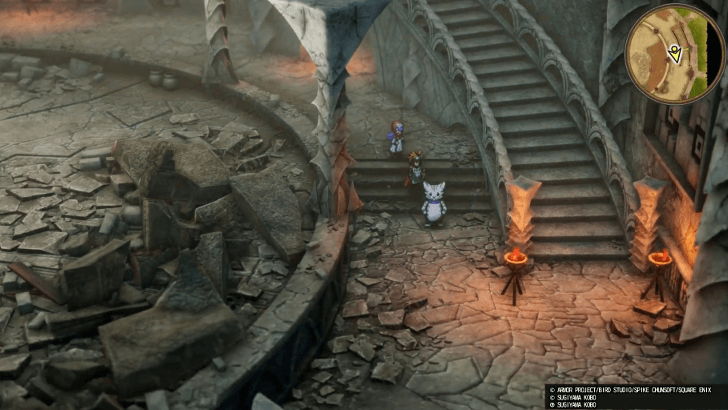 Enter the tower and make your way to the top. The South Tower has six floors, and the path is straightforward. Just follow the stairs on the map and you’ll reach the peak in no time. |
| * |
 Be careful when approaching the hole in the center, especially if you’re already high up. You can fall through it and end up back on the first floor! |
| 3 |
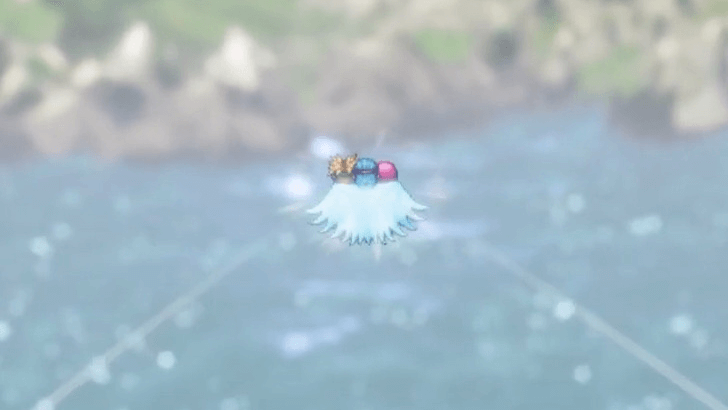 Approach the top center of the peak on the open ledge, and use the Windbreaker to reach the North Tower. |
All Obtainable Items in the South Tower
| 1F | 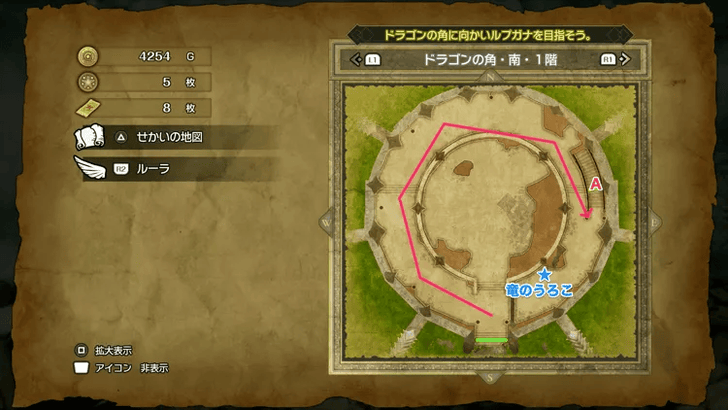 ・ Dragon's Scale |
|---|---|
| 2F |
 None |
| 3F |
 ・Slime Earrings |
| 4F |
 ・Seed of Life |
| 5F |
 ・Recovery Ring |
Here are all the items you can get on each floor of the Pillar. Every floor has some valuable items you can pick up, except for the sixth floor, which is just a room of stairs.
Dragon's Horns North Tower
| 1 |
 You can start exploring the North Tower, but this is completely optional. However, there is a key item here, so if you want to get it in advance, head to the third floor and get the Celestial Skein! |
|---|
Rippleport
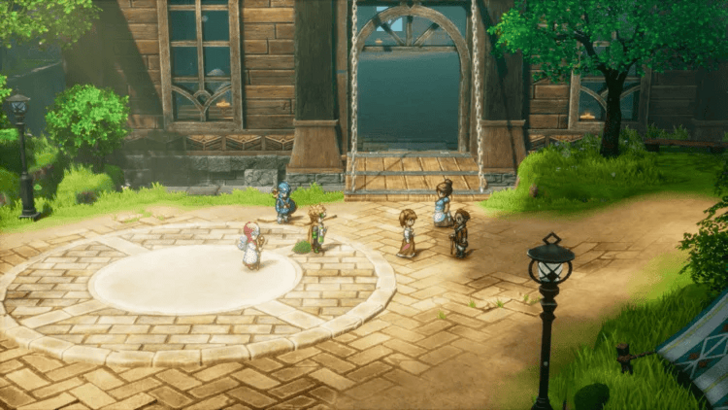
| 1 |
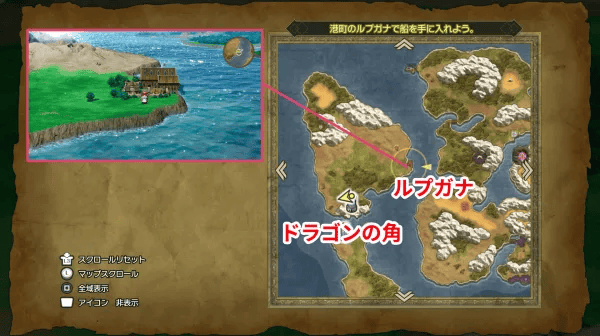 Upon reaching Rippleport, head to the port just north of town and talk to the mayor. He’ll point you toward how to get your ship! |
|---|---|
| 2 |
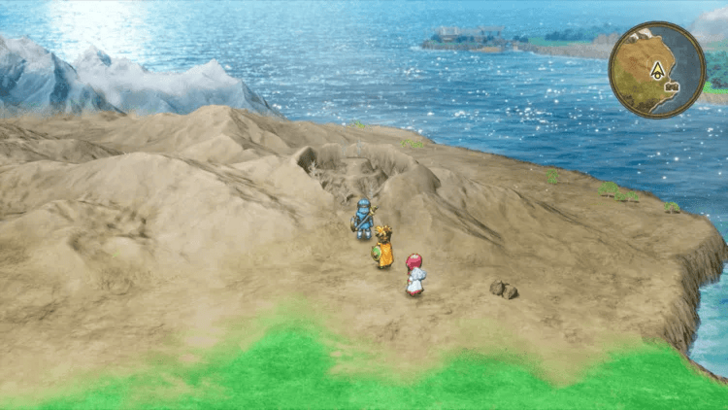 Leave the town and head to the mountain north of it. Be prepared, as this leads to the next boss battle, so make sure to get everything you need in Rippleport before leaving. |
| 3 |
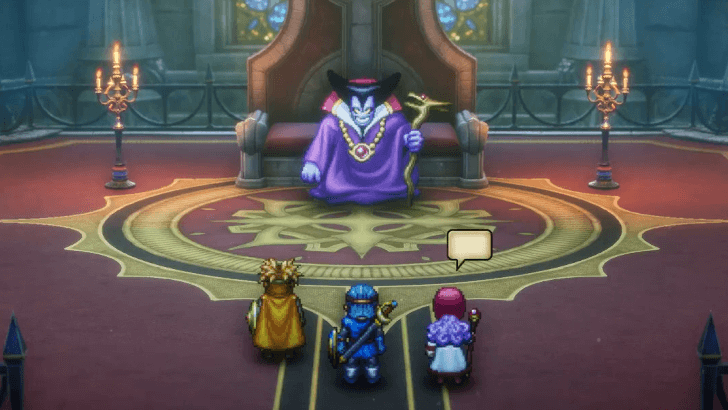
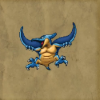
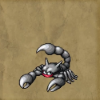
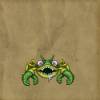
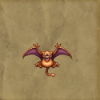
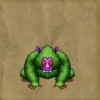
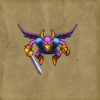
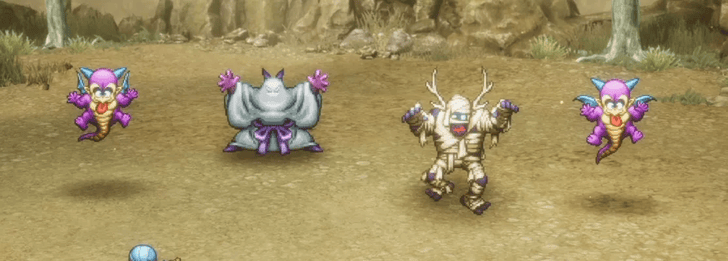 Up ahead, you'll face the Twisted Sister and Mummy Dearest. They'll be accompanied by two Gremlins, and a good strategy is to target the weaker ones first before focusing on the others. Defeat them to progress. |
| 4 |
 Report back to the mayor and stay at the inn afterward. The next day, your ship will be up and ready for you to use! |
| * |
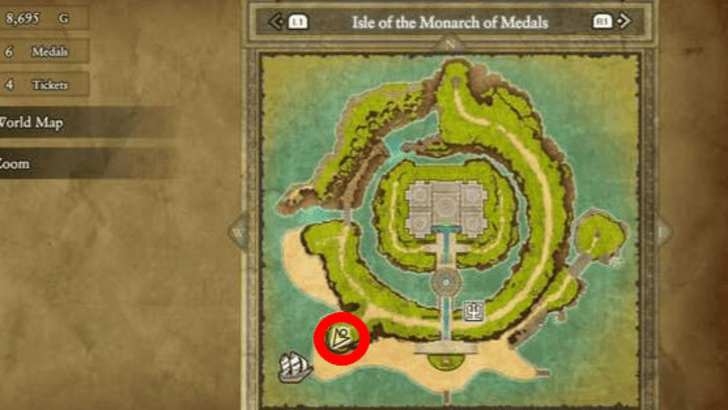
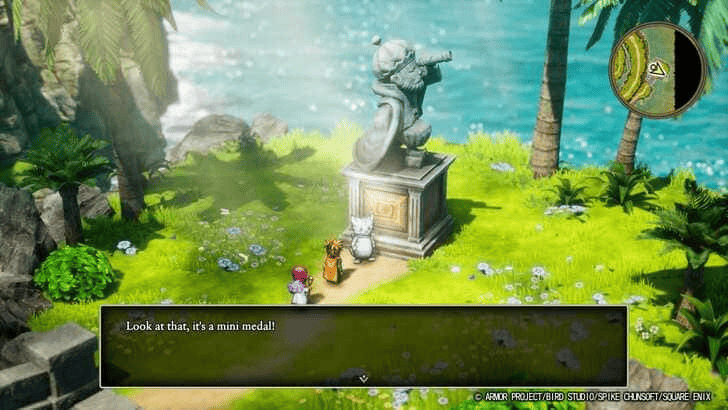 If you have enough medals, feel free to take a detour to the Isle of the Monarch of Medals. You can exchange your Mini Medals here if you've collected enough and even change names if you'd like. ▶ All Mini Medal Locations |
| * |
 Now that you have the ship, the world has opened up and you're free to go anywhere that you please. However, certain areas have high-level enemies that you may not be prepared for, and it's recommended to visit the next story locations in the following order: Dragonlord's Castle has a dungeon that serves as a great training ground for leveling up. Burrowell can come next, and take Beran last, as no area in that part of the story is useful for leveling up. |
Encounterable Enemies and Bosses
All Enemies in Pillar of the Winds
 Somnol Ant |
 Dirty Rat |
 Scornet |
 Restless Armour |
 Bewarewolf |
 Crabid |
 Drackolyte |
 Raven Lunatic |
 Lumpfather |
All Enemies in Southern Dragon's Horn
 Chewlip |
 Madusa |
 Shaman |
 Mud Mannequin |
 Mummy Boy |
 Terrordactyl |
 Iron Scorpion |
 Crabber Dabber Doo |
 Skeleton Soldier |
 Vampire Cat |
All Enemies in Northern Dragon's Horn
|
Madusa |
Shaman |
 Big Badboon |
 Hawk Man |
Terrordactyl |
Vampire Cat |
All Enemies in Rippleport
|
Mud Mannequin |
Big Badboon |
 Mummy |
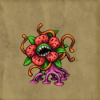
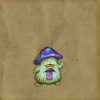 Morphean Mushroom |
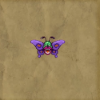 Betterfly |
 Ram Raider |
List of All Monsters and Enemies
Lumpfather
|
|
| Recommended Level |
|---|
| Level 15 |
The Lumpfather attacks twice each turn, so a good strategy is to have two dedicated attackers while assigning one member to focus on the party’s recovery. The Princess of Moonbrooke is a good choice for the healer role, while the Prince of Midenhall and the Prince of Cannock can serve as your main sources of damage.
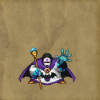
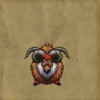
Twisted Sister, Mummy Dearest, and the Gremlins
|
|
| Recommended Level |
|---|
| Level 18 |
You can focus on the Gremlins first since they each have around 200 HP, which you can easily take down with two to three attacks. Target the Twisted Sister next, as it’s the only one that can use Heal. Leave Mummy Dearest for last, but make sure you have an item or spell that can cure paralysis if you choose to deal with it at the end.
How to Beat Twisted Sister and Mummy Deerest
All Sparkly Spot Locations
| We’re still gathering all sparkly spot locations for this part of the story. Please check back later! |
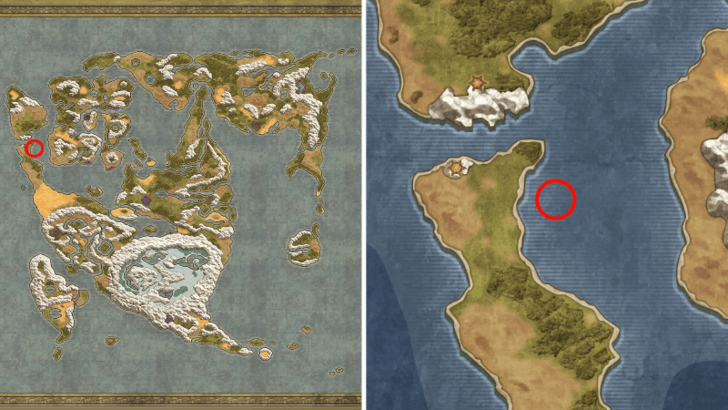
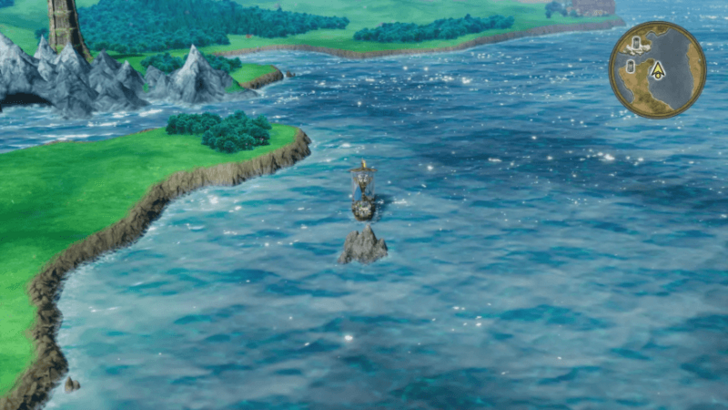
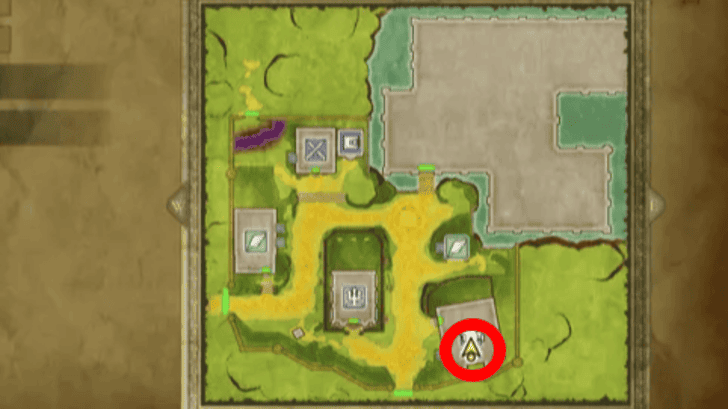
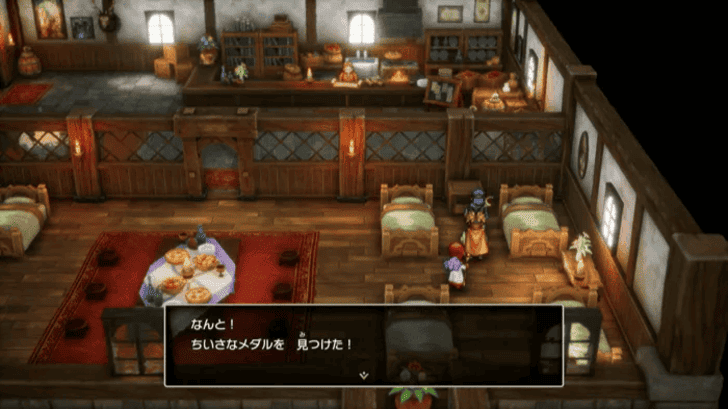
All Secret Spot Locations
| Map Image | World Image | |
|---|---|---|
| 16 |
 |
 |
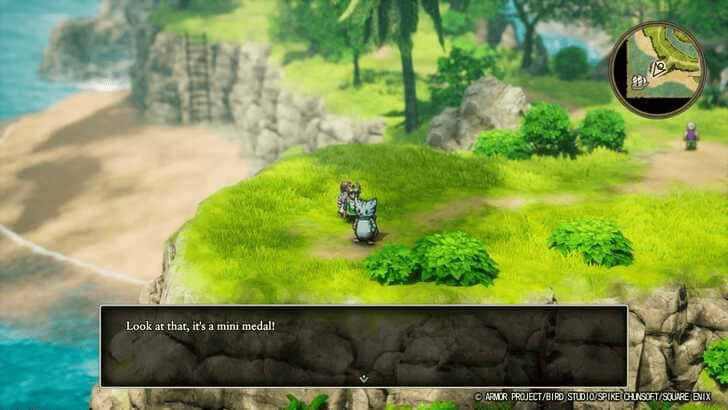
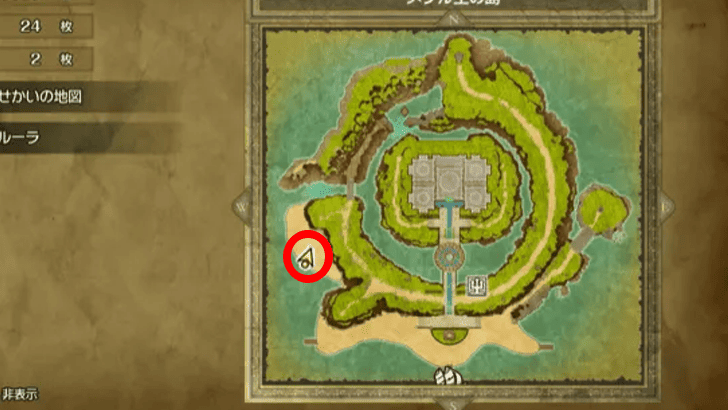
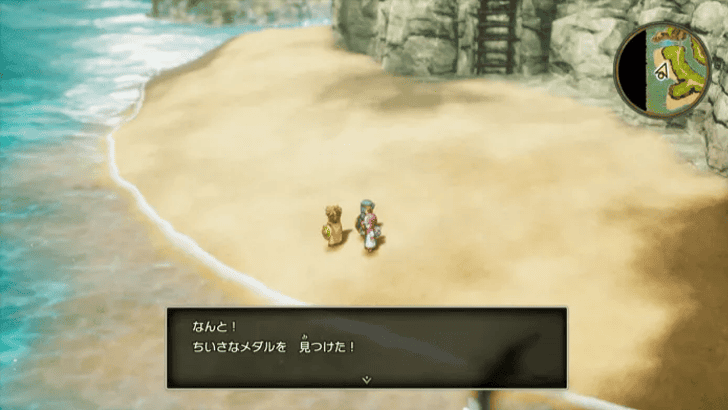
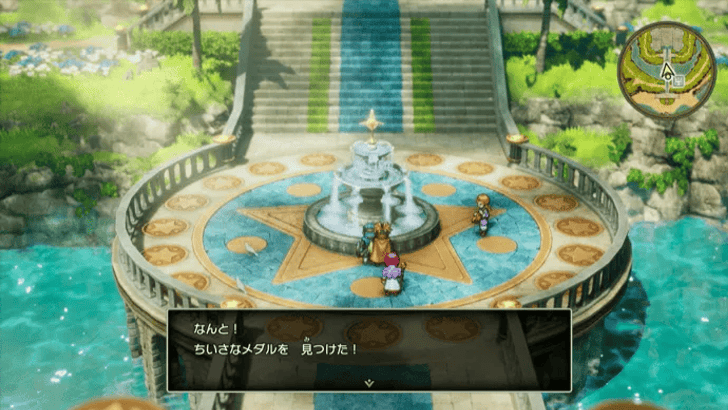
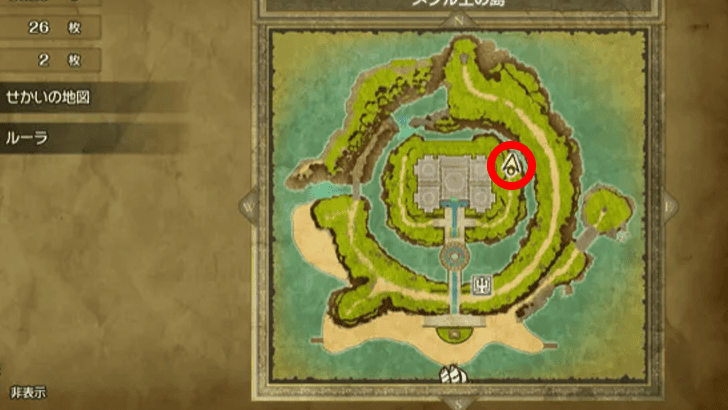
All Mini Medal Locations
| Map Image | World Image | |
|---|---|---|
11 |
 |
 |
12 |
 |
 |
14 |
 |
 |
17 |
 |
 |
18 |
 |
|
19 |
 |
 |
20 |
 |
 |
21 |
 |
 |
22 |
 |
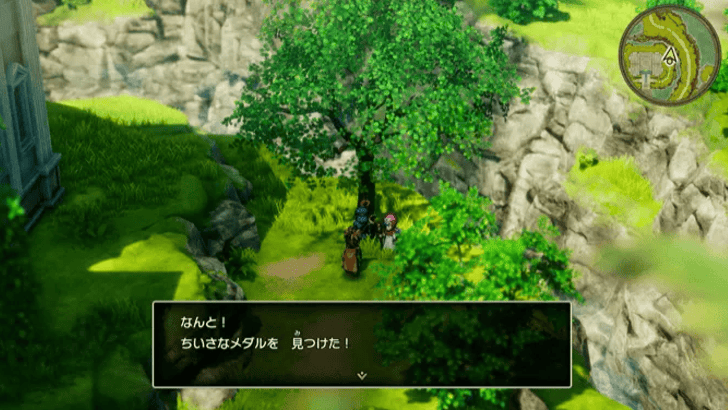 |
All 80 Mini Medal Locations and Rewards
Dragon Quest 2 HD-2D Remake (DQ2) Related Guides

List of All Story Walkthroughs
Comment
Author

Walkthrough Part 3: Pillar of the Winds to Rippleport
Rankings
- We could not find the message board you were looking for.
Gaming News


Popular Games

Genshin Impact Walkthrough & Guides Wiki
Umamusume: Pretty Derby Walkthrough & Guides Wiki
Crimson Desert Walkthrough & Guides Wiki
Monster Hunter Stories 3: Twisted Reflection Walkthrough & Guides Wiki
Honkai: Star Rail Walkthrough & Guides Wiki
Pokemon Pokopia Walkthrough & Guides Wiki
The Seven Deadly Sins: Origin Walkthrough & Guides Wiki
Wuthering Waves Walkthrough & Guides Wiki
Zenless Zone Zero Walkthrough & Guides Wiki
Arknights: Endfield Walkthrough & Guides Wiki


Recommended Games
Fire Emblem Heroes (FEH) Walkthrough & Guides Wiki
Diablo 4: Vessel of Hatred Walkthrough & Guides Wiki
Cyberpunk 2077: Ultimate Edition Walkthrough & Guides Wiki
Yu-Gi-Oh! Master Duel Walkthrough & Guides Wiki
Super Smash Bros. Ultimate Walkthrough & Guides Wiki
Pokemon Brilliant Diamond and Shining Pearl (BDSP) Walkthrough & Guides Wiki
Elden Ring Shadow of the Erdtree Walkthrough & Guides Wiki
Monster Hunter World Walkthrough & Guides Wiki
The Legend of Zelda: Tears of the Kingdom Walkthrough & Guides Wiki
Persona 3 Reload Walkthrough & Guides Wiki


All rights reserved
© ARMOR PROJECT/BIRD STUDIO/SPIKE CHUNSOFT/SQUARE ENIX
© SUGIYAMA KOBO ℗ SUGIYAMA KOBO
The copyrights of videos of games used in our content and other intellectual property rights belong to the provider of the game.
The contents we provide on this site were created personally by members of the Game8 editorial department.
We refuse the right to reuse or repost content taken without our permission such as data or images to other sites.