Walkthrough Part 5: Burrowell to Gaggle Rock
★ Interactive Map and Locations
┗ Secret Spots | Sparkly Spots | Mini Medals
☆ 100% Walkthrough Guide
┗Post Game Guide
☆ Trophy Guide: How to Get Platinum
★ Playing the first game? DQ1 Wiki here!
This is a walkthrough guide from Burrowell to Gaggle Rock for the Main Story of Dragon Quest 2 HD-2D Remake (DQ2). See the objectives for Burrowell to Gaggle Rock and follow a step-by-step walkthrough in this guide.
| ◀ Previous Guide | Next Guide ▶ |
|---|---|
| Tantegel to Dragonlord's Castle | Beran to Yggdrasil's Arbour |
List of Contents
 Attention! Attention! |
This page contains major spoliers for Dragon Quest 2 HD-2D Remake! Continue reading on at your own risk. |
|---|
Burrowell to Gaggle Rock Walkthrough Guide
| Jump to an Area Walkthrough! | |||
|---|---|---|---|
| 1 | Burrowell | 2 | Shrine of Flames |
| 3 | Zahan | 4 | Gaggle Rock |
| 5 | Shipwright's Shrine | 6 | - |
Burrowell
| 1 |
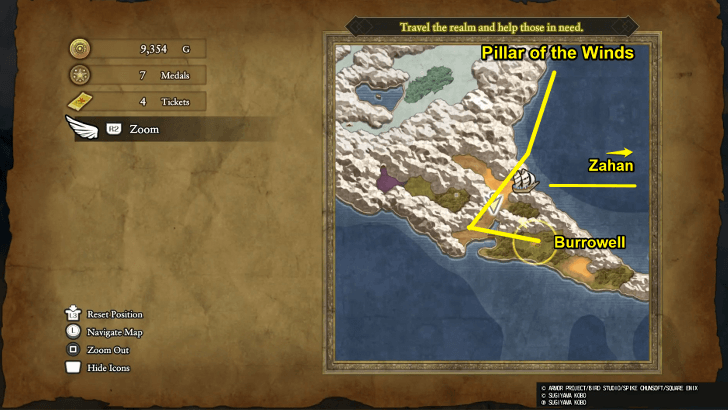 Fast travel to the Pillar of the Winds, and with your new ship, head east and sail down to Burrowell. ▶ How to Unlock and Get the Ship |
|---|---|
| 2 |
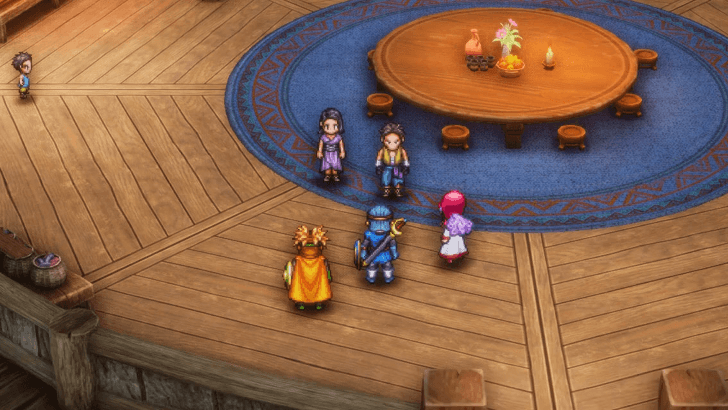
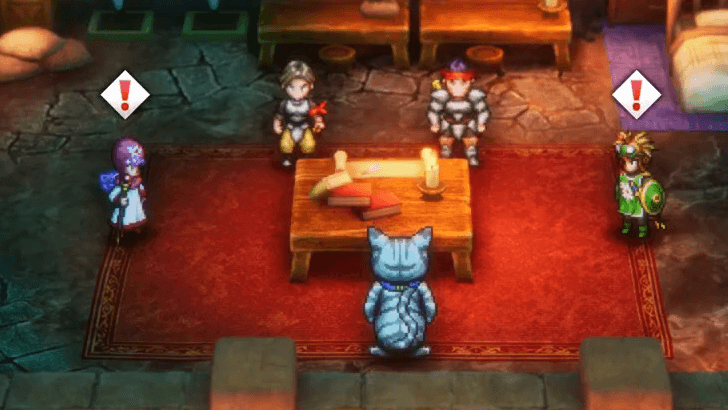 Upon arriving in Burrowell, follow the captain to the next room. You'll be prompted to choose who to side with, but this won't affect any outcomes. |
| 3 |
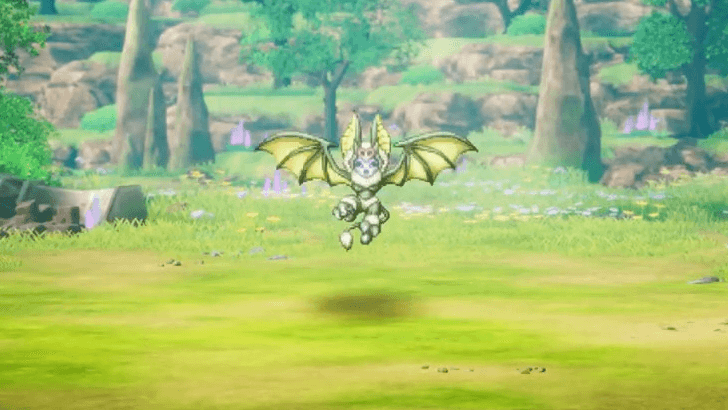 Follow the guards outside, and you'll face Succubeast shortly after. A simple strategy of using Flying Knee works best here, as she's a flying enemy. Defeat her to continue the story. |
| 4 | 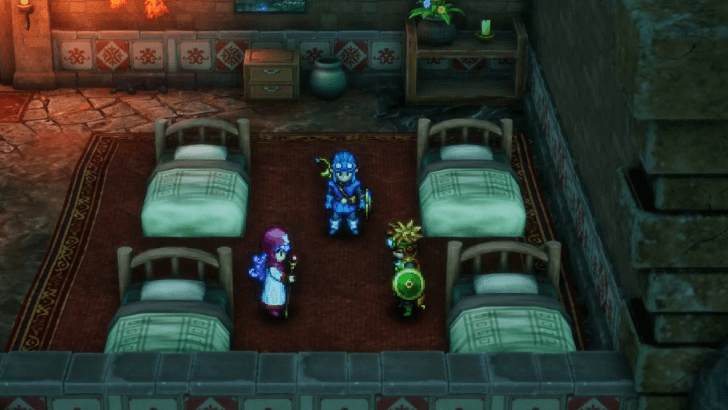 Stay at the inn after defeating the Succubeast. Then, head back to your ship and sail to Zahan. |
Shrine of Flames
| 1 |
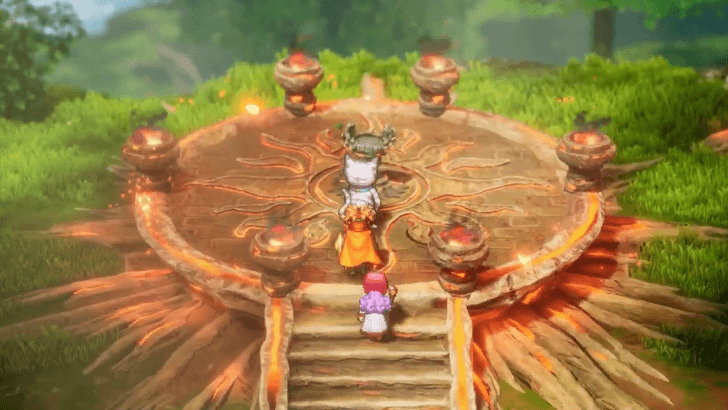 Along the way, make a stop at the Shrine of Flames. Head to the top of the hill and take the Sun Sigil. Board your ship after and continue making your way to Zahan. |
|---|
Zahan
| 1 |
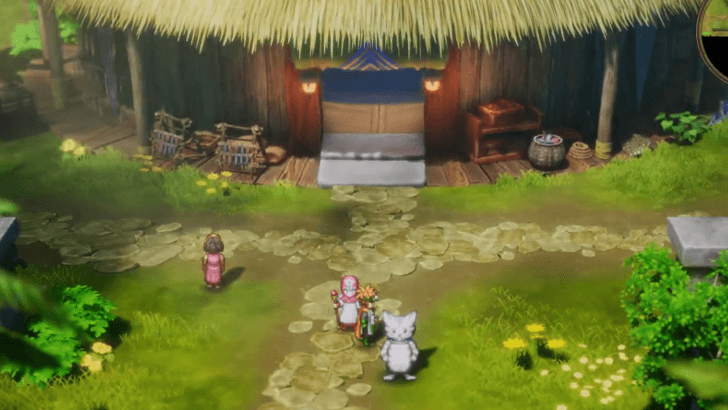 Upon arriving in Zahan, head into the first building you see to learn more about the situation. |
|---|---|
| 2 |
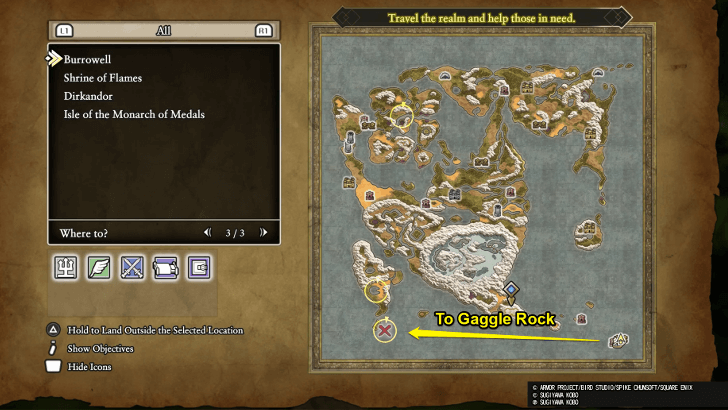
 Head out after and talk to the fisherman east of Zahan. After the conversation with him, Gaggle Rock will now be marked on your map. |
Gaggle Rock
| * |
 Before sailing to Gaggle Rock, stock up on items, specifically Holy Water, since the enemies you can encounter in the open sea vary in level. It's best to ward them off or flee if you encounter some to save time on your long journey. |
|---|---|
| 1 |
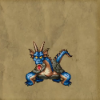
 Upon reaching Gaggle Rock, defeat the guarding Madder Merman and proceed further. You’ll eventually meet two mermaids, Elaine and Melinda. Talk to them to progress. |
| 2 |
 Head back to Zahan and visit Sylvester's family in the first building. There's no need to sail manually, as you can use Zoom or a Chimaera Wing to return. Your ship will be docked in Zahan afterward. |
Shipwright's Shrine
| 1 |
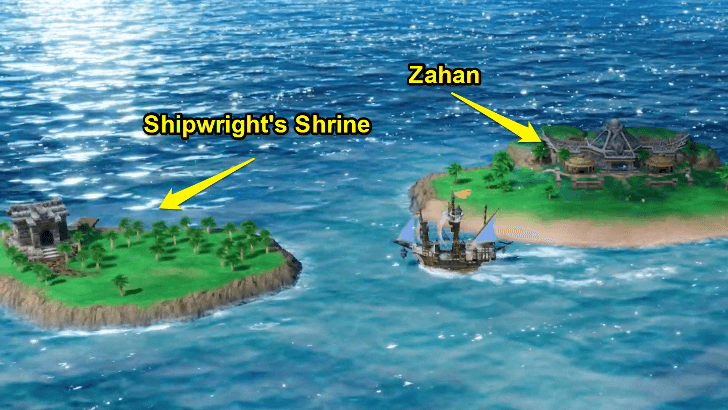 Go to Shipwright’s Shrine next, which you can reach by sailing to the island near Zahan. Enter the temple afterward. |
|---|---|
| 2 |
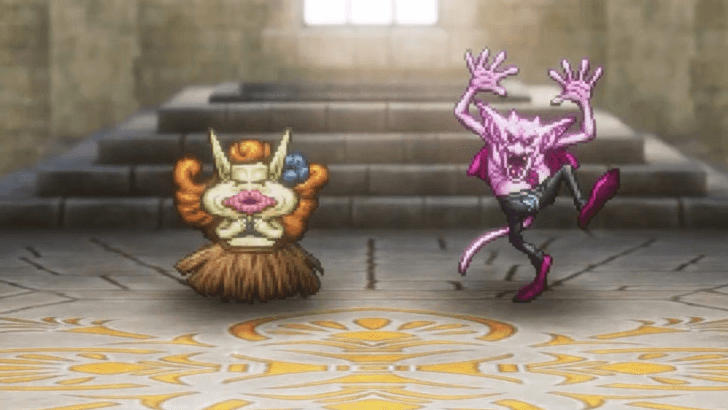 As you enter the shrine, you’ll encounter the Hula Ruler and Disco Demon. Defeat them and take Sylvester's present from them. |
| 3 |
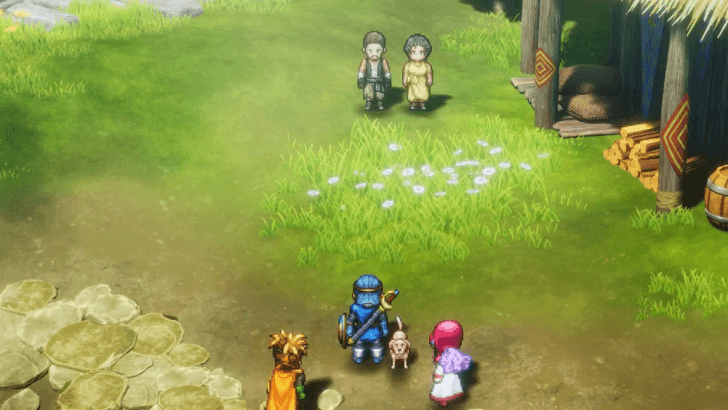 Fast travel to Gaggle Rock again and talk to the two mermaids. Then, report back to Zahan by watching the cutscene you can trigger in the northeast section of the town. |
| * |
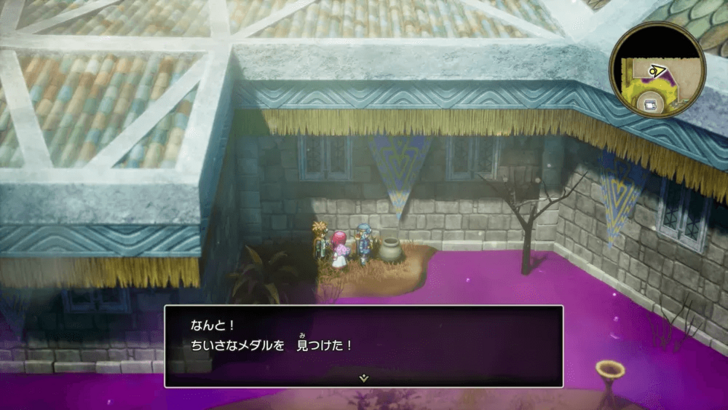
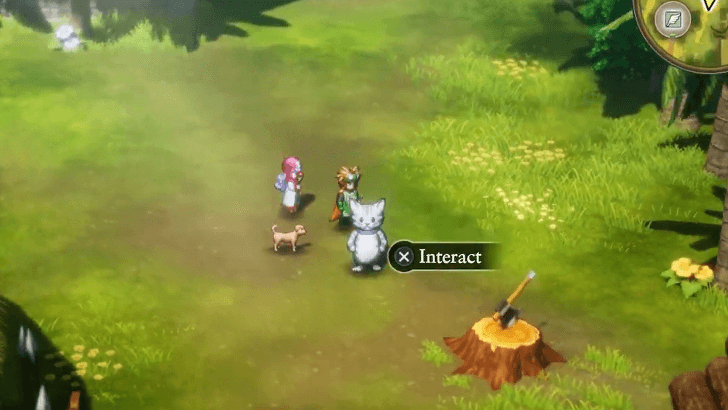 Follow the dog afterward and examine the spot in front of him. You’ll find a Gold Platter buried there for you to take. |
Encounterable Enemies and Bosses
All Enemies in Zahan
 Merlusc |
 Gargoyle |
 Seaslime |
All Enemies in Burrowell
 Sabrecat |
 Deadnaut |
 Muddy Hand |
 Walking Corpse |
 Dread Admiral |
 Wyrtle |
 Succubeast |
List of All Monsters and Enemies
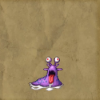
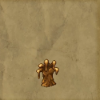
Succubeast
|
|
| Recommended Level |
|---|
| Level 26 |
Succubeast is the first boss in this part of the story. Her strategy relies on inflicting confusion, so make sure you have a way to counter it. It's also recommended to raise your Attack to at least 150 before attempting this fight, so be sure to use all your Seeds of Strength and purchase new weapon from available shops.
Best Party Builds and Equipment
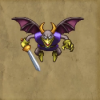
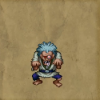
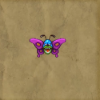
Hula Ruler and Disco Demon
|
|
| Recommended Level |
|---|
| Level 26 |
The next pair of bosses you’ll face are the Hula Ruler and Disco Demon. A good strategy here is to focus on Hula Ruler first, as it serves as support and restores Disco Demon's MP. With no MP left to use later on, Disco Demon won't be able to cast Midheal on itself, allowing you to take it down more easily.
How to Beat Disco Demon and Hula Ruler
All Sparkly Spot Locations
| We’re still gathering all sparkly spot locations for this part of the story. Please check back later! |
All Secret Spot Locations
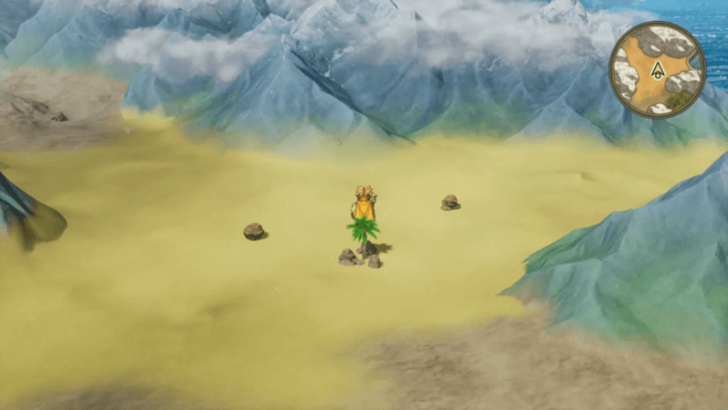
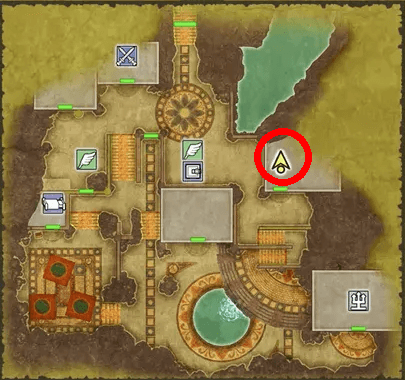
| Map Image | World Image | |
|---|---|---|
| 18 |
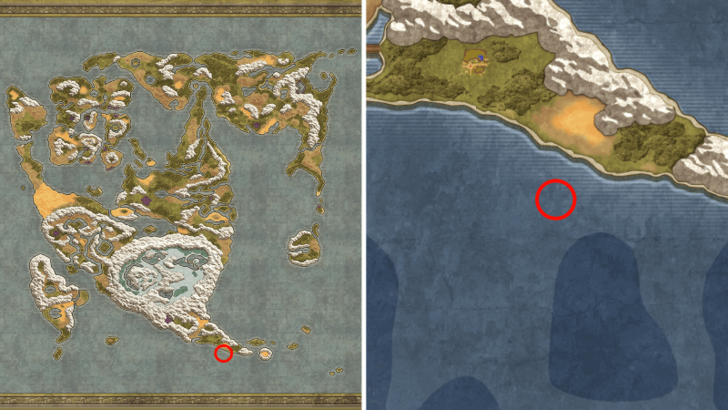 |
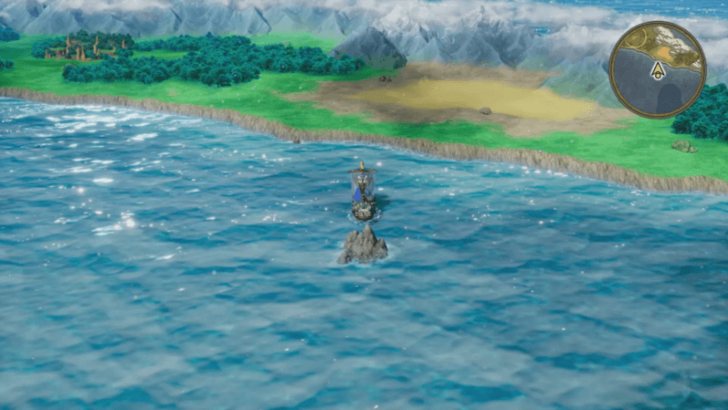 |
| 29 |
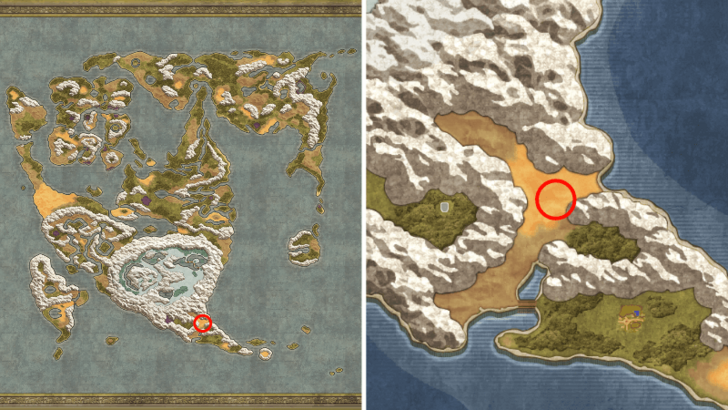 |
 |
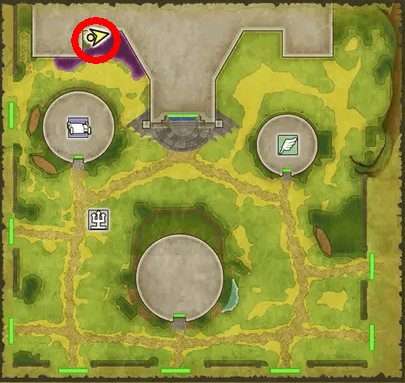
All Mini Medal Locations
| Map Image | World Image | |
|---|---|---|
39 |
 |
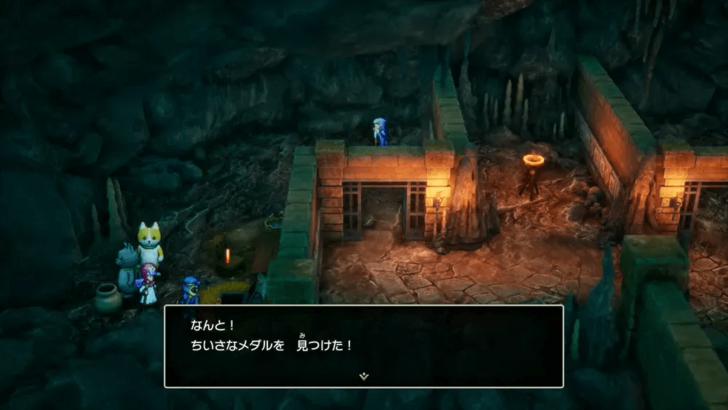 |
40 |
 |
 |
All 80 Mini Medal Locations and Rewards
Dragon Quest 2 HD-2D Remake (DQ2) Related Guides
List of All Story Walkthroughs
Comment
Author
Walkthrough Part 5: Burrowell to Gaggle Rock
Rankings
- We could not find the message board you were looking for.
Gaming News

![Star Savior Review [First Impressions] | Engaging, Entertaining, and Expensive](https://img.game8.co/4447603/8f500e9bf666bdb8adb1af478e9dfdbd.png/show)


Popular Games

Genshin Impact Walkthrough & Guides Wiki
Umamusume: Pretty Derby Walkthrough & Guides Wiki
Crimson Desert Walkthrough & Guides Wiki
Monster Hunter Stories 3: Twisted Reflection Walkthrough & Guides Wiki
Honkai: Star Rail Walkthrough & Guides Wiki
Pokemon Pokopia Walkthrough & Guides Wiki
The Seven Deadly Sins: Origin Walkthrough & Guides Wiki
Wuthering Waves Walkthrough & Guides Wiki
Zenless Zone Zero Walkthrough & Guides Wiki
Arknights: Endfield Walkthrough & Guides Wiki


Recommended Games
Fire Emblem Heroes (FEH) Walkthrough & Guides Wiki
Diablo 4: Vessel of Hatred Walkthrough & Guides Wiki
Cyberpunk 2077: Ultimate Edition Walkthrough & Guides Wiki
Yu-Gi-Oh! Master Duel Walkthrough & Guides Wiki
Super Smash Bros. Ultimate Walkthrough & Guides Wiki
Pokemon Brilliant Diamond and Shining Pearl (BDSP) Walkthrough & Guides Wiki
Elden Ring Shadow of the Erdtree Walkthrough & Guides Wiki
Monster Hunter World Walkthrough & Guides Wiki
The Legend of Zelda: Tears of the Kingdom Walkthrough & Guides Wiki
Persona 3 Reload Walkthrough & Guides Wiki


All rights reserved
© ARMOR PROJECT/BIRD STUDIO/SPIKE CHUNSOFT/SQUARE ENIX
© SUGIYAMA KOBO ℗ SUGIYAMA KOBO
The copyrights of videos of games used in our content and other intellectual property rights belong to the provider of the game.
The contents we provide on this site were created personally by members of the Game8 editorial department.
We refuse the right to reuse or repost content taken without our permission such as data or images to other sites.