Walkthrough Part 10: Cantlin to Slewse
★ Interactive Map and Locations
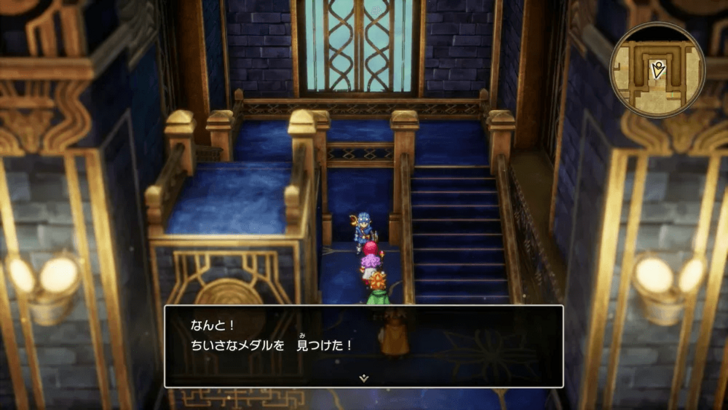
┗ Secret Spots | Sparkly Spots | Mini Medals
☆ 100% Walkthrough Guide
┗Post Game Guide
☆ Trophy Guide: How to Get Platinum
★ Playing the first game? DQ1 Wiki here!
This is a walkthrough guide from Cantlin to Slewse for the Main Story of Dragon Quest 2 HD-2D Remake (DQ2). See the objectives for Cantlin to Slewse and follow a step-by-step walkthrough in this guide.
| ◀ Previous Guide | Next Guide ▶ |
|---|---|
| Den of Iniquity to Thief's Hideout | Volcanic Grotto to Dirkandor |
List of Contents
 Attention! Attention! |
This page contains major spoliers for Dragon Quest 2 HD-2D Remake! Continue reading on at your own risk. |
|---|
Cantlin to Slewse Walkthrough Guide
| Jump to an Area Walkthrough! | |||
|---|---|---|---|
| 1 | Cantlin | 2 | Tantegel |
| 3 | Kol | 4 | Burrowell |
| 5 | Slewse | 6 | Tower of the Moon |
Cantlin
| 1 | Fast travel to Cantlin, or sail to it from Rippleport if you haven’t unlocked it yet. |
|---|---|
| 2 | Head to the building west of Cantlin and enter it. |
Tantegel
| 1 | Move to Tantegel afterwards and go to the throne room. Speak to the King. |
|---|
Kol
| 1 | Fast travel to Kol and head to the hot springs northwest of the town. |
|---|---|
| 2 | Examine the sparkly spot afterwards to obtain the Faerie Flute. |
| 3 | Speak to the Firstborn Protector again outside of town. |
Burrowell
| 1 | Head to Burrowell and enter the building east of it. |
|---|---|
| 2 | Talk to the Black Sanguini and Roge Fastfinger afterwards. |
| 3 | Exit Burrowell to trigger two more cutscenes. |
Slewse
| 1 | Head to Slewse or sail to it from the Mermaid’s Sanctuary. |
|---|---|
| 2 | Check the marked location on the map, which should be a keyhole to open the Floodgate. Interact with it to do so. |
Tower of the Moon
| 1 | Head to the Tower of the Moon from the Mermaid’s Sanctuary. Keep in mind that it’s not recommended to travel there from Slewse as the area is surrounded by poisonous swamps. |
|---|---|
| 2 | Go to the middle and defeat the Antlerkazams. You can go all out on them since they don’t have much HP and can be taken down easily. |
| 3 | On the first floor, take the stairs on the south side of the room to reach the next floor. |
| 4 | On the second floor, take the stairs in the center. |
| 5 | On the third floor, do the same and take the nearest stairs in the center. |
| 6 | On the fourth floor, go west from the east side to reach the next floor. |
| 7 | On the fifth floor, take the nearest stairs instead of the southern one to reach the sixth floor. |
| 8 | Finally, go around on the next floor to face the next boss. |
| 9 | Defeat the Lunagriff on the same floor. Be sure to prepare for this one by buying several recovery items, preferably higher-grade ones to restore more HP, and assign a dedicated healer since the fight can get tough. |
| 10 | Report back to the Black Sanguini after the battle. |
Encounterable Enemies and Bosses
All Enemies in Burrowell
 Headhunter |
 Whackolyte |
 Lunagriff |
 Minidemon |
 Cosmic Chimaera |
 Rockbomb |
 Smackanape |
 Mimic |
 Antlerkazam |
All Enemies in Slewse
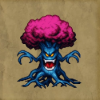 Treevil |
Headhunter |
 Brainy Badboon |
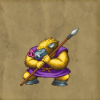 Orc Chieftain |
Whackolyte |
 Vis Mager |
 Infernal Armour |
 Toxic Zombie |
 Goodybag |
|
Minidemon |
 Hades Condor |
 Silhouette |
All Enemies in Tower of the Moon
|
Headhunter |
Whackolyte |
Lunagriff |
|
Minidemon |
Cosmic Chimaera |
Rockbomb |
|
Smackanape |
Mimic |
Antlerkazam |
Here are all the enemies you'll encounter in this part of your adventure!
List of All Monsters and Enemies
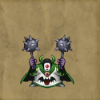
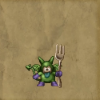
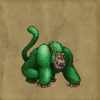
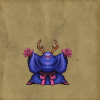
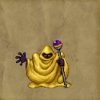
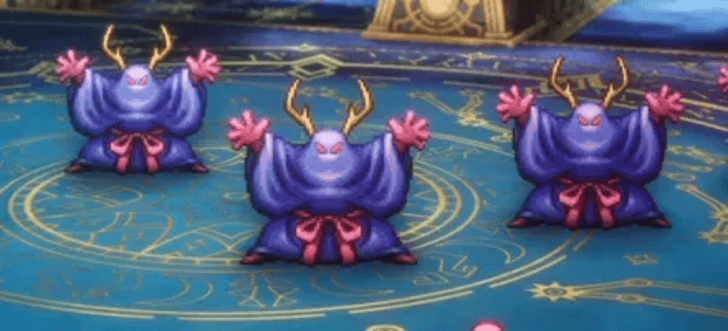
Antlerkazams
|
| Recommended Level |
|---|
| Level 34 |
Although they may seem tough, Antlerkazams are actually pretty easy to take down. They don't have much HP and can be defeated easily even in numbers.
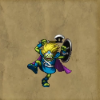
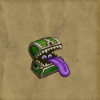
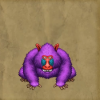
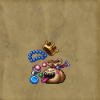
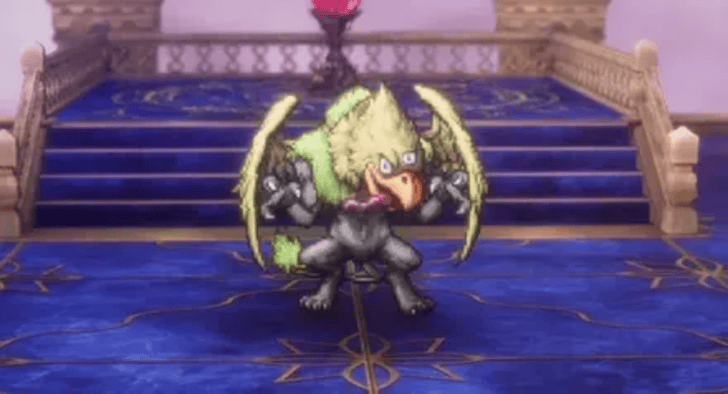
Lunagriff
|
| Recommended Level |
|---|
| Level 36 |
Lunagriff is the main boss of this story. Be sure to level up at least twice before proceeding to the combat since this fight can be challenging. If possible, bring healing medicines and assign a dedicated healer.
All Sparkly Spot Locations
| We’re still gathering all sparkly spot locations for this part of the story. Please check back later! |
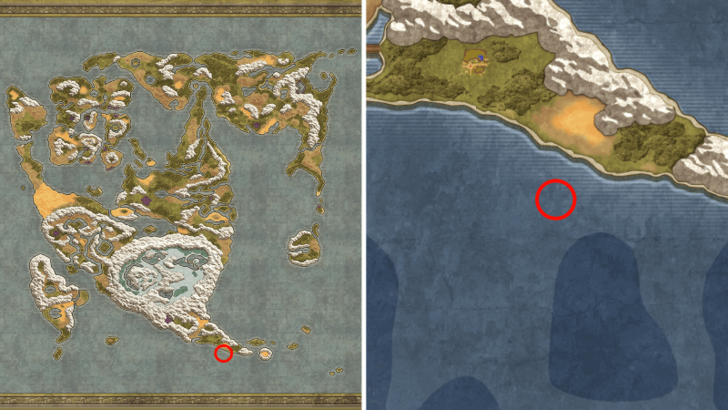
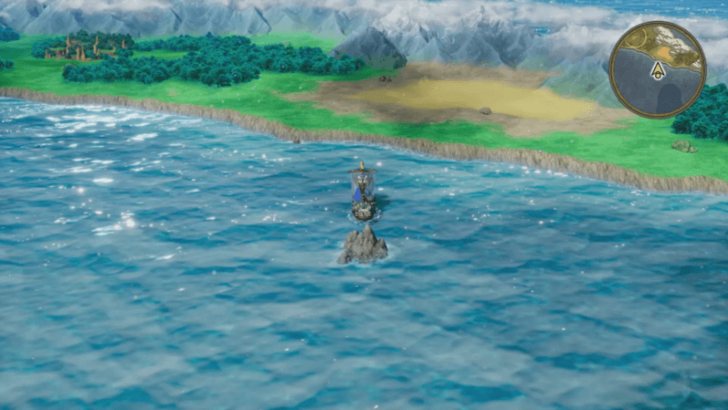
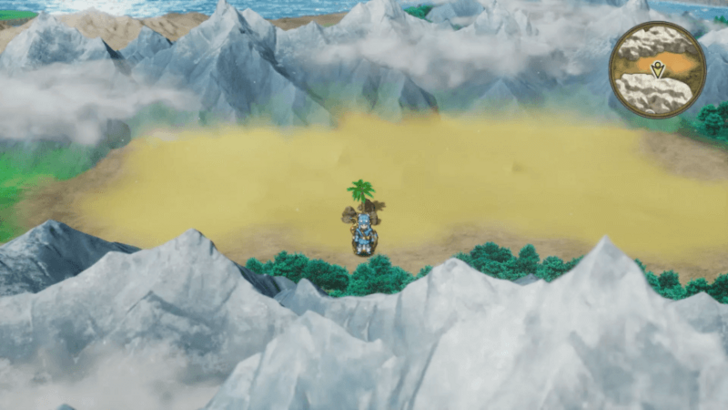
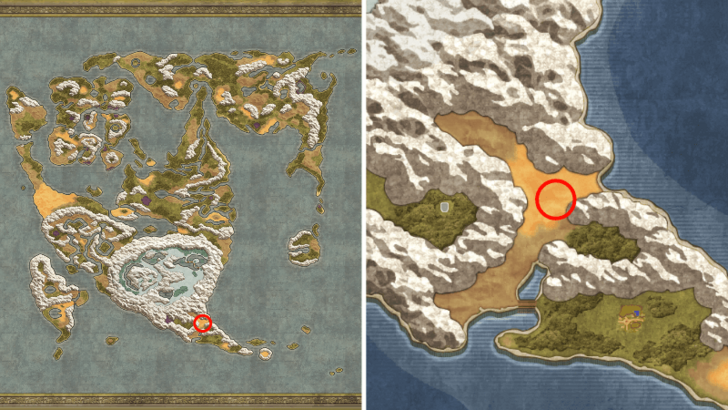
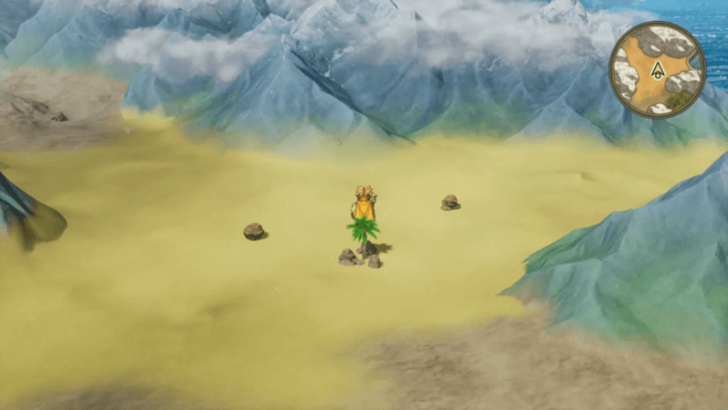
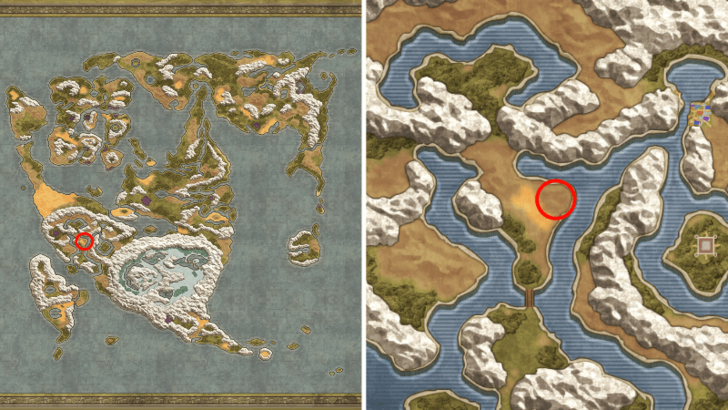
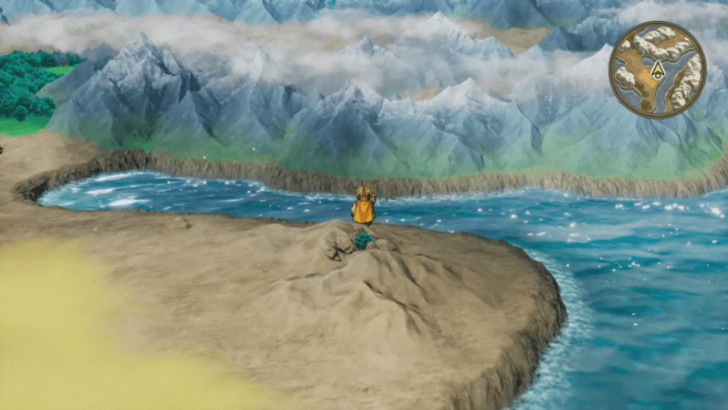
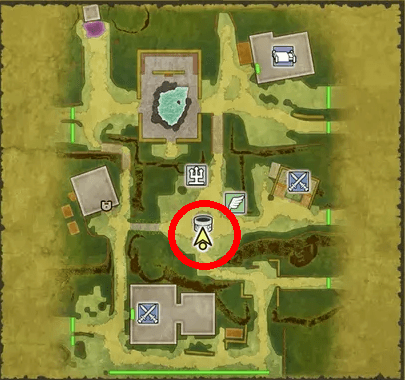
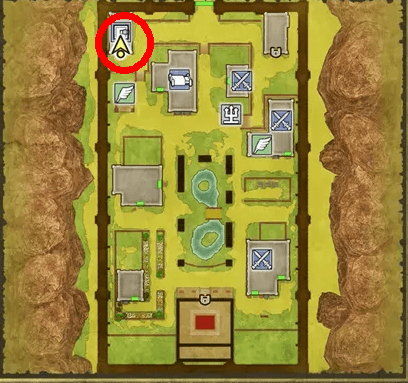
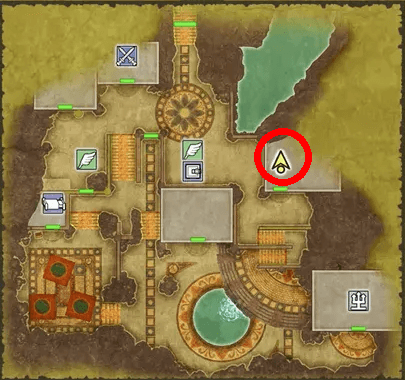
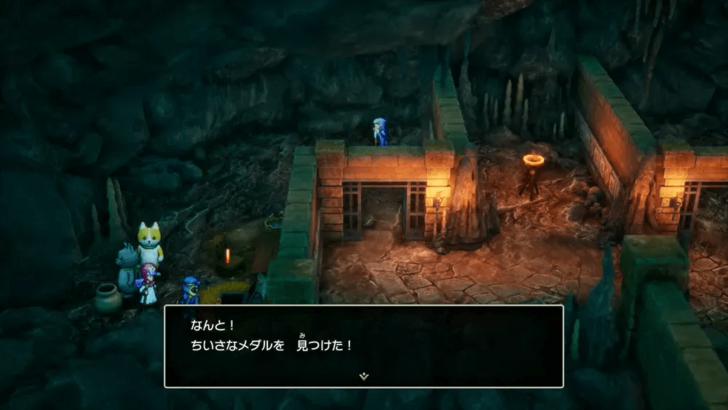
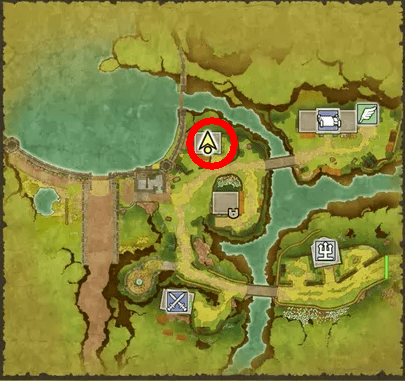
All Secret Spot Locations
| Map Image | World Image | |
|---|---|---|
| 18 |
 |
 |
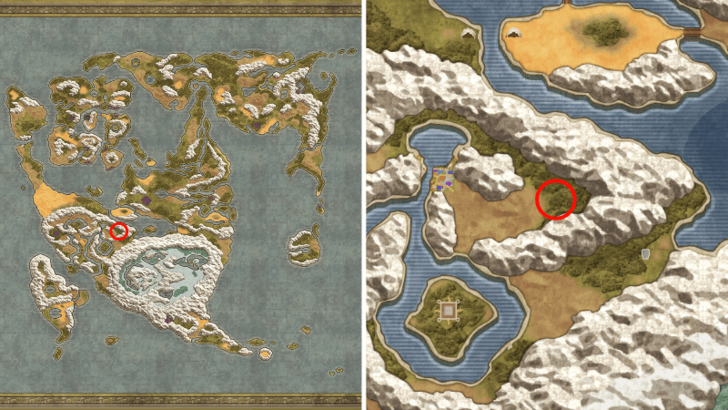
| 23 |
 |
 |
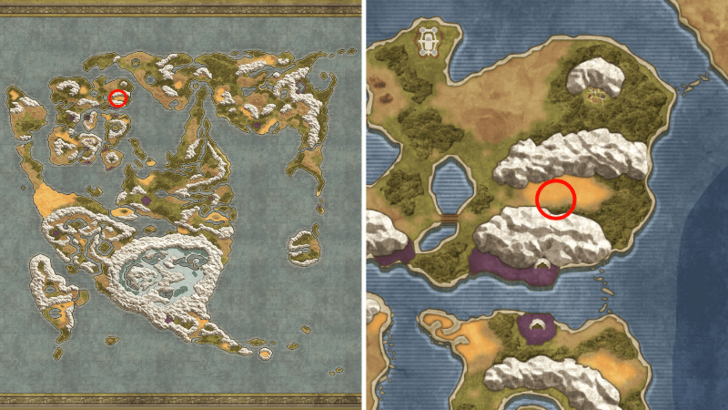
| 26 |
 |
 |
| 29 |
 |
 |
| 33 |
 |
 |
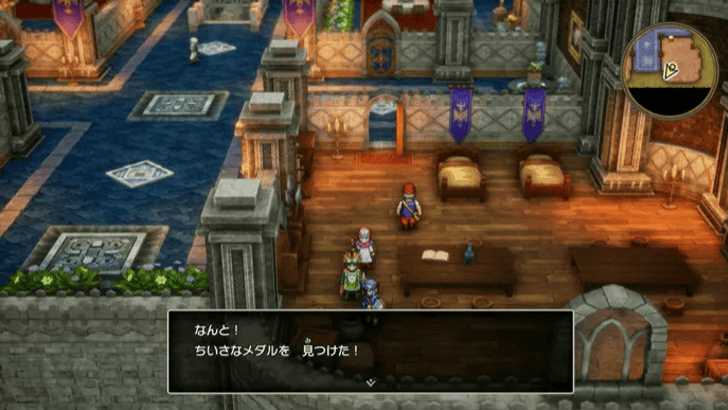
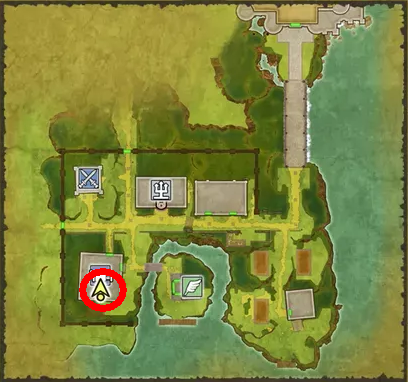
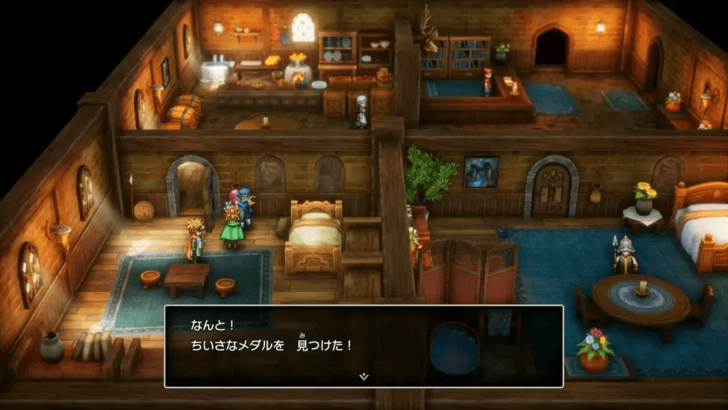
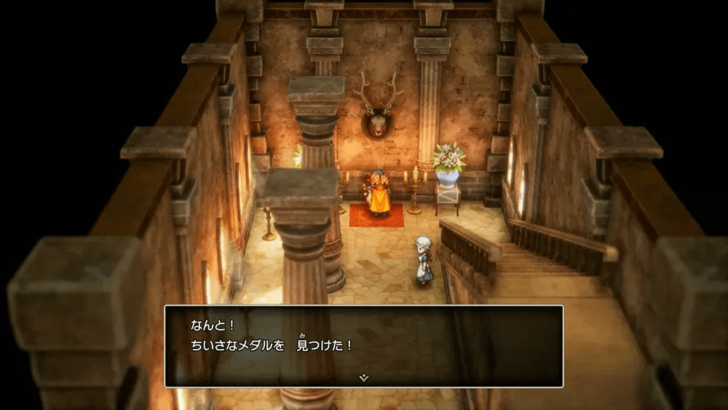
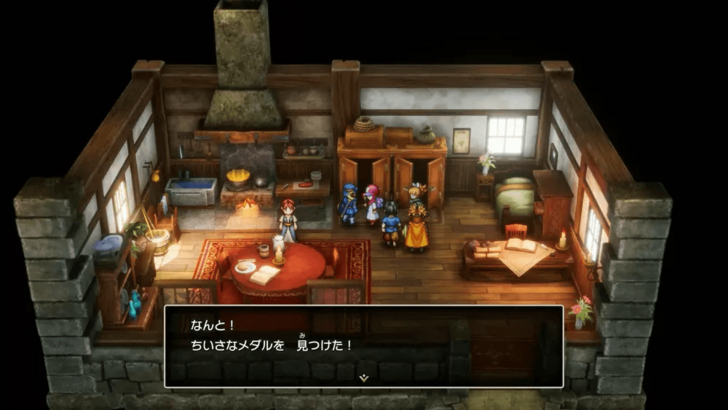
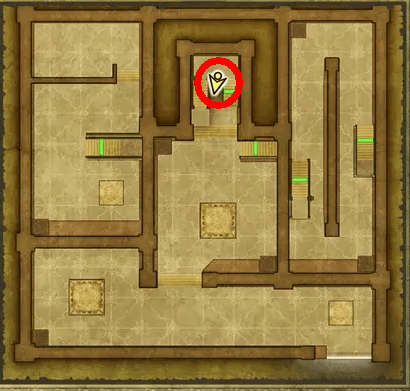
All Mini Medal Locations
| Map Image | World Image | |
|---|---|---|
23 |
 |
 |
26 |
 |
 |
29 |
 |
 |
30 |
 |
 |
39 |
 |
 |
43 |
 |
 |
45 |
 |
 |
All 80 Mini Medal Locations and Rewards
Dragon Quest 2 HD-2D Remake (DQ2) Related Guides
List of All Story Walkthroughs
Comment
Author
Walkthrough Part 10: Cantlin to Slewse
Rankings
- We could not find the message board you were looking for.
Gaming News

![Death Stranding 2: On The Beach [PC] Review | A Port That Delivers](https://img.game8.co/4447392/15310a0c9aa1b6843bb713b2ea216930.jpeg/show)


Popular Games

Genshin Impact Walkthrough & Guides Wiki
Umamusume: Pretty Derby Walkthrough & Guides Wiki
Crimson Desert Walkthrough & Guides Wiki
Monster Hunter Stories 3: Twisted Reflection Walkthrough & Guides Wiki
Honkai: Star Rail Walkthrough & Guides Wiki
Pokemon Pokopia Walkthrough & Guides Wiki
The Seven Deadly Sins: Origin Walkthrough & Guides Wiki
Wuthering Waves Walkthrough & Guides Wiki
Zenless Zone Zero Walkthrough & Guides Wiki
Arknights: Endfield Walkthrough & Guides Wiki


Recommended Games
Fire Emblem Heroes (FEH) Walkthrough & Guides Wiki
Diablo 4: Vessel of Hatred Walkthrough & Guides Wiki
Cyberpunk 2077: Ultimate Edition Walkthrough & Guides Wiki
Yu-Gi-Oh! Master Duel Walkthrough & Guides Wiki
Super Smash Bros. Ultimate Walkthrough & Guides Wiki
Pokemon Brilliant Diamond and Shining Pearl (BDSP) Walkthrough & Guides Wiki
Elden Ring Shadow of the Erdtree Walkthrough & Guides Wiki
Monster Hunter World Walkthrough & Guides Wiki
The Legend of Zelda: Tears of the Kingdom Walkthrough & Guides Wiki
Persona 3 Reload Walkthrough & Guides Wiki


All rights reserved
© ARMOR PROJECT/BIRD STUDIO/SPIKE CHUNSOFT/SQUARE ENIX
© SUGIYAMA KOBO ℗ SUGIYAMA KOBO
The copyrights of videos of games used in our content and other intellectual property rights belong to the provider of the game.
The contents we provide on this site were created personally by members of the Game8 editorial department.
We refuse the right to reuse or repost content taken without our permission such as data or images to other sites.