Walkthrough Part 2: Cave of the Lake to Moonbrooke
★ Interactive Map and Locations
┗ Secret Spots | Sparkly Spots | Mini Medals
☆ 100% Walkthrough Guide
┗Post Game Guide
☆ Trophy Guide: How to Get Platinum
★ Playing the first game? DQ1 Wiki here!
This is a walkthrough guide from Cave of the Lake to Moonbrooke for the Main Story of Dragon Quest 2 HD-2D Remake (DQ2). See the objectives for Cave of the Lake to Moonbrooke and follow a step-by-step walkthrough in this guide.
| ◀ Previous Guide | Next Guide ▶ |
|---|---|
| Midenhall to Cannock | Pillar of the Winds to Rippleport |
List of Contents
 Attention! Attention! |
This page contains major spoliers for Dragon Quest 2 HD-2D Remake! Continue reading on at your own risk. |
|---|
Cave of the Lake to Moonbrooke Walkthrough Guide
| Jump to an Area Walkthrough! | |||
|---|---|---|---|
| 1 | Cave of the Lake | 2 | Gwaelin's Gate |
| 3 | Moonahan | 4 | Moonbrooke |
| 5 | Swamp Shrine | ||
Cave of the Lake
| 1 | 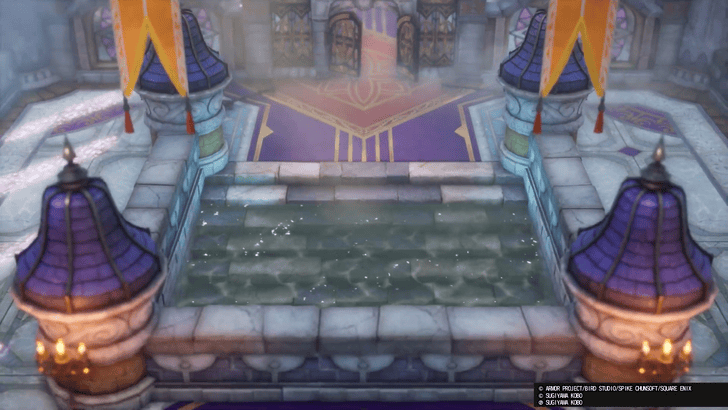 After leaving Cannock, head to Gwaelin’s Gate to the west. The gate will be flooded, preventing you from proceeding. The only way to pass is by using a Bottomless Pot, which you can obtain later in the Cave of the Lake. |
|---|---|
| 2 | 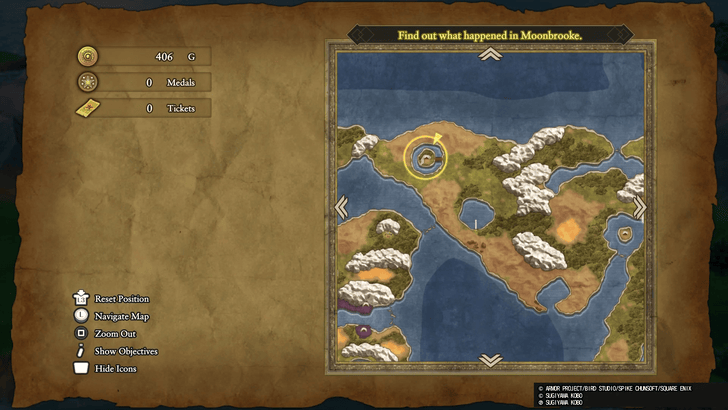 Go to the Cave of the Lake, located northwest of Leftwyne. |
| * | Watch out for Bubble Slimes and Cobra Kings in the area. These enemies can poison you, so make sure to bring a couple of Antidotal Herbs before exploring the Cave of the Lake. Once the Prince of Cannock reaches Level 6, he can use Squelch to cure poison. ▶ EXP Farm: How to Level Up Fast |
| 3 | 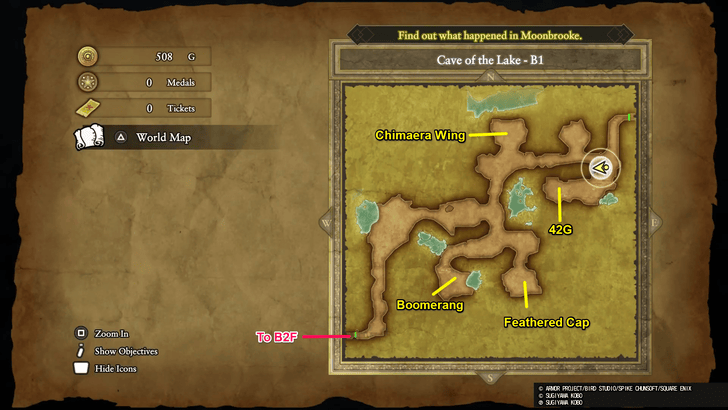 Navigate the first floor to reach B2F. Feel free to explore the area first, as you can find weapons and money here, such as the Chain Sickle, which is a good upgrade from your Copper Sword. |
| 4 | 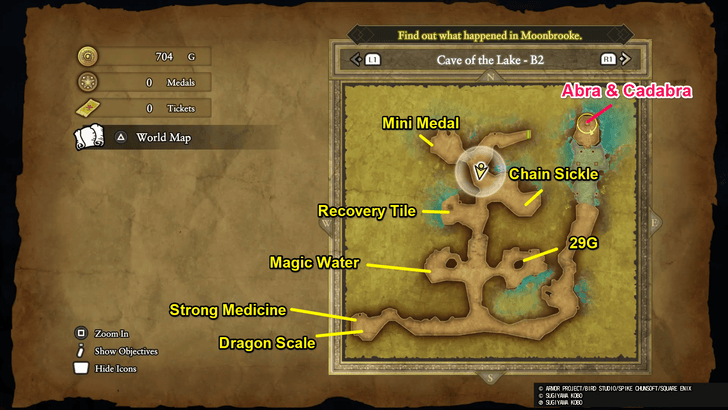 On the next floor, reach the healing tile in the middle before proceeding further. A boss battle is up ahead, and it’s recommended to train up to Level 10 before challenging it. You can train around this tile to keep healing after every battle. |
| 5 | 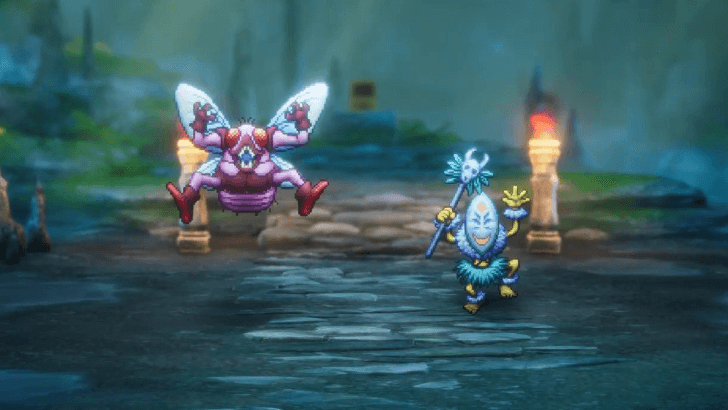 Once you’re ready, go ahead and challenge Abra and Cadabra. A good strategy is to focus on Cadabra first, as it can heal itself. After that, take on Abra and use Flying Knee to deal more damage. Once both are defeated, you’ll get the Bottomless Pot. |
Gwaelin's Gate
| 1 |
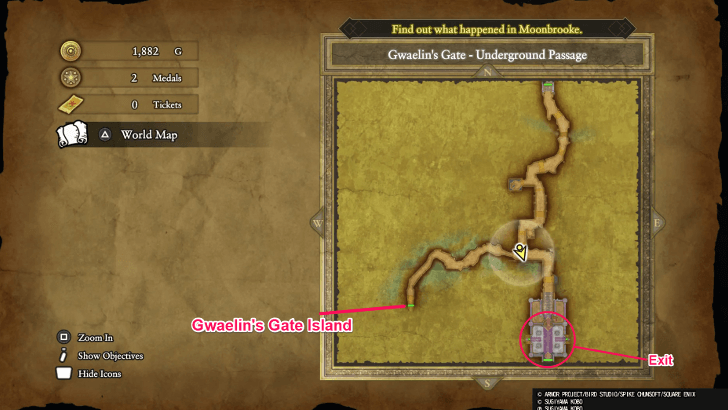 Head back to Gwaelin’s Gate and pass through it to finally continue your journey to Moonbrooke. You can make a stop on the left at Gwaelin’s Gate Island to get a Seed of Defense, but that’s completely optional. Exit the gate and go south to Moonahan. |
|---|
Moonahan
| 1 | 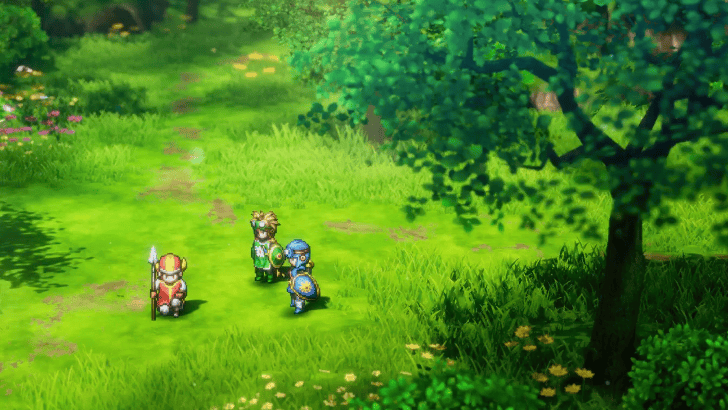 Talk to the soldier northwest of the island. Exit Moonahan afterward and proceed to Moonbrooke. |
|---|
Moonbrooke
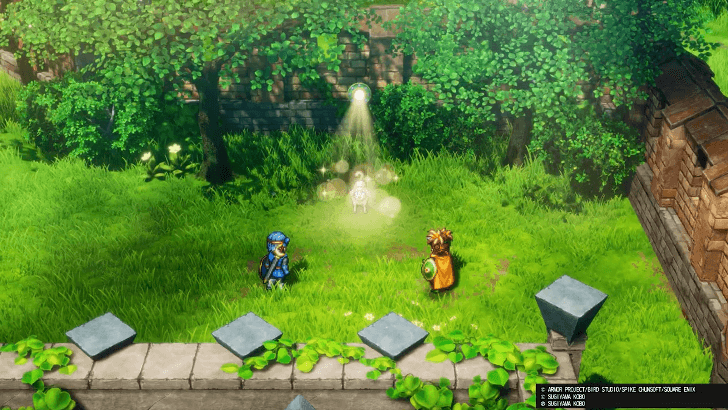
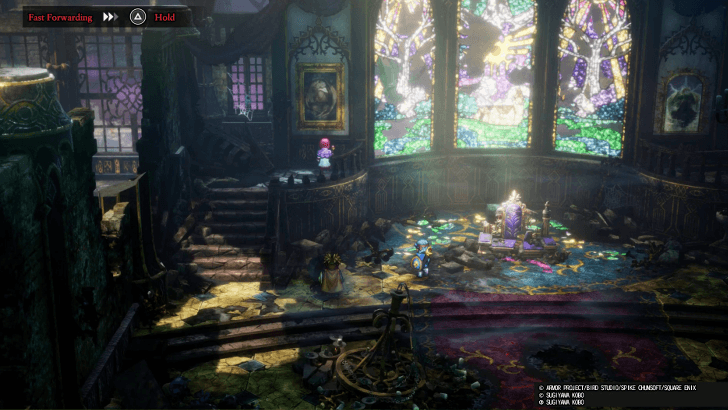
| 1 | 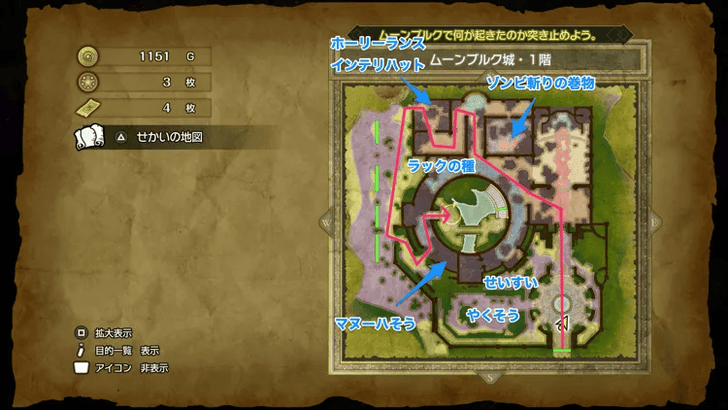 Head to the courtyard in the middle. You can explore some of the areas to get a few items here, such as the Undead Undoer Scroll found at the top near a ghost. ▶ List of All Scrolls and Locations |
|---|
Swamp Shrine
| 1 | 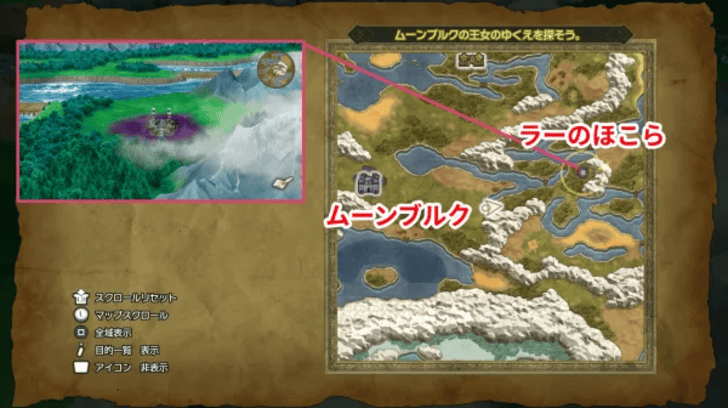 Head to the Swamp Shrine to get Ra's Mirror. You can find this place east of Moonbrooke. |
|---|---|
| * |
 Make sure to have a Chimaera Wing for easy fast travel, as the Swamp Shrine is quite far from Moonahan, the next location you need to visit. |
| 2 |
 Head back to Moonahan and find the dog north of town. Talk to it and use Ra's Mirror to reveal the Princess of Moonbrooke. |
| 3 |
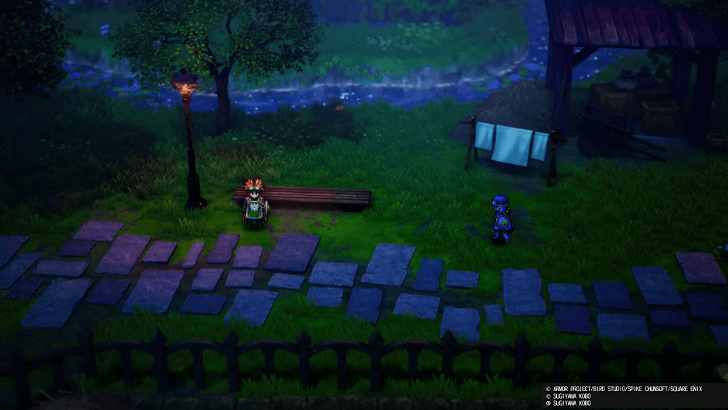 Head outside the inn and talk to the Prince of Cannock. After the cutscene, the Princess of Moonbrooke will finally join your party. |
| 4 |
 With Zoom now available, fast travel to Midenhall, Cannock, and Moonbrooke. Get the Mark of Midenhall, the Mark of Cannock, and the Thief's Key from these locations, respectively. |
| * |
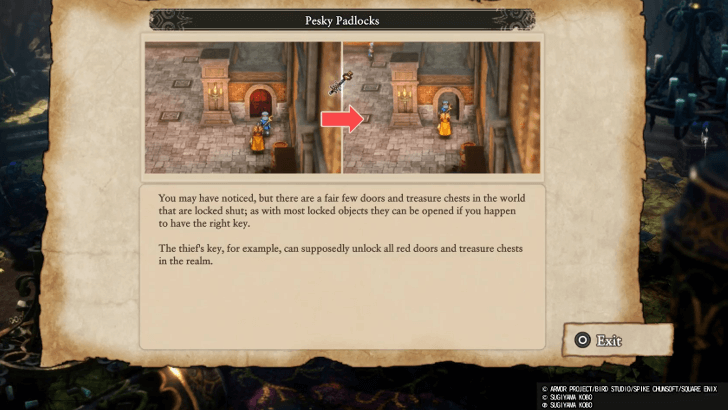 With the Thief’s Key now available, you can go back to previous locations to open any locked doors and treasure chests! |
Encounterable Enemies and Bosses
All Enemies in Cave of the Lake
 Healslime |
 Army Ant |
 Killerpillar |
 Shade |
 Waspion |
 Fightgeist |
 Spiked Hare |
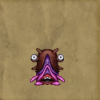 Drohl Drone |
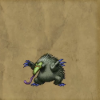 Antgobbler |
 Abra |
 Cadabra |
All Enemies in Gwaelin's Gate
|
Drohl Drone |
 Fat Rat |
All Enemies in Wellspring of the Hero
|
Healslime |
 Spirit |
 Bubble Slime |
 Magus |
 Scorpion |
 Lunatick |
 Antnibbler |
List of All Monsters and Enemies
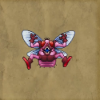
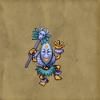
Abra and Cadabra
|
|
| Recommended Level |
|---|
| Level 10 |
Abra and Cadabra are the bosses of this chapter. Abra relies on brute force, while Cadabra serves as its support with moves such as Heal, Fizzle, and Kasap.
It’s recommended to focus all your attacks on Cadabra first to prevent it from healing itself and Abra. Abra can be defeated easily with Flying Knee afterward since it’s an airborne enemy.
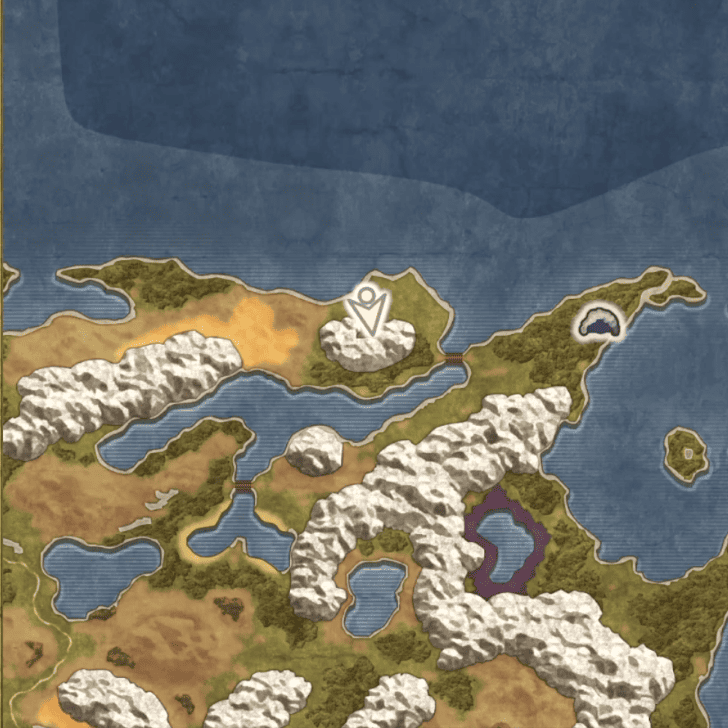
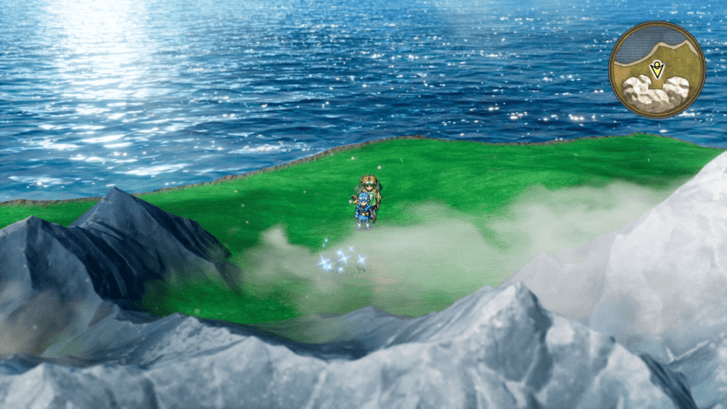
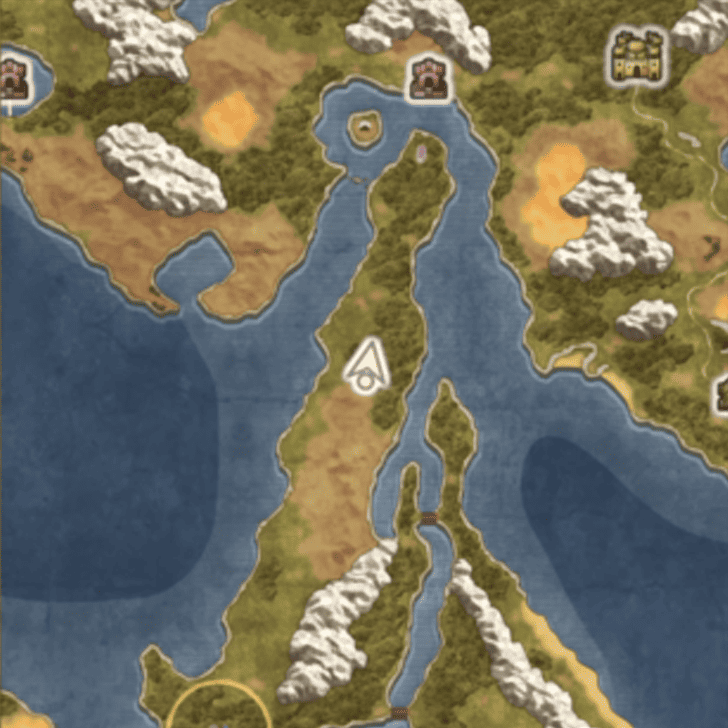
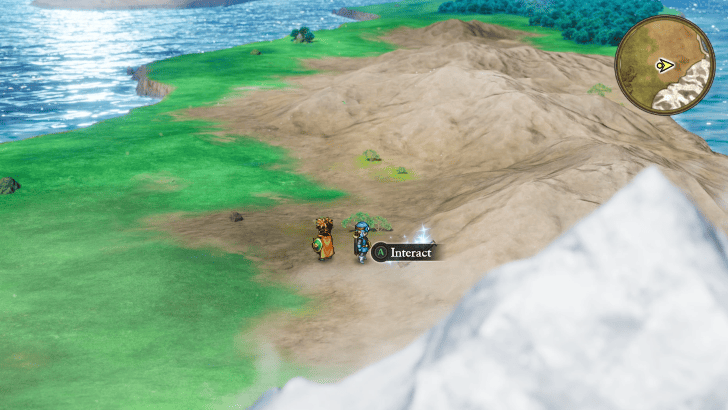
All Sparkly Spot Locations
| Map Image | World Image | |
|---|---|---|
8 |
 |
 |
11 |
 |
 |
12 |
 |
 |
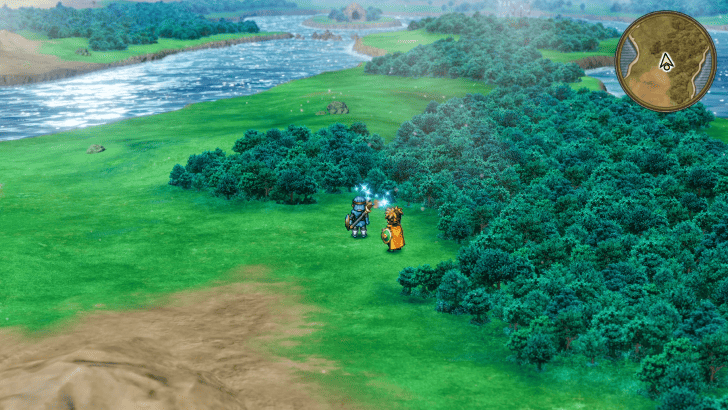
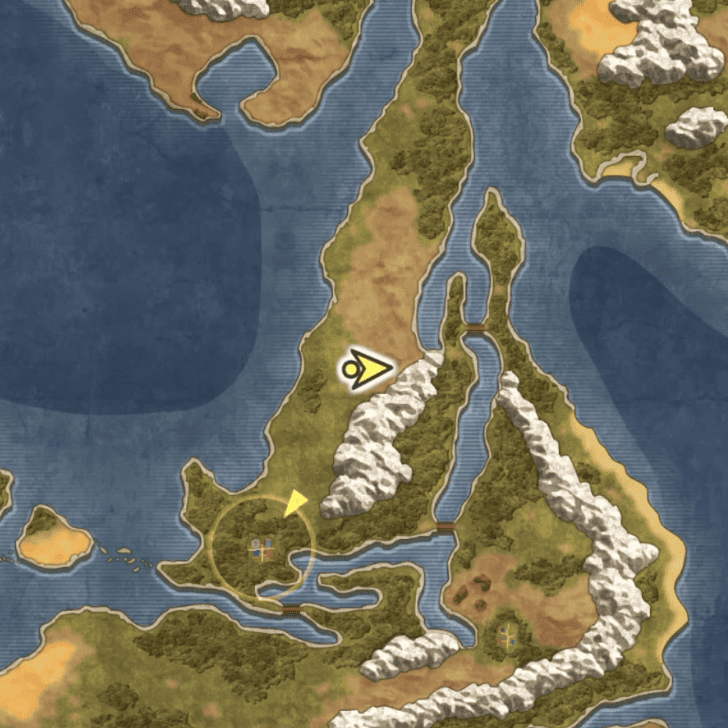
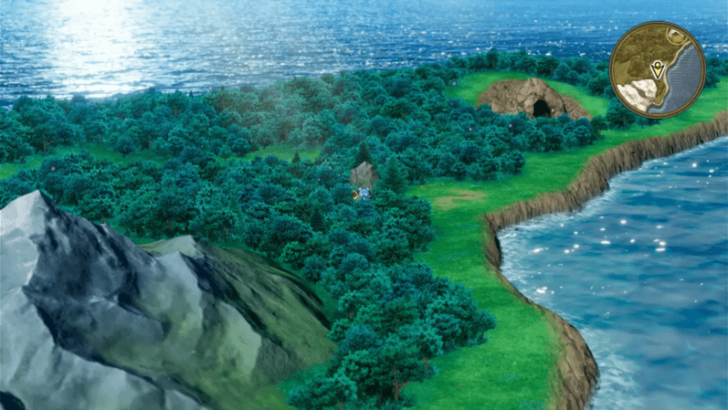
All Secret Spot Locations
| Map Image | World Image | |
|---|---|---|
| 5 |
 |
 |
| 21 |
 |
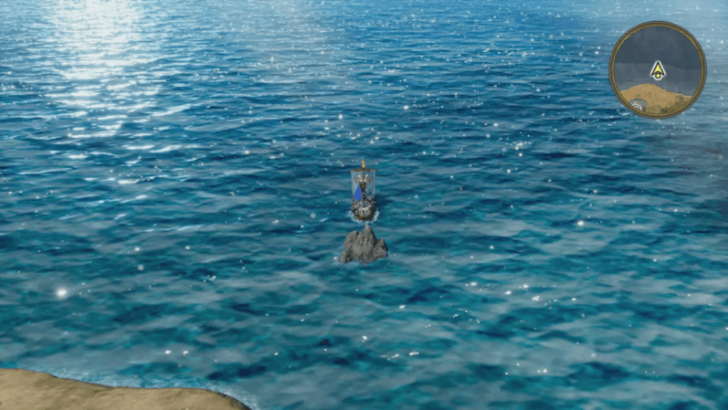 |
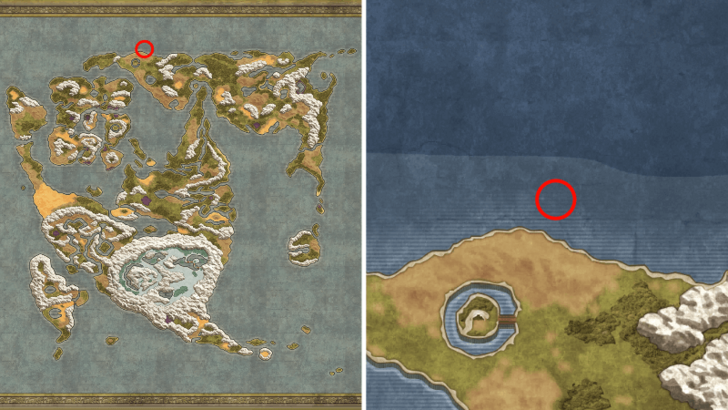
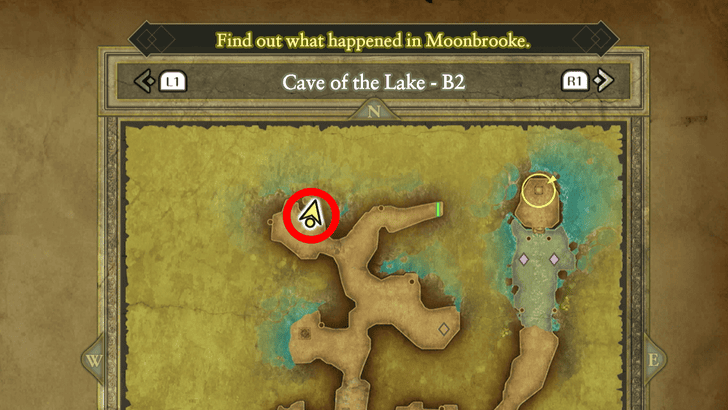
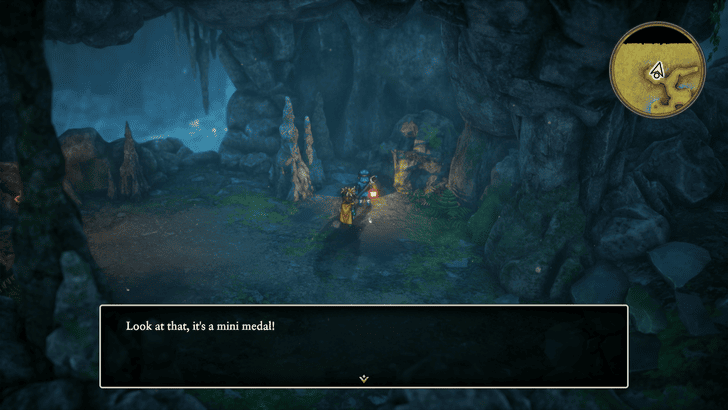
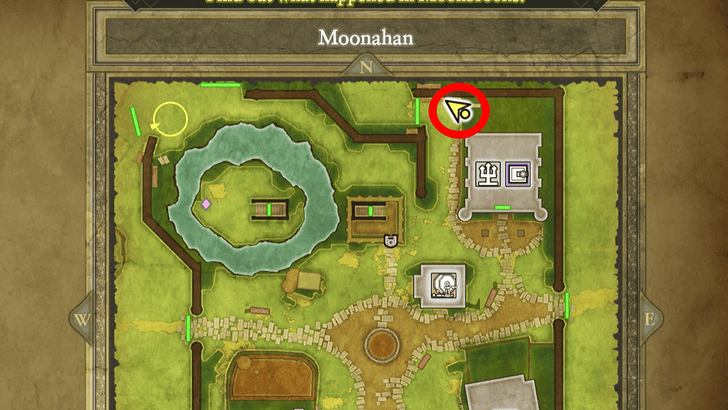
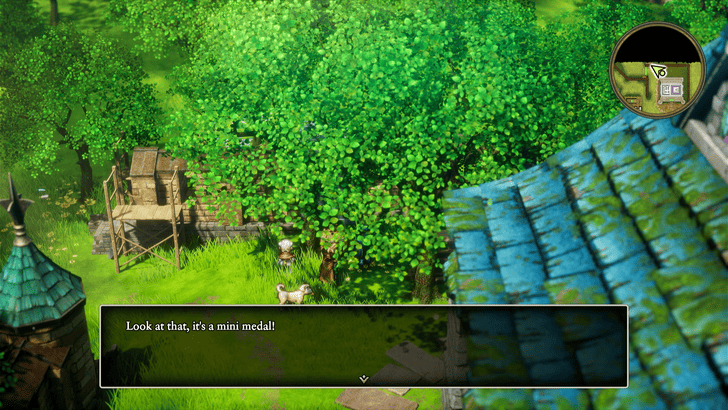
All Mini Medal Locations
| Map Image | World Image | |
|---|---|---|
8 |
 |
 |
9 |
 |
 |
All 80 Mini Medal Locations and Rewards
Dragon Quest 2 HD-2D Remake (DQ2) Related Guides

List of All Story Walkthroughs
Author

Walkthrough Part 2: Cave of the Lake to Moonbrooke
Rankings
- We could not find the message board you were looking for.
Gaming News

![Death Stranding 2: On The Beach [PC] Review | A Port That Delivers](https://img.game8.co/4447392/15310a0c9aa1b6843bb713b2ea216930.jpeg/show)


Popular Games

Genshin Impact Walkthrough & Guides Wiki
Umamusume: Pretty Derby Walkthrough & Guides Wiki
Crimson Desert Walkthrough & Guides Wiki
Monster Hunter Stories 3: Twisted Reflection Walkthrough & Guides Wiki
Honkai: Star Rail Walkthrough & Guides Wiki
Pokemon Pokopia Walkthrough & Guides Wiki
The Seven Deadly Sins: Origin Walkthrough & Guides Wiki
Wuthering Waves Walkthrough & Guides Wiki
Zenless Zone Zero Walkthrough & Guides Wiki
Arknights: Endfield Walkthrough & Guides Wiki


Recommended Games
Fire Emblem Heroes (FEH) Walkthrough & Guides Wiki
Diablo 4: Vessel of Hatred Walkthrough & Guides Wiki
Cyberpunk 2077: Ultimate Edition Walkthrough & Guides Wiki
Yu-Gi-Oh! Master Duel Walkthrough & Guides Wiki
Super Smash Bros. Ultimate Walkthrough & Guides Wiki
Pokemon Brilliant Diamond and Shining Pearl (BDSP) Walkthrough & Guides Wiki
Elden Ring Shadow of the Erdtree Walkthrough & Guides Wiki
Monster Hunter World Walkthrough & Guides Wiki
The Legend of Zelda: Tears of the Kingdom Walkthrough & Guides Wiki
Persona 3 Reload Walkthrough & Guides Wiki


All rights reserved
© ARMOR PROJECT/BIRD STUDIO/SPIKE CHUNSOFT/SQUARE ENIX
© SUGIYAMA KOBO ℗ SUGIYAMA KOBO
The copyrights of videos of games used in our content and other intellectual property rights belong to the provider of the game.
The contents we provide on this site were created personally by members of the Game8 editorial department.
We refuse the right to reuse or repost content taken without our permission such as data or images to other sites.
Also on cave of the lake B1 room to the right of the chimera wing is a magic seed on the ground