Walkthrough Part 4: Tantegel to Dragonlord's Castle
★ Interactive Map and Locations
┗ Secret Spots | Sparkly Spots | Mini Medals
☆ 100% Walkthrough Guide
┗Post Game Guide
☆ Trophy Guide: How to Get Platinum
★ Playing the first game? DQ1 Wiki here!
This is a walkthrough guide from Tantegel to Dragonlord's Castle for the Main Story of Dragon Quest 2 HD-2D Remake (DQ2). See the objectives for Tantegel to Dragonlord's Castle and follow a step-by-step walkthrough in this guide.
| ◀ Previous Guide | Next Guide ▶ |
|---|---|
| Pillar of the Winds to Rippleport | Burrowell to Gaggle Rock |
List of Contents
 Attention! Attention! |
This page contains major spoliers for Dragon Quest 2 HD-2D Remake! Continue reading on at your own risk. |
|---|
Tantegel to Dragonlord's Castle Walkthrough Guide
| Jump to an Area Walkthrough! | |||
|---|---|---|---|
| 1 | Tantegel | 2 | Dragonlord's Castle |
Tantegel
| 1 |
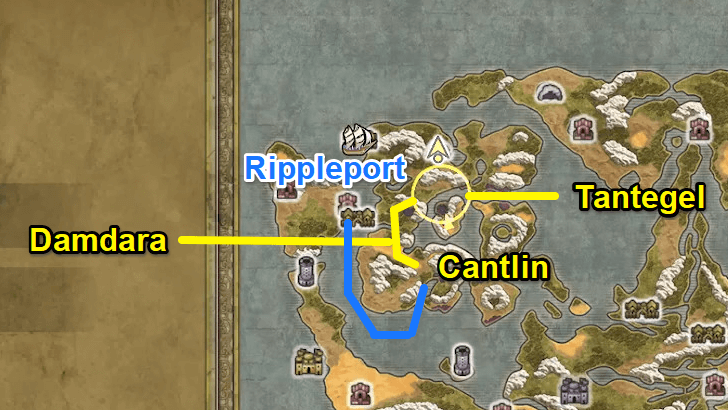 To reach Tantegel, sail from Rippleport and head to Cantlin. From there, walk north, then east toward Tantegel, passing by Damdara along the way. ▶ How to Unlock and Get the Ship |
|---|---|
| 2 |
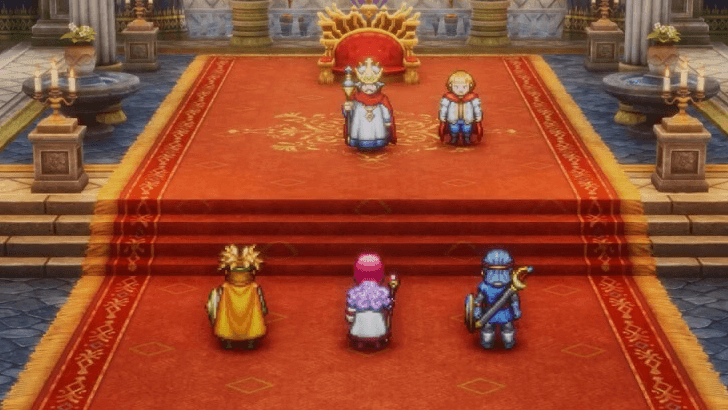 Head to the throne room and speak to the King to find out more about the Dragonlord's Castle. |
| 3 |
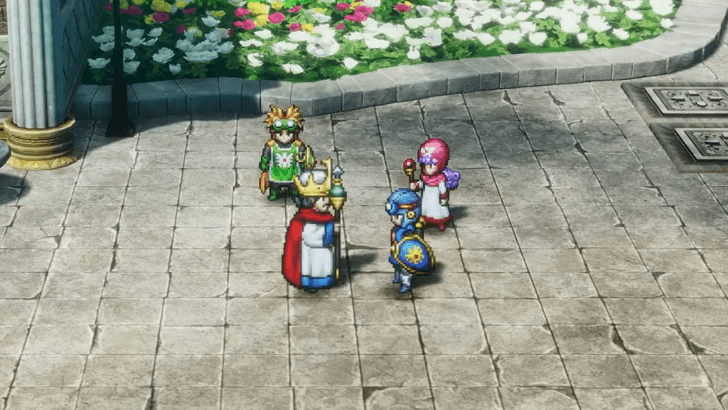 Meet the King again outside the throne room by exiting behind the stairs to get the Rainbow Drop. |
| 4 | 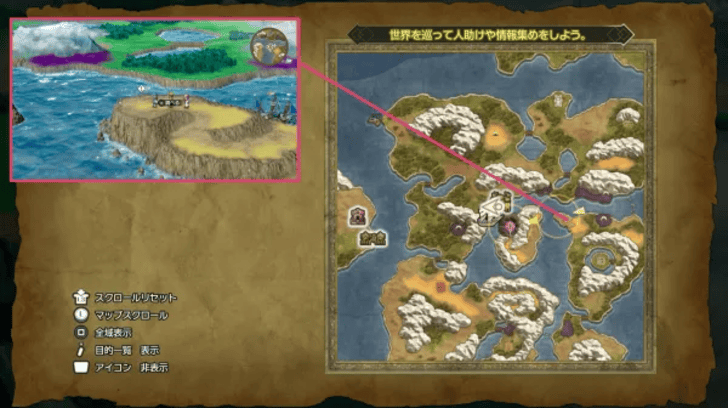 After obtaining the Rainbow Drop, head to the open sea again and sail toward the cliff on the opposite side of the Dragonlord's Castle. |
Dragonlord's Castle
| 1 | 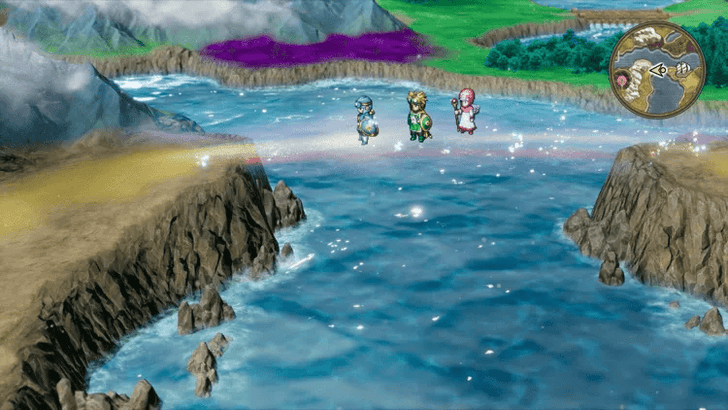 Once ready, use the Rainbow Drop to connect the cliff to the Dragonlord's Castle. Cross it and make your way toward the castle after. |
|---|---|
| 2 | 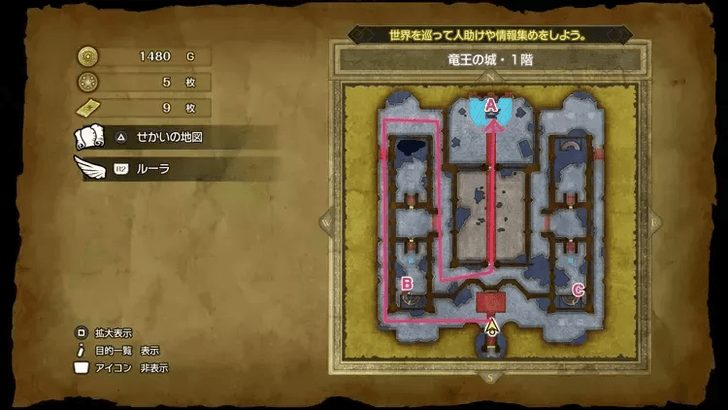 Enter the Dragonlord's Castle and take the hallway on the far left to reach the throne in the middle. Go behind the throne to access the basement stairs. Keep in mind that the blue tiles can electrocute the team and cause 7 damage per zap. Don’t stay on them too long, and move to the floor below as soon as possible. |
| 4 | 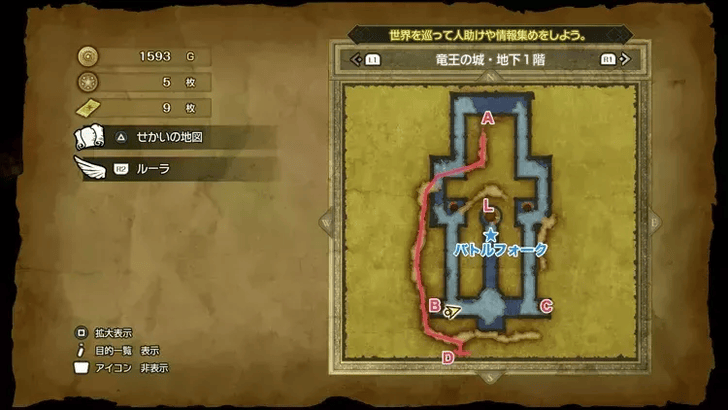 On the first basement floor, continue along the outer path on the left and go down to the next floor. |
| 5 | 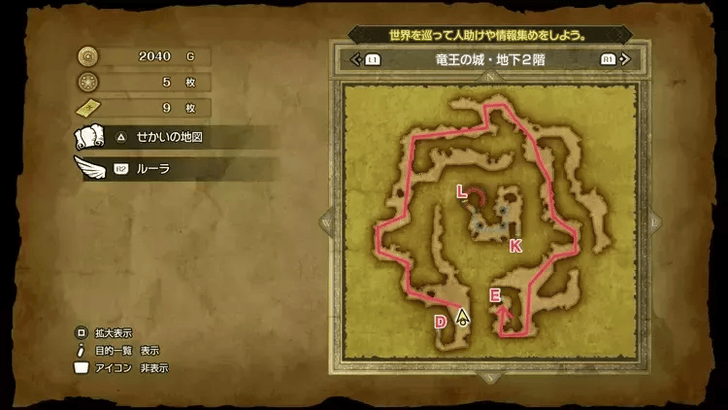 Continue along the same path on the next floor by taking the outer routes instead of the inner ones. Go around to reach the 3rd floor. |
| 6 | 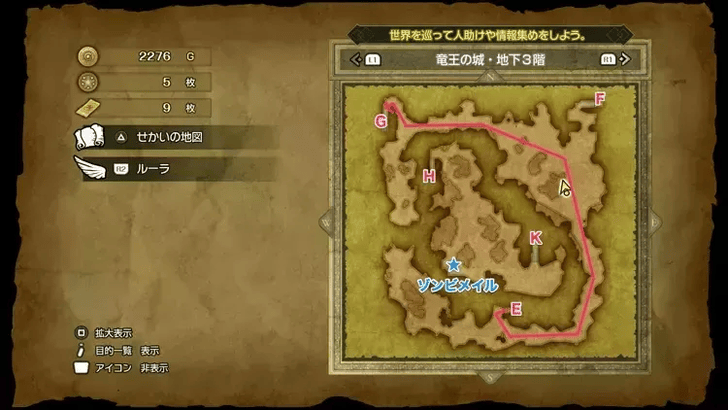 Do the same for the next floor and continue heading to the top left this time. |
| 7 | 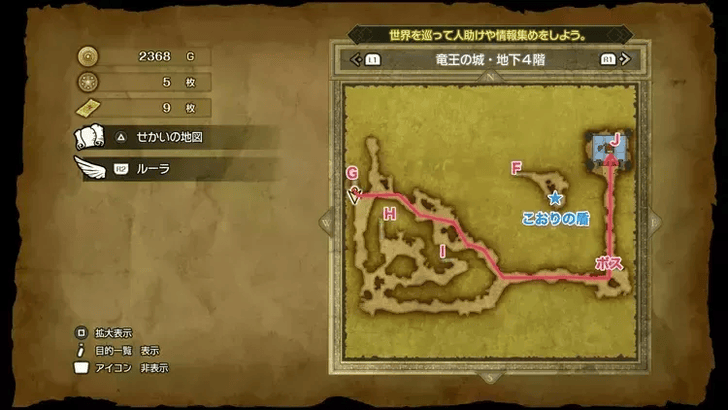 On the fourth basement floor, continue along the path north to the right. |
| 8 | 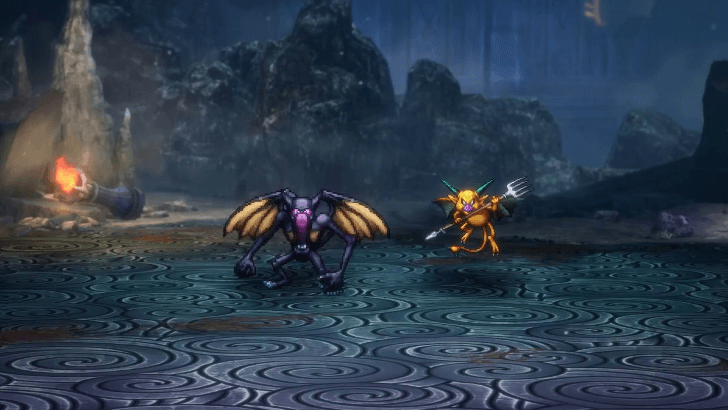 Defeat the Midnight Manguini and Goyling up ahead to access the stairs going down. These enemies are aggressive and will always go on the offensive. Be sure to prepare first by either upgrading your equipment for better defense or changing your tactics to include a dedicated healer. |
| 9 |  Continue on the 5th floor by taking the path to the right, then head down to the 6th floor. |
| 10 |  On the sixth floor, follow the outer path again and go around to reach the outside. Continue going down, and you should reach the Dragonlord's Great-Grandson. |
| 11 | 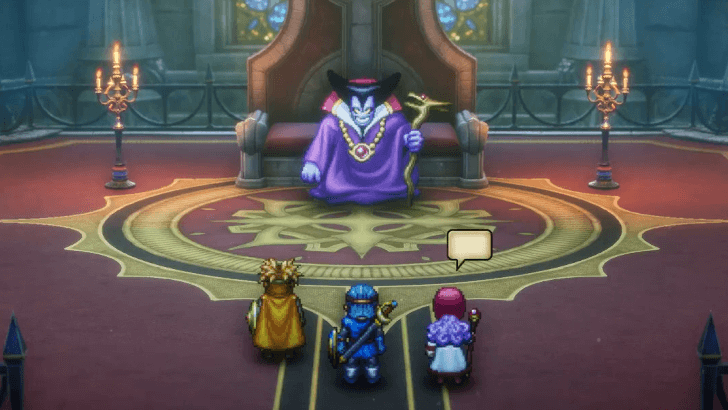 Talk to the Dragonlord's Great-Grandson and learn about the five sigils. Speak to your party afterward, then talk to the Dragonlord's Great-Grandson again before continuing your journey. ▶ List of All 5 Sigil Locations |
| * | 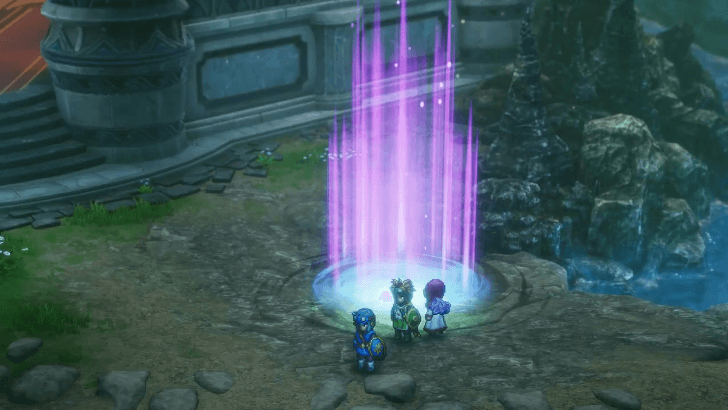 You can use the portal in front of the throne to head out, or just use Zoom or a Chimaera Wing to continue your journey. |
Encounterable Enemies and Bosses
All Enemies in Dragonlord's Castle
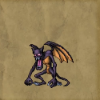
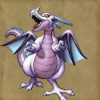
 Green Dragon |
 Cannibox |
 Hocus Chimaera |
 Hoodie |
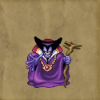
 Drohl Diabolist |
 Lethal Armour |
 Spitegeist |
 Lump Wizard |
 Midnight Manguini |
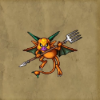 Goyling |
 Dragonlord's Great-Grandson |
 Dragonlord's Great-Grandson's True Form |
List of All Monsters and Enemies
Midnight Manguini and Goyling
|
| Recommended Level |
|---|
| Level 26 |
Midnight Manguini and Goyling are the bosses of this part of the story. Both enemies are aggressive and will always go on the offensive, so make sure to have a dedicated healer or two and raise everyone's defenses before approaching this battle.
You can target Goyling first, as it's the only enemy with an exploitable weakness. Use Flying Knee to deal heavy damage against it, and leave Midnight Manguini for last.
How to Beat the Midnight Manguini and Goyling
All Sparkly Spot Locations
| We’re still gathering all sparkly spot locations for this part of the story. Please check back later! |
All Secret Spot Locations
| There are no secret spots for this part of the adventure! |
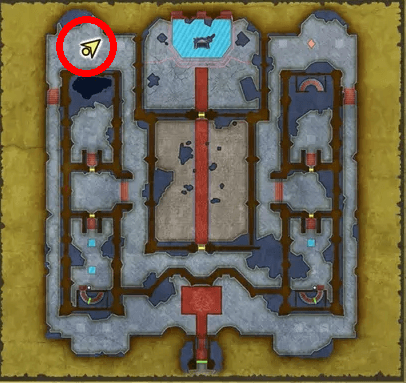
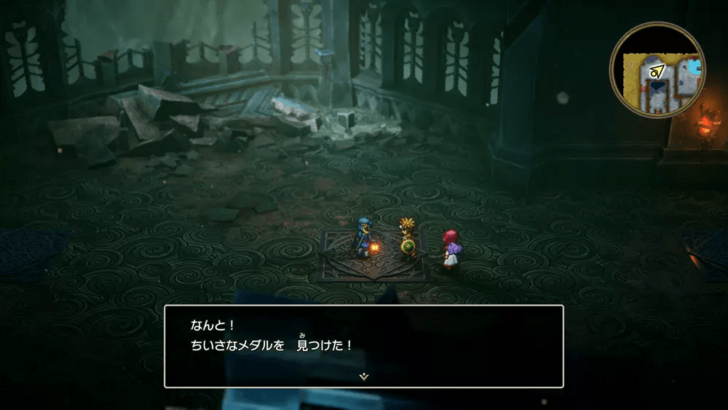
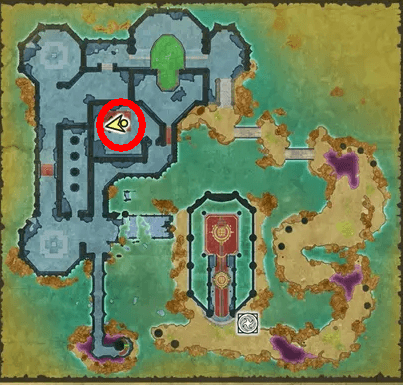
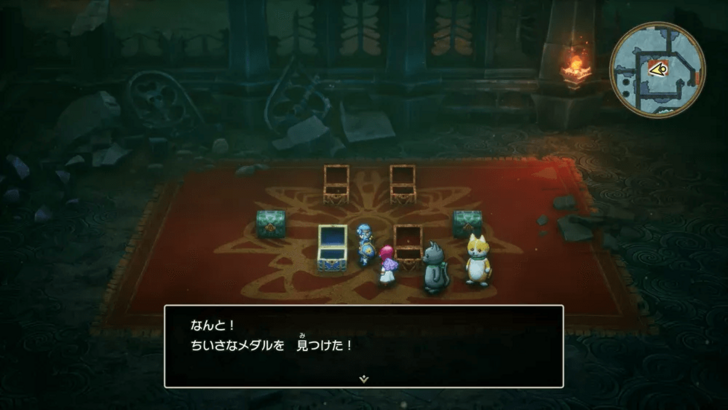
All Mini Medal Locations
| Map Image | World Image | |
|---|---|---|
33 |
 |
 |
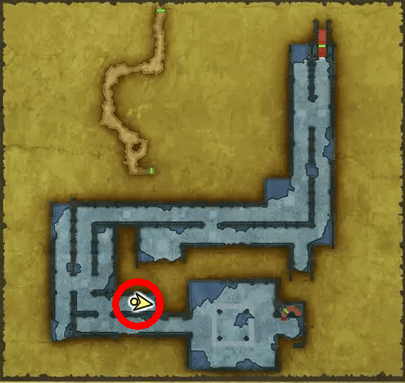
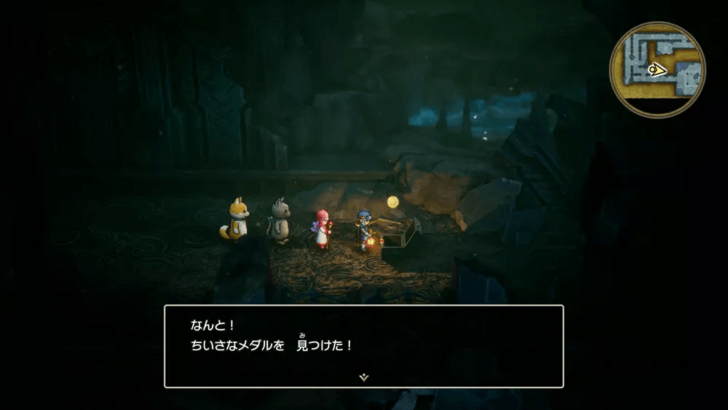
34 |
 |
 |
35 |
 |
 |
All 80 Mini Medal Locations and Rewards
Dragon Quest 2 HD-2D Remake (DQ2) Related Guides
List of All Story Walkthroughs
Comment
Author
Walkthrough Part 4: Tantegel to Dragonlord's Castle
Rankings
- We could not find the message board you were looking for.
Gaming News

![Death Stranding 2: On The Beach [PC] Review | A Port That Delivers](https://img.game8.co/4447392/15310a0c9aa1b6843bb713b2ea216930.jpeg/show)


Popular Games

Genshin Impact Walkthrough & Guides Wiki
Umamusume: Pretty Derby Walkthrough & Guides Wiki
Crimson Desert Walkthrough & Guides Wiki
Monster Hunter Stories 3: Twisted Reflection Walkthrough & Guides Wiki
Honkai: Star Rail Walkthrough & Guides Wiki
Pokemon Pokopia Walkthrough & Guides Wiki
The Seven Deadly Sins: Origin Walkthrough & Guides Wiki
Wuthering Waves Walkthrough & Guides Wiki
Zenless Zone Zero Walkthrough & Guides Wiki
Arknights: Endfield Walkthrough & Guides Wiki


Recommended Games
Fire Emblem Heroes (FEH) Walkthrough & Guides Wiki
Diablo 4: Vessel of Hatred Walkthrough & Guides Wiki
Cyberpunk 2077: Ultimate Edition Walkthrough & Guides Wiki
Yu-Gi-Oh! Master Duel Walkthrough & Guides Wiki
Super Smash Bros. Ultimate Walkthrough & Guides Wiki
Pokemon Brilliant Diamond and Shining Pearl (BDSP) Walkthrough & Guides Wiki
Elden Ring Shadow of the Erdtree Walkthrough & Guides Wiki
Monster Hunter World Walkthrough & Guides Wiki
The Legend of Zelda: Tears of the Kingdom Walkthrough & Guides Wiki
Persona 3 Reload Walkthrough & Guides Wiki


All rights reserved
© ARMOR PROJECT/BIRD STUDIO/SPIKE CHUNSOFT/SQUARE ENIX
© SUGIYAMA KOBO ℗ SUGIYAMA KOBO
The copyrights of videos of games used in our content and other intellectual property rights belong to the provider of the game.
The contents we provide on this site were created personally by members of the Game8 editorial department.
We refuse the right to reuse or repost content taken without our permission such as data or images to other sites.