Walkthrough Part 7: Rain Shrine to Faerie Palace
★ Interactive Map and Locations
┗ Secret Spots | Sparkly Spots | Mini Medals
☆ 100% Walkthrough Guide
┗Post Game Guide
☆ Trophy Guide: How to Get Platinum
★ Playing the first game? DQ1 Wiki here!
This is a walkthrough guide from the Rain Shrine to the Faerie Palace for the Main Story of Dragon Quest 2 HD-2D Remake (DQ2). See the objectives for the Rain Shrine to the Faerie Palace and follow a step-by-step walkthrough in this guide.
| ◀ Previous Guide | Next Guide ▶ |
|---|---|
| Beran to Yggdrasil's Arbour | Mersea to Mermaid's Sanctuary |
List of Contents
 Attention! Attention! |
This page contains major spoliers for Dragon Quest 2 HD-2D Remake! Continue reading on at your own risk. |
|---|
Rain Shrine to Faerie Palace Walkthrough Guide
| Jump to an Area Walkthrough! | |||
|---|---|---|---|
| 1 | Rain Shrine | 2 | Dirkandor |
| 3 | Lighthouse | 4 | Dreamer's Lake |
| 5 | Faerie Palace | 6 | - |
Rain Shrine
| 1 |
To start, head to the Shrine of Rain first by fast travelling to Tantegel Castle. Sail northeast, and you should be able to reach the shrine right away.
▶ How to Unlock and Get the Ship |
|---|---|
| 2 | After reaching the Shrine of Rain, head inside and proceed forward to reach the back gate. |
| 3 | Continue moving forward once you reach the back gate, and you should encounter the first boss in this area, Scytan. Defeat it to save the first group of faeries. |
| 4 |
Move to the next floor by taking the stairs near the tower on the right. After that, climb it again to fight the Cool-Headed Winocerus, but you can also check the tower on the left to get the Kabuff Scroll first.
▶ List of All Scrolls and Locations |
| 4 | After defeating the Cool-Headed Winocerus, go up to the fifth floor to face the last boss, Togrus Immensus. This is mostly a physical fight, and it doesn’t use many spells, so make sure to buff your defenses before approaching it. |
| 5 |
Take the Echo Flute from the Over-Seer, and you can now start locating the sigils.
▶ List of All 5 Sigil Locations |
Dirkandor
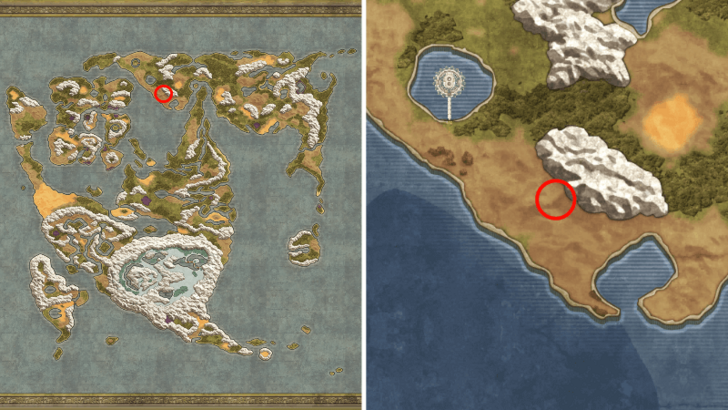
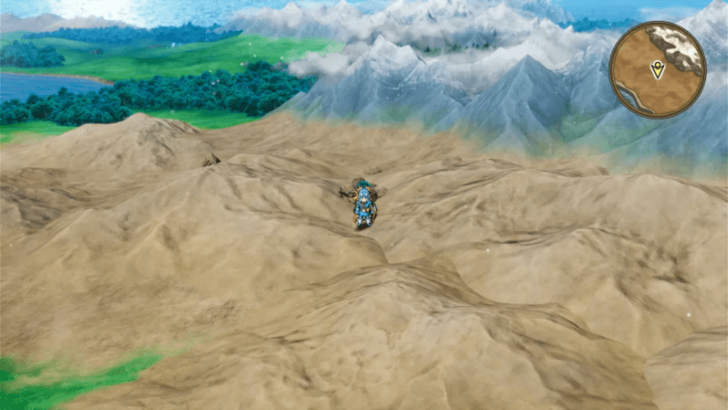
| 1 | Sail to Dirkandor from either Zahan or the Pillar of the Winds. If you’ve already visited the Shrine of Flames, there's a teleporter inside that can take you to Dirkandor. Head out again, and the place will now be marked for fast travel. |
|---|---|
| 2 | Go to the castle and head to the throne room to speak with the king. |
| 3 | The task ahead is a test of strength, and you’ll be facing three consecutive bosses, so be sure to prepare first. You’ll get to heal between matches, but it’s still recommended to prepare your equipment and buy items before attempting them all. |
| 4 | The first match is against three Hades Condors. Since these enemies are airborne, abilities like Flying Knee should do the trick. |
| 5 | Next, you’ll face two Smackanapes. These enemies are weak to ice attacks, so spells like Crackle can help you defeat them with ease. |
| 6 | The last enemy will be a Striking Sabrecat. You can use the same strategy as with the Smackanapes and attack its weakness with spells and abilities like Crackle. |
| 7 | The last enemy will be a Striking Sabrecat. You can use the same strategy as with the Smackanapes and attack its weakness with spells and abilities like Crackle. |
| 8 | Once that’s all done, you can now get the Moon Sigil! You can now leave Dirkandor and search for the other Sigils. |
Lighthouse
| 1 | Fast travel to Rippleport and sail to the Lighthouse. You can find this location just southeast of Rippleport. |
|---|---|
| 2 | Proceed to the first floor, then navigate the map to reach the second floor. The layout of the first floor is quite complicated, so make sure to refer to the map often to avoid dead ends. |
| 3 | On the second floor, take the stairs north of where you came from. No other stairs will be accessible, so this should be a short trip up. |
| 4 | On the third floor, proceed forward and watch the cutscene with the old man. The stairs should be nearby, so take them after the scene. |
| 5 | Make your way to the fourth floor by going around the circular room. The stairs should be located behind it. |
| 6 | For the next floors, head to the right and take the stairs to the sixth floor. Then, take the outer stairs on the top left to reach the seventh floor. |
| 7 | Head to the room on the rightmost section of the seventh floor and watch another cutscene. |
| 8 | After the cutscene, head back down to the second floor by taking the stairs on the bottom left. Continue descending to the second floor, and find the next sigil. |
| 9 | Defeat the Nekomancer and his army of Gremlins. Once they’re defeated, the Star Sigil is yours to take. |
| 10 | Head back to the Shrine of Rain afterwards and talk to the faeries. |
Dreamer's Lake
| 1 | Head to Gaggle Rock and speak with Melinda and Elaine again. After the cutscene, you’ll receive the Faerie Trumpet from them. |
|---|---|
| 2 | Fast travel to Dreamer’s Lake and enter it. Head inside immediately and use the Faerie Trumpet to access the Faerie Palace. |
Faerie Palace
| 1 | Enter the Faerie Palace and continue toward the stairs on the west side of the first floor. |
|---|---|
| 2 | From the second floor, take the stairs on the right to head back down to the first floor. |
| 3 | Climb back up to the second floor using the staircase on the right. |
| 4 | Continue through the second floor and head up to the third floor, where a boss battle awaits. |
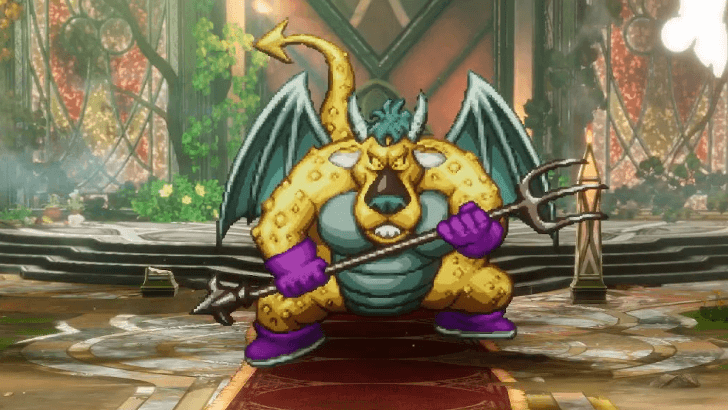
| 5 | On the third floor, you’ll face Belial, who uses powerful magic attacks. Spells and equipment that reduce incoming magic damage, such as Magic Barrier, will be immensely useful here, as they can greatly increase your survivability against Belial. |
Encounterable Enemies and Bosses
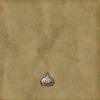
All Rain Shrine Enemies
 Hell Nino |
 Lethal Armour |
 Lump Mage |
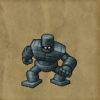 Stone Golem |
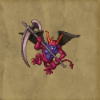 Scytan |
 Winoceros |
 Togrus Immensus |
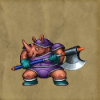
All Dirkandor Enemies
 Magic Marionette |
 Miasma |
 Metal Slime |
 Striking Sabrecat |
 Battering Ram |
 Whackanape |
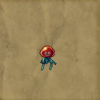 Cureslime |
 King of Dirkandor |
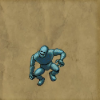
All Lighthouse Enemies
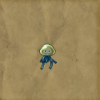 Man o' War |
 Goregon |
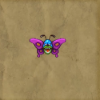
 Dragonfly |
 Deadnaut |
 Dread Admiral |
 Garuda |
 Nekomancer |
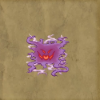
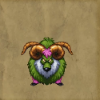
All Faerie Palace Enemies
 Sorcerer |
 Heyedra |
 Shadow |
 Hoodlum |
 Lump Shaman |
List of All Monsters and Enemies
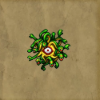
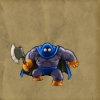
Nekomancer

|
| Recommended Level |
|---|
| Level 26 |
Focus on defeating the Gremlins first, as they pose no real threat to your team. This gives you enough time to focus on the Nekomancer. Since the Nekomancer relies heavily on magic, spells like Fizzle can help you handicap him and prevent him from dealing too much damage to your team.
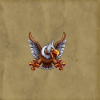
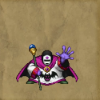
Belial
|
| Recommended Level |
|---|
| Level 30 |
Belial is one of the tougher bosses in this part of the story, and it's recommended to build your party primarily around healing while using the Prince of Midenhall as your only source of damage. The Prince of Cannock will act as the main healer, while the Princess of Moonbrooke and the Princess of Cannock can both serve as sub-healers, dealing damage when healing isn’t necessary.
All Sparkly Spot Locations
| We’re still gathering all secret spot locations for this part of the story. Please check back later! |
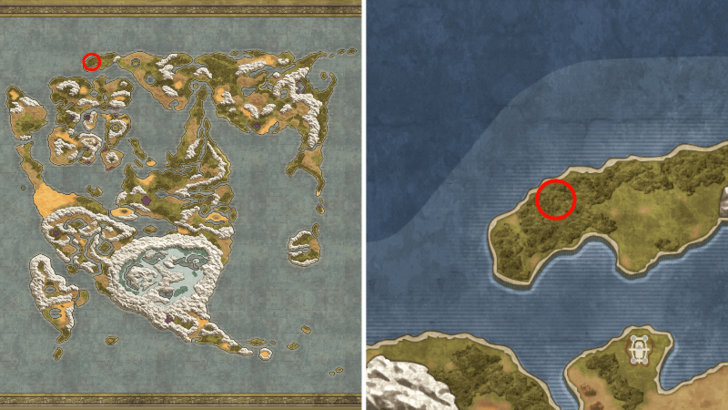
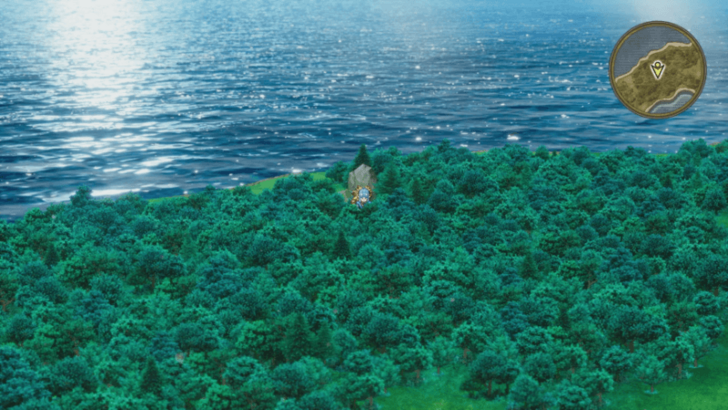
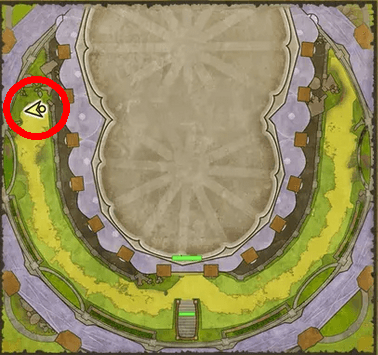
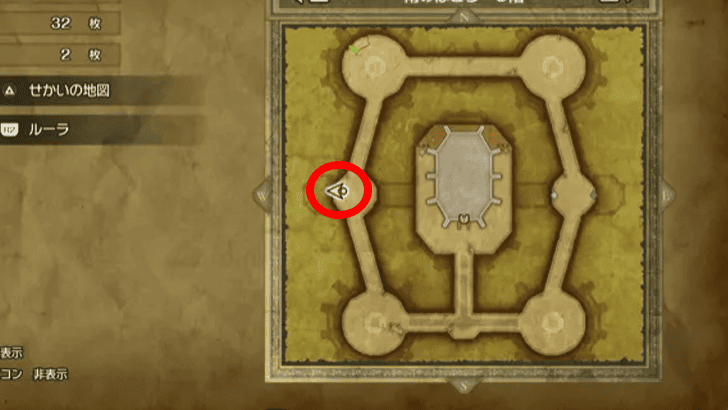
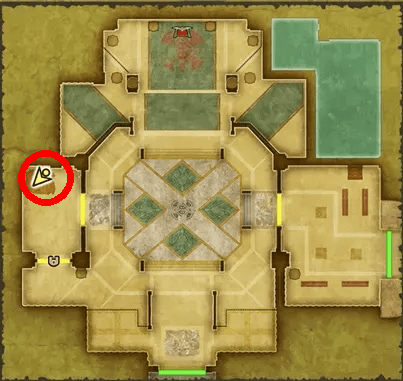
All Secret Spot Locations
| Map Image | World Image | |
|---|---|---|
| 6 |
 |
 |
| 22 |
 |
 |
| 32 |
 |
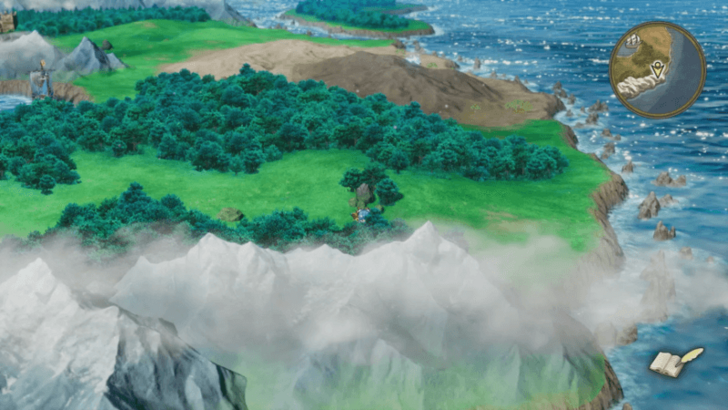 |
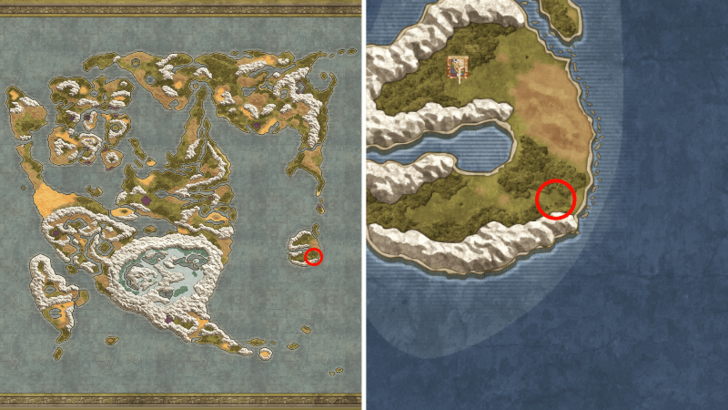
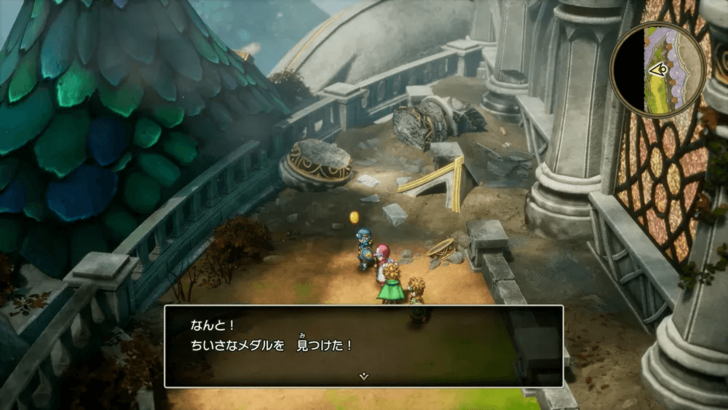
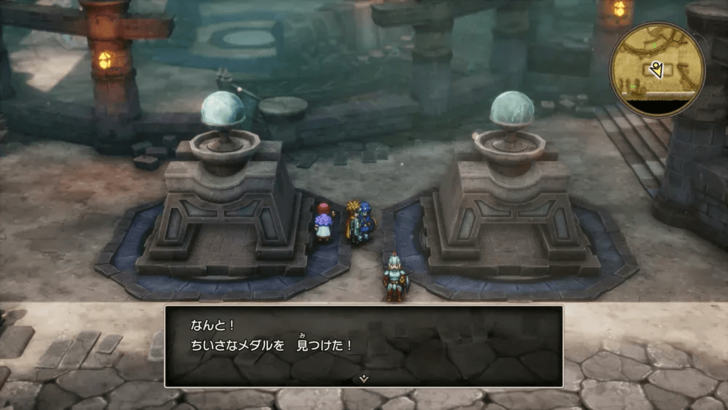
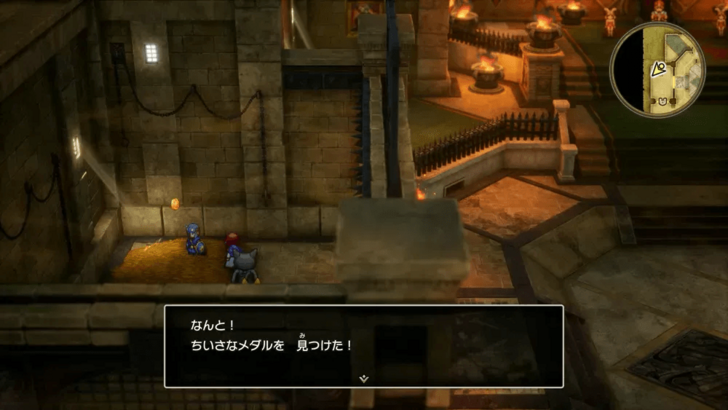
All Mini Medal Locations
| Map Image | World Image | |
|---|---|---|
7 |
 |
 |
25 |
 |
 |
36 |
 |
 |
42 |
 |
 |
All 80 Mini Medal Locations and Rewards
Dragon Quest 2 HD-2D Remake (DQ2) Related Guides

List of All Story Walkthroughs
Comment
Author

Walkthrough Part 7: Rain Shrine to Faerie Palace
Rankings
- We could not find the message board you were looking for.
Gaming News

![Death Stranding 2: On The Beach [PC] Review | A Port That Delivers](https://img.game8.co/4447392/15310a0c9aa1b6843bb713b2ea216930.jpeg/show)


Popular Games

Genshin Impact Walkthrough & Guides Wiki
Umamusume: Pretty Derby Walkthrough & Guides Wiki
Crimson Desert Walkthrough & Guides Wiki
Monster Hunter Stories 3: Twisted Reflection Walkthrough & Guides Wiki
Honkai: Star Rail Walkthrough & Guides Wiki
Pokemon Pokopia Walkthrough & Guides Wiki
The Seven Deadly Sins: Origin Walkthrough & Guides Wiki
Wuthering Waves Walkthrough & Guides Wiki
Zenless Zone Zero Walkthrough & Guides Wiki
Arknights: Endfield Walkthrough & Guides Wiki


Recommended Games
Fire Emblem Heroes (FEH) Walkthrough & Guides Wiki
Diablo 4: Vessel of Hatred Walkthrough & Guides Wiki
Cyberpunk 2077: Ultimate Edition Walkthrough & Guides Wiki
Yu-Gi-Oh! Master Duel Walkthrough & Guides Wiki
Super Smash Bros. Ultimate Walkthrough & Guides Wiki
Pokemon Brilliant Diamond and Shining Pearl (BDSP) Walkthrough & Guides Wiki
Elden Ring Shadow of the Erdtree Walkthrough & Guides Wiki
Monster Hunter World Walkthrough & Guides Wiki
The Legend of Zelda: Tears of the Kingdom Walkthrough & Guides Wiki
Persona 3 Reload Walkthrough & Guides Wiki


All rights reserved
© ARMOR PROJECT/BIRD STUDIO/SPIKE CHUNSOFT/SQUARE ENIX
© SUGIYAMA KOBO ℗ SUGIYAMA KOBO
The copyrights of videos of games used in our content and other intellectual property rights belong to the provider of the game.
The contents we provide on this site were created personally by members of the Game8 editorial department.
We refuse the right to reuse or repost content taken without our permission such as data or images to other sites.